我们以一个在3dMax中使用Python脚本在网格对象对象上创建水波变形作为例子。
首先,在3dmax创建两个对象,一个“box”对象,将长宽方向的分段设置的多一些(目的是为了后面的水波变形),一个“点”帮助对象(它将指示涟漪的中心位置)。
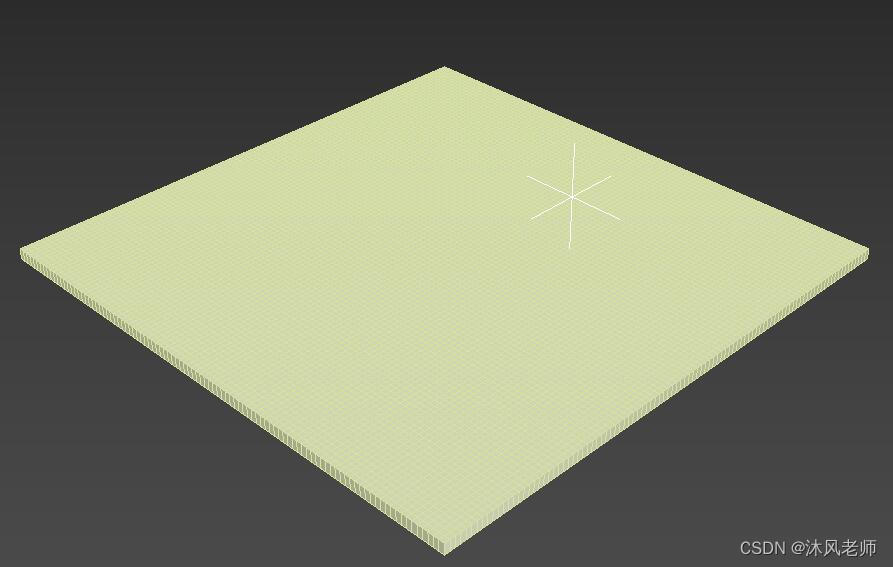
脚本编写的思路是:通过循环遍历网格对象的顶点,获取它们的世界坐标位置,并将新的Z位置设置为距效果中心距离的正弦函数。
下面我们看一下代码:
import math
from MaxPlus import Factory
from MaxPlus import ClassIds
from MaxPlus import INode
from MaxPlus import TriObject
from MaxPlus import Matrix3
from MaxPlus import Point3

# Intensity:
effecr_mult = 1.0

# Effect center:
effector = INode.GetINodeByName('Point001')
effect_pos = effector.GetWorldPosition()

# Prepare object and eccess it's mesh data:
node = INode.GetINodeByName('Box001')
new_edit_mesh_mod = Factory.CreateObjectModifier(ClassIds.Edit_Mesh)
node.AddModifier(new_edit_mesh_mod)
node.Collapse(True)
node_tm = node.GetWorldTM()
node_pos = node.GetWorldPosition()
obj = node.GetObject()
triobj = TriObject._CastFrom(obj)
mesh = triobj.GetMesh()

# Process the object's vertices:
for i in range(mesh.GetNumVertices()):
     # Get vertex in world space
     vert_pos = mesh.GetVertex(i)
     vert_world_pos = node_tm.VectorTransform(vert_pos)
     vert_world_pos = vert_world_pos + node_pos
     # Get vertex distance from effect center:
     diff_vec = vert_world_pos - effect_pos
     diff_vec.Z = 0
     dist = diff_vec.GetLength()
     # Set new vertex position:
     mesh.SetVert(i,vert_pos.X,vert_pos.Y,vert_pos.Z + math.sin(dist)*effecr_mult)
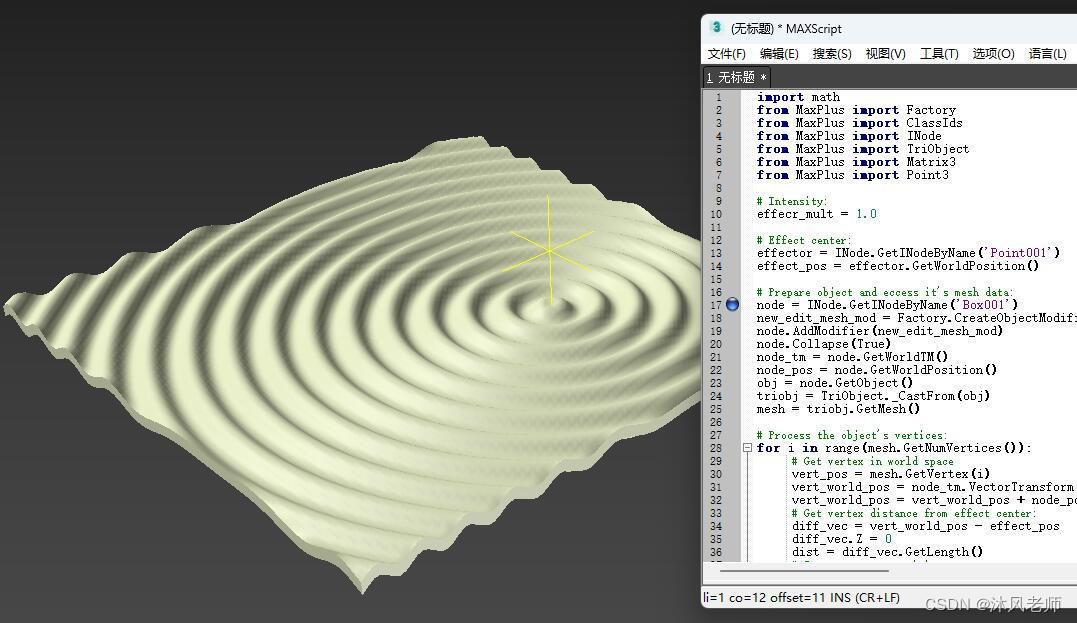
将上面代码复制到MAXScript编辑器中,然后,将当前语言设置为:Python,同时按下“Ctrl+e”执行,结果如下图:
提示:在复制和粘贴本例中的Python脚本时,请注意缩进可能无法正确粘贴。
