js粒子效果(一)

news2024/9/24 19:17:22

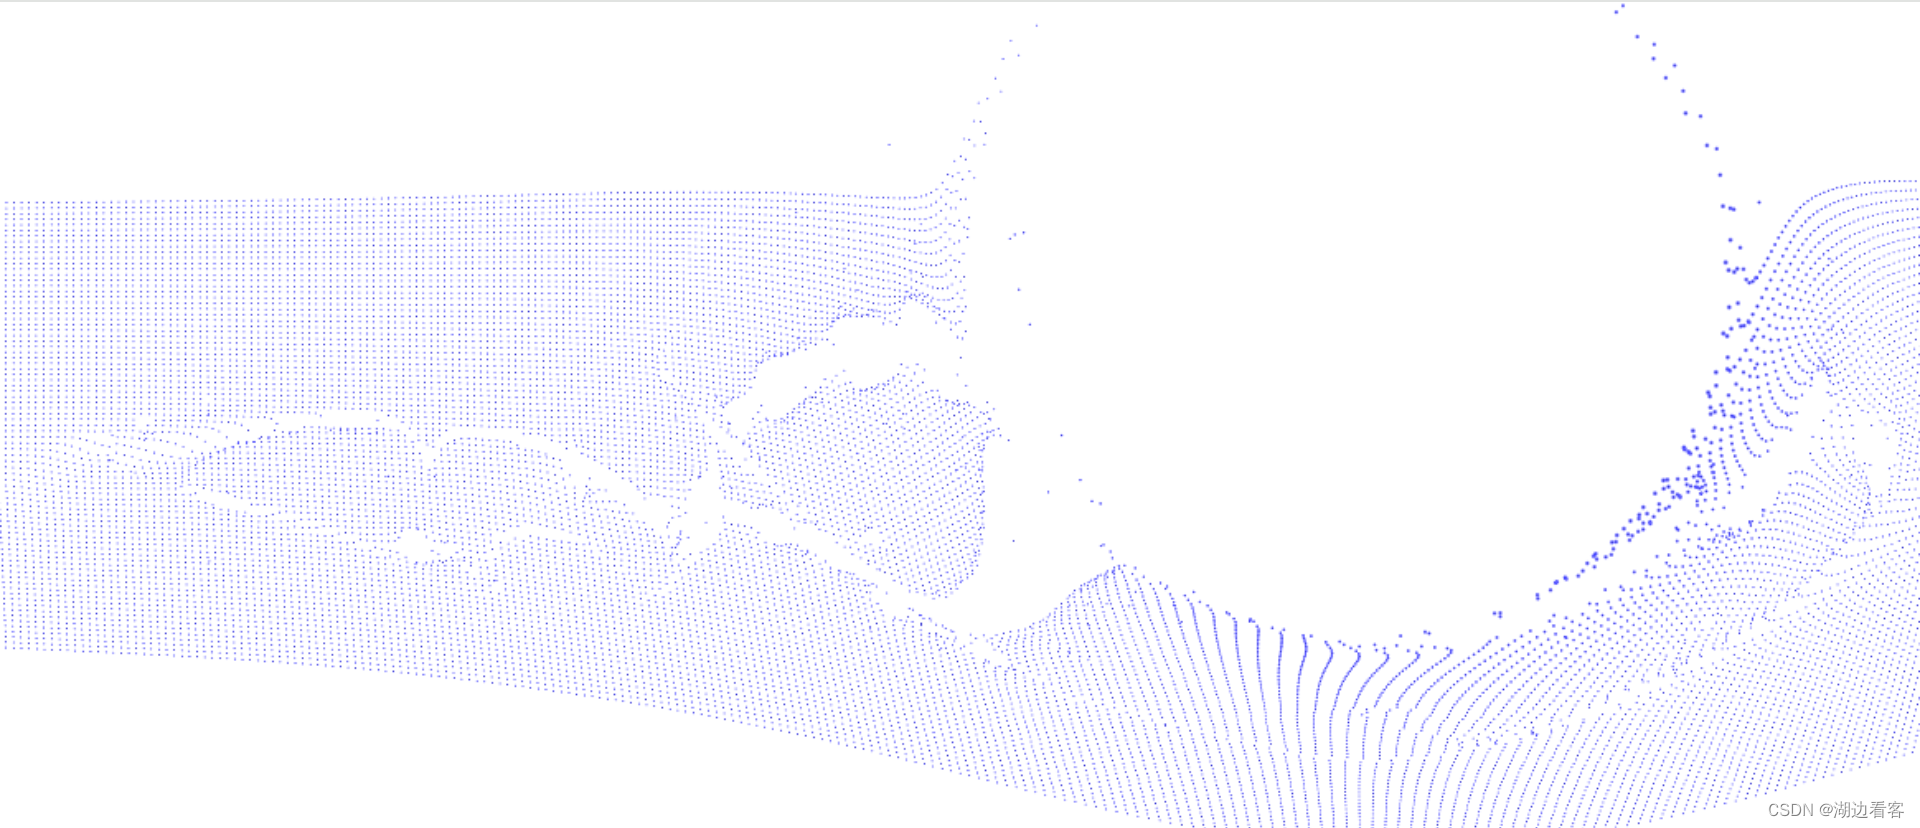
 效果:

代码:

<!doctype html>
<html>
<head>
    <meta charset="utf-8">
    <title>HTML5鼠标经过粒子散开动画特效</title>
    <style>
		
        html, body {
            position: absolute;
            overflow: hidden;
            margin: 0;
            padding: 0;
            width: 100%;
            height: 100%;
            background: #fff;
            touch-action: none;
            content-zooming: none;
        }

        canvas {
            position: absolute;
            width: 100%;
            height: 100%;
            background: #fff;
        }
		
	</style>
</head>
<body>
<canvas></canvas>

<script>
    "use strict";
    {
        // particles class
        class Particle {
            constructor(k, i, j) {
                this.i = i;
                this.j = j;
                this.init();
                this.x = this.x0;
                this.y = this.y0;
                this.pos = posArray.subarray(k * 3, k * 3 + 3);
                this.pointer = pointer;
            }

            init() {
                this.x0 = canvas.width * 0.5 + this.i * canvas.width / 240;
                this.y0 = canvas.height * 0.5 + this.j * canvas.height / 160;
            }

            move() {
                const dx = this.pointer.x - this.x;
                const dy = this.pointer.y - this.y;
                const d = Math.sqrt(dx * dx + dy * dy);
                const s = 1000 / d;
                this.x += -s * (dx / d) + (this.x0 - this.x) * 0.02;
                this.y += -s * (dy / d) + (this.y0 - this.y) * 0.02;
                // update buffer position
                this.pos[0] = this.x;
                this.pos[1] = this.y;
                this.pos[2] = 0.15 * s * s;
            }
        }

        // webGL canvas
        const canvas = {
            init(options) {
                // set webGL context
                this.elem = document.querySelector("canvas");
                const gl = (this.gl =
                    this.elem.getContext("webgl", options) ||
                    this.elem.getContext("experimental-webgl", options));
                if (!gl) return false;
                // compile shaders
                const vertexShader = gl.createShader(gl.VERTEX_SHADER);
                gl.shaderSource(
                    vertexShader,
                    `
					precision highp float;
					attribute vec3 aPosition;
					uniform vec2 uResolution;
					void main() {
						gl_PointSize = max(2.0, min(30.0, aPosition.z));
						gl_Position = vec4(
							( aPosition.x / uResolution.x * 2.0) - 1.0, 
							(-aPosition.y / uResolution.y * 2.0) + 1.0, 
							0.0,
							1.0
						);
					}
      	`
                );
                gl.compileShader(vertexShader);
                const fragmentShader = gl.createShader(gl.FRAGMENT_SHADER);
                gl.shaderSource(
                    fragmentShader,
                        `
                        precision highp float;
                        void main() {
                            vec2 pc = 2.0 * gl_PointCoord - 1.0;
                            gl_FragColor = vec4(0.2, 0.2, 0.8, 1.0 - dot(pc, pc));
                        }
                        `

                );
                gl.compileShader(fragmentShader);
                const program = (this.program = gl.createProgram());
                gl.attachShader(this.program, vertexShader);
                gl.attachShader(this.program, fragmentShader);
                gl.linkProgram(this.program);
                gl.useProgram(this.program);
                // resolution
                this.uResolution = gl.getUniformLocation(this.program, "uResolution");
                gl.enableVertexAttribArray(this.uResolution);
                // canvas resize
                this.resize();
                window.addEventListener("resize", () => this.resize(), false);
                
     
                return gl;
            },
            resize() {
                this.width = this.elem.width = this.elem.offsetWidth;
                this.height = this.elem.height = this.elem.offsetHeight;
                for (const p of particles) p.init();
                this.gl.uniform2f(this.uResolution, this.width, this.height);
                this.gl.viewport(
                    0,
                    0,
                    this.gl.drawingBufferWidth,
                    this.gl.drawingBufferHeight
                );
            }
        };
        const pointer = {
            init(canvas) {
                this.x = 0.1 + canvas.width * 0.5;
                this.y = canvas.height * 0.5;
                this.s = 0;
                ["mousemove", "touchstart", "touchmove"].forEach((event, touch) => {
                    document.addEventListener(
                        event,
                        e => {
                            if (touch) {
                                e.preventDefault();
                                this.x = e.targetTouches[0].clientX;
                                this.y = e.targetTouches[0].clientY;
                            } else {
                                this.x = e.clientX;
                                this.y = e.clientY;
                            }
                        },
                        false
                    );
                });
            }
        };
        // init webGL canvas
        const particles = [];
        const gl = canvas.init({
            alpha: true,
            stencil: true,
            antialias: true,
            depth: false
        });
  
        // additive blending "lighter"
        gl.blendFunc(gl.SRC_ALPHA, gl.ONE);
        gl.enable(gl.BLEND);
        // init pointer
        pointer.init(canvas);
        // init particles
        const nParticles = 240 * 80;
        const posArray = new Float32Array(nParticles * 3);
        let k = 0;
        for (let i = -120; i < 120; i++) {
            for (let j = -40; j < 40; j++) {
                particles.push(new Particle(k++, i, j));
            }
        }
        // create position buffer
        const aPosition = gl.getAttribLocation(canvas.program, "aPosition");
        gl.enableVertexAttribArray(aPosition);
        const positionBuffer = gl.createBuffer();
        // draw all particles
        const draw = () => {
            gl.bindBuffer(gl.ARRAY_BUFFER, positionBuffer);
            gl.vertexAttribPointer(aPosition, 3, gl.FLOAT, false, 0, 0);
            gl.bufferData(
                gl.ARRAY_BUFFER,
                posArray,
                gl.DYNAMIC_DRAW
            );
            gl.drawArrays(gl.GL_POINTS, 0, nParticles);
        }
        // main animation loop
        const run = () => {
            requestAnimationFrame(run);
            for (const p of particles) p.move();
            draw();
        };
        requestAnimationFrame(run);
    }
</script>
<div style="text-align:center;margin:50px 0; font:normal 14px/24px 'MicroSoft YaHei';"></div>
</body>
</html>

本文来自互联网用户投稿,该文观点仅代表作者本人,不代表本站立场。本站仅提供信息存储空间服务,不拥有所有权,不承担相关法律责任。如若转载,请注明出处:http://www.coloradmin.cn/o/1248316.html

如若内容造成侵权/违法违规/事实不符,请联系多彩编程网进行投诉反馈,一经查实,立即删除!

相关文章

Edit And Resend测试接口工具(浏览器上的Postman)

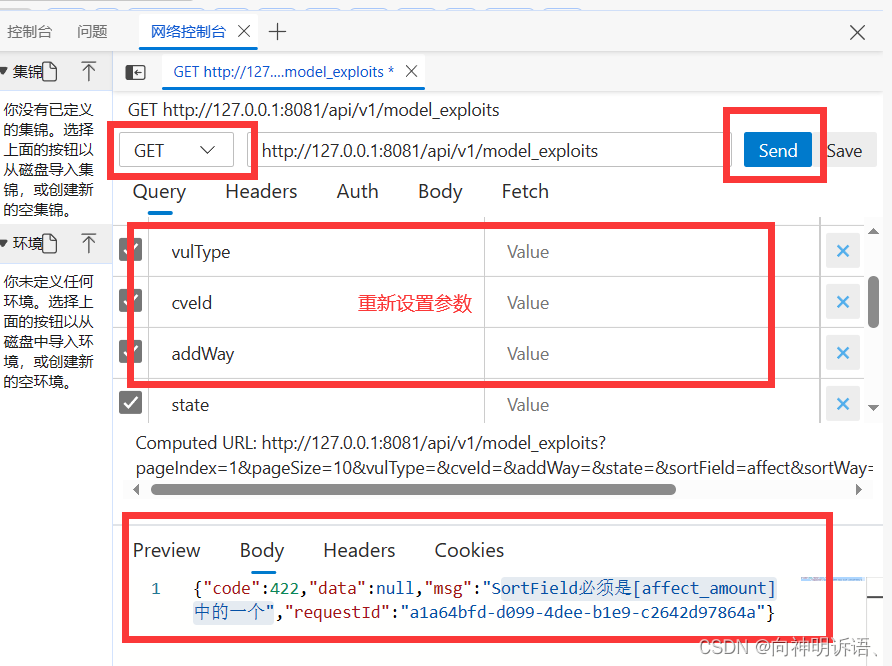
优点 可以不用设置Cookie或者Token&#xff0c;只设置参数进行重发接口测试API 使用Microsoft Rdge浏览器 F12——然后点击网络——在页面点击发起请求——然后选择要重发的请求右键选择Edit And Resend——在网络控制台设置自己要设置的参数去测试自己写的功能

【C++初阶】STL之学习string的用法

目录 前言&#xff1a;一、认识下string1.1 什么是string1.2 为什么要有string 二、string 类的接口使用2.1 初始化与析构2.1.1 初始化2.1.2 析构 2.2 容量操作2.2.1 长度大小——size和length2.2.2 空间总大小——capacity2.2.3 判空——empty2.2.4 清空——clear2.2.5 预留空…

使用v-md-editor开发sql查看器--实战

v-md-editor markdown编辑器 文档&#xff1a;https://code-farmer-i.github.io/vue-markdown-editor/zh/ echo 创建一个空目录&#xff0c;使用vscode打开此空目录&#xff0c;进入终端&#xff0c;输入如下命令 npm create vitelatest . -- --template vue echo 选择 vue 和 …

Linux:gdb调试器的解析+使用(超详细版)

Linux调试器-gdb 背景&#xff1a; 程序的发布方式有两种&#xff0c;debug模式和release模式 debug模式&#xff1a;可以被调试&#xff1b; release模式&#xff1a;不可以被调试。 为什么需要debuy和release这两个模式呢&#xff1f; 答&#xff1a;程序员在开发的时候需要…

git提交报错error: failed to push some refs to ‘git url‘

1.产生错误原因 想把本地仓库提交到远程仓库&#xff0c;报错信息如下 git提交报错信息 error: src refspec master does not match any error: failed to push some refs to git url 错误原因&#xff1a; 我们在创建仓库的时候&#xff0c;都会勾选“使用Reamdme文件初始化…

论文导读 | 10月专题内容精选:人的预测

编者按 本次论文导读&#xff0c;编者选择了10月份OR和MS上与"人的预测"有关的三篇文章&#xff0c;分别涉及群体智慧的提取&#xff0c;个体序列预测的评估&#xff0c;以及决策者对风险的扭曲感知在分布式鲁棒优化中的应用。其中&#xff0c;从基于"生成式可能…

【LeetCode】挑战100天 Day14(热题+面试经典150题)

【LeetCode】挑战100天 Day14&#xff08;热题面试经典150题&#xff09; 一、LeetCode介绍二、LeetCode 热题 HOT 100-162.1 题目2.2 题解 三、面试经典 150 题-163.1 题目3.2 题解 一、LeetCode介绍 LeetCode是一个在线编程网站&#xff0c;提供各种算法和数据结构的题目&…

用SOLIDWORKS画个高尔夫球,看似简单的建模却大有学问

SOLIDWORKS软件提供了大量的建模功能&#xff0c;如果工程师能灵活使用这些功能&#xff0c;就可以绘制得到各式各样的模型&#xff0c;我们尝试使用SOLIDWORKS绘制高尔夫球模型&#xff0c;如下图所示。 为什么选用solid works进行建模&#xff1f; solid works是一款功能强大…

N-134基于java实现捕鱼达人游戏

开发工具eclipse,jdk1.8 文档截图&#xff1a; package com.qd.fish;import java.awt.Graphics; import java.io.File; import java.util.ArrayList; import java.util.List;import javax.imageio.ImageIO;public class Fishes {//定义一个集合来管理鱼List<Fish> fish…

vue005——vue组件入门(非单文件组件和单文件组件)

一、非单文件组件 1.1、单文件组件的使用 1.1.1、局部注册 1、第一步&#xff1a;创建school组件 2、第二步&#xff1a;注册组件&#xff08;局部注册&#xff09; 3、第三步&#xff1a;使用组件&#xff08;编写组件标签&#xff09; <!DOCTYPE html> <html>…

VBA即用型代码手册之工作薄的关闭保存及创建

我给VBA下的定义&#xff1a;VBA是个人小型自动化处理的有效工具。可以大大提高自己的劳动效率&#xff0c;而且可以提高数据的准确性。我这里专注VBA,将我多年的经验汇集在VBA系列九套教程中。 作为我的学员要利用我的积木编程思想&#xff0c;积木编程最重要的是积木如何搭建…

【教学类-06-07】20231124 (55格版)X-X之间的加法、减法、加减混合题

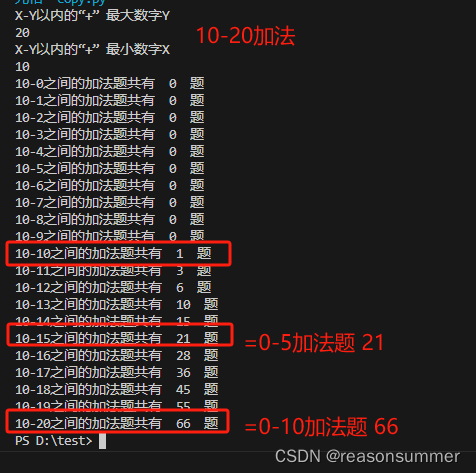
背景需求 在大四班里&#xff0c;预测试55格“5以内、10以内、20以内的加法题、减法题、加减混合题”的“实用性”。 由于只打印一份20以内加法减法混合题。 “这套20以内的加减法最难”&#xff0c;我询问谁会做&#xff08;摸底幼儿的水平&#xff09; 有两位男孩举手想挑…

pairplot

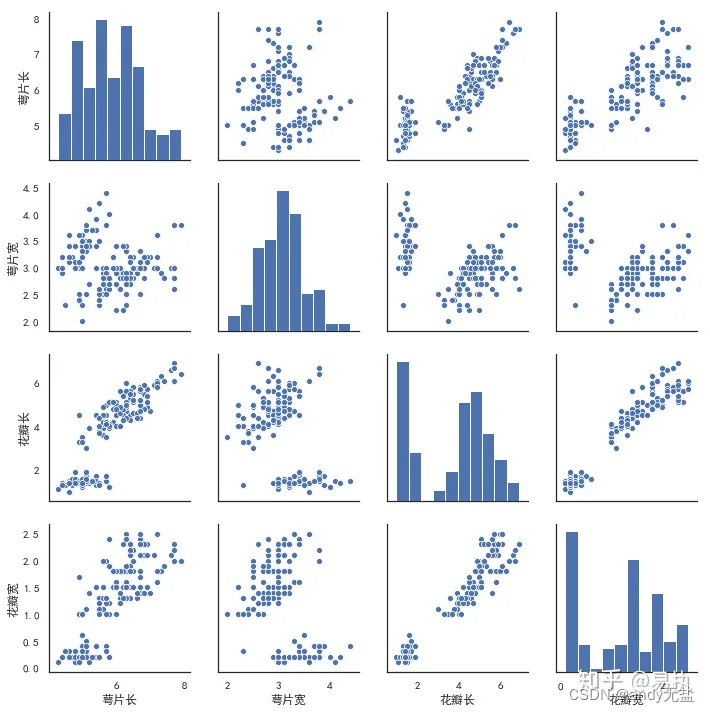
Python可视化 | Seaborn5分钟入门(七)——pairplot - 知乎 (zhihu.com) Seaborn是基于matplotlib的Python可视化库。它提供了一个高级界面来绘制有吸引力的统计图形。Seaborn其实是在matplotlib的基础上进行了更高级的API封装&#xff0c;从而使得作图更加容易&#xff0c;不需…

Mybatis一级缓存和二级缓存原理剖析与源码详解

Mybatis一级缓存和二级缓存原理剖析与源码详解 在本篇文章中&#xff0c;将结合示例与源码&#xff0c;对MyBatis中的一级缓存和二级缓存进行说明。 MyBatis版本&#xff1a;3.5.2 文章目录 Mybatis一级缓存和二级缓存原理剖析与源码详解⼀级缓存场景一场景二⼀级缓存原理探究…

mac VScode 添加PHP debug

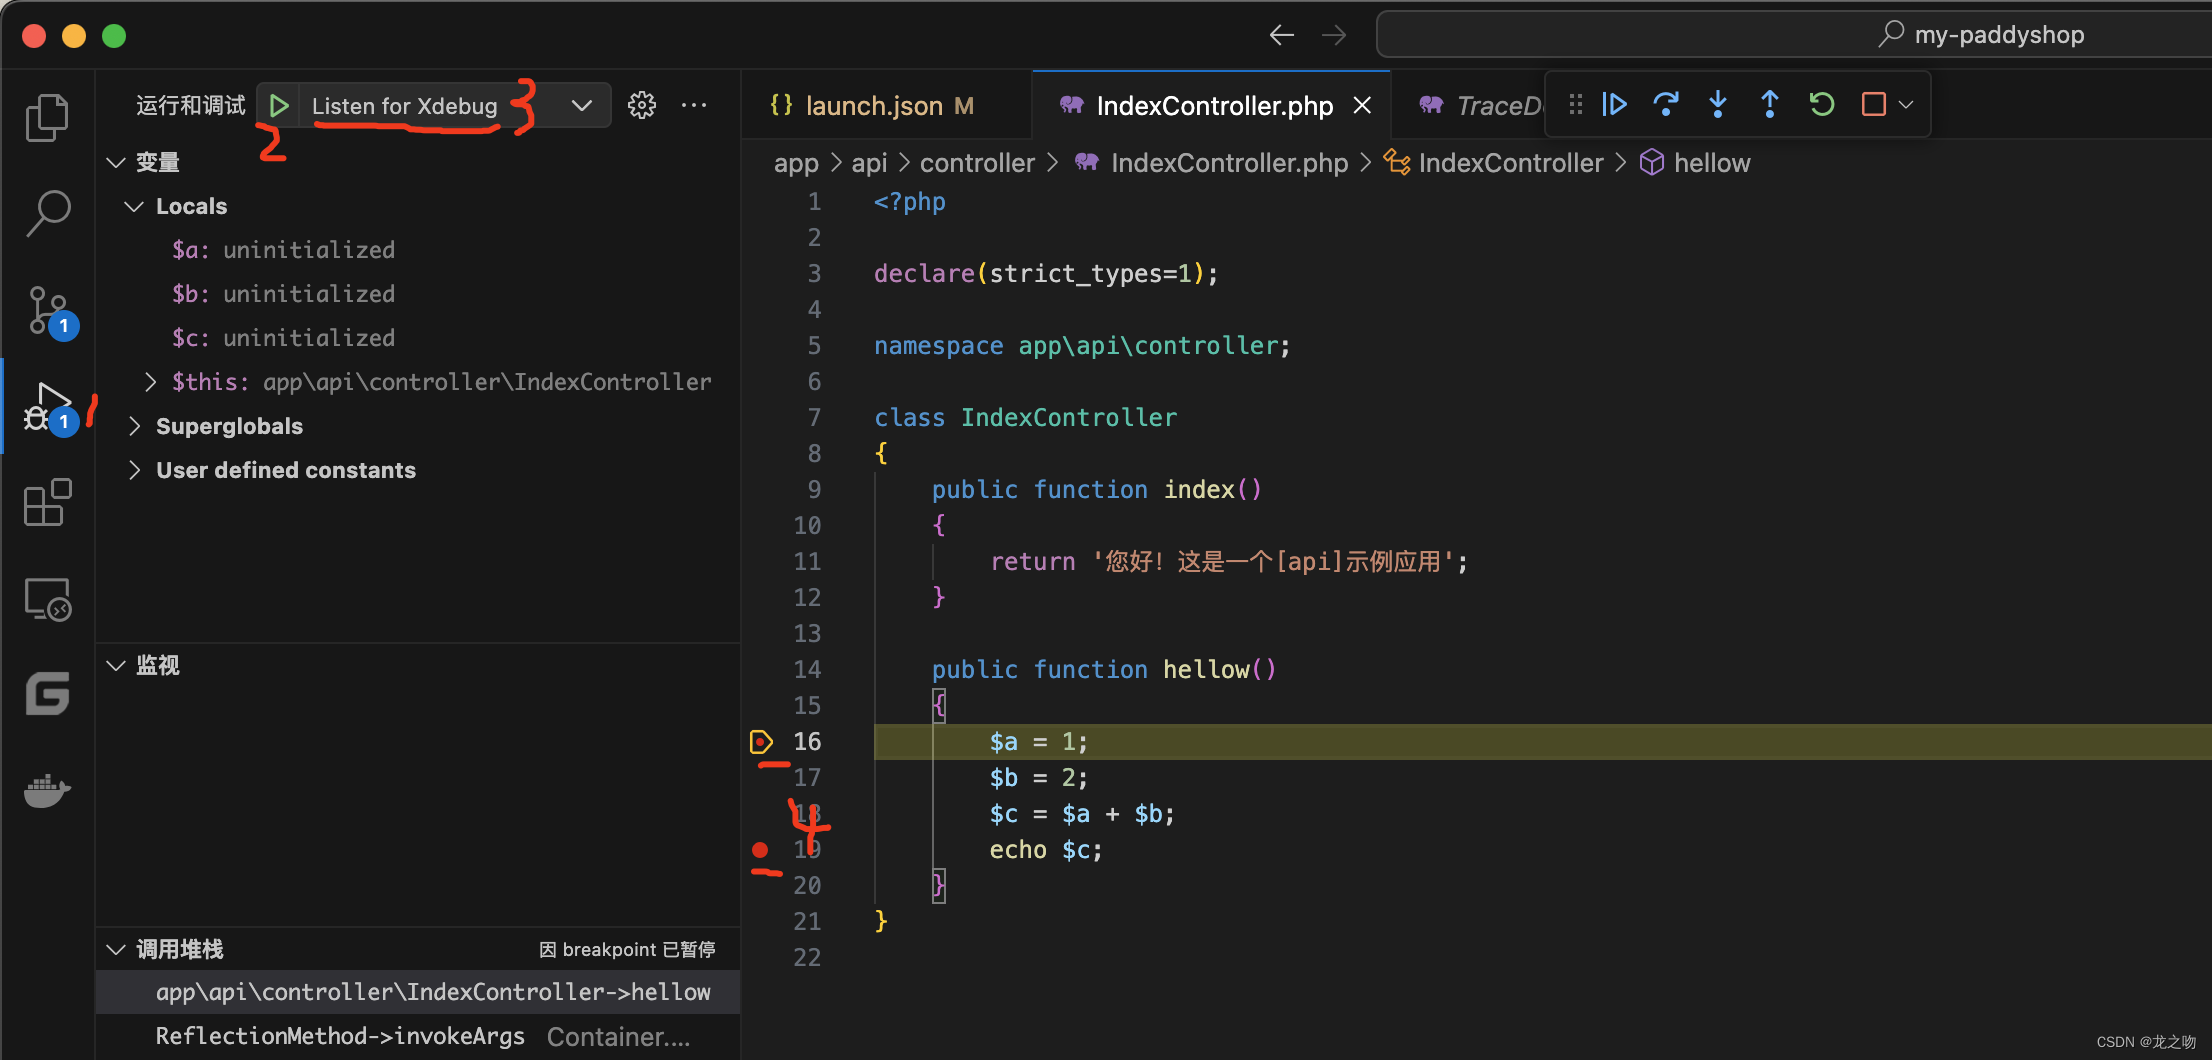
在VScode里面添加PHP Debug 插件,根据debug描述内容操作 1: 随意在index里面写个方法,然后用浏览器访问你的hello 方法,正常会进入下边的内容 class IndexController {public function index(){return 您好&#xff01;这是一个[api]示例应用;}public function hello() {phpin…

【ArcGIS Pro微课1000例】0036:栅格影像裁剪与提取(矢量范围裁剪dem高程数据)

本实验讲解在ArcGIS Pro中进行栅格影像裁剪与提取(矢量范围裁剪dem高程数据)的方法。DEM、DOM、DSM等栅格数据方法也可以实现。 文章目录 一、加载实验数据二、裁剪工具的使用1. 裁剪栅格2. 按掩膜提取一、加载实验数据 加载配套实验数据包中的0036.rar中的dem数据和矢量裁剪…

【21年扬大真题】编写程序,去除掉字符串中所有的星号。

【21年扬大真题】 编写程序&#xff0c;去除掉字符串中所有的星号。 int main() {int i 0;int j 0;char arr[30] {0};char brr[30] {0};printf("请输入一个字符串:");gets(arr);for (i 0;i < 30;i){if (arr[i] ! *) {brr[j] arr[i];j;}}int tmp j;for (i …

RK3399 板子烧录Armbian

本来不想写在CSDN这里的。帮有需要的同学了吧。 板子上面标记型号为&#xff1a; GC18-108-RK3399-V2.0TEAN E120339 94V-OML1没有HDMI接口&#xff08;我也是汗&#xff0c;买的时候注意到&#xff0c;坑了&#xff09;&#xff0c;配置信息。 CPU : RK3399RAMROM: 4G16G无…

高性能计算HPC所面临的问题

一、电力墙问题 能源动力领域关注高性能计算主要关注其能效和功耗等问题&#xff0c;也就是在高性能计算&#xff08;High-Performance Computing, HPC&#xff09;领域中&#xff0c;所谓的"电力墙"&#xff08;Power Wall&#xff09;&#xff0c;电力墙是一个描述…

ddns-go部署在linux虚拟机

ddns-go部署ubuntu1804 1.二进制部署 1.虚拟机部署 1.下载linux的x86二进制包 wget https://github.com/jeessy2/ddns-go/releases/download/v5.6.3/ddns-go_5.6.3_linux_x86_64.tar.gz2.解压 tar -xzf ddns-go_5.6.3_linux_x86_64.tar.gz3.拷贝执行文件到PATH下&#xff0c…