chatglm3部署使用
- 1.部署
- 2.使用
- 3.接入微信
- 4.vue前端
1.部署
1.首先去github下载chatglm3代码。Huggingface下载模型一直失败,所以用阿里的魔塔社区下载。
git clone https://github.com/THUDM/ChatGLM3.git
git clone https://www.modelscope.cn/ZhipuAI/chatglm3-6b.git
2.创建虚拟环境并运行
conda create -n glm3 python=3.10
conda activate glm3
pip install -r requirements.txt -i http://pypi.douban.com/simple/ --trusted-host pypi.douban.com
conda install pytorch torchvision torchaudio pytorch-cuda=12.1 -c pytorch -c nvidia#避免之后的错误,torch还是去官网下载自己cuda版本的(我的是12.2)
2.使用
这里我主要试试代码解释器Code Interpreter。
1.使用 Code Interpreter 还需要安装 Jupyter 内核,所以
conda install ipykernel
conda install jupyter
python -m ipykernel install --name “环境名称” --display-name "环境的显示名称"#新创建的python环境写入Jupyter的kernel中
jupyter kernelspec list#查看已添加至Jupyter内核中的环境列表
jupyter kernelspec remove “环境名称”#删除已添加至Jupyter内核中的环境
2.定义模型文件地址
set MODEL_PATH=D:/ChatGLM3-main/model/chatglm3-6b
echo %MODEL_PATH%
set IPYKERNEL=glm3#自定义 Jupyter 内核用glm3环境配置的jupyter
3.运行官网的示例
cd D:\ChatGLM3-main\composite_demo
streamlit run main.py
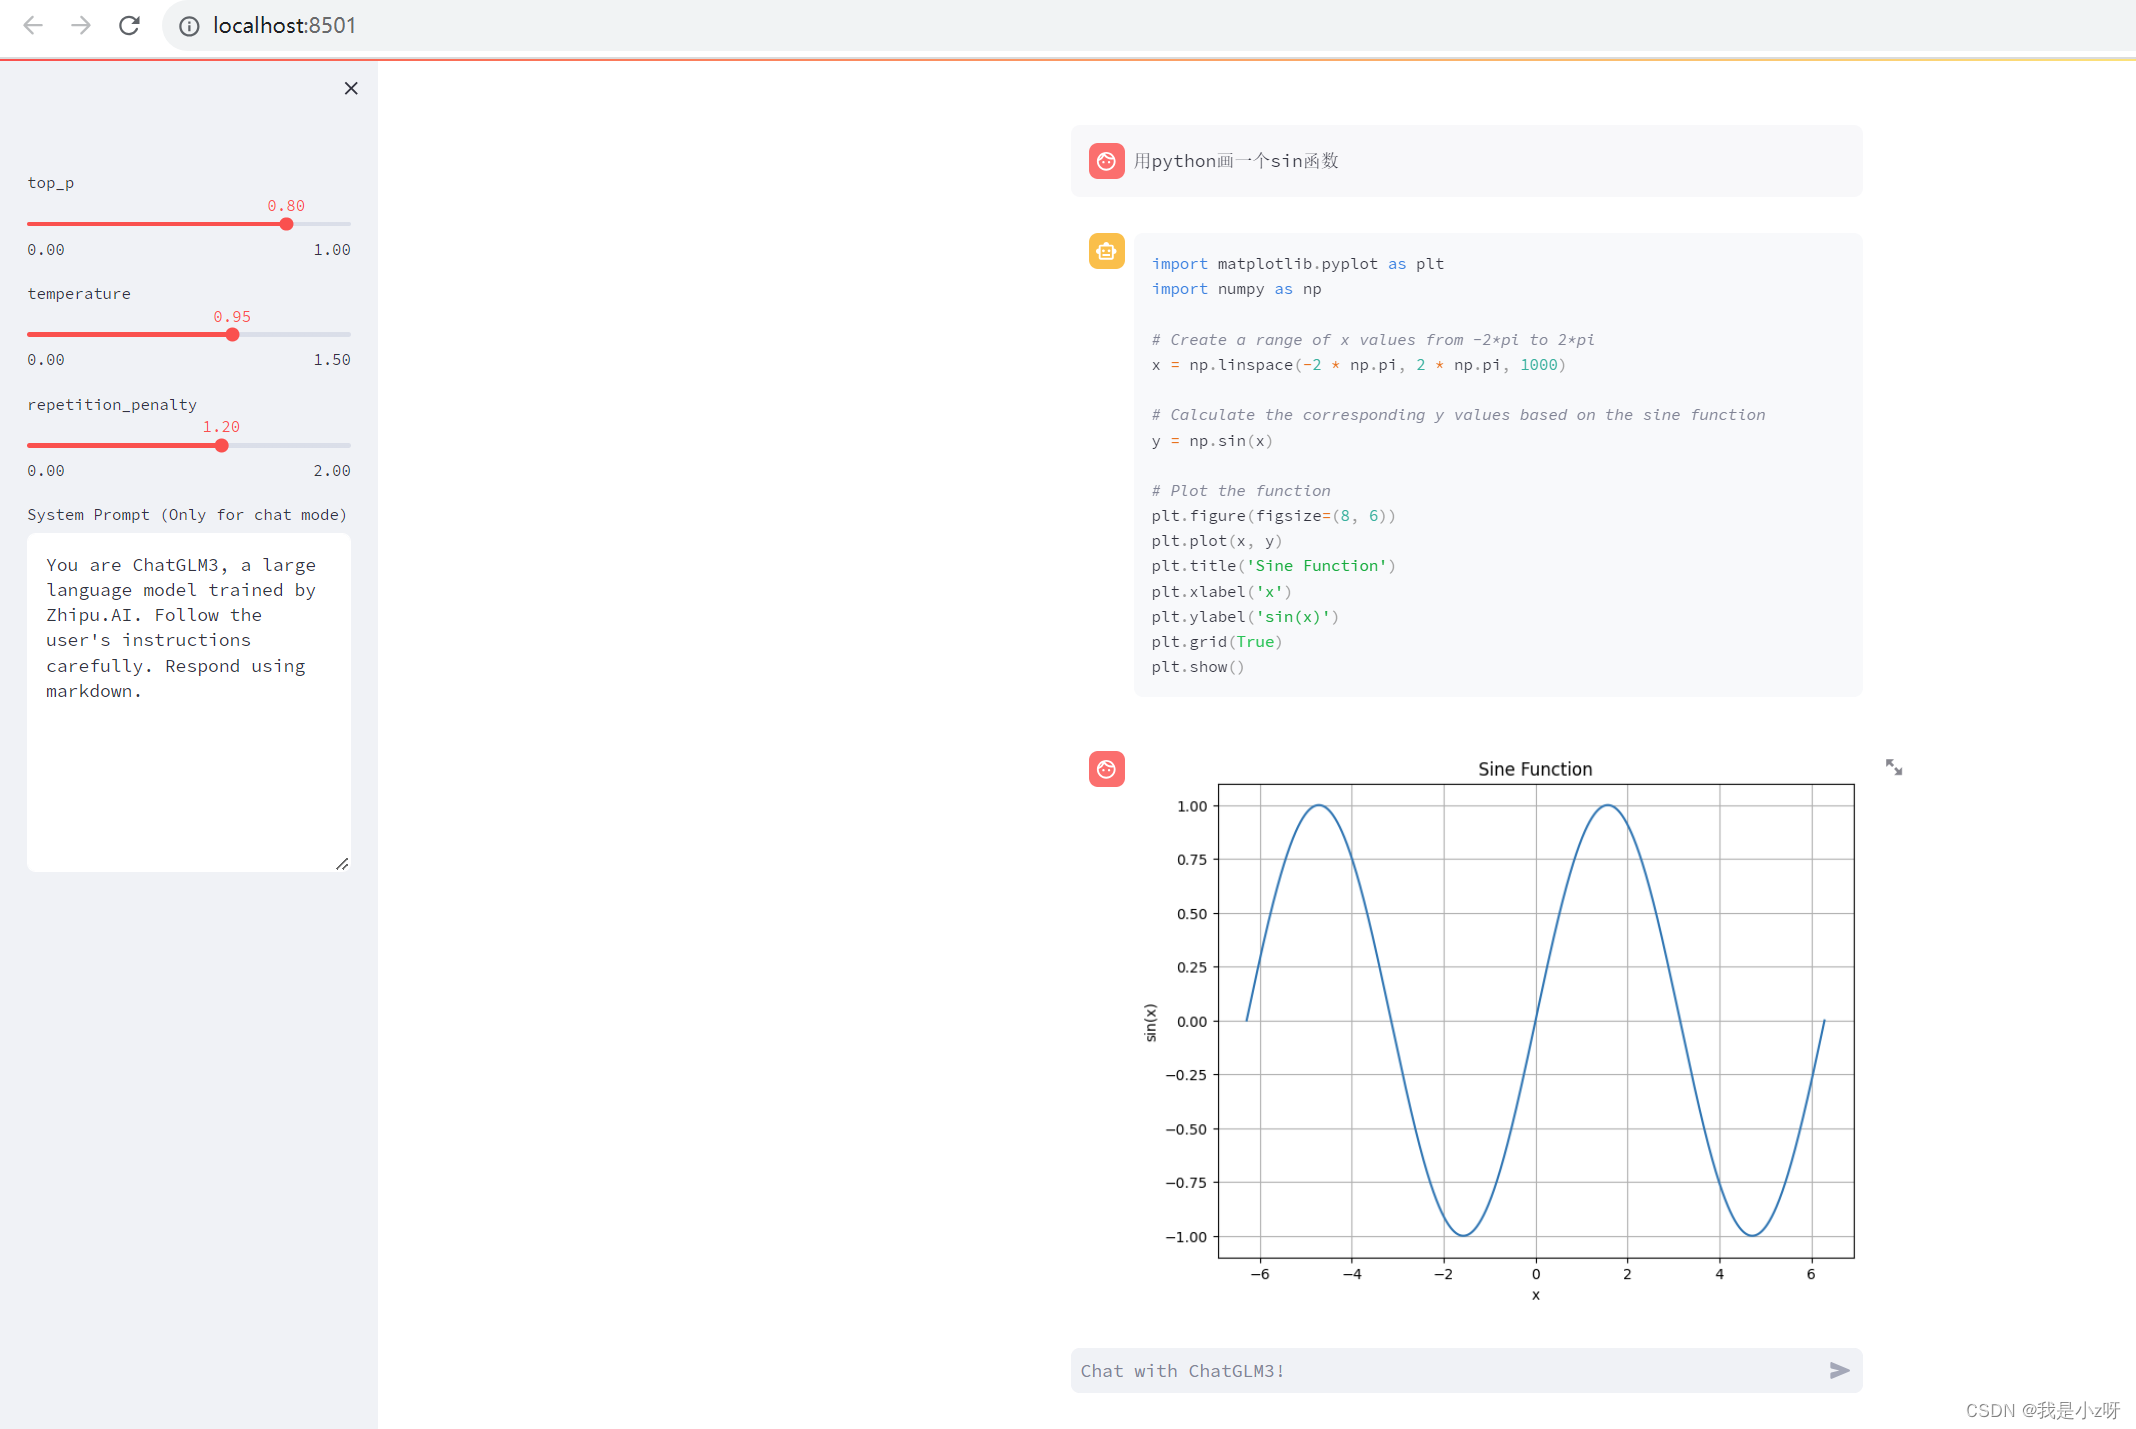
4.效果
这里我踩的一个坑是没有自定义jupyter内核用glm3环境设置的,所以一直是有代码没图像。
3.接入微信
修改https://github.com/zhayujie/chatgpt-on-wechat项目,模型地址换成本地的glm3,运行app文件即可,这里主要是环境的问题配了好久,之后会把环境文件导出附上。

4.vue前端
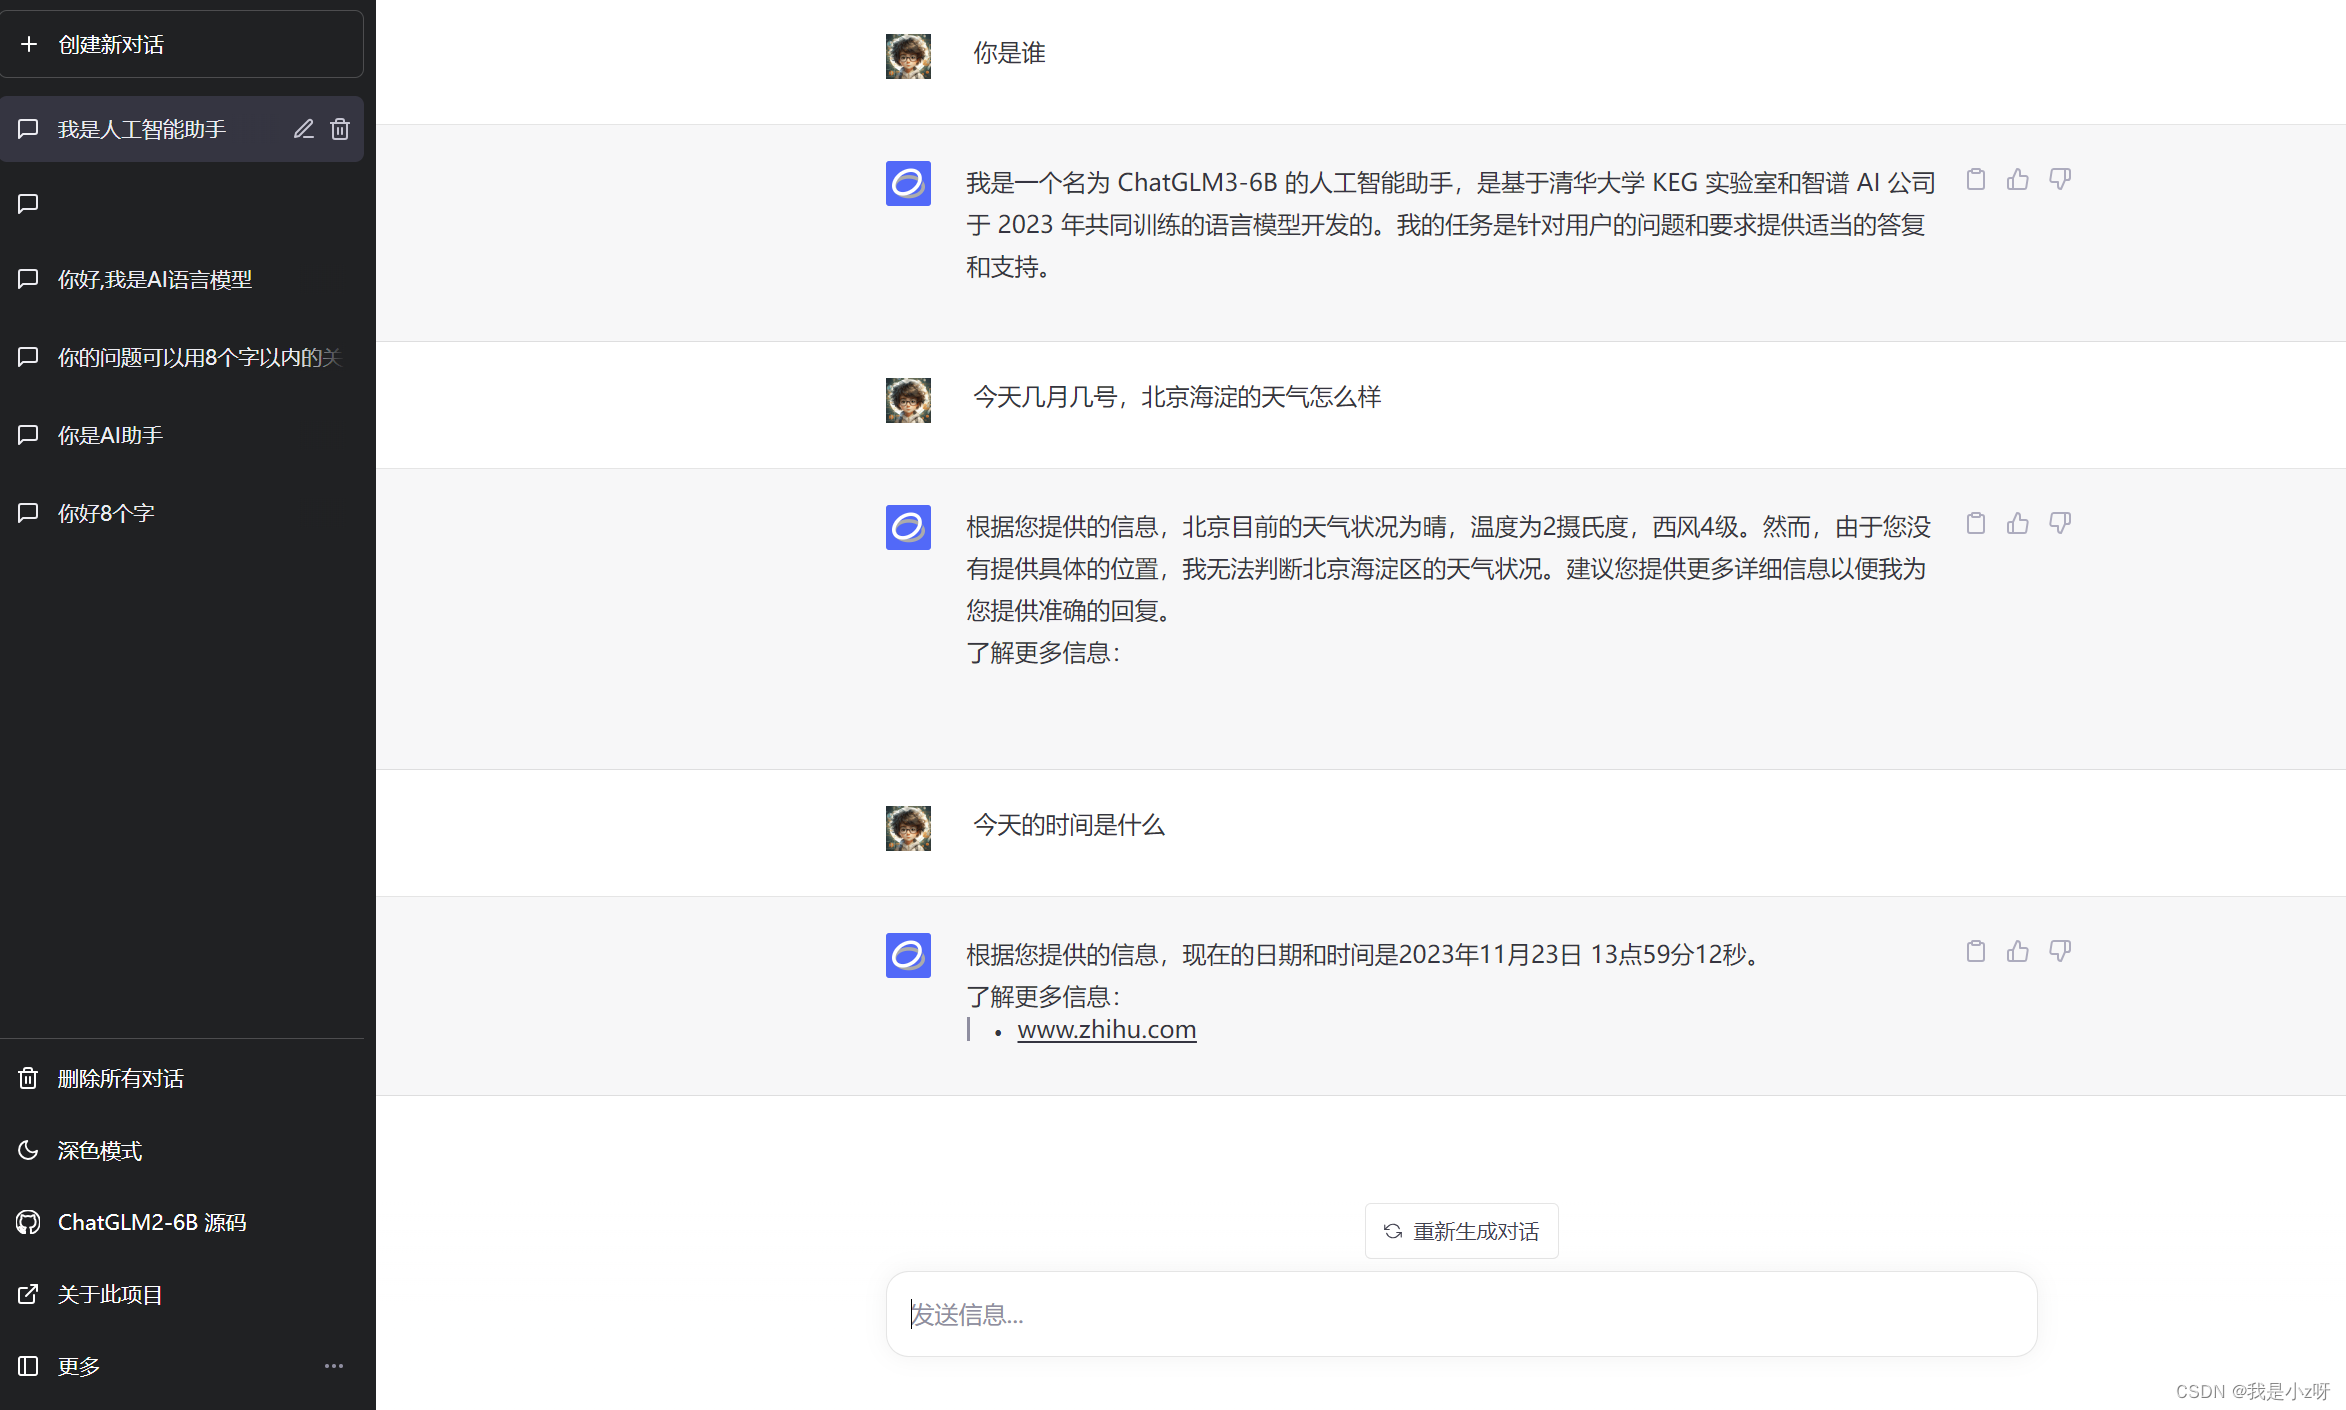
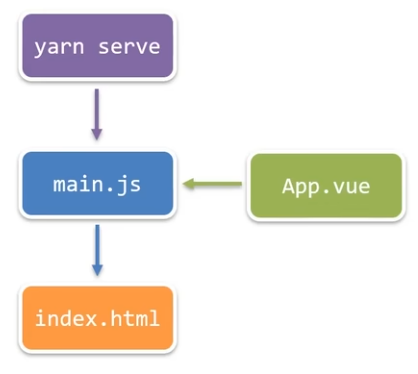
利用https://github.com/LemonQu-GIT/ChatGLM-6B-Engineering项目,这里面有连接互联网,查询天气和思维导图等很多功能,这里面遇到的问题是把前端vue里的process.env.VUE_APP_API替换成"http://127.0.0.1:8000",前端是8080端口;
api用的8000端口,所以在front_end.py最后一行改为uvicorn.run(app, host="0.0.0.0", port=8000)
然后后端模型用的8001端口;所以后端工程里面的config文件里面修改:
"API_host": "http://0.0.0.0",
"model": "D:/ChatGLM3_main/model/chatglm3_6b",
"port": 8001,
"host": "http://127.0.0.1"
然后还有一个问题是requests异步访问有问题,所以用了httpx,修改front_end.py里面的@app.get(“/api/chat”)
url = f"{get_config()['basic']['host']}:{get_config()['basic']['port']}/stream"
async with httpx.AsyncClient() as client:
	try:
		response = await client.post(url, json=payload, timeout=30)
		async for chunk in response.aiter_text():
			await asyncio.sleep(0.1)
			yield chunk
		# 处理正常响应
	except httpx.ReadTimeout:
		# 处理超时异常,可以进行重试或返回适当的错误消息
		print("Request timed out. Please try again.")
return StreamingResponse(chat(prompt), media_type="text/event-stream")
最后运行文件
npm run dev#运行前端vue
python api.py#运行后端模型的chat接口
python front_end.py#运行后端和前端连接的api接口
效果如下:
