vue安装three.js,并创建第一个入门场景
安装three.js
npm install --save three
引入three.js
import * as THREE from 'three'
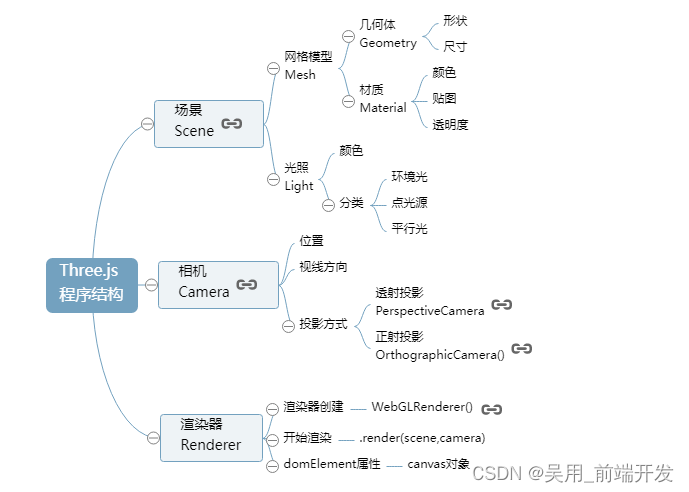
three.js结构
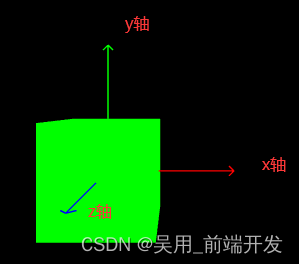
three.js坐标
创建一个场景
scene场景,camera相机,renderer渲染器
- 创建一个场景
this.scene = new THREE.Scene()
- 创建一个透视摄像机
this.camera = new THREE.PerspectiveCamera(75,800/800,0.1,700)
PerspectiveCamera:
参数一:视野角度,无论在什么时候,你所能再显示器上看到的场景的范围,单位是角度。
参数二:长宽比,一个物体的宽除以她的高
参数三:近截面和远截面,当某些部分比摄像机的远截面或者近截面近的时候,该部分将不会被渲染到场景中。
- 创建渲染器
renderer = new THREE.WebGLRenderer();
- 创建渲染器的宽高
renderer.setSize( 800, 800 );
- 创建一个立方体物体
const geometry = new THREE.BoxGeometry( 1, 1, 1 );
BoxGeometry(x轴上的宽度,y轴上的高度,z轴上的深度) 默认为1
- 确定立方体的材质和颜色 MeshBasicMaterial材质,颜色绿色
const material = new THREE.MeshBasicMaterial( { color: 0x00ff00 } );
- 创建一个网格
表示基于以三角形为polygon mesh(多边形网格)的物体的类。
同时也作为其他类的基类 Mesh( geometry :
BufferGeometry, material : Material ) geometry ——
(可选)BufferGeometry的实例,默认值是一个新的BufferGeometry。 material ——
(可选)一个Material,或是一个包含有Material的数组,默认是一个新的MeshBasicMaterial。
mesh = new THREE.Mesh( geometry, material );
- 插入元素,执行渲染操作
 //元素中插入canvas对象
   container.appendChild(this.renderer.domElement);
- WebGL兼容性检查(WebGL compatibility check)
某些设备以及浏览器直到现在仍然不支持WebGL。
以下的方法可以帮助你检测当前用户所使用的环境是否支持WebGL,如果不支持,将会向用户提示一条信息。
// webGL兼容
import WebGL from 'three/examples/jsm/capabilities/WebGL.js';
if ( WebGL.isWebGLAvailable() ) {
  this.animate();
} else {
 const warning = WebGL.getWebGLErrorMessage();
 document.getElementById( 'container' ).appendChild( warning );
}
- 执行旋转函数,执行渲染
 animate() {
   requestAnimationFrame( this.animate );
   this.mesh.rotation.x += 0.01;
   this.mesh.rotation.y += 0.01;
   this.renderer.render( this.scene, this.camera );
 }
- 加入坐标辅助器
// 看的方向
this.camera.lookAt(0,0,0)
//添加世界坐标辅助器
const axesHelper = new THREE.AxesHelper(3)
this.scene.add( axesHelper );
- 引入并加入轨道控制器,并设置阻尼效果
// 轨道控制器
import { OrbitControls } from "three/examples/jsm/controls/OrbitControls.js"
//添加轨道控制器
this.controls = new OrbitControls(this.camera,this.renderer.domElement)
//设置带阻尼的惯性
this.controls.enableDamping = true
//设置阻尼系数,惯性的大小
this.controls.dampingFactor = 0.05
//设置自动旋转
this.controls.autoRotate = true
//更新
this.controls.update()
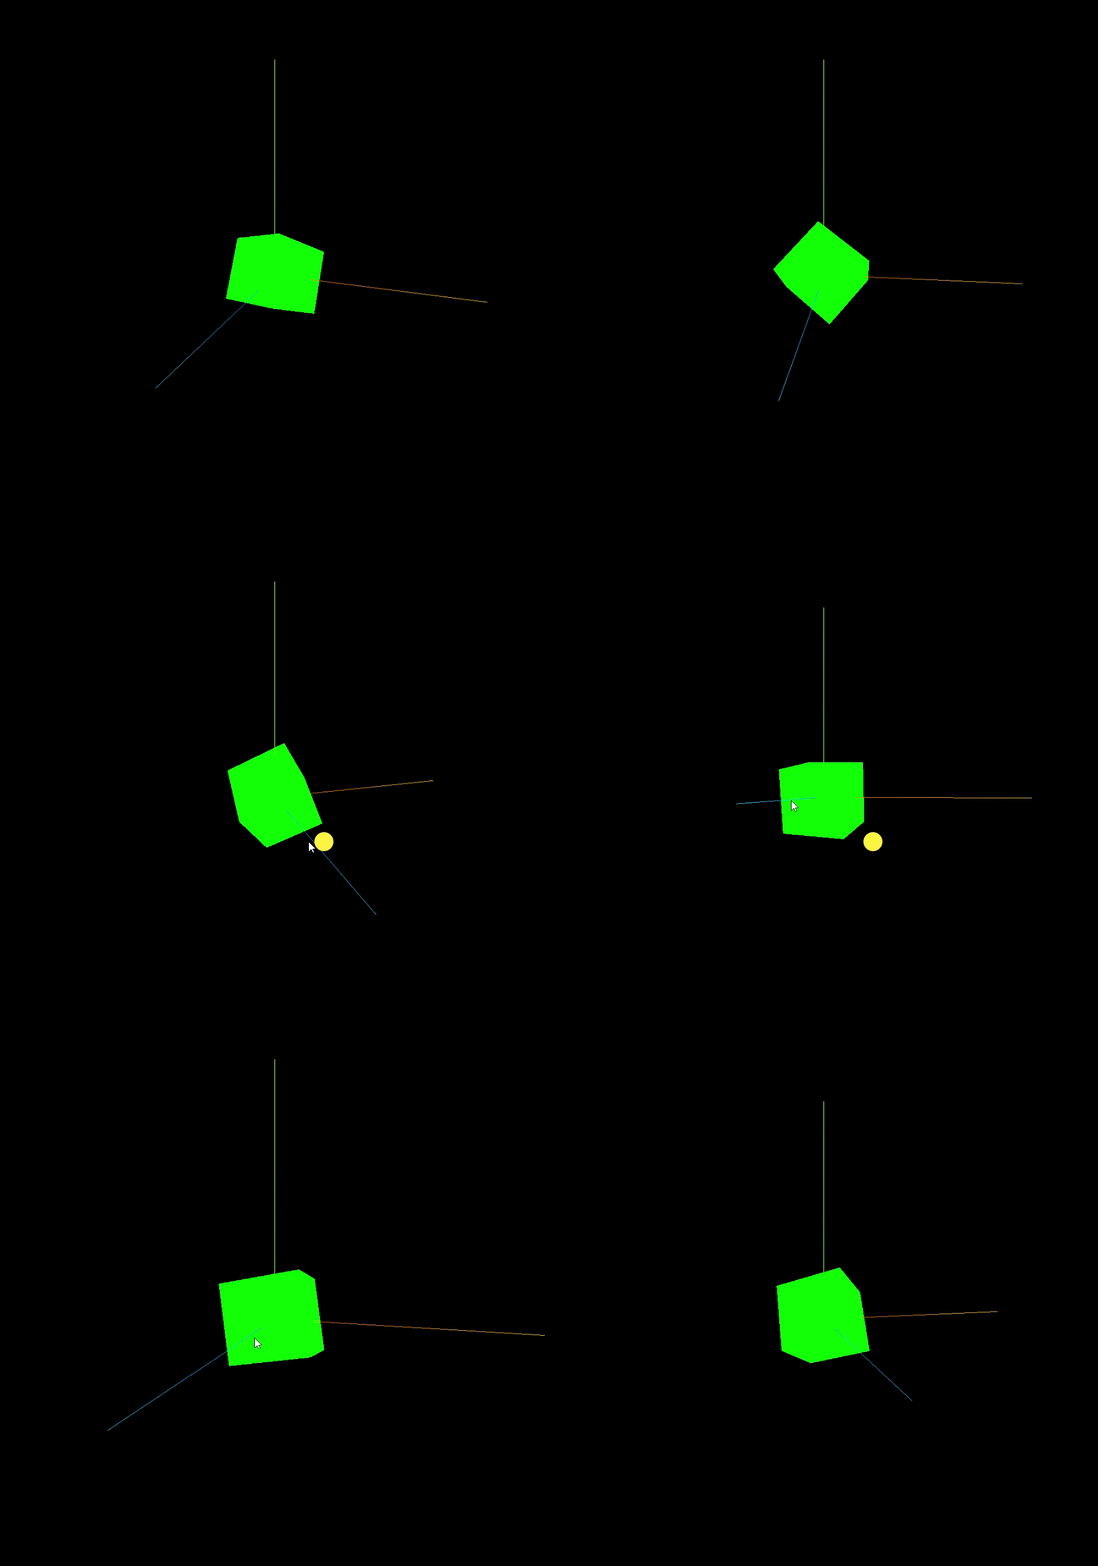
运行效果:
完整代码:
<template>
  <div id="container">

  </div>
</template>

<script>
import * as THREE from 'three'
// webGL兼容
import WebGL from 'three/examples/jsm/capabilities/WebGL.js';
// 轨道控制器
import { OrbitControls } from "three/examples/jsm/controls/OrbitControls.js"
export default {
  name: 'HomeView',
  components: {
  },
  mounted(){
    this.init()
  },
  data(){
    return {
      camera: null,  //相机对象
      scene: null,  //场景对象
      renderer: null,  //渲染器对象
      mesh: null,  //网格模型对象Mesh
      controls:null, //轨道控制器
    }
  },
  methods:{
    init(){
      let container = document.getElementById('container');
      //创建一个场景
      this.scene = new THREE.Scene()
      //透视摄像机
      this.camera = new THREE.PerspectiveCamera(75,1000/1000,0.1,700)
      //创建渲染器
      this.renderer = new THREE.WebGLRenderer();
      //渲染器尺寸
      this.renderer.setSize( 1000, 1000 );
      //创建一个立方体
      const geometry = new THREE.BoxGeometry( 1, 1, 1 );
      //我们需要给它一个MeshBasicMaterial材质,来让它有绿色颜色
      const material = new THREE.MeshBasicMaterial( { color: 0x00ff00 } );
      //需要一个 Mesh(网格)
      this.mesh = new THREE.Mesh( geometry, material );
      // 添加物体到网格
      this.scene.add( this.mesh );
      // 设置相机位置
      this.camera.position.z = 5;
      this.camera.position.y =2;
      this.camera.position.x = 2;
      // 看的方向
      this.camera.lookAt(0,0,0)
      //添加世界坐标辅助器
      const axesHelper = new THREE.AxesHelper(3)
      this.scene.add( axesHelper );
      //添加轨道控制器
      this.controls = new OrbitControls(this.camera,this.renderer.domElement)
      //添加阻尼带有惯性
      this.controls.enableDamping = true
      //设置阻尼系数
      this.controls.dampingFactor = 0.05
      //设置自动旋转
      this.controls.autoRotate = true
      //元素中插入canvas对象
      container.appendChild(this.renderer.domElement);
      if ( WebGL.isWebGLAvailable() ) {
        this.animate();
      } else {
        const warning = WebGL.getWebGLErrorMessage();
        document.getElementById( 'container' ).appendChild( warning );
      }
    },
    //旋转起来
    animate() {
      this.controls.update()
      requestAnimationFrame( this.animate );
      this.mesh.rotation.x += 0.01;
      this.mesh.rotation.y += 0.01;
      this.renderer.render( this.scene, this.camera );
    }
  }
}
</script>
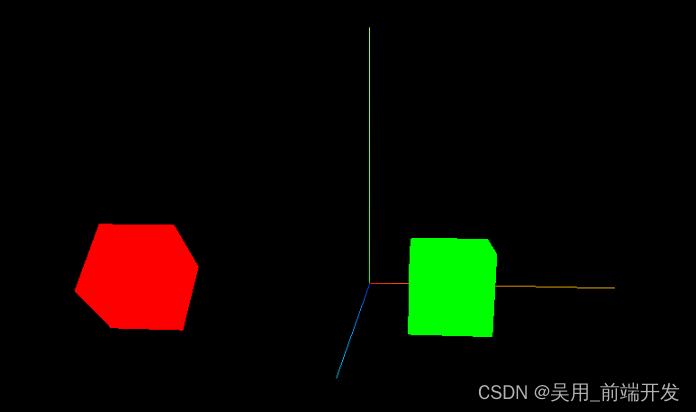
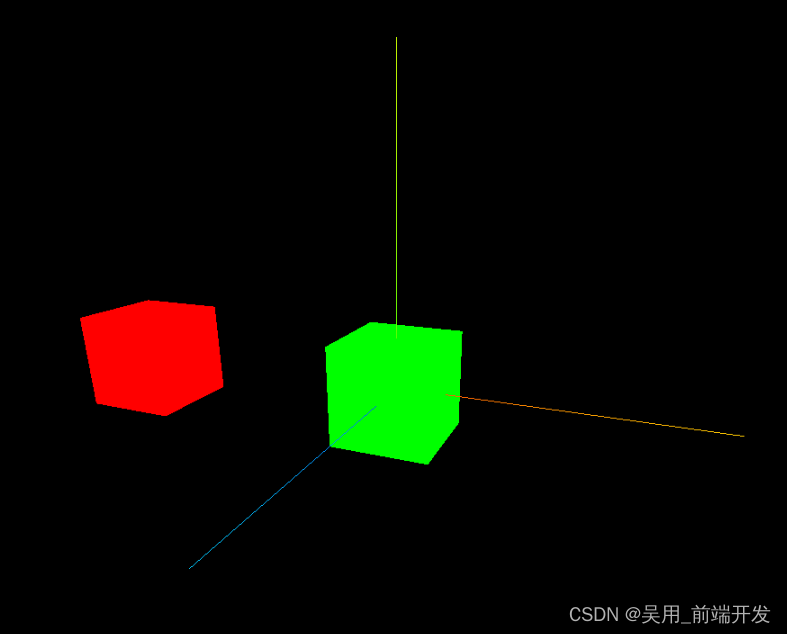
three.js物体位移与父子元素
//子元素材质绿色
const material = new THREE.MeshBasicMaterial( { color: 0x00ff00 } );
//父元素材质红色
const material2 = new THREE.MeshBasicMaterial( { color: "red" } );
this.mesh2 = new THREE.Mesh( geometry, material2 );
this.mesh = new THREE.Mesh( geometry, material );
 //父元素添加子元素
this.mesh2.add(this.mesh)
//设置父元素位置
this.mesh2.position.set(-3,0,0)
//设置子元素位置
this.mesh.position.set(3,0,0)
效果:
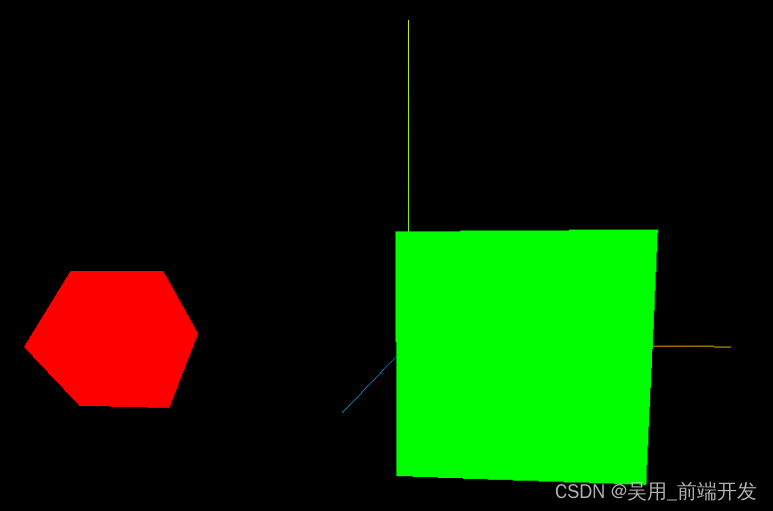
three.js物体的缩放与旋转
物体的局部缩放。默认值是Vector3( 1, 1, 1 )。父元素被放大了,子元素也根着进行放大。
物体的局部旋转,以弧度来表示,欧拉角秒是一个旋转变换,通过指定轴顺序和各个轴上的指定旋转角度来旋转一个物体,对Euler实例进行遍历将按相应的顺序生成她的分量(x,y,z,order)。
也属于局部旋转,跟父元素有关联。会叠加父元素的旋转
Euler(0,1,1,“YXZ”)
x:用弧度表示x轴旋转的量,默认是0
y:用弧度表示y轴旋转的量,默认是0
z:用弧度表示z轴旋转的量,默认是0
order:表示旋转顺序的字符串,默认为’XYZ’(必须是大写)
 //子物体放大两倍
  this.mesh.scale.set(2,2,2)
  //物体绕着X轴旋转45°
  this.mesh.rotation.x = Math.PI / 4
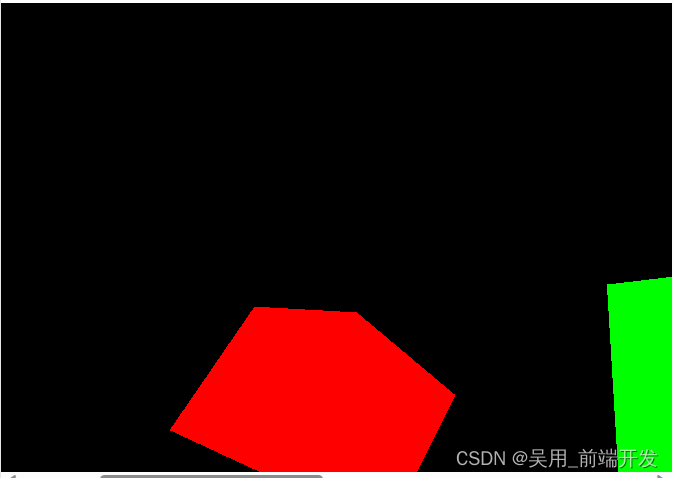
three.js画布自适应窗口变化
当窗口缩小的时候会出现如下效果:
自适应代码,监听窗口变化
 window.addEventListener("resize",()=>{
      console.log("我改变了")
      //重置渲染器宽高比
      this.renderer.setSize(window.innerWidth,window.innerHeight)
      //重置相机宽高比
      this.camera.aspect = window.innerWidth/window.innerHeight
      //更新相机投影矩阵
      this.camera.updateProjectionMatrix()
    })
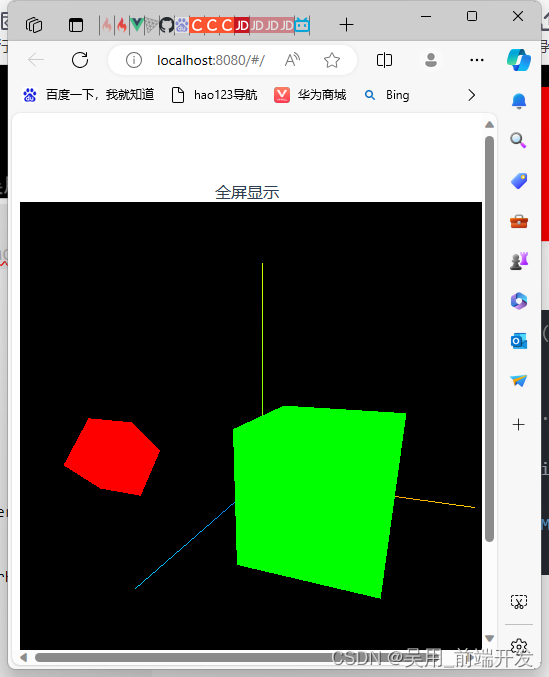
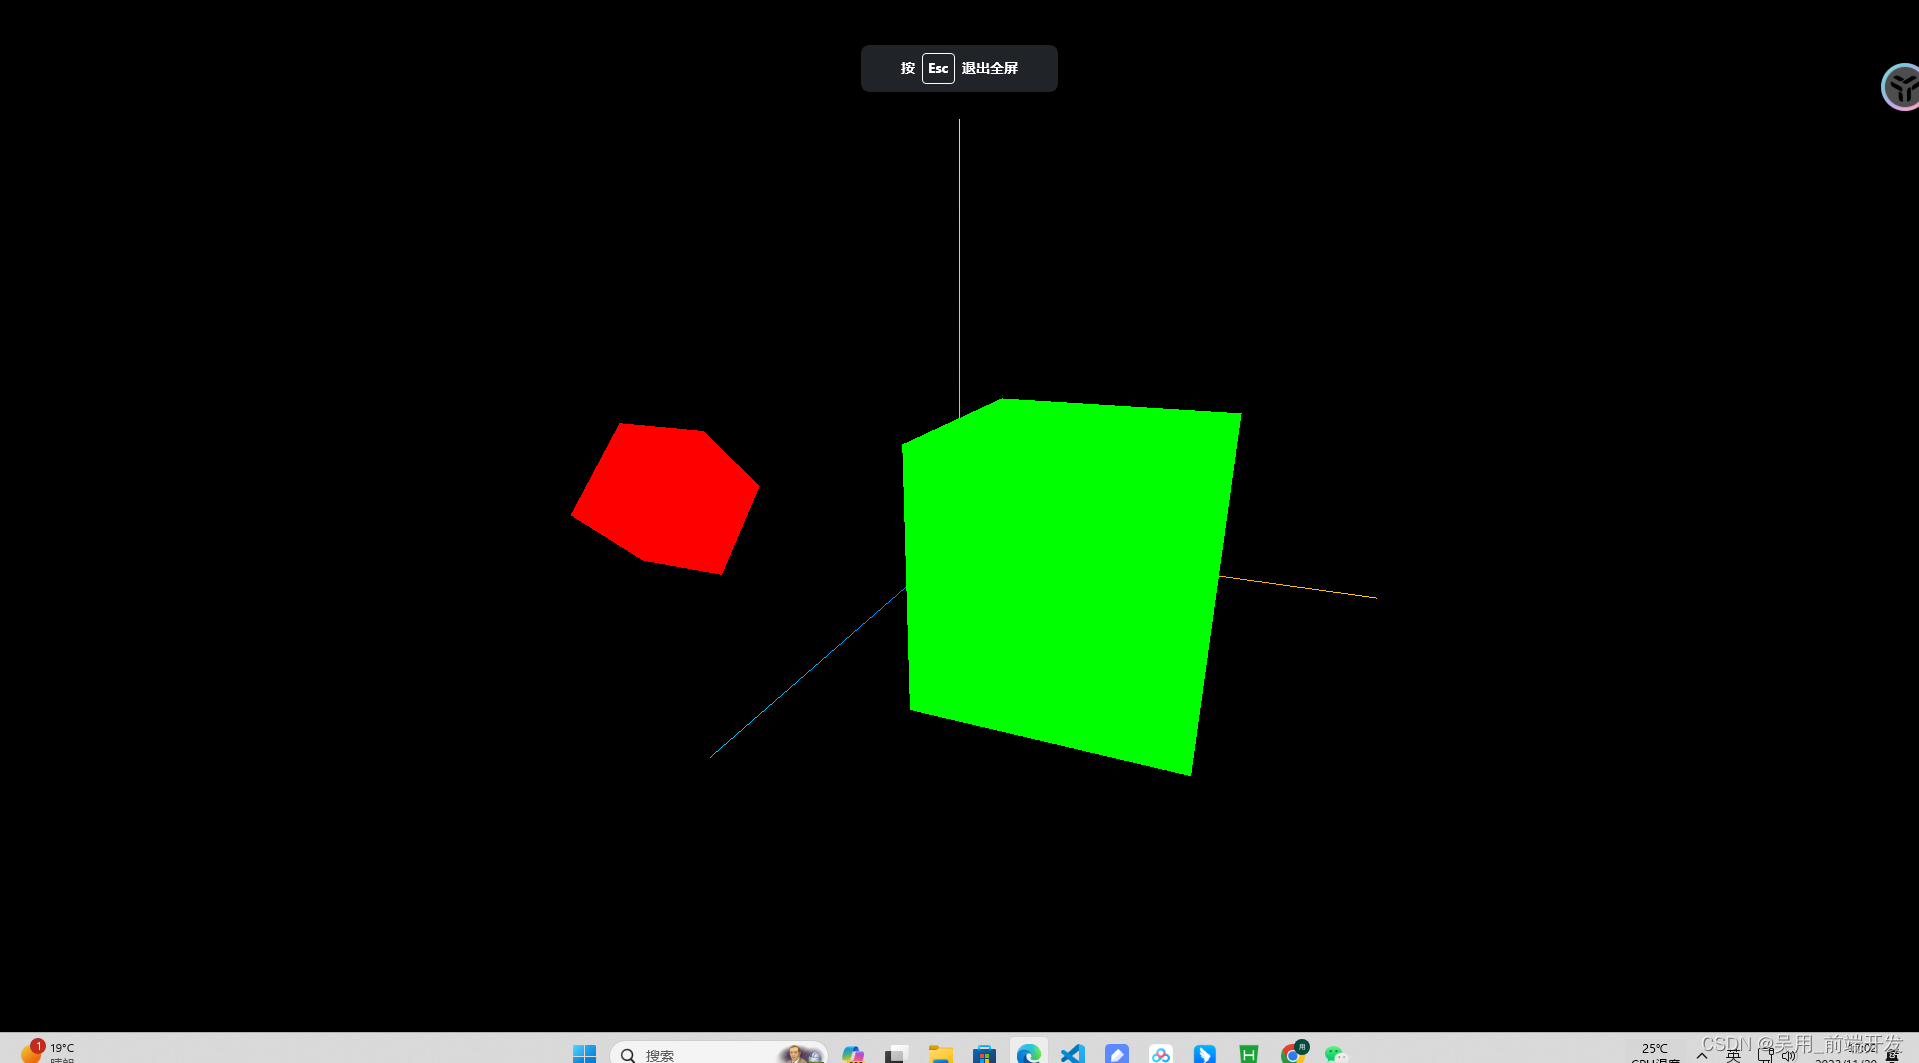
全屏显示,添加一个按钮带有全屏显示
 //全屏
allView(){
   this.renderer.domElement.requestFullscreen()
 },
 //退出全屏
 backAllView(){
   this.renderer.domElement.exitFullscreen()
 },
应用lil-GUI调试开发3D效果
为了能够快速的搭建three.js的交互,three.js社区就出现了lil-gui,语法简介,上手快,主要作用获取一个对象和该对象上的属性名,并根据属性的类型自动生成一个界面组件来操作该属性,使用lil-gui,可以通过界面组件来控制场景中的物体,提高调试效率。
方便编写代码时对相机,灯光等对象的参数进行实时调节,使用lil-GUI库,可以快速创建控制三维场景的UI交互界面,threejs三维空间很多参数都需要通过GUI的方式调试出来。
导入GUI
//导入GUI
import { GUI } from 'three/examples/jsm/libs/lil-gui.module.min.js';
//使用GUI
const gui = new GUI()
