参考:
Carla系列——4.Cara模拟器添加语义分割相机(Semantic segmentation camera)
Carla自动驾驶仿真五:opencv绘制运动车辆的boudingbox(代码详解)
Carla官网Bounding Boxes
Carla官网创建自定义语义标签
一、模型导入
将建好的模型导入Carla中,放入D:\carla\Unreal\CarlaUE4\Content\Carla\Static\ [TagName]文件夹下,可以自定义标签(后面会写操作),也可以直接放入已有文件夹中(即标签)。
在Carla的这个文件夹中,每个文件夹代表一个标签,一个标签对应语义分割图像中的一个颜色。
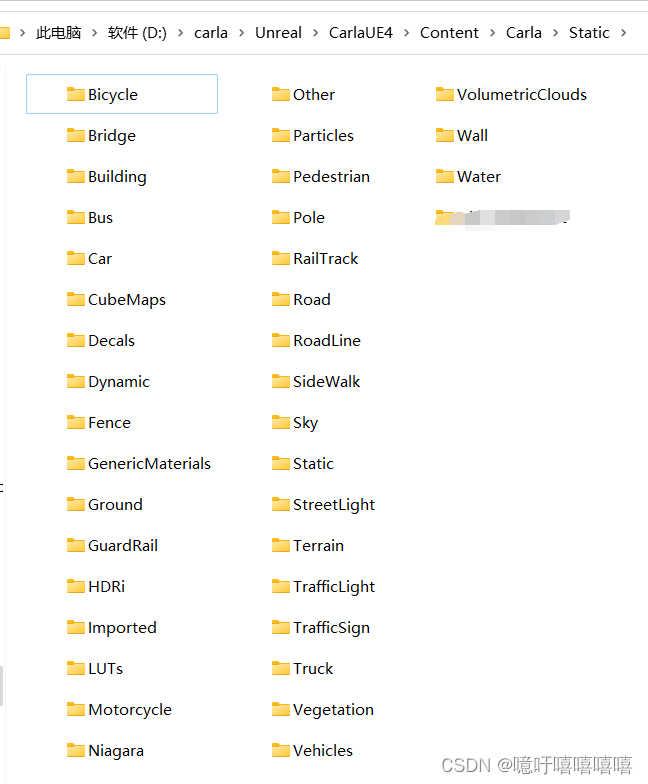
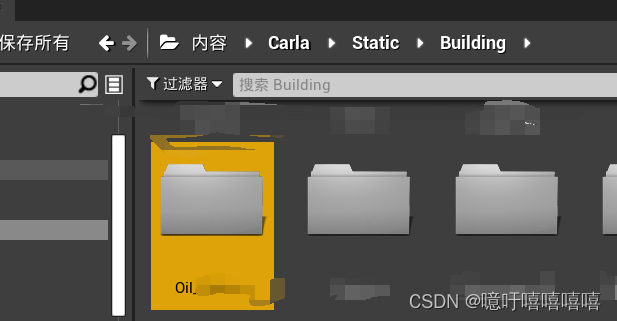
例如:我将我的模型放在了D:\carla\Unreal\CarlaUE4\Content\Carla\Static\Building\Oil _\下面:
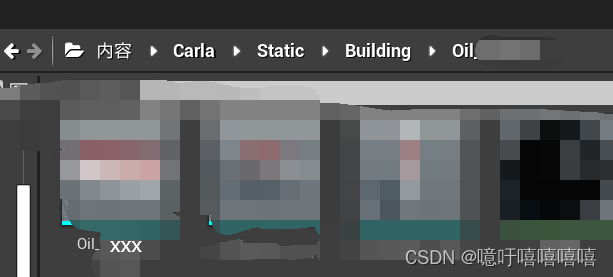
二、将模型加入PropFactory蓝图
在D:\carla\Unreal\CarlaUE4\Content\Carla\Blueprints\Props\中打开PropFactory蓝图,找到DefinitionMaps数组,在该数组中添加新的条目,填入导入的模型所在的路径位置和相关信息。
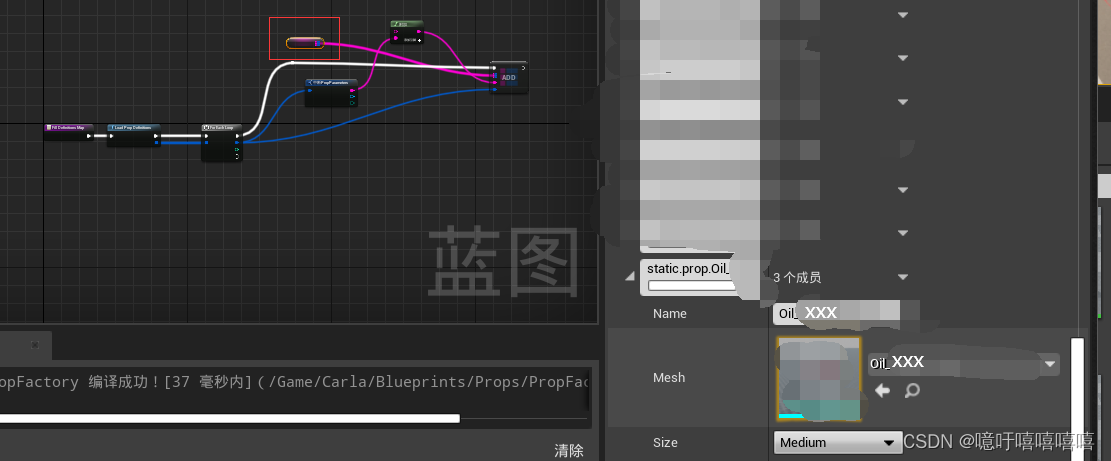
在D:\carla\Unreal\CarlaUE4\Content\Carla\Config\Default.Package.json中,填入新模型的信息。

三、添加自定义的语义标签类别
1.创建新的语义ID
打开 D:\carla\LibCarla\source\carla\rpc\ObjectLabel.h 文件,在枚举末尾添加新标记,使用与其他标记相同的格式。

2.为资源创建 UE 文件夹
打开虚幻引擎编辑器,然后转到 D:\carla\Unreal\CarlaUE4\Content\Carla\Static。创建一个名为您的标签的新文件夹。
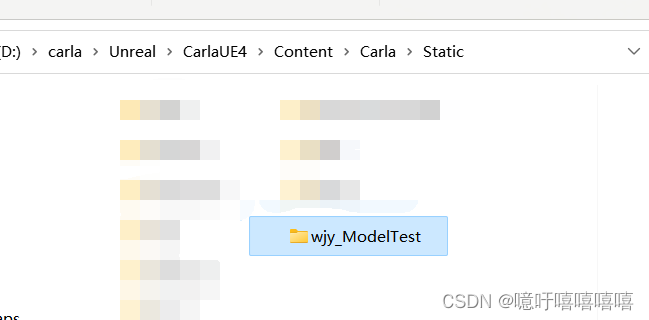
3.在UE和代码标签之间创建双向对应关系
在 D:\carla\Unreal\CarlaUE4\Plugins\Carla\Source\Carla\Game 中打开 Tagger.cpp。
(1)转到 GetLabelByFolderName,在列表末尾添加您的标记。要比较的字符串中使用的 UE 文件夹的名称,因此此处使用完全相同的名称。
 (2)转到 GetTagAsString 中。在交换机末尾添加新标记。
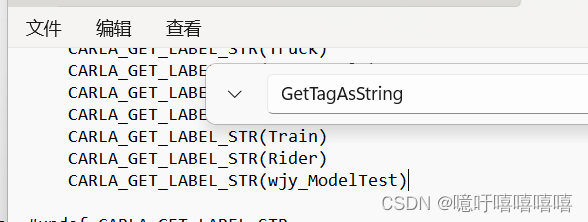
4.定义颜色代码
打开 D:\carla\LibCarla\source\carla\image\CityScapesPalette.h ,在数组末尾添加新标记的颜色代码。
上面一行的末尾记得加逗号,在这里我将颜色定义为了大红色

新的语义标记已准备就绪,可供使用。只有存储在标签的 UE 文件夹中的网格才会被标记为这样。将相应的网格移动或导入到新文件夹,以便正确标记。
5.向 carla 添加标签
此步骤与语义分割没有直接关系。但是,这些标记可用于筛选 carla 中的边界框查询。为此,必须将标签添加到 carla PythonAPI 中的 CityObjectLabel 枚举。打开 D:\carla\PythonAPI\carla\source\libcarla\World.cpp
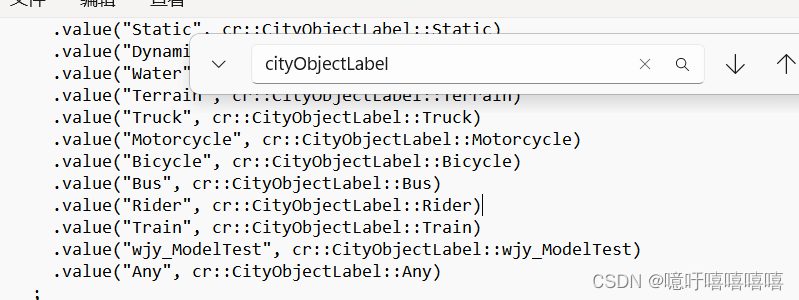
如果你使用的了自定义的文件夹,记得修改上面有关该模型位置的路径信息!
四、语义分割相机&BoundingBox检测模型是否正确
将模型拖入到场景中之后,运行以下代码:
语义分割代码:
import glob
import os
import sys
import time
import random
import time
import numpy as np
import cv2

try:
    sys.path.append(glob.glob('../carla/dist/carla-*%d.%d-%s.egg' % (
        sys.version_info.major,
        sys.version_info.minor,
        'win-amd64' if os.name == 'nt' else 'linux-x86_64'))[0])
except IndexError:
    pass

import carla
from carla import Transform, Location, Rotation

IM_WIDTH = 640
IM_HEIIGHT = 480


def process_semantic(image):
    image.convert(carla.ColorConverter.CityScapesPalette)
    array = np.frombuffer(image.raw_data, dtype=np.dtype("uint8"))
    array = np.reshape(array, (image.height, image.width, 4))
    array = array[:, :, :3]
    cv2.imshow("", array)
    cv2.waitKey(20)
    return array / 255.0


actor_list = []
try:
    # 连接master
    client = carla.Client('localhost', 2000)
    client.set_timeout(5.0)
    world = client.get_world()
    blueprint_library = world.get_blueprint_library()
    bp = blueprint_library.filter("model3")[0]
    spawn_point = Transform(Location(x=54.469772, y=-64.348633, z=0.600000), Rotation(pitch=0.000000, yaw=179.976562, roll=0.000000))
    vehicle = world.spawn_actor(bp, spawn_point)

    vehicle.set_autopilot(enabled=True)
    actor_list.append(vehicle)
    # 添加一个语义分割相机
    sem_cam = None
    sem_bp = world.get_blueprint_library().find('sensor.camera.semantic_segmentation')
    sem_bp.set_attribute("image_size_x", f"{IM_WIDTH}")
    sem_bp.set_attribute("image_size_y", f"{IM_HEIIGHT}")
    sem_bp.set_attribute("fov", str(105))
    sem_location = carla.Location(-5, 0, 2.5)
    sem_rotation = carla.Rotation(0, 0, 0)
    sem_transform = carla.Transform(sem_location, sem_rotation)
    sem_cam = world.spawn_actor(sem_bp, sem_transform, attach_to=vehicle, attachment_type=carla.AttachmentType.Rigid)
    actor_list.append(sem_cam)
    # 监听相机,并显示图像
    sem_cam.listen(lambda image: process_semantic(image))
    time.sleep(50)

finally:
    for actor in actor_list:
        actor.destroy()
    print("All cleaned up!")
运行效果:
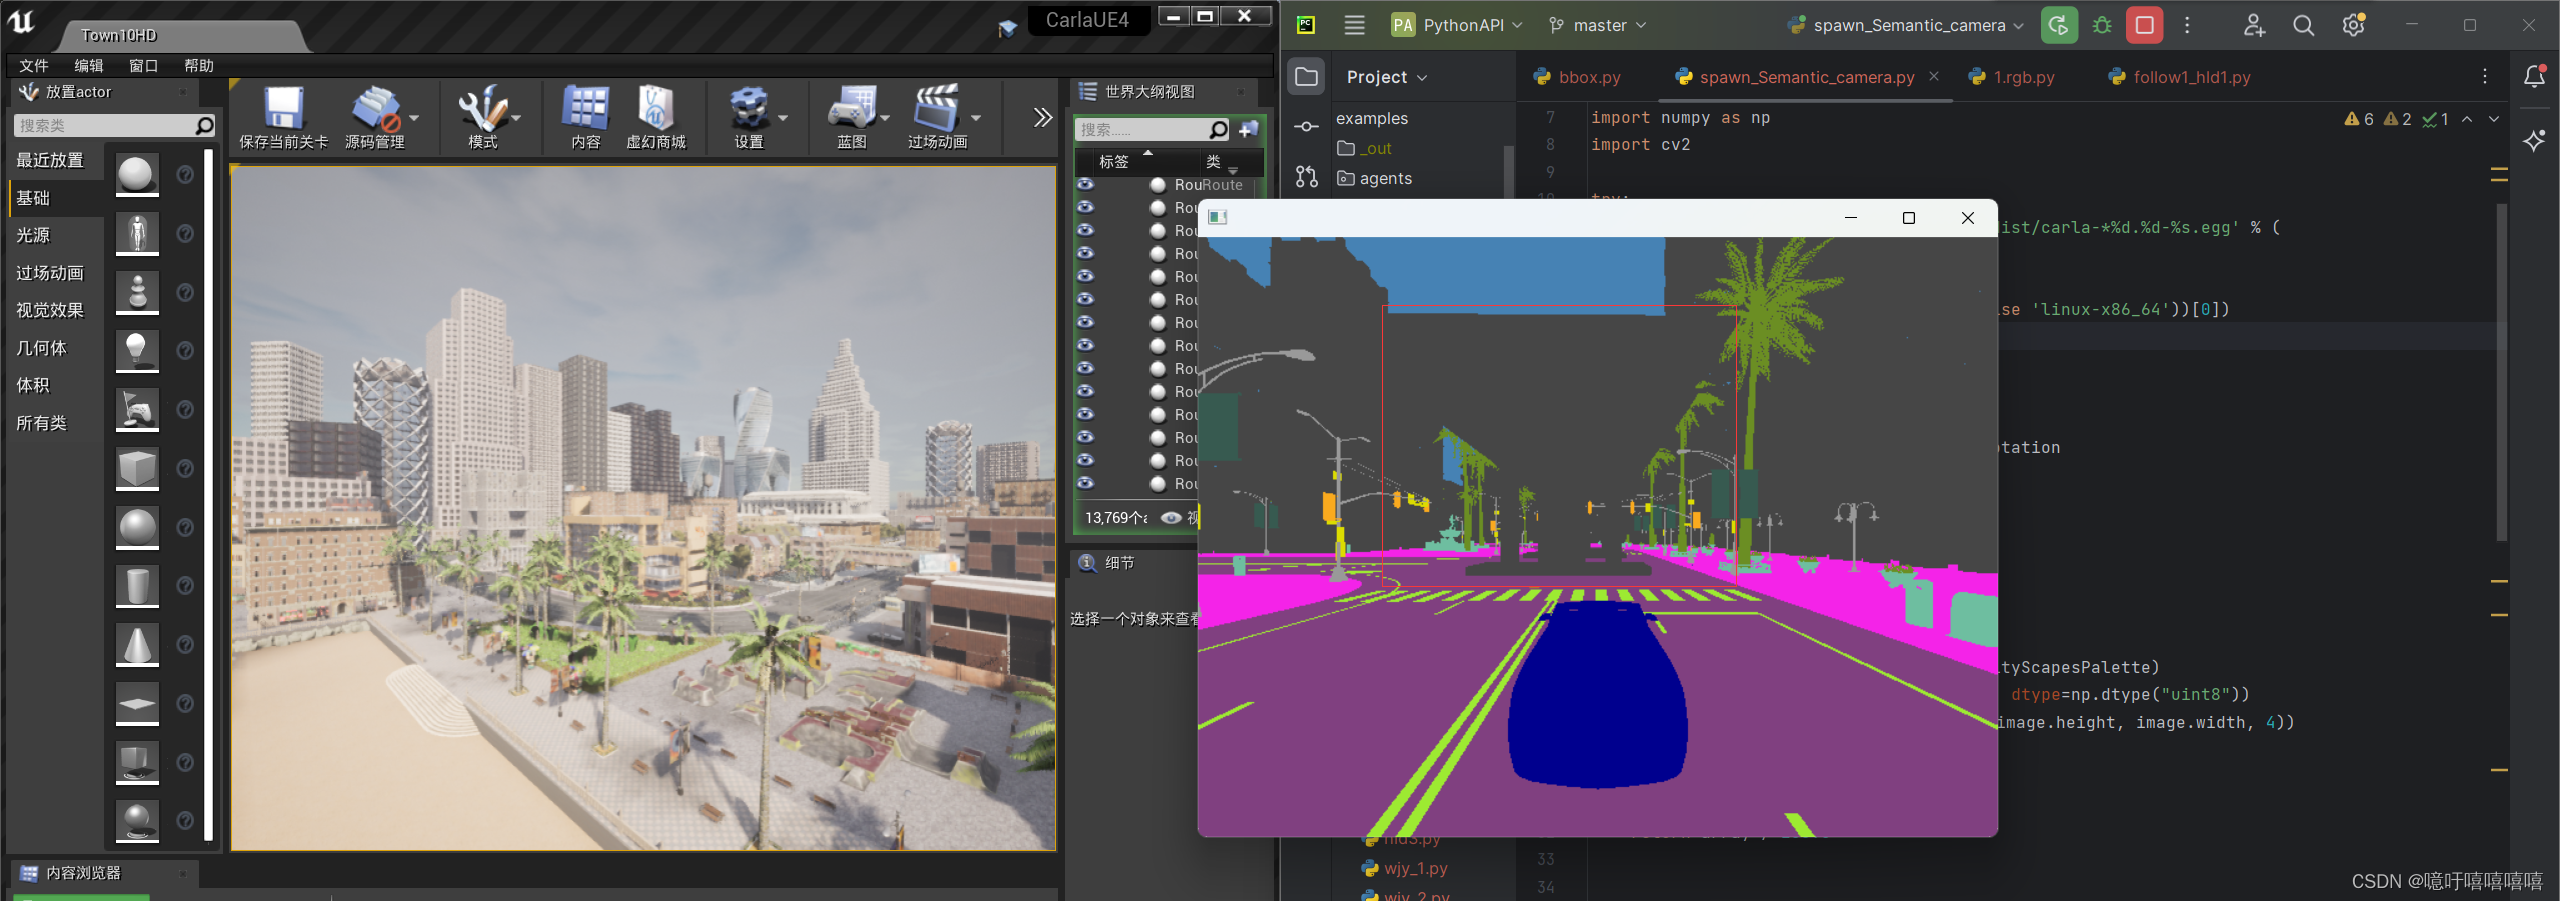
使用自定义语义标签运行效果:
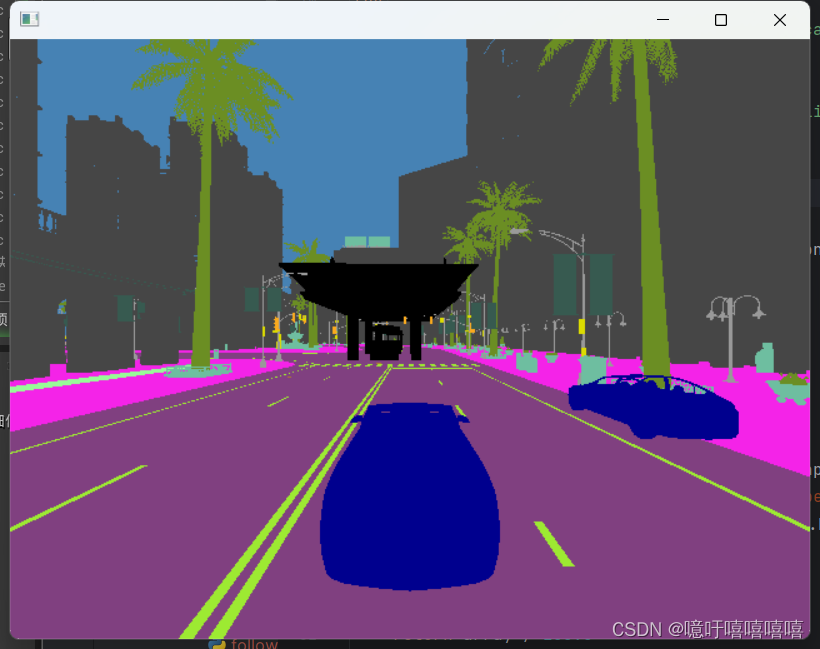
我去失败了!先去吃饭回来再看
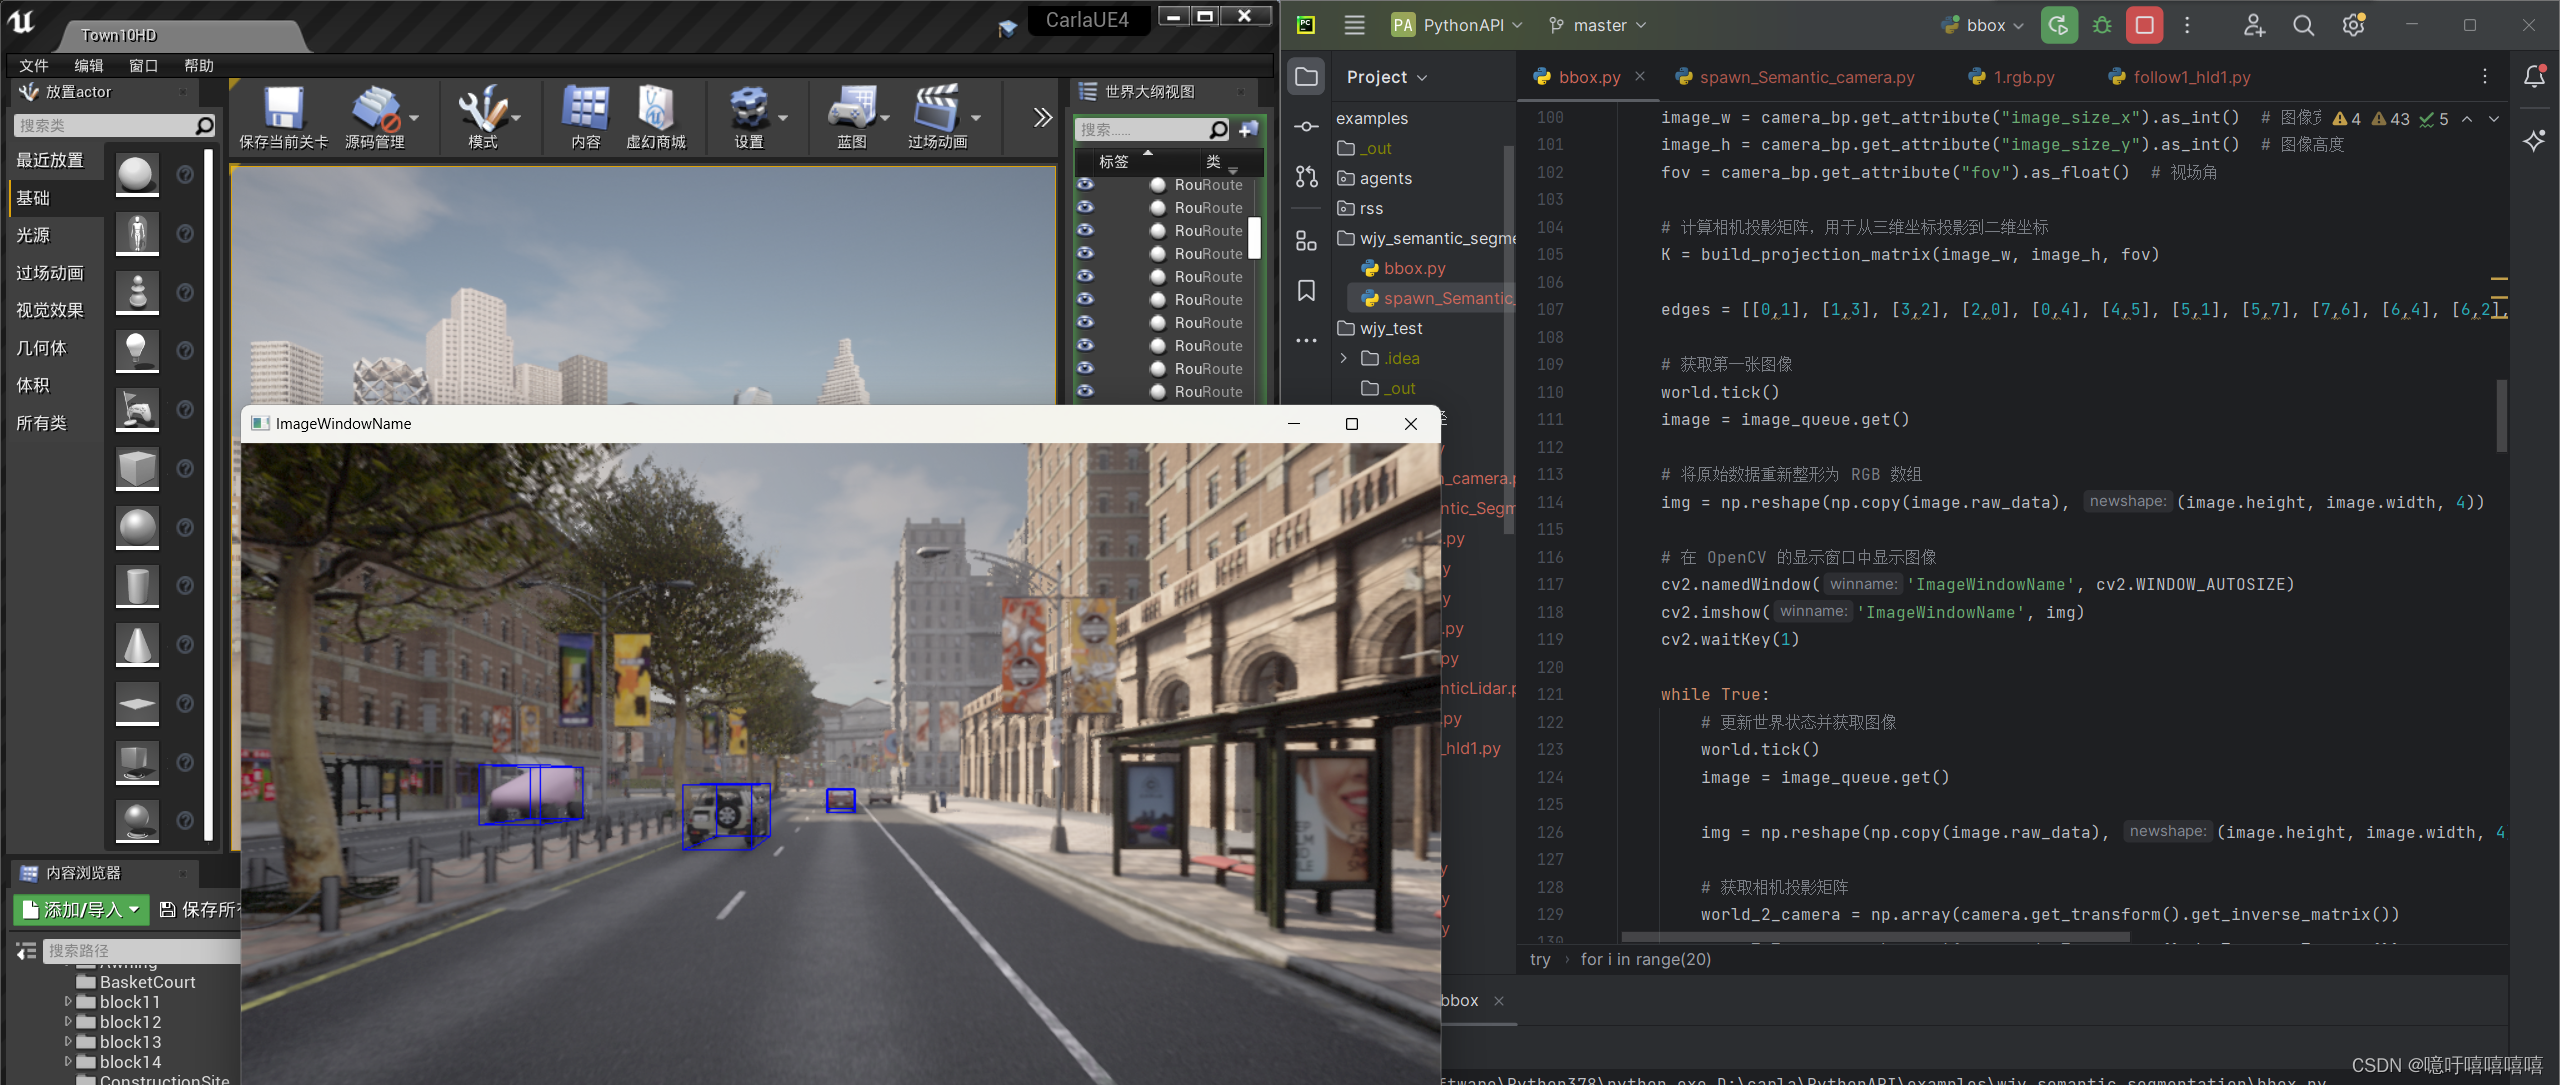
BoundingBox代码:
import glob
import os
import sys

try:
    sys.path.append(glob.glob('../carla/dist/carla-*%d.%d-%s.egg' % (
        sys.version_info.major,
        sys.version_info.minor,
        'win-amd64' if os.name == 'nt' else 'linux-x86_64'))[0])
except IndexError:
    pass

import carla
from carla import Transform, Location, Rotation
import random
import queue
import numpy as np
import cv2

#构造相机投影矩阵函数
def build_projection_matrix(w, h, fov):
    focal = w / (2.0 * np.tan(fov * np.pi / 360.0))
    K = np.identity(3)
    K[0, 0] = K[1, 1] = focal
    K[0, 2] = w / 2.0
    K[1, 2] = h / 2.0
    return K

def get_image_point(loc, K, w2c):
    # 计算三维坐标的二维投影

    # 格式化输入坐标(loc 是一个 carla.Position 对象)
    point = np.array([loc.x, loc.y, loc.z, 1])

    # 转换到相机坐标系
    point_camera = np.dot(w2c, point)

    # 将坐标系从 UE4 的坐标系转换为标准坐标系(y, -z, x),同时移除第四个分量
    point_camera = [point_camera[1], -point_camera[2], point_camera[0]]

    # 使用相机矩阵进行三维到二维投影
    point_img = np.dot(K, point_camera)

    # 归一化
    point_img[0] /= point_img[2]
    point_img[1] /= point_img[2]

    return point_img[0:2]


# 生成的对象列表
actor_list=[]


try:
    #连接Carla并获取世界
    client = carla.Client('localhost', 2000)
    world  = client.get_world()
    bp_lib = world.get_blueprint_library()


    # 生成车辆
    vehicle_bp =bp_lib.find('vehicle.lincoln.mkz_2020')
    spawn_points = random.choice(world.get_map().get_spawn_points())
    print(spawn_points)
    spawn_point = Transform(Location(x = 27.142294, y = 66.283257, z = 0.600000), Rotation(pitch=0.000000, yaw=-179.926727, roll=0.000000))
    vehicle = world.try_spawn_actor(vehicle_bp, spawn_points)
    actor_list.append(vehicle)

    # 生成相机
    camera_bp = bp_lib.find('sensor.camera.rgb')
    camera_bp.set_attribute('image_size_x','960')
    camera_bp.set_attribute('image_size_y','540')
    camera_init_trans = carla.Transform(carla.Location(z=2))
    camera = world.spawn_actor(camera_bp, camera_init_trans, attach_to=vehicle)
    actor_list.append(camera)
    vehicle.set_autopilot(True)

    #生成目标车辆
    for i in range(20):
        vehicle_bp = random.choice(bp_lib.filter('vehicle'))
        npc = world.try_spawn_actor(vehicle_bp, random.choice(world.get_map().get_spawn_points()))
        if npc:
            npc.set_autopilot(True)
            actor_list.append(npc)


    # 设置仿真模式为同步模式
    settings = world.get_settings()
    settings.synchronous_mode = True # 启用同步模式
    settings.fixed_delta_seconds = 0.05
    world.apply_settings(settings)

    # 创建对接接收相机数据
    image_queue = queue.Queue()
    camera.listen(image_queue.put)

    # 从相机获取属性
    image_w = camera_bp.get_attribute("image_size_x").as_int()  # 图像宽度
    image_h = camera_bp.get_attribute("image_size_y").as_int()  # 图像高度
    fov = camera_bp.get_attribute("fov").as_float()  # 视场角

    # 计算相机投影矩阵,用于从三维坐标投影到二维坐标
    K = build_projection_matrix(image_w, image_h, fov)

    edges = [[0,1], [1,3], [3,2], [2,0], [0,4], [4,5], [5,1], [5,7], [7,6], [6,4], [6,2], [7,3]]

    # 获取第一张图像
    world.tick()
    image = image_queue.get()

    # 将原始数据重新整形为 RGB 数组
    img = np.reshape(np.copy(image.raw_data), (image.height, image.width, 4))

    # 在 OpenCV 的显示窗口中显示图像
    cv2.namedWindow('ImageWindowName', cv2.WINDOW_AUTOSIZE)
    cv2.imshow('ImageWindowName', img)
    cv2.waitKey(1)

    while True:
        # 更新世界状态并获取图像
        world.tick()
        image = image_queue.get()

        img = np.reshape(np.copy(image.raw_data), (image.height, image.width, 4))

        # 获取相机投影矩阵
        world_2_camera = np.array(camera.get_transform().get_inverse_matrix())

        for npc in world.get_actors().filter('*vehicle*'):
            # 过滤掉自车
            if npc.id != vehicle.id:
                bb = npc.bounding_box
                dist = npc.get_transform().location.distance(vehicle.get_transform().location)

                # 筛选距离在50米以内的车辆
                if dist < 50:
                    forward_vec = vehicle.get_transform().get_forward_vector()
                    ray = npc.get_transform().location - vehicle.get_transform().location

                    # 计算车辆前进方向与车辆之间的向量的点积,
                    # 通过阈值判断是否在相机前方绘制边界框
                    if forward_vec.dot(ray) > 1:
                        p1 = get_image_point(bb.location, K, world_2_camera)
                        verts = [v for v in bb.get_world_vertices(npc.get_transform())]

                        for edge in edges:
                            p1 = get_image_point(verts[edge[0]], K, world_2_camera)
                            p2 = get_image_point(verts[edge[1]], K, world_2_camera)
                            cv2.line(img, (int(p1[0]), int(p1[1])), (int(p2[0]), int(p2[1])), (255, 0, 0, 255), 1)

        cv2.imshow('ImageWindowName', img)
        if cv2.waitKey(1) == ord('q'):
            break

    cv2.destroyAllWindows()


finally:
    for actor in actor_list:
        actor.destroy()
    print("All cleaned up!")
运行效果:
