配置资源管理
//Secret
Secret 是用来保存密码、token、密钥等敏感数据的 k8s 资源,这类数据虽然也可以存放在 Pod 或者镜像中,但是放在 Secret 中是为了更方便的控制如何使用数据,并减少暴露的风险。
有三种类型:
●kubernetes.io/service-account-token:由 Kubernetes 自动创建,用来访问 APIServer 的 Secret,Pod 会默认使用这个 Secret 与 APIServer 通信, 并且会自动挂载到 Pod 的 /run/secrets/kubernetes.io/serviceaccount 目录中;
●Opaque :base64 编码格式的 Secret,用来存储用户自定义的密码、密钥等,默认的 Secret 类型;
●kubernetes.io/dockerconfigjson :用来存储私有 docker registry 的认证信息。
Pod 需要先引用才能使用某个 secret,Pod 有 3 种方式来使用 secret:
●作为挂载到一个或多个容器上的卷 中的文件。
●作为容器的环境变量。
●由 kubelet 在为 Pod 拉取镜像时使用。
应用场景:凭据
https://kubernetes.io/docs/concepts/configuration/secret/
//创建 Secret
1、用kubectl create secret命令创建Secret
echo -n 'zhangsan' > username.txt
echo -n 'abc1234' > password.txt
kubectl create secret generic mysecret --from-file=username.txt --from-file=password.txt
#创建一个名为 mysecret 的通用(secret)类型的密钥(secret)。
--from-file=username.txt 参数表示从名为username.txt的文件中读取内容,并将其作为密钥的一个字段。
--from-file=password.txt 参数表示从名为password.txt的文件中读取内容,并将其作为密钥的另一个字段。
这个命令的执行将会在Kubernetes集群中创建一个通用类型的密钥(secret)对象,其中包含两个字段,一个字段名为username.txt,值为username.txt文件的内容,另一个字段名为password.txt,值为password.txt文件的内容。这些密钥可以被容器等其他资源使用。

kubectl get secrets

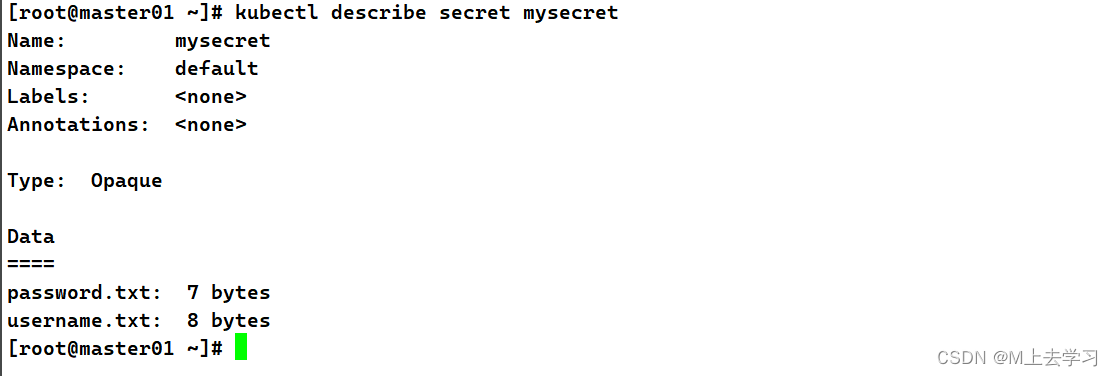
kubectl describe secret mysecret
//get或describe指令都不会展示secret的实际内容,这是出于对数据的保护的考虑
2、内容用 base64 编码,创建Secret
echo -n zhangsan | base64

echo -n abc1234 | base64

vim secret.yaml
apiVersion: v1
kind: Secret
metadata:
  name: mysecret1
type: Opaque
data:
  username: emhhbmdzYW4=
  password: YWJjMTIzNA==

kubectl create -f secret.yaml

kubectl get secrets

kubectl get secret mysecret1 -o yaml

//使用方式
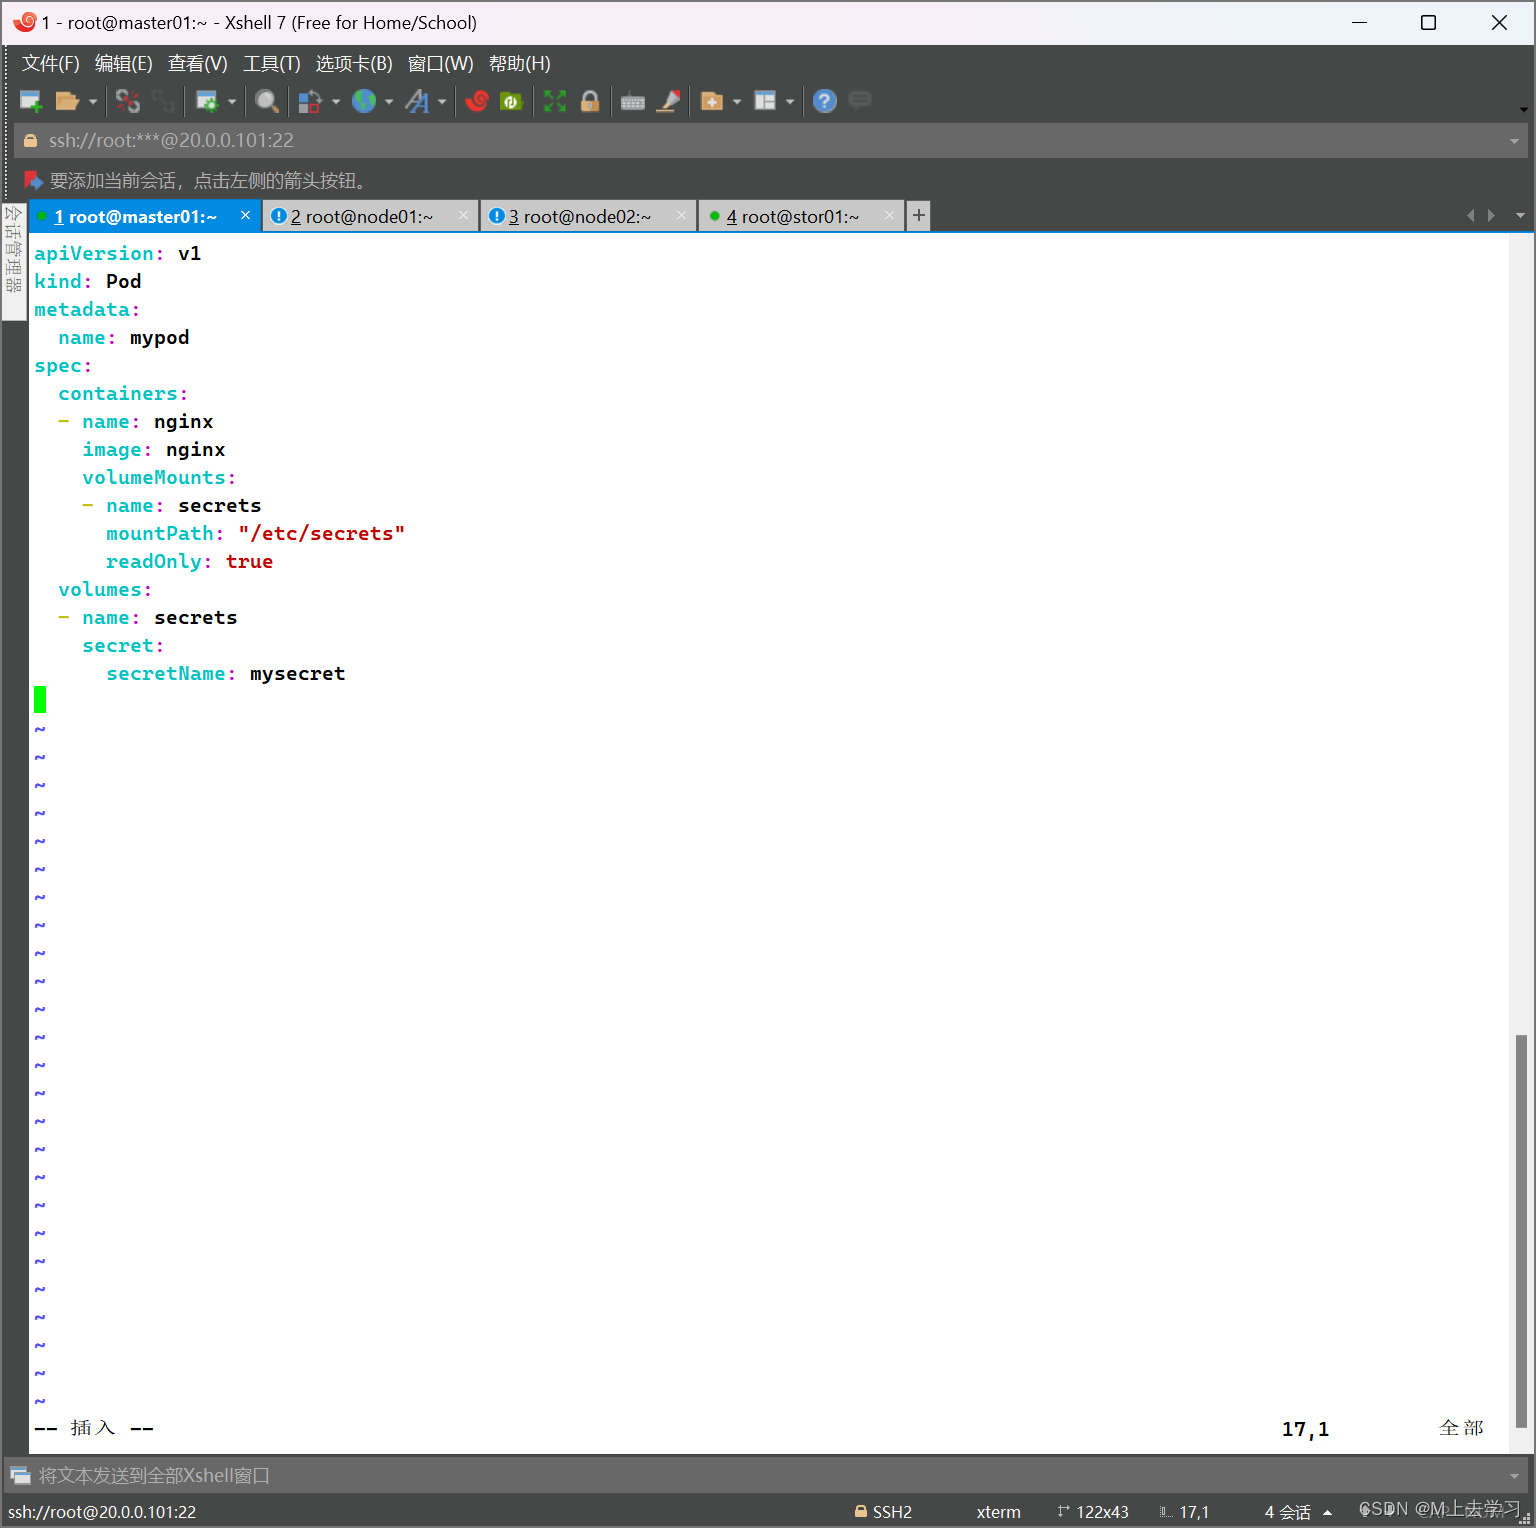
1、将 Secret 挂载到 Volume 中,以 Volume 的形式挂载到 Pod 的某个目录下
vim secret-test.yaml

apiVersion: v1
kind: Pod
metadata:
  name: mypod
spec:
  containers:
  - name: nginx
    image: nginx
    volumeMounts:
    - name: secrets
      mountPath: "/etc/secrets"
      readOnly: true
  volumes:
  - name: secrets
    secret:
      secretName: mysecret
kubectl create -f secret-test.yaml

kubectl get pods
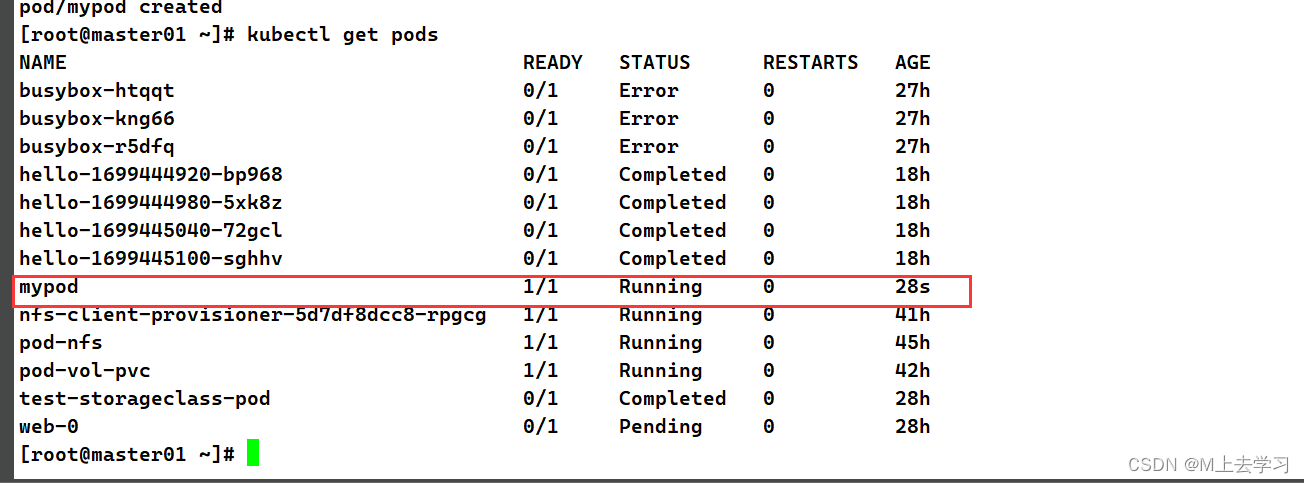
kubectl exec -it mypod bash
 # cd /etc/secrets/
 # ls
password.txt  username.txt
 # vi password.txt
 # vi username.txt


2、将 Secret 导出到环境变量中
vim secret-test1.yaml

apiVersion: v1
kind: Pod
metadata:
  name: mypod1
spec:
  containers:
  - name: nginx
    image: nginx
    env:
      - name: TEST_USER
        valueFrom:
          secretKeyRef:
            name: mysecret1
            key: username
      - name: TEST_PASSWORD
        valueFrom:
          secretKeyRef:
            name: mysecret1
            key: password
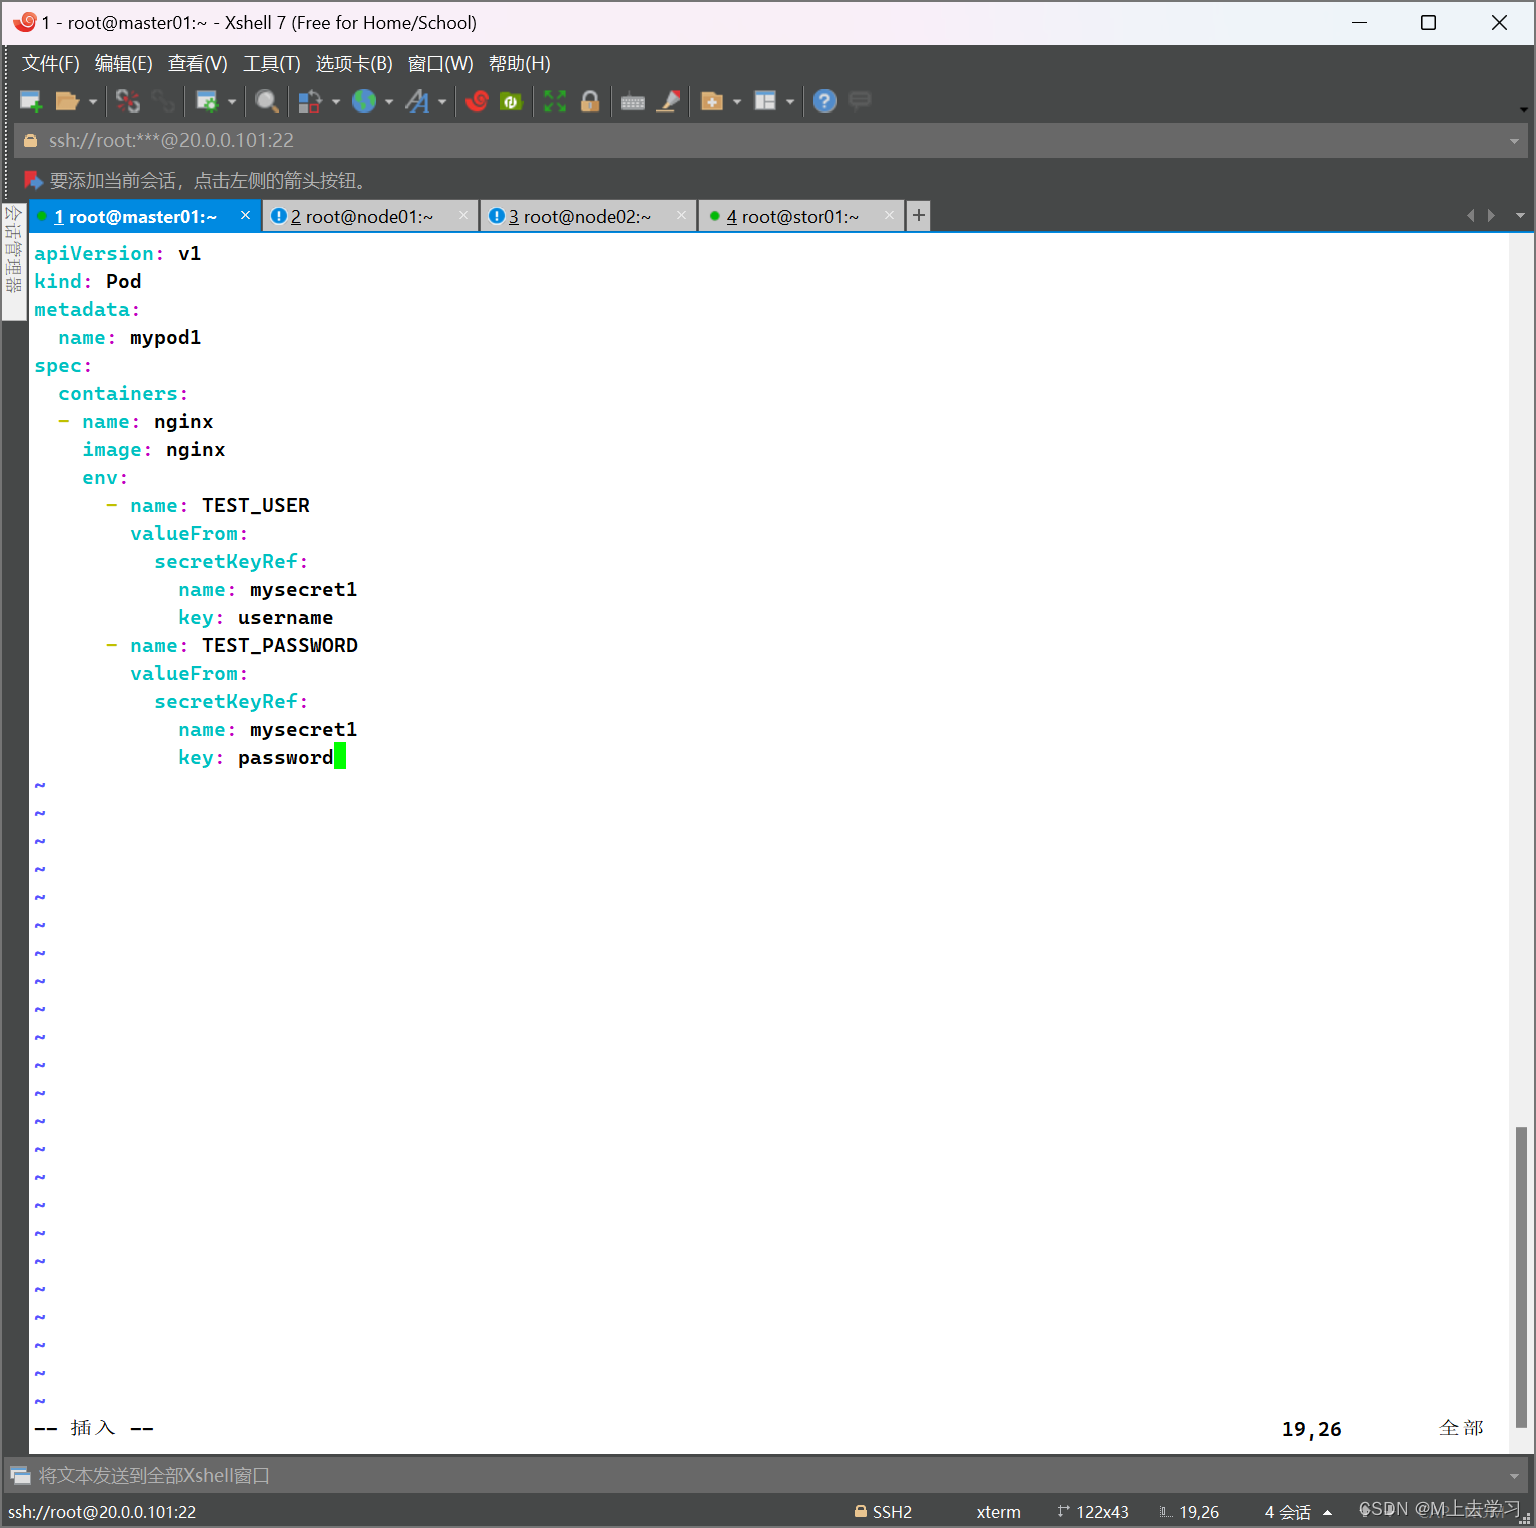
kubectl apply -f secret-test1.yaml

kubectl get pods
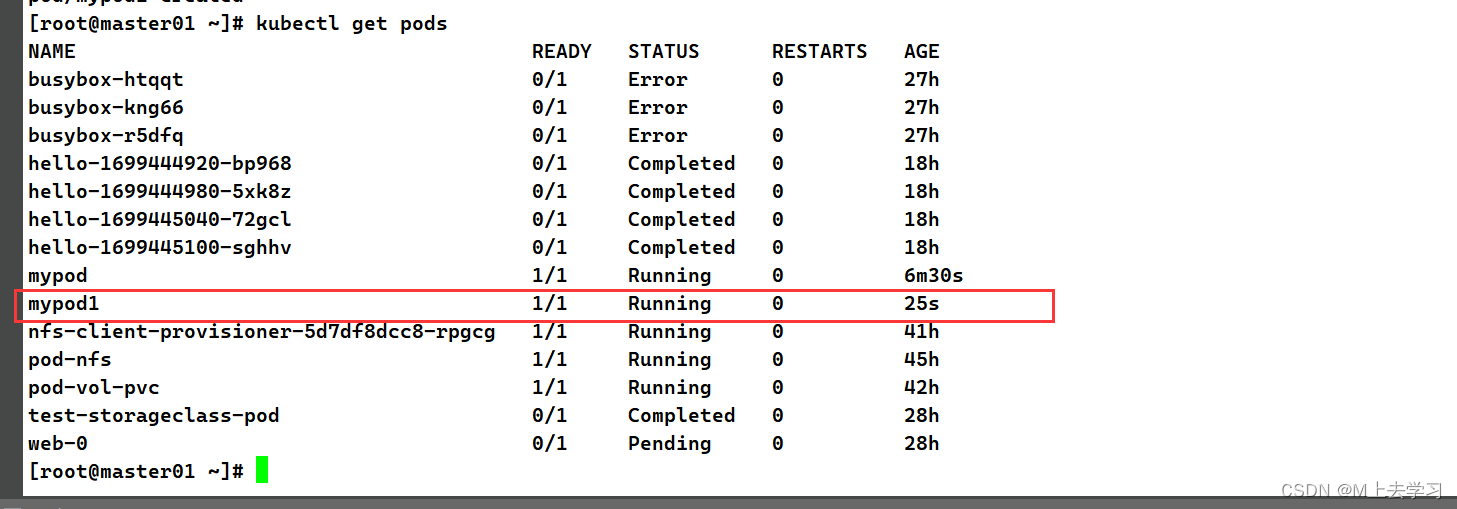
kubectl exec -it mypod1 bash

 # echo $TEST_USER
zhangsan
 # echo $TEST_PASSWORD
abc1234

//ConfigMap
与Secret类似,区别在于ConfigMap保存的是不需要加密配置的信息。
ConfigMap 功能在 Kubernetes1.2 版本中引入,许多应用程序会从配置文件、命令行参数或环境变量中读取配置信息。ConfigMap API 给我们提供了向容器中注入配置信息的机制,ConfigMap 可以被用来保存单个属性,也可以用来保存整个配置文件或者JSON二进制大对象。
应用场景:应用配置
//创建 ConfigMap
1、使用目录创建
mkdir /opt/configmap/
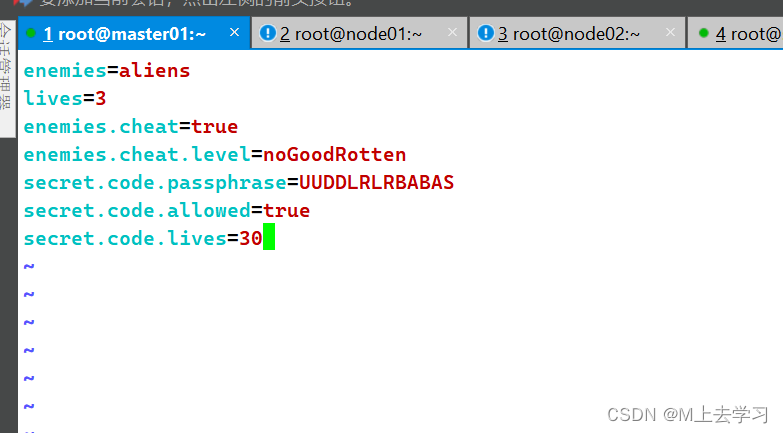
vim /opt/configmap/game.properties

enemies=aliens
lives=3
enemies.cheat=true
enemies.cheat.level=noGoodRotten
secret.code.passphrase=UUDDLRLRBABAS
secret.code.allowed=true
secret.code.lives=30
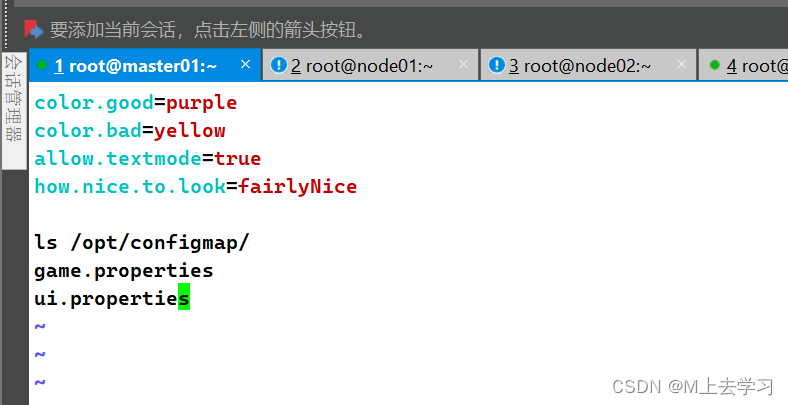
vim /opt/configmap/ui.properties

color.good=purple
color.bad=yellow
allow.textmode=true
how.nice.to.look=fairlyNice

ls /opt/configmap/
game.properties
ui.properties
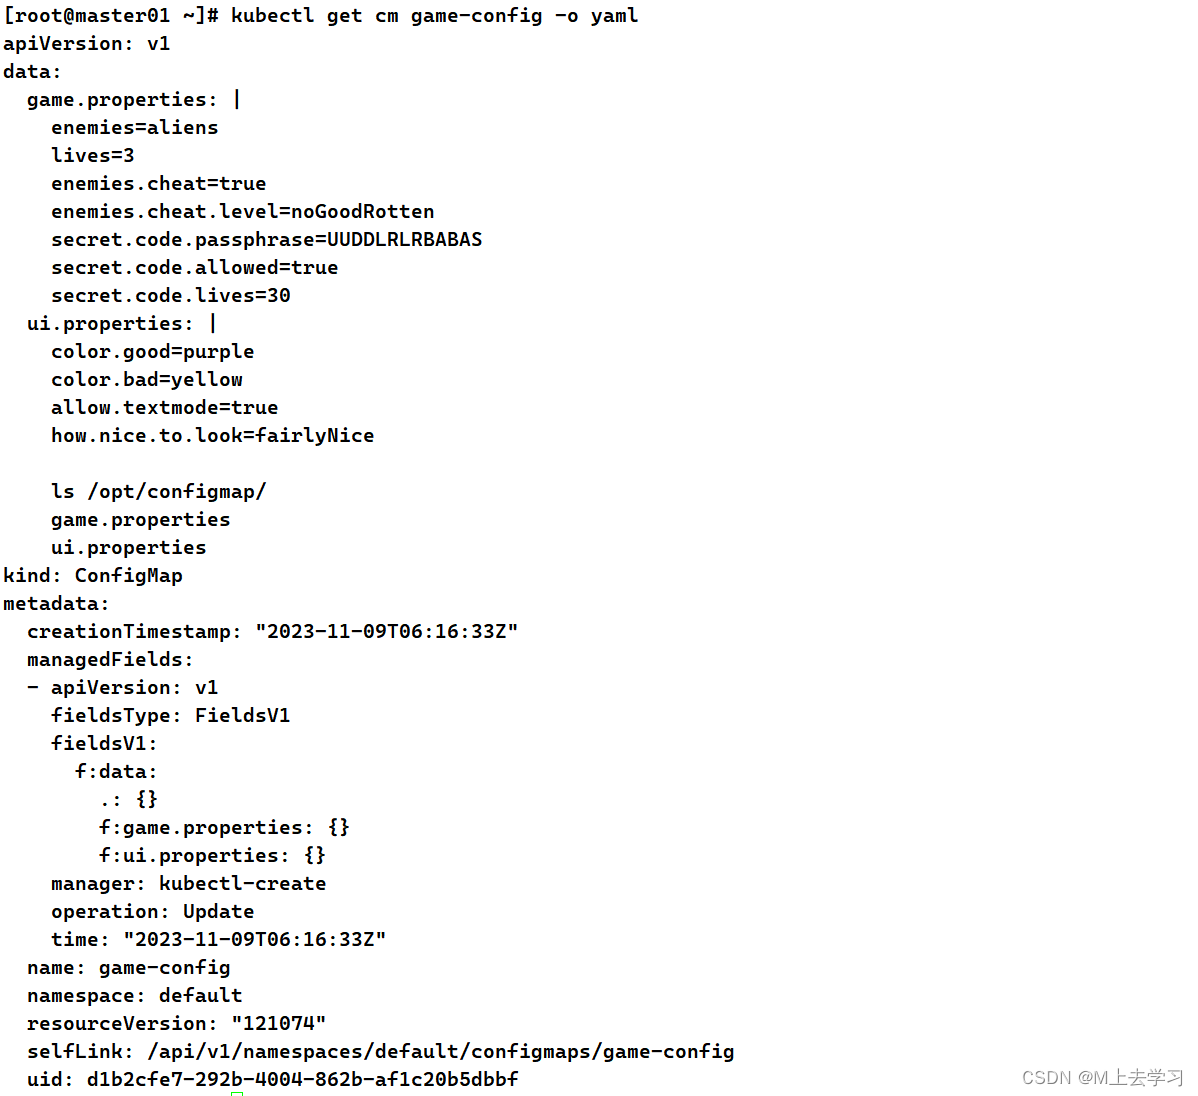
kubectl create configmap game-config --from-file=/opt/configmap/

//--from-file 指定在目录下的所有文件都会被用在 ConfigMap 里面创建一个键值对,键的名字就是文件名,值就是文件的内容

kubectl get cm

kubectl get cm game-config -o yaml
2、使用文件创建
只要指定为一个文件就可以从单个文件中创建 ConfigMap
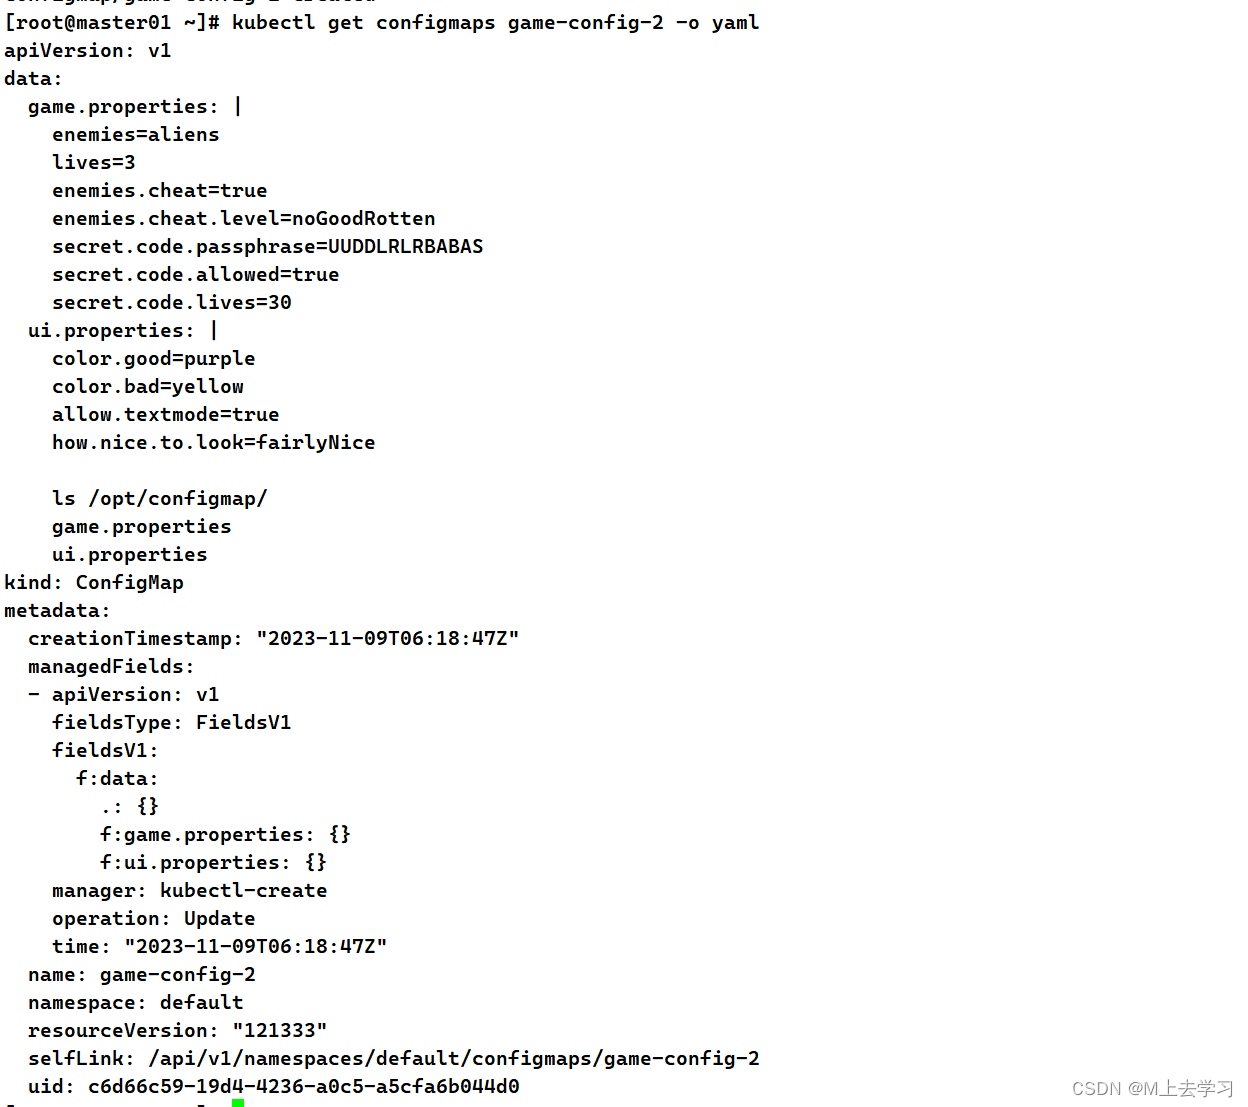
–from-file 这个参数可以使用多次,即可以使用两次分别指定上个实例中的那两个配置文件,效果就跟指定整个目录是一样的
kubectl create configmap game-config-2 --from-file=/opt/configmap/game.properties --from-file=/opt/configmap/ui.properties

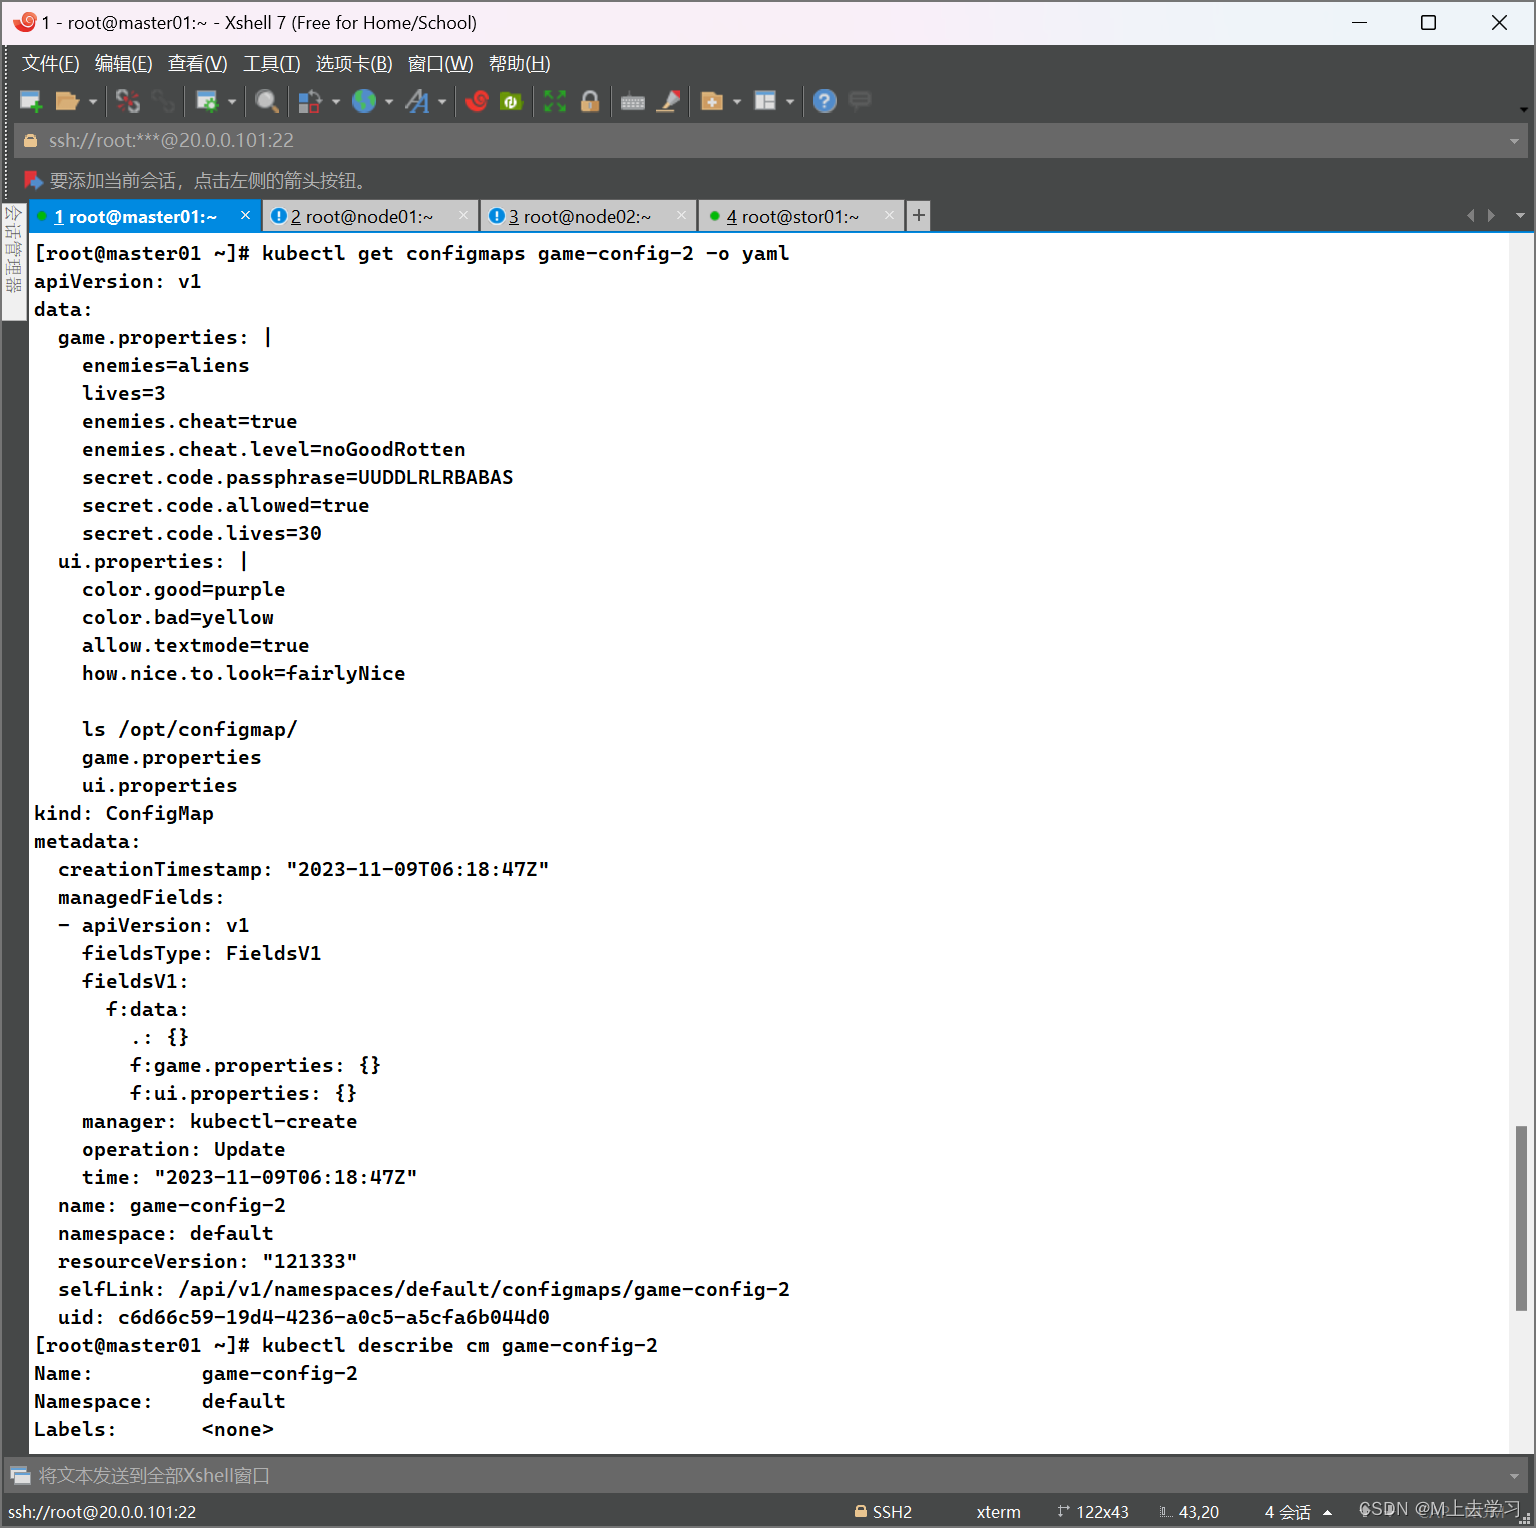
kubectl get configmaps game-config-2 -o yaml
kubectl describe cm game-config-2

3、使用字面值创建
使用文字值创建,利用 --from-literal 参数传递配置信息,该参数可以使用多次,格式如下
kubectl create configmap special-config --from-literal=special.how=very --from-literal=special.type=good

kubectl get configmaps special-config -o yaml

kubectl delete cm --all
kubectl delete pod --all

//Pod 中使用 ConfigMap
1、使用 ConfigMap 来替代环境变量
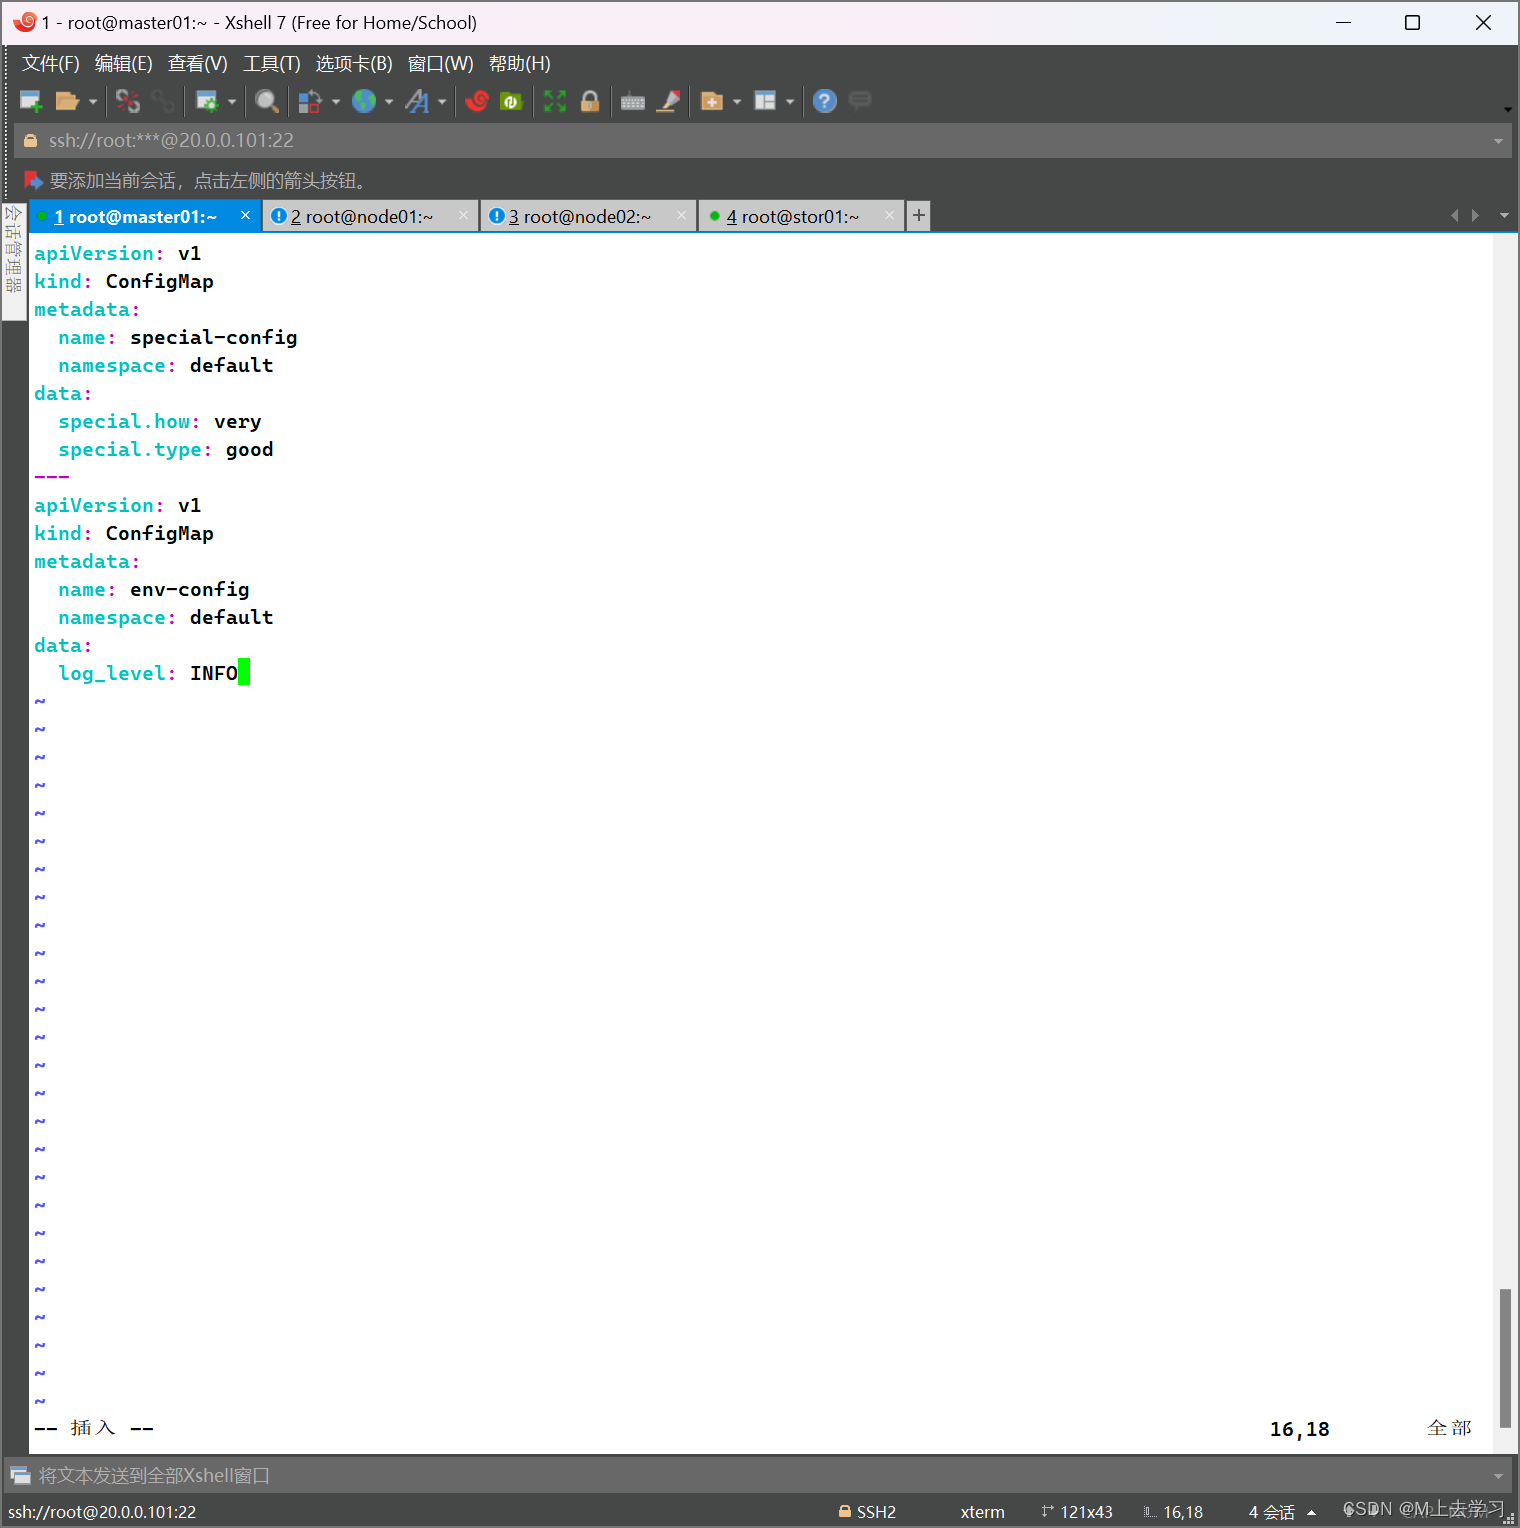
vim env.yaml

apiVersion: v1
kind: ConfigMap
metadata:
  name: special-config
  namespace: default
data:
  special.how: very
  special.type: good
---
apiVersion: v1
kind: ConfigMap
metadata:
  name: env-config
  namespace: default
data:
  log_level: INFO
kubectl create -f env.yaml

kubectl get cm

//Pod的创建
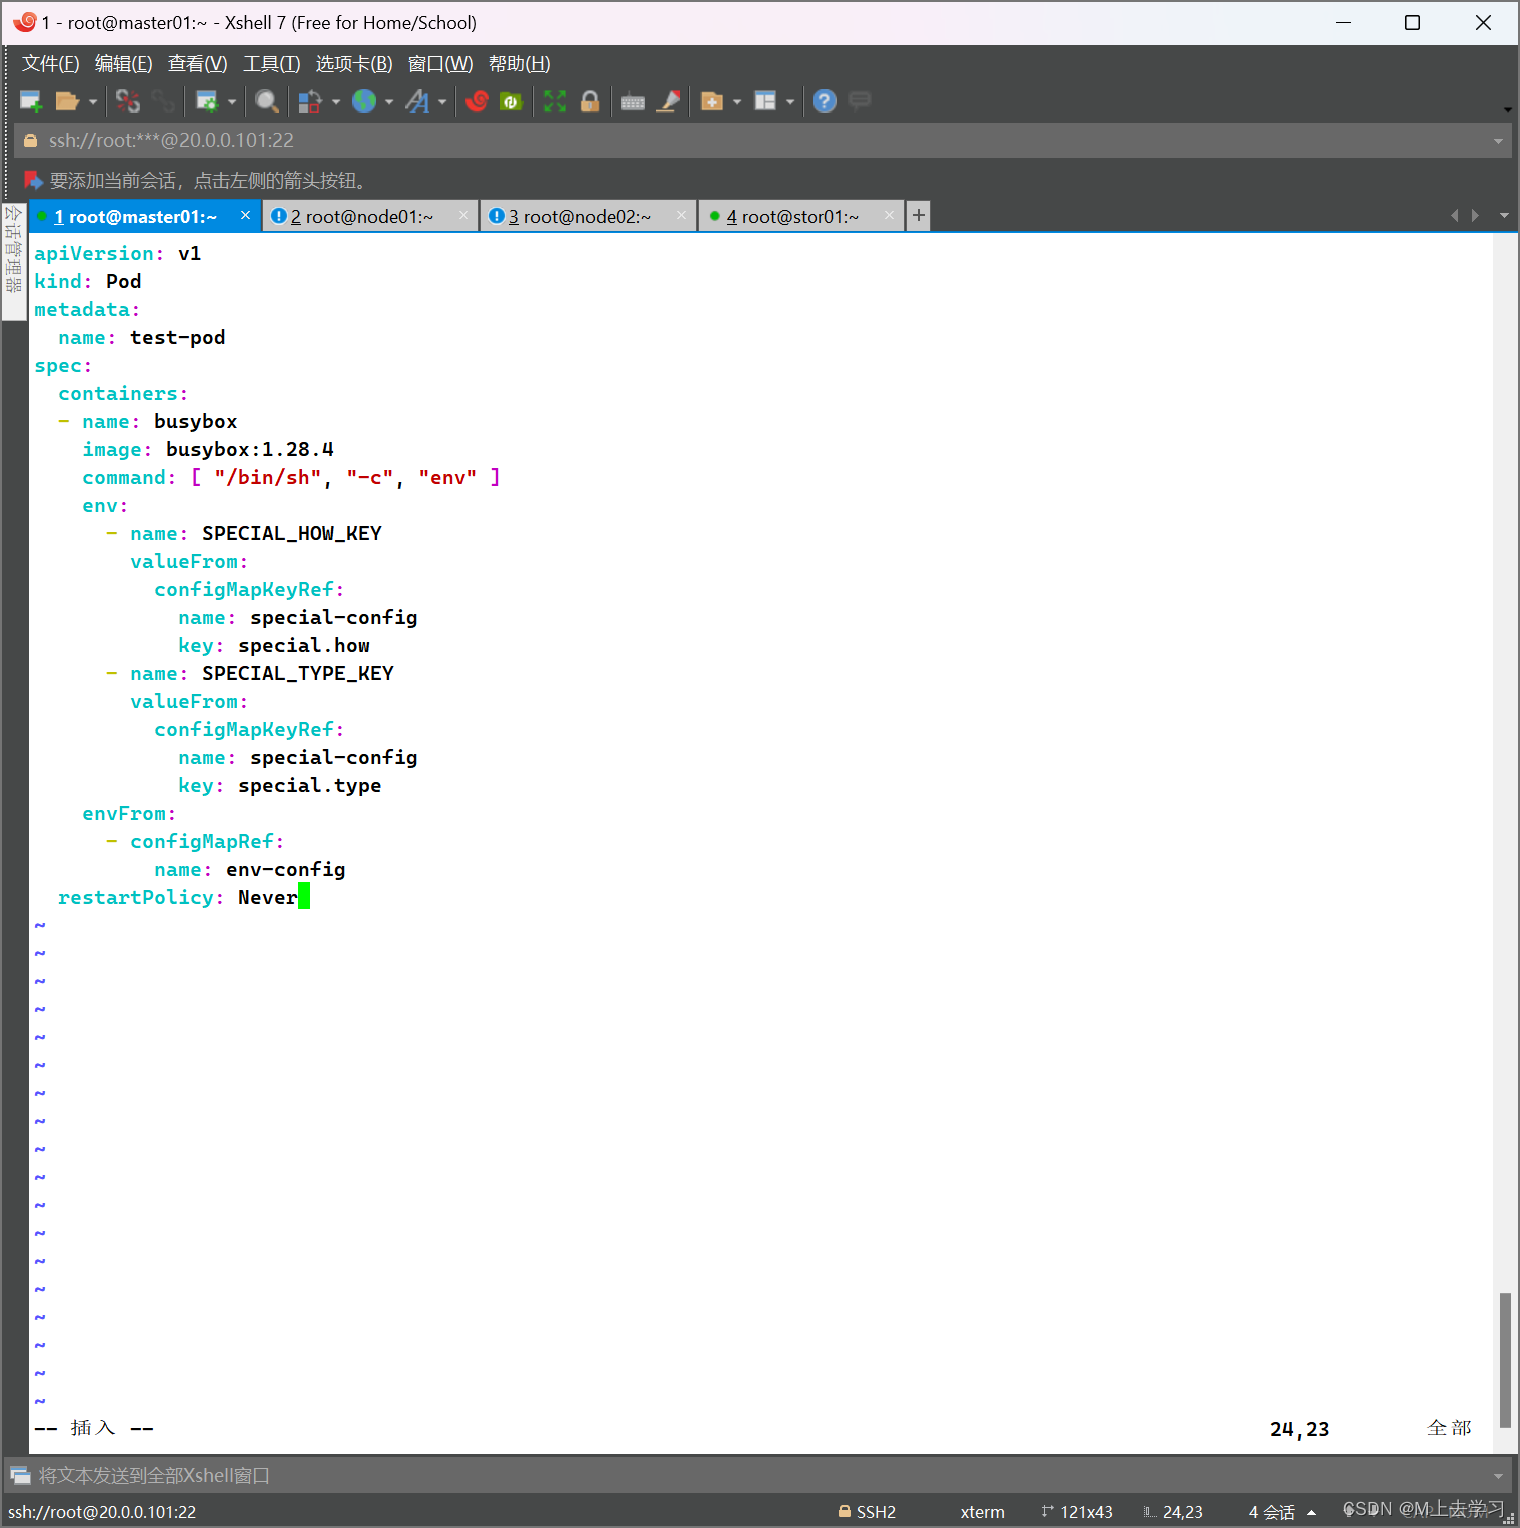
vim test-pod.yaml
apiVersion: v1
kind: Pod
metadata:
  name: test-pod
spec:
  containers:
  - name: busybox
    image: busybox:1.28.4
    command: [ "/bin/sh", "-c", "env" ]
    env:
      - name: SPECIAL_HOW_KEY
        valueFrom:
          configMapKeyRef:
            name: special-config
            key: special.how
      - name: SPECIAL_TYPE_KEY
        valueFrom:
          configMapKeyRef:
            name: special-config
            key: special.type
    envFrom:
      - configMapRef:
          name: env-config
  restartPolicy: Never
kubectl create -f test-pod.yaml

kubectl get pods

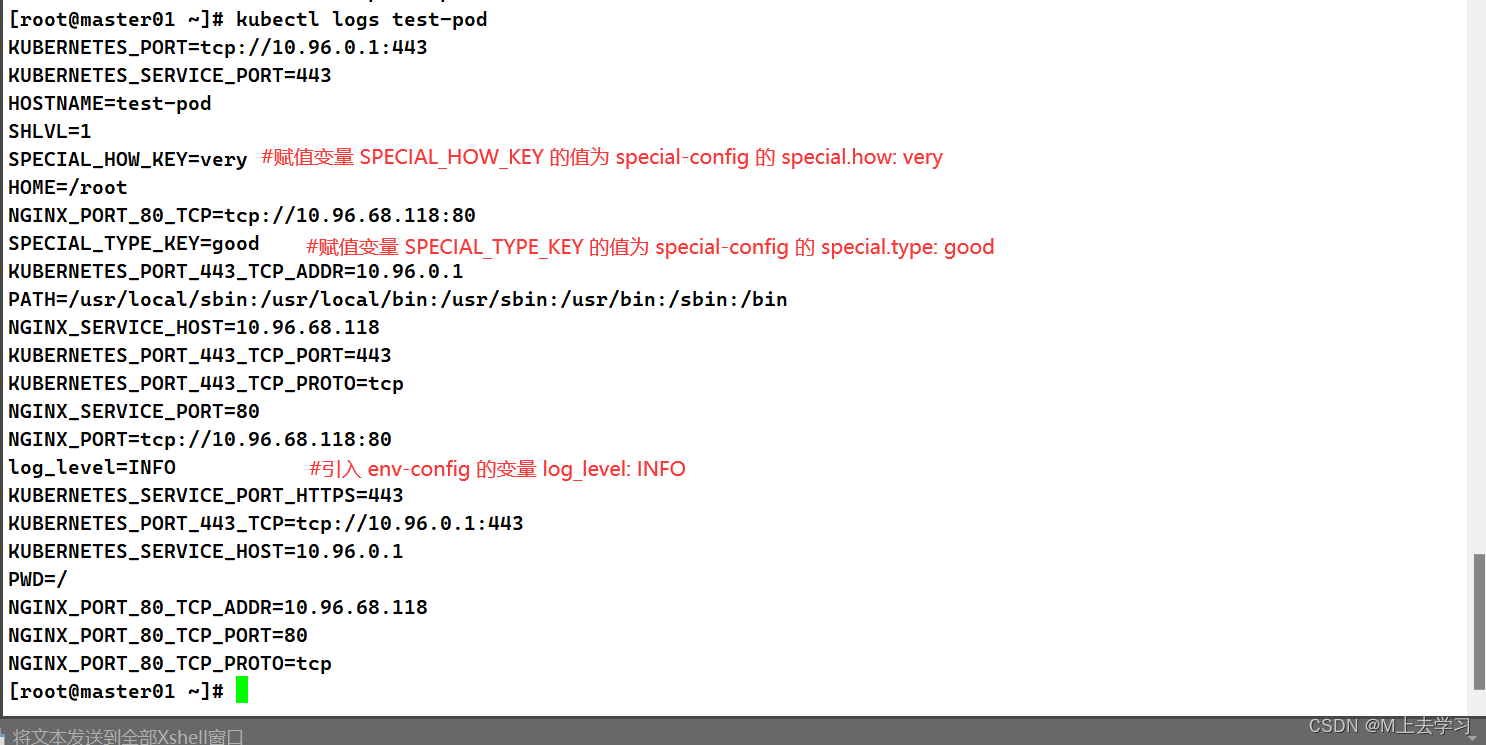
kubectl logs test-pod
2、用 ConfigMap 设置命令行参数
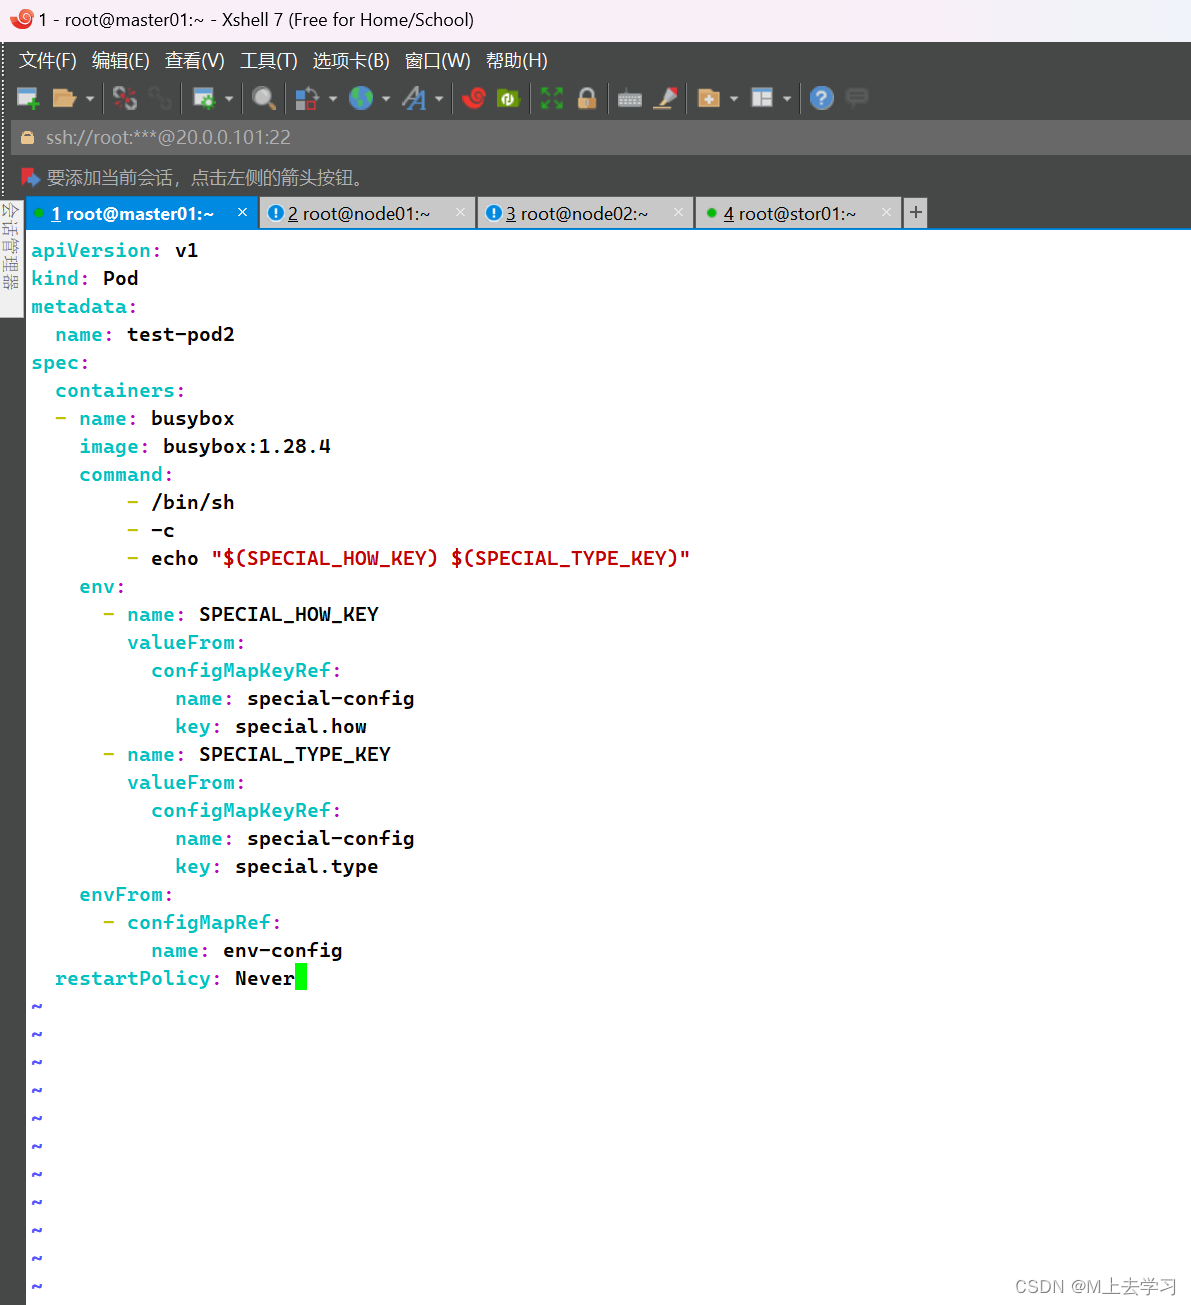
vim test-pod2.yaml
apiVersion: v1
kind: Pod
metadata:
  name: test-pod2
spec:
  containers:
  - name: busybox
    image: busybox:1.28.4
    command:
	- /bin/sh
	- -c
	- echo "$(SPECIAL_HOW_KEY) $(SPECIAL_TYPE_KEY)"
    env:
      - name: SPECIAL_HOW_KEY
        valueFrom:
          configMapKeyRef:
            name: special-config
            key: special.how
      - name: SPECIAL_TYPE_KEY
        valueFrom:
          configMapKeyRef:
            name: special-config
            key: special.type
    envFrom:
      - configMapRef:
          name: env-config
  restartPolicy: Never
kubectl create -f test-pod2.yaml

kubectl get pods

kubectl logs test-pod2

3、通过数据卷插件使用ConfigMap
在数据卷里面使用 ConfigMap,就是将文件填入数据卷,在这个文件中,键就是文件名,键值就是文件内容
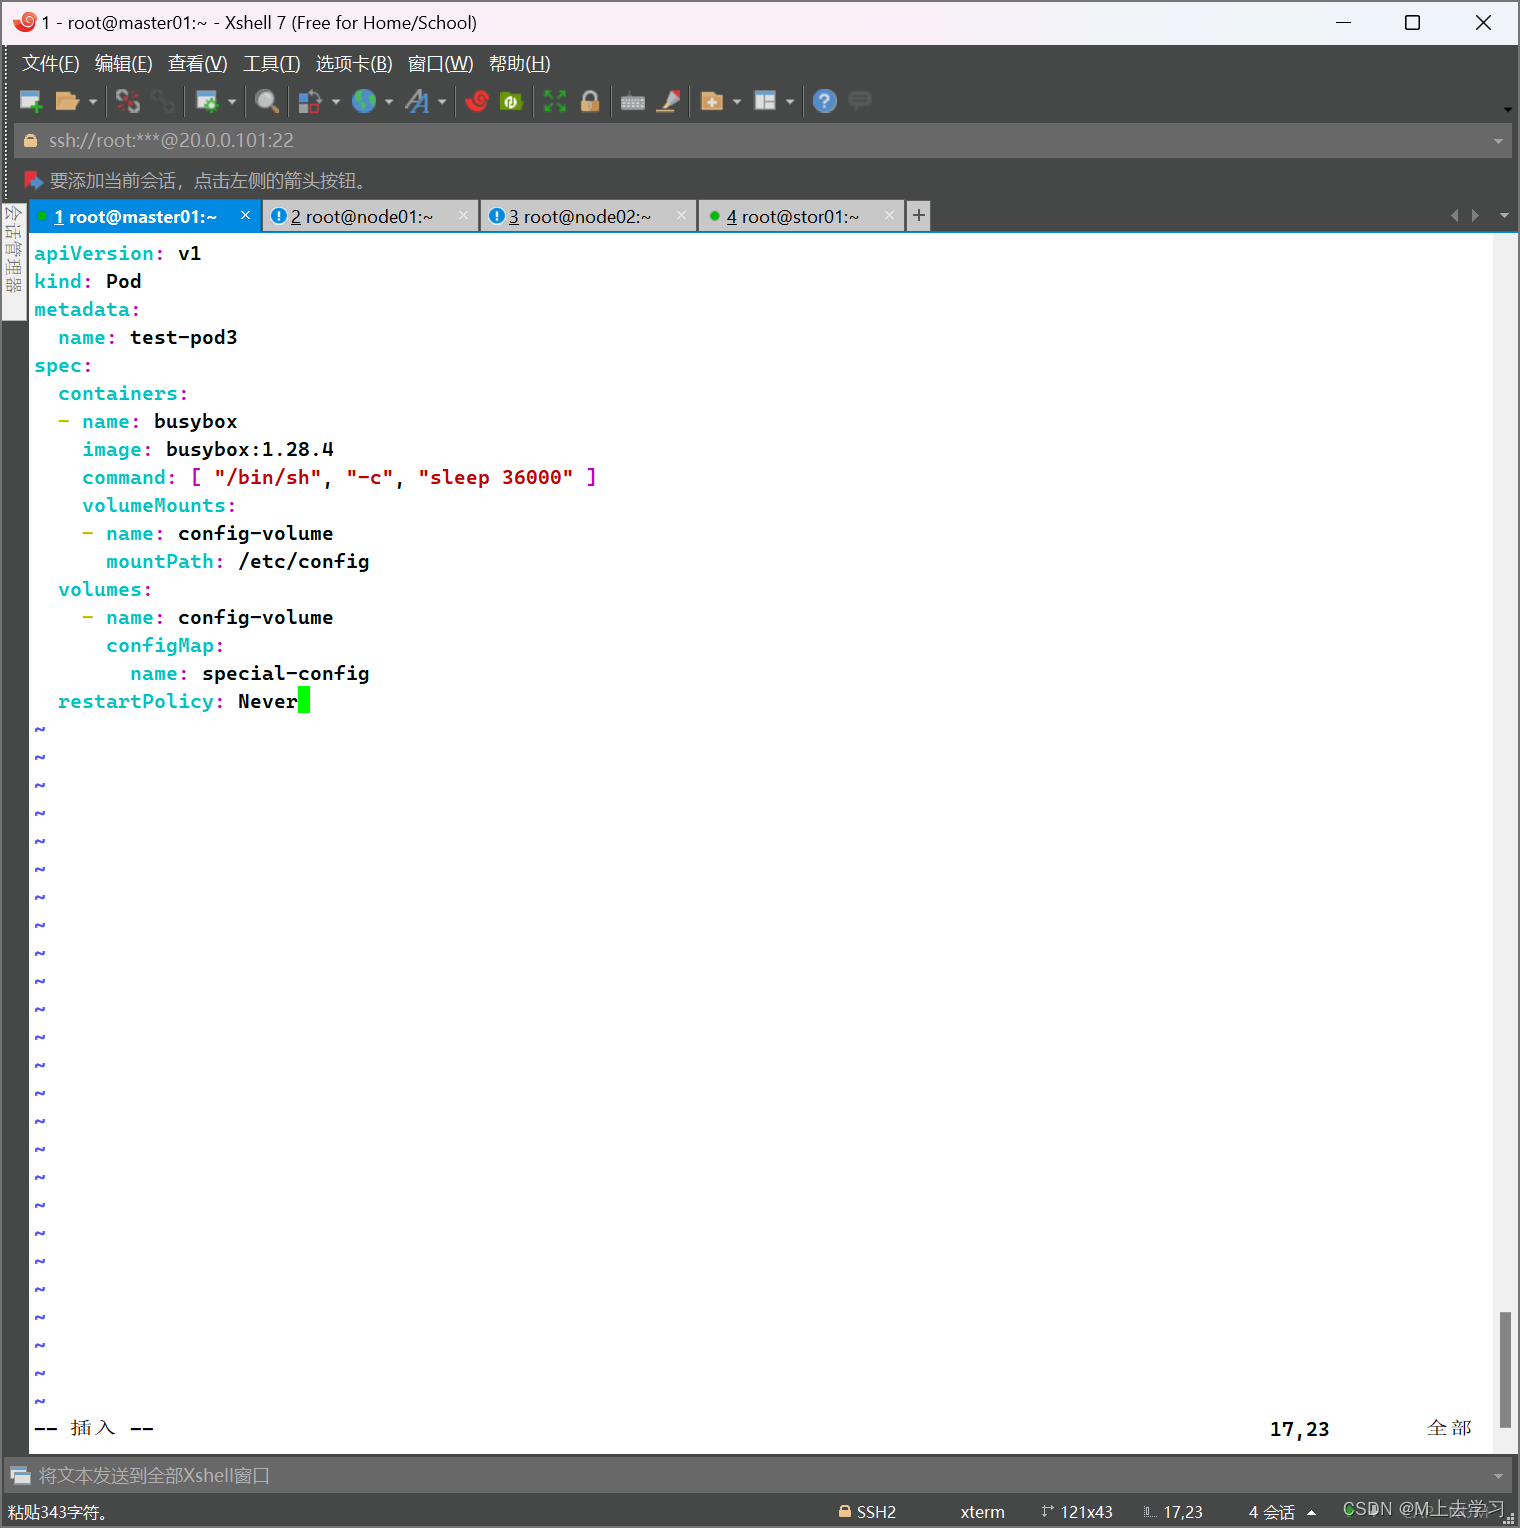
vim test-pod3.yaml
apiVersion: v1
kind: Pod
metadata:
  name: test-pod3
spec:
  containers:
  - name: busybox
    image: busybox:1.28.4
    command: [ "/bin/sh", "-c", "sleep 36000" ]
    volumeMounts:
    - name: config-volume
      mountPath: /etc/config
  volumes:
    - name: config-volume
      configMap:
        name: special-config
  restartPolicy: Never
kubectl create -f test-pod3.yaml

kubectl get pods

kubectl exec -it test-pod3 sh
 # cd /etc/config/
 # ls
special.how   special.type
 # vi special.how
 # vi special.type

//ConfigMap 的热更新
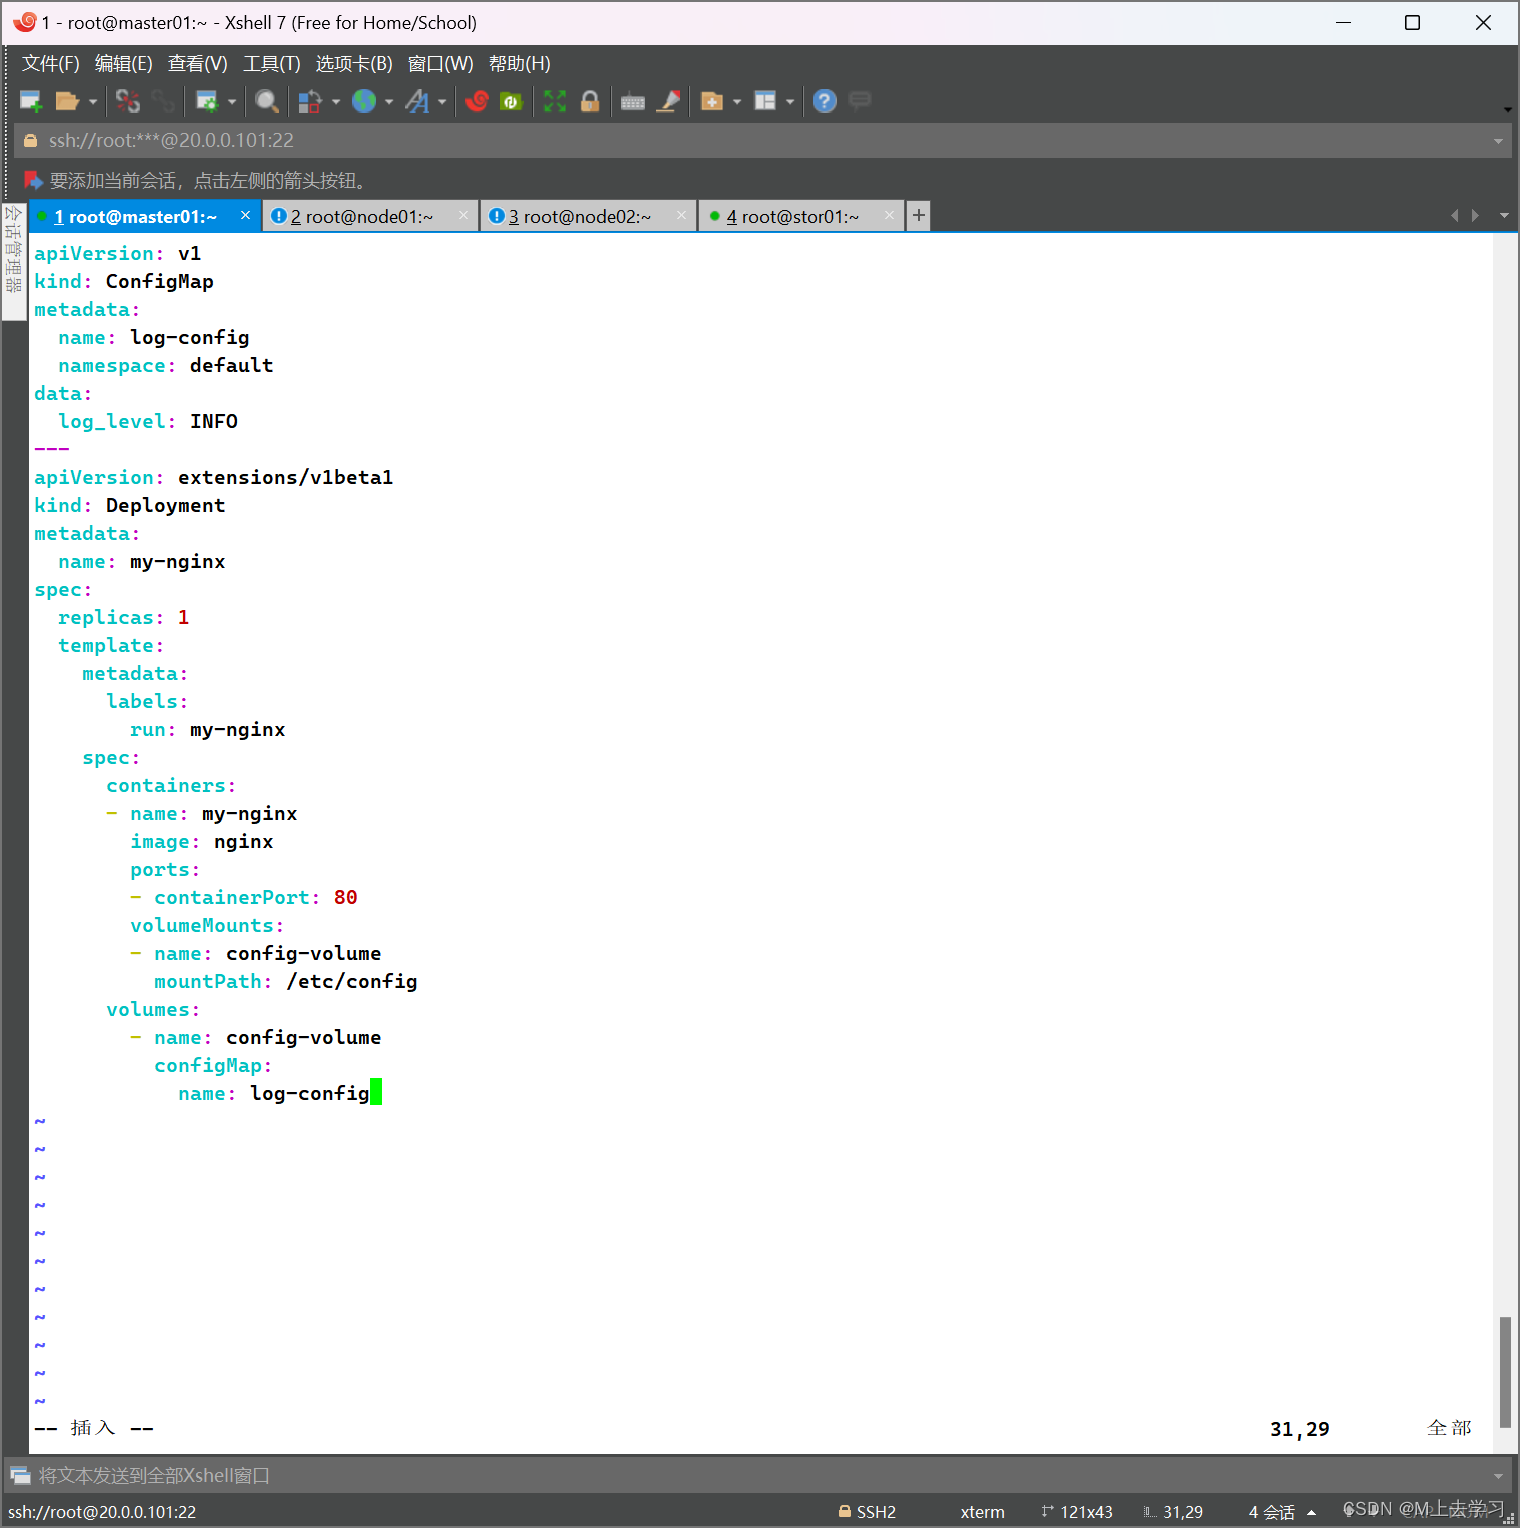
vim test-pod4.yaml

apiVersion: v1
kind: ConfigMap
metadata:
  name: log-config
  namespace: default
data:
  log_level: INFO
---
apiVersion: extensions/v1beta1
kind: Deployment
metadata:
  name: my-nginx
spec:
  replicas: 1
  template:
    metadata:
      labels:
        run: my-nginx
    spec:
      containers:
      - name: my-nginx
        image: nginx
        ports:
        - containerPort: 80
        volumeMounts:
        - name: config-volume
          mountPath: /etc/config
      volumes:
        - name: config-volume
          configMap:
            name: log-config
kubectl apply -f test-pod4.yaml
kubectl get pods
NAME                        READY   STATUS    RESTARTS   AGE
my-nginx-76b6489f44-6dwxh   1/1     Running   0          46s
kubectl exec -it my-nginx-76b6489f44-6dwxh -- cat /etc/config/log_level
INFO

kubectl edit configmap log-config
apiVersion: v1
data:
  log_level: DEBUG		#INFO 修改成 DEBUG
kind: ConfigMap
metadata:
  annotations:
    kubectl.kubernetes.io/last-applied-configuration: |
      {"apiVersion":"v1","data":{"log_level":"DEBUG"},"kind":"ConfigMap","metadata":{"annotations":{},"name":"log-config","namespace":"default"}}			#INFO 修改成 DEBUG
  creationTimestamp: 2021-05-25T07:59:18Z
  name: log-config
  namespace: default
  resourceVersion: "93616"
  selfLink: /api/v1/namespaces/default/configmaps/log-config
  uid: 1b8115de-bd2f-11eb-acba-000c29d88bba

//等大概10秒左右,使用该 ConfigMap 挂载的 Volume 中的数据同步更新
kubectl exec -it my-nginx-76b6489f44-6dwxh -- cat /etc/config/log_level
DEBUG
//ConfigMap 更新后滚动更新 Pod
更新 ConfigMap 目前并不会触发相关 Pod 的滚动更新,可以通过在 .spec.template.metadata.annotations 中添加 version/config ,每次通过修改 version/config 来触发滚动更新
kubectl patch deployment my-nginx --patch '{"spec": {"template": {"metadata": {"annotations": {"version/config": "20210525" }}}}}'
kubectl get pods
NAME                        READY   STATUS              RESTARTS   AGE
my-nginx-665dd4dc8c-j4k9t   0/1     ContainerCreating   0          4s
my-nginx-76b6489f44-6dwxh   0/1     Terminating         0          10m

kubectl get pods
NAME                        READY   STATUS    RESTARTS   AGE
my-nginx-665dd4dc8c-j4k9t   1/1     Running   0          74s


PS:更新 ConfigMap 后:
●使用该 ConfigMap 挂载的 Env 不会同步更新。
●使用该 ConfigMap 挂载的 Volume 中的数据需要一段时间(实测大概10秒)才能同步更新。


