其实不管是哪种滑动方式,基本思想都是类似的:当点击事件传递到View时,系统记下触摸点的坐标,手指移动的时候,系统记下移动后的坐标,并计算出偏移量,并通过偏移量来修改View的坐标。
下面我们来讲下几种滑动方法:
1.layout方法
大家知道,绘制View的时候会调用onlayout方法来设置要显示的位置。因此我们也可以通过修改view的left,top,right,bottom这4个属性来控制view的坐标。接下来我们来自定义一个View,通过layout方法来实现滑动:
package com.example.myapplication.views

import android.content.Context
import android.util.AttributeSet
import android.view.MotionEvent
import android.view.View

class CustomView @JvmOverloads constructor(
    context: Context,
    attrs:AttributeSet? = null,
    defStyleAttr:Int= 0
) :View(
    context,attrs,defStyleAttr){
    private var lastX:Int = 0
    private var lastY:Int = 0

    override fun onTouchEvent(event: MotionEvent): Boolean {
        //获取手指触摸点的横坐标和纵坐标
        val x = event.x.toInt()
        val y = event.y.toInt()
        when(event.action) {
            MotionEvent.ACTION_DOWN -> {
                lastX = x
                lastY = y
            }
            MotionEvent.ACTION_MOVE -> {
                //计算移动距离
                val offsetX = x -lastX
                val offsetY = y -lastY
                //调用layout方法来重新放置他的位置
                layout(left+offsetX,top+offsetY,right + offsetX, bottom + offsetY)
            }
        }
        return true
    }
}
然后我们把他放到XML里去使用:
<?xml version="1.0" encoding="utf-8"?>
<LinearLayout xmlns:android="http://schemas.android.com/apk/res/android"
    android:layout_width="match_parent"
    android:layout_height="match_parent"
    android:orientation="vertical">
    <com.example.myapplication.views.CustomView
        android:id="@+id/view_my"
        android:layout_width="100dp"
        android:layout_height="100dp"
        android:layout_gravity="center_horizontal"
        android:background="@mipmap/cai"/>

</LinearLayout>
看下效果:
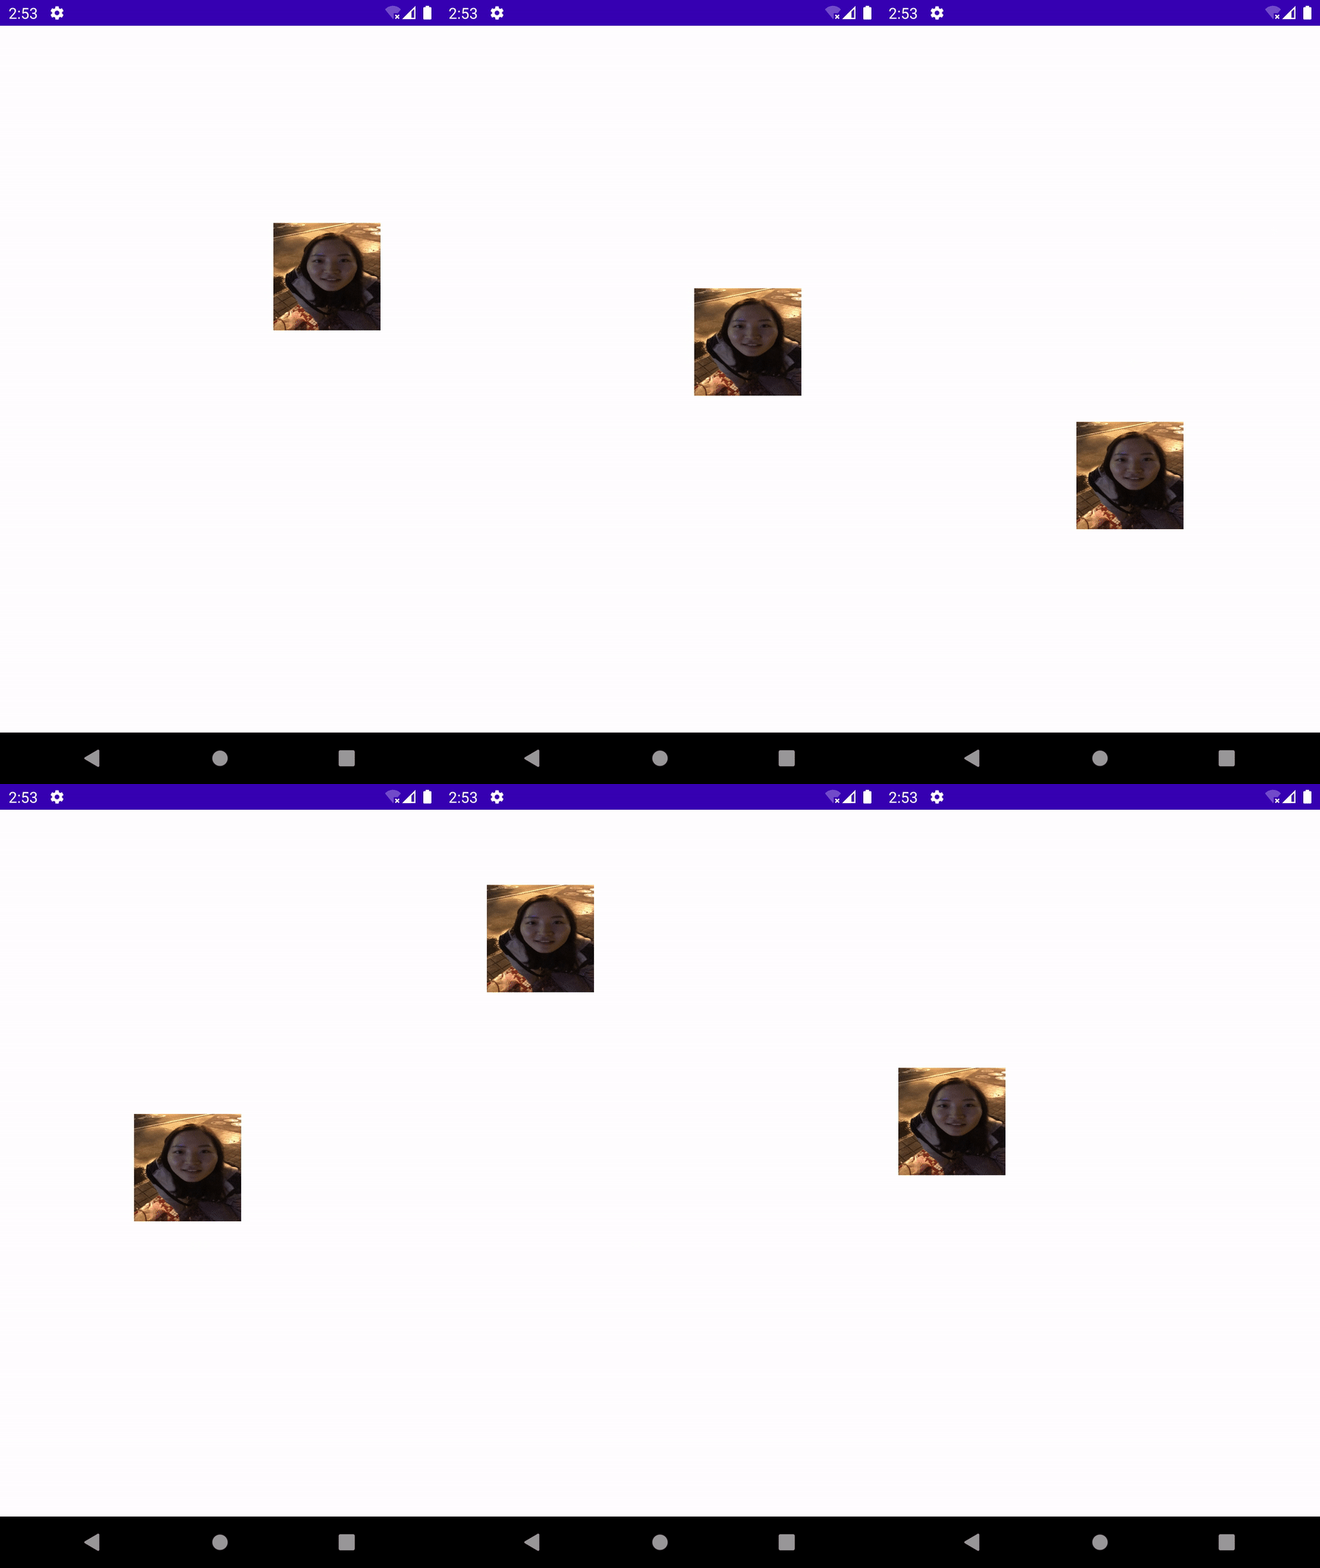
这个移动的效果实现。
2.接下来,我们看看offsetLeftAndRight()与offsetTopAndBottom()方法
这两种方法和layout方法差不多,我们稍加修改就可以。我们替换下ACTION_MOVE中的代码块:
MotionEvent.ACTION_MOVE -> {
                //计算移动距离
                val offsetX = x -lastX
                val offsetY = y -lastY
                //对left和right进行偏移
                offsetLeftAndRight(offsetX)
                //对top和bottom进行偏移
                offsetTopAndBottom(offsetY)

//                //调用layout方法来重新放置他的位置
//                layout(left+offsetX,top+offsetY,right + offsetX, bottom + offsetY)
            }
仍然能够实现。
3.第三个方法:LayoutParams(改变布局参数)
LayoutParams主要保存了一个View的布局参数,因此我们可以通过LayoutParams来改变View的布局参数。从而达到改变View位置的效果。我们同样替换下ACTION_MOVE中的代码块:
  MotionEvent.ACTION_MOVE -> {
                //计算移动距离
                val offsetX = x -lastX
                val offsetY = y -lastY
                val  layoutParams = layoutParams as LinearLayout.LayoutParams
                layoutParams.leftMargin = left + offsetX
                layoutParams.topMargin = top + offsetY
                setLayoutParams(layoutParams)

//                //对left和right进行偏移
//                offsetLeftAndRight(offsetX)
//                //对top和bottom进行偏移
//                offsetTopAndBottom(offsetY)

//                //调用layout方法来重新放置他的位置
//                layout(left+offsetX,top+offsetY,right + offsetX, bottom + offsetY)
            }
        }
不过经过我实验,这个有挺大的偏差,总是靠右边。什么原因?
4.接下来,看看使用第四种方法,使用动画来滑动。
<?xml version="1.0" encoding="utf-8"?>
<set xmlns:android="http://schemas.android.com/apk/res/android"
    android:fillAfter="true">
    <translate android:fromXDelta="0"
        android:toXDelta="300"
        />
</set>
使用代码调用:
findViewById<View>(R.id.view_my).animation = AnimationUtils.loadAnimation(this,R.anim.translate)需要注意的是,view动画,并不能改变view的位置参数。所以我们点击Button并不会触发,因为他的负控件要先判断点击事件是否在子view的位置参数范围内才会分发给他,当我们点击原来的位置的时候,才会响应。如果我们想让他在移动后的位置响应,也就是说更改view的位置参数,那么可以使用属性动画。
  val customView = findViewById<View>(R.id.view_my)
        findViewById<Button>(R.id.btn_move).setOnClickListener {
            ObjectAnimator.ofFloat(customView,"translationX",0f,300f).setDuration(1000).start()
        }
5.接下来我们看看第五种方法,scrollTo与ScrollBy
scrollTo(x,y)表示移动到一个具体的坐标点,而scrollBy(dx,dy)表示移动的增量为dx,dy,其实我们看源码就知道scorllBy最终也是计算出最终坐标,最终调用scrollTo的。我们可以看下源码:
 public void scrollBy(int x, int y) {
        scrollTo(mScrollX + x, mScrollY + y);
    }
需要注意的是,scrollTo和ScrollBy是移动的内容。我们如果设置了Bacgroud会发现看不出效果。可以改下:
 <com.example.myapplication.views.CustomView
        android:id="@+id/view_my"
        android:layout_width="100dp"
        android:layout_height="100dp"
        android:layout_gravity="center_horizontal"
        android:foreground="@mipmap/cai"/>
findViewById<Button>(R.id.btn_move).setOnClickListener {
customView.scrollBy(50,100)
// ObjectAnimator.ofFloat(customView,"translationX",0f,300f).setDuration(1000).start()
}使用foreground。接着看下效果:
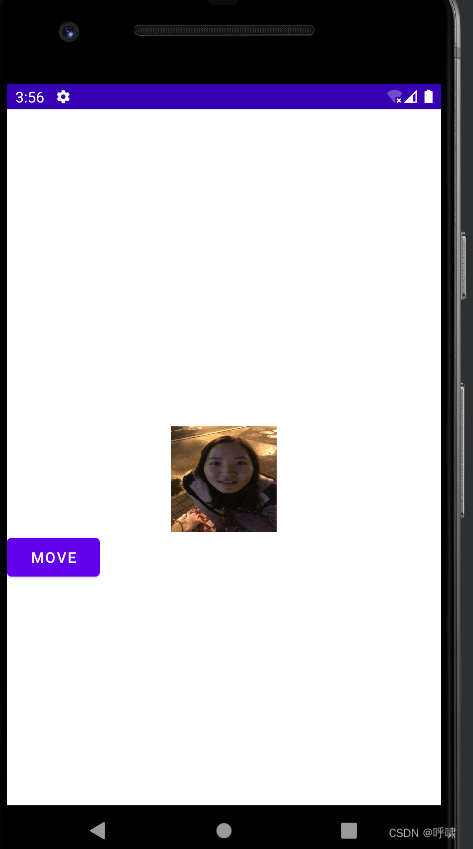
最开始是这样的,然后我们点击下按钮,变成了这样:

是不是发现了神奇的现象。再点击一次:

好家伙,快看不到了。什么原因呢?这里有两个奇怪的现象,第一个是他似乎移动的方向是相反的,第二个是是越来越小。准确说,是好像并不是缩小,而是只能看到局部。
这是因为参照物的不同导致的。假设,我们把手机屏幕比喻为放大镜。下面的内容当作报纸。我们调用这个方法,实际是使放大镜相对于这个view,往下移动了,放大镜看不到的地方不并是不存在了。所以他才看起来像是往左上移动了。然后,因为我们是内容在移动,所以View本身并没有移动,所以他的前景色就看不到了。
我们如果希望能做到随手指移动,可以在move方法里这样修改:
MotionEvent.ACTION_MOVE -> {
                //计算移动距离
                val offsetX = x -lastX
                val offsetY = y -lastY

                val parentView = parent as View
                parentView.scrollBy(-offsetX,-offsetY)
}
这里,取相反的值,岗刚说了,是因为参考物,会导致视觉相反。而要取他的parent,是因为这个view就属于他的parent的内容。所以,他就可以进行相关的动作。
6。来看第六种方法Scroller
我们在使用scrollTo/scrollBy方法进行滑动的时候,这个过程是瞬间就完成的。所以体验就不是太好。我们可以使用scroller来实现有过度效果的滑动。但是scroller本身是不能实现View的滑动,它需要与View的computeScroller方法配合才能实现弹性滑动效果。来看代码实现:
首先,定义个成员变量:
private val mScroller = Scroller(context)接下来,我们重写computeScroll方法,系统会绘制View的时候,在draw方法里调用该方法。
我们先在CustomView里定义个方法:
 fun smoothScrollTo(destX:Int, destY:Int){
        val scrollX = scrollX
        val delta  = destX - scrollX
        mScroller.startScroll(scrollX,0,delta,2,2000)
        invalidate()
    }
这个方法是提供给外部调用的,参数是想偏移的X和Y。
scrollX是目前已经滑动值,拿目的要偏移的减去已经滑动的,就是还剩下的。调用scroller.startScroll()方法。设置一个duration。我们调用invalidate()就开始重绘。这个时候就会调用view的computeScroller方法。这里面我们调用父空间viewGroup的scroollTo方法,来获取当前的一小段滑动值,然后行成小的滑动。接着调用invalidate()方法不断的重绘。
最后,我们在activity里调用:
customView.smoothScrollTo(-400,0)向右边平移400。


![[开源工具]使用Fiddler简单计算QPS[新手开箱可用]](https://img-blog.csdnimg.cn/a5719c1dd3ca4222b15d227ccf9a3c22.png)
