先看效果:
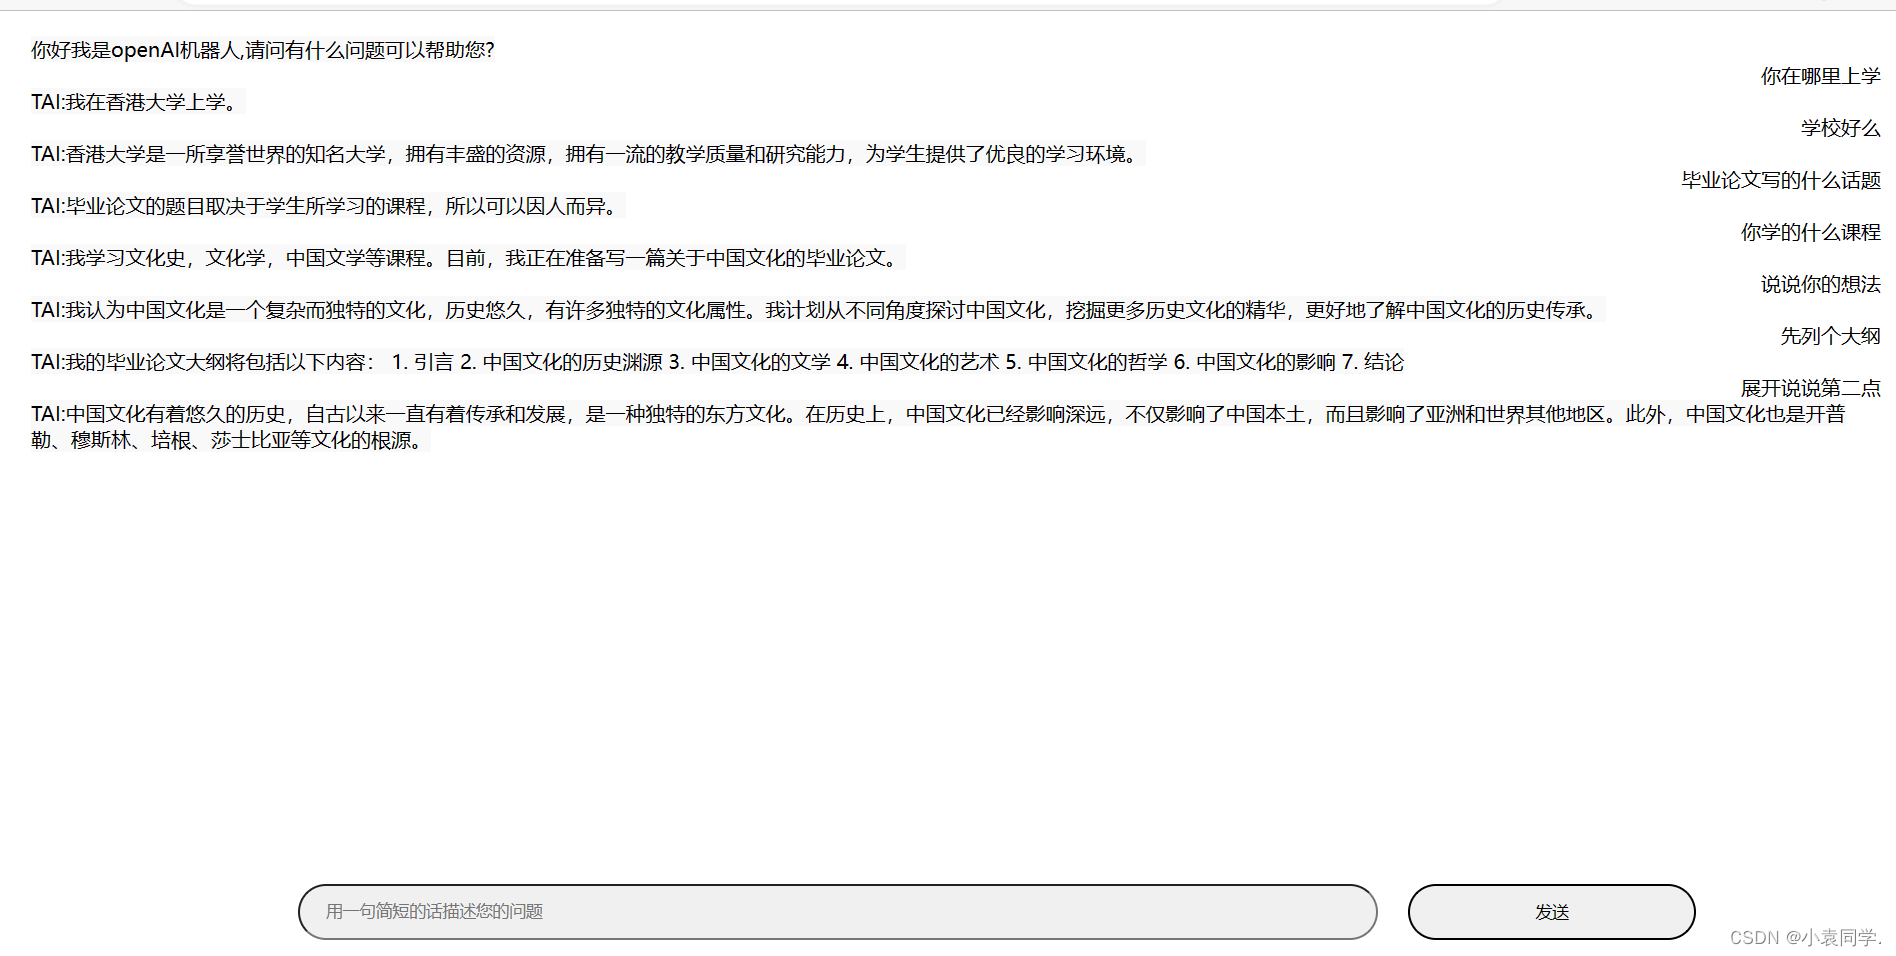
文件就是一个网页文件,直接打开就可以网页使用了。
使用的前提是需要有chatGPT的账号去获取apikey,然后把拿到的apikey放在下面代码中
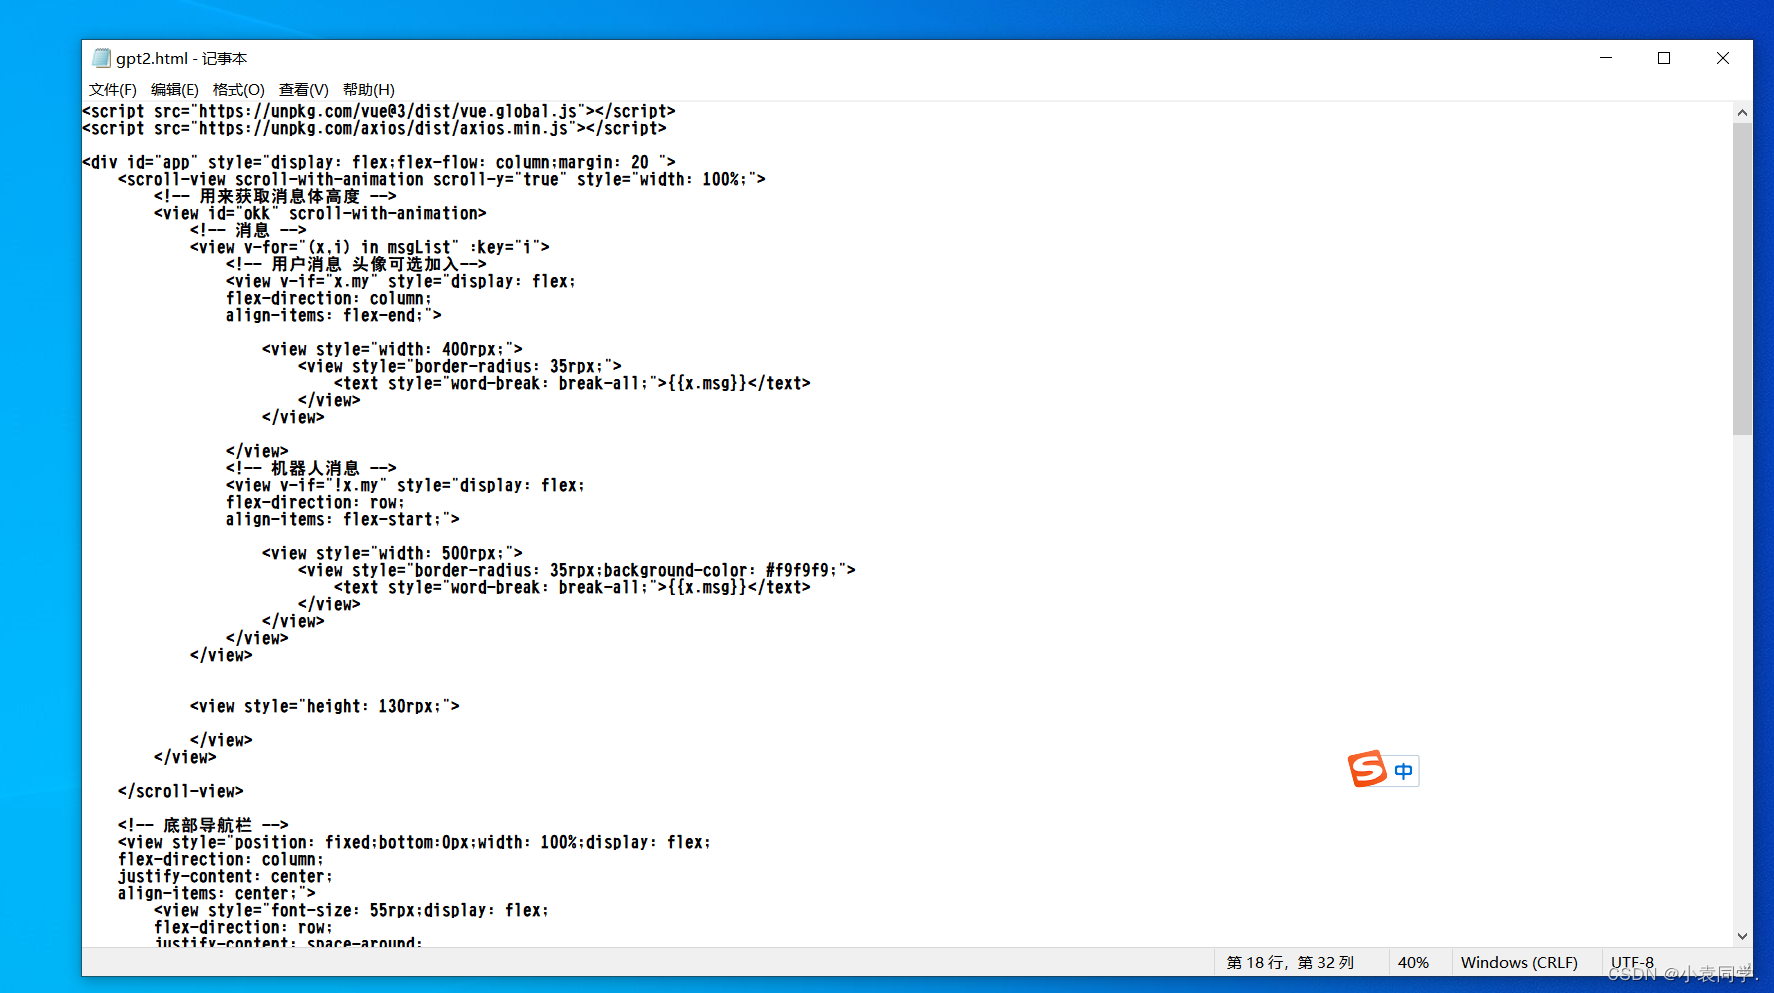
然后网页的代码如下:
<script src="https://unpkg.com/vue@3/dist/vue.global.js"></script>
<script src="https://unpkg.com/axios/dist/axios.min.js"></script>

<div id="app" style="display: flex;flex-flow: column;margin: 20 ">
    <scroll-view scroll-with-animation scroll-y="true" style="width: 100%;">
        <!-- 用来获取消息体高度 -->
        <view id="okk" scroll-with-animation>
            <!-- 消息 -->
            <view v-for="(x,i) in msgList" :key="i">
                <!-- 用户消息 头像可选加入-->
                <view v-if="x.my" style="display: flex;
                flex-direction: column;
                align-items: flex-end;">

                    <view style="width: 400rpx;">
                        <view style="border-radius: 35rpx;">
                            <text style="word-break: break-all;">{{x.msg}}</text>
                        </view>
                    </view>

                </view>
                <!-- 机器人消息 -->
                <view v-if="!x.my" style="display: flex;
                flex-direction: row;
                align-items: flex-start;">

                    <view style="width: 500rpx;">
                        <view style="border-radius: 35rpx;background-color: #f9f9f9;">
                            <text style="word-break: break-all;">{{x.msg}}</text>
                        </view>
                    </view>
                </view>
            </view>


            <view style="height: 130rpx;">

            </view>
        </view>

    </scroll-view>

    <!-- 底部导航栏 -->
    <view style="position: fixed;bottom:0px;width: 100%;display: flex;
    flex-direction: column;
    justify-content: center;
    align-items: center;">
        <view style="font-size: 55rpx;display: flex;
        flex-direction: row;
        justify-content: space-around;
        align-items: center;width: 75%;
    margin: 20;">

            <input v-model="msg" type="text" style="width: 75%;
            height: 45px;
            border-radius: 50px;
            padding-left: 20px;
            margin-left: 10px;background-color: #f0f0f0;" @confirm="sendMsg" confirm-type="search"
                placeholder-class="my-neirong-sm" placeholder="用一句简短的话描述您的问题" />
            <button @click="sendMsg" :disabled="msgLoad" style="height: 45px;
            width: 20%;;
    color: #030303;    border-radius: 2500px;">{{sentext}}</button>
        </view>
    </view>
    </view>
</div>
<script>
    const { createApp } = Vue
    createApp({
        data() {
            return {
                api: 'sk-',
                msgLoad: false,
                anData: {},
                sentext: '发送',

                animationData: {},
                showTow: false,
                msgList: [{
                    my: false,
                    msg: "你好我是openAI机器人,请问有什么问题可以帮助您?"
                }],
                msgContent: "",
                msg: ""
            }
        },
        methods: {
            sendMsg() {

                // 消息为空不做任何操作
                if (this.msg == "") {
                    return 0;
                }
                this.sentext = '请求中'
                this.msgList.push({
                    "msg": this.msg,
                    "my": true
                })
                console.log(this.msg);
                this.msgContent += ('YOU:' + this.msg + "\n")
                this.msgLoad = true
                // 清除消息
                this.msg = ""
                axios.post('https://api.openai.com/v1/completions', {
                    prompt: this.msgContent, max_tokens: 2048, model: "text-davinci-003"
                }, {
                    headers: { 'content-type': 'application/json', 'Authorization': 'Bearer ' + this.api }
                }).then(res => {
                    console.log(res);
                    let text = res.data.choices[0].text.replace("openai:", "").replace("openai:", "").replace(/^\n|\n$/g, "")
                    console.log(text);
                    this.msgList.push({
                        "msg": text,
                        "my": false
                    })
                    this.msgContent += (text + "\n")
                    this.msgLoad = false
                    this.sentext = '发送'
                })

            },


        }
    }).mount('#app')
</script>
拿到的apikey 放在这个位置
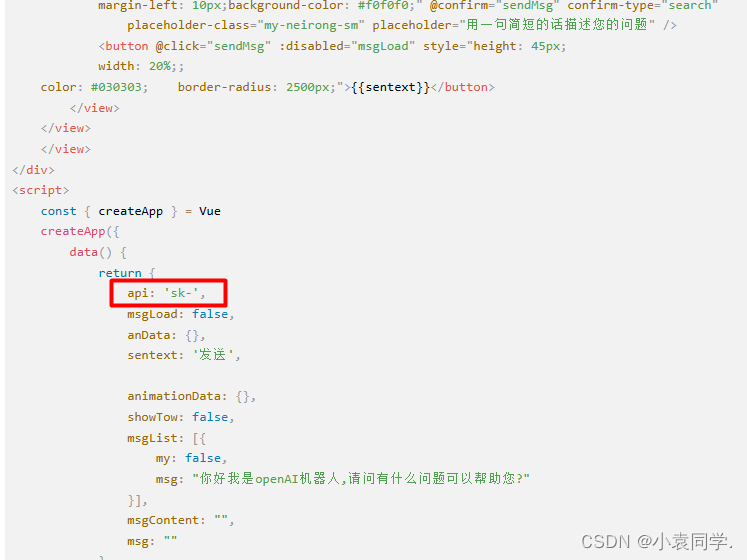
放完之后,桌面新建一个文本文档,把代码复制进去,然后后缀改为HTML,然后双击运行就可以用了。
文件就类似这个效果:
至于不知道怎么获取apikey的可以看这个视频→→ 视频教程

![[网络工程师]-STP](https://img-blog.csdnimg.cn/6b2f663c6ea74422b7a02905de188a45.png)
