20231102从头开始配置cv180zb的编译环境(欢迎入坑,肯定还有很多问题等着你)
2023/11/2 11:31
(欢迎入坑,本篇只是针对官方的文档整理的!只装这些东西你肯定编译不过的,还有很多问题等着你呢!)
SDK:
https://developer.sophgo.com/thread/471.html
HDK:
https://developer.sophgo.com/thread/472.html
1、预先安装的软件:
sudo apt-get install net-tools
sudo apt-get install nethogs
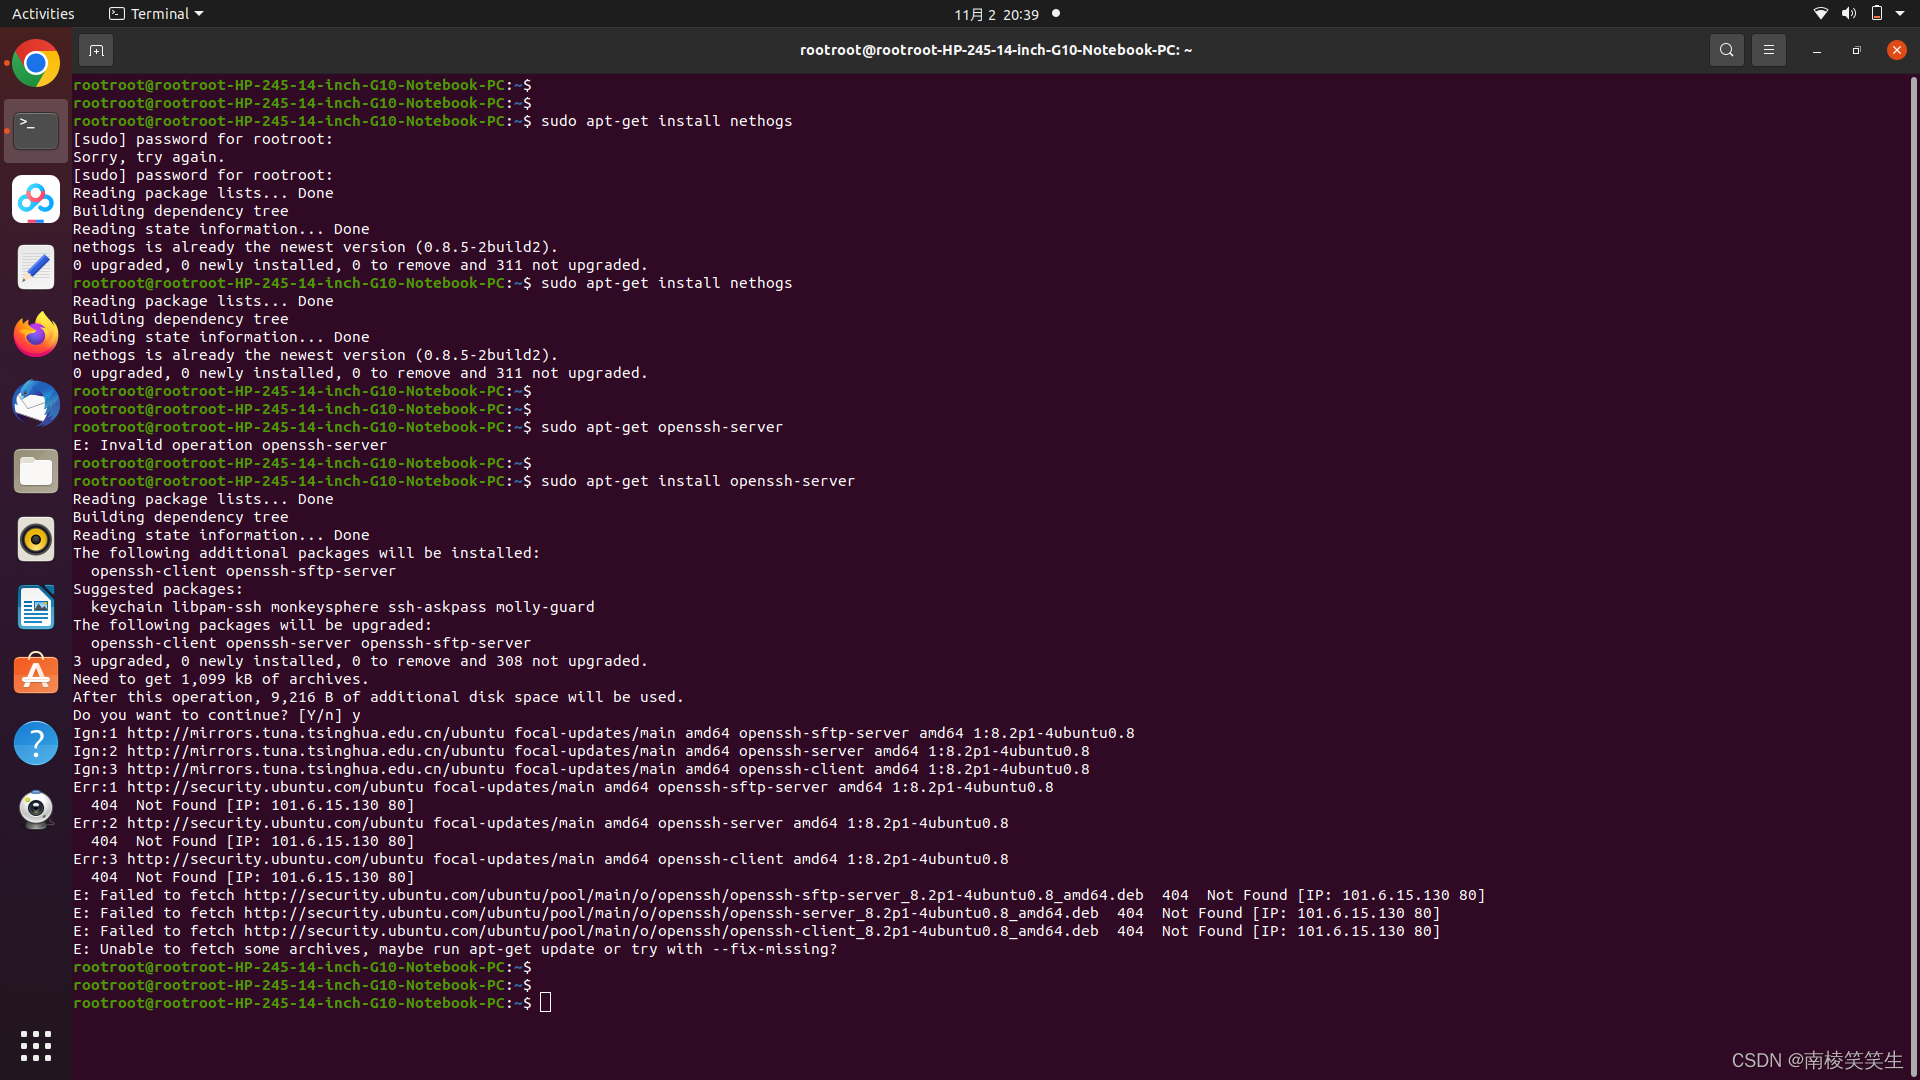
首先安装openssh-server,这样就可以在Windows下通过SSH软件连接Ubuntu的电脑操作了。
sudo apt-get install openssh-server
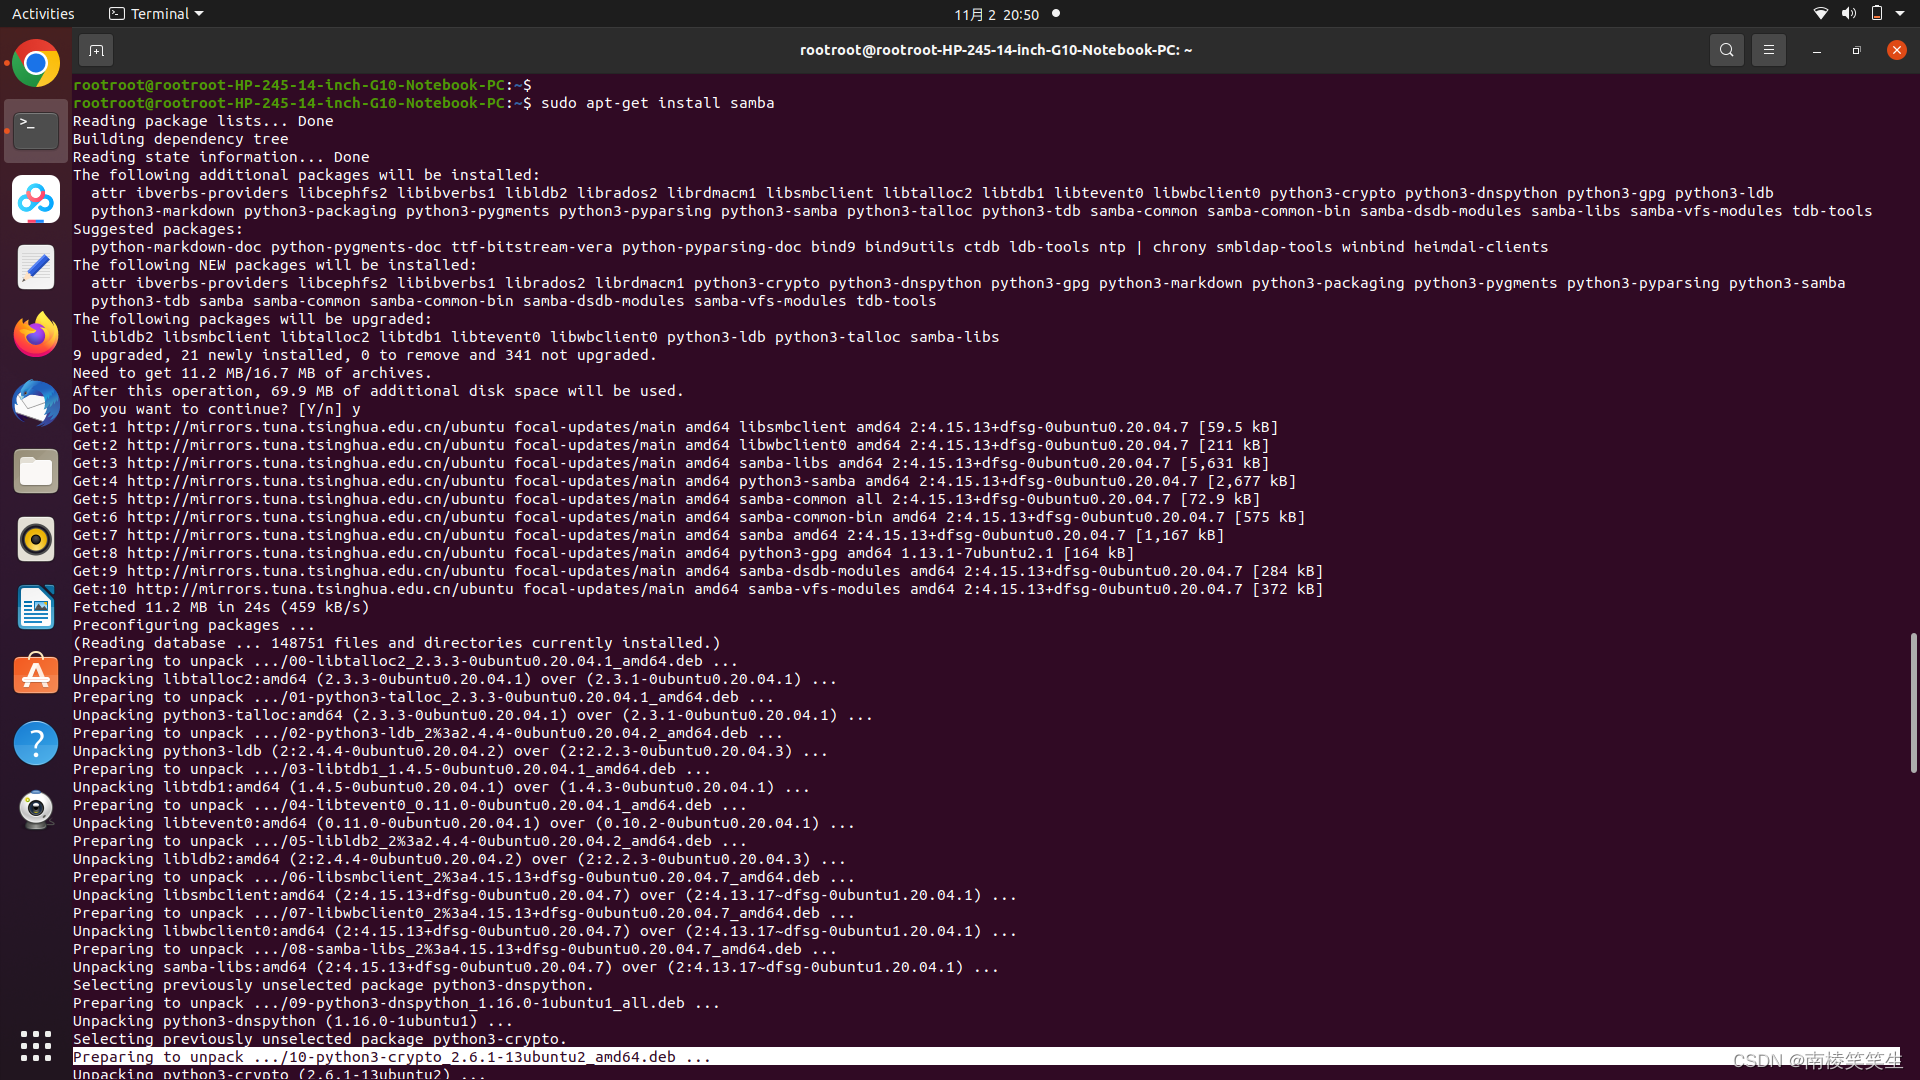
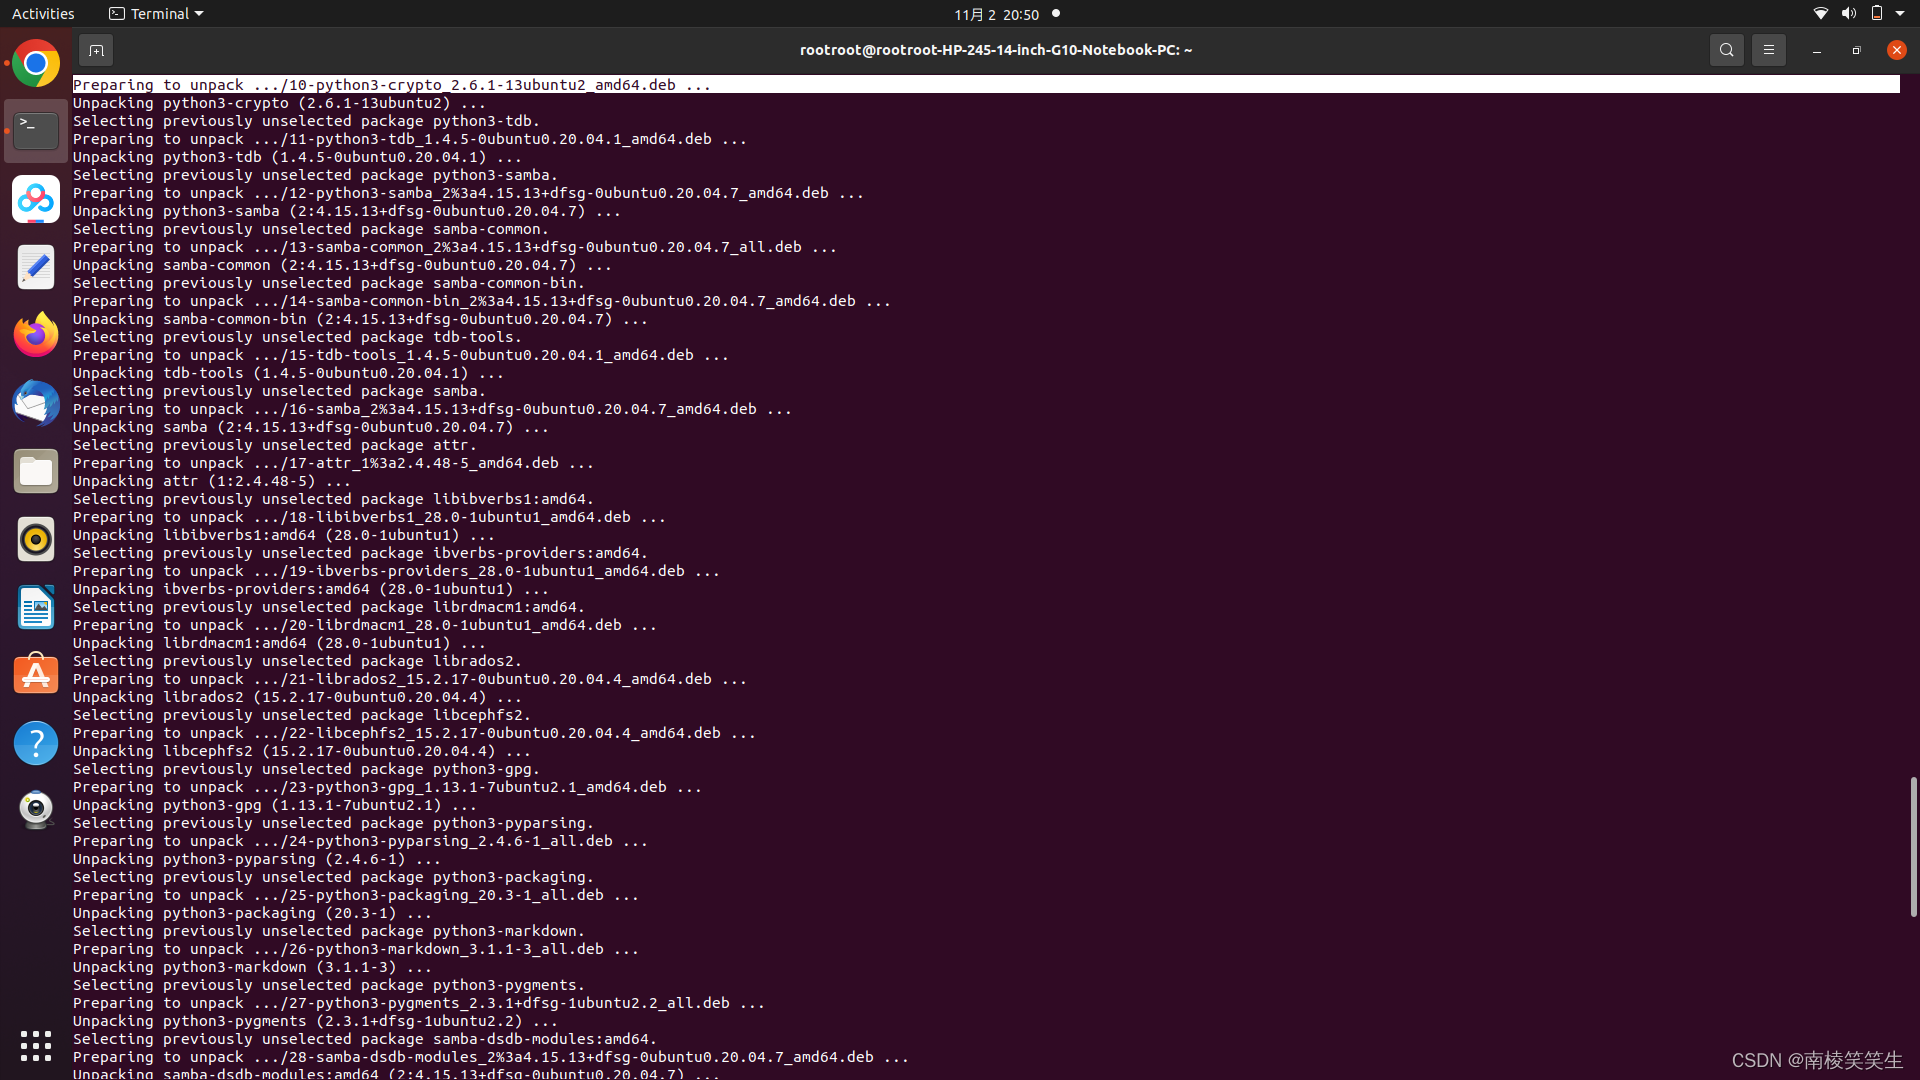
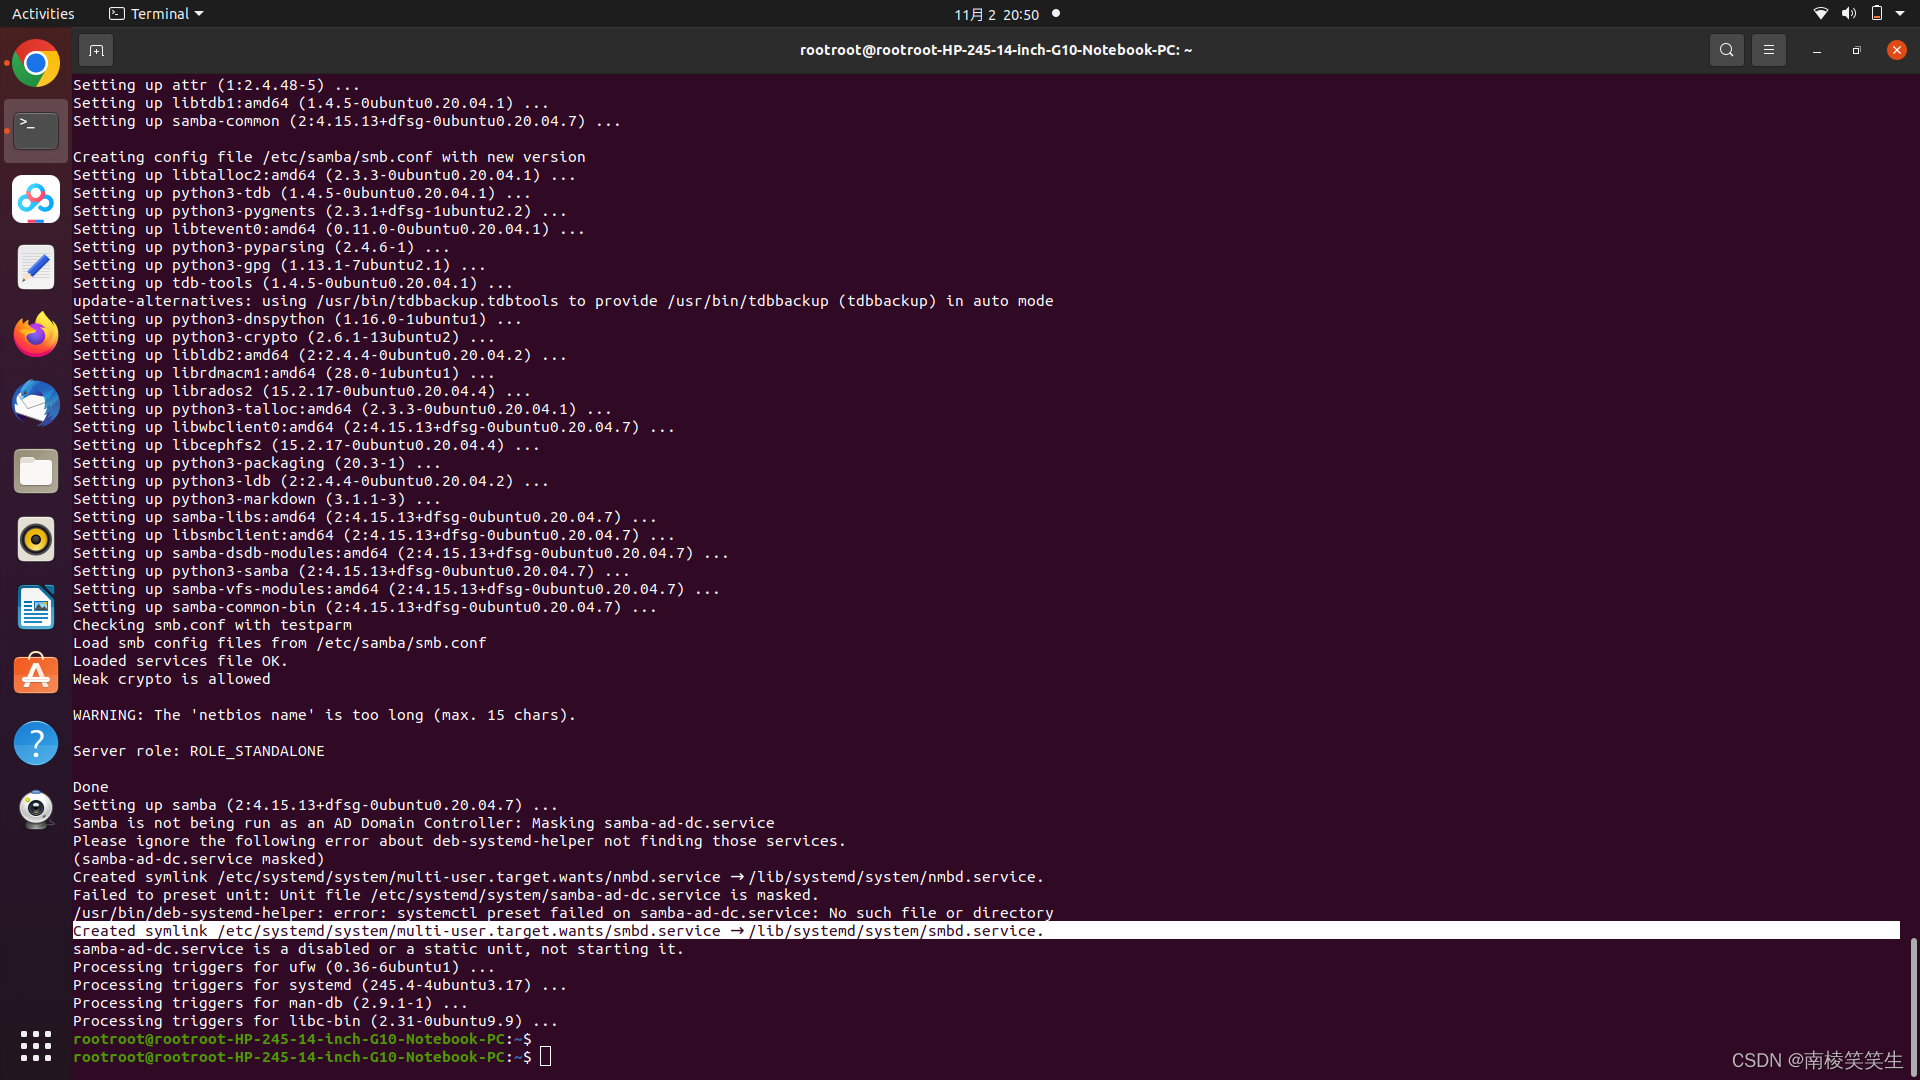
rootroot@rootroot-Lenovo-IdeaPad-S410:~$ sudo apt-get install samba
rootroot@rootroot-Lenovo-IdeaPad-S410:~$
rootroot@rootroot-Lenovo-IdeaPad-S410:~$ samba --version
Version 4.3.11-Ubuntu
rootroot@rootroot-Lenovo-IdeaPad-S410:~$
rootroot@rootroot-Lenovo-IdeaPad-S410:~$ ps -e | grep smb
6273 ? 00:00:00 smbd
6276 ? 00:00:00 smbd
6279 ? 00:00:00 smbd
rootroot@rootroot-Lenovo-IdeaPad-S410:~$
rootroot@rootroot-Lenovo-IdeaPad-S410:~$
rootroot@rootroot-Lenovo-IdeaPad-S410:~$ cd /etc/samba/
rootroot@rootroot-Lenovo-IdeaPad-S410:/etc/samba$
rootroot@rootroot-Lenovo-IdeaPad-S410:/etc/samba$
rootroot@rootroot-Lenovo-IdeaPad-S410:/etc/samba$ ll
总用量 36
drwxr-xr-x 3 root root 4096 6月 7 15:06 ./
drwxr-xr-x 131 root root 12288 6月 7 15:21 ../
-rw-r--r-- 1 root root 8 3月 7 18:43 gdbcommands
-rw-r--r-- 1 root root 9542 6月 7 15:06 smb.conf
drwxr-xr-x 2 root root 4096 3月 7 18:41 tls/
rootroot@rootroot-Lenovo-IdeaPad-S410:/etc/samba$
rootroot@rootroot-Lenovo-IdeaPad-S410:/etc/samba$
rootroot@rootroot-Lenovo-IdeaPad-S410:/etc/samba$ sudo cp smb.conf smb.conf.bak1
rootroot@rootroot-Lenovo-IdeaPad-S410:/etc/samba$
rootroot@rootroot-Lenovo-IdeaPad-S410:/etc/samba$ sudo vi smb.conf
rootroot@rootroot-Lenovo-IdeaPad-S410:/etc/samba$
最后面加入:
[rootroot]
comment=rootroot Shared Folder
path=/
writable=yes
valid users=rootroot
create mask=0700
directory mask=0700
available=yes
browseable=yes
rootroot@rootroot-Lenovo-IdeaPad-S410:/etc/samba$ sudo smbpasswd -a rootroot
New SMB password:
Retype new SMB password:
Added user rootroot.
rootroot@rootroot-Lenovo-IdeaPad-S410:/etc/samba$
sudo /etc/init.d/smbd restart
现在你就可以在WIN7下将:\\192.168.0.104\rootroot\home\rootroot映射为L盘了!

2、
12 SDK编译及使用说明.pdf
https://doc.sophgo.com/cvitek-develop-docs/master/docs_latest_release/CV180x_CV181x/zh/01.software/OSDRV/SDK_Compilation_and_Usage_Guide/build/SDKCompilationandUsageGuide_zh.pdf
16 Linux 开发环境用户指南.pdf
https://doc.sophgo.com/cvitek-develop-docs/master/docs_latest_release/CV180x_CV181x/zh/01.software/OSDRV/Linux_Development_Environment_User_Guide/build/LinuxDevelopmentEnvironmentUserGuide_zh.pdf
https://doc.sophgo.com/cvitek-develop-docs/master/docs_latest_release/CV180x_CV181x/zh/01.software/OSDRV/SDK_Compilation_and_Usage_Guide/build/html/index.html
CV180X/CV181X SDK 编译及使用说明?
https://doc.sophgo.com/cvitek-develop-docs/master/docs_latest_release/CV180x_CV181x/zh/01.software/OSDRV/SDK_Compilation_and_Usage_Guide/build/html/2_Build_CVITEK_Software_Compilation_Environment.html#linux
2.1. Linux 服务器?
开发者可选择使用:
Ubuntu OS计算机
Windows OS计算机 + Virtualbox VM (上面运行Ubuntu)
两种方式,都请安装成Ubuntu 20.04 LTS版本。
Virtualbox VM 下载网址: https://www.virtualbox.org/wiki/Downloads
Ubuntu 20.04 LTS下载网址: https://releases.ubuntu.com/20.04/ubuntu-20.04.2.0-desktop-amd64.iso
【这个链接已经失效了,如果一定要使用这个版本,可以使用迅雷下载备份】
https://releases.ubuntu.com/20.04/
可以到这里直接下载最新版本的就可以了,比如:ubuntu-20.04.6-desktop-amd64.iso

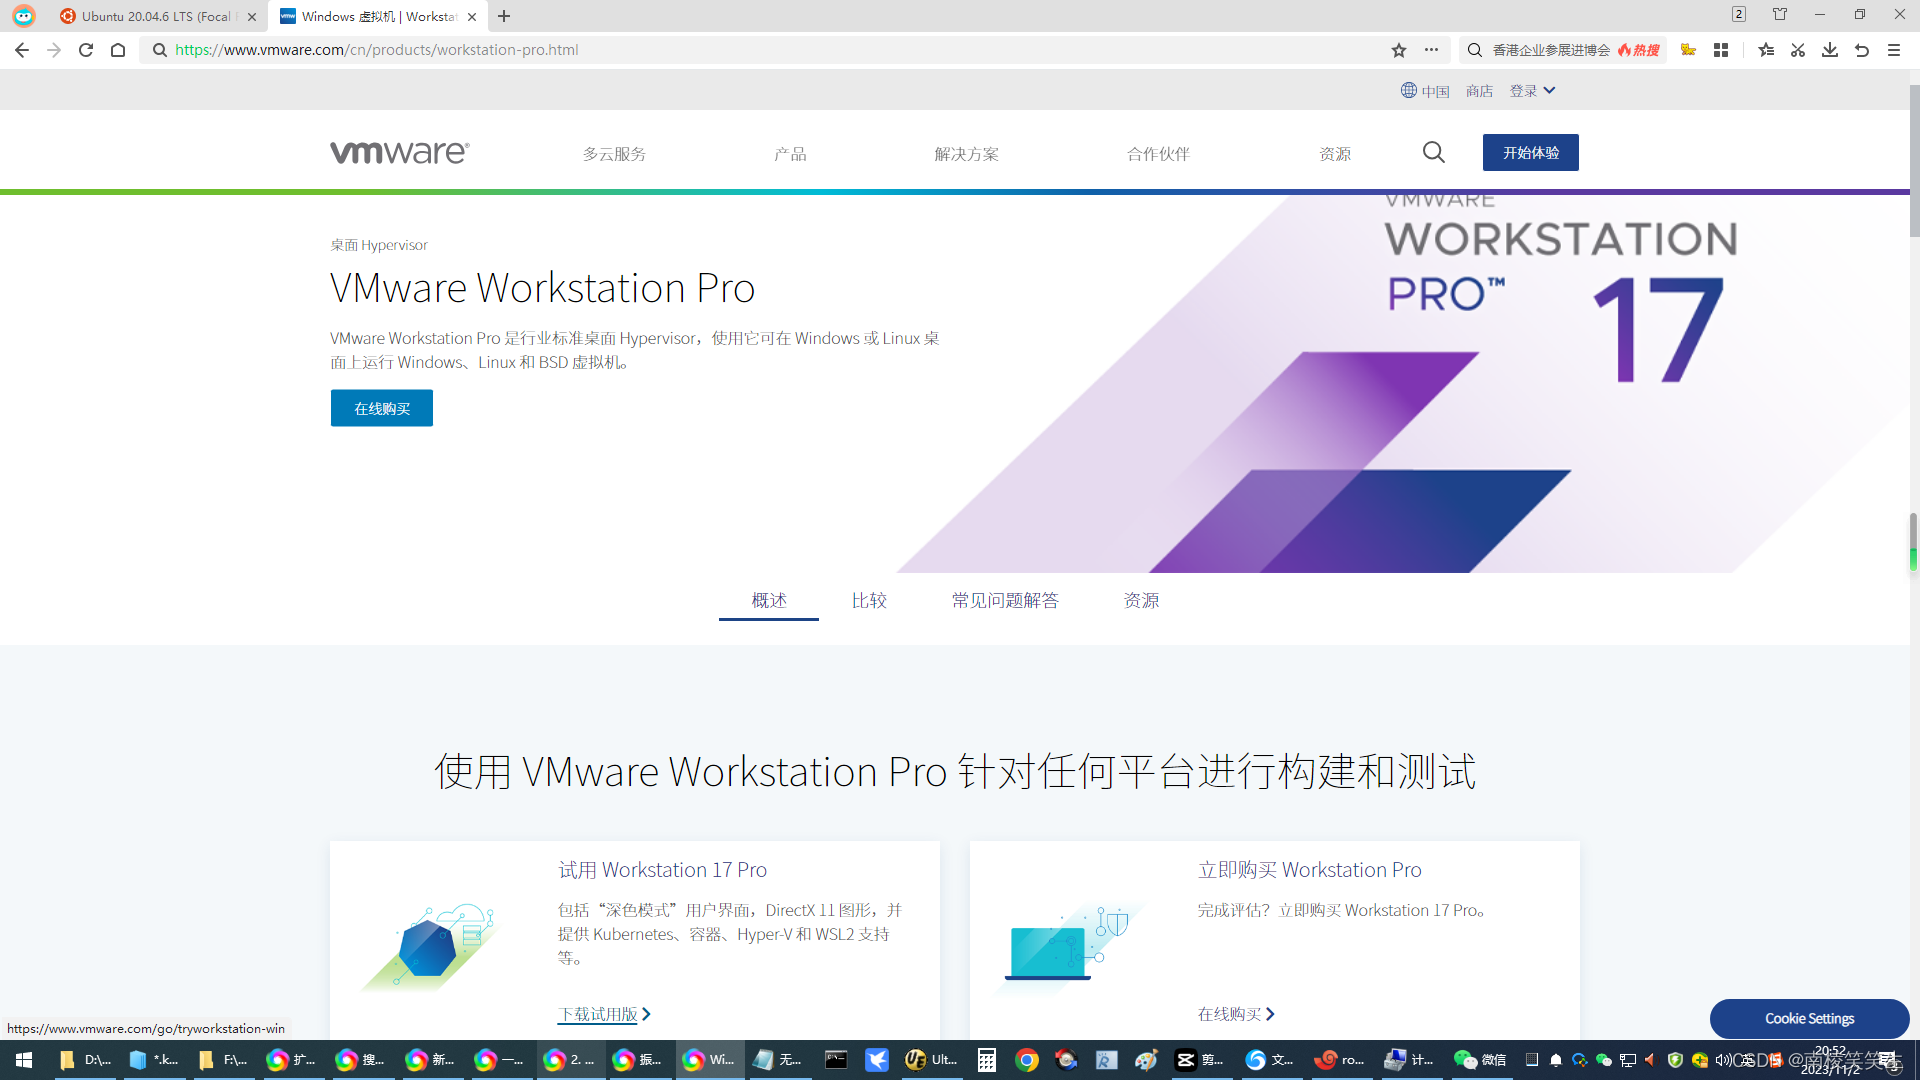
https://www.vmware.com/cn/products/workstation-pro.html
试用 Workstation 17 Pro
包括“深色模式”用户界面,DirectX 11 图形,并提供 Kubernetes、容器、Hyper-V 和 WSL2 支持等。
下载试用版
【请直接下载最新版本的就可以了】
https://www.vmware.com/products/workstation-pro/workstation-pro-evaluation.html
https://download3.vmware.com/software/WKST-1700-WIN/VMware-workstation-full-17.0.0-20800274.exe
【如果下载慢,可以直接用迅雷下载这个链接的!】

https://doc.sophgo.com/cvitek-develop-docs/master/docs_latest_release/CV180x_CV181x/zh/01.software/OSDRV/SDK_Compilation_and_Usage_Guide/build/html/2_Build_CVITEK_Software_Compilation_Environment.html#id1
2.2. 建构编译环境?
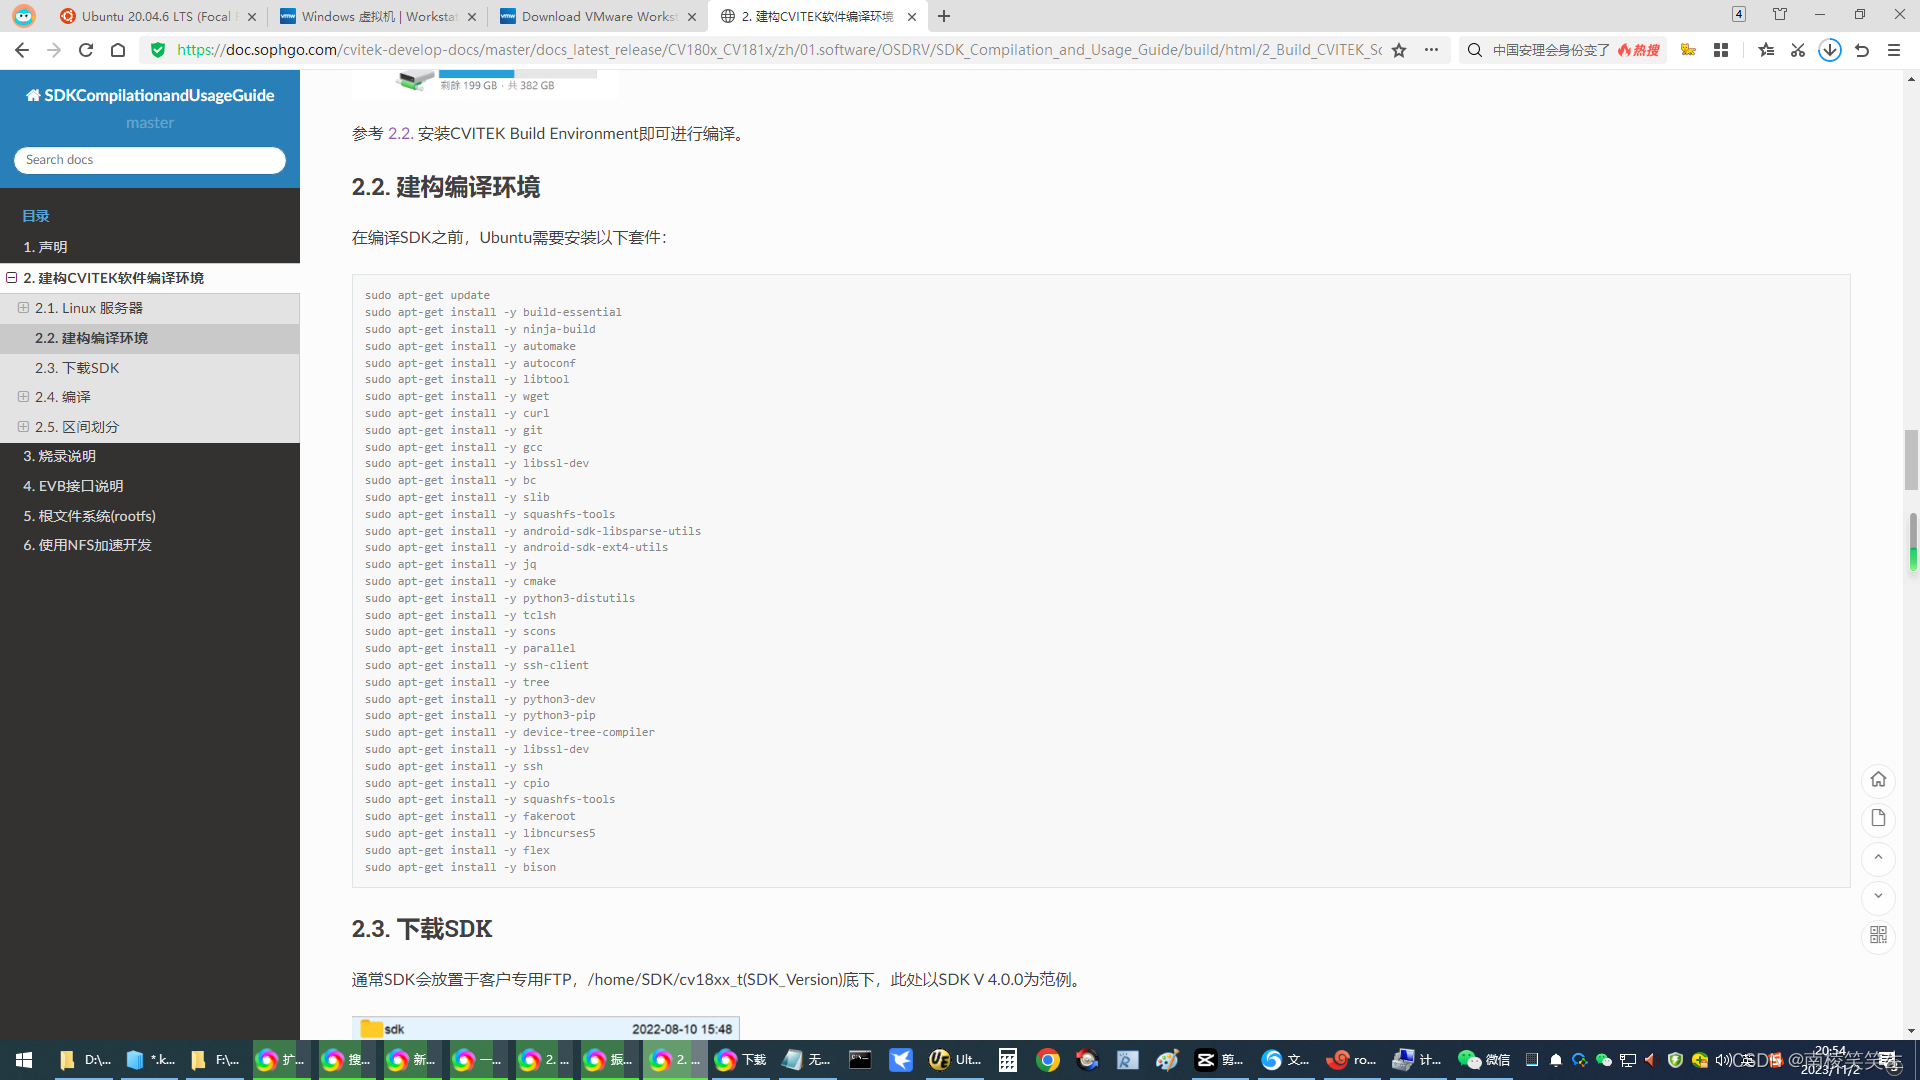
在编译SDK之前,Ubuntu需要安装以下套件:
sudo apt-get update
sudo apt-get install -y build-essential
sudo apt-get install -y ninja-build
sudo apt-get install -y automake
sudo apt-get install -y autoconf
sudo apt-get install -y libtool
sudo apt-get install -y wget
sudo apt-get install -y curl
sudo apt-get install -y git
sudo apt-get install -y gcc
sudo apt-get install -y libssl-dev
sudo apt-get install -y bc
sudo apt-get install -y slib
sudo apt-get install -y squashfs-tools
sudo apt-get install -y android-sdk-libsparse-utils
sudo apt-get install -y android-sdk-ext4-utils
sudo apt-get install -y jq
sudo apt-get install -y cmake
sudo apt-get install -y python3-distutils
sudo apt-get install -y tclsh
sudo apt-get install -y scons
sudo apt-get install -y parallel
sudo apt-get install -y ssh-client
sudo apt-get install -y tree
sudo apt-get install -y python3-dev
sudo apt-get install -y python3-pip
sudo apt-get install -y device-tree-compiler
sudo apt-get install -y libssl-dev
sudo apt-get install -y ssh
sudo apt-get install -y cpio
sudo apt-get install -y squashfs-tools
sudo apt-get install -y fakeroot
sudo apt-get install -y libncurses5
sudo apt-get install -y flex
sudo apt-get install -y bison
