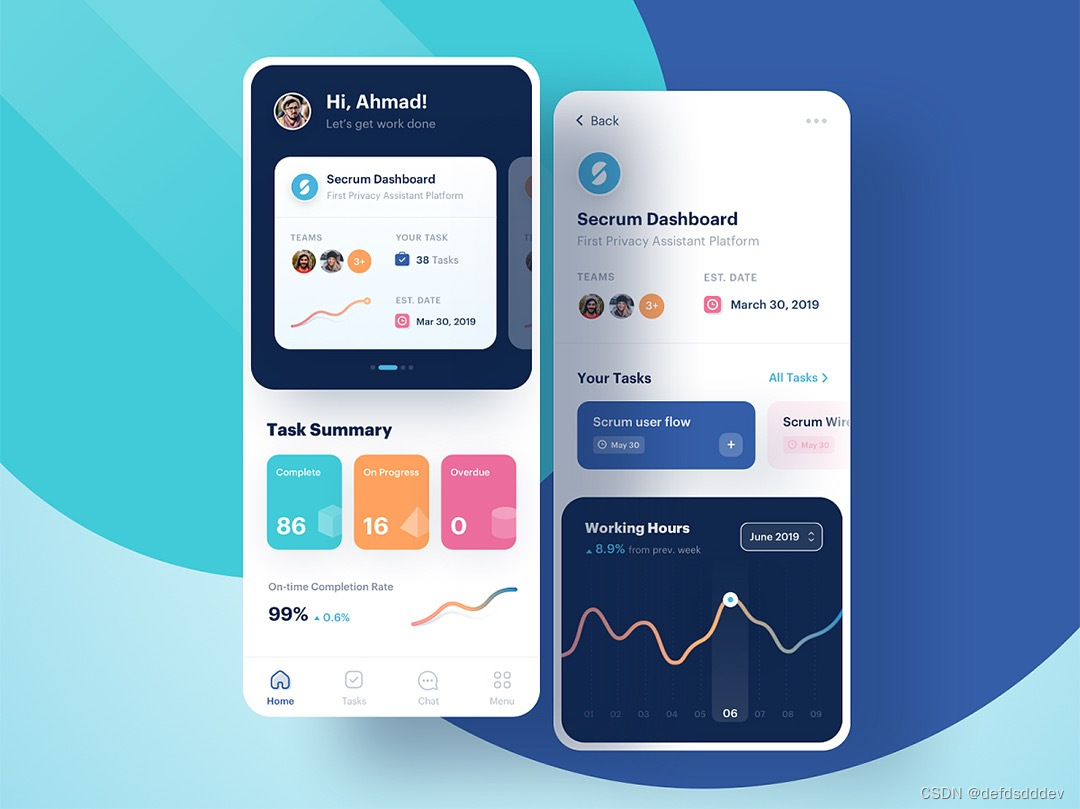
看看效果

实现步骤:
1.选择图片
/* 选择背景图片 对图片的大小以及类型做一下限制 */
chooseImage(e) {
	uni.chooseImage({
		count: 1,
		success: (res) => {
			let index = res.tempFilePaths[0].lastIndexOf(".");
			let imgUrl = res.tempFilePaths[0].substr(index + 1);

			if (imgUrl != "png" && imgUrl != "jpg" && imgUrl != "jpeg") {
				uni.showToast({
					title: '请上传jpg、jpeg、png类型的图片',
					icon: 'none'
				});
				return
			}
			if (res.tempFiles[0].size / 1024 < 1024 * 1024 * 20) {
				this.originImg = res.tempFilePaths[0]
				this.imageSrc = res.tempFilePaths[0]
				this.loadImage();
			} else {
				uni.showToast({
					title: '图片大小不能超过20M,当前大小' + (res.tempFiles[0].size / 1024).toFixed(
						2) + 'KB',
					icon: 'none'
				})
			}
		},
	});
},
图片展示区域计算
/* 将图片加载到画布  */
loadImage() {
	uni.showLoading({
		title: "图片加载中...",
	});

	/* 获取图片信息  */
	uni.getImageInfo({
		src: this.imageSrc,
		success:(res) => {
			let imgH = res.height;
			let imgW = res.width;

			/* 图片的宽高比  */
			IMG_RATIO = imgW / imgH;

			/**
			 * 如果图片更高一些,为确保图片能够完整在视窗内显示需如下处理
			 * 1. 缩放图片的高为 视窗高度减去底部菜单按钮高度(120)
			 * 2. 根据图片缩放后的高度,根据图片宽高比计算图片的宽度
			 * 3. 如果步骤2计算的图片宽度大于屏幕宽度,则需要再次调整图片宽度为视窗宽度-margin(10)
			 * 4. 根据步骤3的宽度,结合图片宽高比重新计算图片的高度
			 */
			if (IMG_RATIO < 1 && (SCREEN_HEIGHT - 133) * IMG_RATIO < SCREEN_WIDTH - 10) {
				IMG_REAL_W = (SCREEN_HEIGHT - 133) * IMG_RATIO;
				IMG_REAL_H = SCREEN_HEIGHT - 133;
			} else {
				IMG_REAL_W = SCREEN_WIDTH - 10;
				IMG_REAL_H = IMG_REAL_W / IMG_RATIO;
			}
				/* 裁剪区域的宽高同图片尺寸  */
				this.cropperW=IMG_REAL_W,
				this.cropperH=IMG_REAL_H,
				/* 上下左右各留一定的margin已便更好的拖动裁剪区域  */
				this.cropperL=Math.ceil((SCREEN_WIDTH - IMG_REAL_W) / 2),
				/* 留出底部操作按钮位置 70  */
				this.cropperT=uni.getStorageSync("navHeight"),
				// 图片缩放值
				this.imageW=IMG_REAL_W,
				this.imageH=IMG_REAL_H,
				this.isShowImg=true,

				uni.hideLoading();
				this.finish()
		},
	});
},
图片水印canvas绘制
/* 完成裁剪,输出裁剪后的图片路径  */
finish() {
	uni.showLoading({
		title: "图片生成中...",
	});
	// 水印加载
	const ctx = uni.createCanvasContext("myCanvas", this);
	ctx.clearRect(0, 0, IMG_REAL_W, IMG_REAL_H);
	// 将图片写入画布
	ctx.drawImage(this.imageSrc, 0, 0, IMG_REAL_W, IMG_REAL_H);
	ctx.save();
	ctx.beginPath();

	if (['alone'].includes(this.changeMode)) {
		ctx.beginPath()
		ctx.setFontSize(this.changeSize)
		ctx.setFillStyle(this.changeColor)
		ctx.fillText(this.changeText, this.imageW - this.changeSize * this.changeText.length - 10, this.imageH - this.changeSize)
	}

	if (['level'].includes(this.changeMode)) {
		for (let j = 1; j < 12; j++) {
			ctx.beginPath()
			ctx.setFontSize(this.changeSize)
			ctx.setFillStyle(this.changeColor)
			ctx.fillText(this.changeText, 0, 50 * j)
			for (let i = 1; i < 12; i++) {
				ctx.beginPath()
				ctx.setFontSize(this.changeSize)
				ctx.setFillStyle(this.changeColor)
				ctx.fillText(this.changeText, (15 + (this.changeSize - 1) * this.changeText.length) * i, 50 * j)
			}
		}
	}

	if (["incline"].includes(this.changeMode)) {
		ctx.font = this.changeSize + "px serif";
		ctx.fillText(this.changeText, -1000, -1000)
      const textWidth = ctx.measureText(this.changeText + "").width
		const _textWidth = textWidth * 1.5
		const _textHeight = 40
		const xSize = Math.floor(this.imageW / _textWidth + 1)
     const ySize = Math.floor(this.imageH / _textHeight + 1)
		// 开始绘制水印:
      // 左右各多出一半图片宽度的水印,是用来处理旋转后盖住空白部分的;上下同理:
		for (var x = 0; x < xSize * 2; x++) {
        // x控制横向多少个水印:
        for (var y = 0; y < ySize * 2; y++) {
          // y控制纵向多少个水印:
          // 绘制文字  注意::绘制斜体文字 旋转以后会发生位移,所以必须在旋转之后进行位置的调整;
          this.drawText(ctx, (this.imageW), (this.imageH), -this.imageW / 2 + ((x * _textWidth)), -this.imageH / 2 + ((y * _textHeight)))
        }
      }
	}

	ctx.draw(true, () => {
		// 获取画布要裁剪的位置和宽度   均为百分比 * 画布中图片的宽度    保证了在微信小程序中裁剪的图片模糊  位置不对的问题 canvasT = (this.cutT / this.cropperH) * (this.imageH / pixelRatio)
		var canvasW = IMG_REAL_W;
		var canvasH = IMG_REAL_H;
		var canvasL = 0;
		var canvasT = 0;
		uni.canvasToTempFilePath({
				x: canvasL,
				y: canvasT,
				width: canvasW,
				height: canvasH,
				// destWidth: canvasW,
				// destHeight: canvasH,
				quality: +this.quality,
				fileType: this.fileType,
				canvasId: "myCanvas",
				success: (res) => {
					uni.hideLoading();
					// this.saveImg()
					this.waterImgSrc = res.tempFilePath
				},
				fail: (err) => {
					uni.hideLoading();
					uni.showToast({
						title: "图片截取失败!",
						icon: "none",
					});
				},
			},
			this
		);
	});
},
drawText(ctx, imgWidth, imgHeight, x, y) {
	var text = this.changeText;
	ctx.save(); //保存原来的状态  绘制字体都是需要旋转倾斜  那么之前绘制的图片就要进行状态的保存
	// ctx.globalAlpha = 0.6
	// 移动到中心点,再旋转相当于按照之前的原点旋转了
	ctx.translate(imgWidth / 2, imgHeight / 2)
	ctx.rotate(-Math.PI / 6); //绘制倾斜字体
	// 移动回原来的位置:
	ctx.translate(-imgWidth / 2, -imgHeight / 2)
	//ctx.translate(tsx, tsy); //发生位移进行位移的恢复
	ctx.font = this.changeSize + "px serif";
	ctx.fillStyle = this.changeColor;
	ctx.fillText(text, x, y);
	ctx.restore(); //状态的恢复
},
图片保存逻辑
saveImg() {
	const path = this.waterImgSrc
	uni.showShareImageMenu({
		path,
		success: (res)=>{
			console.log(res)
			wx.showToast({
				title: '生成成功!',
				icon: 'success',
				duration: 2000//持续的时间
			})
		},
		fail: (err)=> {
			console.log(err)
			wx.showToast({
				title: '生成失败!',
				icon: 'none',
				duration: 2000//持续的时间
			})
		}
	})
},
感觉有用的话,可以打赏一把么?一毛不嫌少,十块不嫌多
更多详细代码请关注公众号索取(备注:公众号):

