codeshell安装配置
- 1 注意事项
- 1.1 Python版本问题
- 2 codeshell环境搭建
- 2.1 codeshell使用软件各版本
- 2.2 软件下载
- 2.3 codeshell使用环境安装
- 2.3.1 python-3.10.9-amd64.exe安装
- 2.3.2 Anaconda3-2022.10-Windows-x86_64.exe安装
- 2.3.3 创建环境
- 2.3.4 Pytorch安装
- 2.3.5 transformers
- 3 下载codeshell模型
- 4 codeshell使用
- 注意:这里是在py310环境使用的,所以需要先激活py310环境。
- 4.1 Web UI
- 4.2 CLI Demo
- 5 总结
1 注意事项
1.1 Python版本问题
codeshell推荐使用的python版本是3.8以上,但是最好不要选择最新版本的,否则可能会在配置pytorch环境时,报环境不兼容的错误。
这里使用目前最新版本python=3.12后,错误信息如下:
(py312) C:\Users\lc>conda install pytorch torchvision torchaudio pytorch-cuda=12.1 -c pytorch -c nvidia
Collecting package metadata (current_repodata.json): done
Solving environment: unsuccessful initial attempt using frozen solve. Retrying with flexible solve.
Solving environment: unsuccessful attempt using repodata from current_repodata.json, retrying with next repodata source.
Collecting package metadata (repodata.json): done
Solving environment: unsuccessful initial attempt using frozen solve. Retrying with flexible solve.
Solving environment: |
Found conflicts! Looking for incompatible packages.
This can take several minutes.  Press CTRL-C to abort.
failed

UnsatisfiableError: The following specifications were found
to be incompatible with the existing python installation in your environment:

Specifications:

  - torchaudio -> python[version='>=2.7,<2.8.0a0|>=3.5,<3.6.0a0']
  - torchaudio -> python[version='>=3.10,<3.11.0a0|>=3.11,<3.12.0a0|>=3.9,<3.10.0a0|>=3.8,<3.9.0a0|>=3.7,<3.8.0a0|>=3.6,<3.7.0a0']
  - torchvision -> python[version='>=3.10,<3.11.0a0|>=3.8,<3.9.0a0|>=3.9,<3.10.0a0|>=3.11,<3.12.0a0|>=3.7,<3.8.0a0|>=3.6,<3.7.0a0|>=3.5,<3.6.0a0']

Your python: python=3.12

If python is on the left-most side of the chain, that's the version you've asked for.
When python appears to the right, that indicates that the thing on the left is somehow
not available for the python version you are constrained to. Note that conda will not
change your python version to a different minor version unless you explicitly specify
that.

The following specifications were found to be incompatible with each other:

Output in format: Requested package -> Available versions

Package pytorch-cuda conflicts for:
torchvision -> pytorch==2.1.0 -> pytorch-cuda[version='>=11.6,<11.7|>=11.7,<11.8|>=11.8,<11.9|>=12.1,<12.2']
torchaudio -> pytorch==2.1.0 -> pytorch-cuda[version='>=11.6,<11.7|>=11.7,<11.8|>=11.8,<11.9|>=12.1,<12.2']
torchaudio -> pytorch-cuda[version='11.6.*|11.7.*|11.8.*|12.1.*']
torchvision -> pytorch-cuda[version='11.6.*|11.7.*|11.8.*|12.1.*']

Package setuptools conflicts for:
python=3.12 -> pip -> setuptools
pytorch -> jinja2 -> setuptools
torchvision -> setuptools

Package flit-core conflicts for:
torchvision -> typing_extensions -> flit-core[version='>=3.6,<4']
pytorch -> typing_extensions -> flit-core[version='>=3.6,<4']

Package pytorch conflicts for:
torchvision -> pytorch[version='1.10.0|1.10.1|1.10.2|1.11.0|1.12.0|1.12.1|1.13.0|1.13.1|2.0.0|2.0.1|2.1.0|1.9.1|1.9.0|1.8.1|1.8.0|1.7.1|1.7.0|1.6.0|1.5.1']
torchaudio -> pytorch[version='1.10.0|1.10.1|1.10.2|1.11.0|1.12.0|1.12.1|1.13.0|1.13.1|2.0.0|2.0.1|2.1.0|1.9.1|1.9.0|1.8.1|1.8.0|1.7.1|1.7.0|1.6.0']

Package requests conflicts for:
torchvision -> requests
python=3.12 -> pip -> requests
2 codeshell环境搭建
codeshell地址:https://github.com/WisdomShell/codeshell
codeshell使用环境:
- python 3.8 and above【python 3.8以上】
- pytorch 2.0 and above are recommended【pytorch 建议2.0以上】
- transformers 4.32 and above【transformers 4.32以上】
- CUDA 11.8 and above are recommended (this is for GPU users, flash-attention users, etc.)【CUDA 11.8以上(可选)】
2.1 codeshell使用软件各版本
- python-3.10.9-amd64.exe【这里选择的是2022年的版本】
- Anaconda3-2022.10-Windows-x86_64.exe【用于安装管理Pytorch,这里选择的是2022年最后一个版本】
- Pytorch【根据实际情况而定】
- transformers【默认最新版】
2.2 软件下载
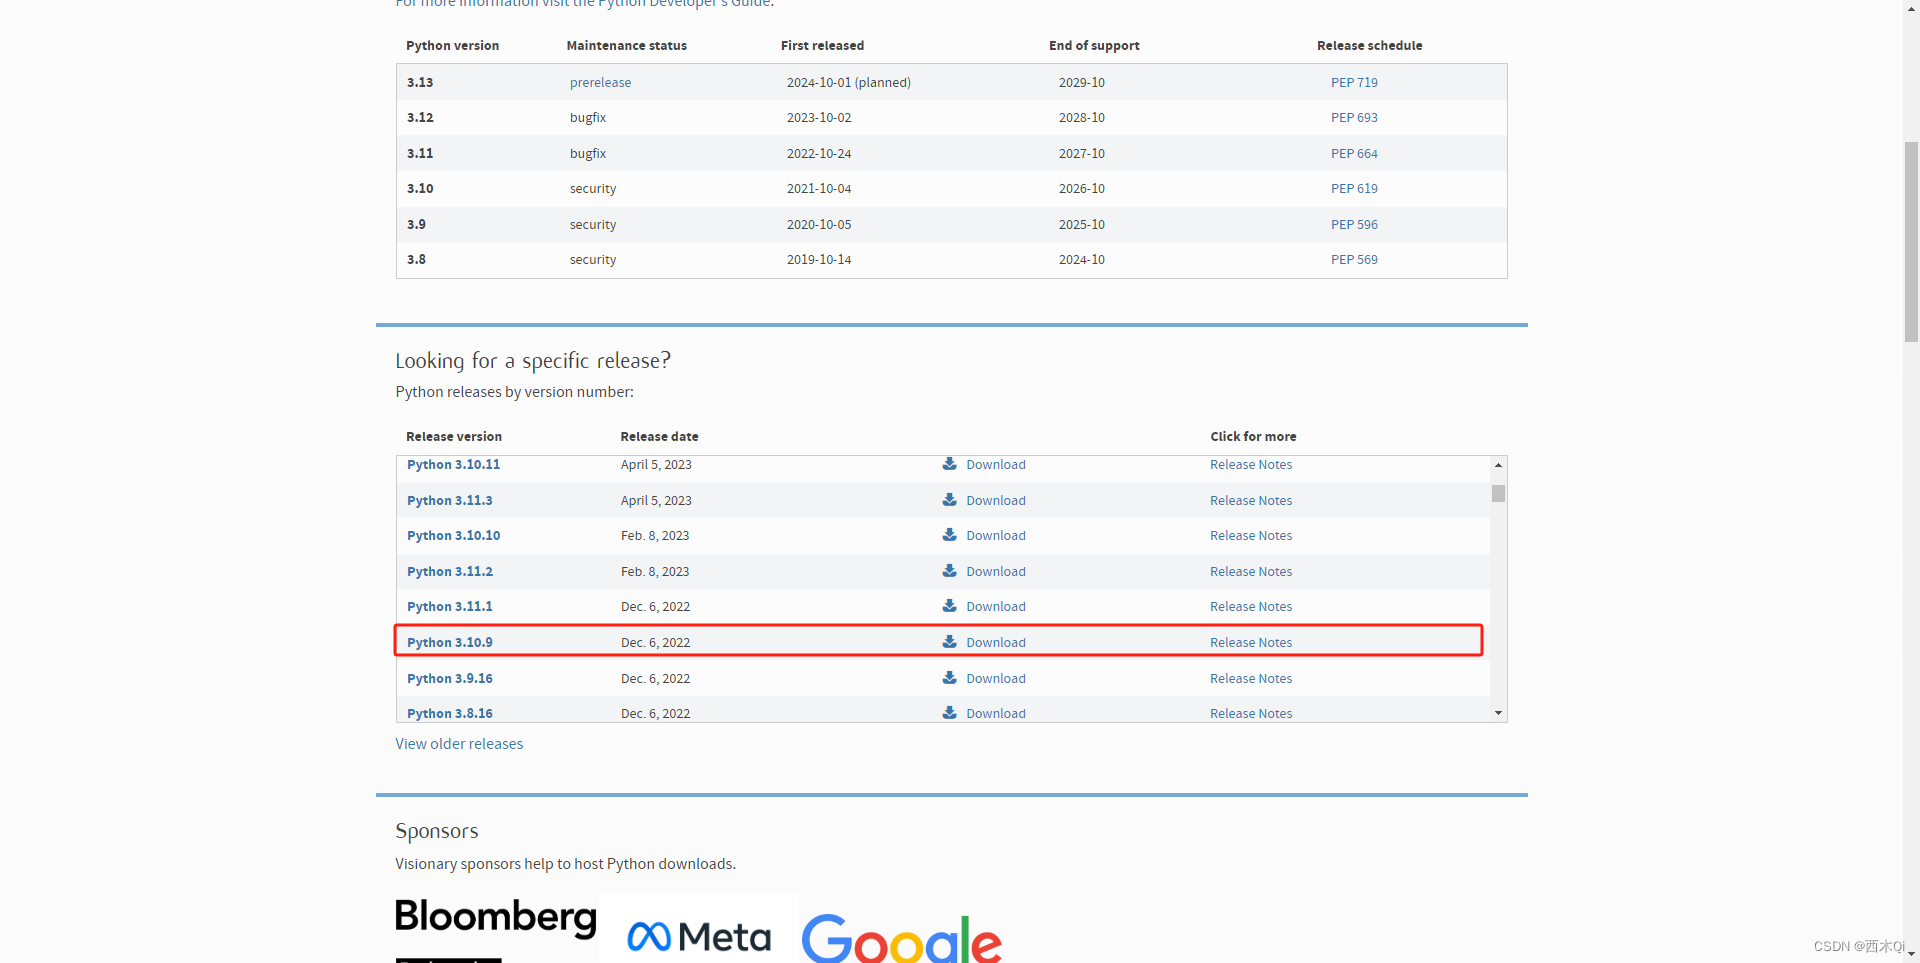
- python-3.10.9-amd64.exe
- 下载地址:https://www.python.org/downloads
- 选择如图所示下载
2. Anaconda3-2022.10-Windows-x86_64.exe
- 下载地址:清华开源镜像anaconda
- 选择如图所示下载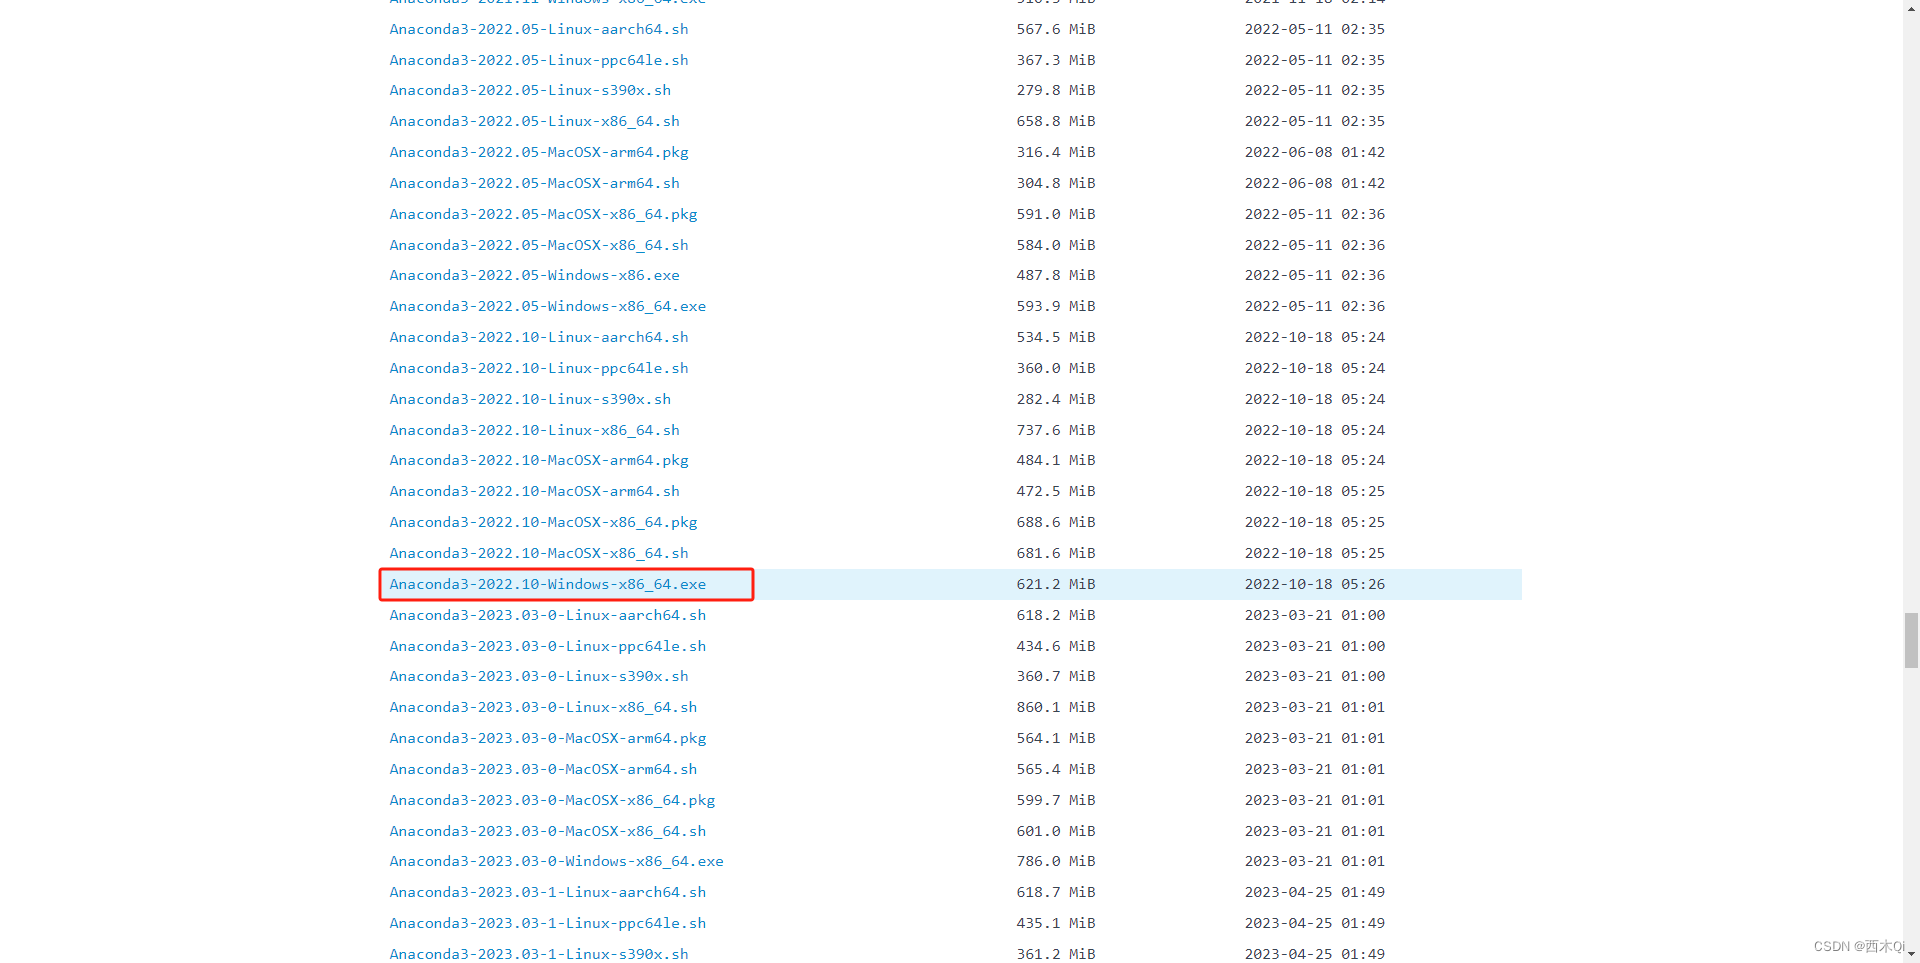
3. Pytorch【非安装包的形式,不用下载】
4. transformers【非安装包的形式,不用下载】
2.3 codeshell使用环境安装
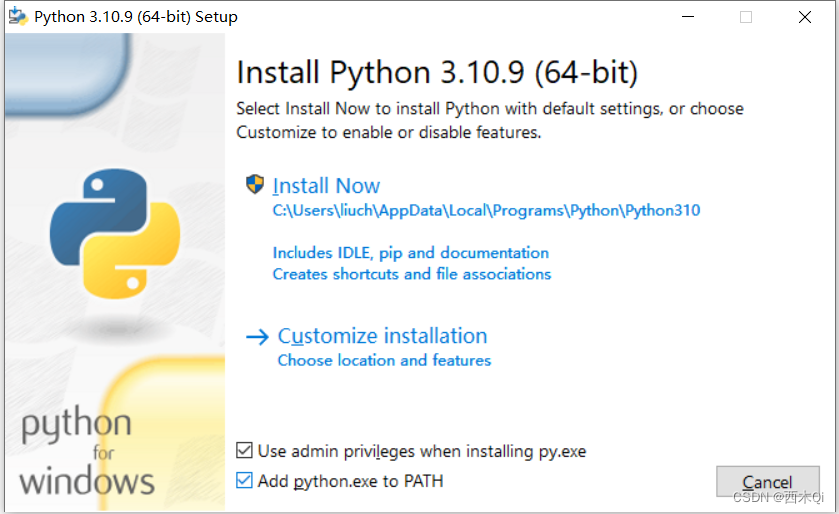
2.3.1 python-3.10.9-amd64.exe安装
- 选择自定义安装,并勾选使用管理员权限安装和将
python.exe加入到环境。
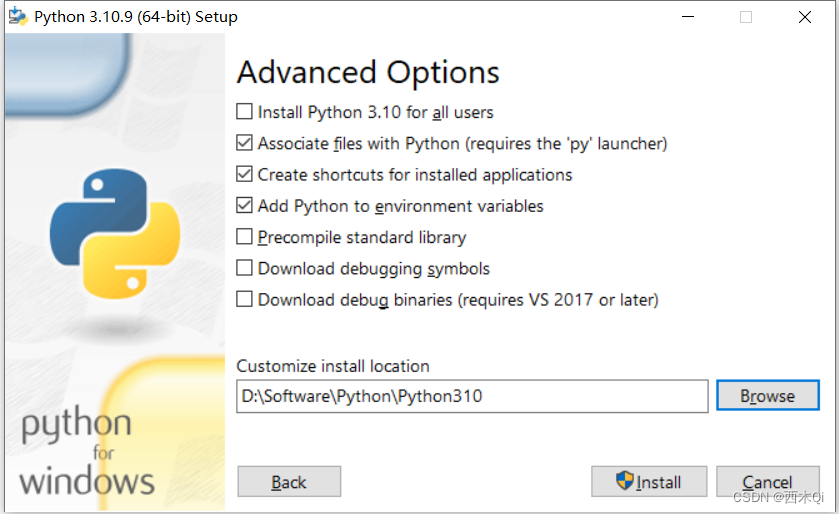
- 设置自定义安装位置
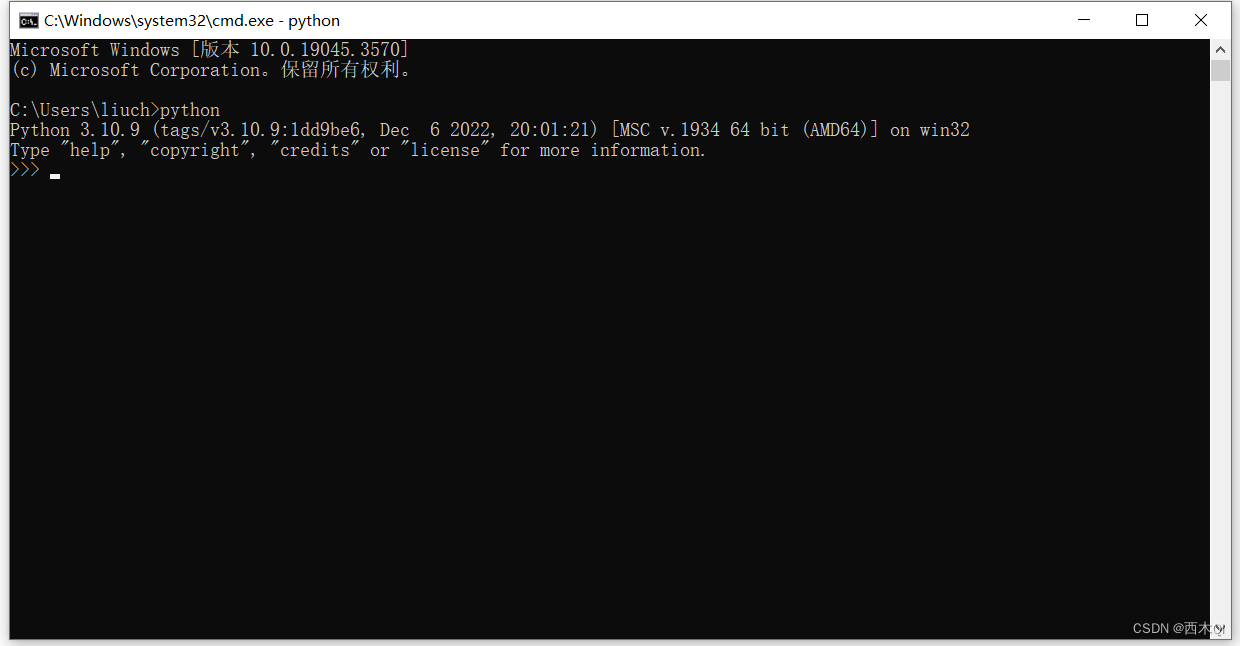
- 验证安装结果
cmd命令弹窗,输入python,点击回车,看到下图,则安装python成功。
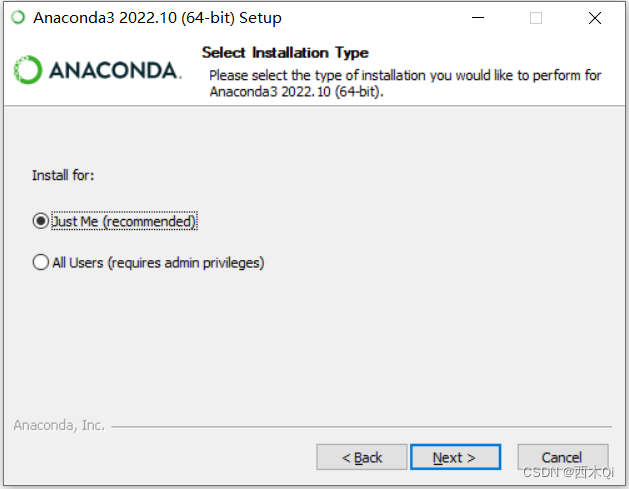
2.3.2 Anaconda3-2022.10-Windows-x86_64.exe安装
- 选择
Just Me
- 自定义安装路径

- 只勾选
Register,然后点击Install。

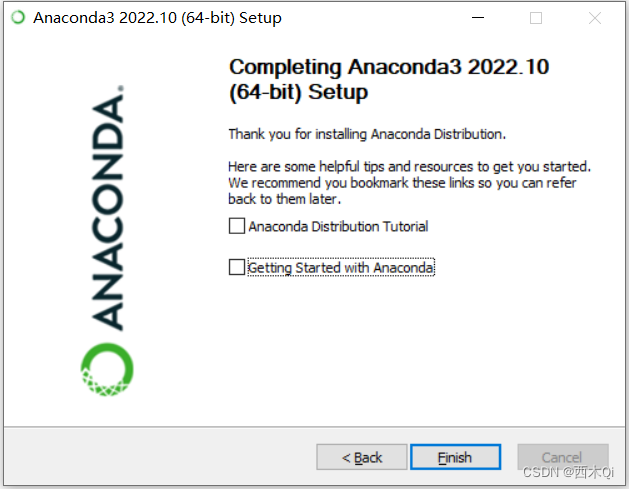
- 去除这两个勾选,然后点击
Finish。
2.3.3 创建环境
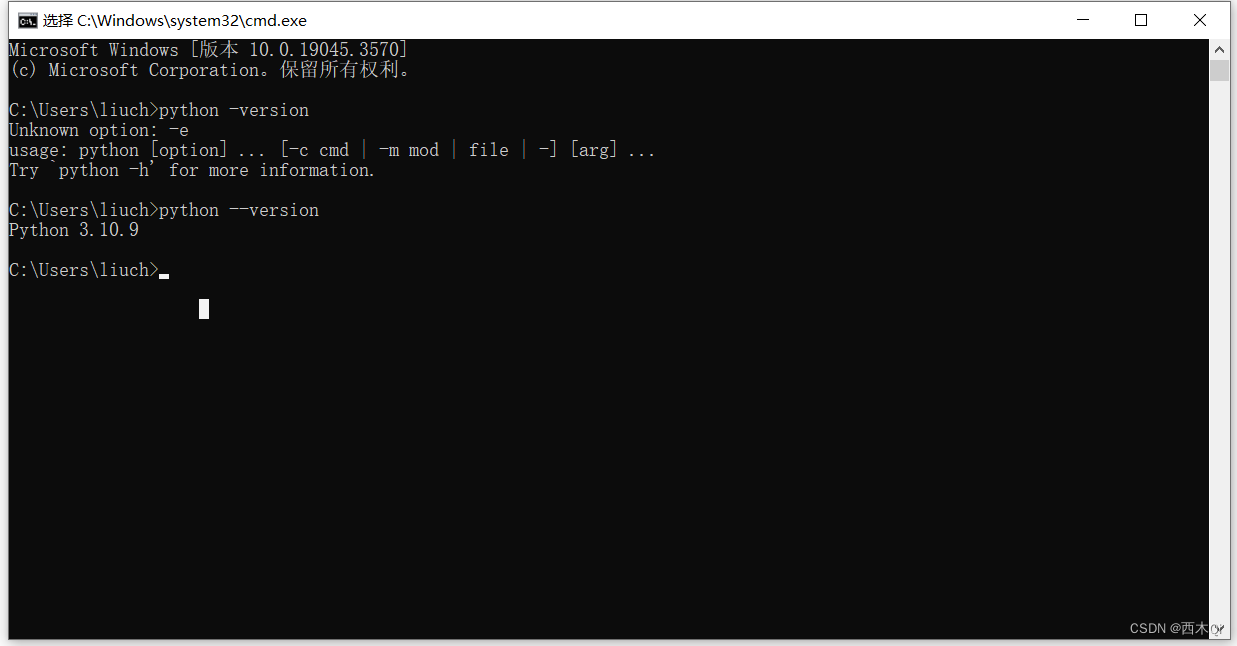
1.查看Python版本
cmd打开命令行,输入python --version,查验python版本。
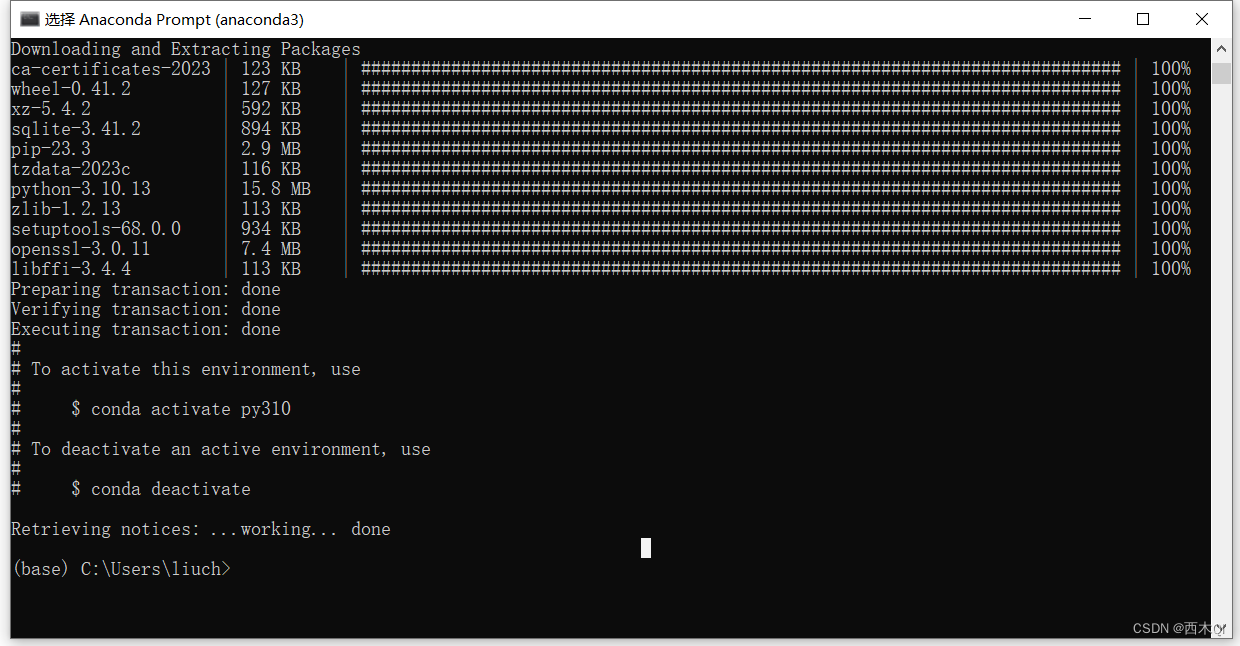
2. 打开Anaconda Prompt页面,输入指令conda create -n py310 python=3.10(这里每个人不一样,要根据查出来的版本做修改。)
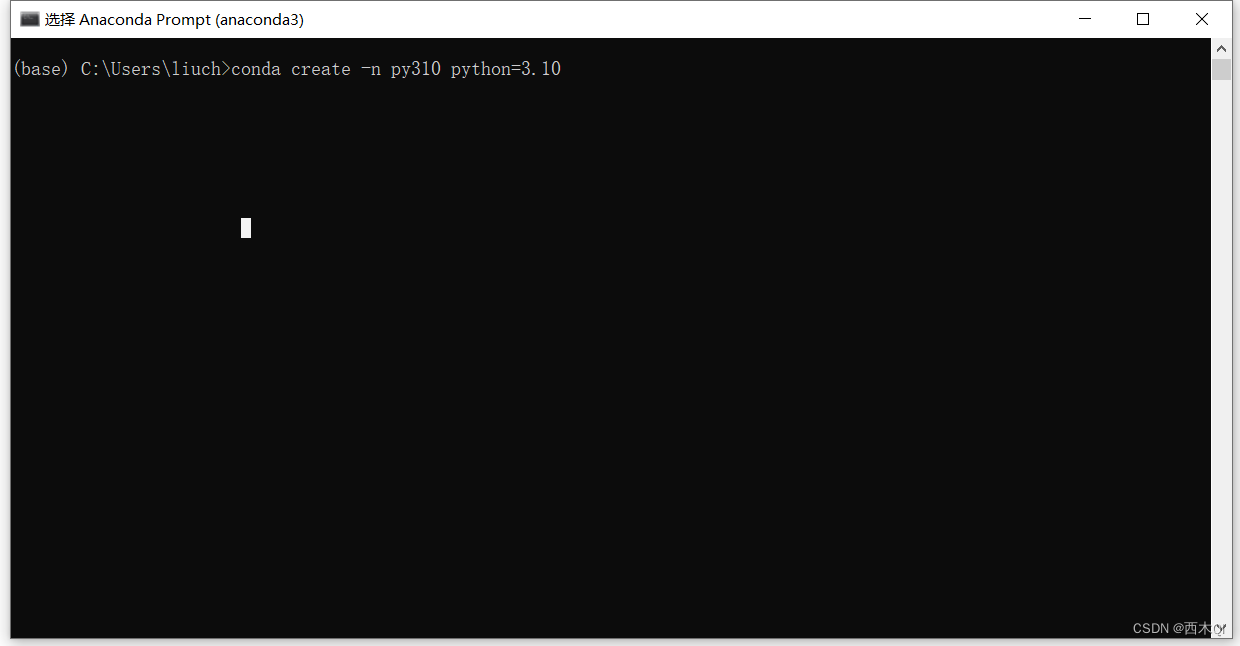
3. 看见如下图的示例,表示环境创建完毕。
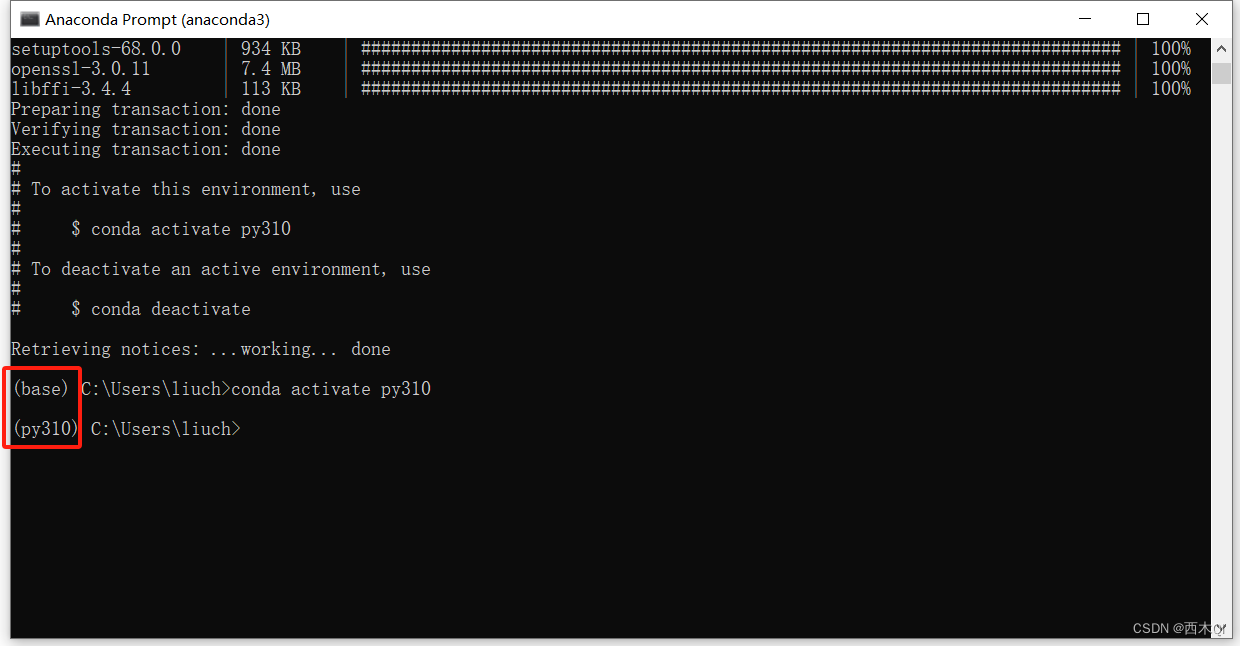
4. 最后conda activate py310激活环境,看到左下角改变为py310,代表进入该环境。
5. 其他命令
- 退出激活的环境,conda deactivate。
- 查看虚拟环境列表,conda env list。
- conda删除环境,conda remove -n需要删除的环境名 --all。
到这里,就代表anaconda的安装配置全部完成。
2.3.4 Pytorch安装
- conda配置
- 更换镜像源地址,以下是清华大学镜像源地址:
conda config --add channels https://mirrors.tuna.tsinghua.edu.cn/anaconda/pkgs/free/
conda config --add channels https://mirrors.tuna.tsinghua.edu.cn/anaconda/pkgs/main/
conda config --add channels https://mirrors.tuna.tsinghua.edu.cn/anaconda/cloud/conda-forge/
conda config --add channels https://mirrors.tuna.tsinghua.edu.cn/anaconda/cloud/pytorch/
conda config --set show_channel_urls yes
- 把连接超时的时间设置成
40s,读取超时的时间修改成100s
conda config --set remote_connect_timeout_secs 40
conda config --set remote_read_timeout_secs 100
- 配置文件位置:
C:\Users\liuch\.condarc
channels:
  - https://mirrors.tuna.tsinghua.edu.cn/anaconda/cloud/pytorch/
  - https://mirrors.tuna.tsinghua.edu.cn/anaconda/cloud/conda-forge/
  - https://mirrors.tuna.tsinghua.edu.cn/anaconda/pkgs/main/
  - https://mirrors.tuna.tsinghua.edu.cn/anaconda/pkgs/free/
  - defaults
show_channel_urls: true
remote_connect_timeout_secs: 40.0
remote_read_timeout_secs: 100.0
注意:需要把 - defaults删掉。
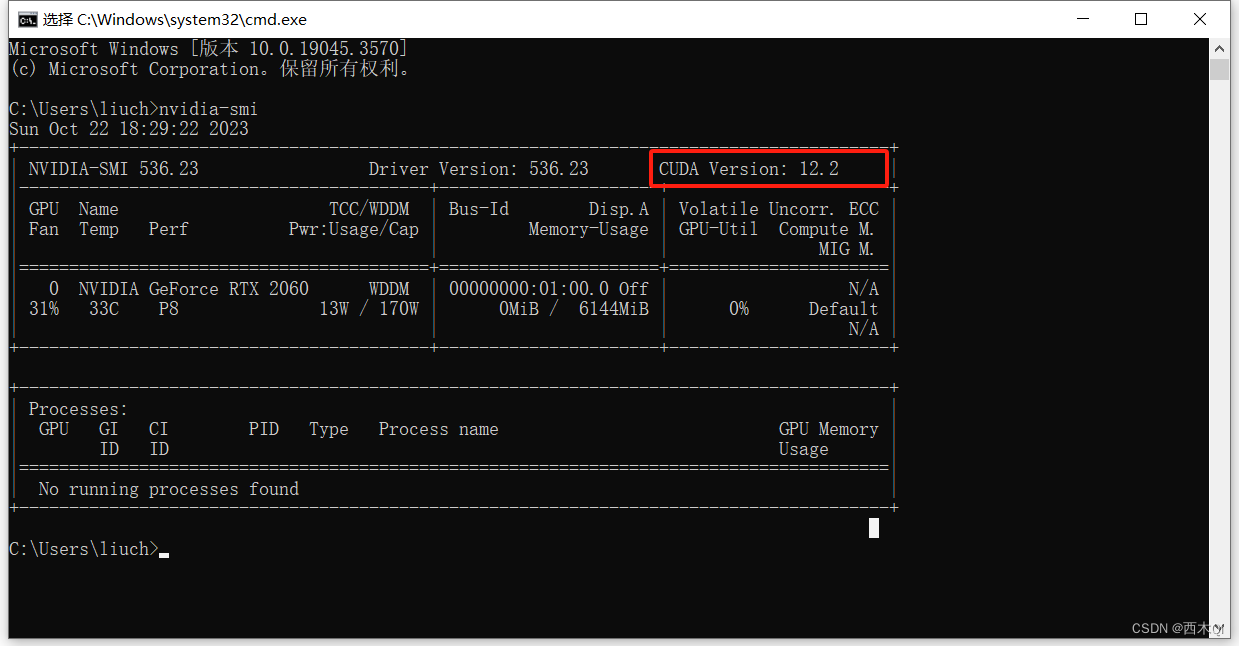
- 查看本机的
CUDA版本
cmd命令行输入nvidia-smi,在第一行最右边可以看到CUDA的版本号。
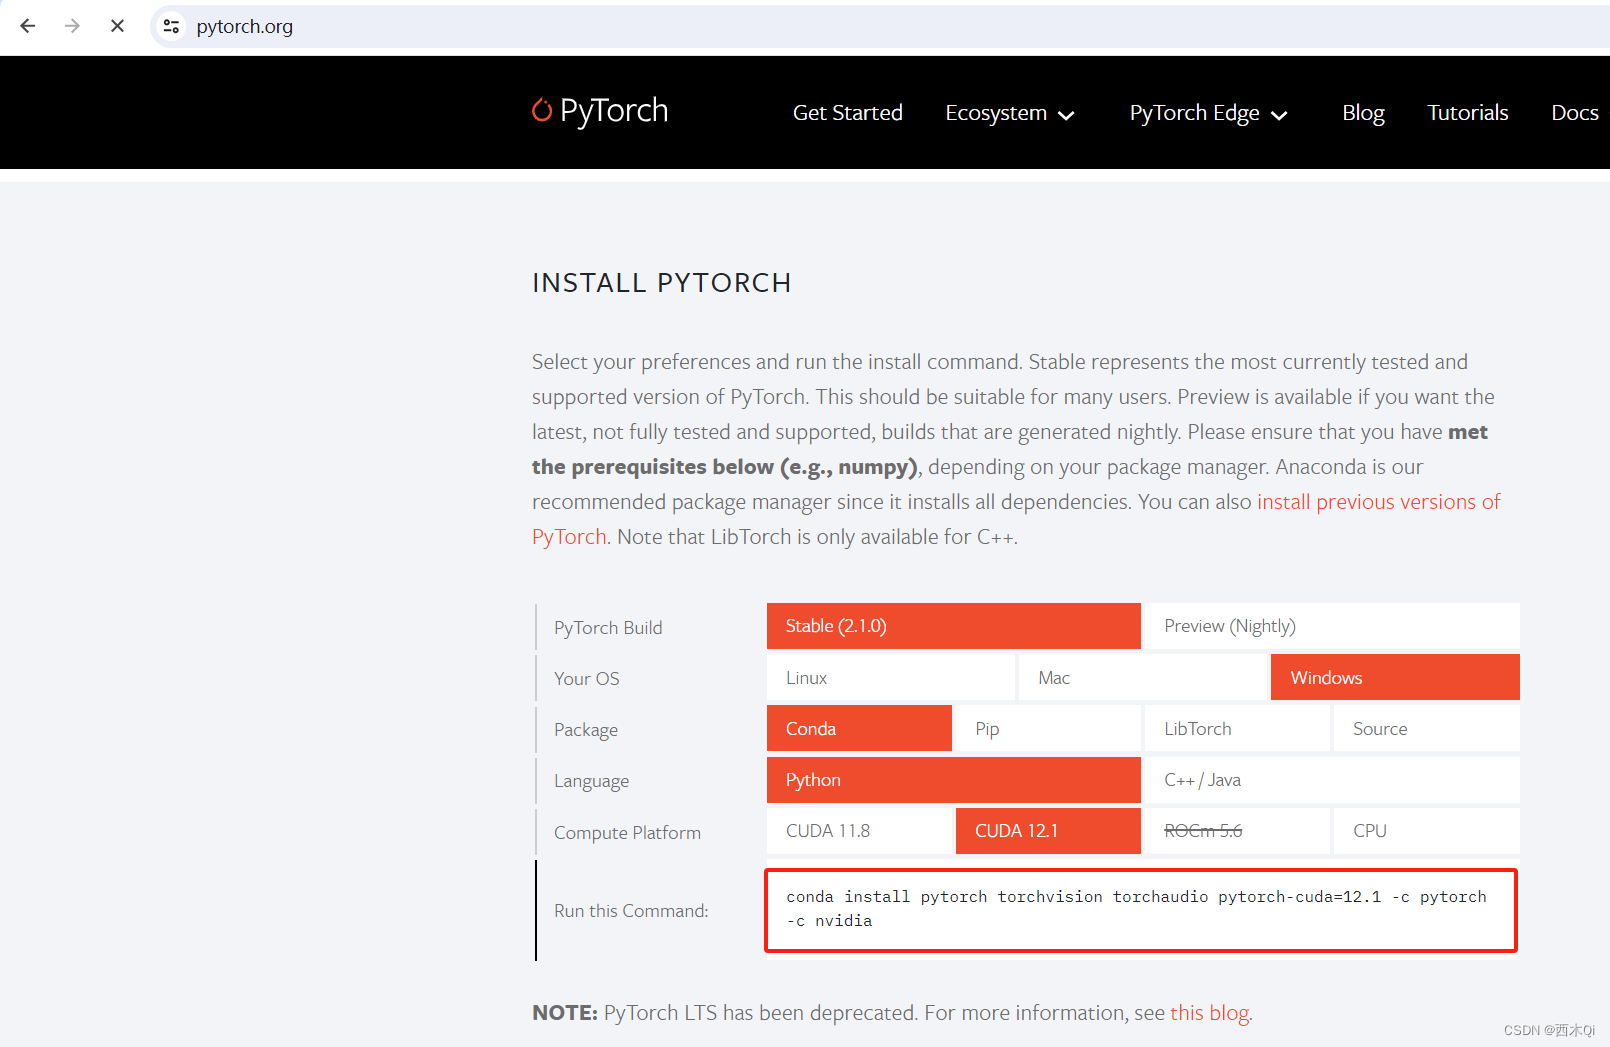
- 点击进入Pytorch官网,然后下拉至如图所示位置,只需保证系统和电脑匹配,
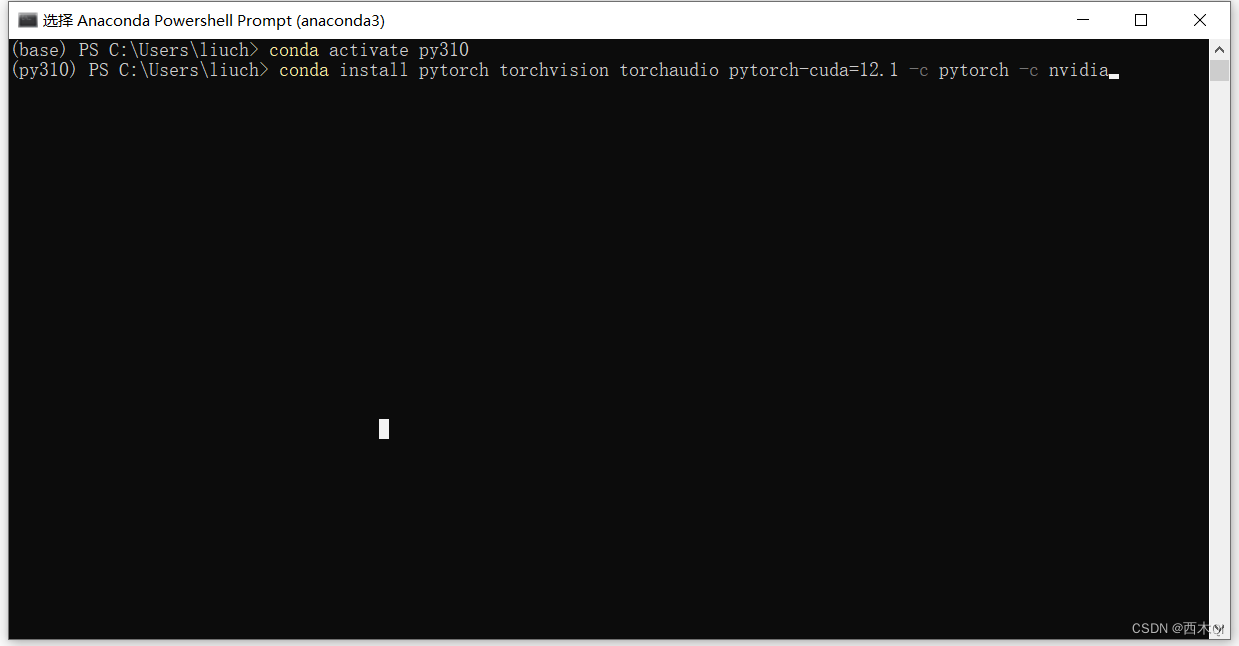
CUDA版本小于本机CUDA版本,调整结束后,复制红框中的指令。conda install pytorch torchvision torchaudio pytorch-cuda=12.1 -c pytorch -c nvidia
4. 打开Anaconda Prompt,激活py310环境(conda activate py310),然后粘贴上一步的指令,回车执行。
5. 如果报OpenSSL错误
(py310) C:\Users\liuch>conda install pytorch torchvision torchaudio pytorch-cuda=12.1 -c pytorch -c nvidia
Collecting package metadata (current_repodata.json): failed

CondaSSLError: OpenSSL appears to be unavailable on this machine. OpenSSL is required to
download and install packages.

Exception: HTTPSConnectionPool(host='conda.anaconda.org', port=443): Max retries exceeded with url: /pytorch/win-64/current_repodata.json (Caused by SSLError("Can't connect to HTTPS URL because the SSL module is not available."))
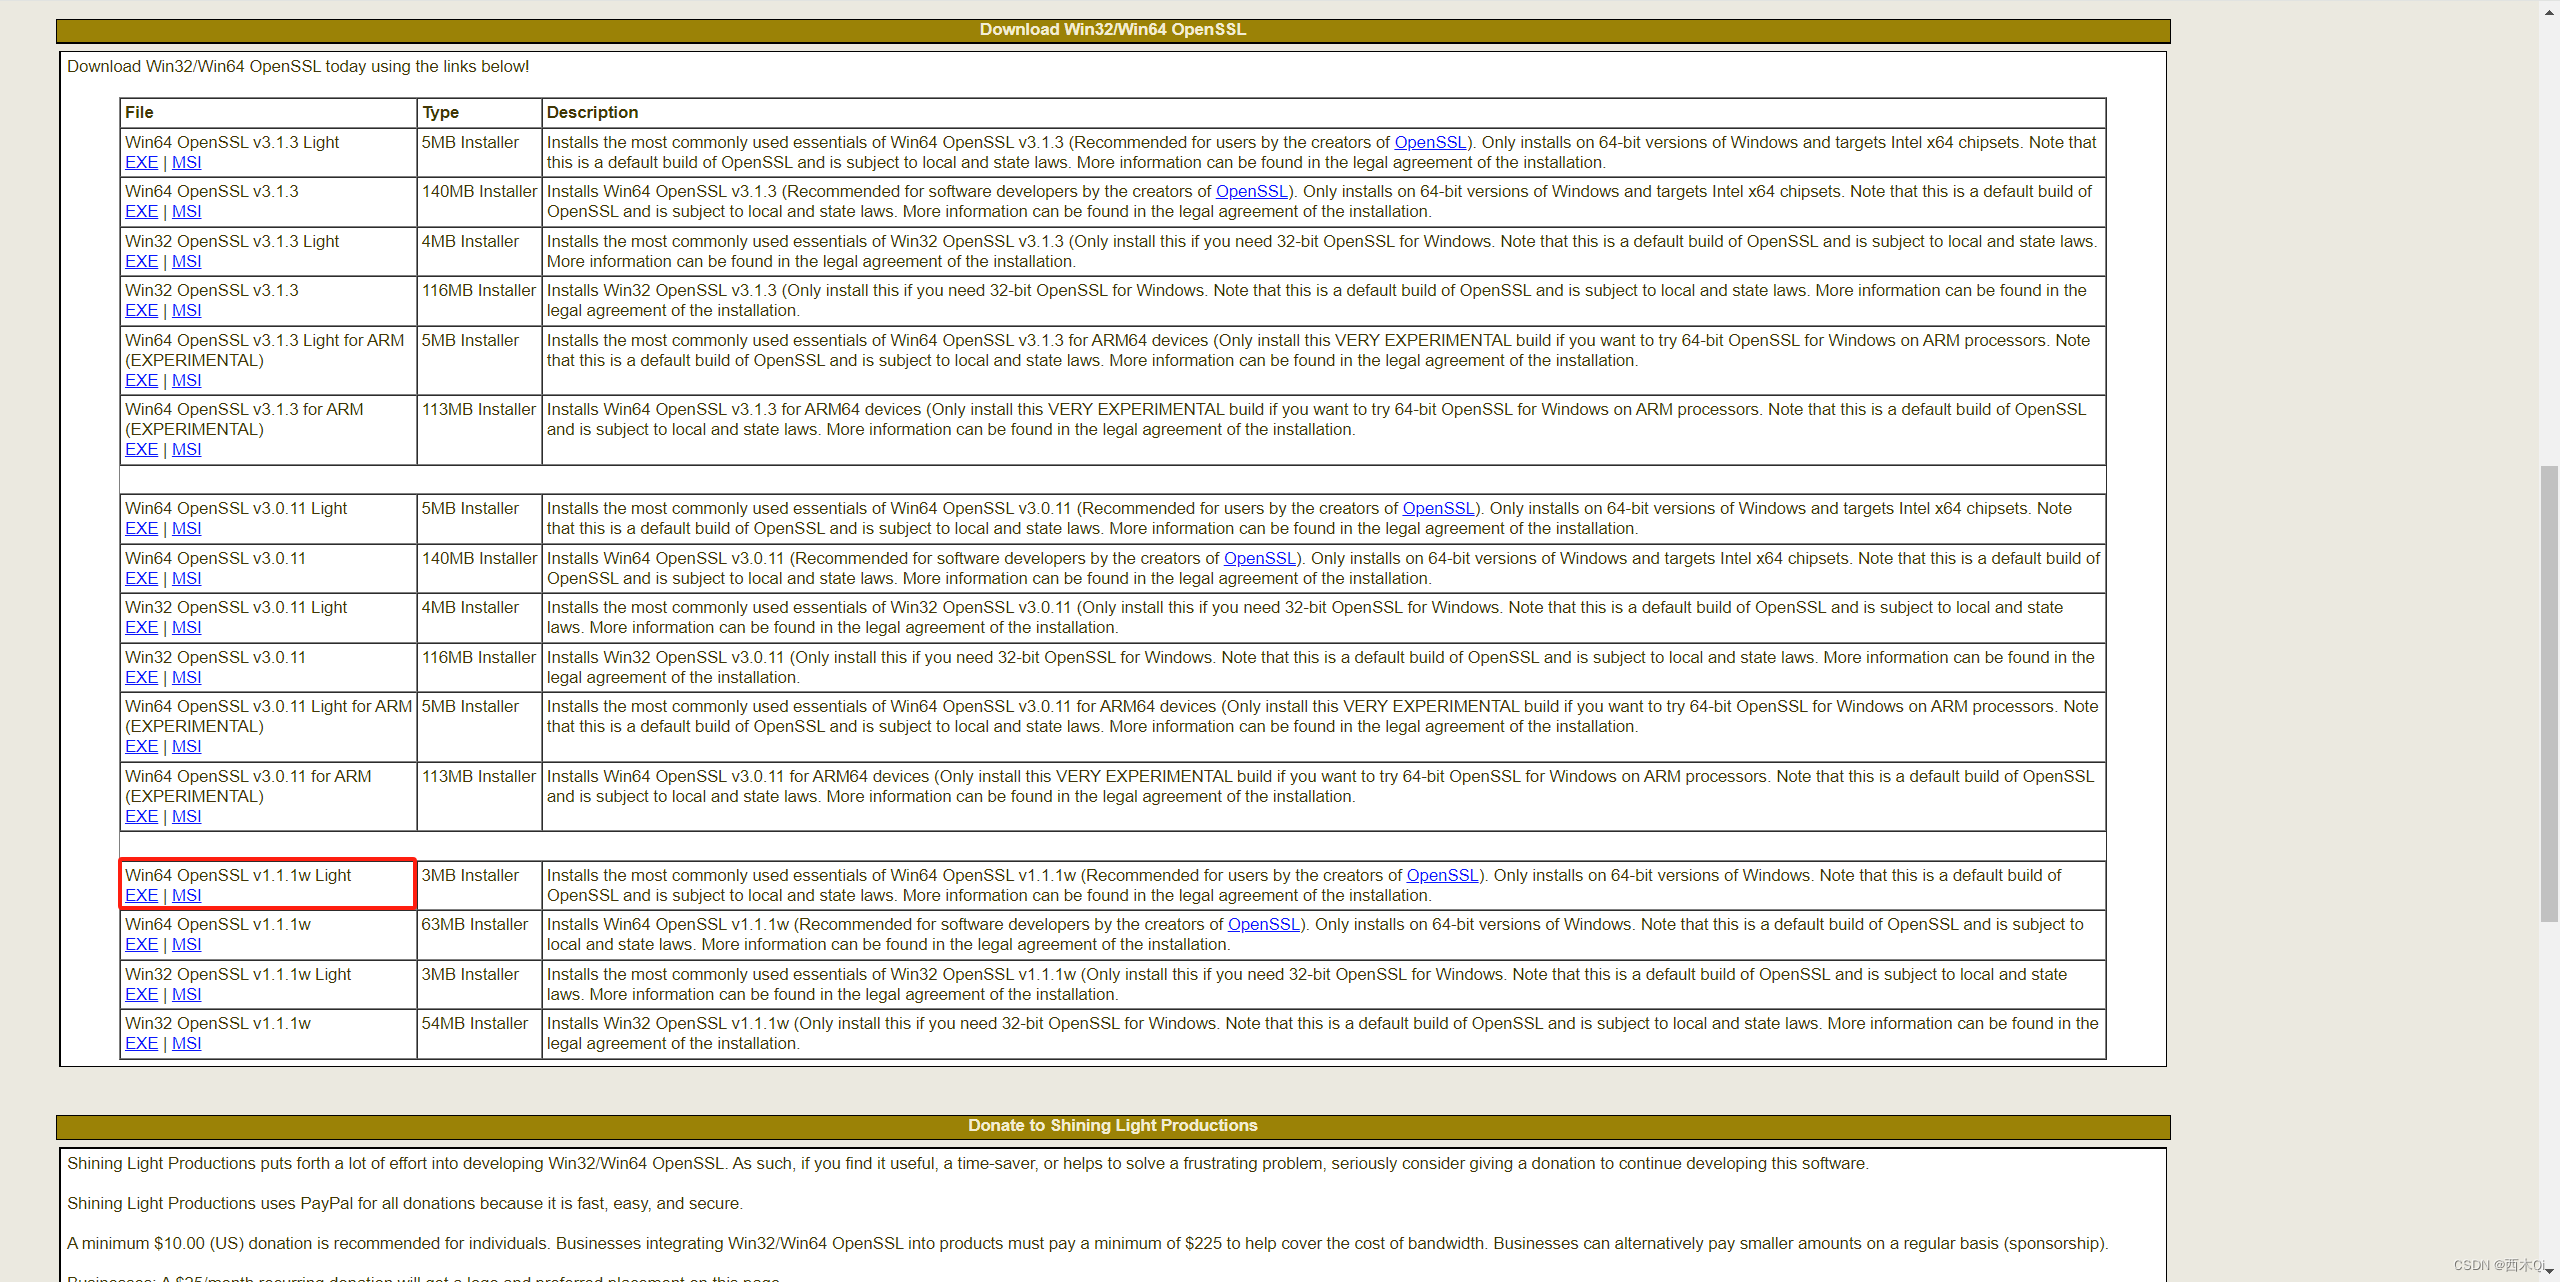
可去 https://slproweb.com/products/Win32OpenSSL.html 下载安装包,注意最好下载Win64 OpenSSL v1.1.1w Light的EXE,也就是低版本的,因为v3.x的安装后依旧报错。
6. 输入y确认,回车。
7. 等待安装直到左上角出现done【下载依赖较多,耗时较长】。
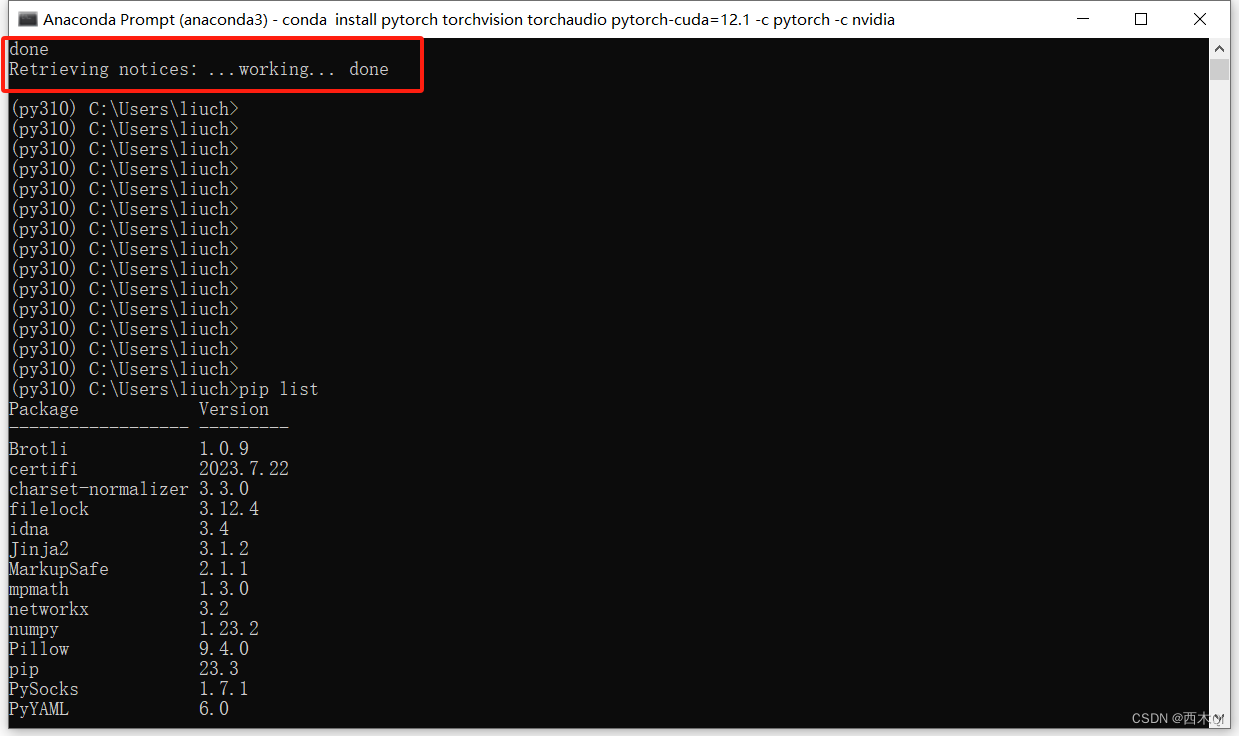
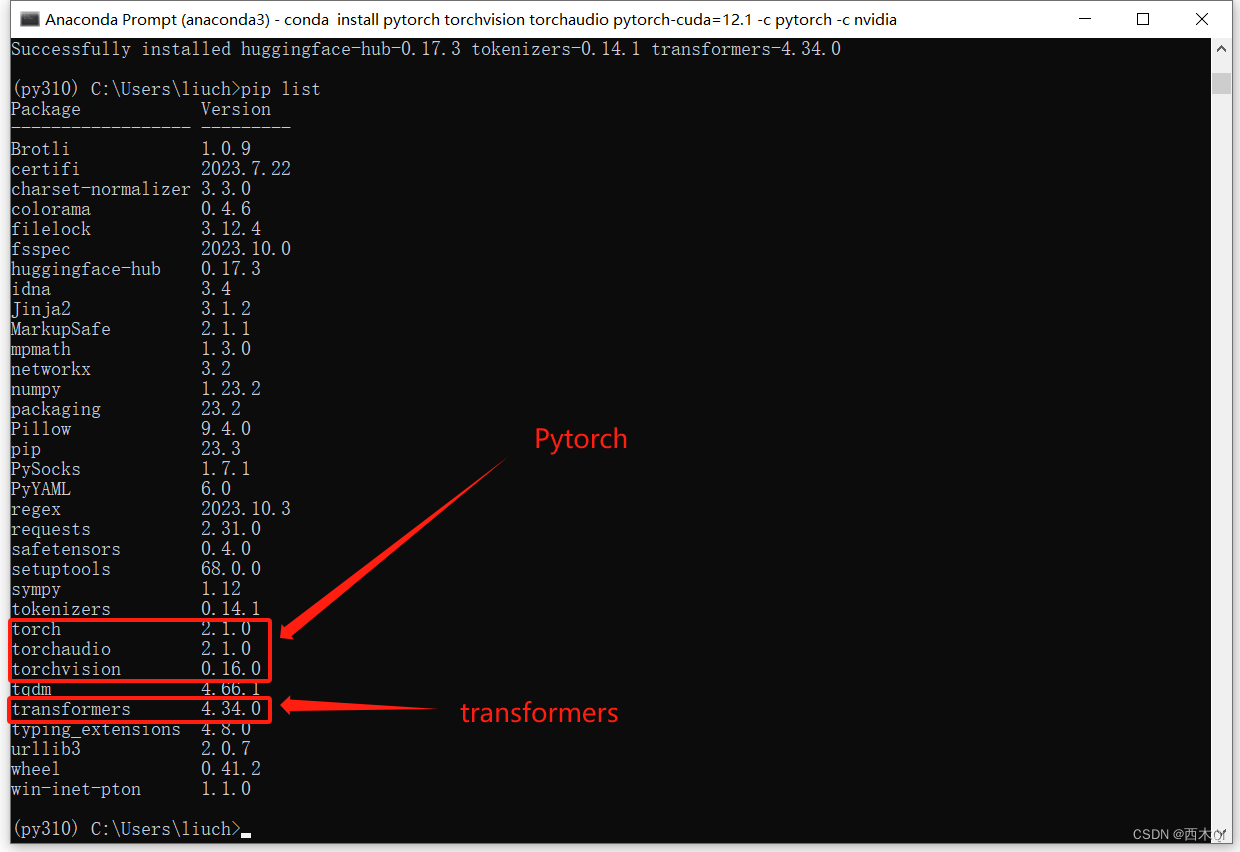
8. 输入pip list,查看安装了哪些包。
9. 输入python进入环境,输入import torch,无报错代表导入成功(这里要等待一段时间)。
10. 输入torch.cuda.is_available()查看torch是否可以使用显卡,True代表可以。
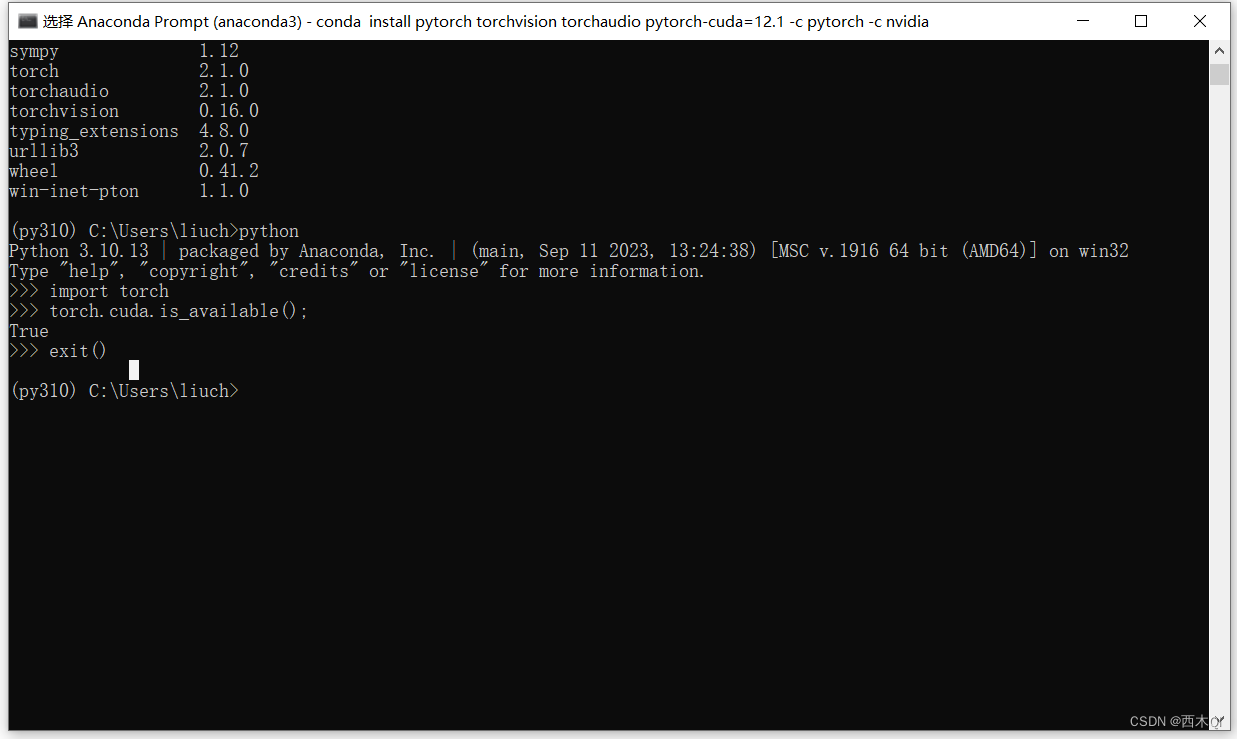
至此,Pytorch安装完毕。
2.3.5 transformers
安装最新版本:
pip install transformers
指定版本(推荐):
pip install transformers==4.34.0
输入pip list,查看安装了哪些包。
至此,codeshell环境安装完毕。
3 下载codeshell模型
在第二部分主要是搭建了codeshell使用环境,但是本地还没有最底层的模型文件,所以需要单独下载模型文件,才能真正使用codeshell。
目前有四个开源的模型如下:
- CodeShell Base:
CodelShell底座模型,具有强大的代码基础能力。 - CodeShell Chat:
CodelShell对话模型,在代码问答、代码补全等下游任务重性能优异。 - CodeShell Chat 4bit:
CodelShell对话模型4bit量化版本,在保证模型性能的前提下内存消耗更小,速度更快。 - CodeShell CPP:
CodelShell对话模型CPP版本,支持开发者在没有GPU的个人电脑中使用。注意,CPP版本同样支持量化操作,用户可以在最小内存为8G的个人电脑中运行CodelShell。
其中有三个模型是在huggingface上托管:
WisdomShell/CodeShell-7B:对应CodeShell Base。WisdomShell/CodeShell-7B-Chat:对应CodeShell Chat。WisdomShell/CodeShell-7B-Chat-int4:对应CodeShell Chat 4bit。
所以需要从huggingface上下载下来。
git lfs install
git clone https://huggingface.co/WisdomShell/CodeShell-7B-Chat
4 codeshell使用
注意:这里是在py310环境使用的,所以需要先激活py310环境。
conda activate py310
4.1 Web UI
通过下列命令启动Web服务,服务启动后,可以通过https://127.0.0.1:8000进行访问。
python demos/web_demo.py
- 如果报错提示缺少相关依赖模块,使用
pip install +模块名称下载安装即可,例如报下错误:
(py310) E:\Python\codeshell>python demos/web_demo.py
Traceback (most recent call last):
  File "E:\Python\codeshell\demos\web_demo.py", line 28, in <module>
    import gradio as gr
ModuleNotFoundError: No module named 'gradio'
则需要安装相关依赖,然后重新启动:
pip install gradio
- 如果提示连接不上
https://huggingface.co,需要开代理,或者将model下载到本地。
4.2 CLI Demo
python demos/cli_demo.py
5 总结
-
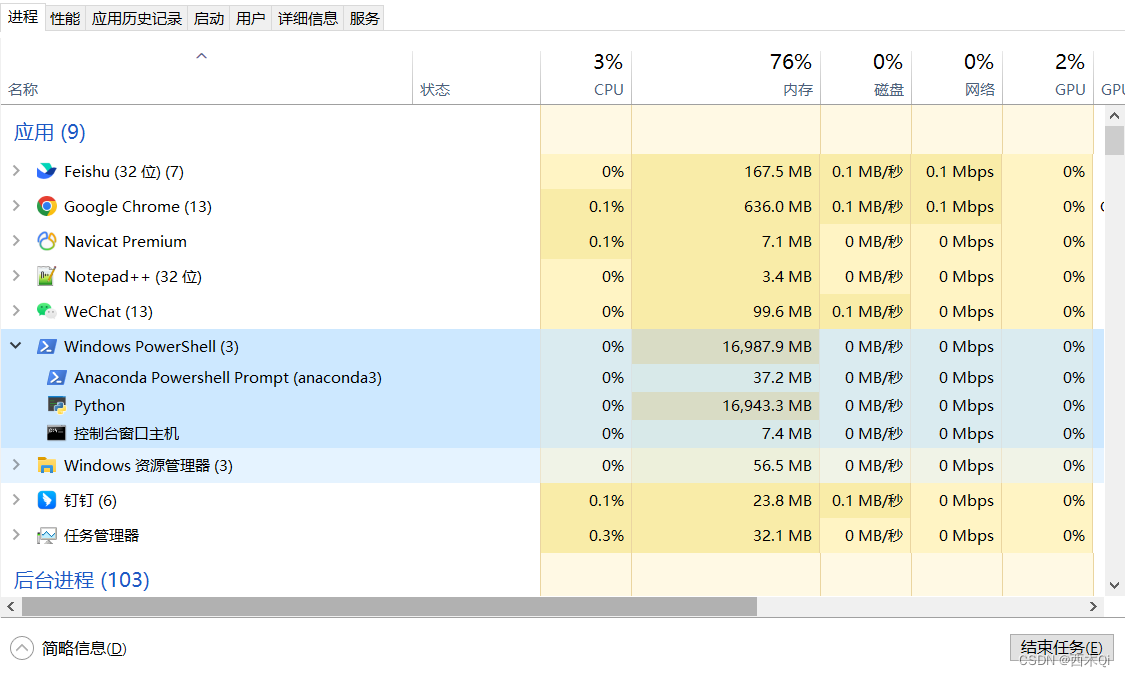
耗内存
在4.1 Web UI和4.2 CLI Demo使用时,可以看到占用内存16943MB,即16.54GB。
-
响应慢
根据问题写代码时,很慢。 -
准确性 尚可
- golang语言实现,输入一个英文句子,反转句子中单词的顺序,但单词内的字符顺序不变,简单起见,标点符号和普通单词一样处理。
package main import ( "fmt" "strings" ) func reverseWords(s string) string { words := strings.Fields(s) for i, j := 0, len(words)-1; i < j; i, j = i+1, j-1 { words[i], words[j] = words[j], words[i] } return strings.Join(words, " ") } func main() { s := "the weather is nice today." fmt.Println(reverseWords(s)) }- golang语言使用两个协程交替打印数字和字母。
package main import ( "fmt" "time" ) func main() { // 创建两个协程 go printNumber() go printLetter() // 阻塞,直到协程完成 for { // 休眠一段时间 time.Sleep(1 * time.Second) } } func printNumber() { for i := 0; i < 10; i++ { fmt.Printf("%d ", i) time.Sleep(1 * time.Second) } } func printLetter() { for i := 'a'; i < 'z'; i++ { fmt.Printf("%c ", i) time.Sleep(1 * time.Second) } } -
其他
未测
个人目前觉得在配置较高的电脑运行可能会比较流畅,个人使用体验不是很好。