目录
1 配置pytorch环境
2 配置yolo环境
3 测试yoloV8的语义分割模型
1 配置pytorch环境
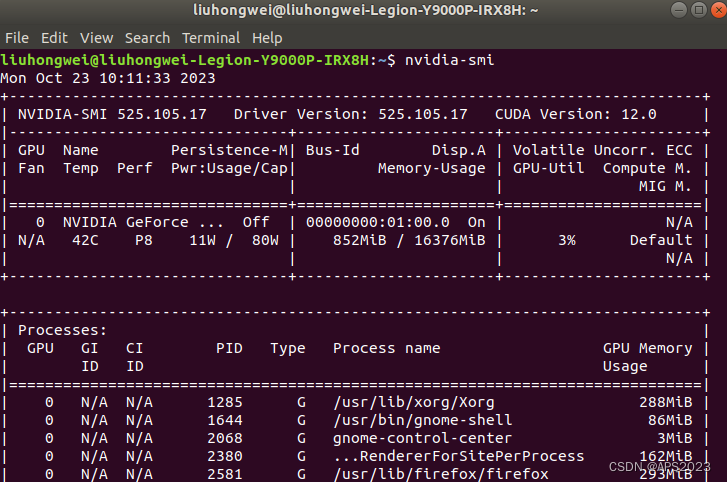
我的电脑为Y9000P 4090,英伟达显卡驱动版本为525.105.17,驱动显示最高的cuda版本号为12.0,cuda版本为11.6,cudnn版本号为8.5.0。Anaconda3版本为22.9.0。如下:
对于跑yolo来说,我们创建python3.8环境。
conda create -n yo python=3.8
启动yo环境:
conda activate yo我的cuda是11.6,安装pytorch1.13.0并用pip加速。
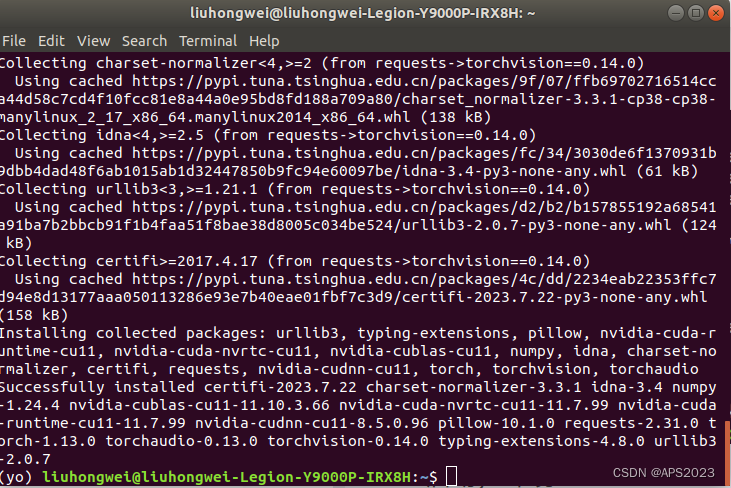
pip install torch==1.13.0 torchvision==0.14.0 torchaudio==0.13.0 -i https://pypi.tuna.tsinghua.edu.cn/simple/
安装成功,测试cuda是否可用:
(yo) liuhongwei@liuhongwei-Legion-Y9000P-IRX8H:~$ python
Python 3.8.18 | packaged by conda-forge | (default, Oct 10 2023, 15:44:36)
[GCC 12.3.0] on linux
Type "help", "copyright", "credits" or "license" for more information.
>>> import torch
>>> torch.cud
torch.cuda                          torch.cudnn_convolution_relu(
torch.cudnn_affine_grid_generator(  torch.cudnn_convolution_transpose(
torch.cudnn_batch_norm(             torch.cudnn_grid_sampler(
torch.cudnn_convolution(            torch.cudnn_is_acceptable(
torch.cudnn_convolution_add_relu(
>>> torch.cud
torch.cuda                          torch.cudnn_convolution_relu(
torch.cudnn_affine_grid_generator(  torch.cudnn_convolution_transpose(
torch.cudnn_batch_norm(             torch.cudnn_grid_sampler(
torch.cudnn_convolution(            torch.cudnn_is_acceptable(
torch.cudnn_convolution_add_relu(
>>> torch.cuda.is_available()
True
>>>
这样就是成功的了。
2 配置yolo环境
yoloV8环境及其好配置,只需输入一行命令即可安装所有所需依赖:
pip install ultralytics
安装完成。
从官网下载yolo:
yoloV8官网
https://github.com/ultralytics/ultralytics 或者直接克隆到桌面:
git clone https://github.com/ultralytics/ultralytics.git下载预训练模型:在它的官方网站上有用作各种任务的预训练权重。
我们下载目标检测和语义分割权重:
将这些权重放到yoloV8目录下,创建权重文件夹weights,将权重放入其中:
目录结构如下:
至此,我们配置好了yoloV8,开始进行测试。
3 测试yoloV8的语义分割模型
我们在网上随便下载一张图像:
yolo task=segment mode=predict model=weights/yolov8s-seg.pt source=0预测,可能会出错,不用慌,教程没有问题,是你的conda环境有问题,撞库了。
fusedconv.weight.copy_(torch.mm(w_bn, w_conv).view(fusedconv.weight.shape))
RuntimeError: CUDA error: CUBLAS_STATUS_INVALID_VALUE when calling `cublasSgemm( handle, opa, opb, m, n, k, &alpha, a, lda, b, ldb, &beta, c, ldc)`解决办法:
清空运行时库缓存:
unset LD_LIBRARY_PATH
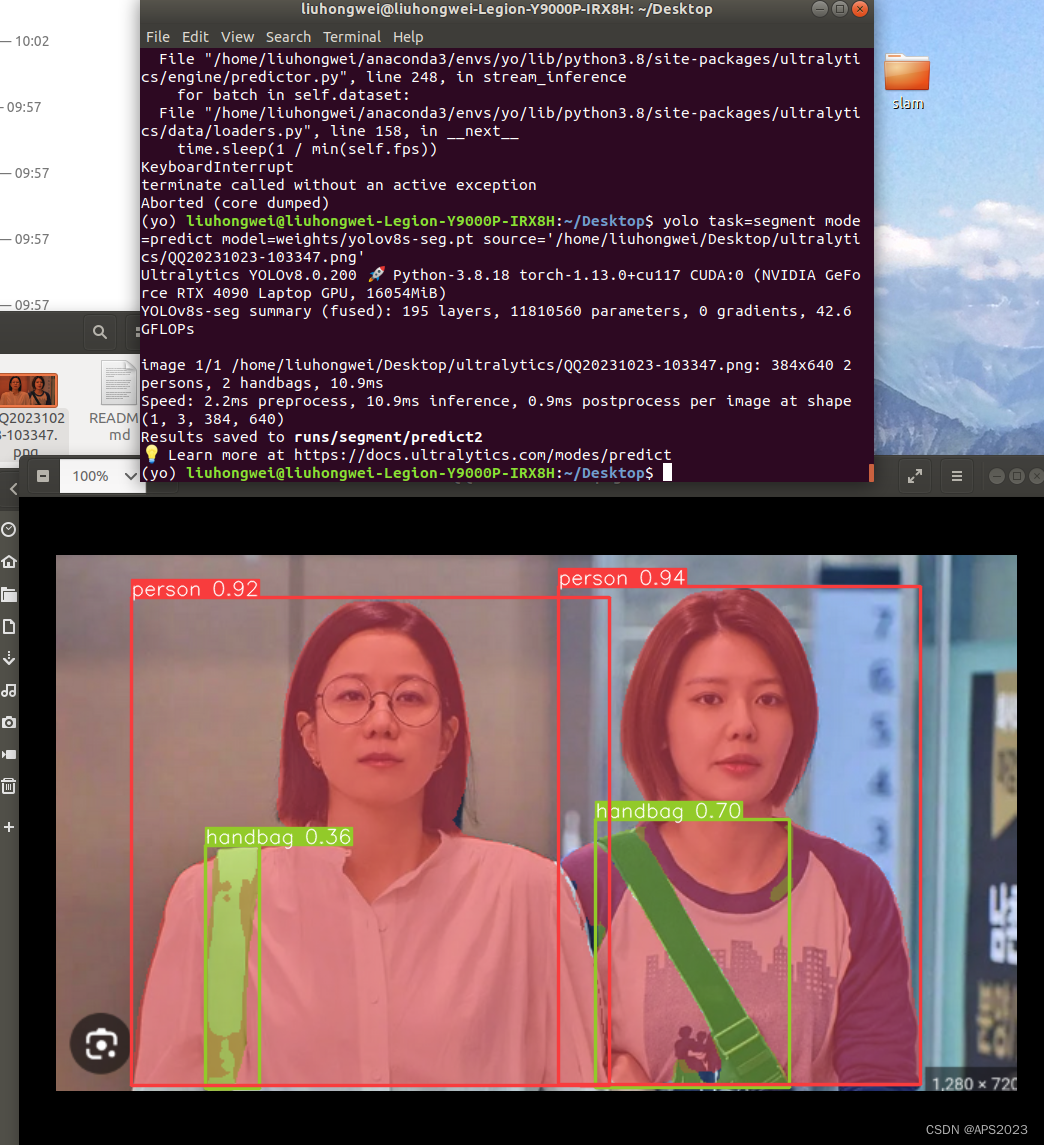
运行成功,我们把source换成我们自己的图像:
成功
