lnmp架构部署Discuz论坛并配置重定向转发
文章目录
- lnmp架构部署Discuz论坛并配置重定向转发
- 环境说明
- 部署Discuz论坛系统
- 下载Discuz论坛系统代码包,官网地址如下:
- 部署Discuz论坛系统步骤:
- 解压安装Discuz源码包
- 配置虚拟主机
- 进入Discuz安装界面
- 再次通过ip直接访问站点
- 创建一个新的账号
- 域名访问
- 配置重定向转发
环境说明
| 主机名称 | IP地址 | 所需服务/架构 | 系统版本 |
|---|---|---|---|
| lnmp | 192.168.195.133 | nginx-1.24.0 mysql-5.7 php-8.2.11(lnmp架构) | centos 8 |
需要首先部署好lnmp架构。详细步骤请阅读:
源码编译安装部署lnmp
部署Discuz论坛系统
下载Discuz论坛系统代码包,官网地址如下:
Disucz! 下载_免费搭建网站_开源建站系统下载_Discuz!官方_为您提供全方位建站服务!

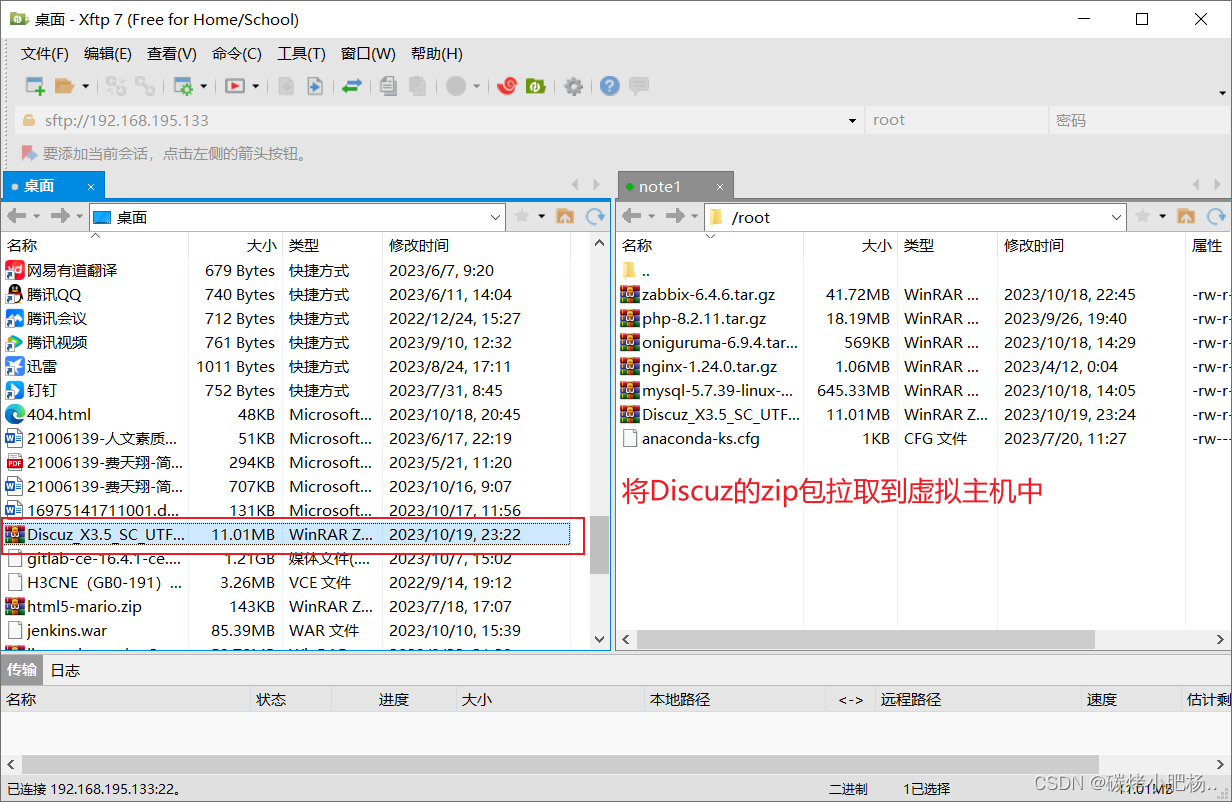
下载完成后上传到虚拟主机中
部署Discuz论坛系统步骤:
解压安装Discuz源码包
//创建一个网站存放目录
[root@lnmp ~]# mkdir /usr/local/nginx/html/Discuz

//安装解压zip包所需的unzip软件包,并将Discuz的zip解压到我们所创建的网站存放目录
[root@lnmp ~]# yum -y install unzip
[root@lnmp ~]# unzip Discuz_X3.5_SC_UTF8_20231001.zip -d /usr/local/nginx/html/Discuz/
[root@lnmp ~]# cd /usr/local/nginx/html
[root@lnmp html]# ls
404.html  50x.html  auth_page  Discuz  index.html  index.php
[root@lnmp html]# cd Discuz/
[root@lnmp Discuz]# ls
LICENSE  qqqun.png  readme  readme.html  upload  utility.html
[root@lnmp Discuz]# cd upload/
[root@lnmp upload]# ls
admin.php  archiver     crossdomain.xml  forum.php  index.php   misc.php    robots.txt  static     uc_server
api        config       data             group.php  install     plugin.php  search.php  template
api.php    connect.php  favicon.ico      home.php   member.php  portal.php  source      uc_client

//修改所需文件的属主属组、权限
[root@lnmp upload]# chown -R nginx config/
[root@lnmp upload]# chown -R nginx data/
[root@lnmp upload]# chown -R nginx uc_client/
[root@lnmp upload]# chown -R nginx uc_server/
[root@lnmp upload]# chmod -R 777 config/
[root@lnmp upload]# chmod -R 777 data/
[root@lnmp upload]# chmod -R 777 uc_client/
[root@lnmp upload]# chmod -R 777 uc_server/

//创建数据库
[root@lnmp ~]# mysql -uroot -p12345678 -e "create database Discuz;"
mysql: [Warning] Using a password on the command line interface can be insecure.
[root@lnmp ~]# mysql -uroot -p12345678 -e "show databases;"
mysql: [Warning] Using a password on the command line interface can be insecure.
+--------------------+
| Database           |
+--------------------+
| information_schema |
| Discuz             |
| mysql              |
| performance_schema |
| sys                |
+--------------------+
[root@lnmp ~]# mysql -uroot -p12345678 -e "grant all on Discuz.* to 'Discuz'@'%' identified by '12345678';"
mysql: [Warning] Using a password on the command line interface can be insecure.
[root@lnmp ~]# mysql -uroot -p12345678 -e "grant all on Discuz.* to 'Discuz'@'localhost' identified by '12345678';"
mysql: [Warning] Using a password on the command line interface can be insecure.
[root@lnmp ~]# mysql -uroot -p12345678 -e "flush privileges;"
mysql: [Warning] Using a password on the command line interface can be insecure.
配置虚拟主机
//编辑nginx的配置文件,创建一个虚拟主机,使其可以用域名访问
[root@lnmp ~]# vim /usr/local/nginx/conf/nginx.conf
[root@lnmp ~]# cat /usr/local/nginx/conf/nginx.conf
.......
server {
        listen       80;
        server_name  www.ftx.com;     //自己的域名


        location / {
            root   html/Discuz/upload;           //改为网站目录
            index  index.php index.html index.htm;
        }

        location ~ \.php$ {
            root           html/Discuz/upload;     //改为网站目录
            fastcgi_pass   127.0.0.1:9000;
            fastcgi_index  index.php;
            fastcgi_param  SCRIPT_FILENAME  /scripts$fastcgi_script_name;
            include        fastcgi.conf;
        }
    }
......

[root@lnmp ~]# nginx -s reload   //重新读取
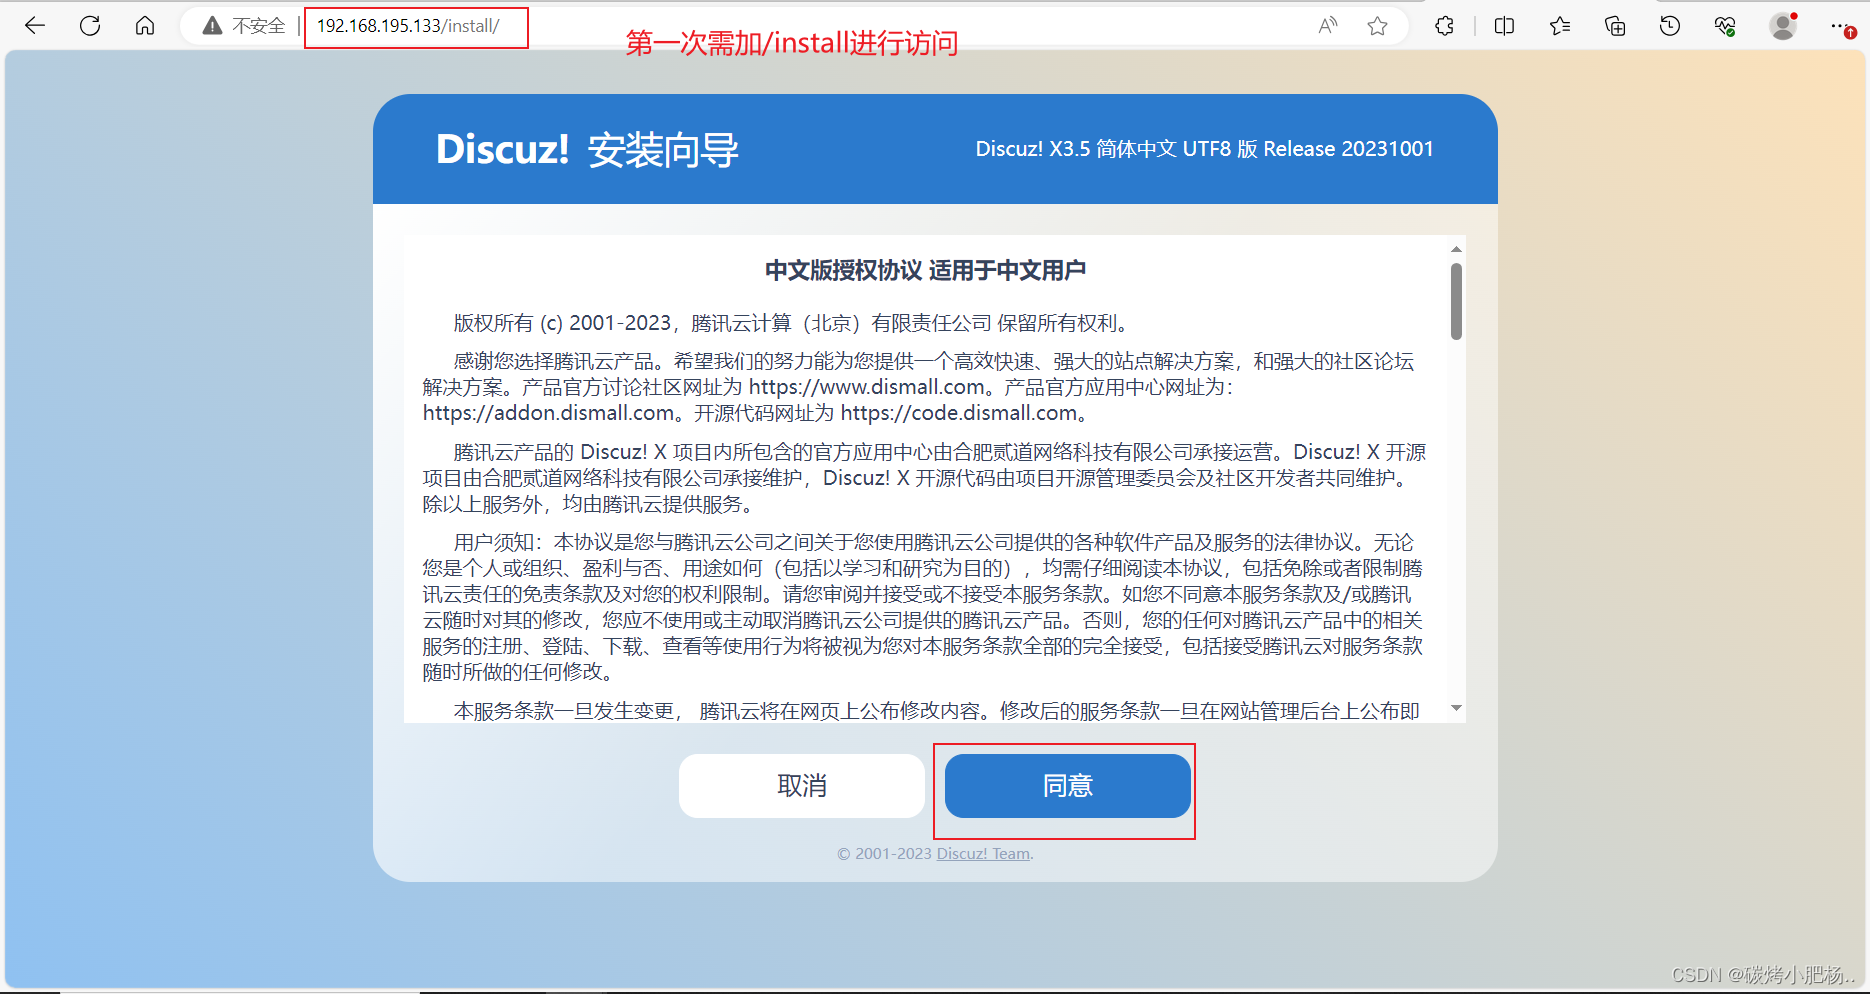
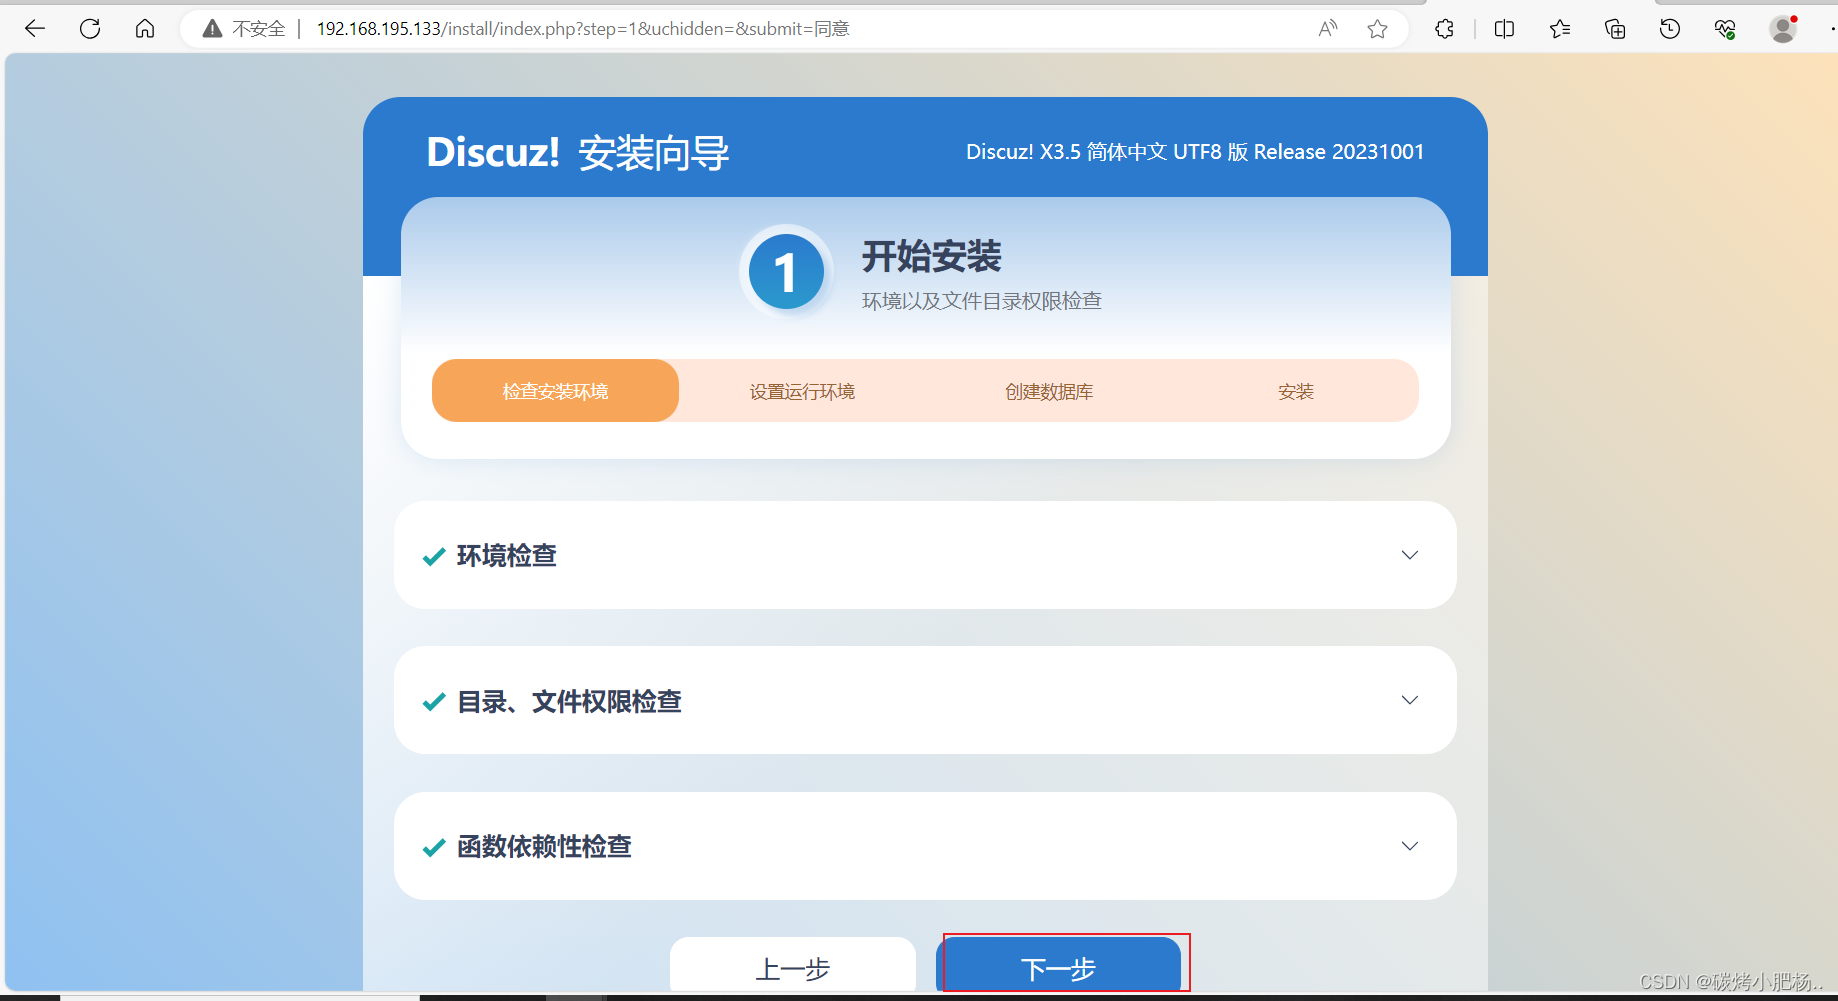
进入Discuz安装界面
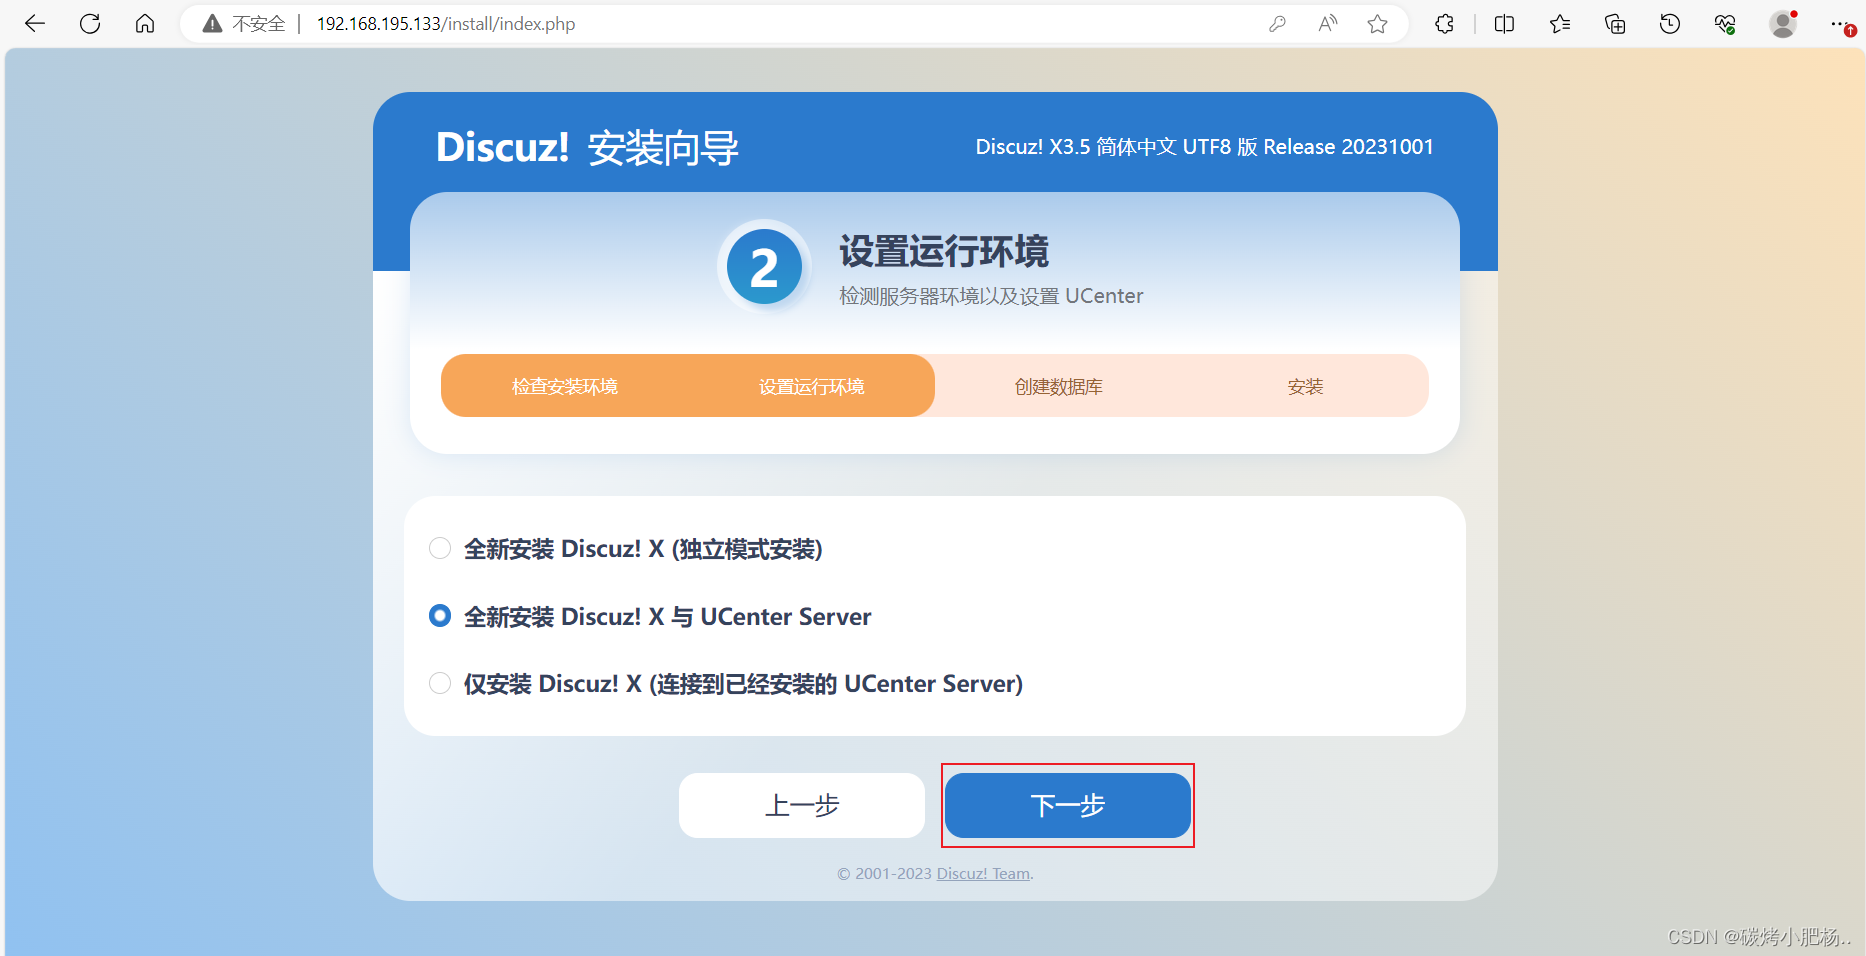
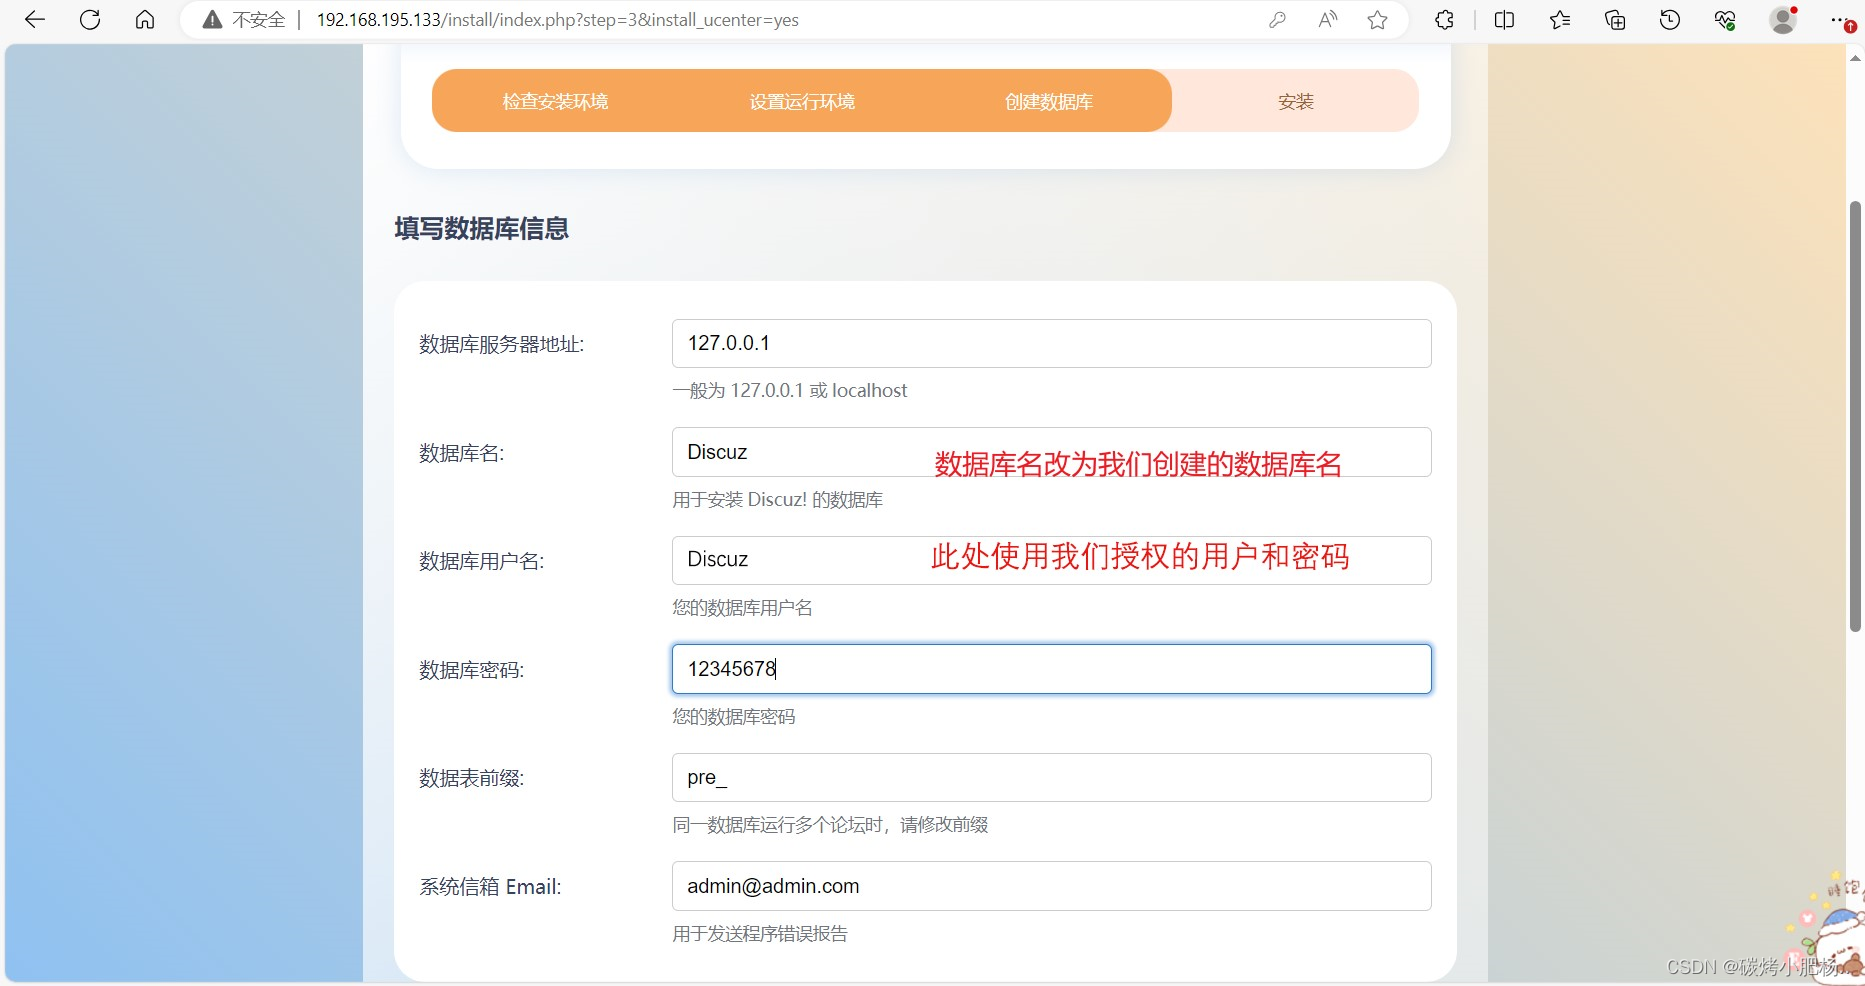
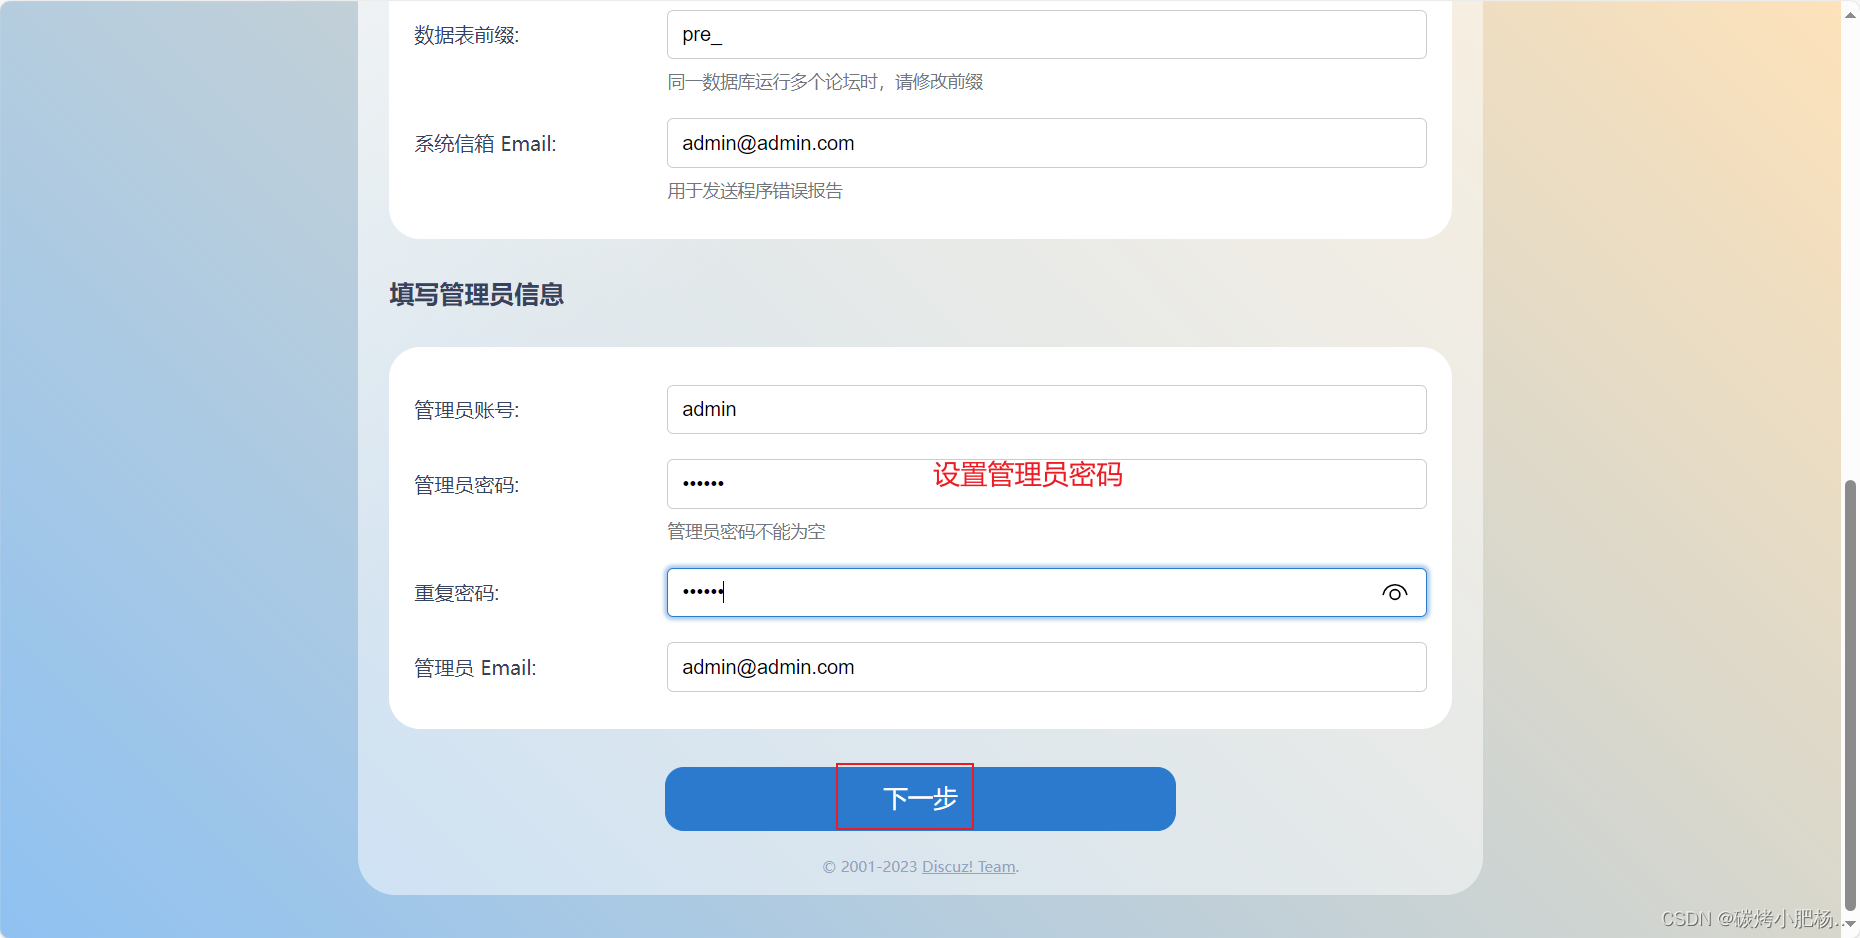
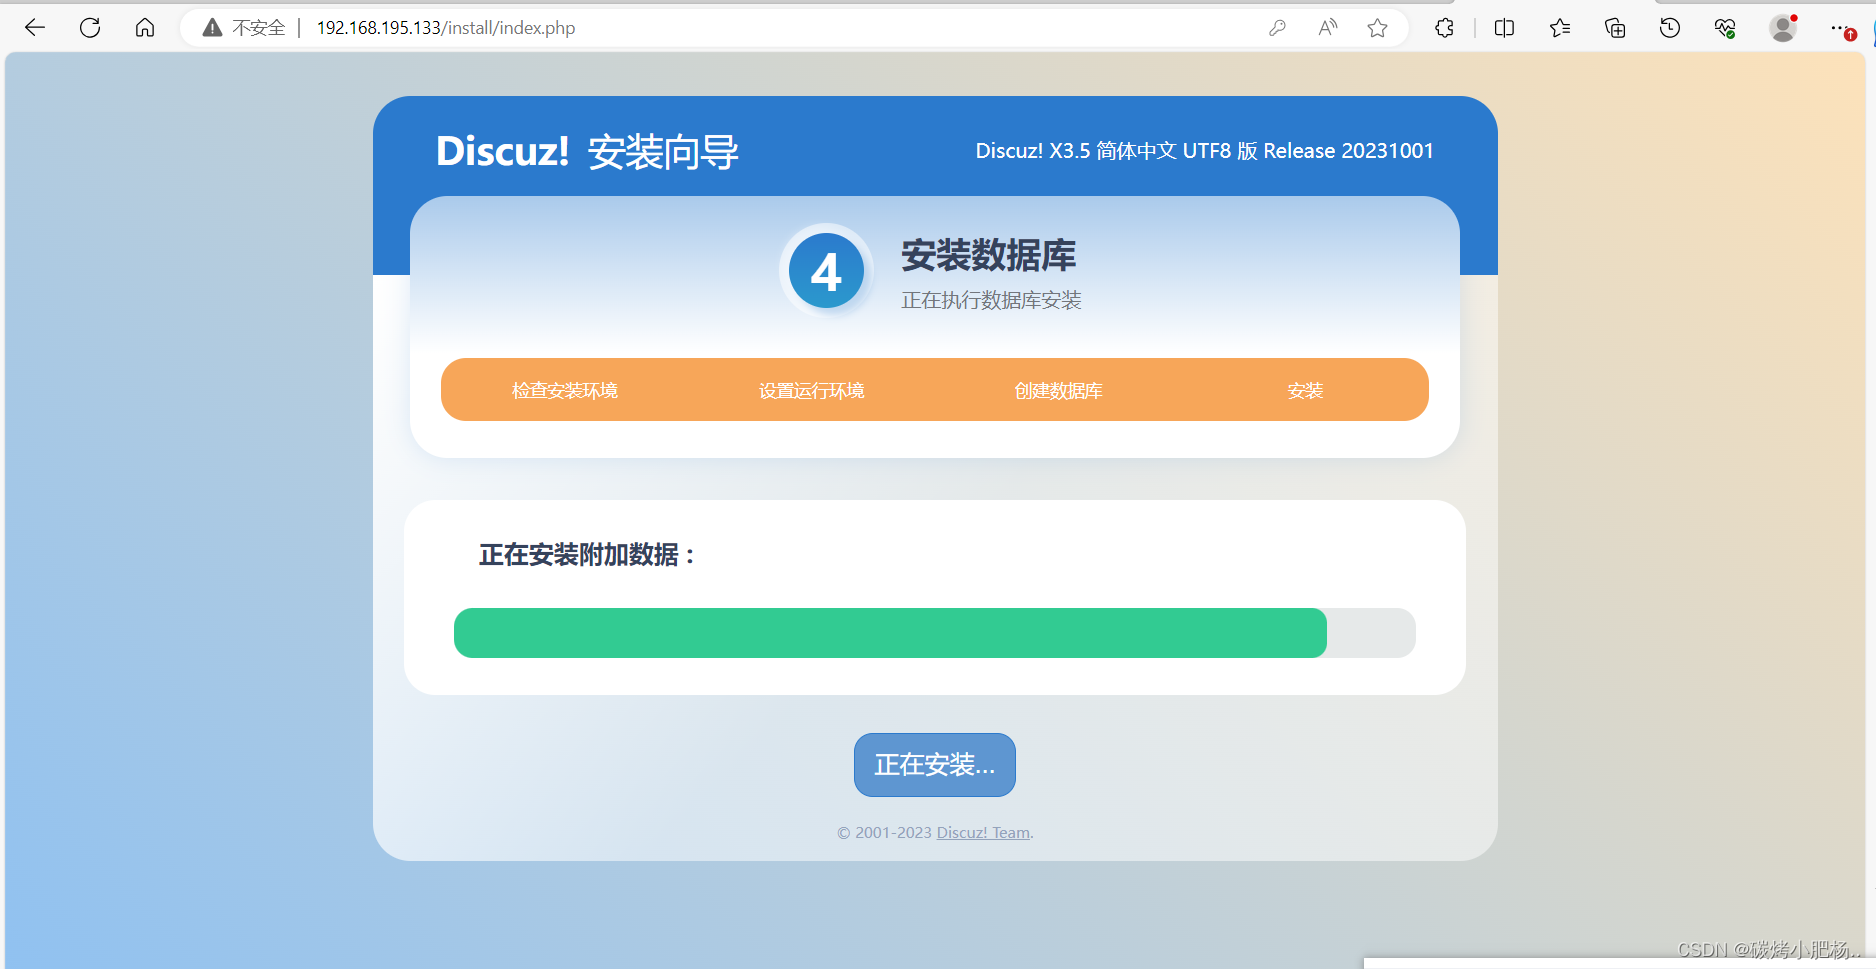
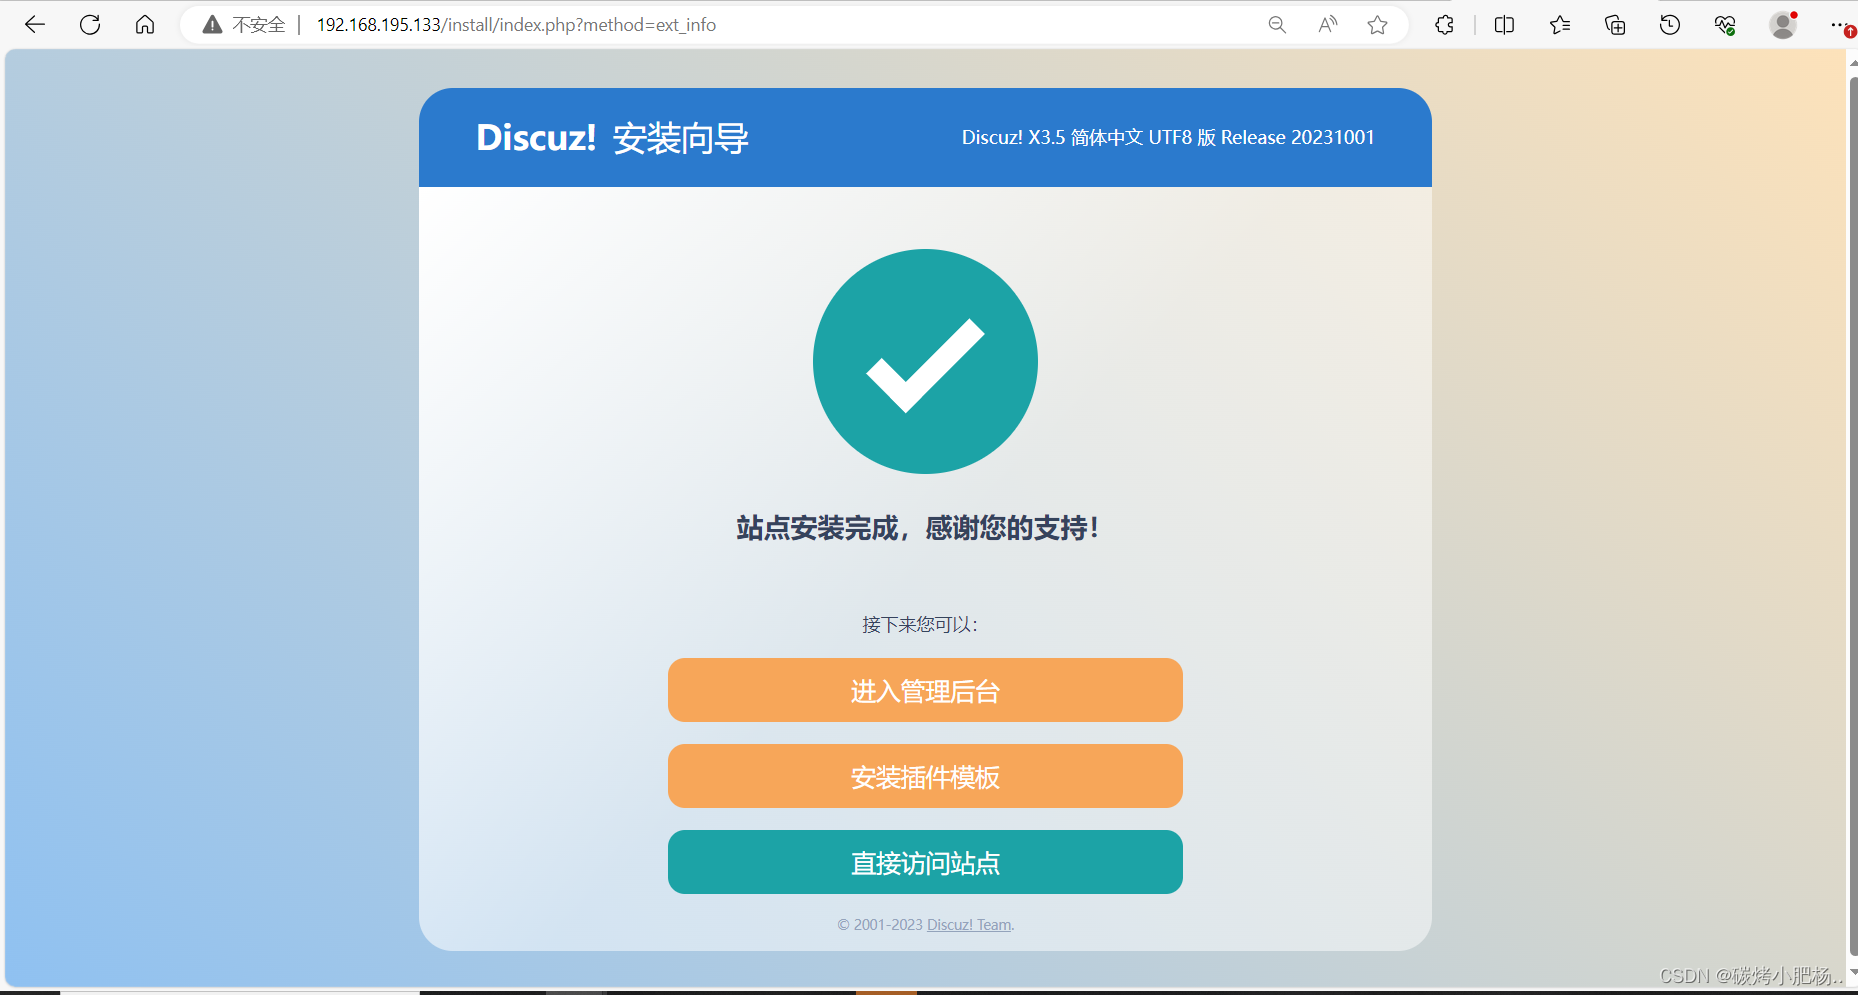
安装完成
再次通过ip直接访问站点
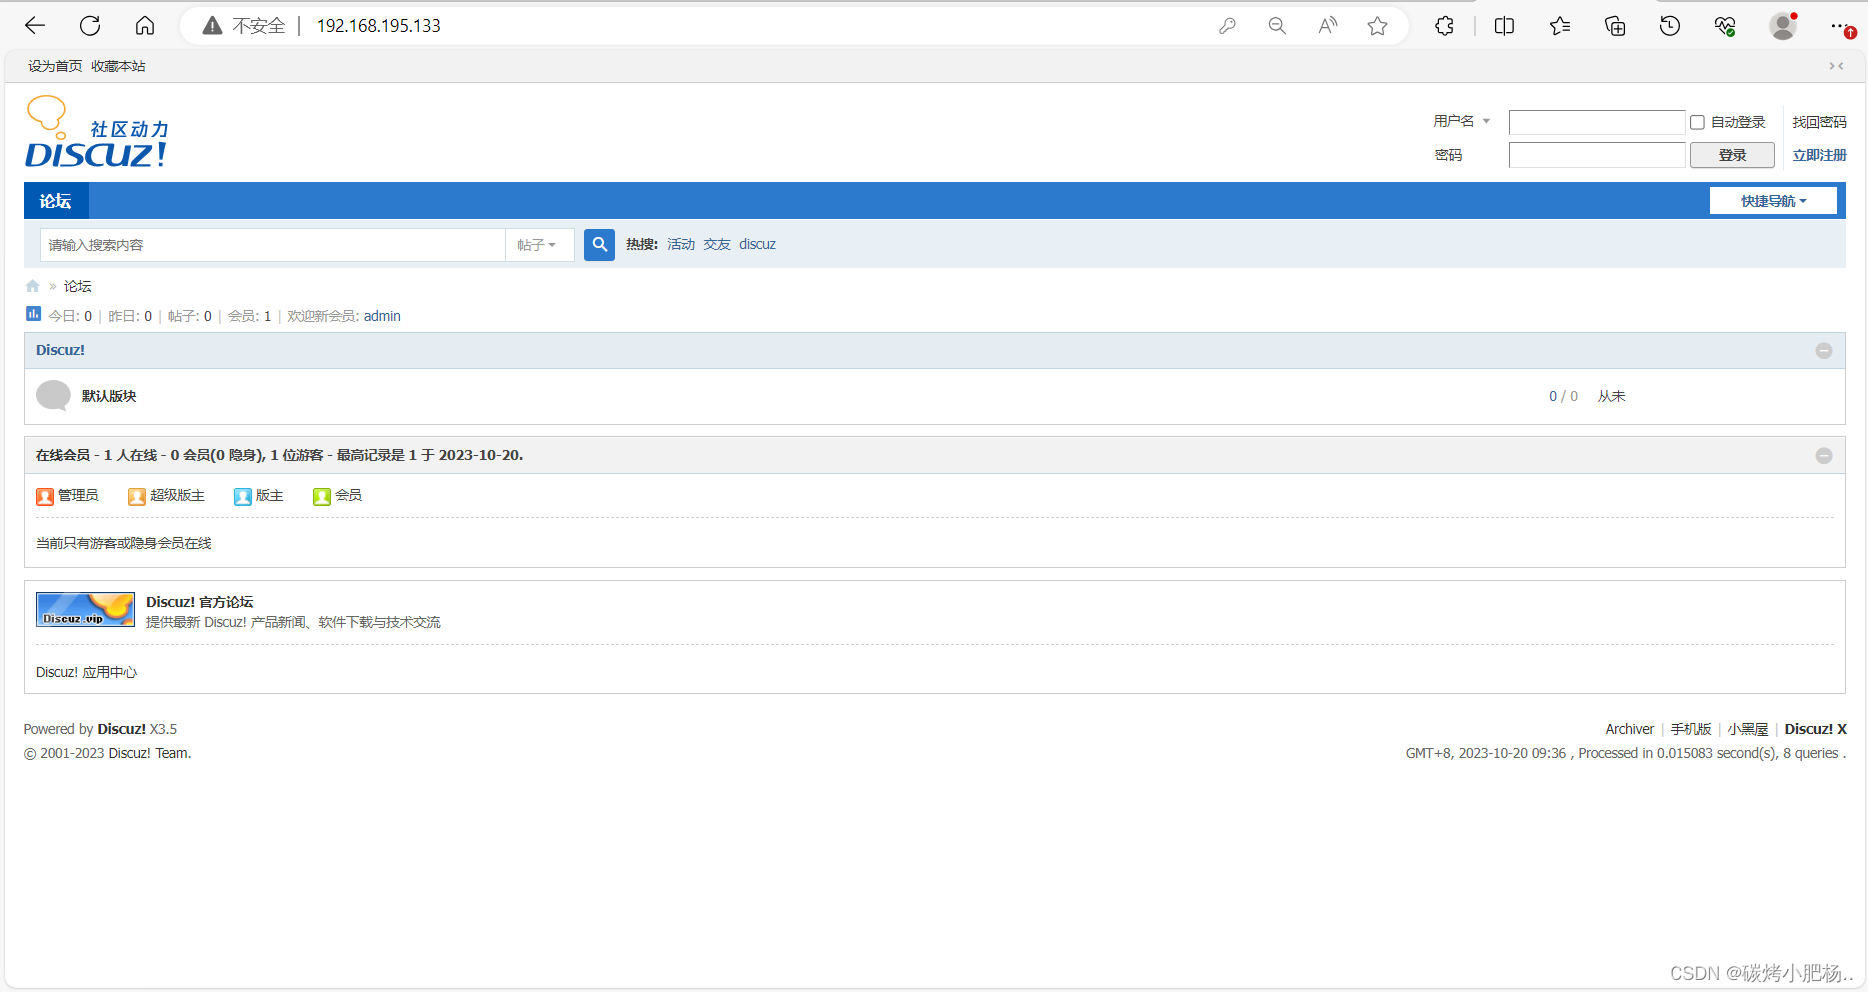
创建一个新的账号
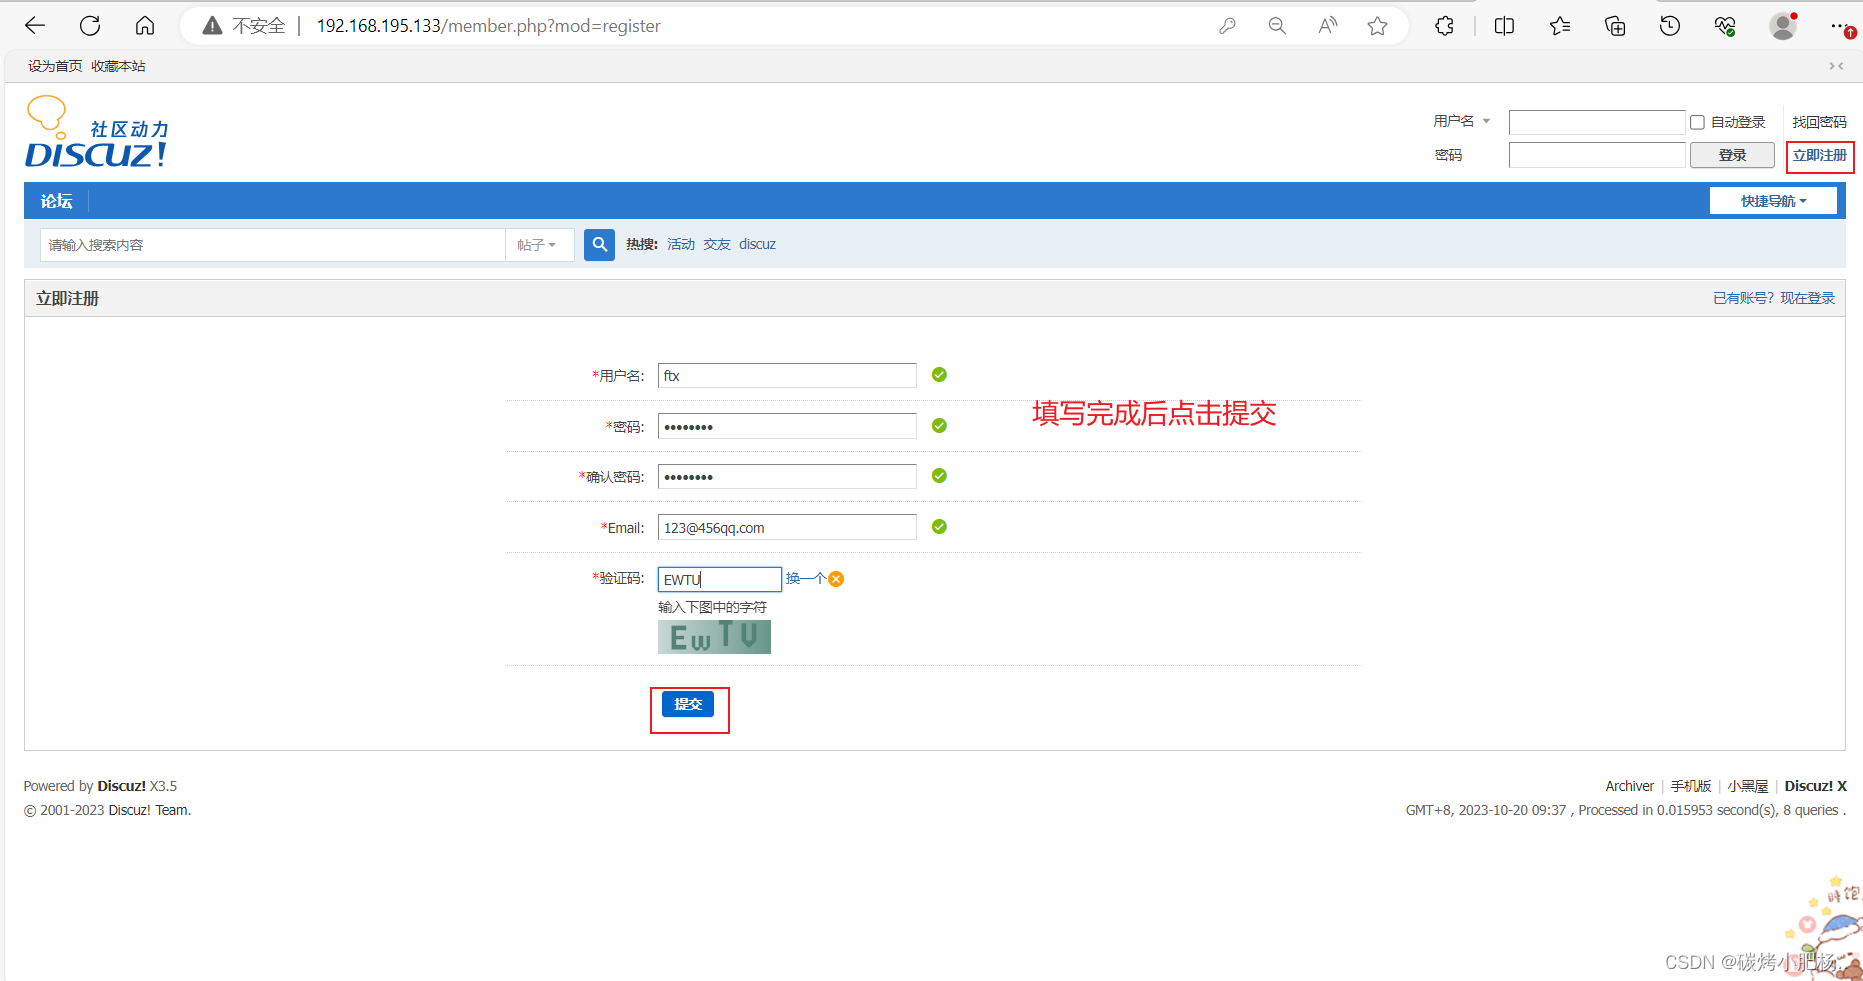

注册成功
域名访问
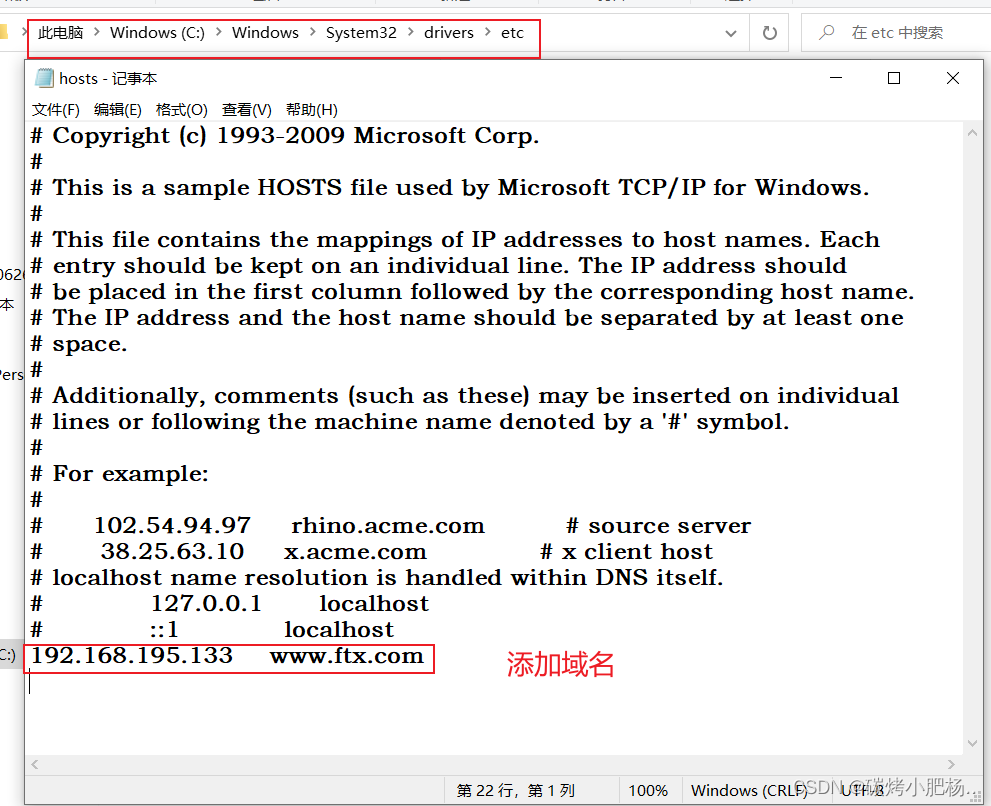
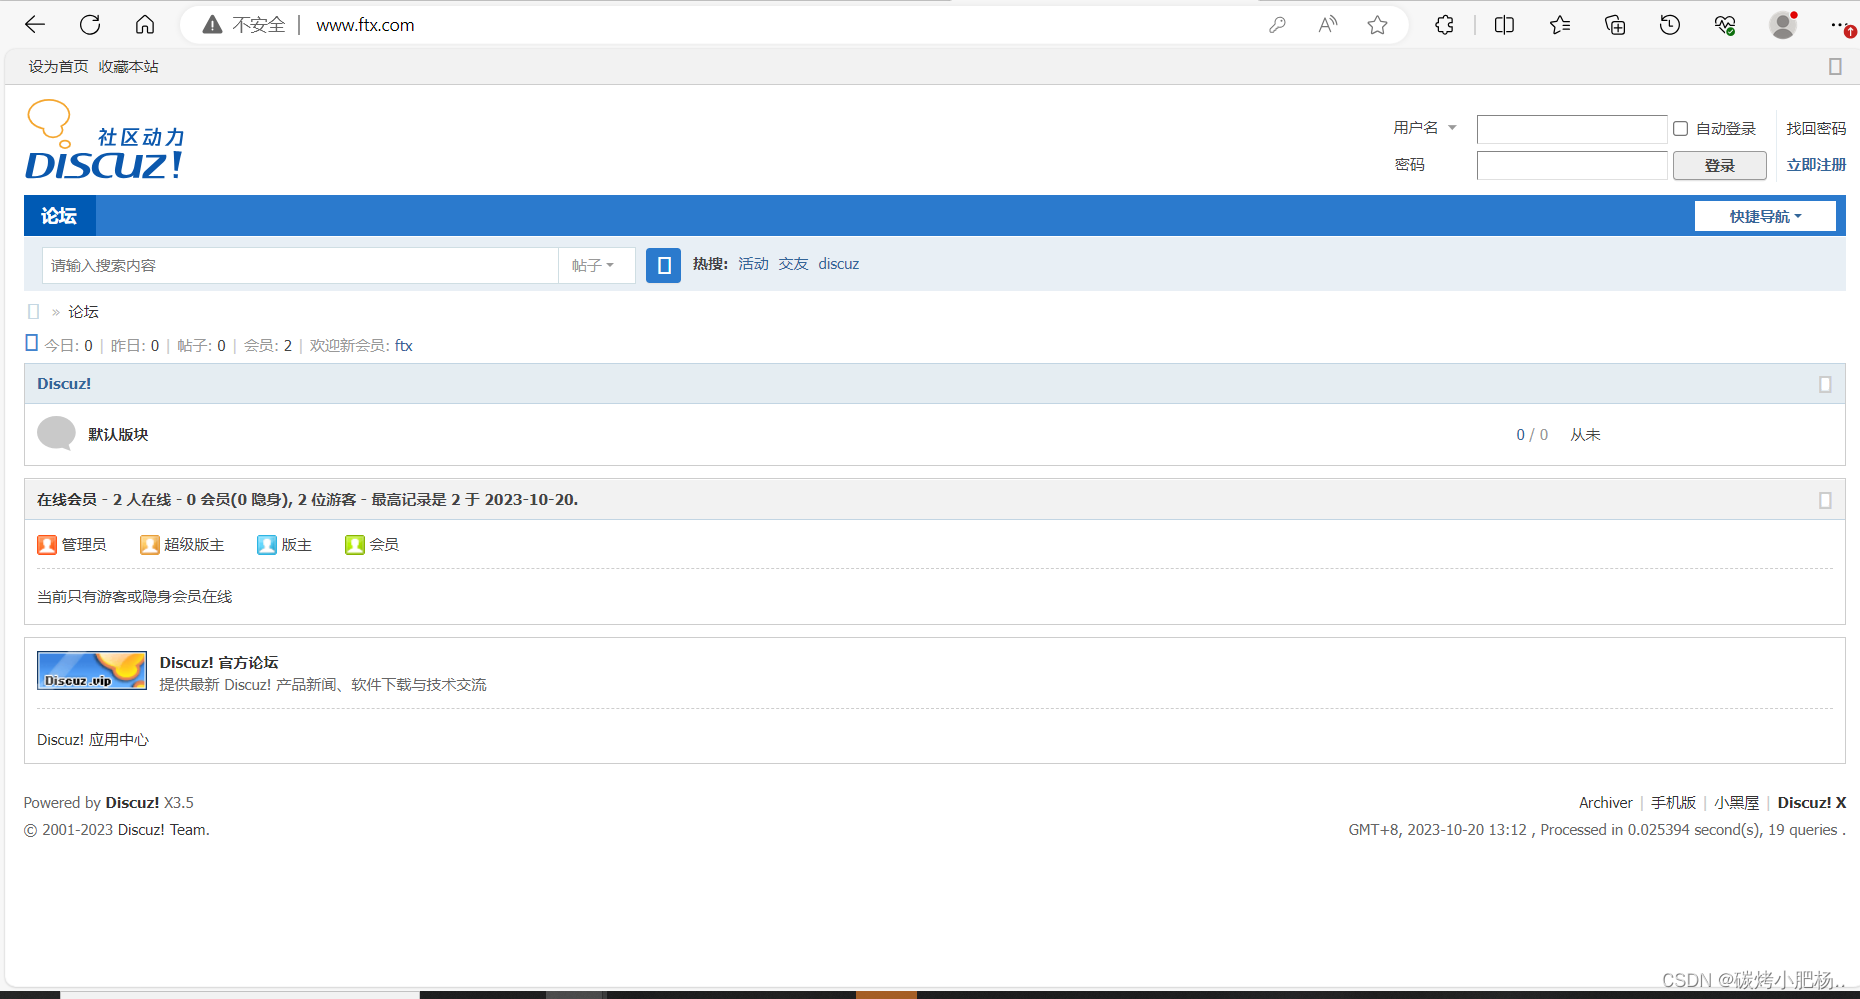
域名访问同样能够成功
配置重定向转发
当我们之前的域名因为某些特殊原因从而导致后续无法继续使用,然而又不能直接更改域名,防止旧用户仍旧使用老域名访问时而无法访问,为了用户体验,这时就需要我们做一个转发,也就是写一个重定向转发域名的配置
例如我们的www.yyr.com作为我们的旧域名,如今想让新域名能够访问到之前的网页,需在nginx.conf配置文件中添加如下内容:
[root@lnmp conf]# vim nginx.conf
[root@lnmp conf]# cat nginx.conf
. . . . .
server {
        listen       80;
        server_name  www.yyr.com;

        location / {
            root   html;
            index  index.php index.html index.htm;
            rewrite ^/(.*)$ http://www.ftx.com/$1 break;
        }

        error_page   500 502 503 504  /50x.html;
        location = /50x.html {
            root   html;
        }


        location ~ \.php$ {
           root           html;
           fastcgi_pass   127.0.0.1:9000;
           fastcgi_index  index.php;
           fastcgi_param  SCRIPT_FILENAME  /scripts$fastcgi_script_name;
           include        fastcgi.conf;
        }
    }
. . . . .
[root@lnmp conf]# nginx -s reload     //重新加载
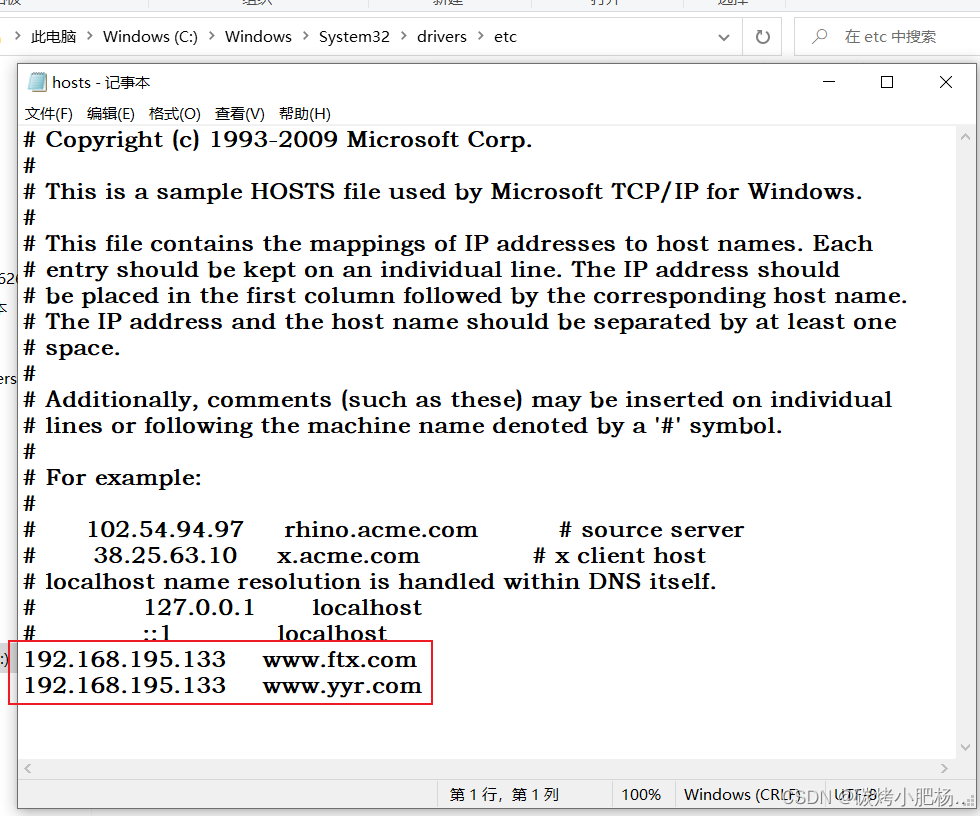
使用旧域名访问

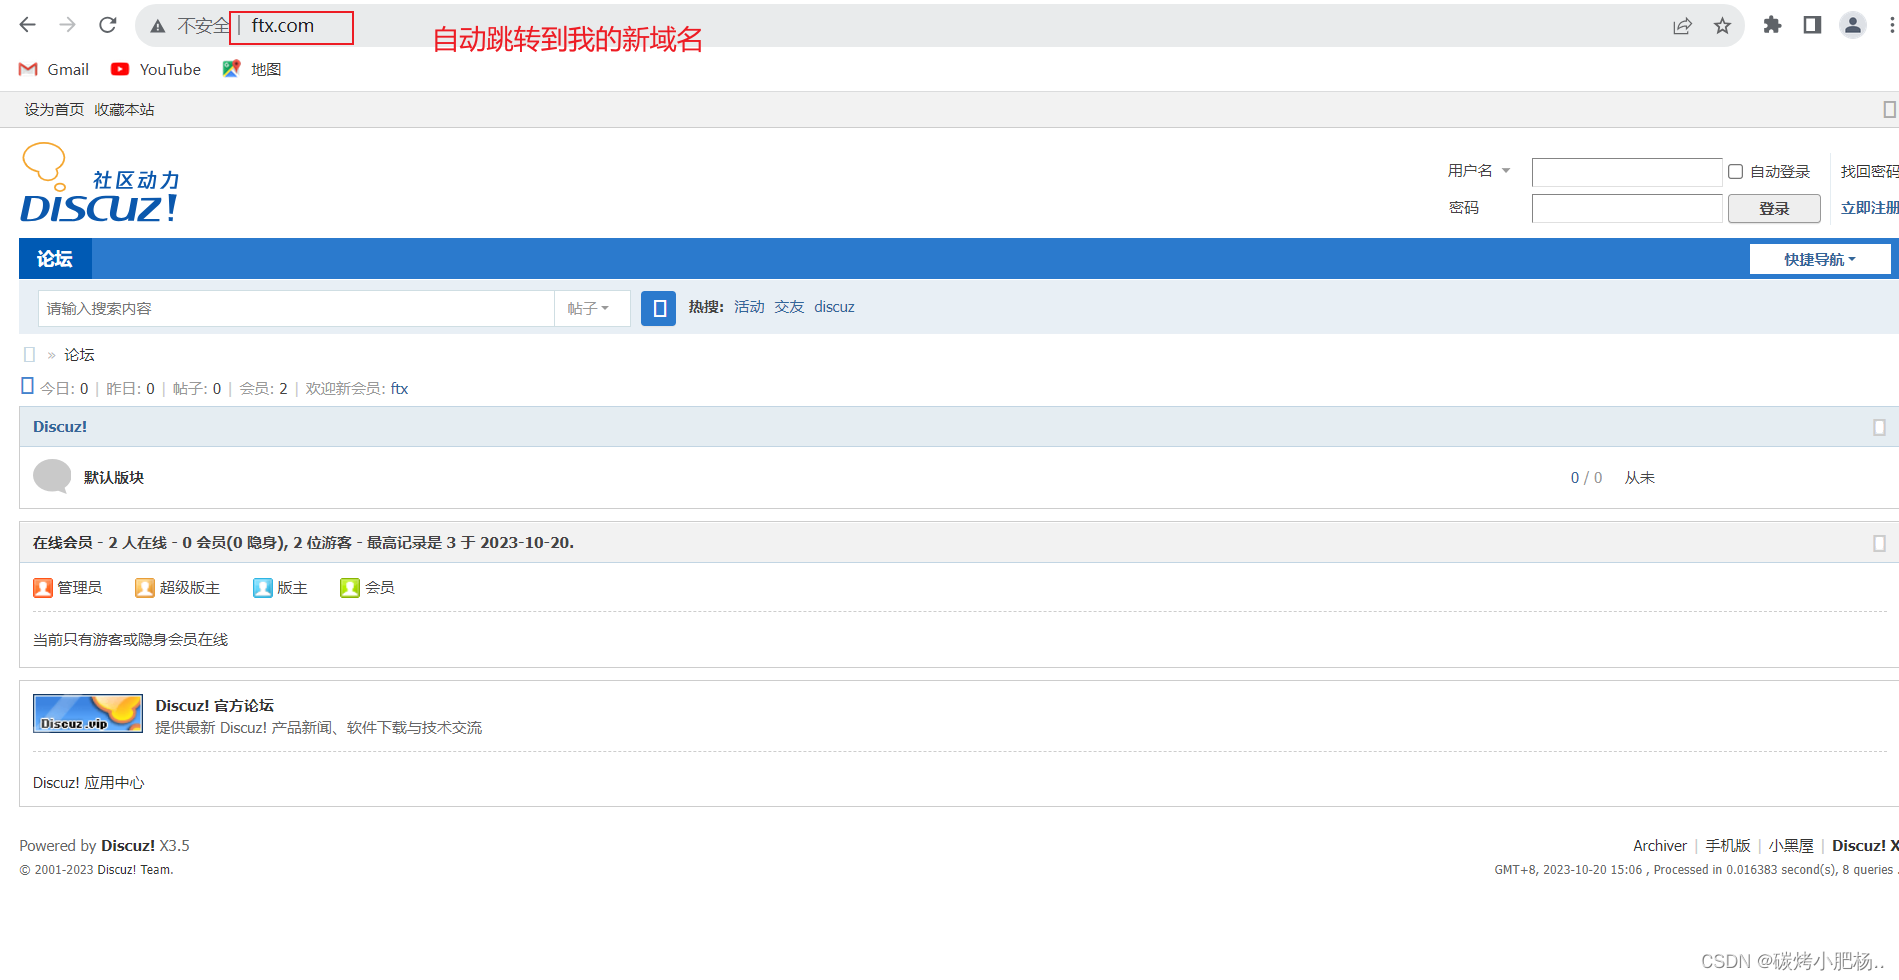
使用新域名访问
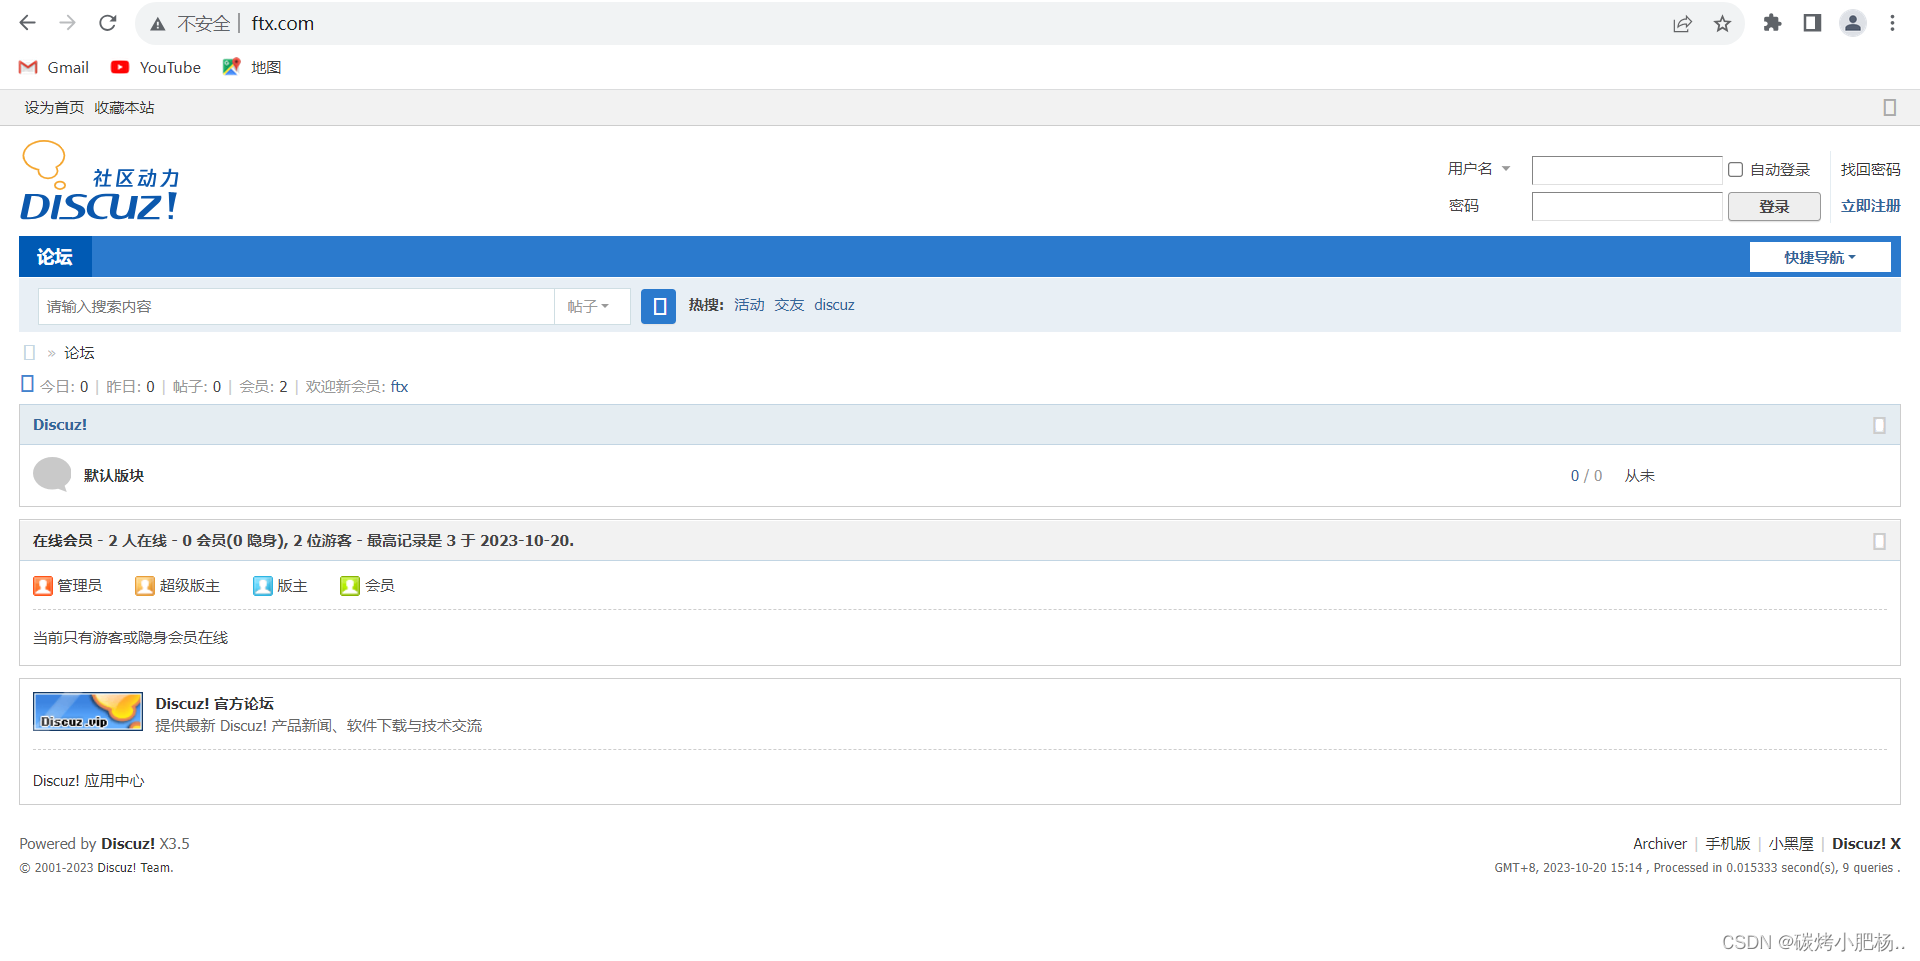
若按照上述步骤部署后还是无法访问,可以试试其他浏览器(如:Google)


