import numpy as np
import cv2

# 加载RGB图像和深度图像
rgb_image = cv2.imread(r'F:\Datasets\data\nyu2_test\00000_colors.png')  # 假设你有一张RGB图像
depth_image = cv2.imread(r'F:\Datasets\data\nyu2_test\00000_depth.png', cv2.IMREAD_GRAYSCALE)  # 假设你有一张灰度深度图像

# 定义相机内参(假设相机已经标定过,实际中需要正确的相机参数)
focal_length = 500  # 焦距
center_x, center_y = rgb_image.shape[1] // 2, rgb_image.shape[0] // 2  # 图像中心点

# 定义一些场景参数(这里仅为示例,实际中需要正确的场景参数)
scene_scale = 0.1  # 场景缩放因子,用于将深度图像转换为实际深度值

# 将深度图像转换为实际深度值
depth_image = depth_image.astype(float) * scene_scale

# 创建3D点云
points_3d = []
for y in range(depth_image.shape[0]):
    for x in range(depth_image.shape[1]):
        # 计算像素点的深度值
        depth = depth_image[y, x]
        # 计算对应的3D坐标(相机坐标系下)
        point_3d = [(x - center_x) * depth / focal_length, (y - center_y) * depth / focal_length, depth]
        points_3d.append(point_3d)

# 将点云转换为numpy数组
points_3d = np.array(points_3d)

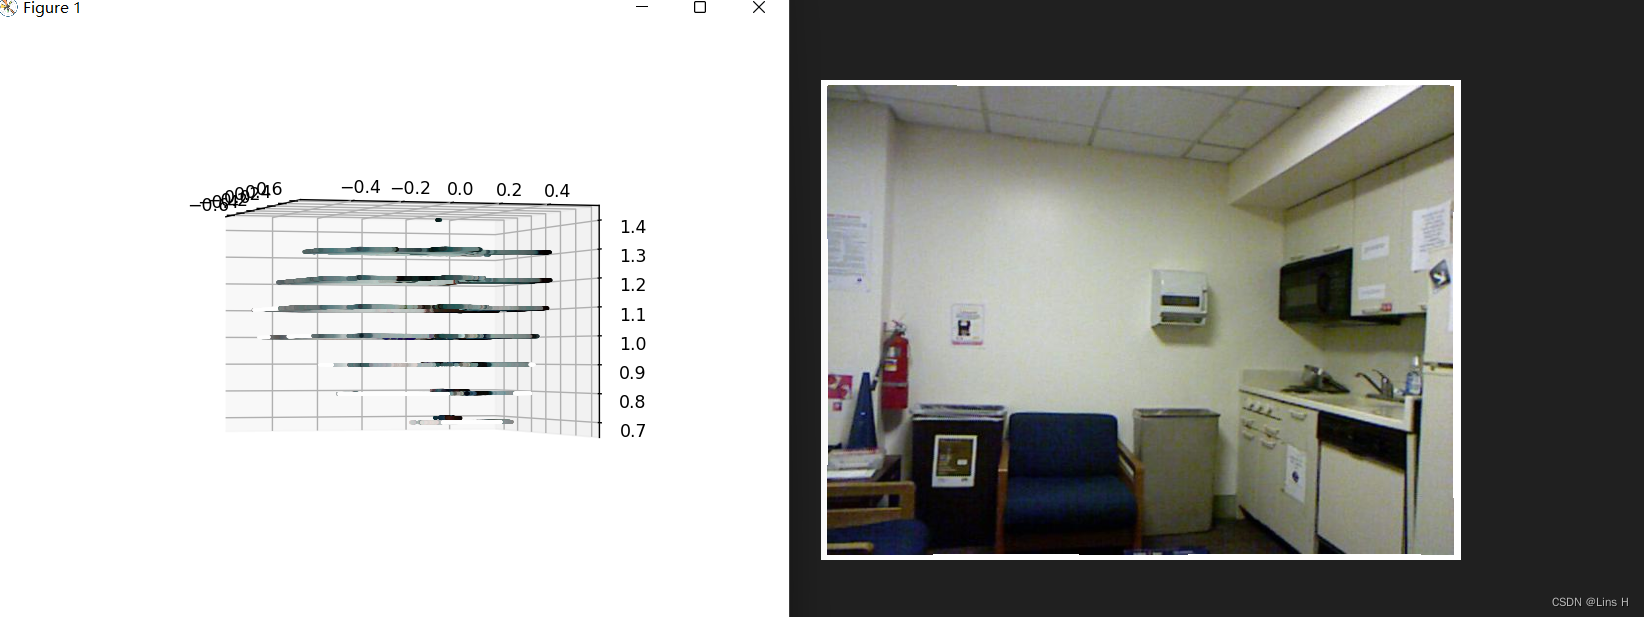
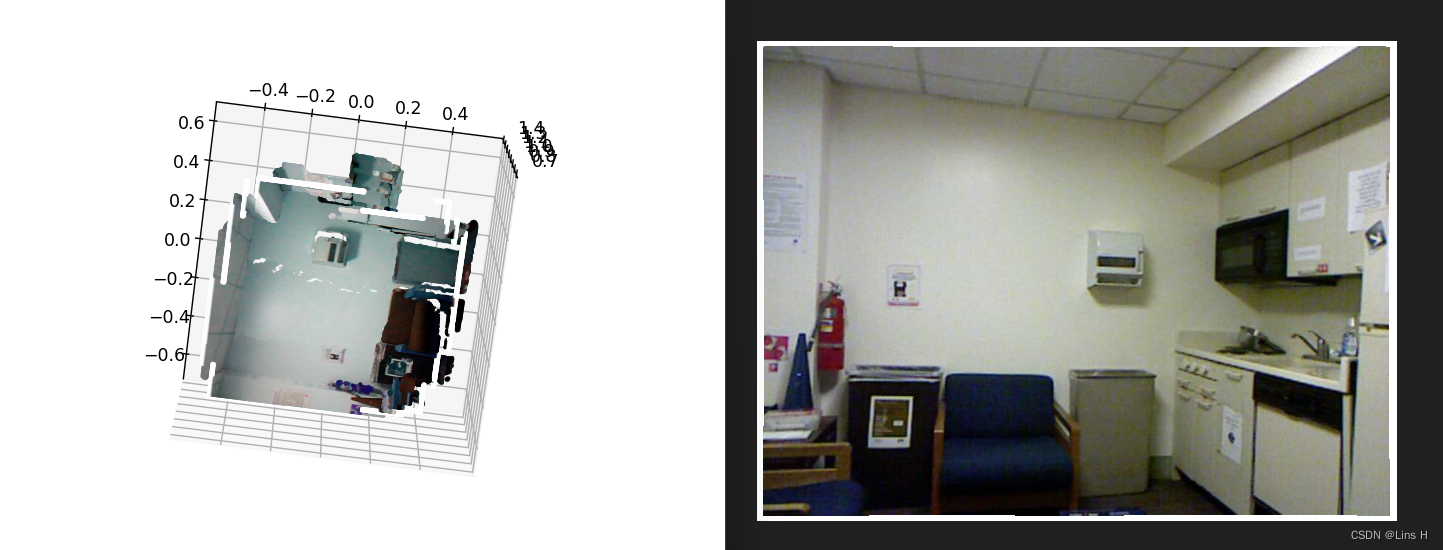
# 显示结果
from mpl_toolkits.mplot3d import Axes3D
import matplotlib.pyplot as plt

fig = plt.figure()
ax = fig.add_subplot(111, projection='3d')
ax.scatter(points_3d[:, 0], points_3d[:, 1], points_3d[:, 2], c=rgb_image.reshape(-1, 3)/255.0, s=1)
# ax.set_xlabel('X')
# ax.set_ylabel('Y')
# ax.set_zlabel('Z')
plt.show()




![【QT5-程序控制电源-[GPIB-USB-HS]-SCPI协议-上位机-基础样例【2】】](https://img-blog.csdnimg.cn/b8cbae930c5e4fa3aa611470c05809d8.png)

