前言
最近在做 canvas 相关的效果时,经常用到三角函数以及正/余弦相关的数字知识,这些知识点都是我们在初中的时候就学过的,但是这么多年基本已经忘的差不多了,刚好最近又学到了一个用 canvas 来实现的正/余弦动画效果,今天就分享给大家。
我们还是先来看一下最终的实现效果,如下图所示:
通过上图可以看到,随着圆圈的转动,正弦 和 余弦 不断的绘制,通过这个动画就能够很好的理解 正弦 与 余弦 之间的区别,下面我们就一起来看一下这个效果是如何实现的吧!
旋转的圆
根据上面的动画可以明显的看出,正弦 和 余弦 的绘制是跟随左侧的圆来的,因此咱们可以先将圆绘制出来,这样就能够获取到 正弦 和 余弦 的所有点了。
首先我们还是先来编写相关的基础代码,依旧是采用 TS + ES6 来进行编写,当然也需要添加 canvas 标签和简单的 css 代码,这里对这两块内容不做编写,在文章的最后会放出完整的代码和实现效果。
下面我们就先一起来编写基础的代码,如下所示:
class Triangulation {canvas: HTMLCanvasElement;ctx: CanvasRenderingContext2D;arraySin: number[];arrayCos: number[];constructor() {this.canvas = document.getElementById('canvas') as HTMLCanvasElement;this.ctx = this.canvas.getContext('2d');this.canvas.width = 600;this.canvas.height = 400;this.arraySin = [];this.arrayCos = [];this.animate();}draw() {this.ctx.clearRect(0, 0, this.canvas.width, this.canvas.height);}animate() {requestAnimationFrame(() => this.animate());this.draw();}
}
还是老规矩,这里依旧是先准备一个 Triangulation 类,并添加相关的 draw 和 animate 方法,在 constructor 中我们定义了两个数组,分别是 arraySin 和 arrayCos,它们是用来保存随着圆旋转而获得的 正弦 与 余弦 的值。下面我们需要先绘制左边的圆圈,并且通过圆获取到对应的 正弦 与 余弦。
我们依旧是定义一个 Circle 类,并且在这个类中添加相关的方法,最后在 Triangulation 中进行调用来执行,下面我们一起来看 Circle 类是如何实现的,代码如下:
class Circle {deg: number;ctx: CanvasRenderingContext2D;arraySin: number[];arrayCos: number[];w: number;h: number;constructor(ctx: CanvasRenderingContext2D, arraySin: number[], arrayCos: number[]) {this.x = 100;this.y = 100;this.deg = 0;this.ctx = ctx;this.arraySin = arraySin;this.arrayCos = arrayCos;}update() {this.deg += 0.01;}draw() {let x = 80 * Math.cos(this.deg) + this.x;let y = 80 * Math.sin(this.deg) + this.y;// 绘制旋转的圆点this.ctx.beginPath();this.ctx.arc(x, y, 3, 0, Math.PI * 2);this.ctx.fillStyle = 'green';this.ctx.fill();// 绘制外层的圆环this.ctx.beginPath();this.ctx.arc(this.x, this.y, 80, 0, Math.PI * 2);this.ctx.strokeStyle = `green`;this.ctx.stroke();// 将绘制的点添加到数组中this.arraySin.push(y);this.arrayCos.push(x);}
}
在上述的代码中,我们通过三角函数 Math.sin() 和 Math.cos() 来获取圆弧的 x轴 和 y轴,并通过 ctx.arc() 来绘制圆,最后把获取到的每一个 x轴 与 y轴 的值添加到前面的 arraySin 和 arrayCos 数组中,这样当圆圈不断转动时,这两个数组中就会包含所有的 正弦 与 余弦 的值;当然,我们还需要在 Triangulation 类的 draw 方法中去执行 Circle 类的 update 和 draw 方法。
我们一起来看一下 Triangulation 中 draw 方法发修改,代码如下:
class Triangulation {...other codecircle: Circle;constructor() {...other codethis.circle = new Circle(this.ctx, this.arraySin, this.arrayCos);this.animate();}draw() {this.ctx.clearRect(0, 0, this.canvas.width, this.canvas.height);this.circle.update();this.circle.draw();}...other code
}
可以看到在 Triangulation 类的 constructor 中,我们实例化了 Circle,然后在 draw 方法中调用了实例化 Circle 提供的相关方法,最后绘制出一个旋转的圆圈,如下所示:
到这里为止,我们已经实现了圆圈的旋转,并且在圆圈的旋转中,不断的获取到当前的 正弦 与 余弦 的值,下面我们就需要通过获取到的 正弦 与 余弦 的值将它们绘制出来,让我们继续来学习~
舞动的正弦与余弦
在前面我们已经在绘制圆的过程中,将 正弦 与 余弦 的值添加到了 arraySin 和 arrayCos 这两个数组中,接下来我们就需要使用这两个数组中的值来绘制相应的效果了,让我们一起来看代码,如下:
class Triangulation {...other codedraw() {this.ctx.clearRect(0, 0, this.canvas.width, this.canvas.height);this.circle.update();this.circle.draw();// 根据数组中的数值绘制对应的曲线if (this.arraySin.length > 314 * 2 * 2) {this.arraySin.splice(0, 1);this.arrayCos.splice(0, 1);}// 遍历数组,根据值绘制相应的点for (let i in this.arraySin) {// 绘制正弦曲线this.ctx.beginPath();this.ctx.arc(200 + (+i) / 1.57, this.arraySin[this.arraySin.length - (+i)], 0.5, 0, Math.PI * 2);this.ctx.fillStyle = `hsl(${(+i) * 1.4}, 80%, 60%)`;this.ctx.fill();// 绘制余弦函数this.ctx.beginPath();this.ctx.arc(200 + (+i) / 1.57, 400 - this.arrayCos[this.arraySin.length - (+i)], 0.5, 0, Math.PI * 2);this.ctx.fillStyle = `hsl(${(+i) * .9}, 50%, 30%)`;this.ctx.fill();}}
}
我们在 Triangulation 类的 draw 方法中,通过循环遍历 arraySin 中的值,从而绘制出每一个点,连起来后就成了一条完整的线,并且随着圆圈的转动线段也会跟着舞动起来,我们一起来看一下实现的效果,如图:
通过上图可以很好的看出,当圆旋转时,我们不断的将当前旋转的点添加到 arraySin 和 arrayCos 数组中,然后通过循环这两个数组中的值,将它们绘制成线段,最后就实现了上述的效果。
做到这里,正弦 与 余弦 已经实现了,但是一般人看到这里可能会一脸懵逼,确实光看这个效果,都不知道到底是在讲什么,因此我们还需要添加相关的辅助线,通过辅助线的帮助,最终就可以看出完整的效果。
辅助线
在前面也说,光看这两条线段在这里跳动,其实看不出这是 正弦 与 余弦 ,因此我们需要添加相关的辅助线来帮助我们理解 正弦 与 余弦,那么该在哪里添加呢?还记得我们的 正弦 与 余弦 是怎么获得到对应的点的吗?其实就是在 Circle 类中通过不断旋转圆得到的,因此我们就需要在 Circle 类的 draw 方法中去添加相关的辅助线了,我们一起来看代码,如下:
class Circle {...other codew: number;h: number;constructor(ctx: CanvasRenderingContext2D, arraySin: number[], arrayCos: number[]) {...other codethis.w = 600;this.h = 400;}update() {this.deg += 0.01;}draw() {...other code// 添加辅助线this.ctx.moveTo(this.x, this.y);this.ctx.lineTo(x, y);this.ctx.stroke();this.ctx.strokeStyle = `hsl(${(x - 0.2) * 1.4}, 80%, 60%)`;this.ctx.beginPath();this.ctx.moveTo(x, y);this.ctx.lineTo(x, 200);// 添加正弦辅助线this.ctx.moveTo(x, y);this.ctx.lineTo(200, y);this.ctx.stroke();}
}
首先我们添加 正弦 的辅助线,让 正弦 在绘制的过程中随着圆的旋转得到相应的点,实现的效果如下所示:
通过上图可以看到在圆的旋转过程中,正弦 的值跟着圆在不断的变化,当然现在这条辅助线还不完整,因此我们需要继续完善辅助线相关的代码,如下所示:
class Circle {...other codew: number;h: number;constructor(ctx: CanvasRenderingContext2D, arraySin: number[], arrayCos: number[]) {...other codethis.w = 600;this.h = 400;}update() {this.deg += 0.01;}draw() {...other code// 添加余弦辅助线this.ctx.moveTo(200, 300);this.ctx.lineTo(this.w, 300);this.ctx.moveTo(0, 200);this.ctx.lineTo(this.w, 200);this.ctx.moveTo(100, 100);this.ctx.lineTo(this.w, 100);this.ctx.moveTo(200, 0);this.ctx.lineTo(200, this.h);this.ctx.moveTo(100, 100);this.ctx.lineTo(100, 200);this.ctx.stroke();}
}
通过添加更多的辅助线,我们可以得到更完整的实现效果,如下所示:
写到这里,正弦的绘制轨迹已经出来了,但是余弦的绘制却没有头,因此我们还需要添加最后的圆弧,用于余弦绘制时的跟随效果,代码如下:
class Circle {...other codew: number;h: number;constructor(ctx: CanvasRenderingContext2D, arraySin: number[], arrayCos: number[]) {...other codethis.w = 600;this.h = 400;}update() {this.deg += 0.01;}draw() {...other codethis.ctx.beginPath();this.ctx.arc(200, 200, 200 - x, Math.PI / 2, Math.PI);this.ctx.stroke();this.ctx.beginPath();this.ctx.arc(200, 200, 100, Math.PI / 2, Math.PI);this.ctx.stroke();}
}
至此,我们通过简单的三角函数绘制了一个圆,并且通过获取到圆中的每一个点得出正弦与余弦,并将它们绘制出来,最终的完整代码和实现效果可以在这里进行查看: 
总结
通过三角函数相关的知识,从而获取到圆中的每一个点,而正弦与余弦正是由圆圈中的每一个点组成的。当然,我老婆学会没有我不清楚,大家学会没就只有大家自己清楚了~
最后
为大家准备了一个前端资料包。包含54本,2.57G的前端相关电子书,《前端面试宝典(附答案和解析)》,难点、重点知识视频教程(全套)。

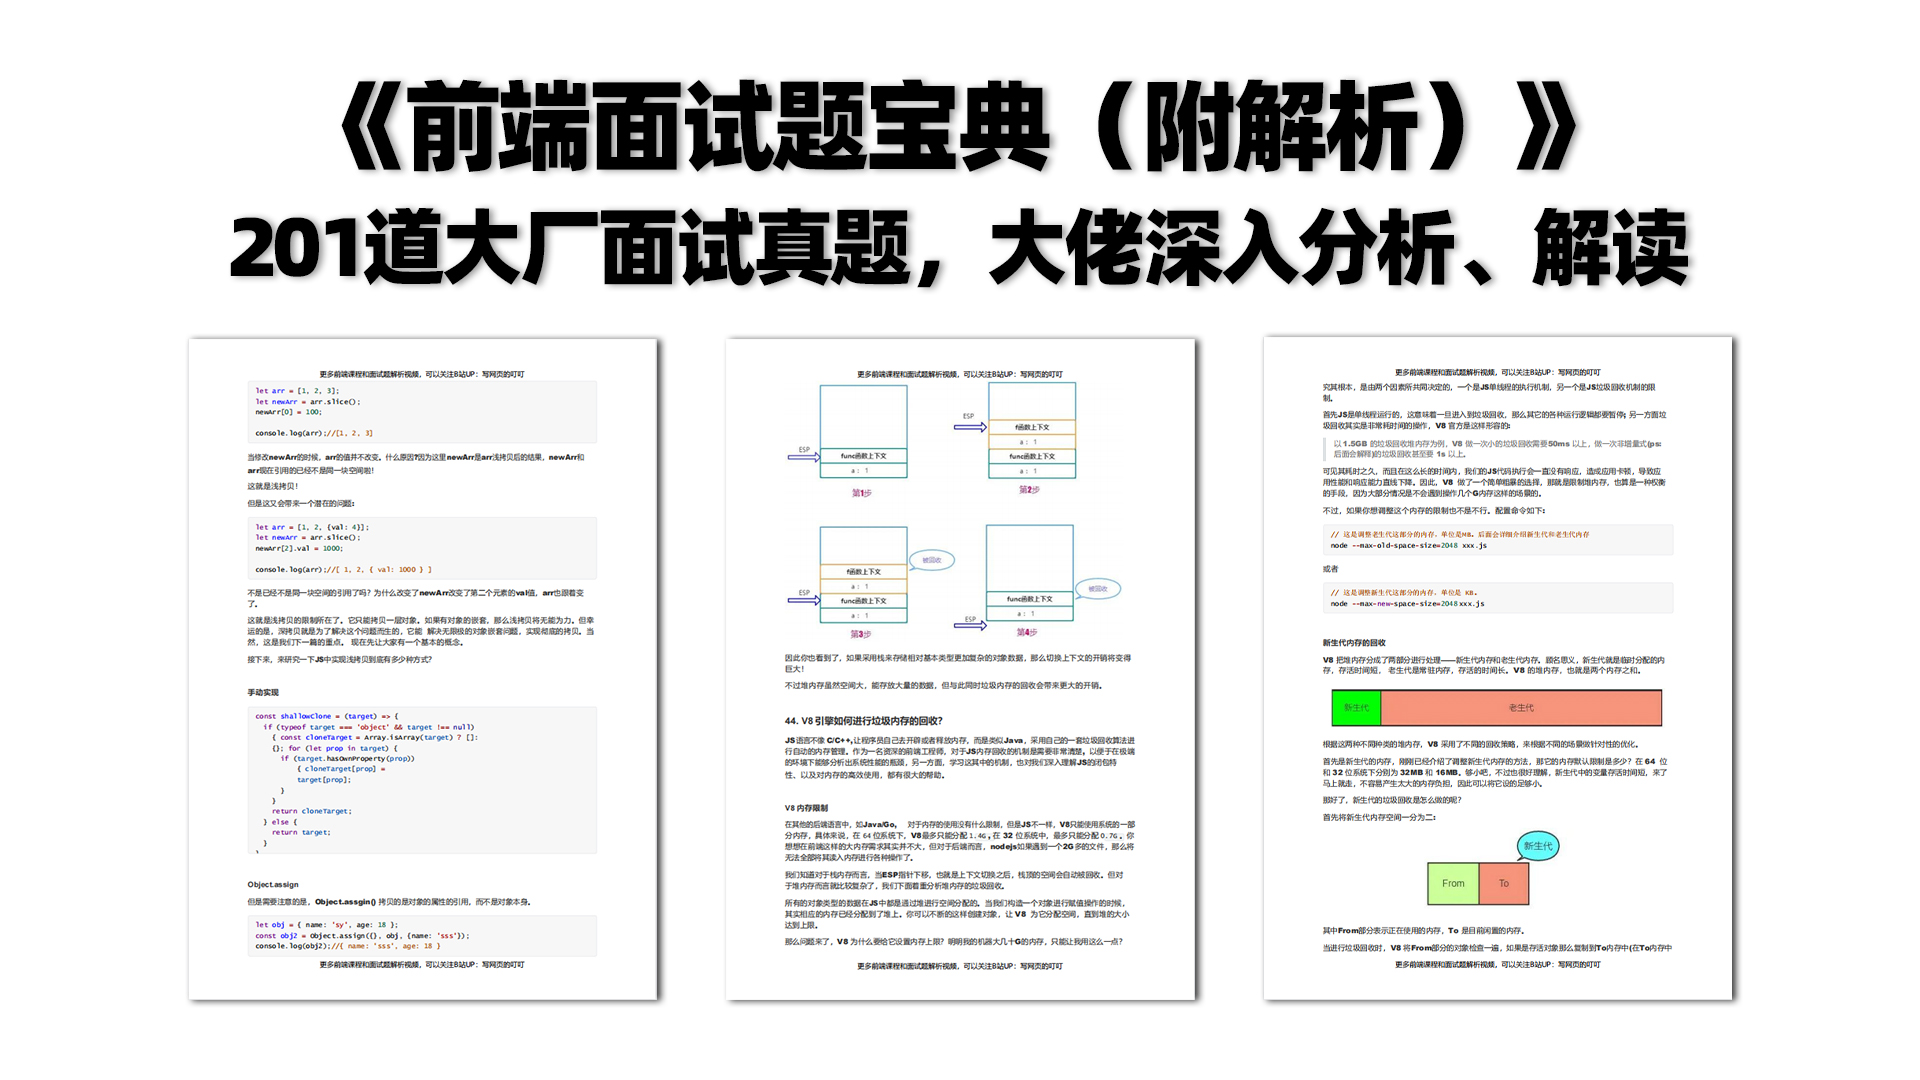
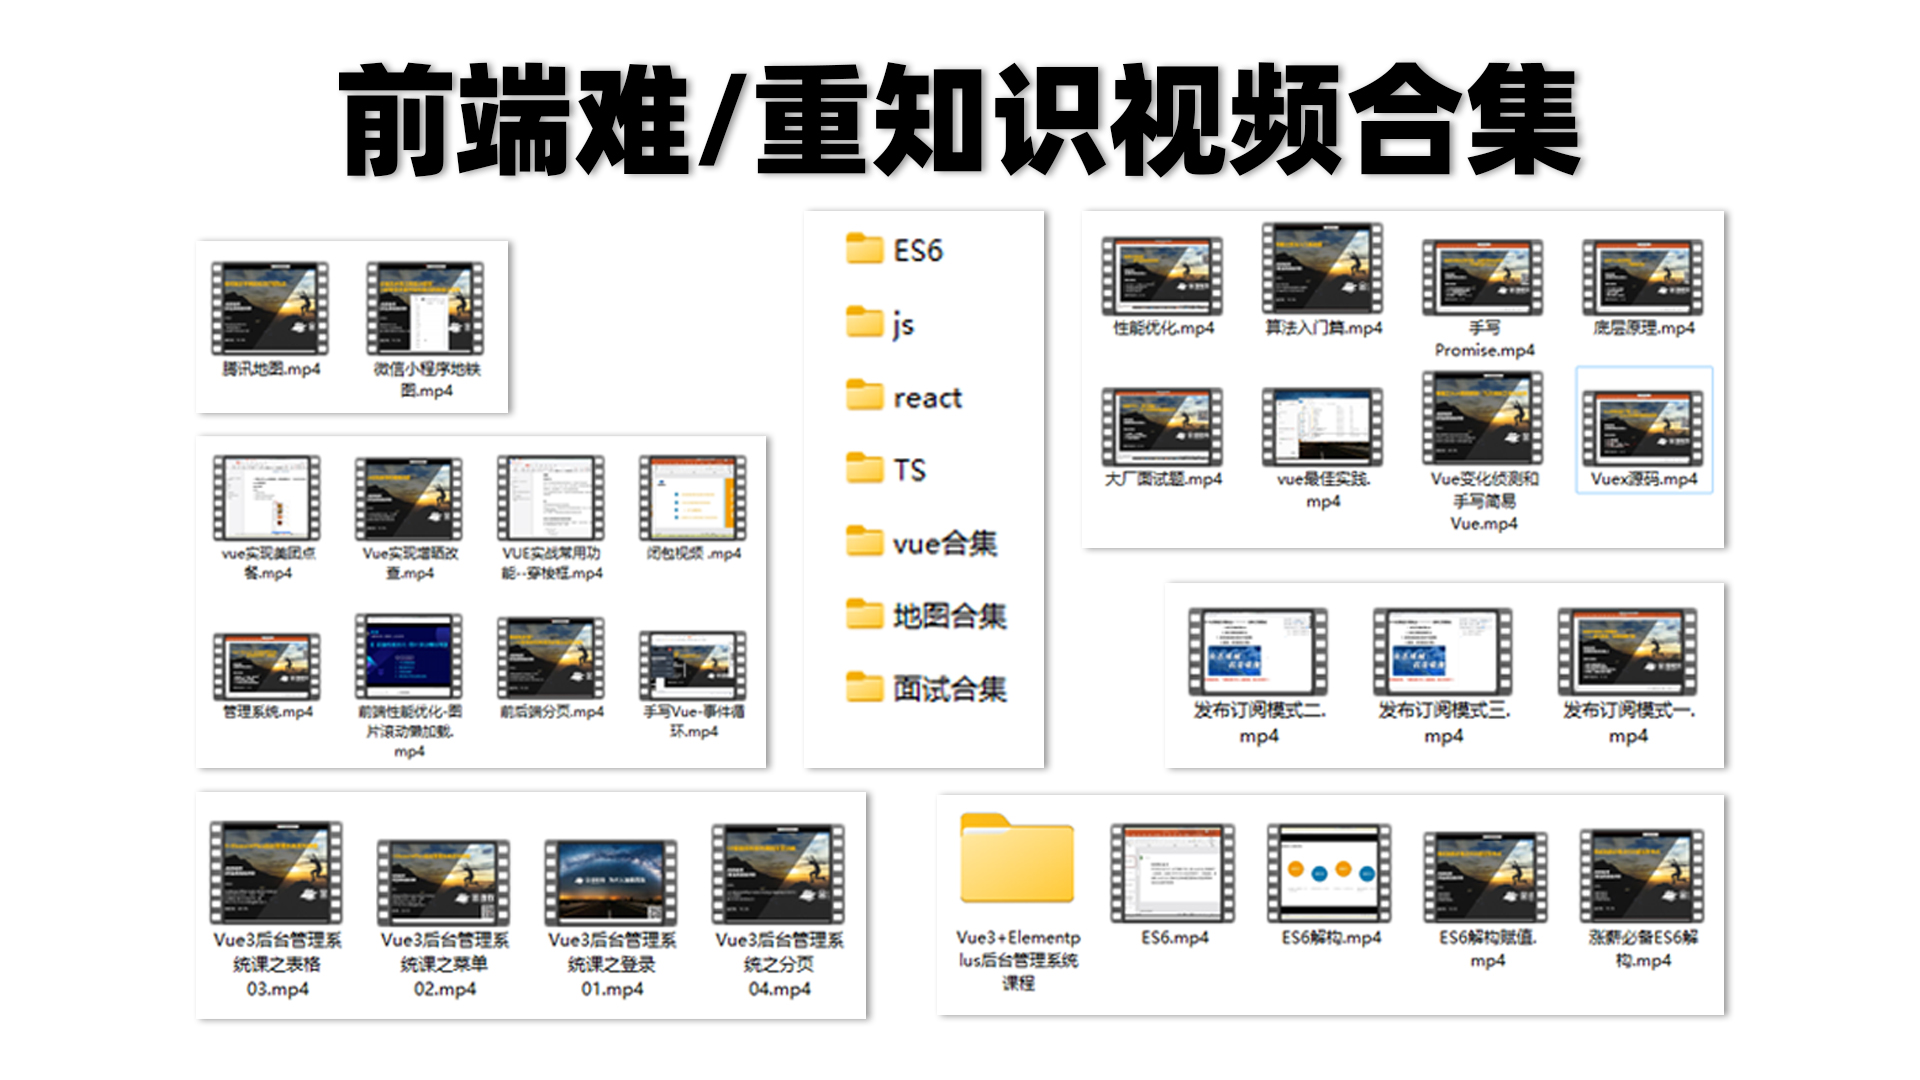
有需要的小伙伴,可以点击下方卡片领取,无偿分享


![[附源码]计算机毕业设计Python架构的博客平台设计(程序+源码+LW文档)](https://img-blog.csdnimg.cn/25dc616216294fad8d515aa293f1d0d1.png)


![[XCTF]funny_video(难度2)](https://img-blog.csdnimg.cn/09b5af7d6f46481fb99283c3c867bf91.png)