文章目录
- 一,云开发~云存储
- 1-1,云开发控制台管理文件
- 1-2,上传图片到云存储
- 1-3,给商品列表加商品图片
- 1-4,上传视频到云存储
- 1-5,上传word,excel文件到云存储
- 1-5-1,上传之前先选择文件
- 1-5-2,上传文件
- 1-6,下载文件
- 1-7,下载并打开word,excel,pdf
- 二,列表的下拉刷新
- 2-1,开启页面下拉刷新
- 2-2,在Page的onPullDownRefresh里监听刷新
- 2-3,用户下拉刷新时请求最新数据
- 2-4,数据请求成功后停止刷新
- 三,列表的分页加载
- 3-1,小程序数据库每次最多20条
- 3-2,分页加载的核心方法
- 3-3,上拉加载更多监听
- 3-4,数据库分页加载代码实现
- 3-5-1,没有更多数据时的友好提示
- 3-5-2,加载中和加载完成的友好提示
- 3-6,通过云函数实现分页加载
一,云开发~云存储
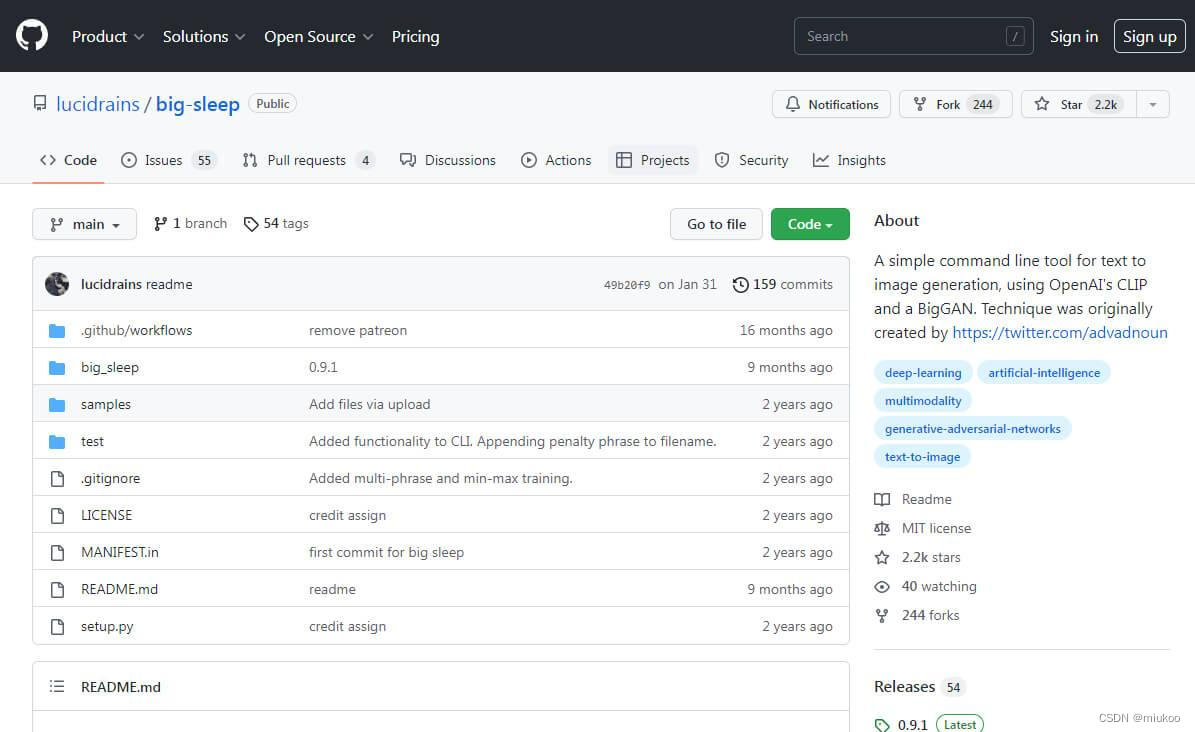
首先来看下官方对云存储的介绍:
官方文档:https://developers.weixin.qq.com/miniprogram/dev/wxcloud/guide/storage.html
说白了,云存储就是可以用来存储视频,音频,图片,文件的一个云存储空间。如果你的小程序需要用到视频播放,音频播放,图片展示,文件上传与下载功能,就可以用到我们的云存储了。
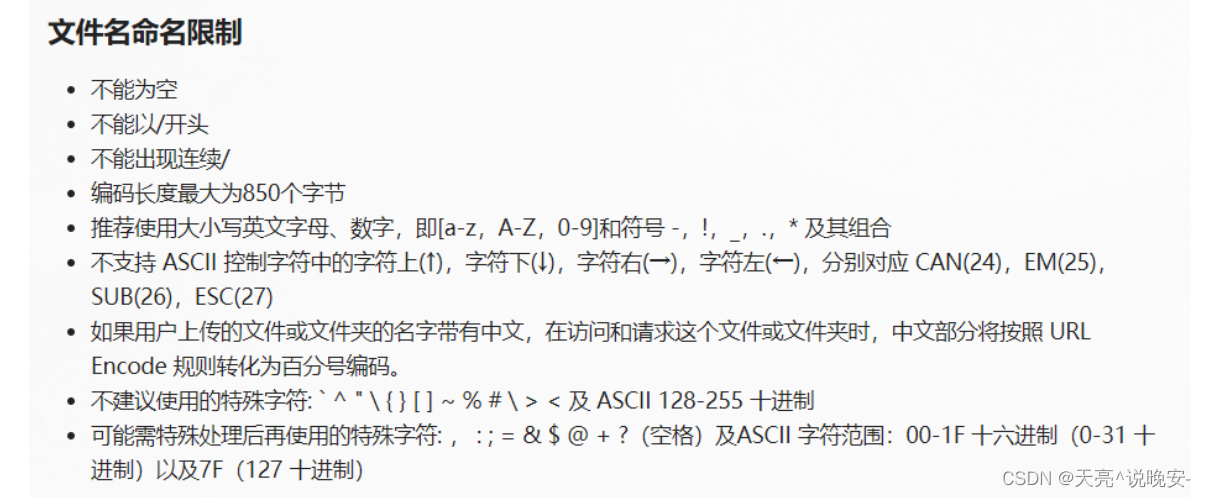
使用云存储来存储文件时,文件名的命名有一些规则,建议看一下。
1-1,云开发控制台管理文件
控制台也可以很方便的管理文件。

1-2,上传图片到云存储
- 我们上传图片之前需要先选择图片,所以这里用到一个图片选择的功能
wx.chooseMedia({
      count: 1,
      mediaType: ['image','video'],
      sourceType: ['album', 'camera'],
      maxDuration: 30,
      camera: 'back',
      success(res) {
        console.log(res);
        console.log(res.tempFiles[0].tempFilePath)
        console.log(res.tempFiles[0].size)
      }
    })
对应的官方文档:https://developers.weixin.qq.com/miniprogram/dev/api/media/video/wx.chooseMedia.html
- 调用api上传到云端
wx.cloud.uploadFile({
  cloudPath: 'example.png',
  filePath: '', // 文件路径
}).then(res => {
  // get resource ID
  console.log(res.fileID)
}).catch(error => {
  // handle error
})
对应的官方文档
https://developers.weixin.qq.com/miniprogram/dev/wxcloud/reference-sdk-api/storage/uploadFile/client.uploadFile.html
1-3,给商品列表加商品图片
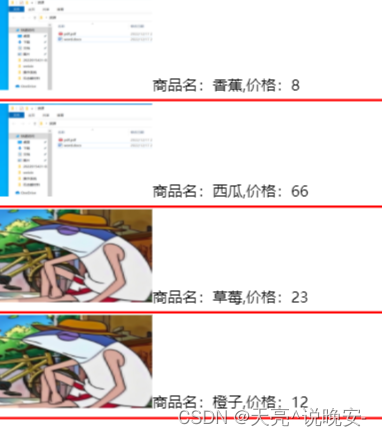
我们既然已经学完图片上传功能了,那么我们就可以改造下我们之前的商品列表了,给我们的商品列表添加商品图片。
1-4,上传视频到云存储
上传视频之前同样需要先选择视频,选择视频的代码同上传图片
对应的官方文档如下:https://developers.weixin.qq.com/miniprogram/dev/api/media/video/wx.chooseMedia.html
选择好视频以后,同样是调用文件上传api,因为视频也是一个文件。
1-5,上传word,excel文件到云存储
1-5-1,上传之前先选择文件
选择文件的时候记得把type设置为file
 wx.chooseMessageFile({
      count: 10,
      type: 'all',
      success: res=>{
        console.log(res);
        // tempFilePath可以作为 img 标签的 src 属性显示图片
        const tempFilePaths = res.tempFiles
        let tempFile = res.tempFiles[0]
        this.uploadFile(tempFile.name,tempFile.path)
      }
    })
对应的官方文档:https://developers.weixin.qq.com/miniprogram/dev/api/media/image/wx.chooseMessageFile.html
这里有一点需要注意
在电脑模拟器上是选择电脑上的文件,在手机上运行小程序进行选择文件时是选择你聊天记录里的文件。
1-5-2,上传文件
在上面选择好文件以后,我们还是要调用uploadFile进行文件上传
wx.cloud.uploadFile({
      cloudPath:name,
      filePath:tempUrl
    })
    .then(res=>{
      console.log('文件成功',res);
    })
    .catch(err=>{
      console.log('文件失败',err);
    })
1-6,下载文件
使用wx.cloud.downloadFile下载文件
https://developers.weixin.qq.com/miniprogram/dev/wxcloud/reference-sdk-api/storage/downloadFile/client.downloadFile.html
- Callback 风格
wx.cloud.downloadFile({
  fileID: 'a7xzcb',
  success: res => {
    // get temp file path
    console.log(res.tempFilePath)
  },
  fail: err => {
    // handle error
  }
})
- Promise 风格
wx.cloud.downloadFile({
  fileID: 'a7xzcb'
}).then(res => {
  // get temp file path
  console.log(res.tempFilePath)
}).catch(error => {
  // handle error
})
1-7,下载并打开word,excel,pdf
使用wx.openDocument打开文件
https://developers.weixin.qq.com/miniprogram/dev/api/file/wx.openDocument.html
wx.downloadFile({
  // 示例 url,并非真实存在
  url: 'http://example.com/somefile.pdf',
  success: function (res) {
    const filePath = res.tempFilePath
    wx.openDocument({
      filePath: filePath,
      success: function (res) {
        console.log('打开文档成功')
      }
    })
  }
})
二,列表的下拉刷新
2-1,开启页面下拉刷新
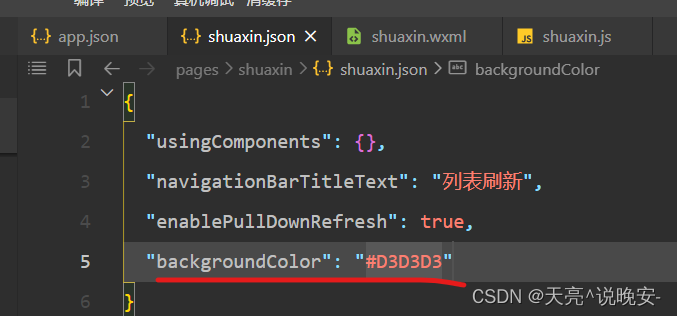
我们需要在app.json获取页面对应的json里设置enablePullDownRefresh属性为true来开启下拉刷新。此方法在所有页面都有下拉刷新

在单个页面

由于我们的刷新动画默认是白色圆点,所以还要在json里设置页面背景色才可以看到动画。
2-2,在Page的onPullDownRefresh里监听刷新

在page里的onPullDownRefresh方法里监听下拉刷新
2-3,用户下拉刷新时请求最新数据
 getList(){
    wx.cloud.database().collection('goods')
    .get()
    .then(res=>{
      console.log('请求成功',res);
      this.setData({
        list:res.data
      })
    })
    .catch(err=>{
      console.log('请求失败',err);
    })
  },
  /**
   * 生命周期函数--监听页面加载
   */
  onLoad(options) {
   this.getList()
  },
  /**
   * 页面相关事件处理函数--监听用户下拉动作
   */
  onPullDownRefresh() {
    console.log('下拉刷新的监听');
    this.getList()
  },
2-4,数据请求成功后停止刷新
我们在下拉刷新时,刷新动画一般很久才结束,正常情况下应该是数据请求成功后就结束刷新动画。所以我们通过wx.stopPullDownRefresh()方法来结束刷新动画。
官方文档:https://developers.weixin.qq.com/miniprogram/dev/api/ui/pull-down-refresh/wx.startPullDownRefresh.html

代码示例如下
getList(){
    wx.cloud.database().collection('goods')
    .get()
    .then(res=>{
      console.log('请求成功',res);
      wx.stopPullDownRefresh()
      this.setData({
        list:res.data
      })
    })
    .catch(err=>{
      console.log('请求失败',err);
    })
  },
  /**
   * 生命周期函数--监听页面加载
   */
  onLoad(options) {
    wx.startPullDownRefresh()
   this.getList()
  },
  /**
   * 页面相关事件处理函数--监听用户下拉动作
   */
  onPullDownRefresh() {
    console.log('下拉刷新的监听');
    this.getList()
  },
三,列表的分页加载
3-1,小程序数据库每次最多20条
小程序数据库api和云函数调用数据的限制
小程序端直接调用云数据库时,每次最多可以获取20条,云函数里调用云数据库时每次最多获取100条。所以我们数据多的时候要做分页加载。
3-2,分页加载的核心方法
我们做分页加载时,主要用到了skip和limit方法,对应的官方文档如下
- skip:每页加载多少条
https://developers.weixin.qq.com/miniprogram/dev/wxcloud/reference-sdk-api/database/collection/Collection.skip.html - limit: 加载第几页的数据
https://developers.weixin.qq.com/miniprogram/dev/wxcloud/reference-sdk-api/database/collection/Collection.limit.html
其实这个skip和limit在数据库的那一节有做初步讲解,这一节我们就借助具体分页加载的案例来做综合讲解
3-3,上拉加载更多监听
我们的列表滑动到最后一个数据时,会执行下面的方法

所以我们的分页加载要在onReachBottom里做。
3-4,数据库分页加载代码实现
直接调用数据库每次最多只能加载20条数据
  data: {
    list:[]
  },
  getList(){
    let len = this.data.list.length
    wx.cloud.database().collection('num2')
    .skip(len)//len=20*page
    .get()
    .then(res=>{
      console.log('请求成功',res);
      this.setData({
        list:this.data.list.concat(res.data)
      })
    })
    .catch(err=>{
      console.log('请求失败',err);
    })
  },
  onLoad(options) {
    this.getList()
  },
  onReachBottom() {
    console.log('下拉刷新');
    this.getList()
  },
wxml里只做简单的列表数据显示就行了
wxss做个简单的样式
3-5-1,没有更多数据时的友好提示

wx.cloud.database().collection('num2')
    .skip(len)//len=20*page
    .get()
    .then(res=>{
      console.log('请求成功',res);
      let dataList = res.data
      if(dataList.length<=0){
        wx.showToast({
          icon:'none',
          title: '没有更多数据了',
        })
      }
      this.setData({
        list:this.data.list.concat(res.data)
      })
    })
    .catch(err=>{
      console.log('请求失败',err);
    })
3-5-2,加载中和加载完成的友好提示
- 加载中
   wx.showLoading({
      title: '加载中...',
    })
- 隐藏加载中
wx.hideLoading()
 getList(){
    wx.showLoading({
      title: '加载中...',
    })
    let len = this.data.list.length
    wx.cloud.database().collection('num2')
    .skip(len)//len=20*page
    .get()
    .then(res=>{
      console.log('请求成功',res);
      wx.hideLoading()
      let dataList = res.data
      if(dataList.length<=0){
        wx.showToast({
          icon:'none',
          title: '没有更多数据了',
        })
      }
      this.setData({
        list:this.data.list.concat(res.data)
      })
    })
    .catch(err=>{
      wx.hideLoading()
      console.log('请求失败',err);
    })
  },
3-6,通过云函数实现分页加载
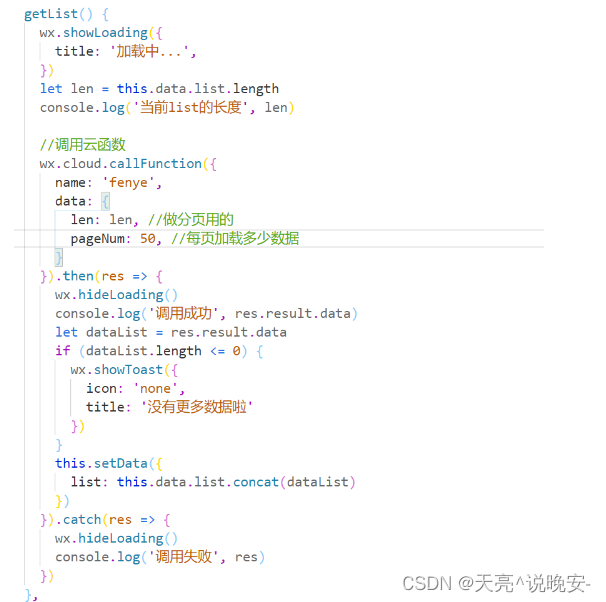
通过云函数调用数据库,每次最多可以加载100条数据.
- 如果每页20条以内,不建议用云函数
- 如果分页的时候,每页大于20条,就用云函数。
