一 Unity环境配置
1.1 Untity资源官网下载:https://unity.cn/releases
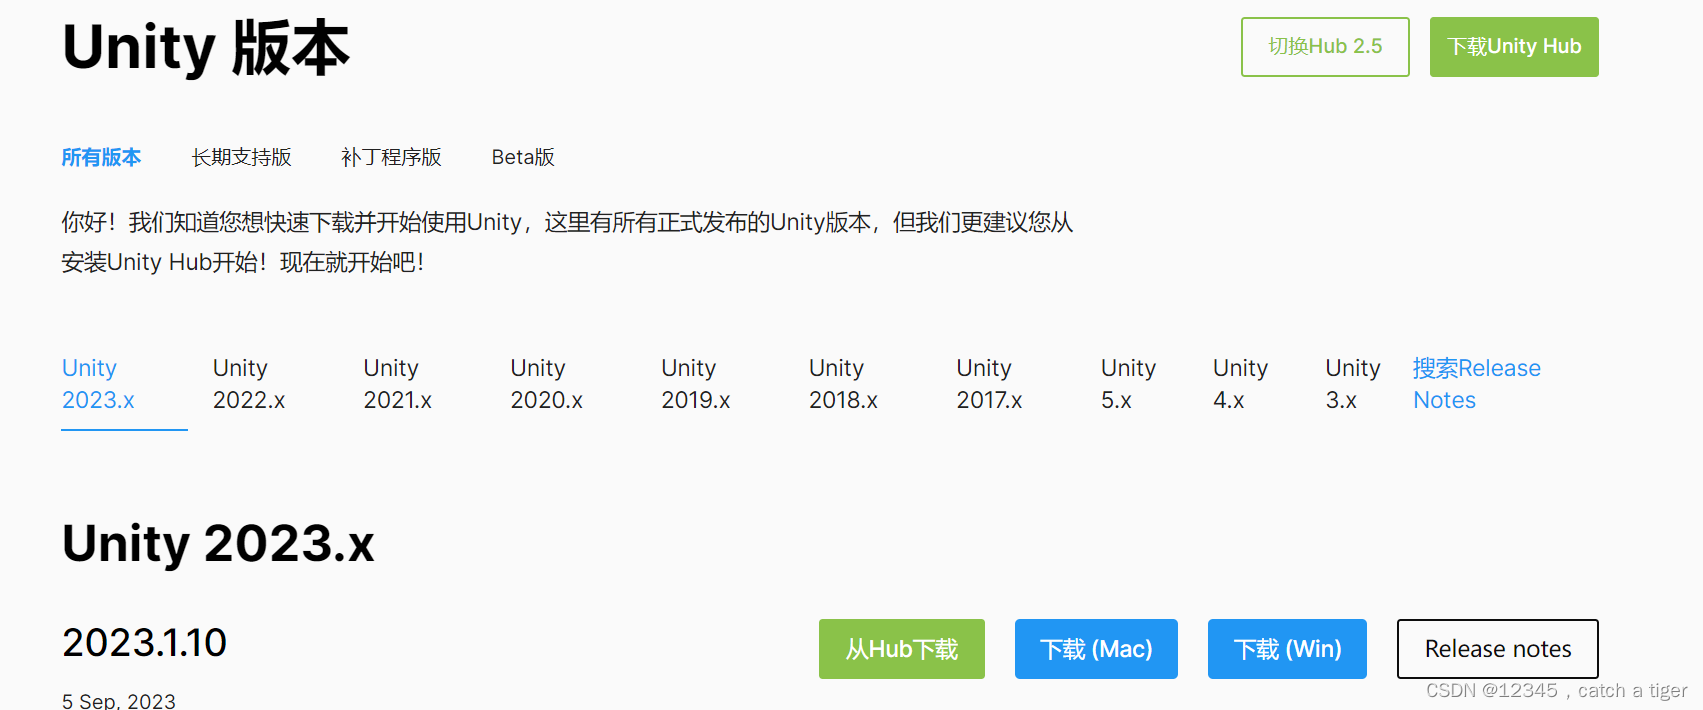
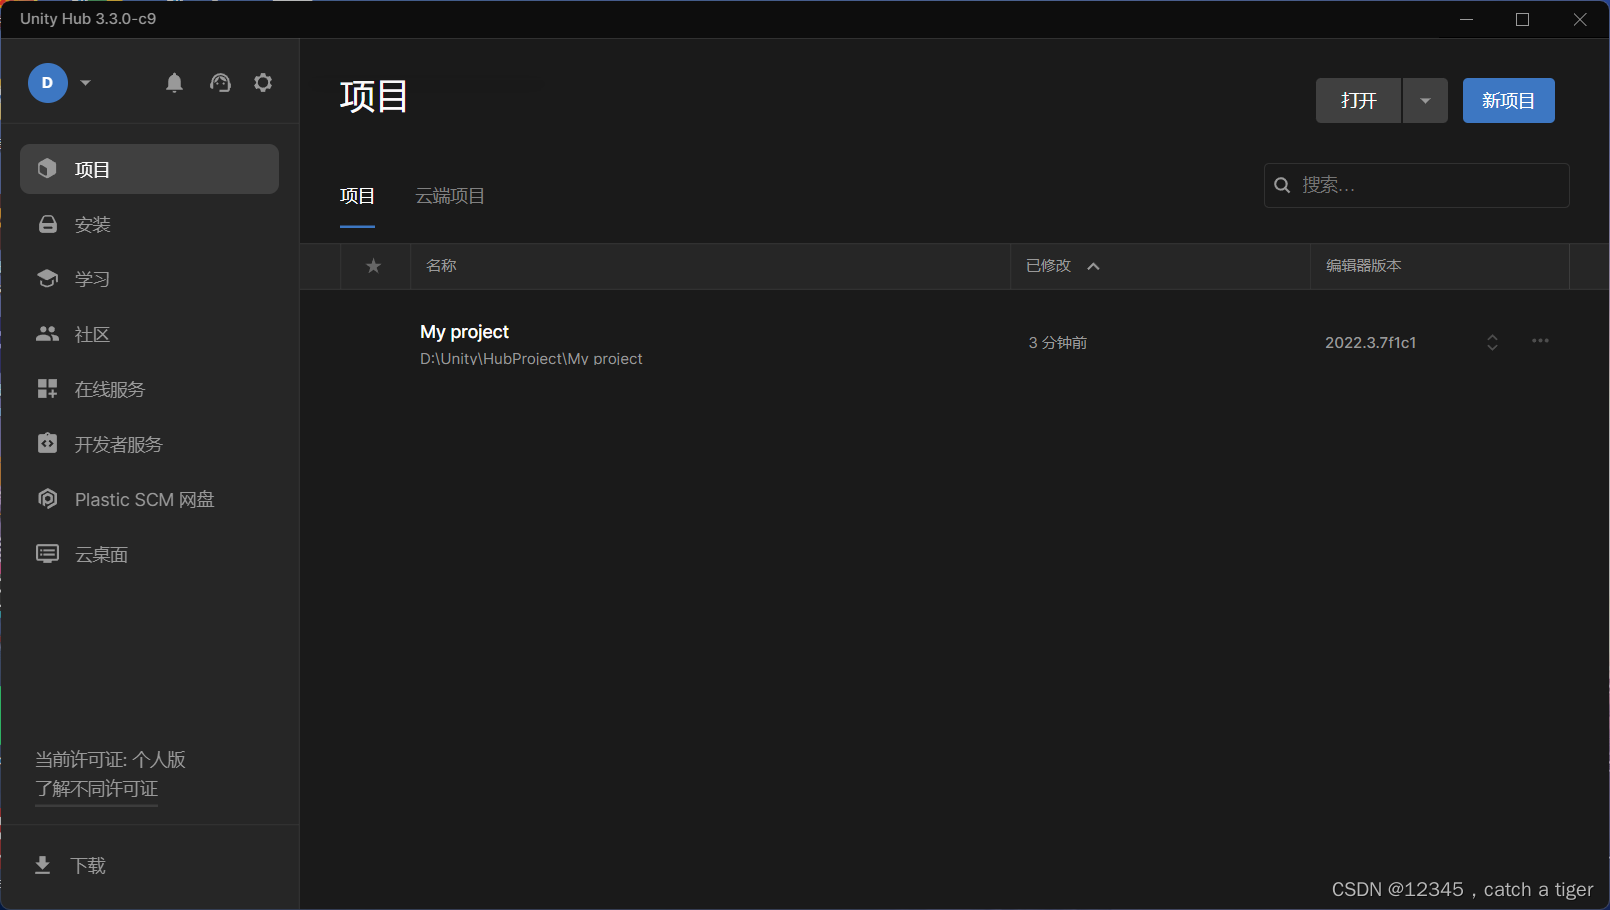
1.2 Unity Hub集成环境,包含工具和项目的管理
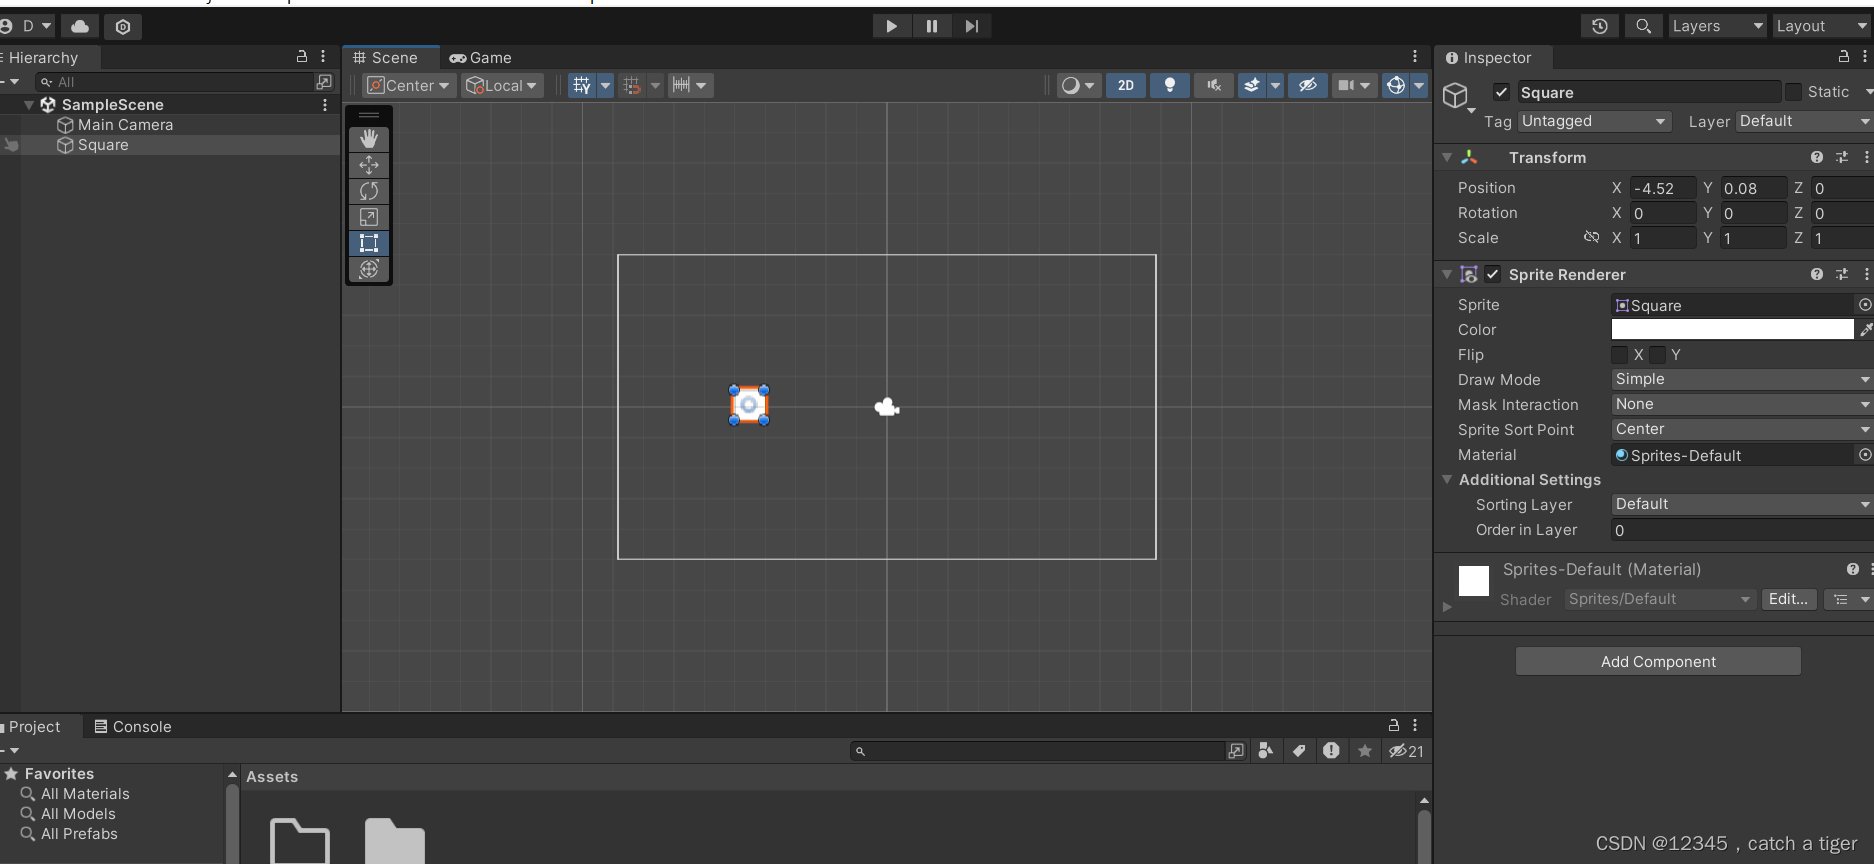
1.3 Unity Editor编辑器
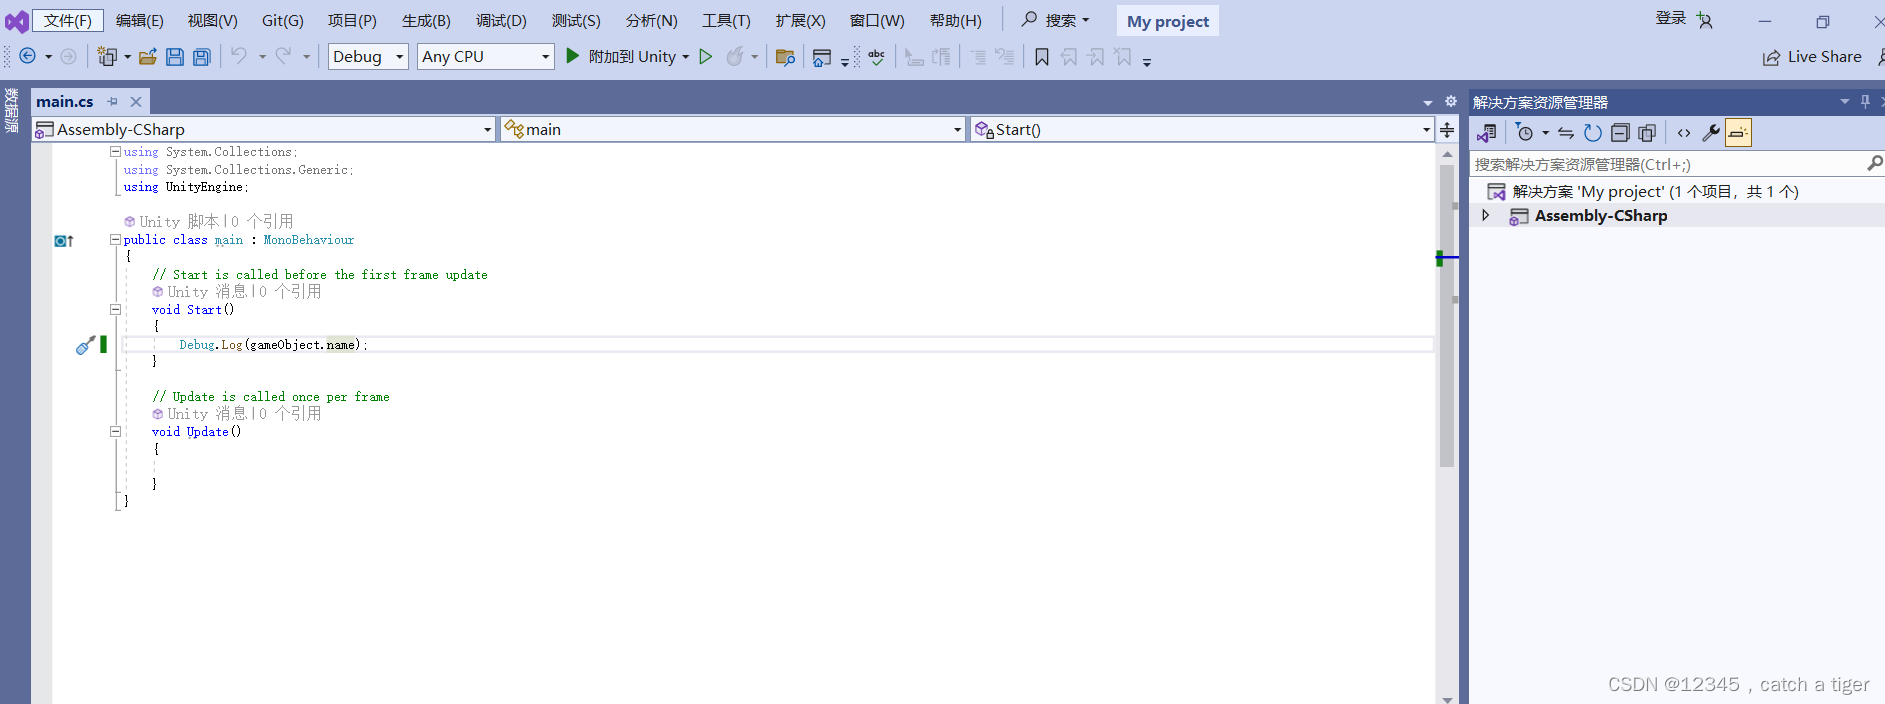
 1.4 Visual Studio 2022脚本编辑器
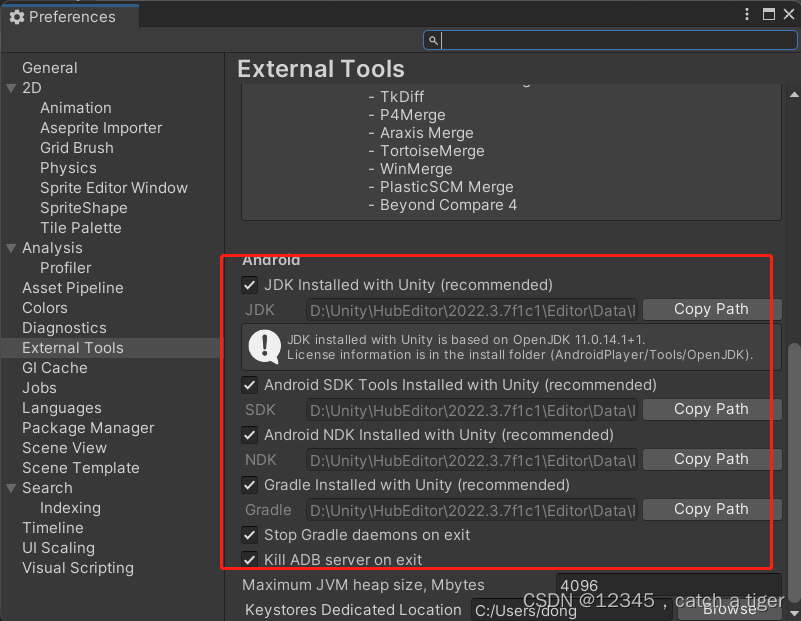
1.5 AndroidSKD,JDK,NDK工具,用于android环境的运行
二 创建Unity项目
2.1 新建2D模板项目
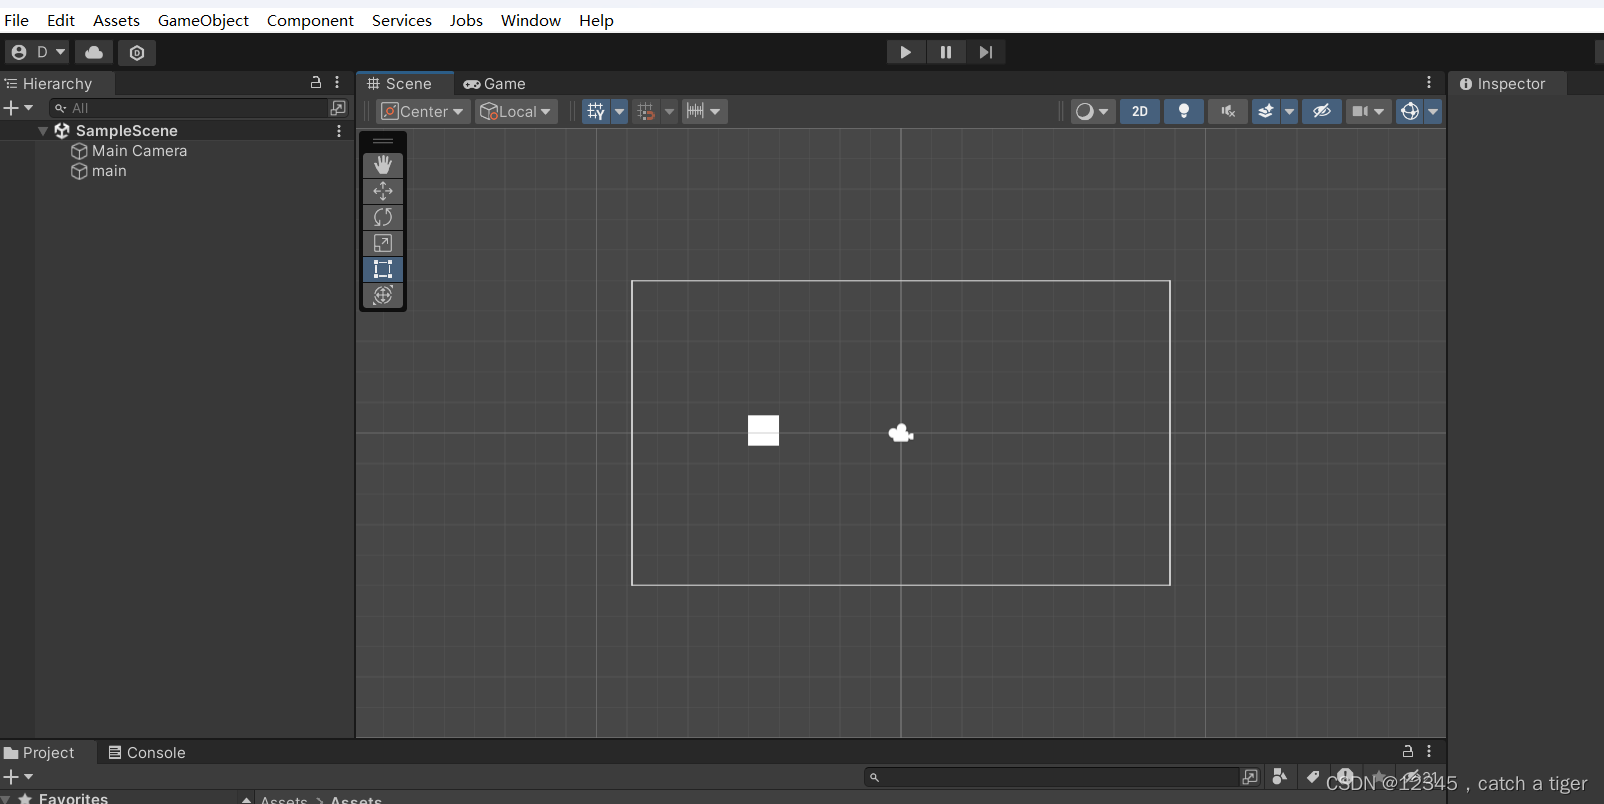
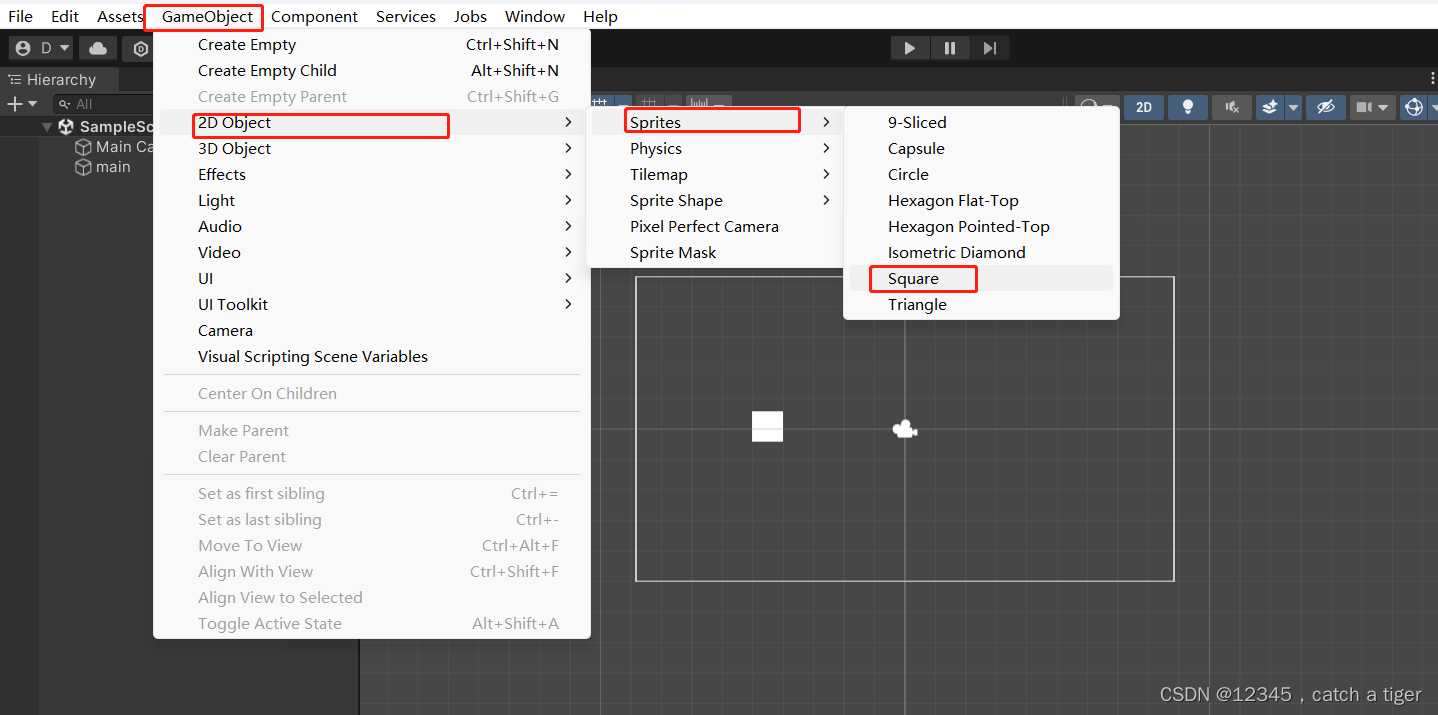
2.2 新建2D物体
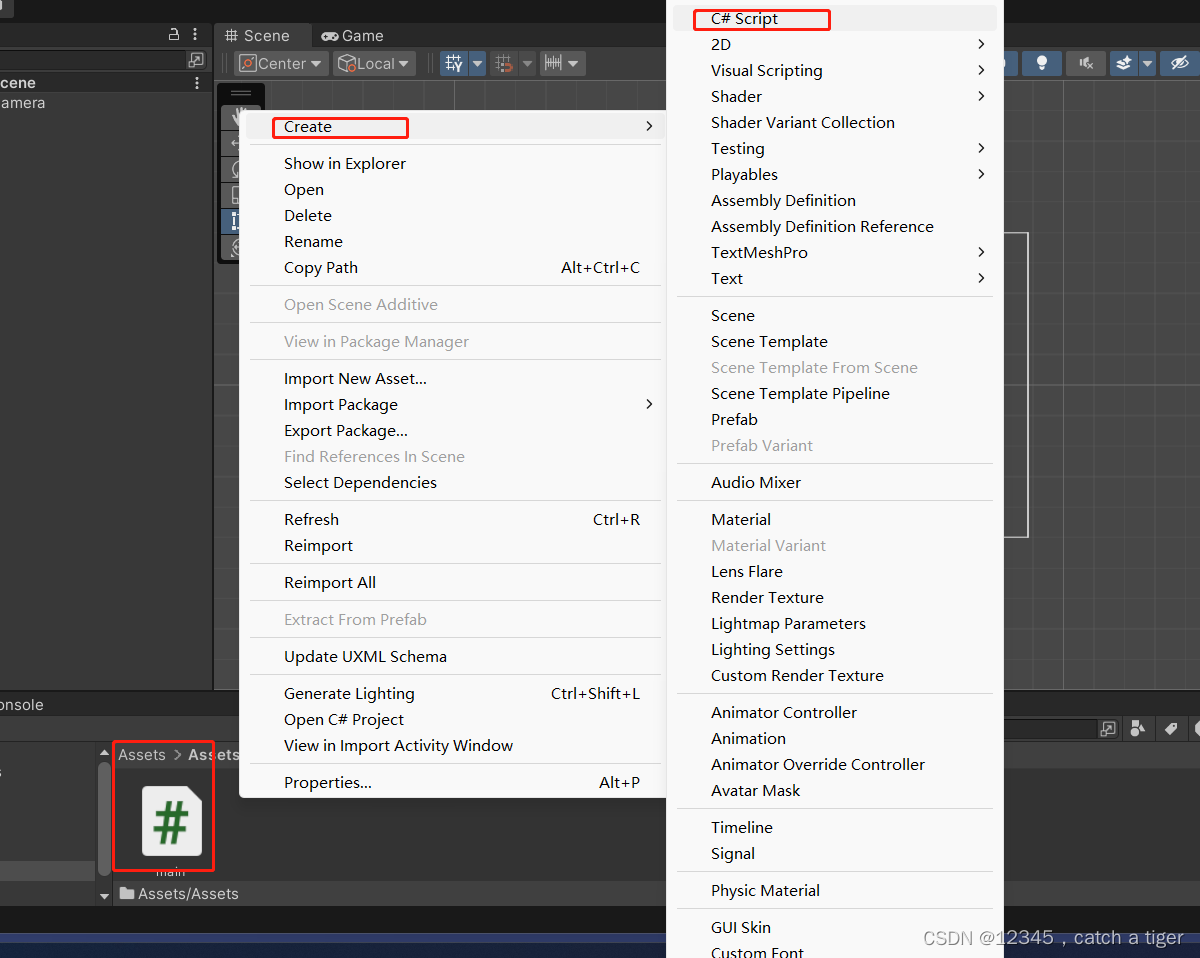
2.3 新建C#脚本文件
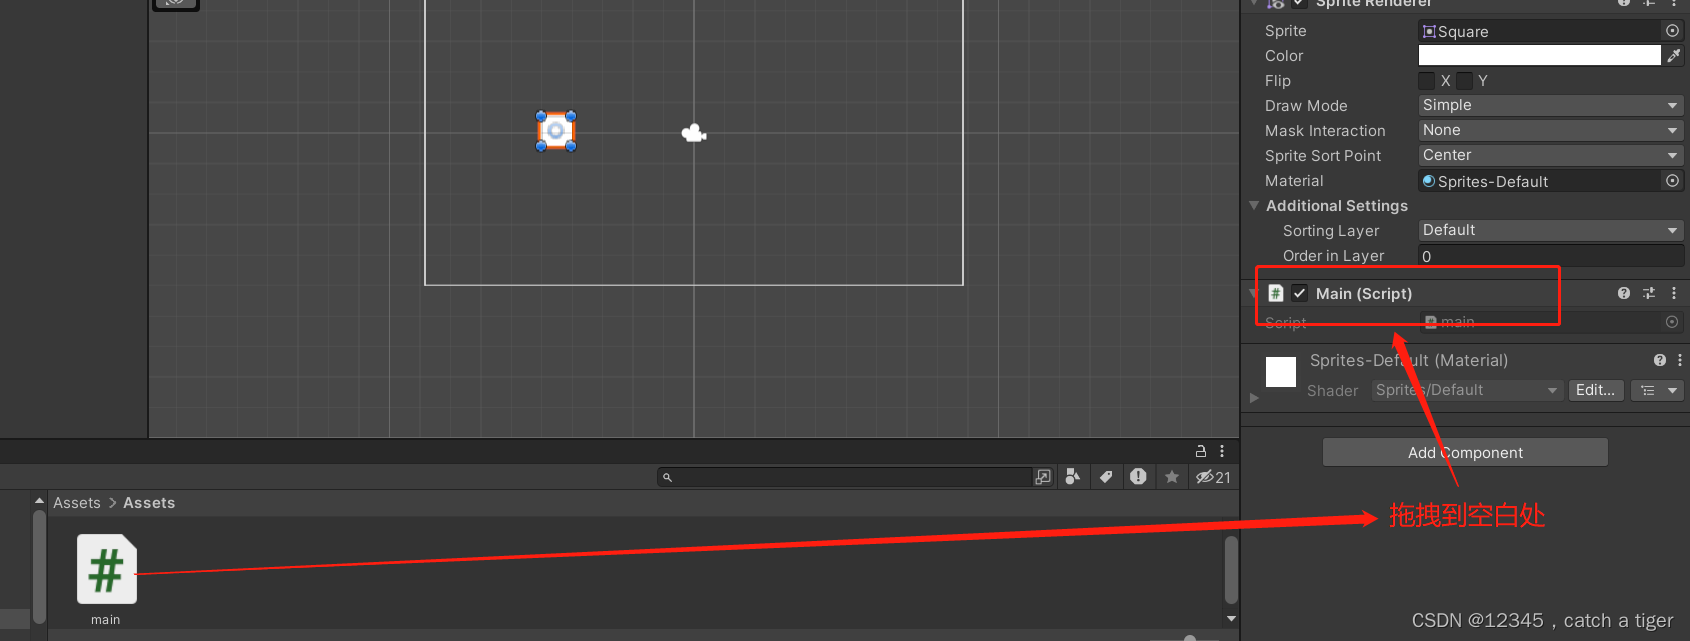
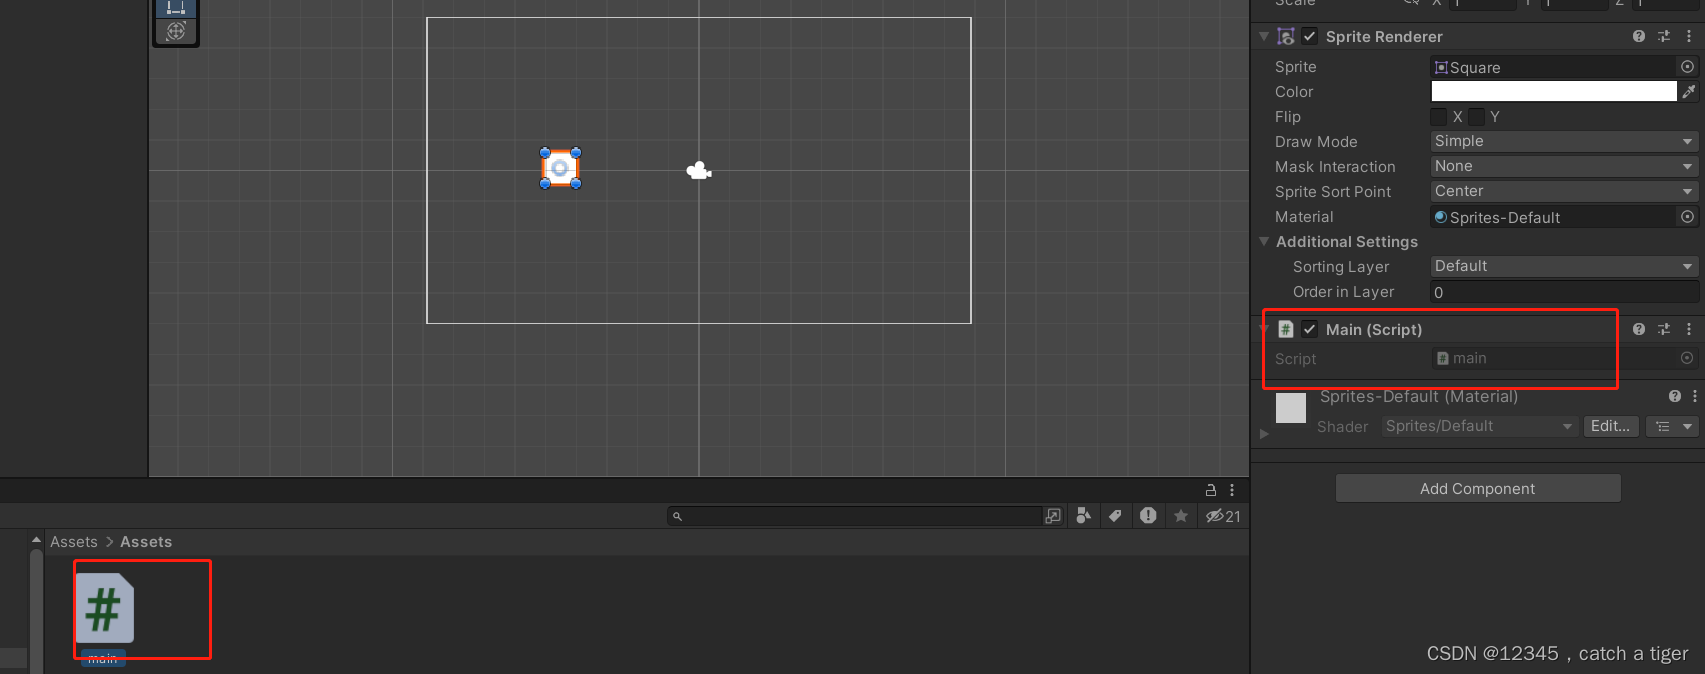
2.4 脚本文件拖拽到物理区域,关联物体
2.5 点击脚本打开 Visual Studio 进行编辑

2.6 输入Debug.Log(gameObject.name);获取物体的名字,点击运行
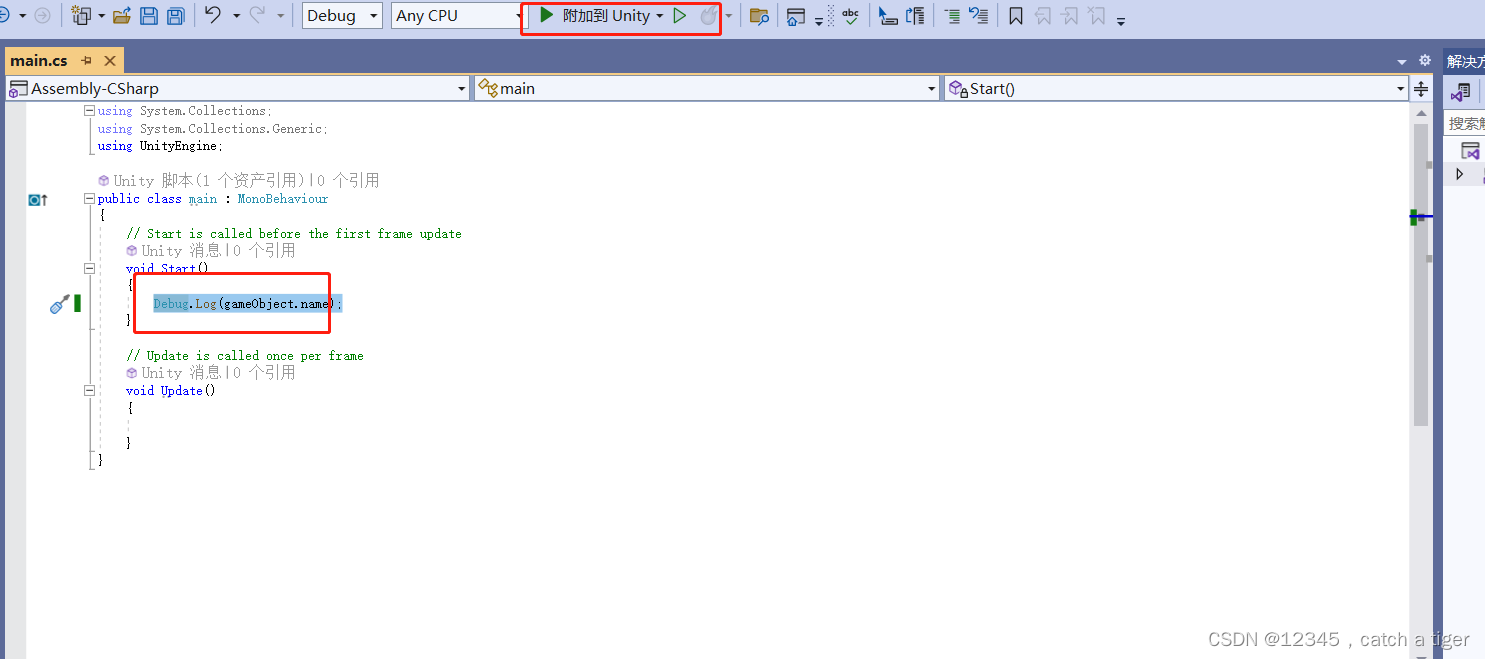
2.7 调试 ,脚本文件保存后,可以看到UnityEditor里面的脚本文件会同步变化
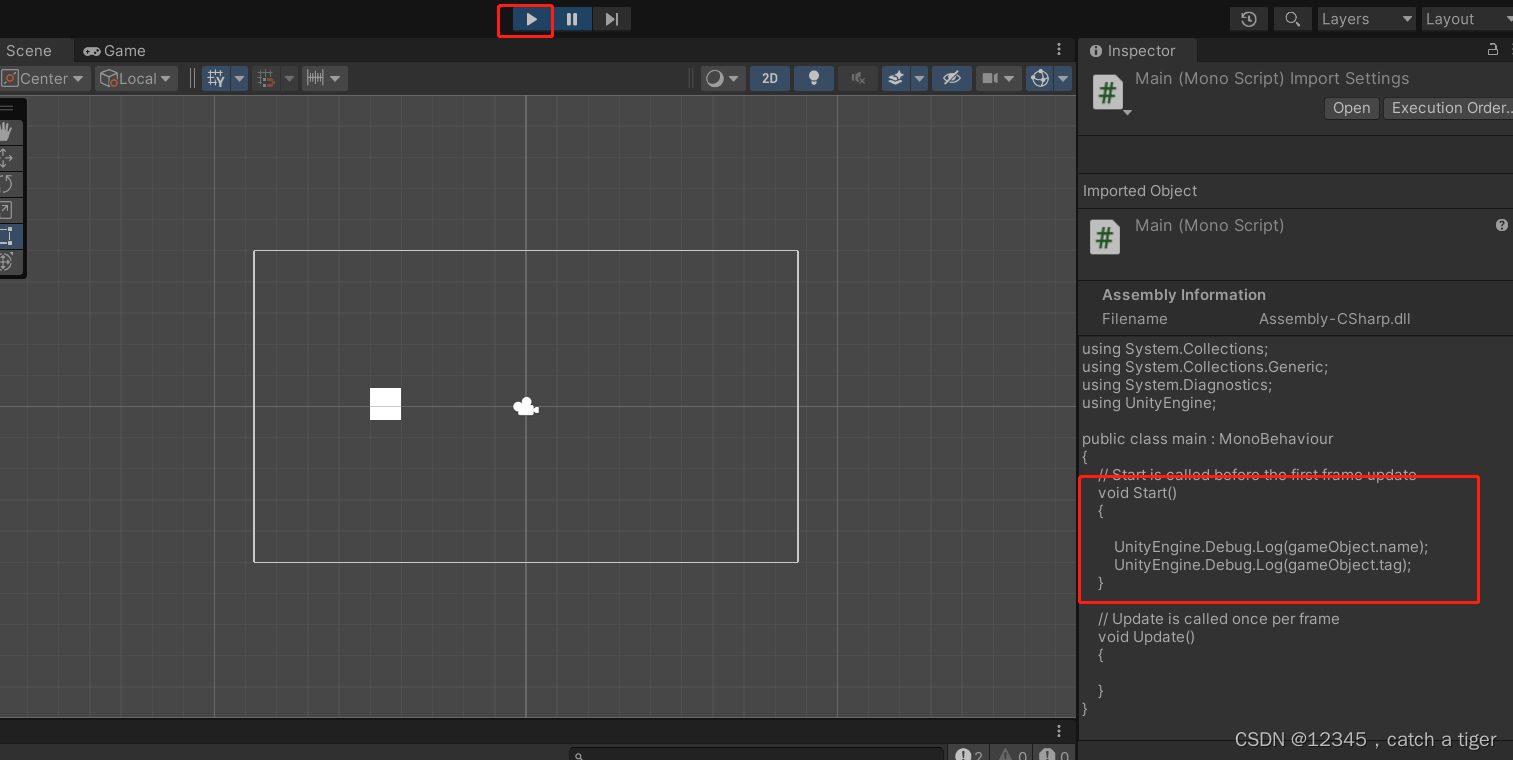
2.9 点击顶部运行按钮就可以在控制台看到日志输出信息,可以看到打印出了物理对象的名字和标签

三 运行问题
3.1 第一次运行可能会出现错误,显示Unity脚本显示“杂项文件”,并且无语法提示的问题
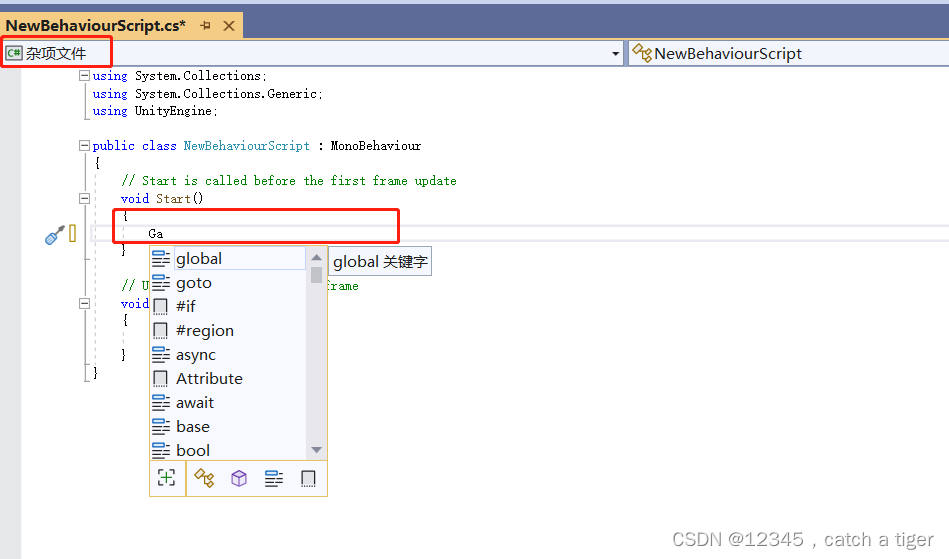
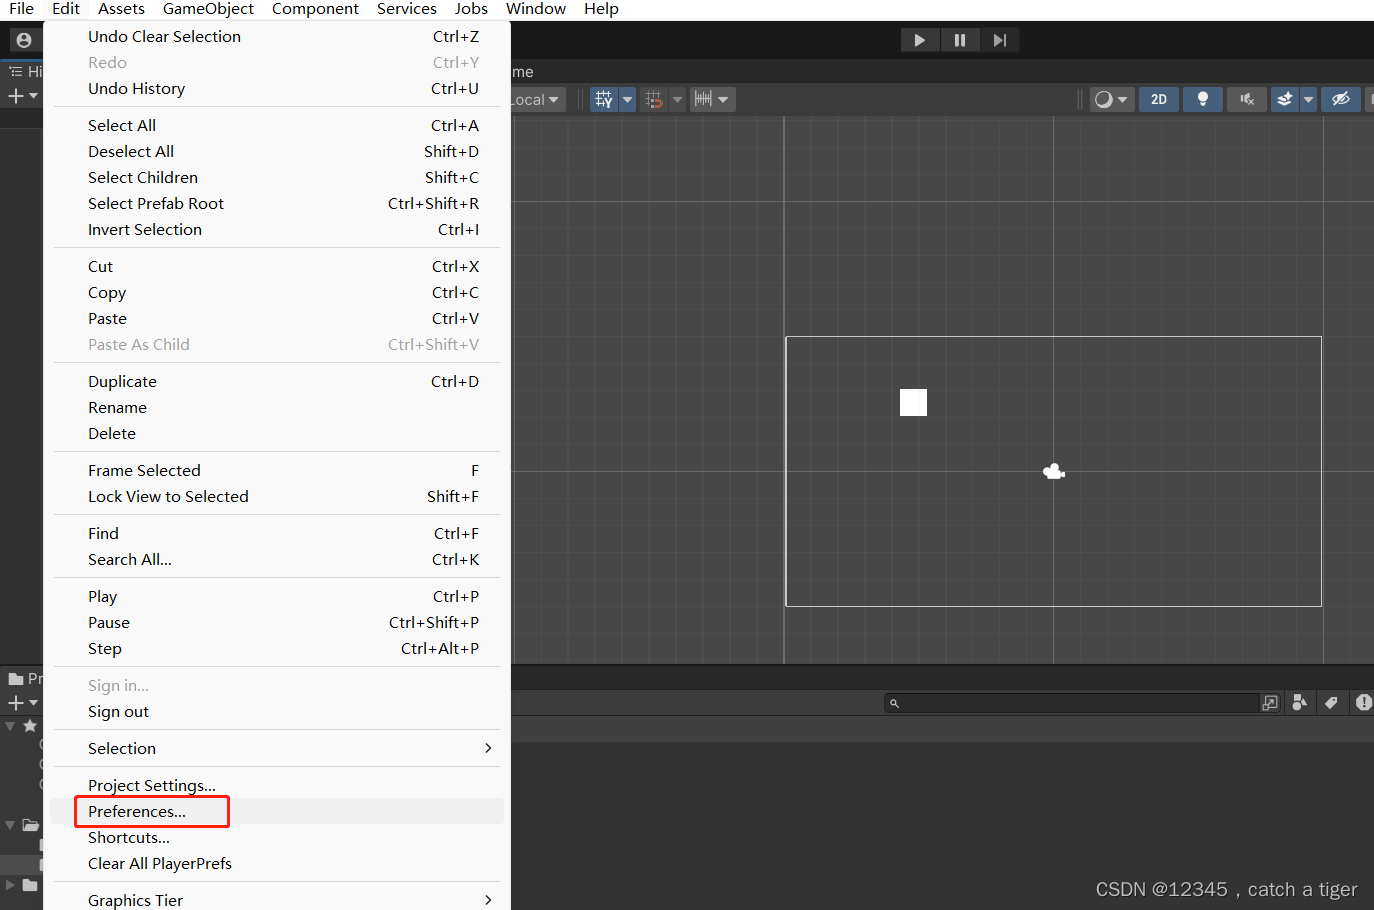
3.2 解决方法:点击 编辑(Edit)>首选项(Preferences)打开首选项窗口
3.3 在首选项窗口中,选择 外部工具(External Tools)选项卡,将 外部脚本编辑器(External Script Editor)的设置改为 Visual Studio 2019等编辑器 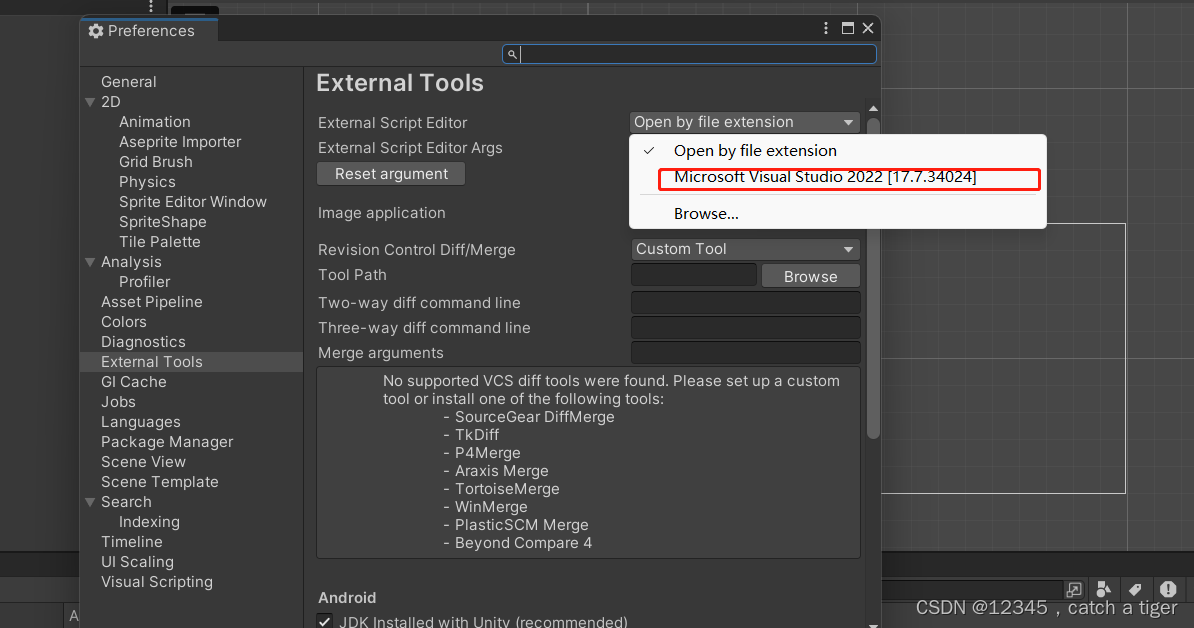
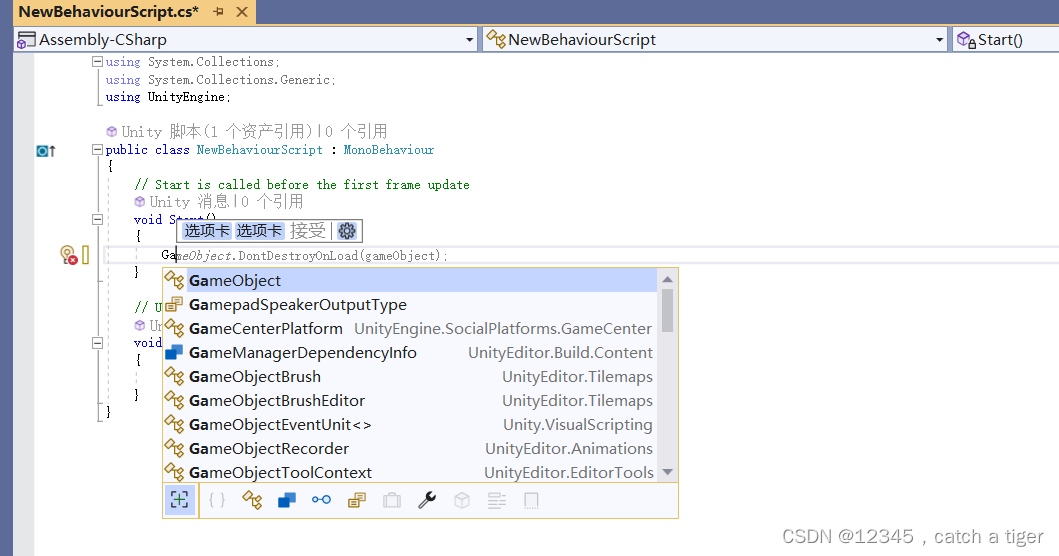
3.4 可以看到语法能够正常显示了
四,物体组件认识
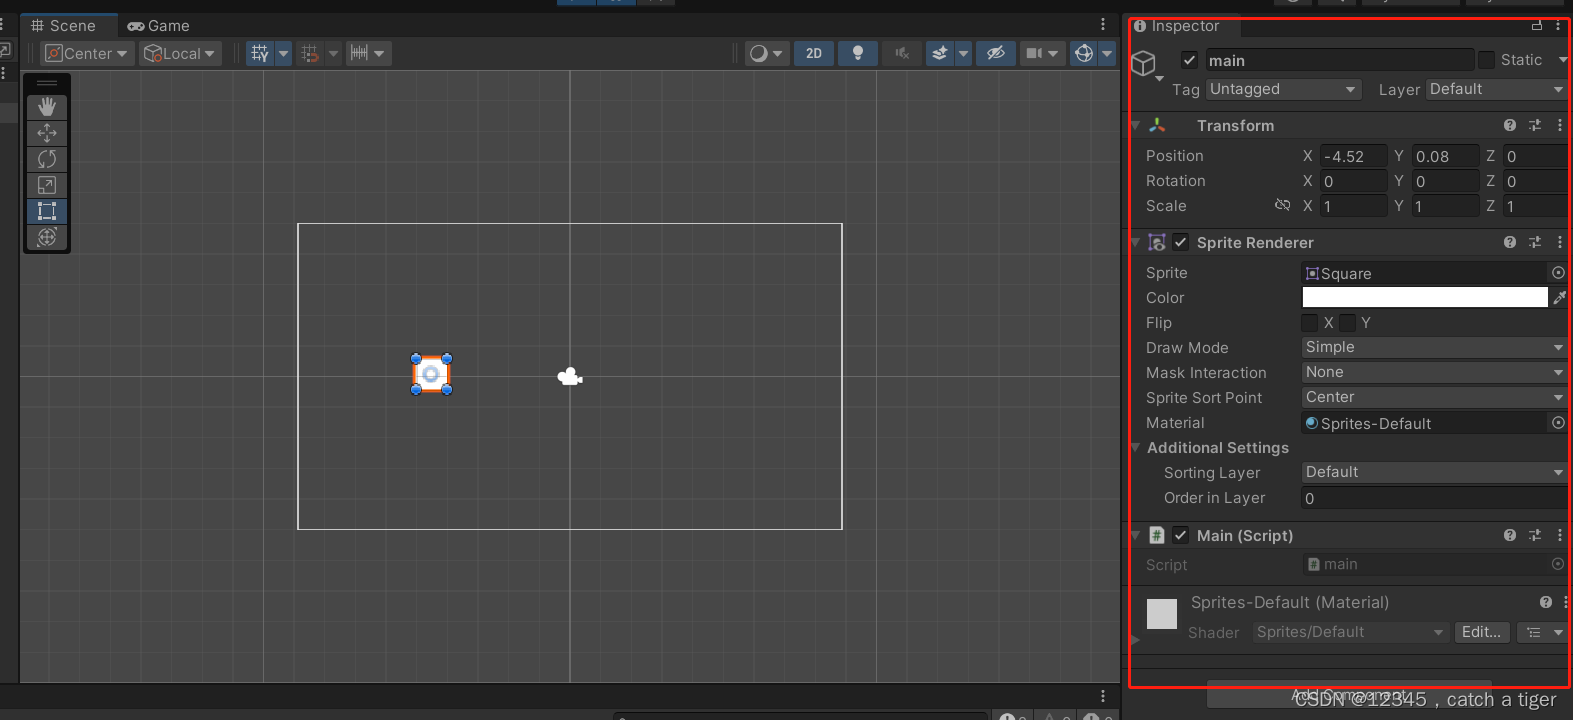
4.1 一个物理有很多组件,点击物理,默认组件信息就会出来
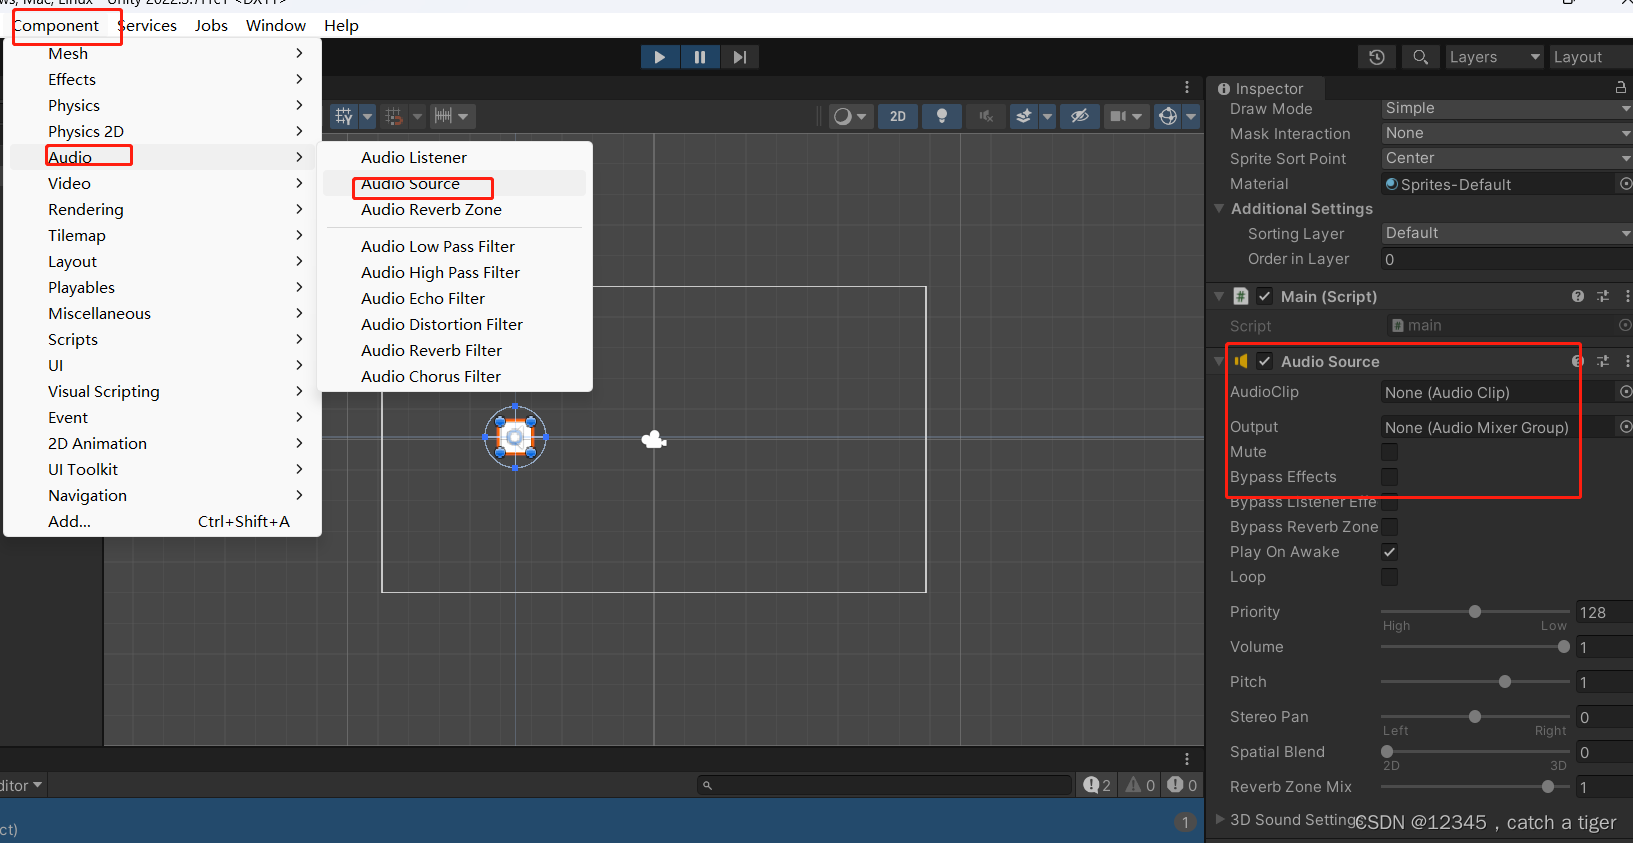
4.2 如下可以给物理新加组件信息,比如给物体新加声音组件
4.3 脚本关联物体后,也也属于物体的一个组件 ,可以在脚本中获取物体的其它组件和控制物体的组件
4.4 物体下面还可以创建多个物体,我们创建一个胶囊子物体,那胶囊就属于子组件
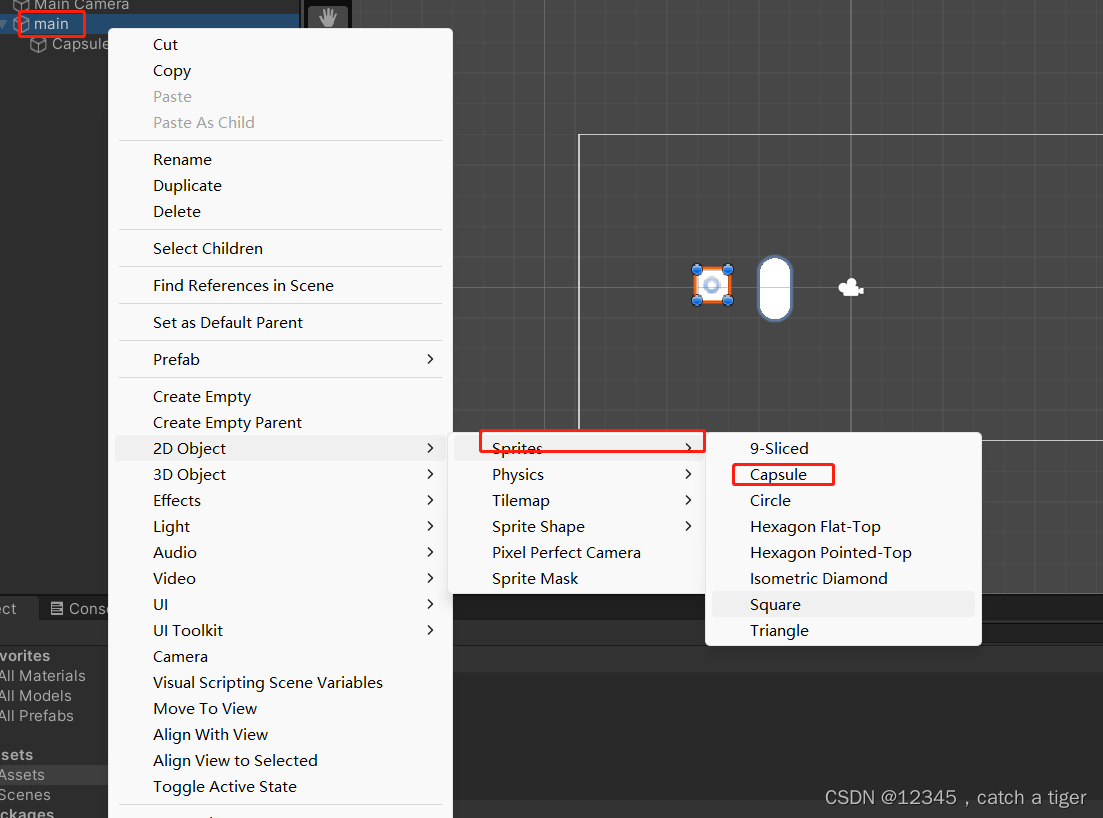
4.5 脚本获取基础组件和子组件,父组件。如下获取物体和组件实例:
using System.Collections;
using System.Collections.Generic;
using System.Diagnostics;
using UnityEngine;

public class main : MonoBehaviour
{
    public GameObject Capsule;//胶囊组件
    public GameObject Prefab;//预设体
    // Start is called before the first frame update
    void Start()
    {

        //拿到当前脚本所挂载的游戏物体
        //GameObject go = this.gameObject;
        //名称
        UnityEngine.Debug.Log(gameObject.name);
        //tag
        UnityEngine.Debug.Log(gameObject.tag);
        //layer
        UnityEngine.Debug.Log(gameObject.layer);

        //胶囊的名称
        UnityEngine.Debug.Log(Capsule.name);
        //胶囊当前真正的激活状态
        UnityEngine.Debug.Log(Capsule.activeInHierarchy);
        //胶囊当前自身激活状态
        UnityEngine.Debug.Log(Capsule.activeSelf);

        //获取Transform组件
        //Transform trans = this.transform;
        UnityEngine.Debug.Log(transform.position);

        //获取其他组件
        BoxCollider bc = GetComponent<BoxCollider>();
        //获取当前物体的子物体身上的某个组件
        GetComponentInChildren<CapsuleCollider>(bc);
        //获取当前物体的父物体身上的某个组件
        GetComponentInParent<BoxCollider>();
        //添加一个组件
        Capsule.AddComponent<AudioSource();
        //通过游戏物体的名称来获取游戏物体
        //GameObject test = GameObject.Find("Test");
        //通过游戏标签来获取游戏物体
        GameObject test = GameObject.FindWithTag("Enemy");
        test.SetActive(false);
        UnityEngine.Debug.Log(test.name);
        //通过预设体来实例化一个游戏物体
        GameObject go = Instantiate(Prefab, Vector3.zero, Quaternion.identity);
        //销毁
        Destroy(go);
    }

    // Update is called once per frame
    void Update()
    {

    }
}
五 鼠标和触摸事件
5.1 鼠标事件
using System.Collections;
using System.Collections.Generic;
using System.Diagnostics;
using UnityEngine;
using UnityEngine.Windows;
using Input = UnityEngine.Input;

public class main : MonoBehaviour
{

    void Start()
    {
    }

    // Update is called once per frame
    void Update()
    {
        //鼠标的点击
        //按下鼠标 0左键 1右键 2滚轮
        if (Input.GetMouseButtonDown(0)){
            UnityEngine.Debug.Log("按下了鼠标左键");
        }
        //持续按下鼠标
        if (Input.GetMouseButton(0)) {
        UnityEngine.Debug.Log("持续按下鼠标左键");
        }
        //抬起鼠标
       if (Input.GetMouseButtonUp(0)) {
            UnityEngine.Debug.Log("抬起了鼠标左键");
        //按下键盘按键
        }
        if (Input.GetKeyDown(KeyCode.A)) {
            UnityEngine.Debug.Log("按下了A");
                }
        //持续按下按键
        if (Input.GetKey(KeyCode.A)) {
            UnityEngine.Debug.Log("持续按下A");
         }
        //抬起键盘按键
        if (Input.GetKeyUp("a")){
           UnityEngine.Debug.Log("松开了A");
        }
    }
}
5.2 保存运行后可以看到控制台有对应的日志输出
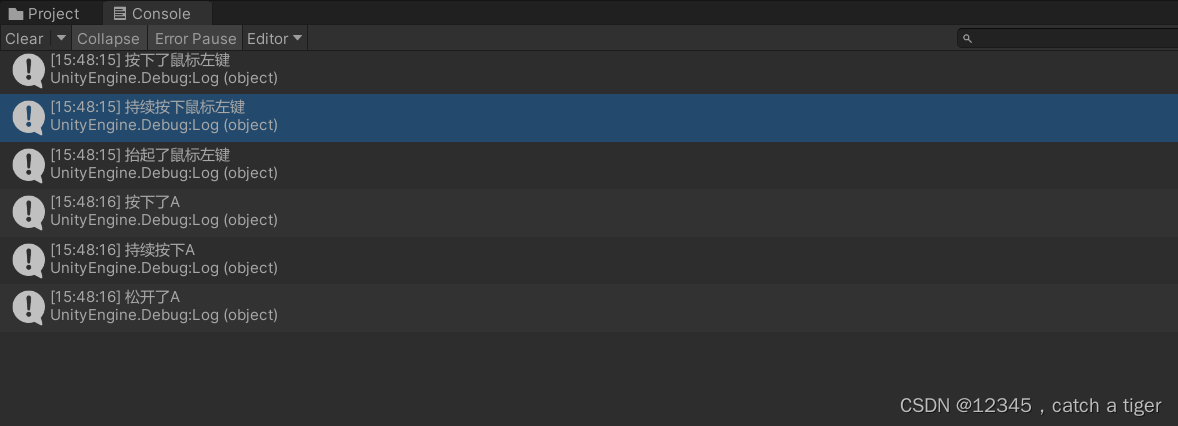
5.3 手机单点,多点触控、
using UnityEngine;
using Input = UnityEngine.Input;

public class main : MonoBehaviour
{

    void Start()
    {
        //开启多点触控
        Input.multiTouchEnabled = true;
    }

    // Update is called once per frame
    void Update()
    {
        //判断单点触摸
        if (Input.touchCount == 1)
        {
            //触摸对象
            Touch touch = Input.touches[0];//触摸位置
            UnityEngine.Debug.Log(touch.position);//触摸阶段
            switch (touch.phase)
            {
                case UnityEngine.TouchPhase.Began:

                    break;
                case UnityEngine.TouchPhase.Moved:

                    break;
                case UnityEngine.TouchPhase.Stationary:

                    break;
                case UnityEngine.TouchPhase.Ended:

                    break;
                case UnityEngine.TouchPhase.Canceled:

                    break;
            }
        }

        //判断单点触摸
        if (Input.touchCount == 2)
        {
            //触摸对象1
            Touch touch0 = Input.touches[0];
            //触摸对象1
            Touch touch1 = Input.touches[1];
        }
    }
}
5.4 物体向量移动,添加物体控制组件
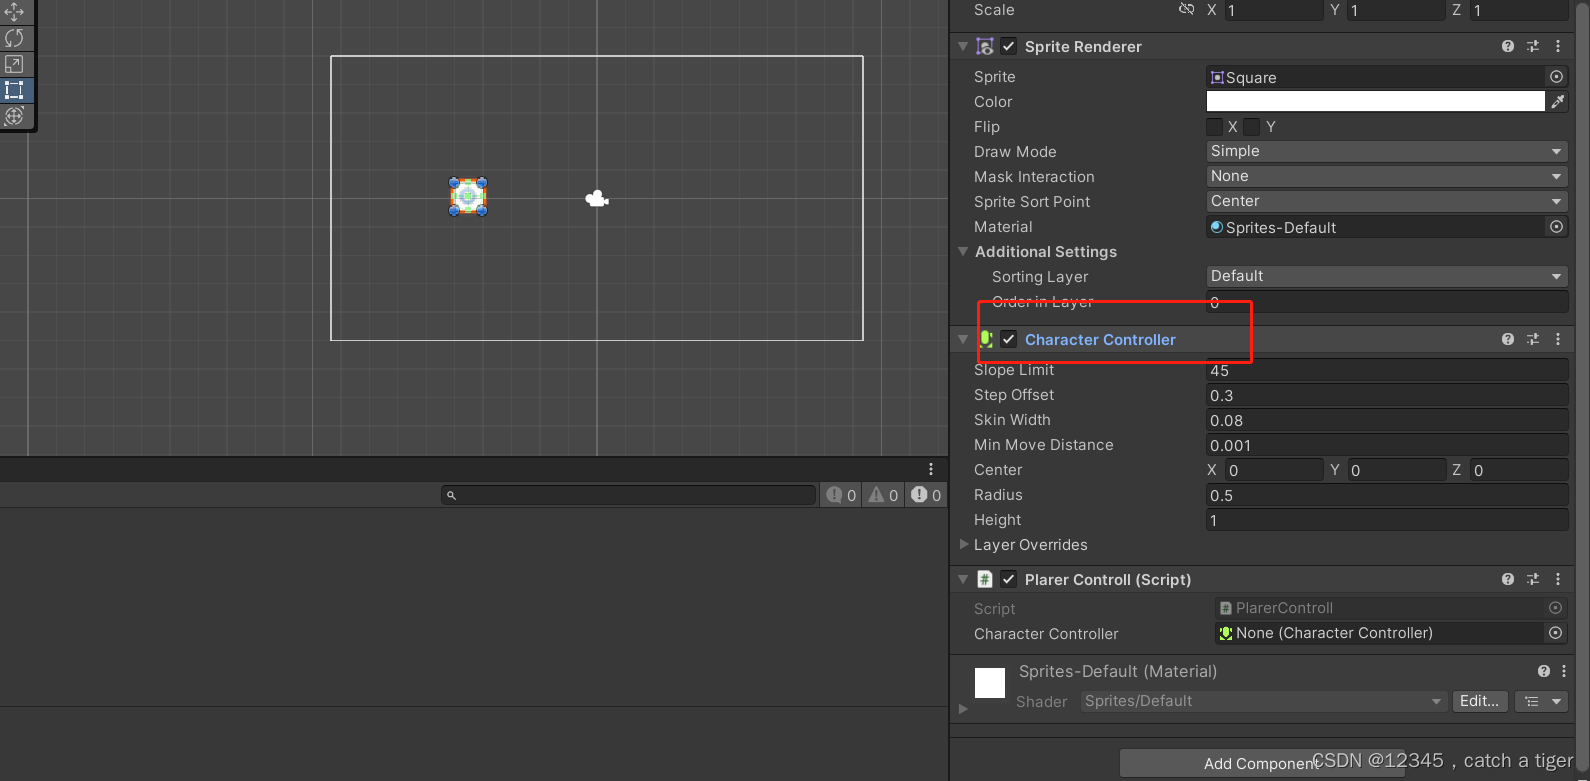
编写向量移动脚本
using System.Collections;
using System.Collections.Generic;
using UnityEngine;

public class PlarerControll : MonoBehaviour
{
    public CharacterController characterController;
    // Start is called before the first frame update
    void Start()
    {
        characterController = GetComponent<CharacterController>();
    }

    // Update is called once per frame
    void Update()
    {
        //水平轴
        float horizontal = Input.GetAxis("Horizontal");
        //垂直轴
        float vertical = Input.GetAxis("Vertical");
        //创建成一个方向向量
        Vector2 dir = new Vector2(horizontal,vertical);
        Debug.DrawRay(transform.position, dir, Color.red);
        characterController.SimpleMove(dir);
    }
}

