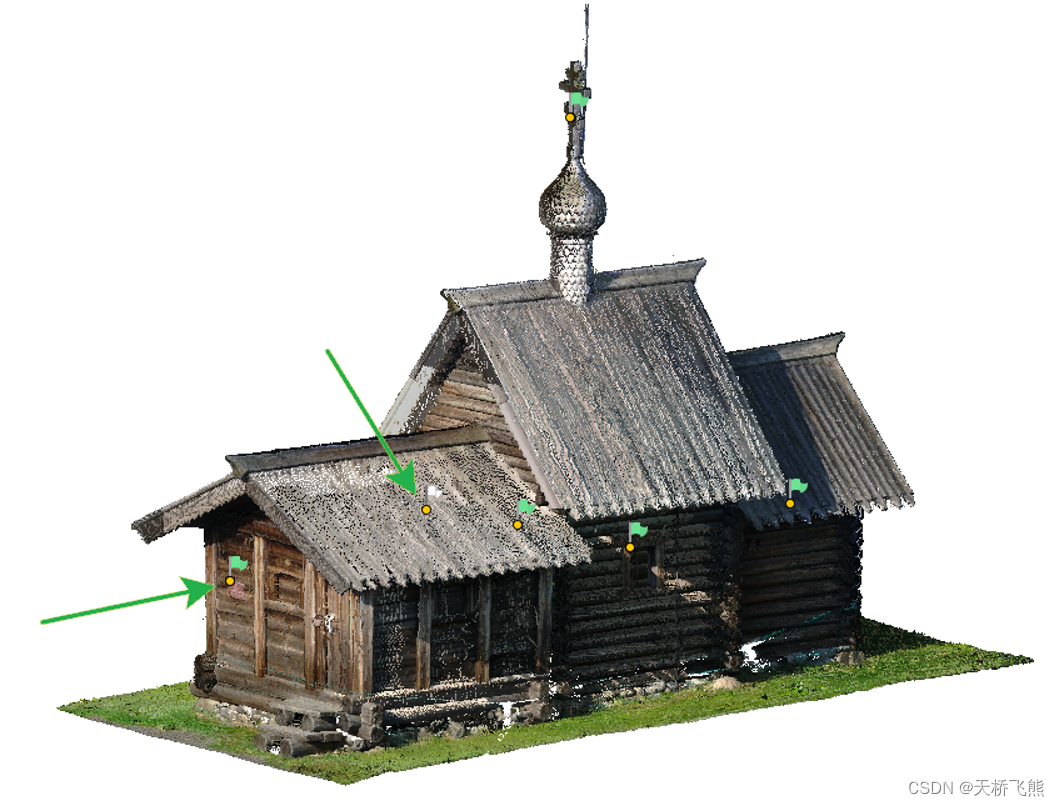
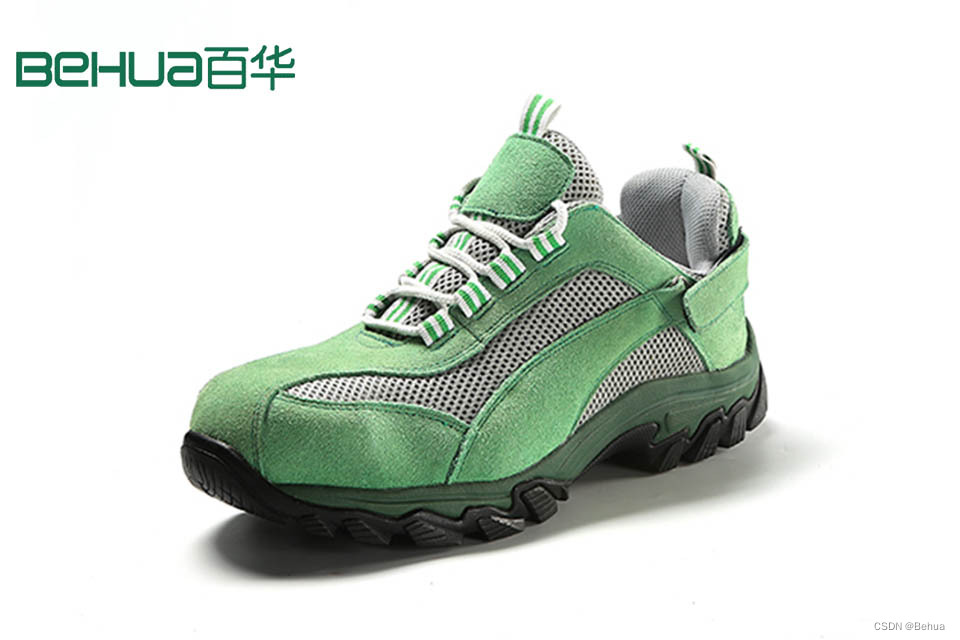
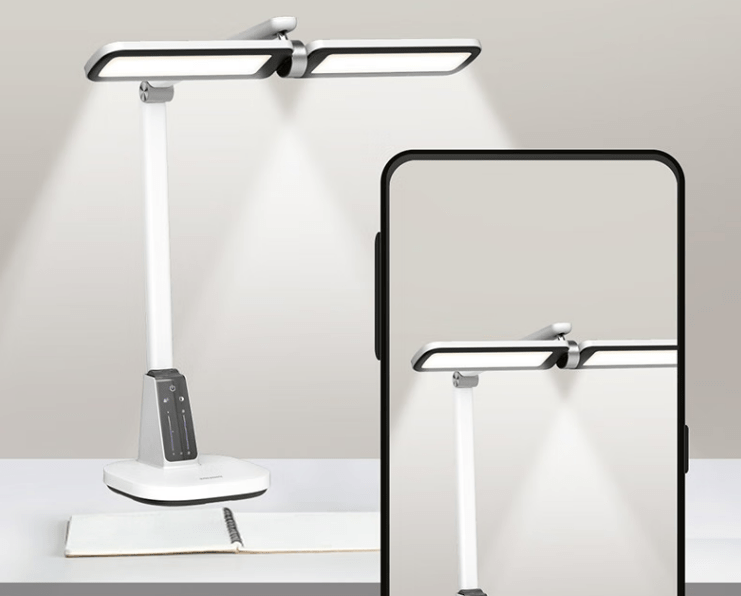
实现的功能是页面中的图片单击,在灯箱中显示,单击按钮上下切换,单击灯箱退出展示,效果如下GIF展示。
实现步骤还是老样子,三方面工作一是CSS、二是JavaSxcript,三是HTML,下面开始一步一步实现,最后可以下载完整源码。

一、CSS部分,这部分主要是定义样式,也就是我们看到的外表,背景黑色60%透明,上下切换按钮、鼠标样式、载入图片等待等。主要代码:
[myth-image=active]{cursor: pointer;cursor: zoom-in;}
		.myth-image{top: 0;left: 0;right: 0;bottom: 0;z-index: 66;position: fixed;user-select: none;animation: fade-in .3s both;-webkit-animation: fade-in .3s both;}
		.myth-image.loading{ cursor: wait }
		.myth-image.remove:before{animation: fade-off .3s both; -webkit-animation: fade-off .3s both;}
		.myth-image:before{top: 0;left: 0;right: 0;bottom: 0;content: '';position: absolute;background: rgba(0, 0, 0, .6);}
		.myth-image .myth-prev, .myth-image .myth-next{top: 0;bottom: 0;width: 10%;height: 5em;margin: auto;max-width: 5em;cursor: pointer;position: absolute;transition: opacity .3s, transform .3s;}
		.myth-image .myth-prev:hover{ transform: translateX(-.5em) }
		.myth-image .myth-next:hover{ transform: translateX(.5em)  }
		.myth-image .myth-prev{
		    left: 0;
		    background: center/60% no-repeat url(data:image/svg+xml;base64,PHN2ZyB2aWV3Qm94PSIwIDAgMTAyNCAxMDI0IiB2ZXJzaW9uPSIxLjEiIHhtbG5zPSJodHRwOi8vd3d3LnczLm9yZy8yMDAwL3N2ZyIgZmlsbD0icmdiYSgyNTUsMjU1LDI1NSwwLjkpIj48cGF0aCBkPSJNMzI0LjIxMTUxNyA1MTEuODA1NjMxIDc4Ny44ODk1OTQgNzMuMDgyNTgzYzE2LjE5NDIyLTE2LjYzMDM2NSAxNi4xOTQyMi00My45NzQ3MDQgMC02MC42MDUwNjgtMTYuMTk0MjItMTYuNjMwMzY1LTQyLjQ5NTYwNy0xNi42MzAzNjUtNTguNjEzOTc2IDBMMjM1Ljc1MDExMyA0NzkuMzYwMzAyYy04LjY0NzAzMSA4Ljk2OTM5OC0xMi4zNDQ3NzUgMjAuOTM0OTE3LTExLjcxOTAwMyAzMi40NDUzMjktMC42NDQ3MzUgMTEuOTA4NjMgMy4wNzE5NzIgMjMuODc0MTQ5IDExLjcxOTAwMyAzMi44MjQ1ODVsNDkzLjUwNjU0MiA0NjYuODgyNzg4YzE2LjExODM2OSAxNi42NDkzMjcgNDIuNDM4NzE4IDE2LjY0OTMyNyA1OC42MTM5NzYgMCAxNi4xOTQyMi0xNy4wODU0NzEgMTYuMTk0MjItNDMuOTc0NzA0IDAtNjAuNjA1MDY4TDMyNC4yMTE1MTcgNTExLjgwNTYzMSI+PC9wYXRoPjwvc3ZnPg==);
		}
		.myth-image .myth-next{
		    right: 0;
		    background: center/60% no-repeat url(data:image/svg+xml;base64,PHN2ZyB2aWV3Qm94PSIwIDAgMjAwIDIwMCIgdmVyc2lvbj0iMS4xIiB4bWxucz0iaHR0cDovL3d3dy53My5vcmcvMjAwMC9zdmciIGZpbGw9InJnYmEoMjU1LDI1NSwyNTUsMC45KSI+PHBhdGggZD0iTTEzNi43LDEwMGwtOTAuNiw4NS44Yy0zLjIsMy4yLTMuMiw4LjUsMCwxMS44YzMuMiwzLjMsOC4zLDMuMywxMS40LDBsOTYuNC05MS4yYzEuNy0xLjcsMi40LTQuMSwyLjMtNi40YzAuMS0yLjItMC42LTQuNi0yLjMtNi4zTDU3LjYsMi40Yy0zLjEtMy4yLTguMy0zLjItMTEuNCwwcy0zLjIsOC42LDAsMTEuOEwxMzYuNywxMDAiLz48L3N2Zz4NCg==);
		}
		.myth-image .ended{opacity: .5;cursor: no-drop;}
		.myth-image .myth-ball{top: 1em;right: 1em;width: 2em;height: 2em;opacity: 0;border-radius: 66%; position: absolute; pointer-events: none;transition: opacity .3s;border: .5em #fff solid;border-left-color: #3498db;border-left-color: var(--primary); animation: rotate .5s linear infinite paused;-webkit-animation: rotate .5s linear infinite paused;}
		.myth-image.loading .myth-ball{opacity: 1;animation-play-state: running;}
		.myth-image img, .myth-image video{top: 0;left: 0;right: 0;bottom: 0;margin: auto;max-width: 80%;max-height: 90%;cursor: zoom-out;position: absolute;transition: transform .3s;animation: fade-small-large .3s backwards;-webkit-animation: fade-small-large .3s backwards;}

		.myth-image video{cursor: auto;}
		.myth-image img:not([src]), .myth-image video:not([src]){display: none;}
		.myth-image.remove img, .myth-image.remove video, .myth-image.remove .myth-prev, .myth-image.remove .myth-next{animation: fade-large-small .3s both;-webkit-animation: fade-large-small .3s both;}
		.myth-image img[src$=".jpg"], .myth-image video{box-shadow: 0 5px 15px rgba(0, 0, 0, .5);}
二、JavaScript部分,这部分主要实现图片单击展开灯箱,实现切换等一些列展示效果。具体代码如下,这部分代码要放在我们以前写的Myth.js对应位置。
image:function(){
			var that = this;
			var image_box = {
			    img: that.create("img"),
			    prev: that.create("div", {class: "myth-prev"}),
			    next: that.create("div", {class: "myth-next"}),
			    ball: that.create("div", {class: "myth-ball"})
			};
			image_box.wrap = that.create("div", {class: "myth-image", child: [
			    image_box.prev, image_box.img, image_box.next, image_box.ball
			]});
			image_box.wrap.onclick = function (e) {
			    image_box.wrap.classList.add("remove");
			    setTimeout(function () {
			        try{
			            document.body.removeChild(image_box.wrap);
			            image_box.wrap.classList.remove("remove");
			        }
			        catch (err){}
			    }, 300);
			};
			image_box.img.onload = function () {
			    image_box.wrap.classList.remove("loading");
			};
			// 设置按钮
			image_box.prev.onclick = function (e) {
			    e.stopPropagation();
			    if(current - 1 >= 0) current--;

			    actions.set();
			};
			image_box.next.onclick = function (e) {
			    e.stopPropagation();
			    if(current + 1 < that.dom.length) current++;

			    actions.set();
			};
			var current = 0;
			var actions = {
			    ori: function (obj, num) {
			        obj.setAttribute("myth-image", "active");
			        obj.onclick = function () {
			            current = num;
			            actions.set();
			            document.body.appendChild(image_box.wrap);
			        };
			    },
			    set: function () {
			        var img = that.dom[current];
			        current === 0 ? image_box.prev.classList.add("ended") : image_box.prev.classList.remove("ended");
			        current === that.length - 1 ? image_box.next.classList.add("ended") : image_box.next.classList.remove("ended");

			        if(img.getAttribute("myth-original") !== null){
			            image_box.img.src = img.getAttribute("myth-original");
			        }
			        else if(img.src){
			            image_box.img.src = img.src;
			        }
			        else{
			            console.error("This image has no valid tag!");
			        }
			       image_box.wrap.classList.add("loading");
			    }
			};

			this.each(function(item){
				if(item.src ){
				    actions.ori(item, item.index);
				}
			});
		}
三、HTML部分,该部分就是如何使用第一、二部分的代码。
<div class="mythBox mid">
		<p><img src="img/1.png" title="one" myth-image="active" class="myth-picbox" myth-original="img/1.png"></p>
		<p><img src="img/2.png" title="one" myth-image="active" class="myth-picbox" myth-original="img/2.png"></p>
		<p><img src="img/3.png" title="one" myth-image="active" class="myth-picbox" myth-original="img/3.png"></p>
		<p><img src="img/4.png" title="one" myth-image="active" class="myth-picbox" myth-original="img/4.png"></p>
	</div>
		<script type="text/javascript">
			myth('.myth-picbox').image();
		</script>
这部分代码分为两个部分,一是页面图片展示,二是JS调用实现灯箱效果。
源代码下载:请单击
