默认安装部署所在机器允许外网
SSH工具
Putty
链接:https://pan.baidu.com/s/1b6gumtsjL_L64rEsOdhd4A
提取码:lxs9
Winscp
链接:https://pan.baidu.com/s/1tD8_2knvv0EJ5OYvXP6VTg
提取码:lxs9
WinSCP安装直接下一步到完成(可自己修改软件安装位置),Putty也是下一步到完成。


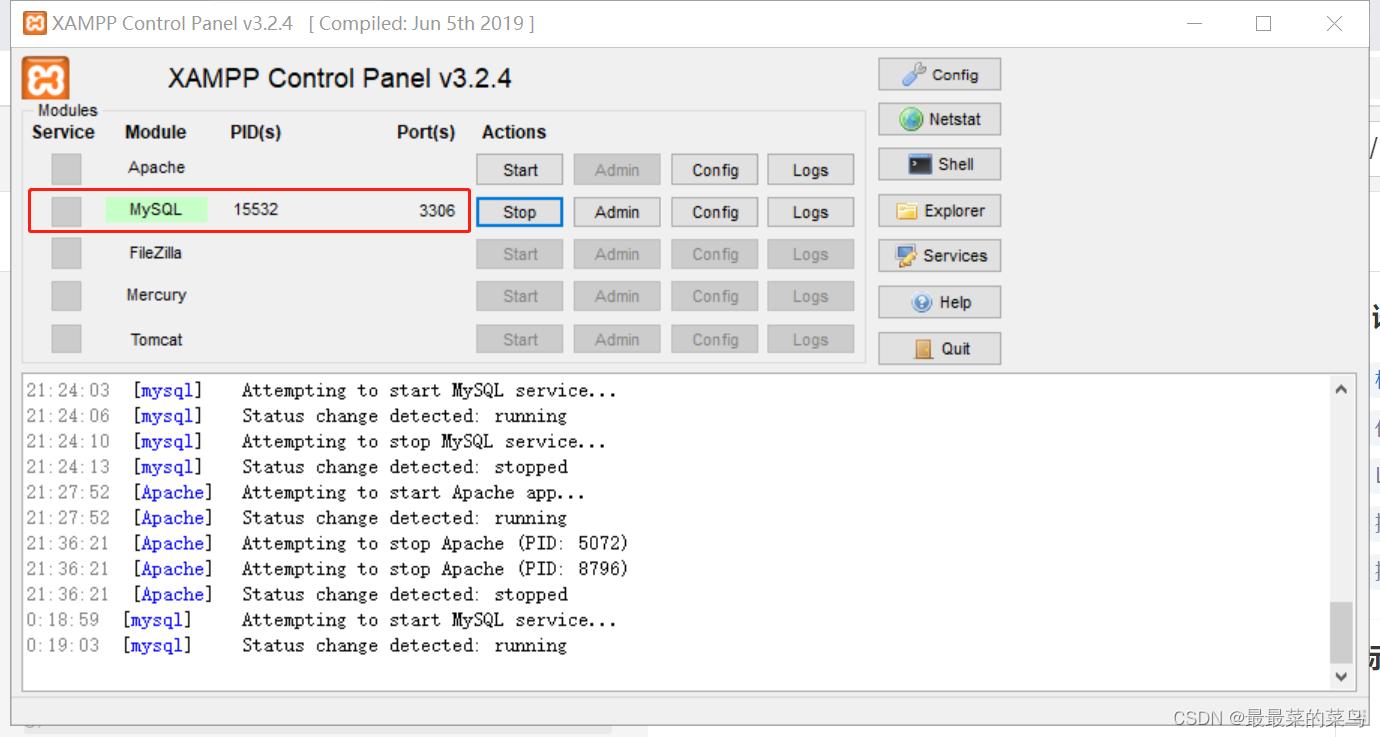
如果安装Putty时修改了安装地址,需要修改WinScp中putty.exe(图2)
安装环境
| 系统 | 内核 |
| centos7 | CPU - 2核 内存 - 4GB |
ElasricSearch
下载
wget https://artifacts.elastic.co/downloads/elasticsearch/elasticsearch-7.17.12-linux-x86_64.tar.gz
wget https://artifacts.elastic.co/downloads/elasticsearch/elasticsearch-7.17.12-linux-x86_64.tar.gz.sha512
shasum -a 512 -c elasticsearch-7.17.12-linux-x86_64.tar.gz.sha512
tar -xzf elasticsearch-7.17.12-linux-x86_64.tar.gz
cd elasticsearch-7.17.12/ 

包说明
bin:可执行文件在里面,运行es的命令就在这个里面,包含了一些脚本文件等
config:配置文件目录
JDK:java环境
lib:依赖的jar,类库
logs:日志文件
modules:es相关的模块
plugins:可以自己开发的插件
data:这个目录没有,自己新建一下,后面要用 -> mkdir data,这个作为索引目录
配置Elasticsearch
进入config目录
cd elasticsearch-7.17.12/config/
cluster.name: server-master
node.name: salve-1
network.host: 0.0.0.0   #绑定的ip:默认只允许本机访问,修改为0.0.0.0后则可以远程访问
http.port: 9200
path.data: /opt/elasticsearch-7.17.12/data
path.log: /opt/elasticsearch-7.17.12/data


查看修改的参数
grep -v "#" elasticsearch.yml | grep -v "^$"创建数据存储、日志文件夹
mkdir /opt/elasticsearch-7.17.12/data
mkdir /opt/elasticsearch-7.17.12/logs

更改权限
** ElasticSearch不允许root用户启动和操作,只能使用普通用户
adduser es
chown -R es:es/opt/elasticsearch-7.17.12/
修改JVM参数
 修改系统配置
修改/etc/security/limits.conf 文件,新增一下参数
* soft nofile 65536
* hard nofile 131072
* soft nproc 2048
* hard nproc 4096

修改 /etc/sysctl.conf 增加 vm.max_map_count=262145
vim /etc/sysctl.conf

vm.max_map_count=262145
刷新
刷新
sysctl -p
启动ElasticSeasrch
切换用户
su es (es:自己添加的用户)启动命令
./bin/elasticsearch启动出现问题
[slave-1] node validation exception
[2] bootstrap checks failed. You must address the points described in the following [2] lines before starting Elasticsearch.
bootstrap check failure [1] of [2]: max number of threads [2048] for user [es] is too low, increase to at least [4096]
bootstrap check failure [2] of [2]: the default discovery settings are unsuitable for production use; at least one of [discovery.seed_hosts, discovery.seed_providers, cluster.initial_master_nodes] must be configured

问题1
[slave-1] node validation exceptionelasticsearch.yml新增配置如下:
bootstrap.memory_lock: false
bootstrap.system_call_filter: false
问题2
the default discovery settings are unsuitable for production use; at least one of [discovery.seed_hosts, discovery.seed_providers, cluster.initial_master_nodes] must be configured修复如下:
elasticsearch.yml新增配置如下:

# discovery.seed_hosts:  集群主机列表
# discovery.seed_providers: 基于配置文件配置集群主机列表
# cluster.initial_master_nodes: 启动时初始化的参与选主的node,生产环境必填

#添加配置
discovery.seed_hosts: ["127.0.0.1"]

cluster.initial_master_nodes: ["node-1"]
问题3
max number of threads [2048] for user [es] is too low, increase to at least [4096]修改/etc/security/limits.conf 文件,将上面我们新增的参数修改一下
# * soft nproc 2048
* soft nproc 4096
日志文件中出现的错误(不影响启动):

修改elasticsearch.yml

ingest.geoip.downloader.enabled: false
再次启动Elasticsearch

Elasticsearch 修复配置文件
cluster.name: server-master
node.name: salve-1
network.host: 0.0.0.0   #绑定的ip:默认只允许本机访问,修改为0.0.0.0后则可以远程访问
http.port: 9200
path.data: /opt/elasticsearch-7.17.12/data
path.log: /opt/elasticsearch-7.17.12/data

bootstrap.memory_lock: false
bootstrap.system_call_filter: false
discovery.seed_hosts: ["127.0.0.1"]
cluster.initial_master_nodes: ["slave-1"]
测试
解决所有问题了 ,怀着无比激动的心 下💖 下去测试,我靠.......................

控制台添加防火墙规则
配置用户名密码
关闭服务,在elasticsearch.yml增加以下配置
 启动服务时,提示如下错误,说明参数(cluster.initial_master_nodes、discovery.type)不能同时存在。
 移除discovery.type参数 启动成功

执行
./elasticsearch-setup-passwords interactive
成功后,刷新访问,输入自己的用户名(默认 elastic)密码即可 至此,ElasticSearch 安装完成,离胜利还差一步之遥 下💪!!!
Kibana
安装
需切回root账户
# 下载
wget https://artifacts.elastic.co/downloads/kibana/kibana-7.17.12-linux-x86_64.tar.gz

# 解压
tar -zxvf kibana-7.17.12-linux-x86_64.tar.gz

# 重命名文件夹
mv kibana-7.17.12-linux-x86_64 kibana-7.17.12

# 指定用户
chown -R es:es /opt/kibana-7.17.12/

# 赋权限
chmod 770 /opt/kibana-7.17.12
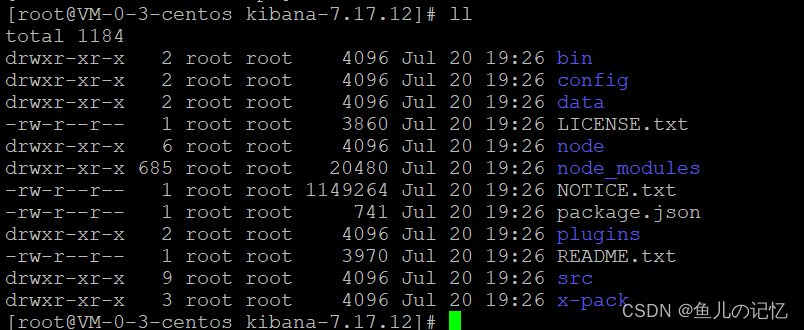
修改配置文件
 启动Kibana

测试

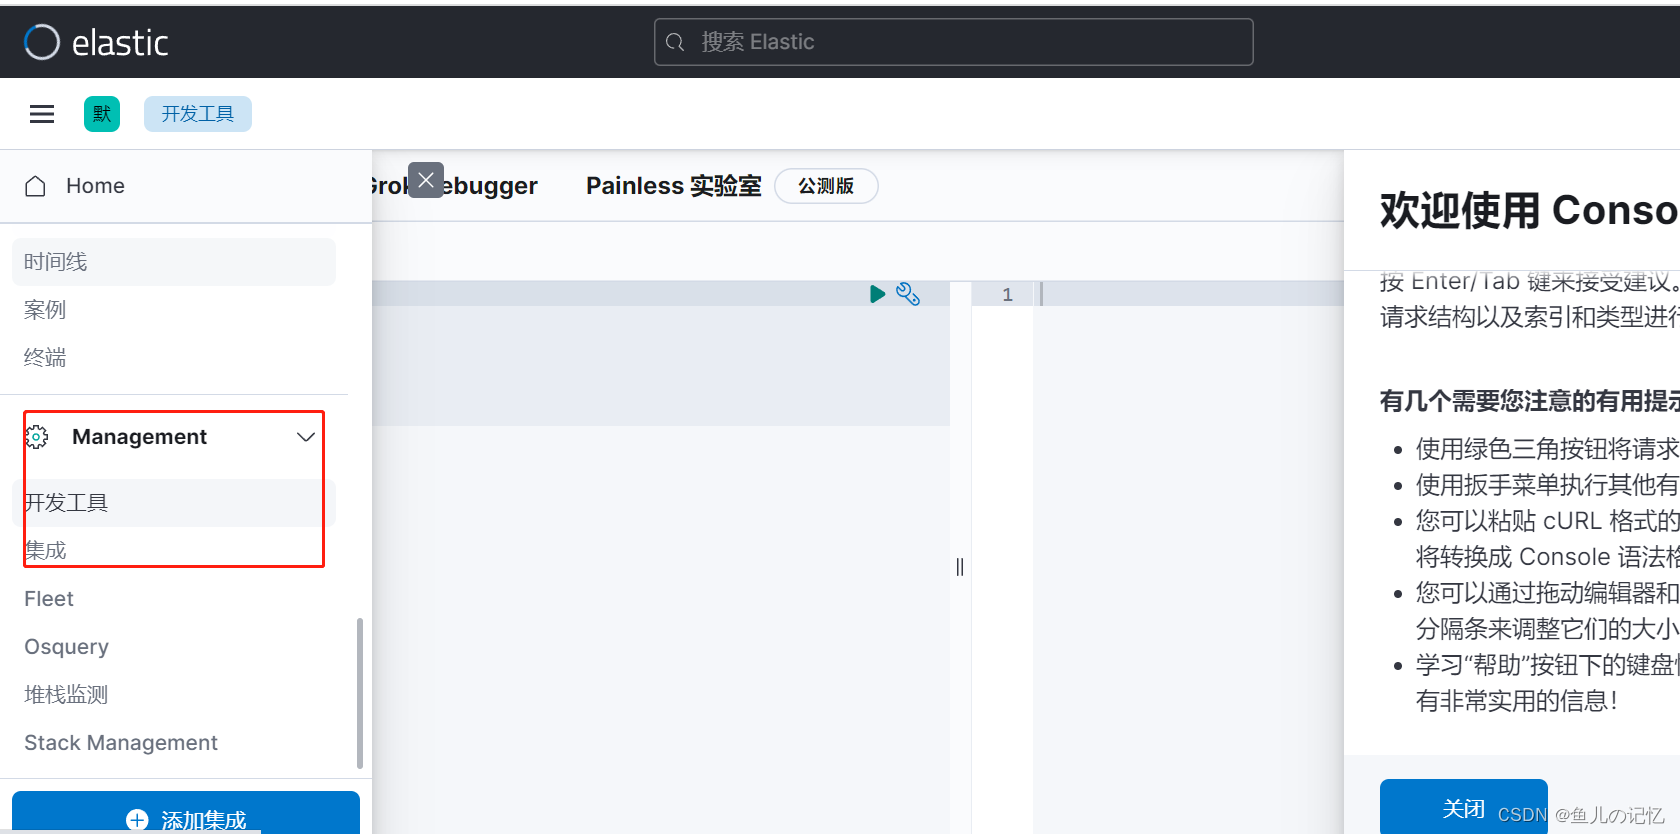
至此完成,ElasticSearch 和Kibana的安装配置
🌹 以上分享 Redis 事务、管道、发布订阅,如有问题请指教写。
🌹🌹 如你对技术也感兴趣,欢迎交流。
🌹🌹🌹 如有需要,请👍点赞💖收藏🐱🏍分享 


