😀前言
手动实现 Spring 底层机制的第2篇 实现了任务阶段一编写自己 Spring 容器-准备篇【2】
🏠个人主页:尘觉主页

🧑个人简介:大家好,我是尘觉,希望我的文章可以帮助到大家,您的满意是我的动力😉😉
在csdn获奖荣誉: 🏆csdn城市之星2名
💓Java全栈群星计划top前5
🤗 端午大礼包获得者
💕欢迎大家:这里是CSDN,我总结知识的地方,欢迎来到我的博客,感谢大家的观看🥰
如果文章有什么需要改进的地方还请大佬不吝赐教 先在次感谢啦😊
文章目录
- 😀手动实现 Spring 底层机制 实现任务阶段一编写自己 Spring 容器-准备篇【2】
- 创建SmartAnimalable接口
- 创建SmartDog类
- 创建SmartAnimalAspect切面类
- 修改类beans.xml
- 创建AppMain类
- 输出结果
- 😄简单分析
- AOP 和 BeanPostProces关系
- 看一下 AnnotationAwareAspectJAutoProxyCreator 的类图
- 分析
- 😄总结
😀手动实现 Spring 底层机制 实现任务阶段一编写自己 Spring 容器-准备篇【2】
创建SmartAnimalable接口
public interface SmartAnimalable {
    float getSum(float i, float j);
    float getSub(float i, float j);
}
创建SmartDog类
@Component
public class SmartDog implements SmartAnimalable {

    public float getSum(float i, float j) {
        float res = i + j;
        System.out.println("SmartDog-getSum-res=" + res);
        return res;
    }

    public float getSub(float i, float j) {
        float res = i - j;
        System.out.println("SmartDog-getSub-res=" + res);
        return res;
    }
}
创建SmartAnimalAspect切面类
@Component
@Aspect
public class SmartAnimalAspect {

    //给SmartDog配置前置,返回,异常,最终通知

    //前置通知
    @Before(value = "execution(public float com.wyxde.spring.aop.SmartDog.getSum(float, float))")
    public void showBeginLog(JoinPoint joinPoint) {
        //通过连接点对象joinPoint 可以获取方法签名
        Signature signature = joinPoint.getSignature();
        System.out.println("SmartAnimalAspect-切面类showBeginLog()[使用的myPointCut()]-方法执行前-日志-方法名-" + signature.getName() + "-参数 "
                + Arrays.asList(joinPoint.getArgs()));
    }

   //返回通知
    @AfterReturning(value = "execution(public float com.wyxde.spring.aop.SmartDog.getSum(float, float))", returning = "res")
    public void showSuccessEndLog(JoinPoint joinPoint, Object res) {
        Signature signature = joinPoint.getSignature();
        System.out.println("SmartAnimalAspect-切面类showSuccessEndLog()-方法执行正常结束-日志-方法名-" + signature.getName() + " 返回的结果是=" + res);
    }


   //异常通知
    @AfterThrowing(value = "execution(public float com.wyxde.spring.aop.SmartDog.getSum(float, float))", throwing = "throwable")
    public void showExceptionLog(JoinPoint joinPoint, Throwable throwable) {
        Signature signature = joinPoint.getSignature();
        System.out.println("SmartAnimalAspect-切面类showExceptionLog()-方法执行异常-日志-方法名-" + signature.getName() + " 异常信息=" + throwable);
    }

    //最终通知
    @After(value = "execution(public float com.wyxde.spring.aop.SmartDog.getSum(float, float))")
    public void showFinallyEndLog(JoinPoint joinPoint) {
        Signature signature = joinPoint.getSignature();
        System.out.println("SmartAnimalAspect-切面类showFinallyEndLog()-方法最终执行完毕-日志-方法名-" + signature.getName());
    }

}
修改类beans.xml
配置自动扫描的包, 同时引入对应的名称空间
- 如果我们是普通的java项目, beans.xml 放在src下
- 如果我们是java maven 项目, beans.xml 放在 src/main/resources
<?xml version="1.0" encoding="UTF-8"?>
<beans xmlns="http://www.springframework.org/schema/beans"
       xmlns:xsi="http://www.w3.org/2001/XMLSchema-instance"
       xmlns:context="http://www.springframework.org/schema/context"
       xmlns:aop="http://www.springframework.org/schema/aop"
       xsi:schemaLocation="http://www.springframework.org/schema/beans http://www.springframework.org/schema/beans/spring-beans.xsd http://www.springframework.org/schema/context https://www.springframework.org/schema/context/spring-context.xsd http://www.springframework.org/schema/aop https://www.springframework.org/schema/aop/spring-aop.xsd">


    <context:component-scan base-package="com.wyxde.spring.component"/>
    <context:component-scan base-package="com.wyxde.spring.aop"/>

    <!--启用基于注解方式的AOP功能-->
    <aop:aspectj-autoproxy/>

    <!--配置后置处理器-->
    <bean class="com.wyxde.spring.process.MyBeanPostProcessor" id="myBeanPostProcessor"/>
</beans>
创建AppMain类
public class AppMain {
    public static void main(String[] args) {
        //测试看看是否可以得到spring容器中的bean , 同时看看依赖注入是否OK

        ApplicationContext ioc =
                new ClassPathXmlApplicationContext("beans.xml");
        UserAction userAction = (UserAction) ioc.getBean("userAction");
        UserAction userAction2 = (UserAction) ioc.getBean("userAction");

        System.out.println("userAction=" + userAction);
        System.out.println("userAction2=" + userAction2);

        UserDao userDao = (UserDao) ioc.getBean("userDao");
        System.out.println("userDao=" + userDao);

        UserService userService = (UserService) ioc.getBean("userService");
        System.out.println("userService=" + userService);

        //测试一下当前的依赖注入
        userService.m1();

        //测试一下AOP
        SmartAnimalable smartDog = ioc.getBean(SmartAnimalable.class);
        smartDog.getSum(10, 2);

    }
}
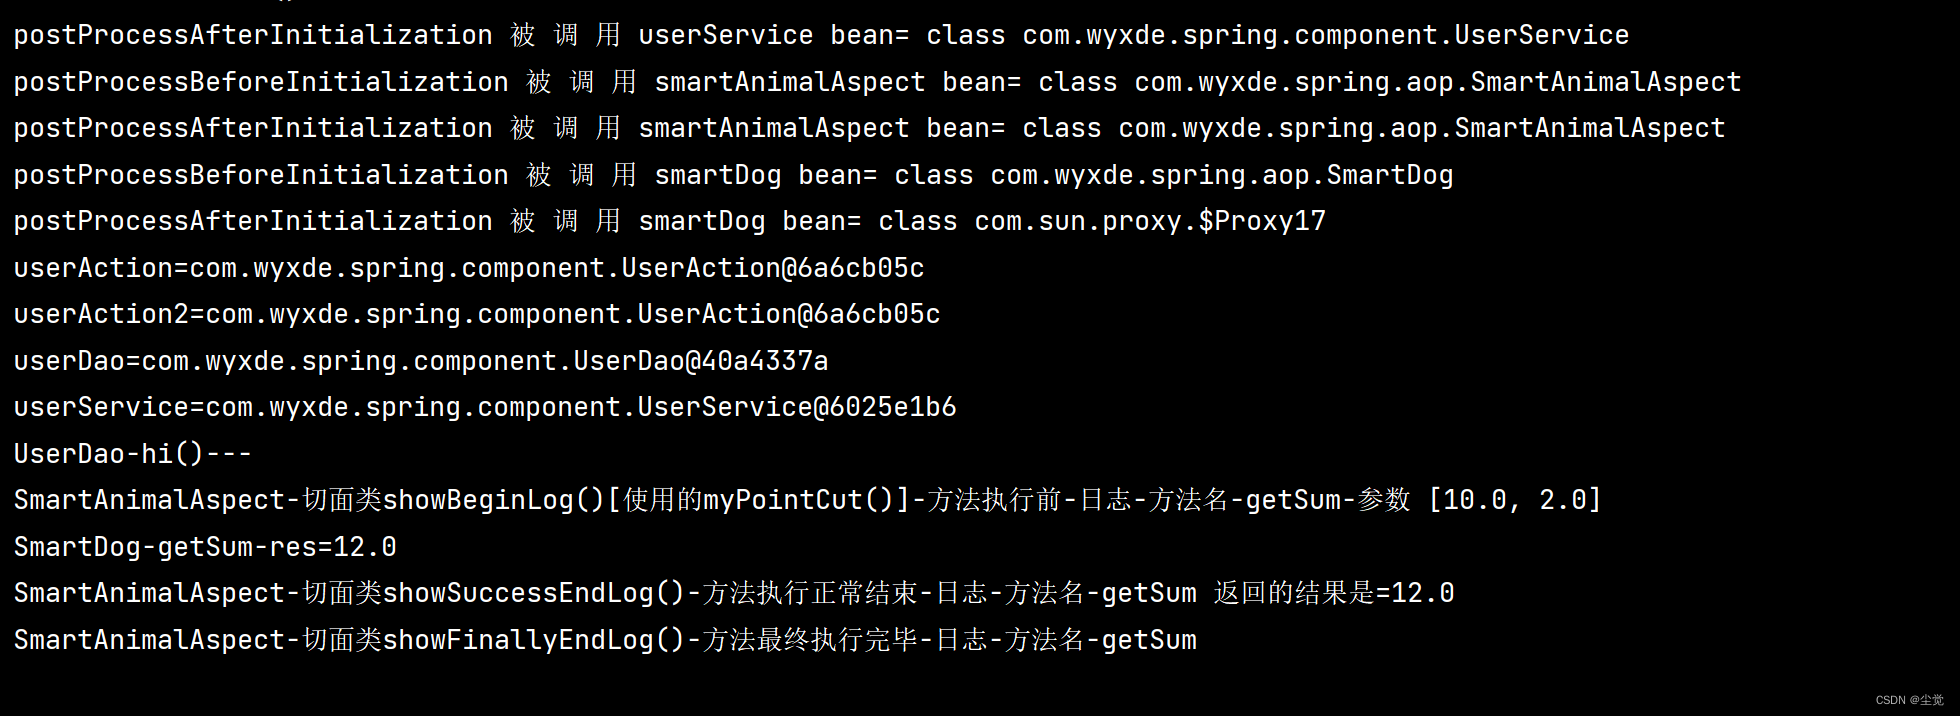
输出结果
😄简单分析
AOP 和 BeanPostProces关系
- AOP 实现 Spring 可以通过给一个类,加入注解 @EnableAspectJAutoProxy 来指定, 比
如
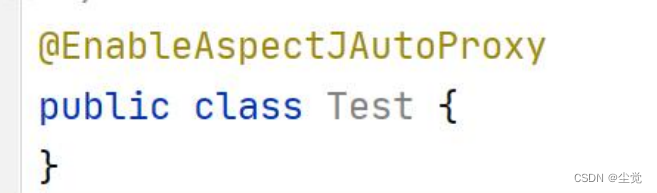
- 我们来追一下@EnableAspectJAutoProxy


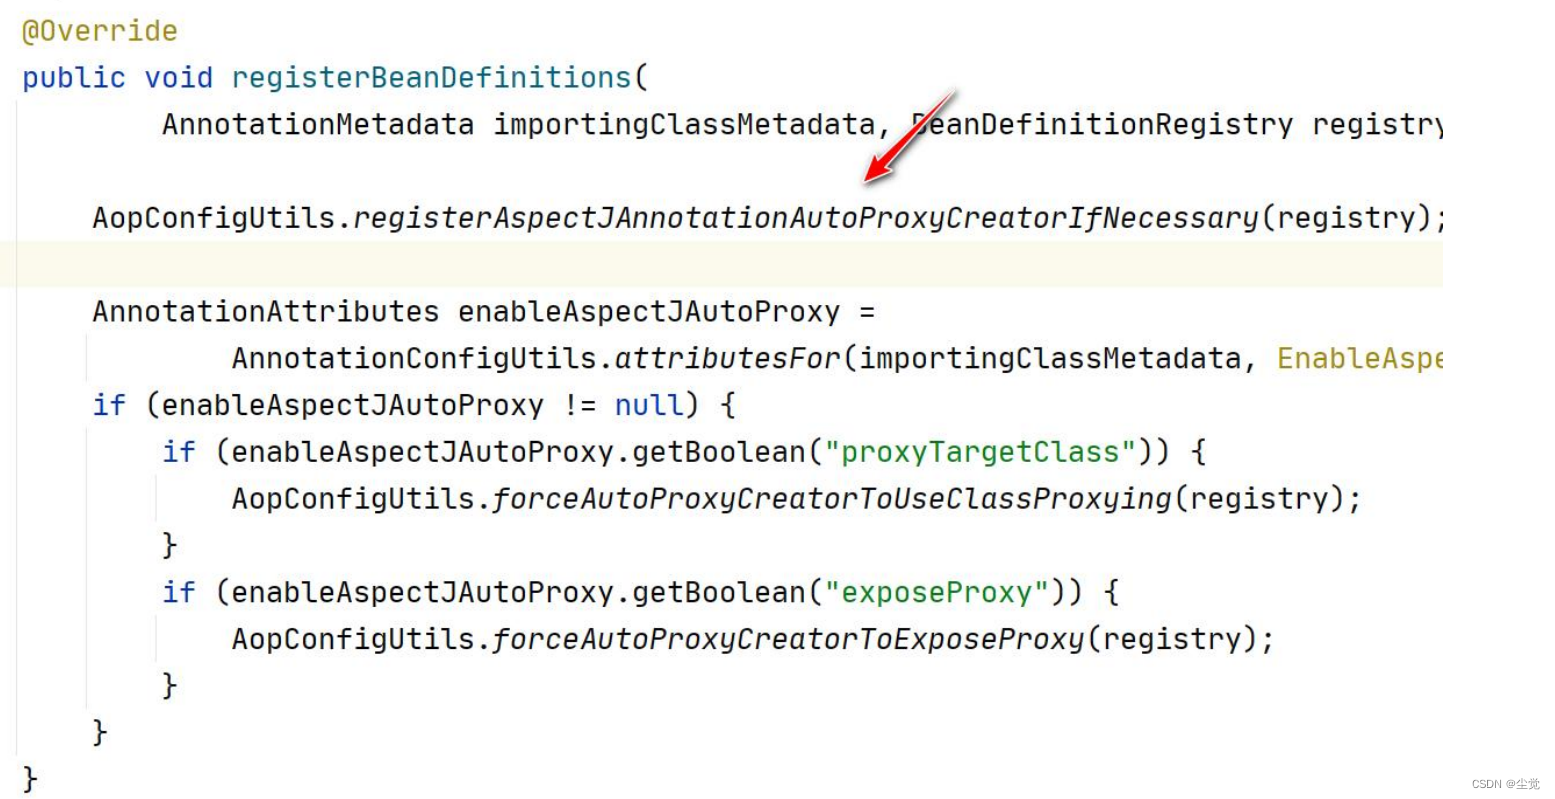


看一下 AnnotationAwareAspectJAutoProxyCreator 的类图

分析
-
AOP 底层是基于 BeanPostProcessor 机制的.
-
即在 Bean 创建好后,根据是否需要 AOP 处理,决定返回代理对象,还是原生 Bean
-
在返回代理对象时,就可以根据要代理的类和方法来返回
-
其实这个机制并不难,本质就是在 BeanPostProcessor 机制 + 动态代理技术
-
下面我们就准备自己来实现 AOP 机制, 这样小伙伴们就不在觉得 AOP 神秘,通透很多了.
😄总结
到本文为止以及全部完成了准备了下一篇就开始正式手动实现 Spring 底层机制
手动实现 Spring 底层机制【初始化 IOC容器+依赖注入+BeanPostProcessor 机制+AOP】系列
手动实现 Spring 底层机制 实现任务阶段一编写自己 Spring 容器-准备篇【1】
😁热门专栏推荐
想学习vue的可以看看这个
java基础合集
数据库合集
redis合集
nginx合集
linux合集
等等等还有许多优秀的合集在主页等着大家的光顾感谢大家的支持
🤔欢迎大家加入我的社区 尘觉社区
文章到这里就结束了,如果有什么疑问的地方请指出,诸佬们一起来评论区一起讨论😁
希望能和诸佬们一起努力,今后我们一起观看感谢您的阅读🍻
如果帮助到您不妨3连支持一下,创造不易您们的支持是我的动力🤞