学习记录整理,自用,也希望能帮助到有相同需求的人。
如果直接截全图:
        string screenshotName = "Assets/Textures/UI/20230803/2.png";
        ScreenCapture.CaptureScreenshot(screenshotName);
截取指定位置含有UI的场景截图:
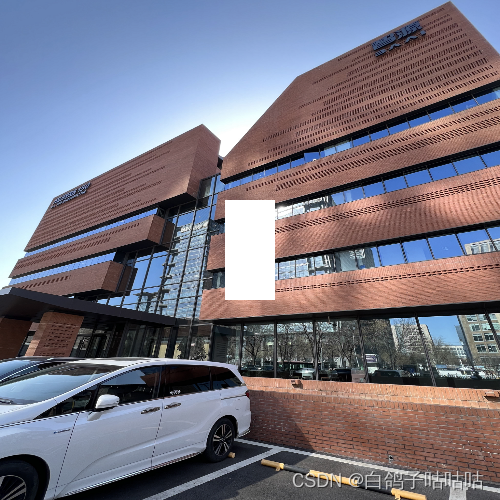
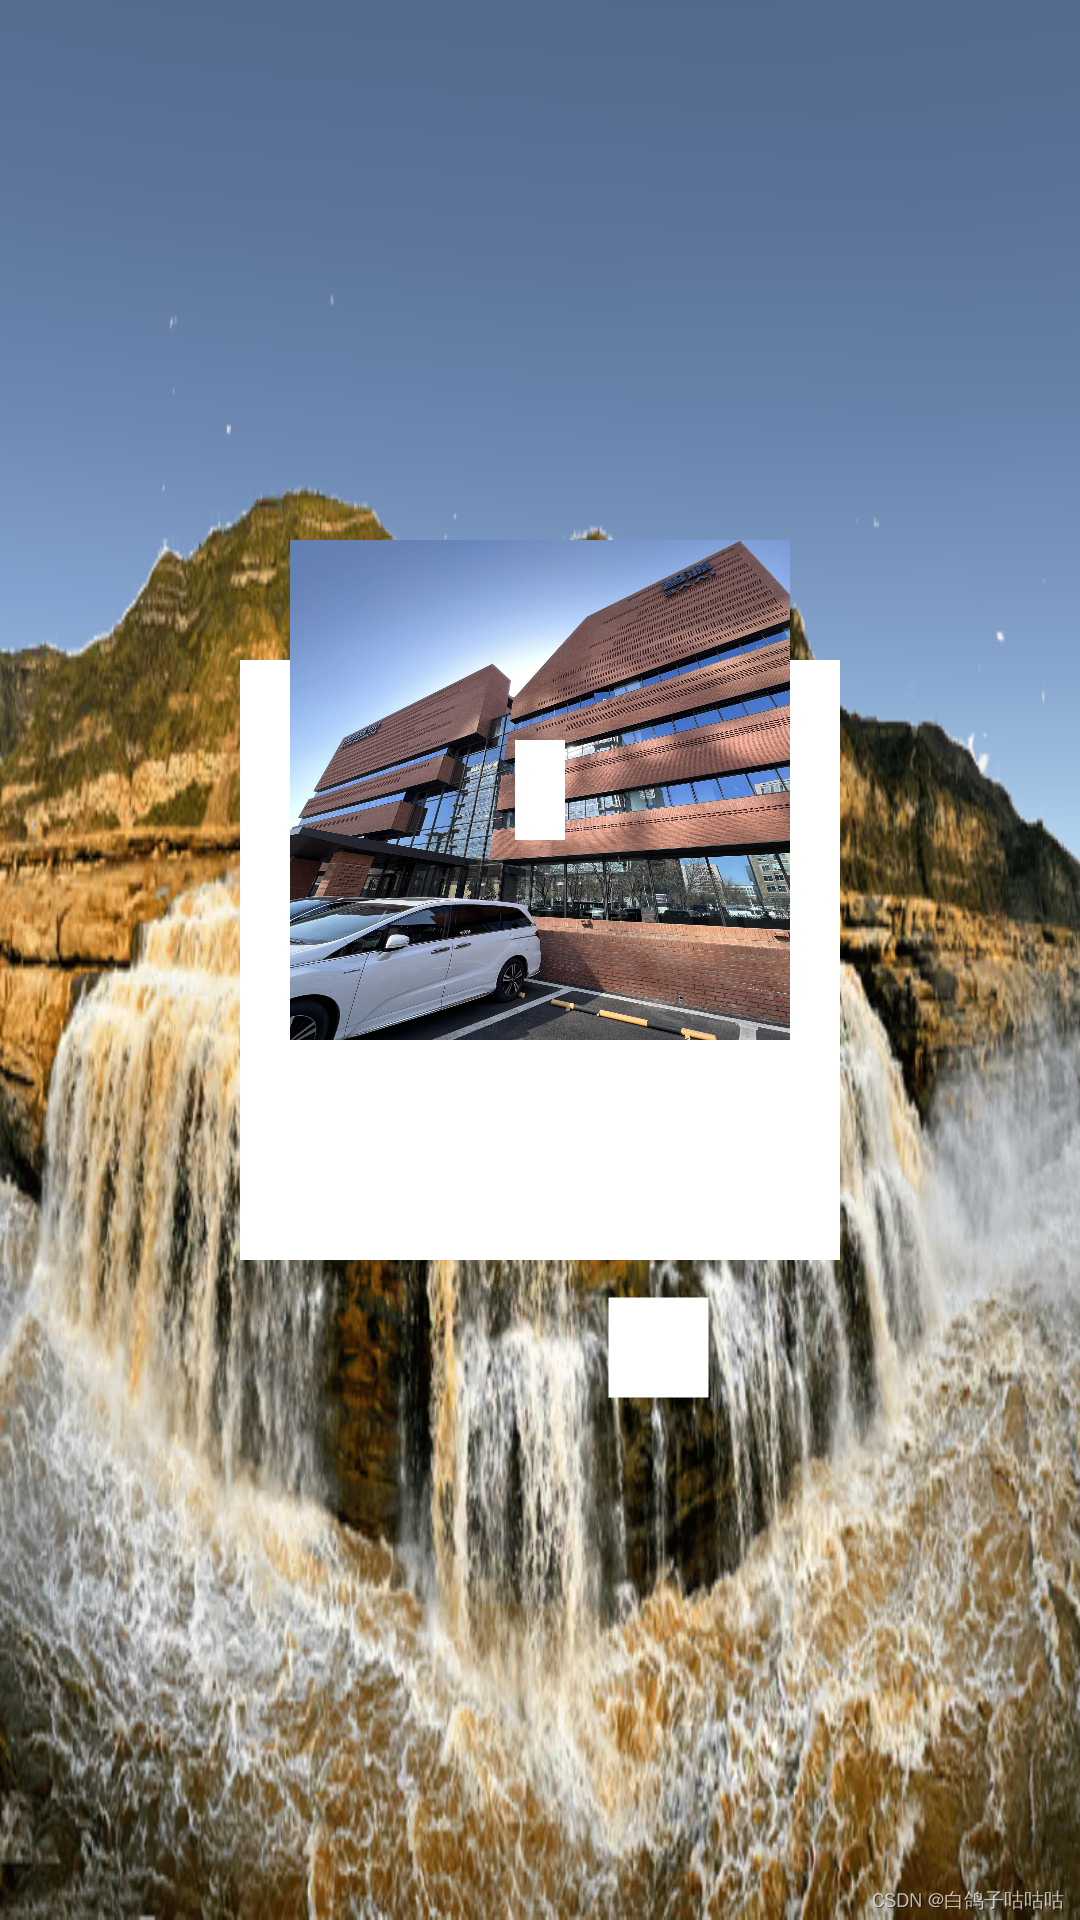
例如这种情况下只想要中间的:
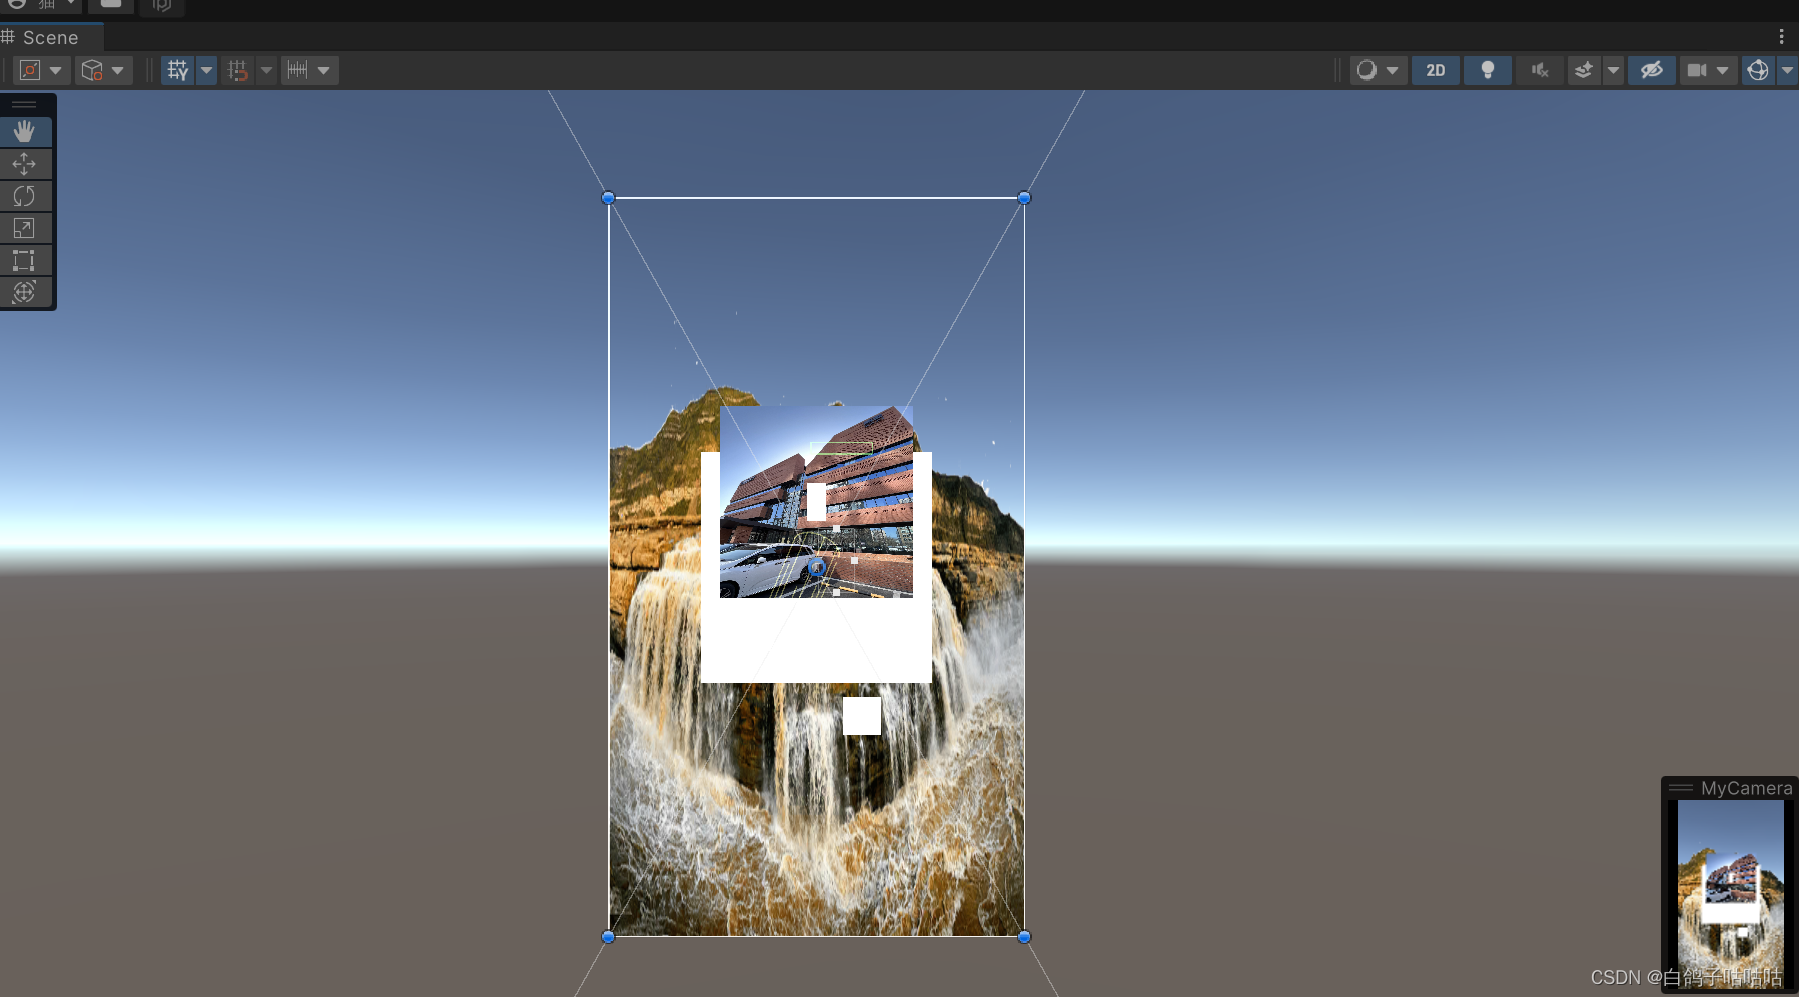
UI所在的Canvas设置为RenderMode.ScreenSpaceCamera并挂载相机,然后设置该相机的渲染RenderTexture并开始render,注意这里渲染是从屏幕中心扩展到四周,也就是说RenderTexture小于屏幕的话只能看到中间部分,然后代码如下,已添加注释。
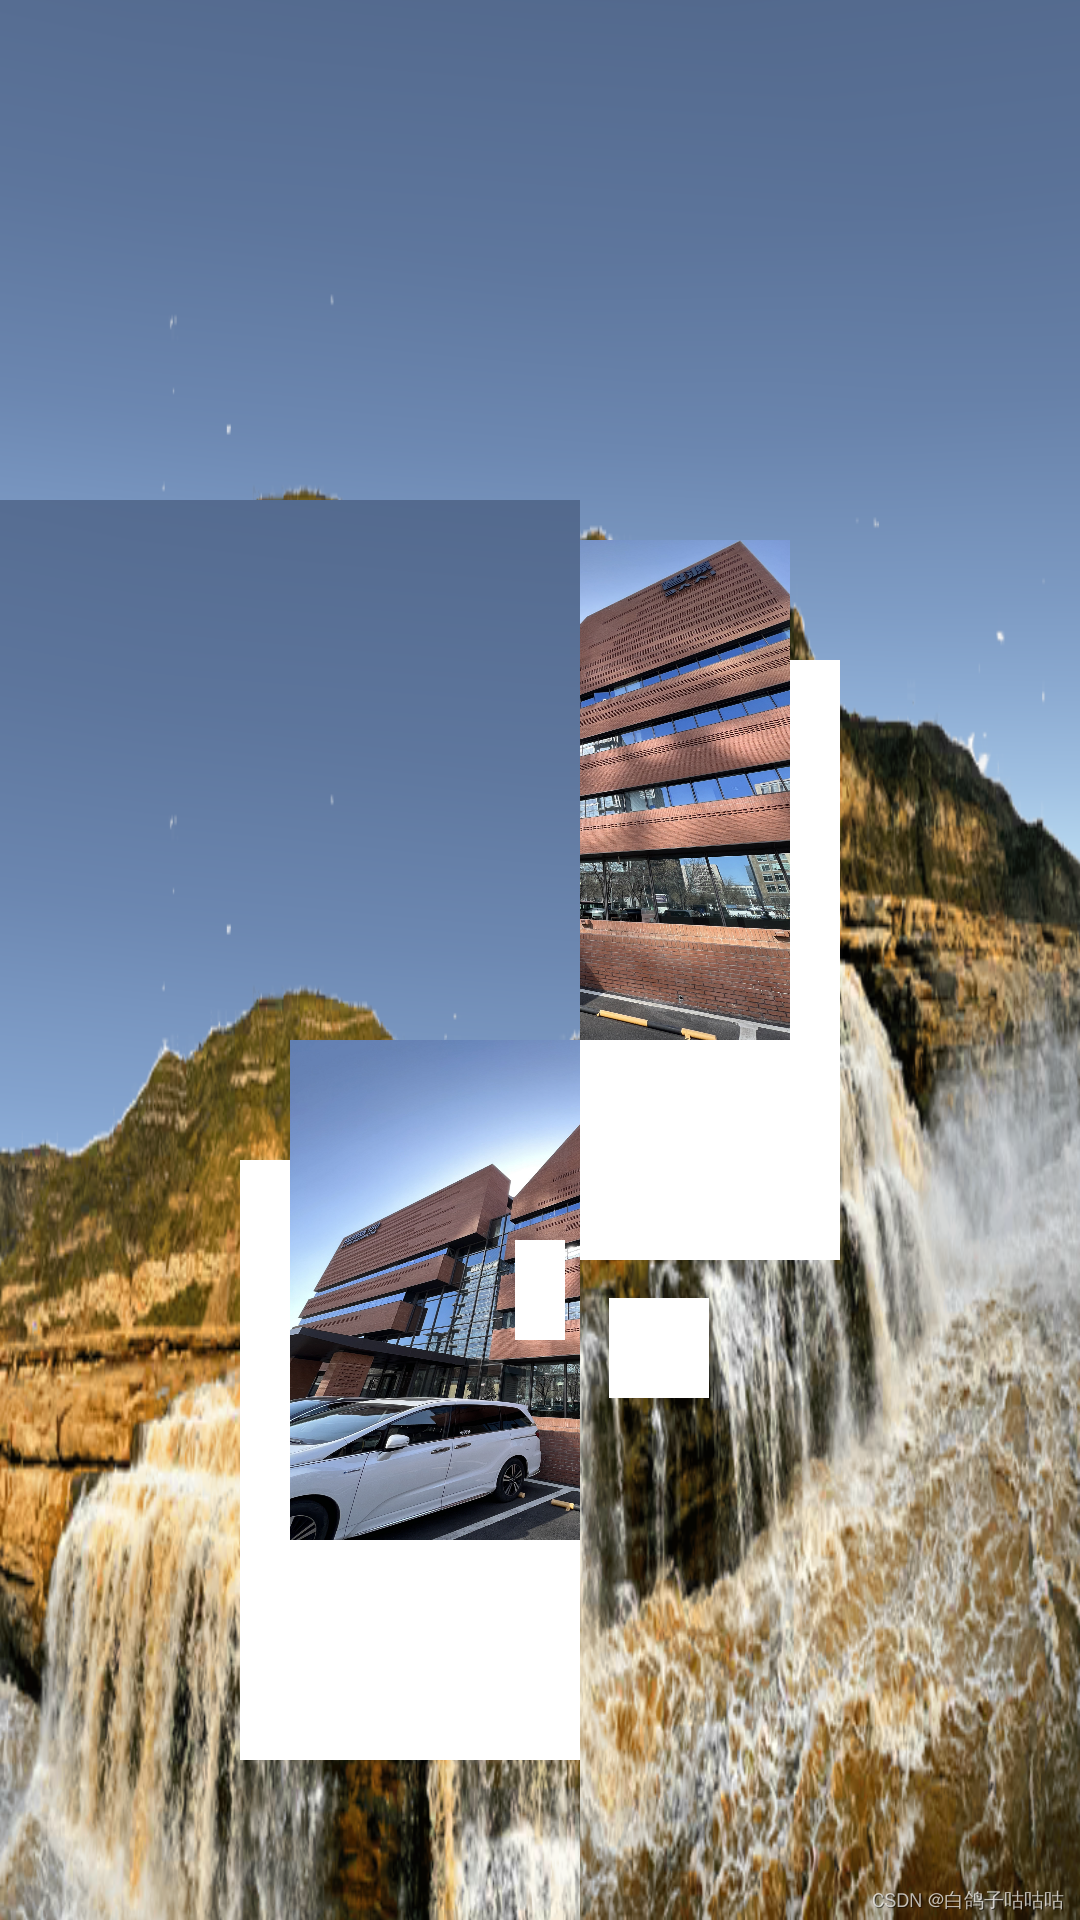
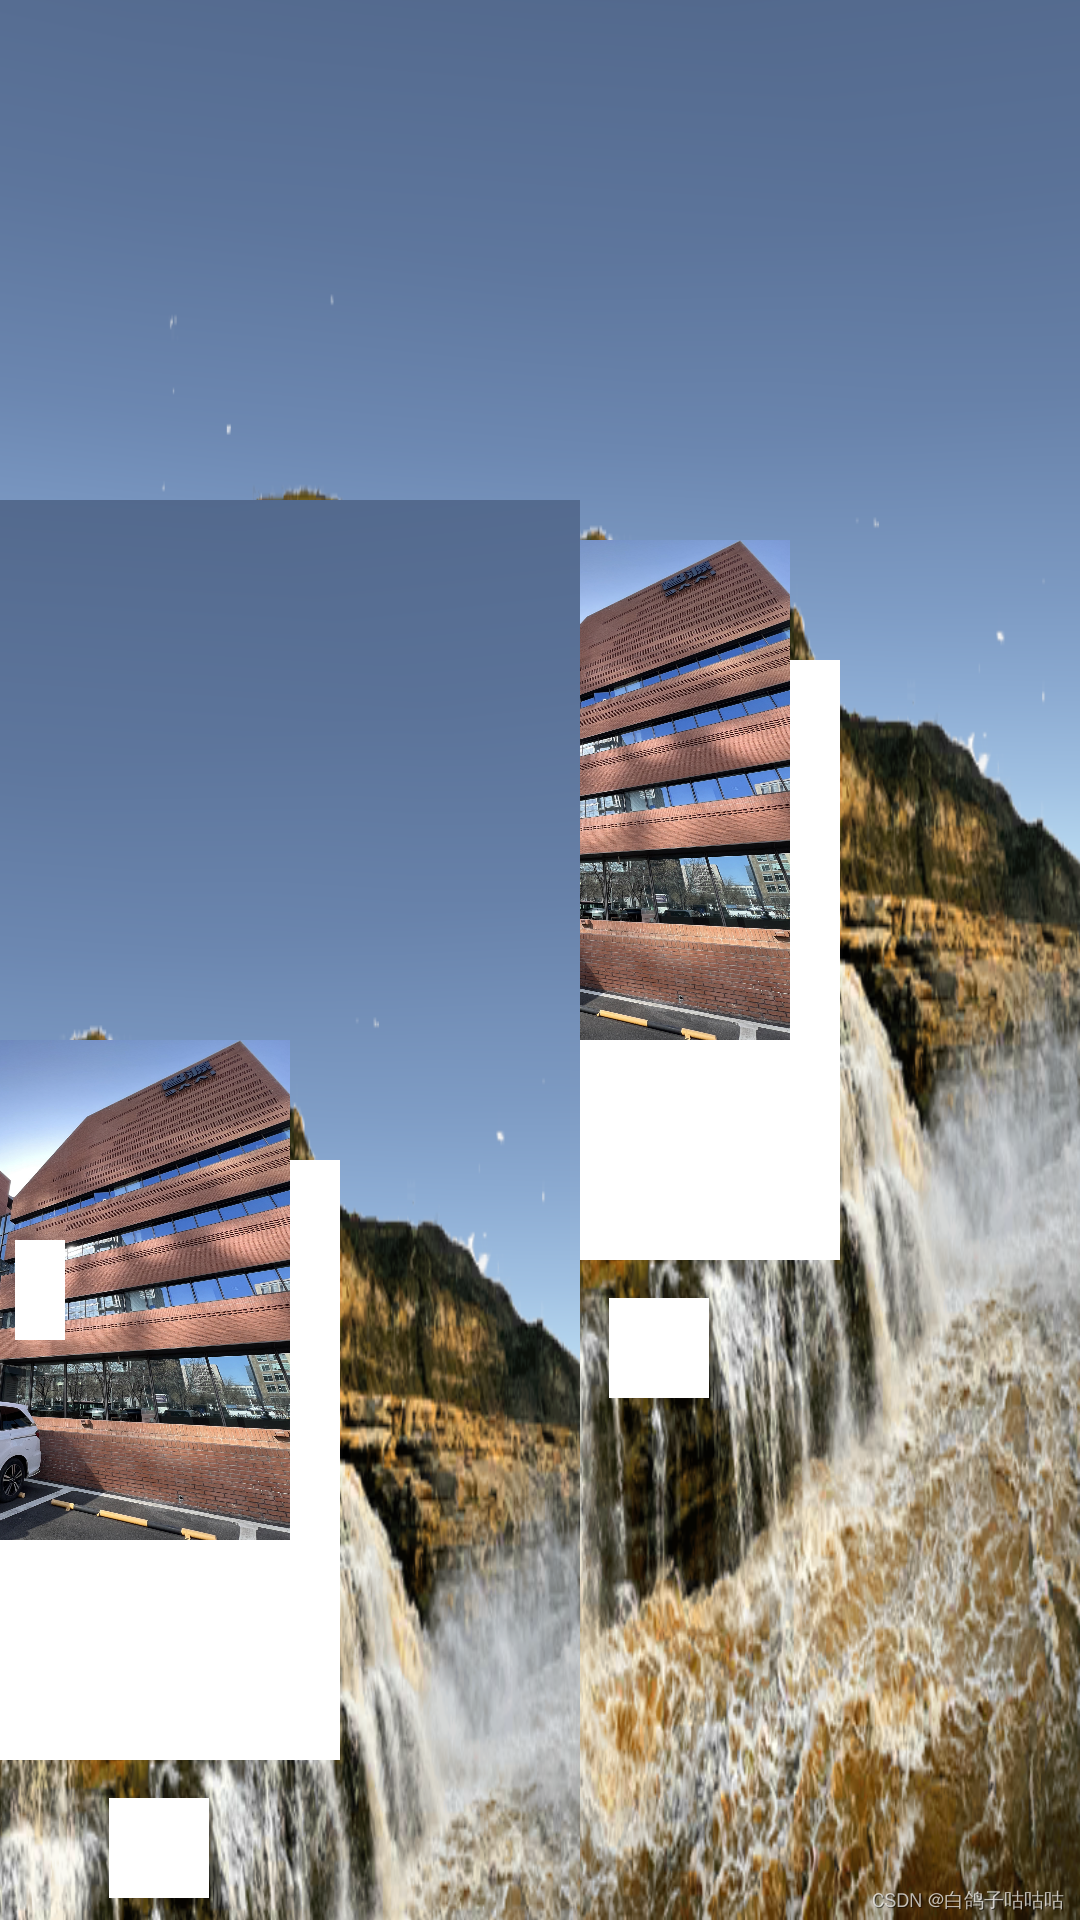
函数中0、1、2三张图只是为了表明ReadPixels中坐标具体参数细节,可删去。
为了方便,我直接使用我的图片的固定大小500*500,自用可以自行获取所需图片尺寸。
using System.Collections;
using System.Collections.Generic;
using UnityEngine;
using UnityEngine.UI;

public class TextureExporter : MonoBehaviour
{
    public Texture2D textureToExport;
    public string exportPath = "Assets/ExportedImages/";
    public RectTransform uiRectTransform;
    public Camera mainCamera;
    private void Start()
    {
        ExportUIAsImage(exportPath);
        string screenshotName = "Assets/ExportedImages/5.png";
        ScreenCapture.CaptureScreenshot(screenshotName);
    }
    public void ExportUIAsImage(string path)
    {
        GameObject cameraObj = new GameObject("MyCamera");
        Camera cameraComponent = cameraObj.AddComponent<Camera>();

        // 获取UI元素所在的Canvas组件
        Canvas canvas = uiRectTransform.GetComponentInParent<Canvas>();
        canvas.renderMode = RenderMode.ScreenSpaceCamera;
        canvas.worldCamera = cameraComponent;

        // 获取 UI 的宽度和高度
        float width = 1080;
        float height = 1920;

        // 创建 RenderTexture 来保存 UI 的截屏
        RenderTexture renderTexture = new RenderTexture( 1080,1920, 24);
        Camera mainCamera = cameraComponent;

        // 将 UI 渲染到 RenderTexture 中
        mainCamera.targetTexture = renderTexture;
        mainCamera.Render();

        // 保存当前 RenderTexture 作为激活的 RenderTexture
        RenderTexture currentRT = RenderTexture.active;
        RenderTexture.active = renderTexture;

        // 创建一个新的 Texture2D 来保存截屏数据
        Texture2D uiTexture = new Texture2D((int)width, (int)height, TextureFormat.RGB24, false);
        Texture2D uiTexture1 = new Texture2D(500, 500, TextureFormat.RGB24, false);
        Vector3 localTopLeft = new Vector3(uiRectTransform.rect.xMin, uiRectTransform.rect.yMax, 0f);

        // 将本地坐标转换为屏幕坐标
        Vector3 screenTopLeft = uiRectTransform.TransformPoint(localTopLeft);
        Vector3 screenPoint = cameraComponent.WorldToScreenPoint(screenTopLeft);

        uiTexture1.ReadPixels(new Rect(screenPoint.x, 1920- screenPoint.y, 500, 500), 0, 0);
        uiTexture1.Apply();
        // 将 Texture2D 保存为图片文件
        byte[] imageBytes1 = uiTexture1.EncodeToPNG();
        System.IO.File.WriteAllBytes(exportPath + "/4.png", imageBytes1);

        //ReadPixels截取Rect部分内容是以左上角为原点,右方为x轴正向下方为y轴正向
        //ReadPixels输出到uiTexture部分内容是以左下角为原点,右方为x轴正向上方为y轴正向
        uiTexture.ReadPixels(new Rect(0, 0, width, height), 0, 0);

        uiTexture.Apply();
        // 将 Texture2D 保存为图片文件
        byte[]imageBytes = uiTexture.EncodeToPNG(); // 或者使用 EncodeToJPG
        System.IO.File.WriteAllBytes(exportPath + "/0.png", imageBytes);


        uiTexture.ReadPixels(new Rect(0, 0, width-500, height - 500), 0, 0);
        uiTexture.Apply();
        // 将 Texture2D 保存为图片文件
         imageBytes = uiTexture.EncodeToPNG();
        System.IO.File.WriteAllBytes(exportPath + "/1.png", imageBytes);

        uiTexture.ReadPixels(new Rect(500, 0, width - 500, height - 500), 0, 0);
        uiTexture.Apply();
        // 将 Texture2D 保存为图片文件
        imageBytes = uiTexture.EncodeToPNG(); // 或者使用 EncodeToJPG
        System.IO.File.WriteAllBytes(exportPath + "/2.png", imageBytes);


        // 清理资源
        mainCamera.targetTexture = null;
        RenderTexture.active = currentRT;
        Destroy(uiTexture);
        Destroy(renderTexture);

        Debug.Log("UI 已导出为图片至:" + exportPath + "/screenshot.png");
    }
};
输出情况:
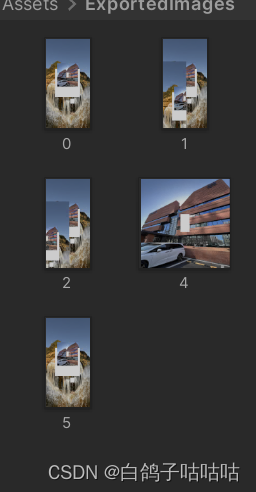
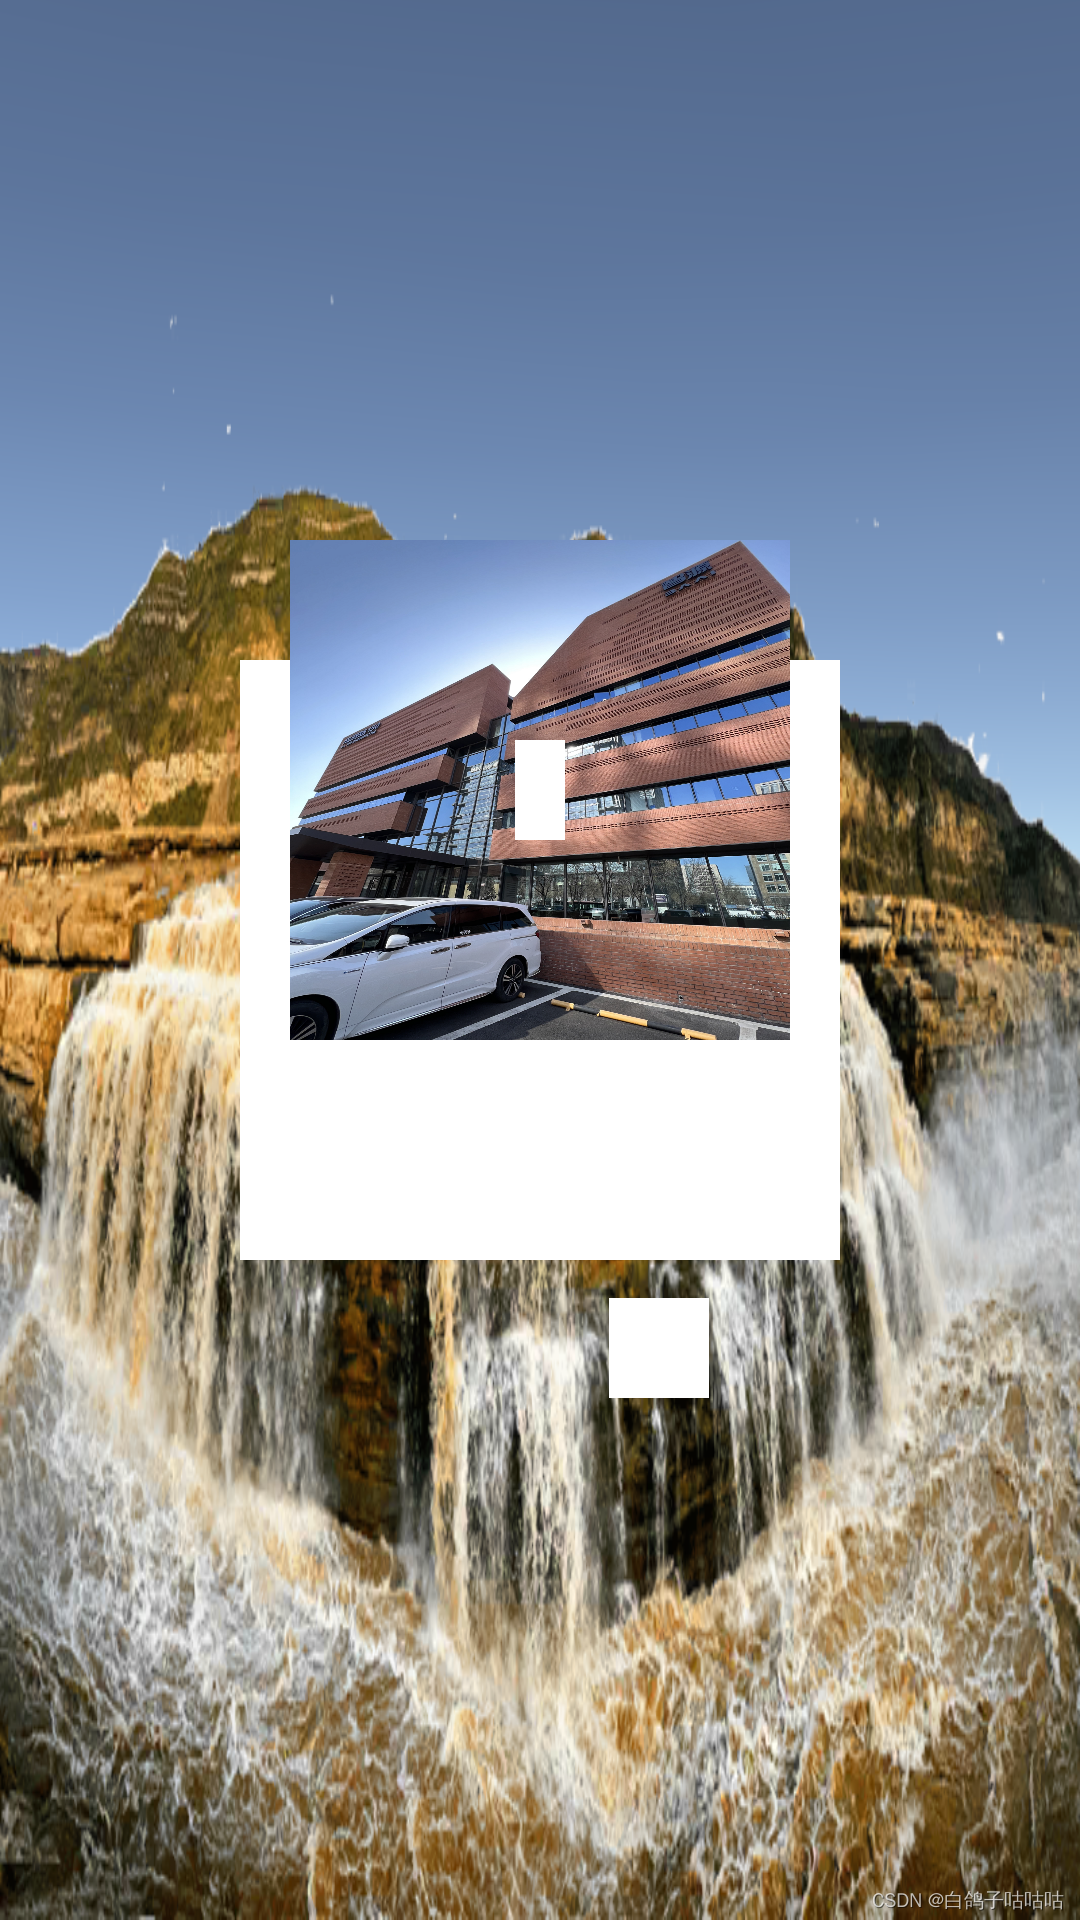
0和5直接签全图效果一样。
0:
1:
2:
4:
5:
![加入[无人驾驶吕同学]Apollo专属课程领礼品啦!](https://img-blog.csdnimg.cn/e7371cb516fd43ab86cae490e19808fb.jpeg#pic_center)


