文章目录
- 第一章 基本的图像操作和处理
- 1.1PIL:Python图像处理类库
- 1.1.1转图像格式
- 1.1.2创建缩略图
- 1.1.3复制和粘贴图像区域
- 1.2Matplotlib
- 1.2.1绘制图像、点、线
- 1.2.2图像轮廓和直方图
- 1.3NumPy
- 1.3.1图像数组表示
- 1.3.2灰度变换
- 1.3.4直方图均衡化
- 1.4SciPy
- 1.4.1图像模糊
- 1.4.2图像导数
- 1.4.3形态学:对象计数
第一章 基本的图像操作和处理
1.1PIL:Python图像处理类库
from PIL import Image
from IPython.display import display

img = Image.open('jmu.jpg')
img2 = img.convert('L')
display(img)
display(img2)
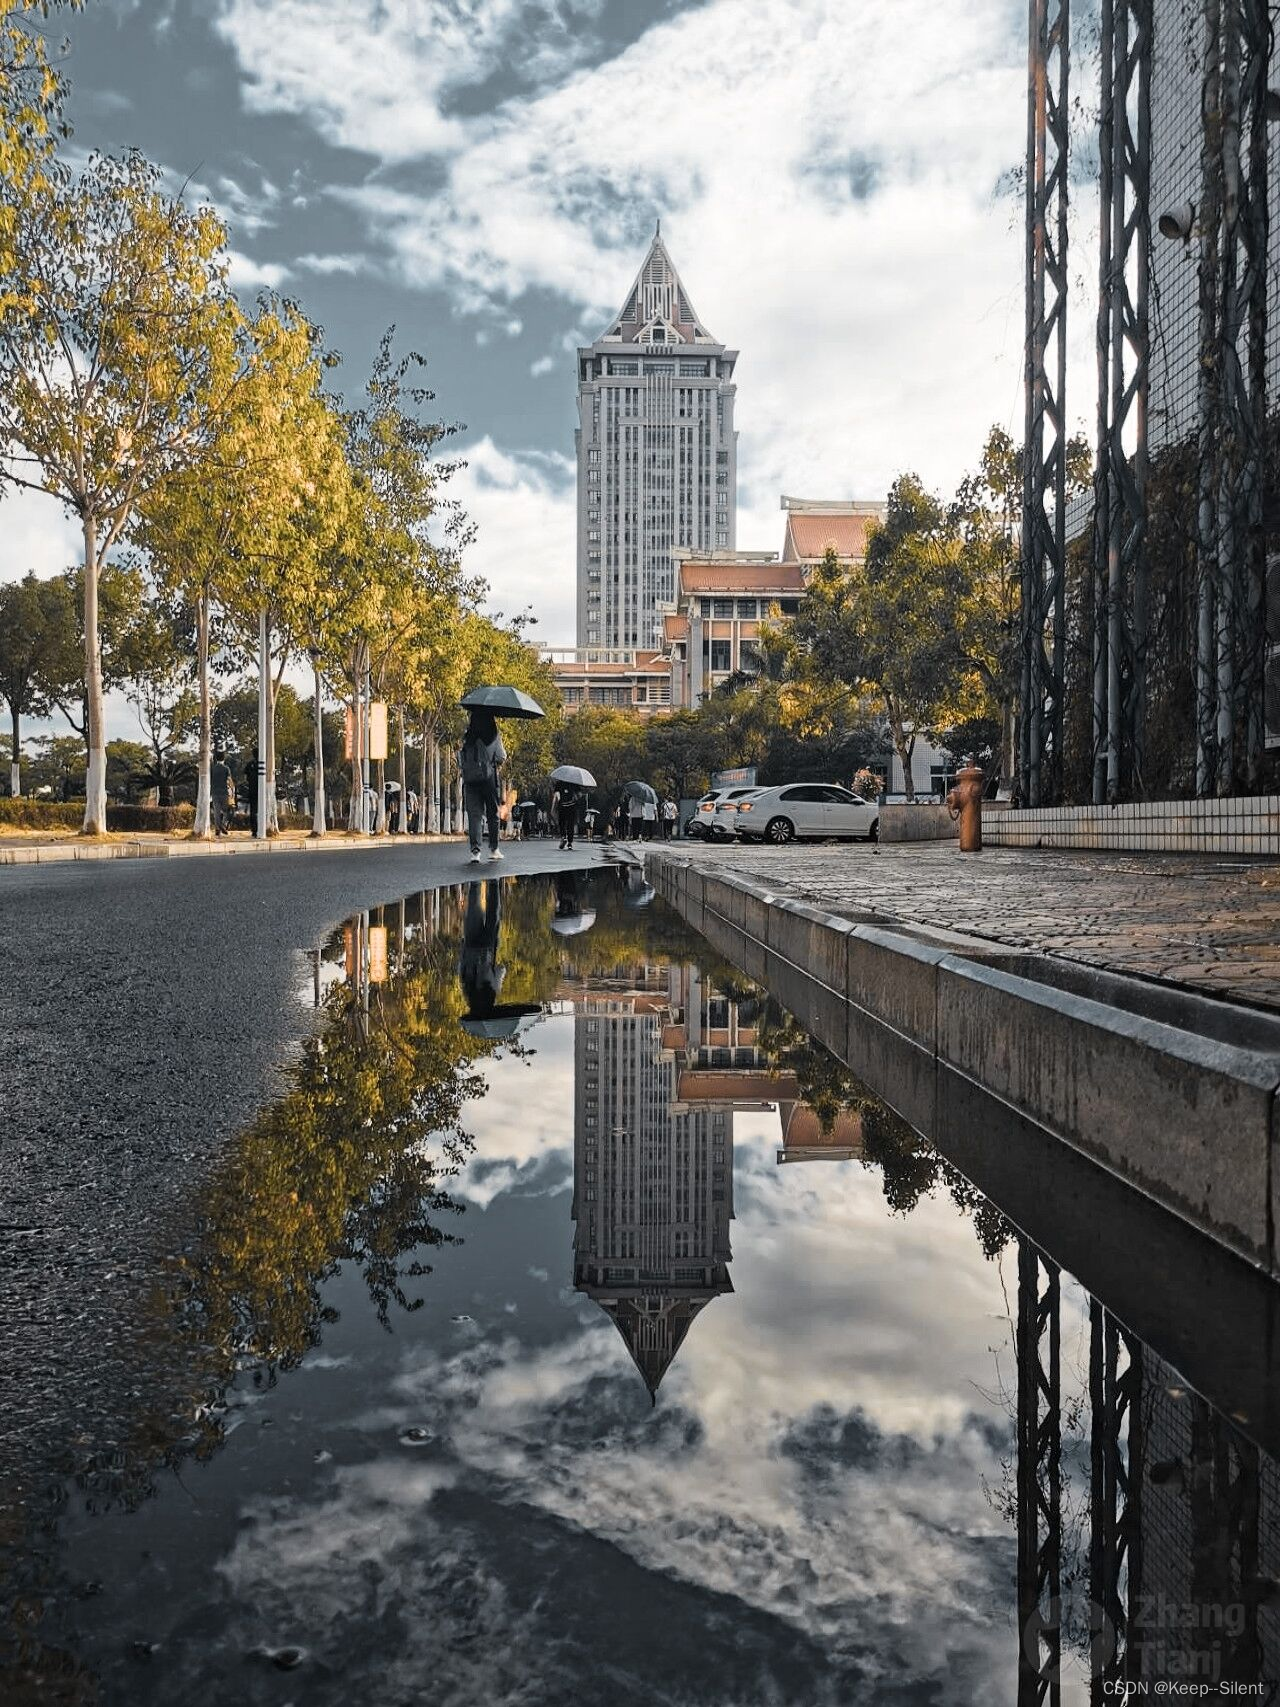
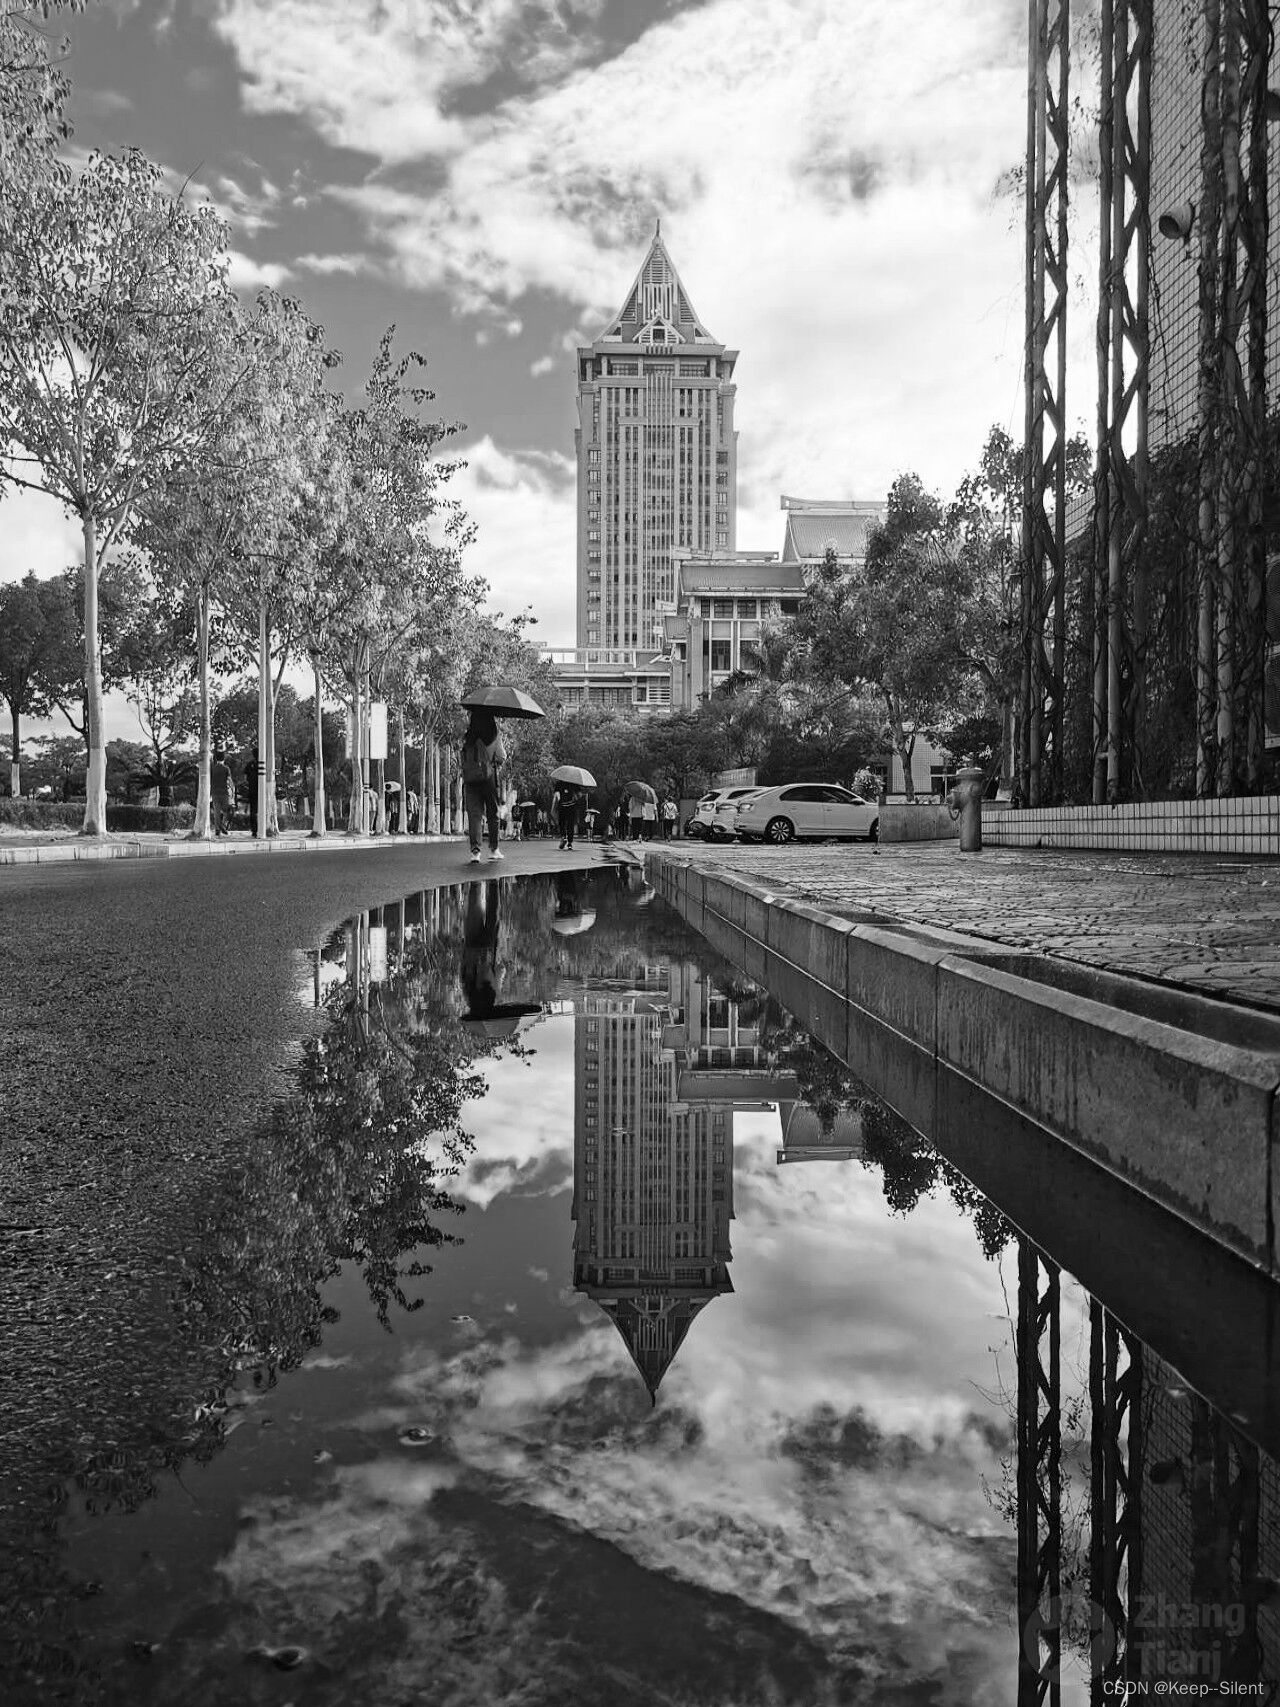
这是个PIL的简单例子:读入图片、转灰度图、显示图片(这两张图片显然有点太大了)。
1.1.1转图像格式
Image.open('me.jpg').save('me.png')
将jpg转成png
1.1.2创建缩略图
显然前面的图片太大了,我们可以创建缩略图显得小一点
size=400
img.thumbnail((size,size))
display(img)
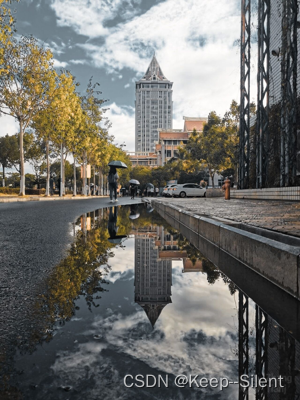
需要注意的是,这个函数只能缩小、不能放大,缩小后就回不去了。
1.1.3复制和粘贴图像区域
box = (0,200,300,400) # 切割的box位置
region = img.crop(box)
region = region.transpose(Image.FLIP_TOP_BOTTOM) # 翻转180°
img.paste(region,box) # 覆盖原位置
display(img)
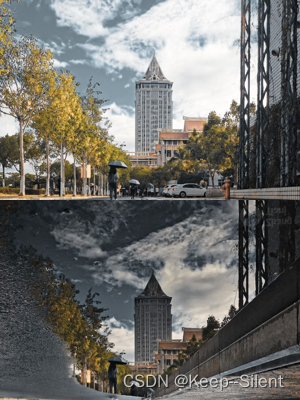
这是个PIL的简单例子:读入图片、转灰度图、显示图片(这两张图片显然有点太大了)。
我把下半图的水中倒影翻转了一下,看起来和上半图差不多
1.2Matplotlib
1.2.1绘制图像、点、线
from PIL import Image
from pylab import *

img = Image.open('jmu.jpg')
img=img.resize((300,400))
imshow(img)
x = [134,134,240,240]
y = [54,330,0,400]
plot(x,y,'r*')
plot(x[:2],y[:2])
title('JMU')
show()
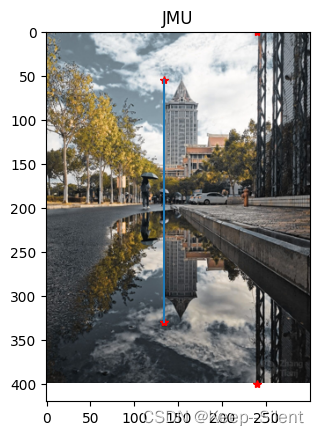
其中plot(x,y,‘r*’)表示红色星状标记
用PyLab库绘图的基本颜色格式命令
| 编码 | 颜色 |
|---|---|
| ‘b’ | 蓝色 |
| ‘g’ | 绿色 |
| ‘r’ | 红色 |
| ‘c’ | 青色 |
| ‘m’ | 品红 |
| ‘y’ | 黄色 |
| ‘k’ | 黑色 |
| ‘w’ | 白色 |
用PyLab库绘图的基本线型格式命令
| 编码 | 线型 |
|---|---|
| ‘-’ | 实线 |
| ‘–’ | 虚线 |
| ‘:’ | 点线 |
用PyLab库绘图的基本绘制标记格式命令
| 编码 | 标记 |
|---|---|
| ‘.’ | 点 |
| ‘o’ | 圆圈 |
| ‘s’ | 正方形 |
| ‘*’ | 星形 |
| ‘+’ | 加号 |
| ‘x’ | 叉号 |
1.2.2图像轮廓和直方图
plt.figure()
plt.gray()
plt.contour(img2, origin='image')
plt.axis('equal')
plt.axis('off')
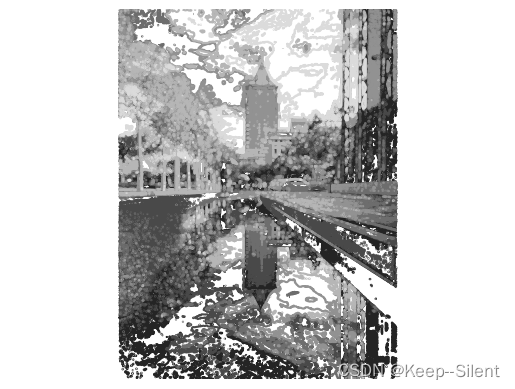
由于这张图包含东西太多,如建筑、行人、树、道路、云彩,所以这个轮廓有点乱。
hist(array(img2).flatten(),256)
show()
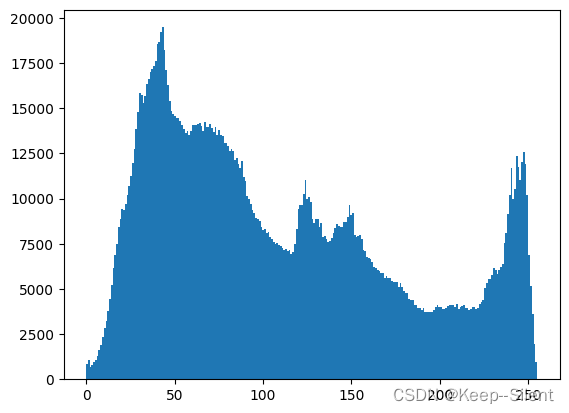
显示该图片的 直方图
1.3NumPy
1.3.1图像数组表示
img = array(Image.open('jmu.jpg'))
print (img.shape, img.dtype)
img2 = array(Image.open('jmu.jpg').convert('L'),'f')
print (img2.shape, img2.dtype)
(1707, 1280, 3) uint8
(1707, 1280) float32
1.3.2灰度变换
img = array(Image.open('jmu.jpg').convert('L'))
img2 = 255 - img # 对图像进行反相处理
img3 = (80.0 * img/255.0)  # 将图像像素值变换到 [0,80] 区间
img4 = 255.0 * (img/255.0)**2 # 对图像像素值求平方后得到的图像
titles=['img','255-img','[0,80]','img**2']
imgs=[img,img2,img3,img4]
plt.figure(figsize=(12, 16))
for ttt in range(len(imgs)):
    # imgs[ttt]=imgs[ttt]/255
    imgs[ttt]=imgs[ttt].astype(uint8)
    # print(type(imgs[ttt]),imgs[ttt].shape)
    plt.subplot(221+ttt)
    imgs[ttt][-1][-1]=255
    plt.imshow(imgs[ttt])
    plt.title(titles[ttt])
plt.show()
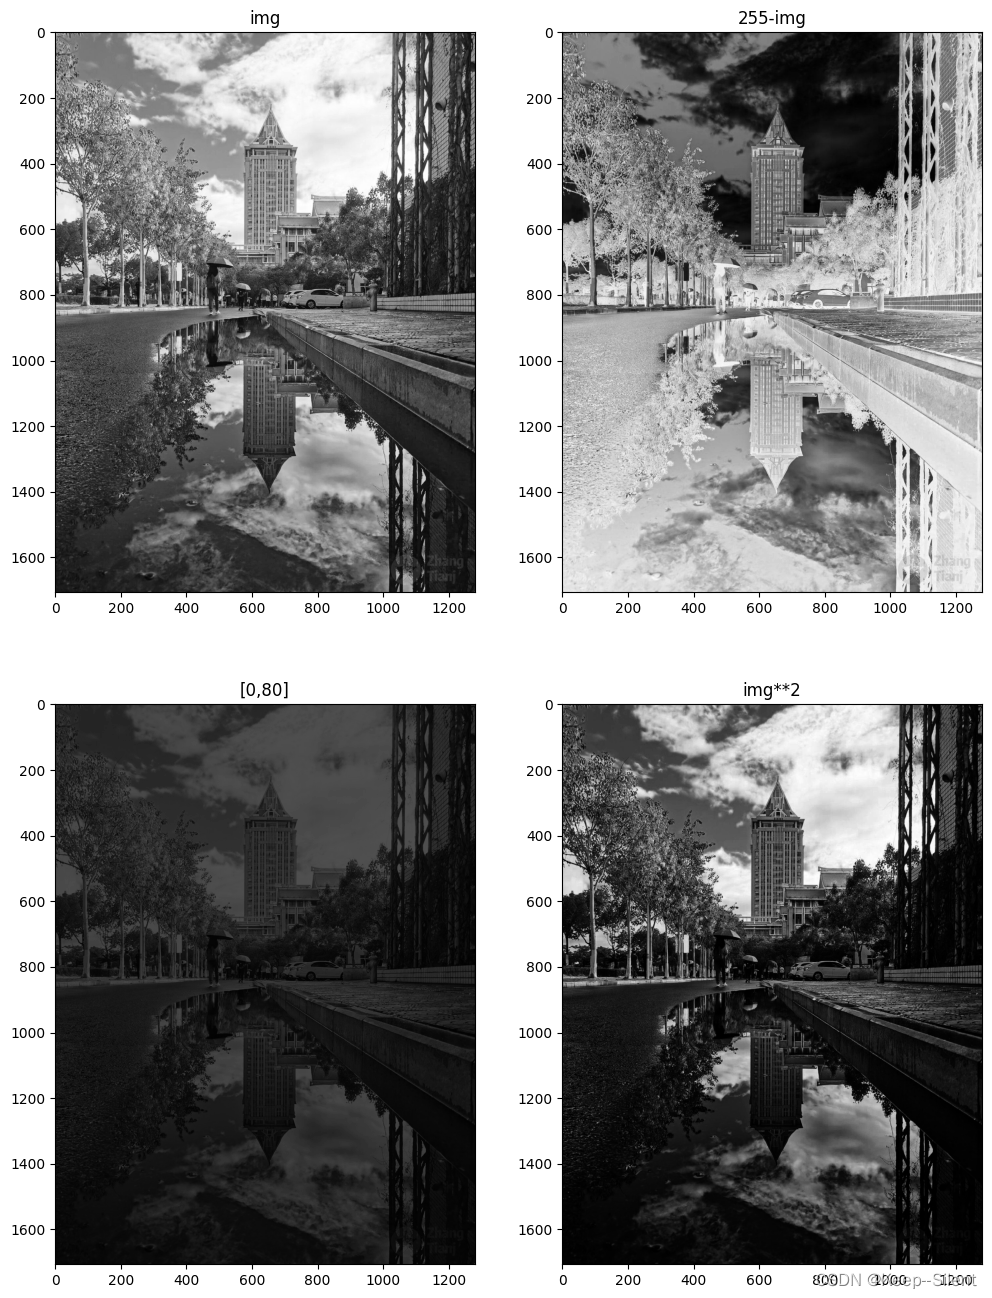
四张图:
- 原图
- 灰度翻转图:黑变白,白变黑
- 映射到[0,80]:总体变暗,对比度不变
- 像素平方后的图片:变暗了,对比度变小了
imgs[ttt][-1][-1]=255
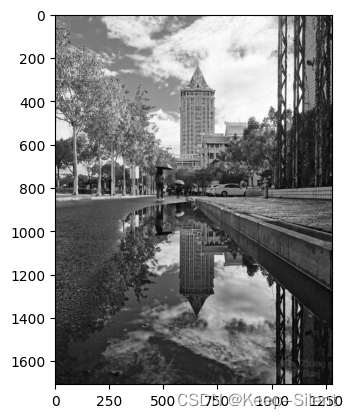
我这里设置成这样是由于img3(映射到[0,80])出现了一点bug:img3效果和原图一样。调了半天bug,最后发现是matplotlib的问题。原因在于在使用imshow函数时,matplotlib默认使用线性映射将像素值转换为颜色。对于灰度图像,颜色映射是在[0, 255]范围内进行的。因此,尽管img3的像素值在[0, 80]的范围内,但matplotlib在显示时仍然将其映射到[0, 255]的灰度范围内,从而导致看起来与原始图像相同。
如下实验所示,img3的范围是[0,80],但是该图仍能显示高亮的[255]
img3=img3.astype(uint8)
print(max(img3.flatten()),min(img3.flatten()))
plt.subplot(111)
plt.imshow(img3)
80 0
1.3.4直方图均衡化
def histeq(im, nbr_bins=256):
    imhist, bins = histogram(im.flatten(), nbr_bins)
    cdf = imhist.cumsum()
    cdf = 255 * cdf / cdf[-1]
    im2 = interp(im.flatten(), bins[:-1], cdf)
    return im2.reshape(im.shape), cdf
from PIL import Image
from numpy import *
img = array(Image.open('jmu.jpg').convert('L'))
img2, cdf = histeq(img)


plt.figure(figsize=(14, 14))

# 1
plt.subplot(2, 2, 1)
plt.imshow(img)
plt.title('Original Image')

# 2
plt.subplot(2, 2, 2)
plt.imshow(img2)
plt.title('Equalized Image')


# 3
hist, bins = np.histogram(img.flatten(), bins=256, range=[0, 256])
plt.subplot(2, 2, 3)
plt.plot(hist, color='black')
plt.title('Original Image Hist')


# 4
hist, bins = np.histogram(img2.flatten(), bins=256, range=[0, 256])
plt.subplot(2, 2, 4)
plt.plot(hist, color='black')
plt.title('Equalized Image Hist')
Text(0.5, 1.0, 'Equalized Image Hist')
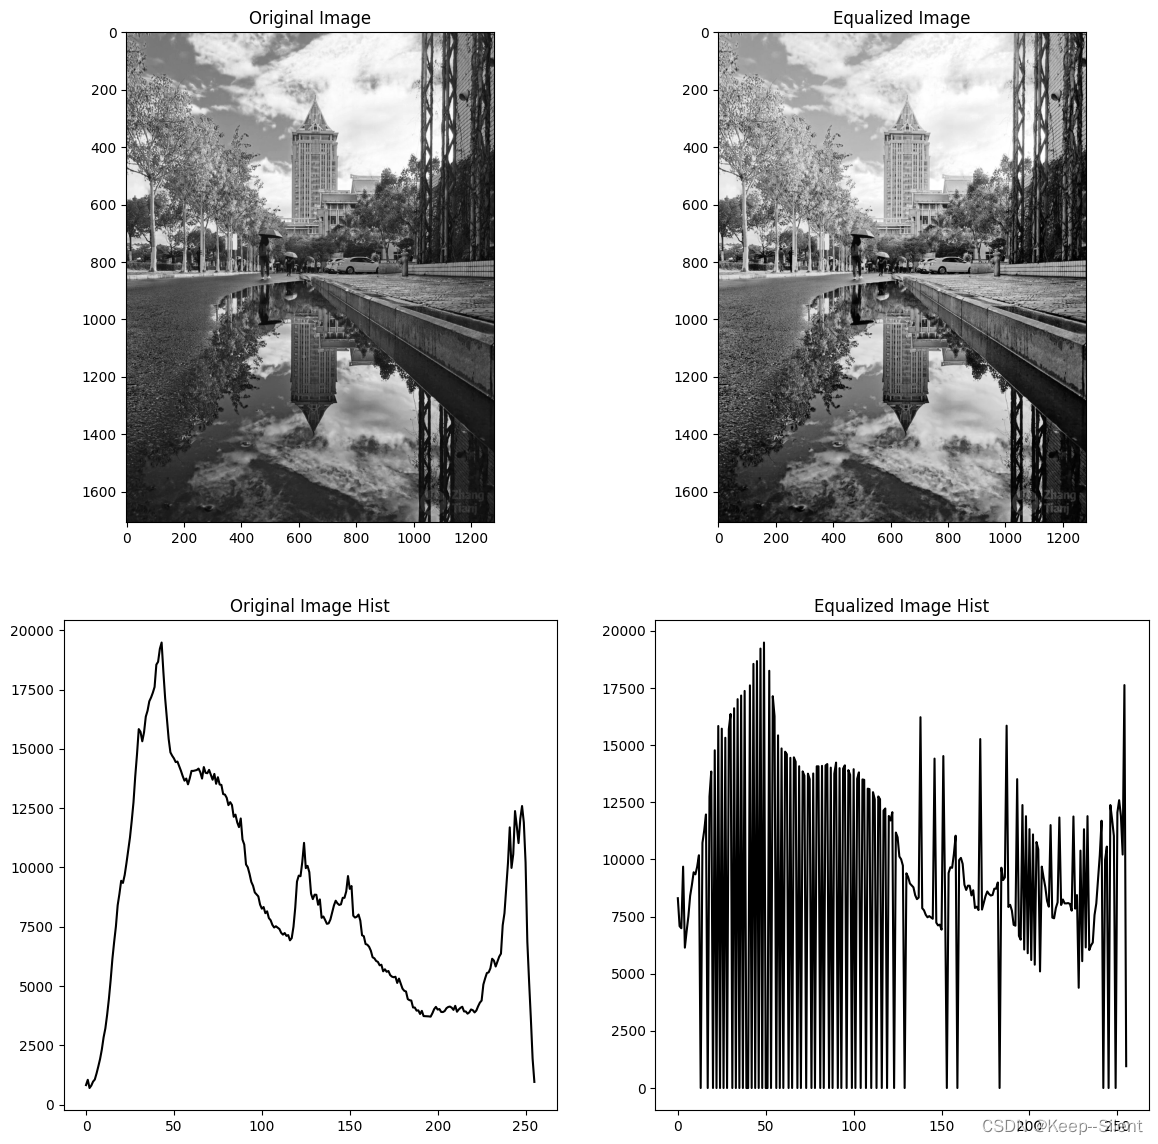
上图显示了原图和直方图均衡化的图,及其像素直方图。
从图片效果来看,差别不是很大(因为原来也没有特别不均衡),从直方图来看,完成了均衡化。
1.4SciPy
SciPy 提供很多高效的操作,可以实现数值积分、优化、统计、信号处理,以及对
我们来说最重要的图像处理功能
1.4.1图像模糊
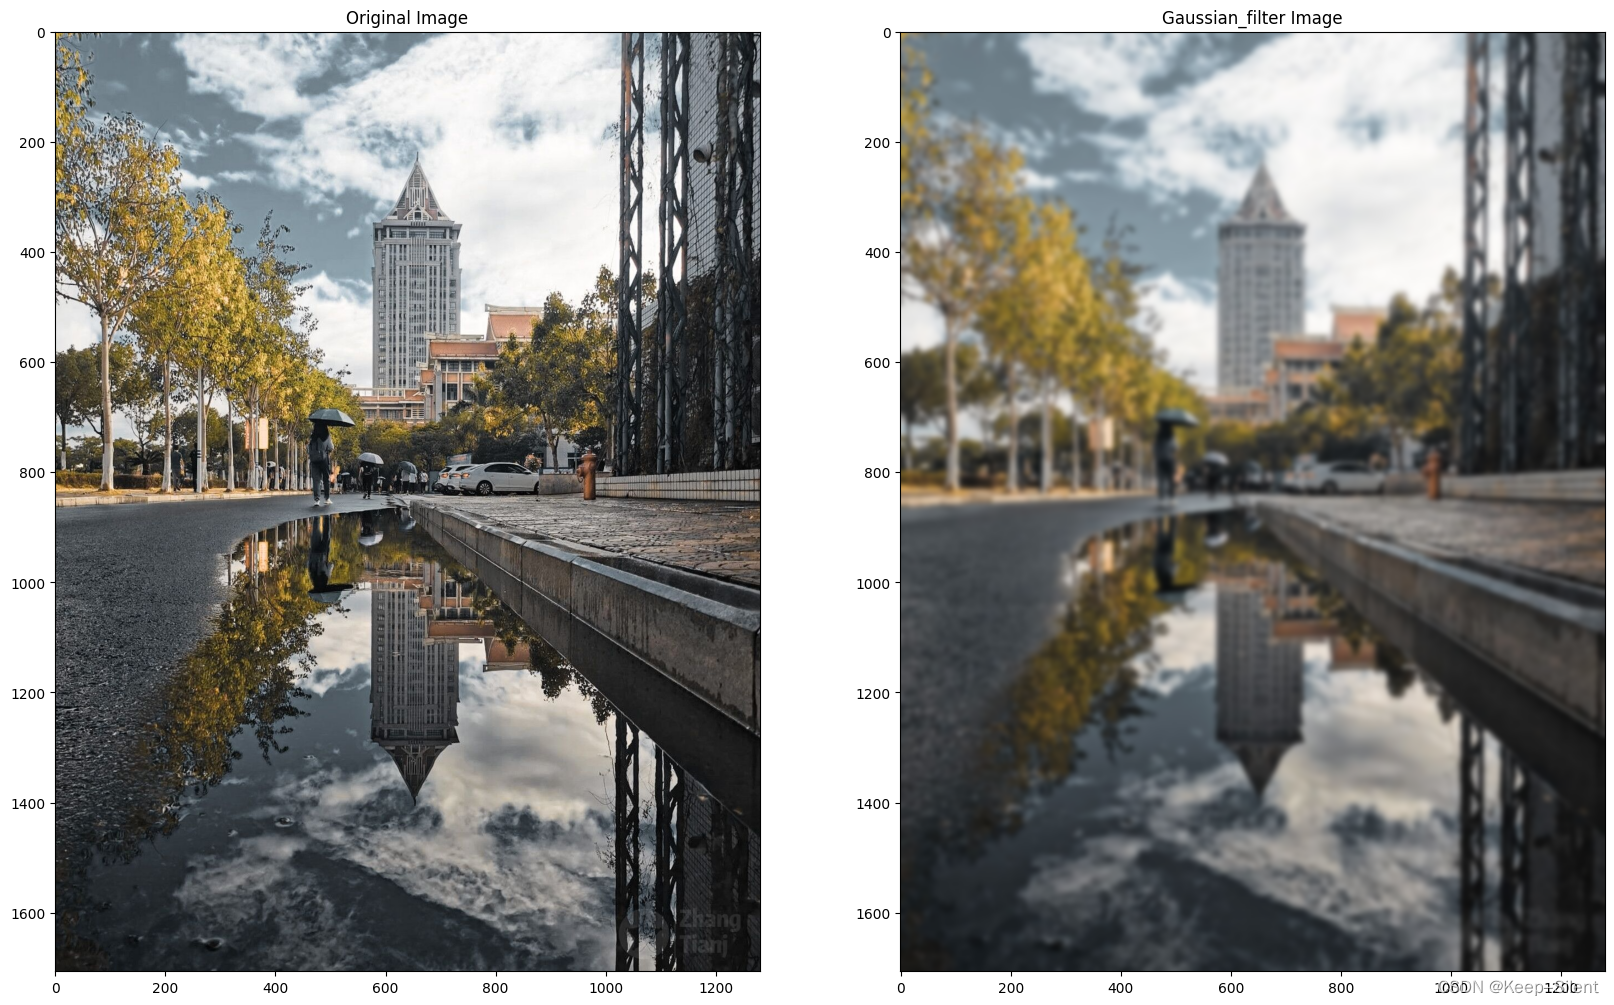
图像的高斯模糊是非常经典的图像卷积例子。本质上,图像模糊就是将(灰度)图
像
I
I
I和一个高斯核进行卷积操作:
I
σ
=
I
∗
G
σ
I_{\sigma}=I*G_{\sigma}
Iσ=I∗Gσ
其中 * 表示卷积操作;
G
σ
G_{\sigma}
Gσ 是标准差为
σ
\sigma
σ 的二维高斯核,定义为
G
σ
=
1
2
π
σ
e
−
(
x
2
+
y
2
)
/
2
σ
2
G_{\sigma}=\frac{1}{2\pi\sigma}\mathrm{e}^{-(x^{2}+y^{2})/2\sigma^{2}}
Gσ=2πσ1e−(x2+y2)/2σ2
from PIL import Image
import numpy as np
from scipy.ndimage import gaussian_filter

img = np.array(Image.open('jmu.jpg'))
img2 = zeros(img.shape)
for i in range(3):
    img2[:, :, i] = gaussian_filter(img[:, :, i], 5)

img2=uint8(img2)

plt.figure(figsize=(20, 40))

# 1
plt.subplot(2, 2, 1)
plt.imshow(img)
plt.title('Original Image')

# 2
plt.subplot(2, 2, 2)
plt.imshow(img2)
plt.title('Gaussian_filter Image')
plt.show()
1.4.2图像导数
在很多应用中图像强度的变化情况是非常重要的信息。强度的变化可以用灰度图像
I
I
I(对于彩色图像,通常对每个颜色通道分别计算导数)的 x和 y 方向导数
I
x
I_x
Ix 和
I
y
I_y
Iy 进行描述。
图像的梯度向量为
∣
∇
I
∣
=
[
I
x
,
I
y
]
T
\begin{vmatrix}\nabla\boldsymbol{I}\end{vmatrix}=[I_x,I_y]^T
∇I
=[Ix,Iy]T。梯度有两个重要的属性,一是梯度的大小:
∣
∇
I
∣
=
I
x
2
+
I
y
2
\begin{vmatrix}\nabla\boldsymbol{I}\end{vmatrix}=\sqrt{\boldsymbol{I}_{x}^{2}+\boldsymbol{I}_{y}^{2}}
∇I
=Ix2+Iy2
它描述了图像强度变化的强弱,一是梯度的角度:
α
=
arctan
2
(
I
y
,
I
x
)
\alpha=\arctan2(I_y,I_x)
α=arctan2(Iy,Ix)
Prewitt 滤波器 D x = [ − 1 0 1 − 1 0 1 − 1 0 1 ] 和 D y = [ − 1 − 1 − 1 0 0 0 1 1 1 ] D_x=\begin{bmatrix}-1&0&1\\-1&0&1\\-1&0&1\end{bmatrix}\text{和}D_y=\begin{bmatrix}-1&-1&-1\\0&0&0\\1&1&1\end{bmatrix} Dx= −1−1−1000111 和Dy= −101−101−101
Sobel 滤波器
D
x
=
[
−
1
0
1
−
2
0
2
−
1
0
1
]
和
D
y
=
[
−
1
−
2
−
1
0
0
0
1
2
1
]
D_x=\begin{bmatrix}-1&0&1\\-2&0&2\\-1&0&1\end{bmatrix}\text{和}D_y=\begin{bmatrix}-1&-2&-1\\0&0&0\\1&2&1\end{bmatrix}
Dx=
−1−2−1000121
和Dy=
−101−202−101
from PIL import Image
from numpy import *
from scipy.ndimage import filters
import scipy

img = array(Image.open('tidu.jpg').convert('L'))

img_x = scipy.ndimage.sobel(img, axis=1)
img_y = scipy.ndimage.sobel(img, axis=0)

magnitude = np.sqrt(img_x**2 + img_y**2)
imgs=[img,img_x,img_y,magnitude]

titles=['Original image','sobel x','sobel y','sobel xy']
plt.figure(figsize=(15, 18))
for ttt in range(len(imgs)):
    # imgs[ttt]=imgs[ttt]/255
    imgs[ttt]=imgs[ttt].astype(uint8)
    # print(type(imgs[ttt]),imgs[ttt].shape)
    plt.subplot(221+ttt)
    plt.imshow(imgs[ttt])
    plt.title(titles[ttt])
plt.show()
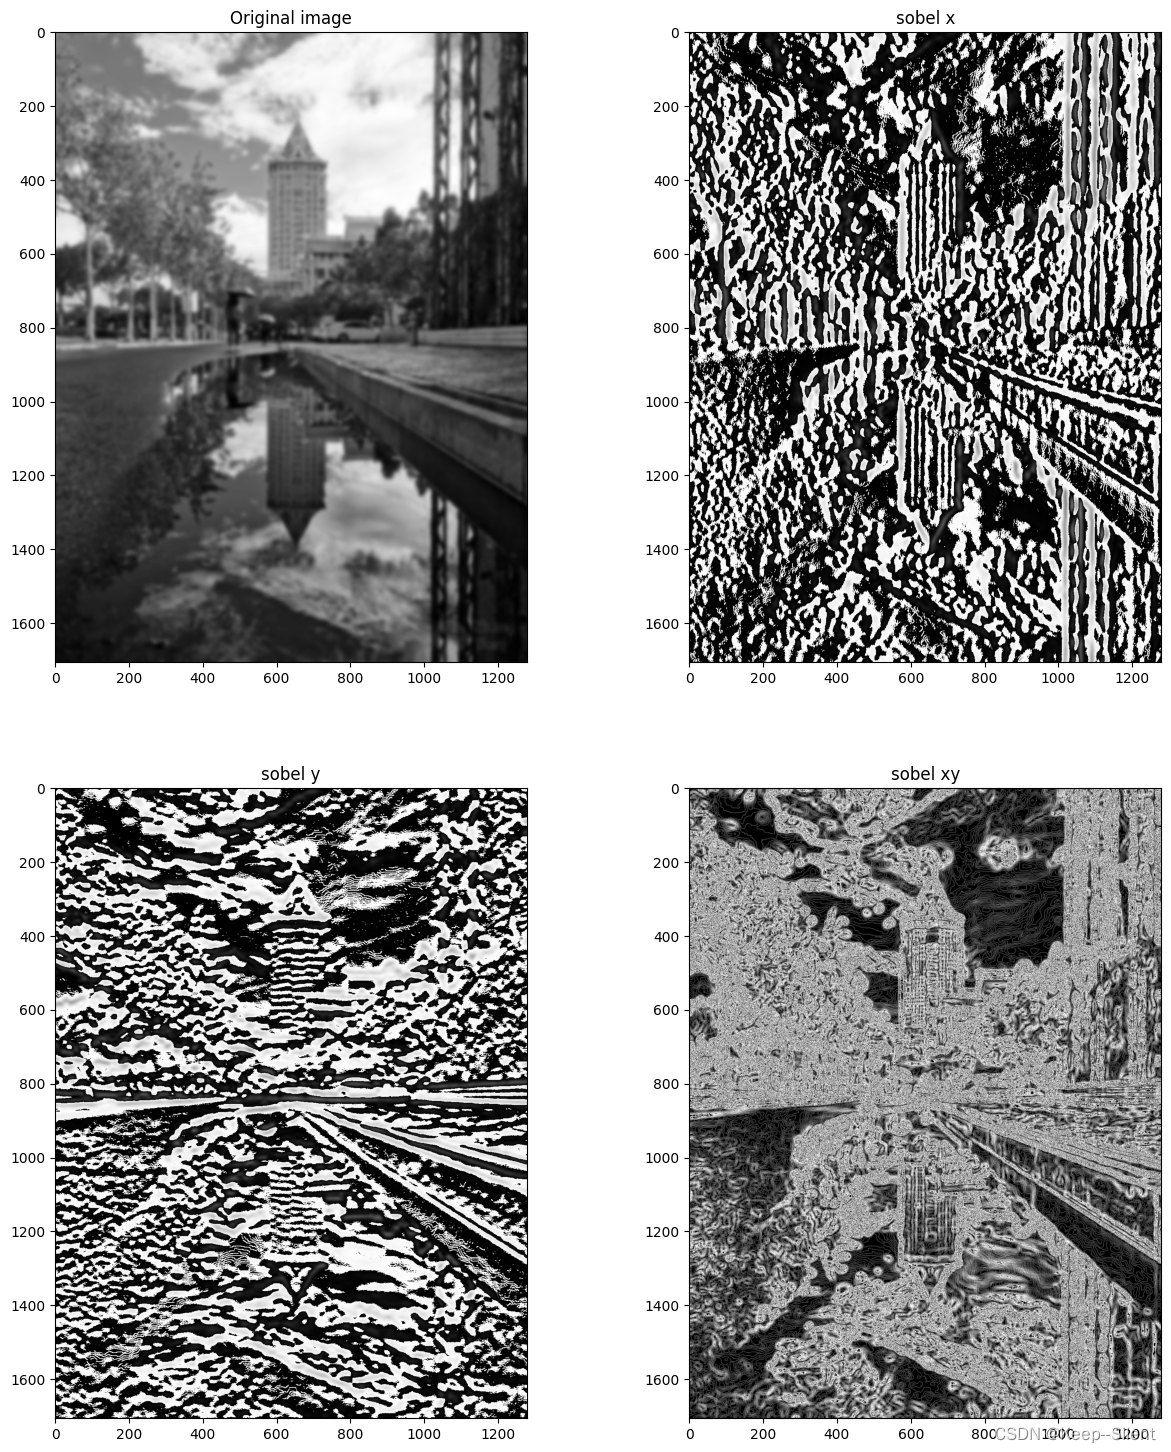
用Sobel算子绘制了计算x和y的方向导数,可以看出图“sobel x”的线会竖直一些,而图“sobel y”的线会水平一些,这是由于不同的方向导数导致的。而通过综合两者np.sqrt(img_x2 + img_y2),则可以得出原图的大致轮廓。
1.4.3形态学:对象计数
from PIL import Image
import numpy as np
from scipy.ndimage import label
import copy

im =255- np.array(Image.open('dong.png').convert('L'))
im = 1 * (im < 128)

labels, nbr_objects = label(im)
plt.figure(figsize=(18, 18))
print("Number of objects:", nbr_objects)
plt.subplot(3, 3, 1)
plt.imshow(im)
plt.title('1-%d'%(nbr_objects))
for ttt in range(1, 9):
    # imgs[ttt]=imgs[ttt]/255
    imgt = copy.deepcopy(labels)
    imgt = 255*(imgt == ttt)
    # print(type(imgs[ttt]),imgs[ttt].shape)
    plt.subplot(3, 3, ttt+1)
    plt.imshow(imgt)
    plt.title(str(ttt))
plt.show()
Number of objects: 17

第一张显示了原图,通过函数可知,计数是17。为了使得可视化效果更好,我显示了部分计数(1-8)的图像
