文章作者邮箱:yugongshiye@sina.cn 地址:广东惠州
▲ 本章节目的
⚪ 了解Ganglia的概念;
⚪ 掌握Ganglia的安装操作;
⚪ 掌握Ganglia的监控Flume操作;
一、概述
1. Ganglia是UC Berkeley发起的一个开源的集群监控项目,被设计用于测量数以千计的节点性能。
2. Ganglia的核心主要包含三个模块。
a. gmond(Ganglia Monitoring Daemon)是一个轻量级的服务,需要安装在每一条需要收集指标数据的主机上,使用gmond来收集系统指标数据,包含CPU,内存、磁盘、网络以及活跃的进程数量等。
b. gmetad(Ganglia Meta Daemon)用于整合所有的信息,并将这些信息以RRD格式来存储到磁盘上。
c. gweb(Ganglia Web)是Ganglia所提供的一个可视化工具,用PHP来开发的。提供了WEB页面,在Web界面中以图表的形式来显式集群的运行状态下所收集的到的不同的指标数据。
二、安装
1. 安装httpd和php服务。
yum -y install httpd php
2. 安装其他依赖。
yum -y install rrdtool perl-rrdtool rrdtool-devel
yum -y install apr-devel
3. 安装Epel。
#云主机下载地址
wget http://bj-yzjd.ufile.cn-north-02.ucloud.cn/epel-release-7-13.noarch.rpm
rpm -ivh epel-release-7-13.noarch.rpm
4. 安装Ganglia。
yum -y install ganglia-gmetad
yum -y install ganglia-gmond
yum -y install ganglia-web
5. 编辑文件。
vim /etc/httpd/conf.d/ganglia.conf
#修改内容如下
<Location /ganglia>
# Order deny,allow
# Deny from all
# Allow from 127.0.0.1
# Allow from ::1
# Allow from .example.com
Require all granted
</Location>
6. 编辑文件。
vim /etc/ganglia/gmetad.conf
#修改data_souce属性的值,例如
data_source "hadoop01" 10.10.153.69
7. 编辑文件。
vim /etc/ganglia/gmond.conf
#修改cluster中的属性
cluster {
name = "hadoop01"
owner = "unspecified"
latlong = "unspecified"
url = "unspecified"
}
#修改udp_send_channel中的属性
udp_send_channel {
#bind_hostname = yes # Highly recommended, soon to be default.
# This option tells gmond to use a source address
# that resolves to the machine's hostname. Without
# this, the metrics may appear to come from any
# interface and the DNS names associated with
# those IPs will be used to create the RRDs.
# mcast_join = 239.2.11.71
host=10.10.153.69
port = 8649
ttl = 1
}
#修改udp_recv_channel中的属性
udp_recv_channel {
# mcast_join = 239.2.11.71
port = 8649
bind = 10.10.153.69
retry_bind = true
# Size of the UDP buffer. If you are handling lots of metrics you really
# should bump it up to e.g. 10MB or even higher.
# buffer = 10485760
}
8. 编辑文件。
vim /etc/selinux/config
#将SELINUX的值改为disabled
9. 重启。
reboot
10. 启动Ganglia。
systemctl start httpd
systemctl start gmetad
systemctl start gmond
11. 通过http://ip/ganglia来访问web页面。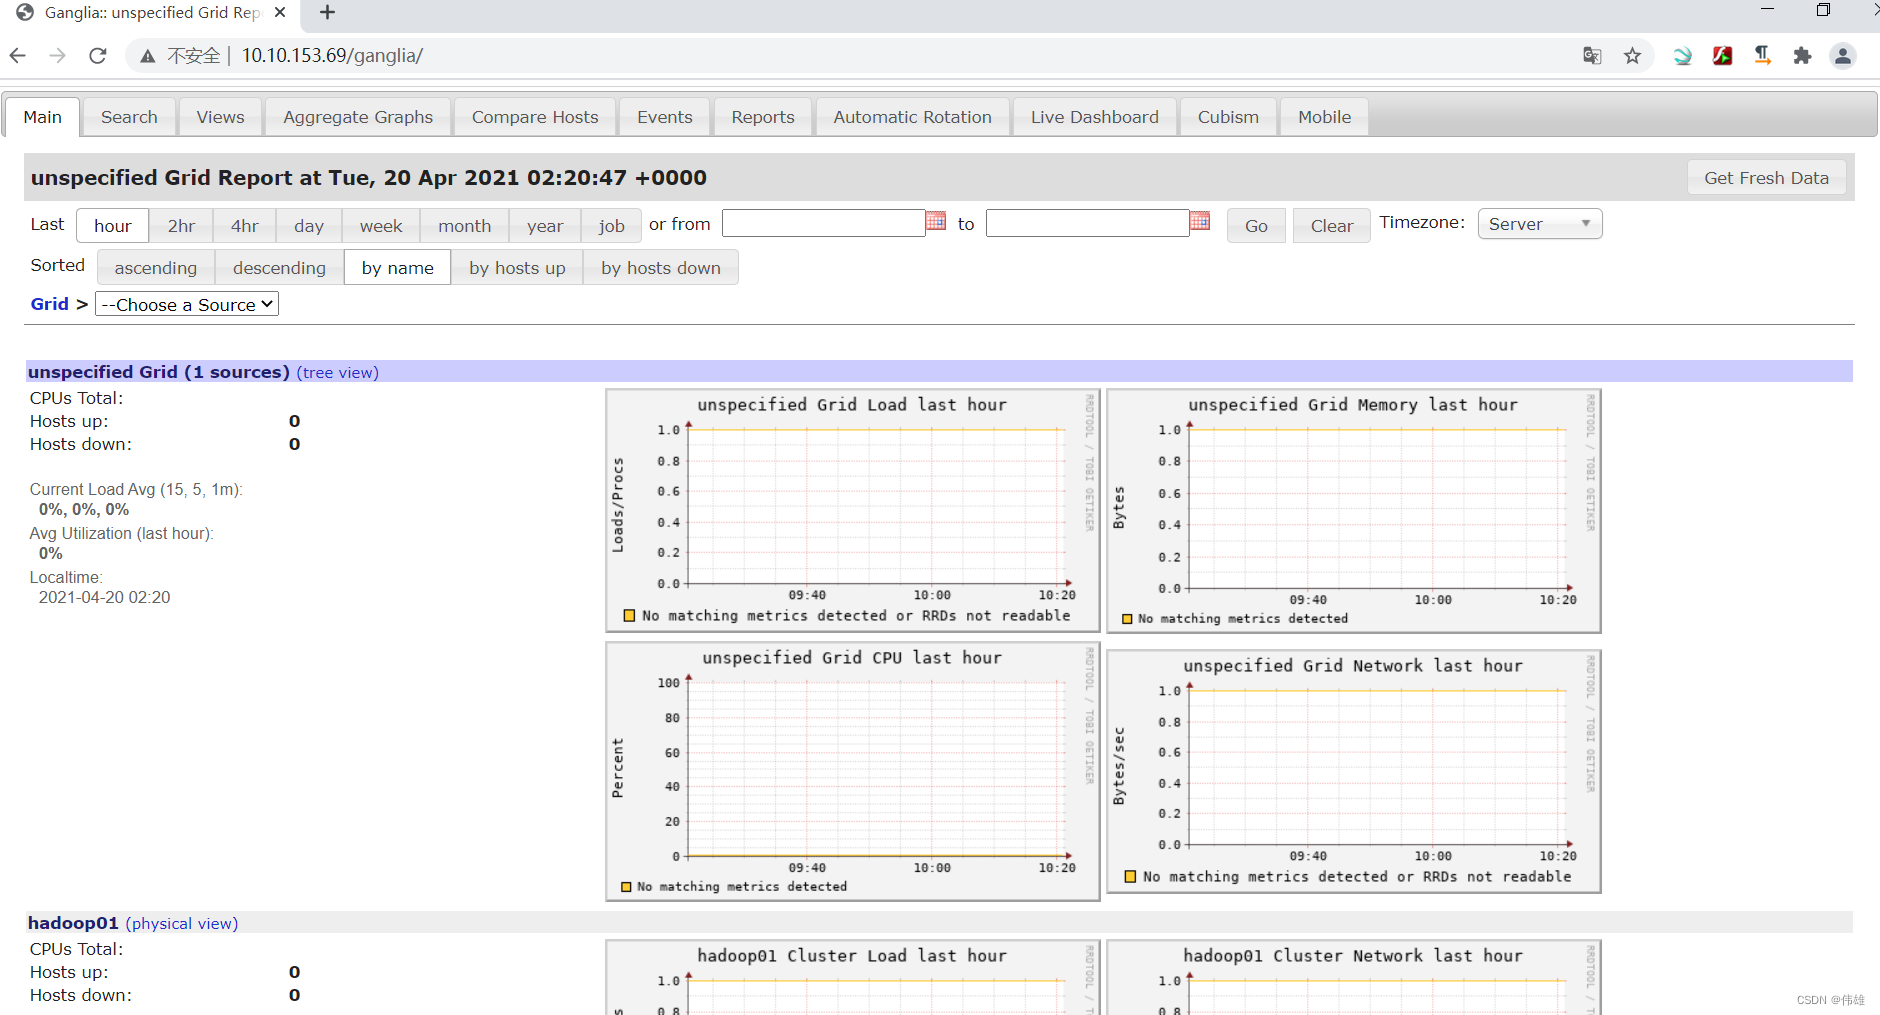
三、监控Flume
1. 修改Flume的配置文件。
cd /home/software/apache-flume-1.9.0-bin/conf
cp flume-env.sh.template flume-env.sh
vim flume-env.sh
#在文件尾部添加配置
export JAVA_HOME=/home/software/jdk1.8
export JAVA_OPTS="-Dflume.monitoring.type=ganglia -Dflume.monitoring.hosts=10.10.153.69:8649 -Xms100m -Xmx200m"
#保存退出,重新生效
source flume-env.sh
2. 启动Flume:
cd ../data
../bin/flume-ng agent -n a1 -c ../conf -f basic.conf -
Dflume.root.logger=INFO,console -
Dflume.monitoring.type=ganglia -
Dflume.monitoring.hosts=10.10.153.69:8649
3. 属性:
| 属性 | 解释 |
| ChannelCapacity | Channel的容量 |
| ChannelFillPercentage | Channel的利用率 |
| ChannelSize | Channel大小 |
| EventPutAttemptCount | Source试图放入Channel的次数 |
| EventPutSuccessCount | Source向Channel放入数据的成功次数 |
| EventTakeAttemptCount | Channel试图向Sink发送数据的次数 |
| EventTakeSuccessCount | Channel成功向Sink发送数据的次数 |
| startTime | 起始时间 |
| stopTime | 结束时间 |


