tinkerCAD案例:23.Tinkercad 中的自定义字体
原文
Tinkercad Projects »
Tinkercad has a fun shape in the Shape Generators section that allows you to upload your own font in SVG format and use it in your designs. I’ve used it for a variety of designs and wanted to share how to get your own font uploaded.
Tinkercad在“形状生成器”部分中有一个有趣的形状,允许您以SVG格式上传自己的字体并将其用于设计中。我已经将它用于各种设计,并想分享如何上传您自己的字体。
第 1 步:自定义字体文本
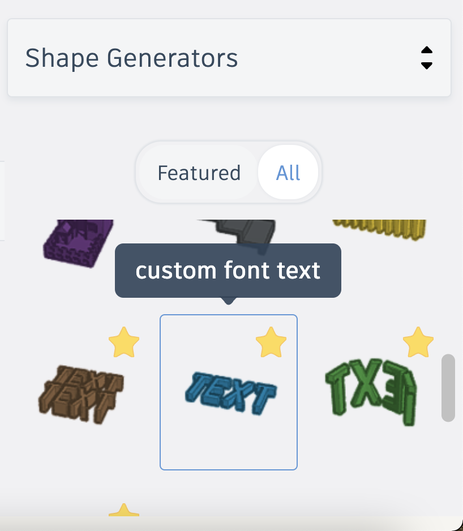
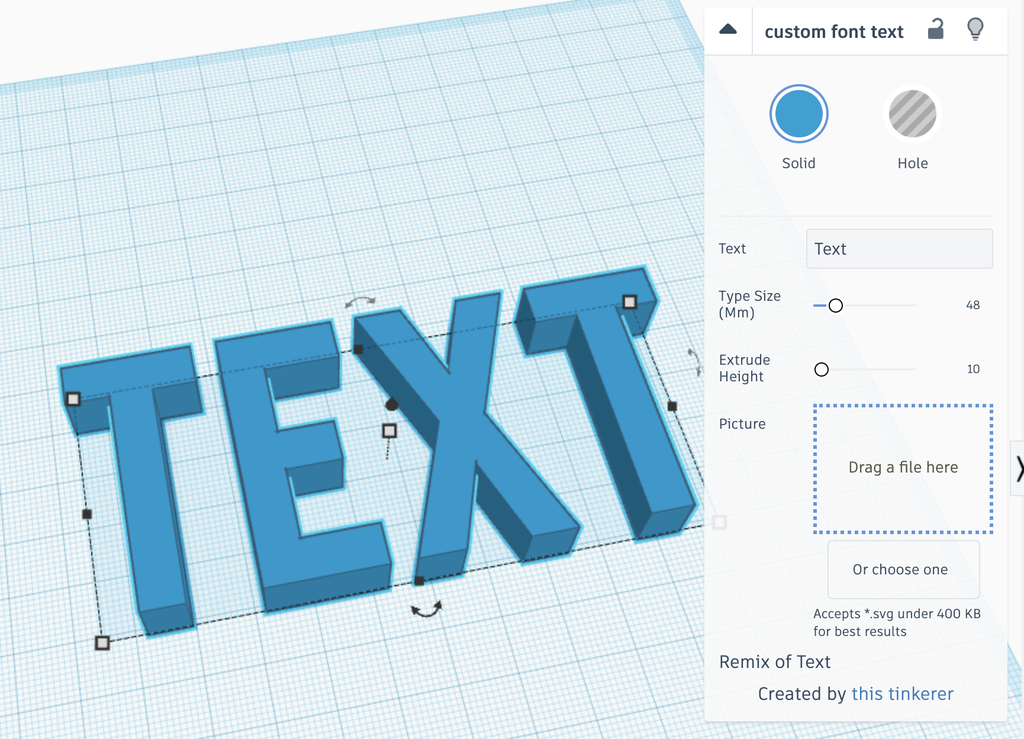
The Custom Font Text option can be found in the Shape Generators section at the bottom of the Shapes Panel.
“自定义字体文本”选项位于“形状”面板底部的“形状生成器”部分。
Place it on your Workplane to open up the options.
将其放在您的工作平面上以打开选项。
第 2 步:选择您的字体!
Find a free font* (or pay to use one, that’s your choice). For 3D printing, I recommend something thicker so you can get a nice print. If you’re going to laser etch it, any style should be fine.
查找免费字体。对于3D打印,我推荐一些更厚的东西,这样你就可以得到一个漂亮的打印。如果你要用激光蚀刻它,任何风格都应该没问题。
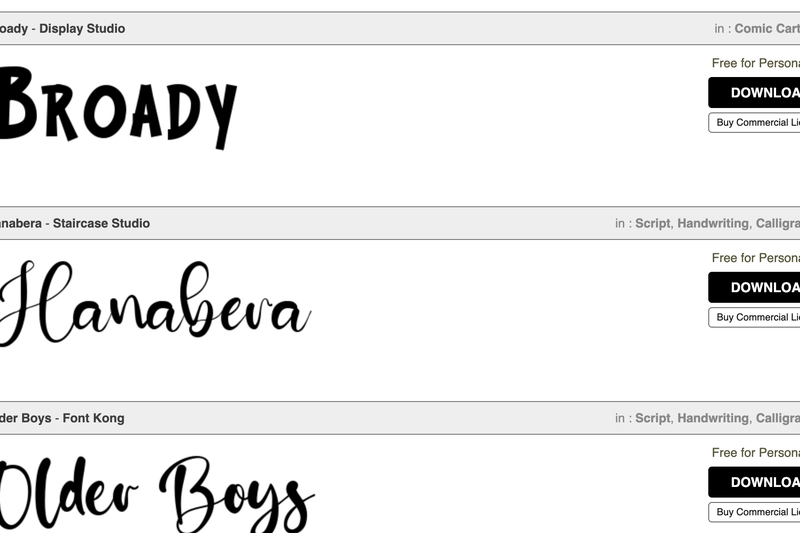
I’ve used various sites in the past; I chose Broady my example here which I found on: https://www.1001freefonts.com/
我过去使用过各种网站;我在这里选择了Broady我的例子,我发现:https://www.1001freefonts.com/
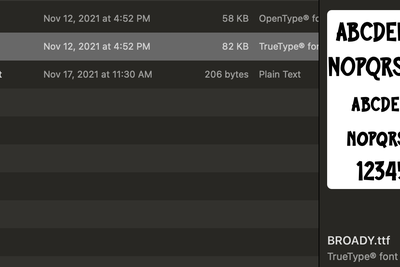
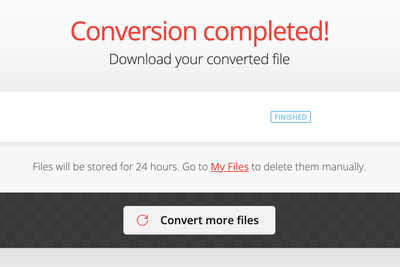
Once you download the font, you need to convert it into an SVG. Now, you can try to do this on your own, or just use an easy online converter. I have found https://convertio.co/ttf-svg/ is great for fonts.
下载字体后,您需要将其转换为 SVG。现在,您可以尝试自己执行此操作,或者只是使用简单的在线转换器。我发现 https://convertio.co/ttf-svg/ 非常适合字体。
*Please note that sometimes the font just won’t upload into Tinkercad correctly. You may try messing around with it a bit, but I feel it is best to just move onto a new font.
*请注意,有时字体无法正确上传到Tinkercad。你可以试着弄乱它,但我觉得最好只换一种新字体。
第 3 步:带入 Tinkercad
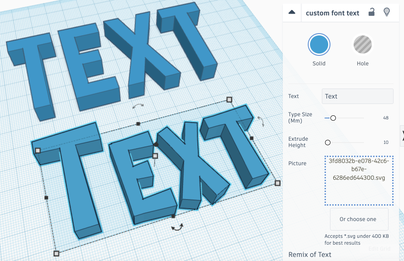
Now that you have your font in SVG format, you just have to drag it into the indicated box on the shape information.
现在您的字体是 SVG 格式,您只需将其拖到形状信息上的指示框中即可。
Give it a couple seconds and you should see the text update with the new font!
给它几秒钟,您应该会看到使用新字体更新的文本!

You should be able to copy this shape as much as you want and type in anything! You may be limited on symbols and numbers, it will depend on the font.
您应该能够根据需要复制此形状并键入任何内容!您可能会受到符号和数字的限制,这取决于字体。

第 4 步:命名字体

Now, I didn’t want to have to save all these files on my computer for future use. So, my plan is to import the fonts I like, type out the name so I don’t forget, and leave them in their own Tinkercad design which I can then copy the fonts from when I want them.
现在,我不想将所有这些文件保存在我的计算机上以备将来使用。所以,我的计划是导入我喜欢的字体,输入名称,这样我就不会忘记,然后将它们留在自己的 Tinkercad 设计中,然后我可以在需要时复制字体。
To be really organized, you can use the Notes function to remind yourself of the license for the fonts and even directly link to where you got it. You can also just put the name of the font in the notes, but I like showing off the font name in the font style.
为了真正井井有条,您可以使用Notes功能提醒自己字体的许可证,甚至可以直接链接到您获得它的位置。您也可以只在注释中输入字体名称,但我喜欢在字体样式中炫耀字体名称。
Tinkercad:易于创建曲线文本
Tinkercad is amazing, but here is no one command to match an object (like text) to another object (such as a curved wall). However, the combination of hole and group commands can achieve these complicated shapes.
Tinkercad 很棒,但这里没有一个命令可以将一个对象(如文本)与另一个对象(如弧形墙)匹配。但是,孔和组命令的组合可以实现这些复杂的形状。
In this tutorial, you are building curved text as an example. The matching video is at https://www.youtube.com/watch?v=VgVfIfT-Xso, but it will be easier to follow these steps.
在本教程中,您将构建曲线文本作为示例。匹配的视频 https://www.youtube.com/watch?v=VgVfIfT-Xso,但执行以下步骤会更容易。
第 1 步:让我们开始吧!
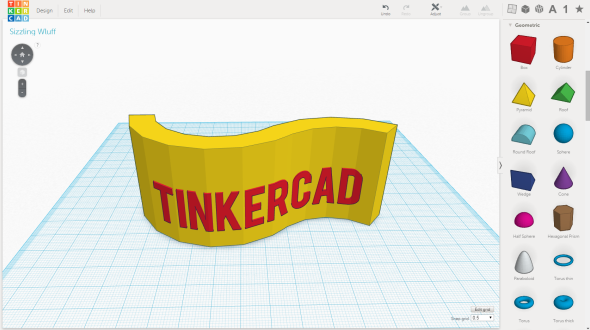
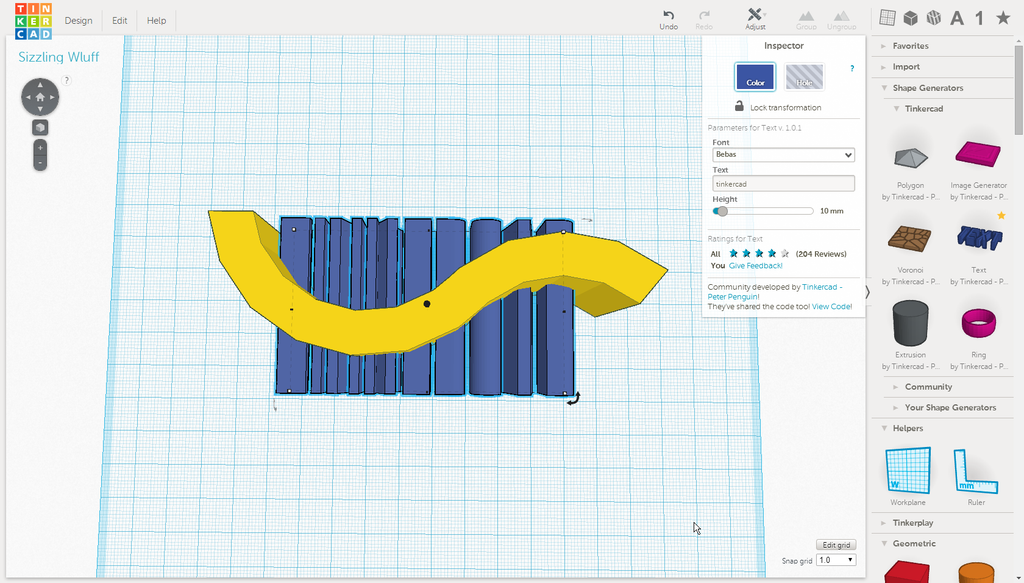
First, create the wave shape. Under Community shapes, find and edit the “S Wall” shape to match the wave in the screengrab.
首先,创建波形。在“社区形状”下,找到并编辑“S 墙”形状以匹配屏幕截图中的波形。
第 2 步:添加文本
-
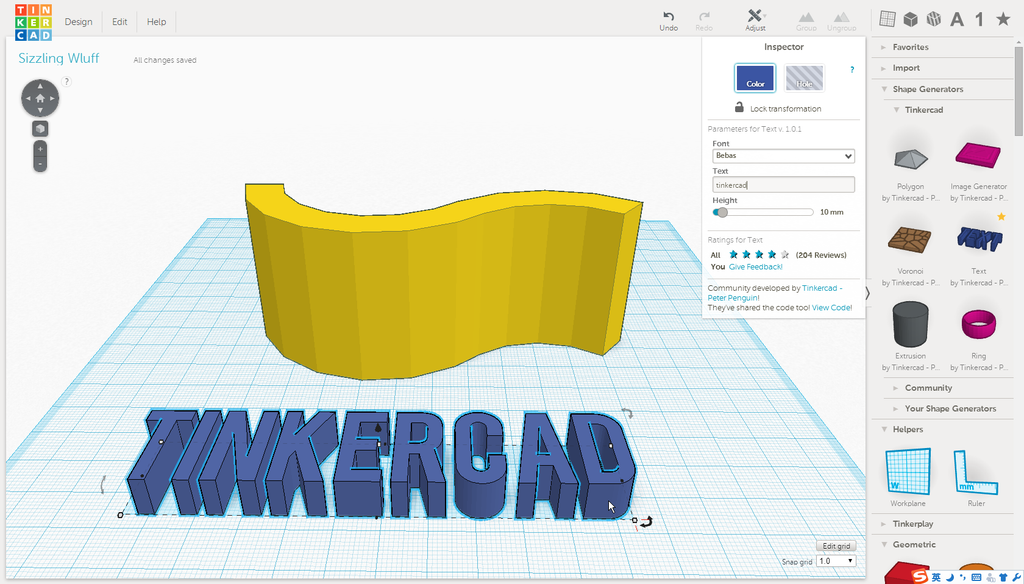
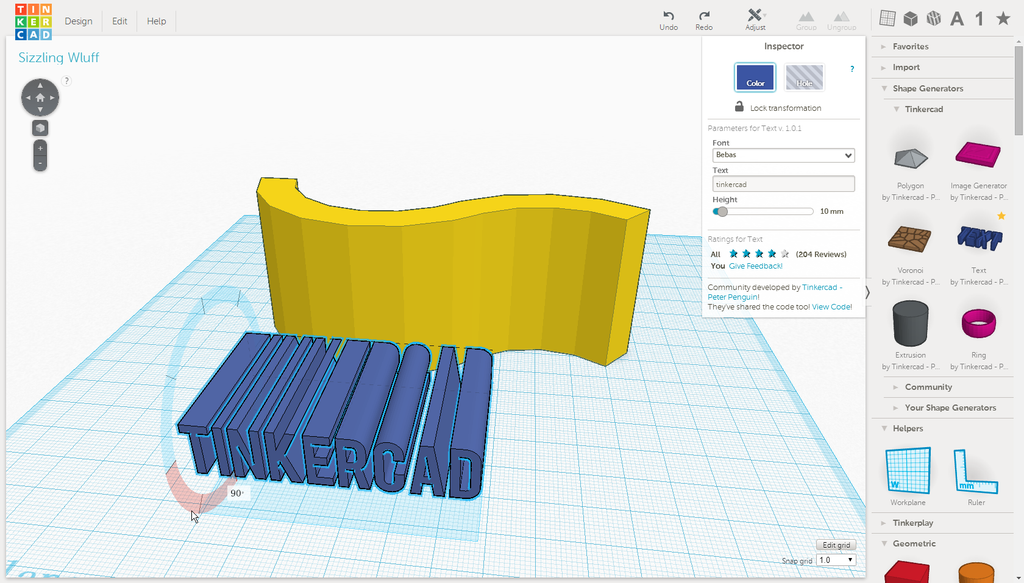
Drag the Text shape from right panel and enter your text.
从右侧面板拖动“文本”形状并输入文本。
-
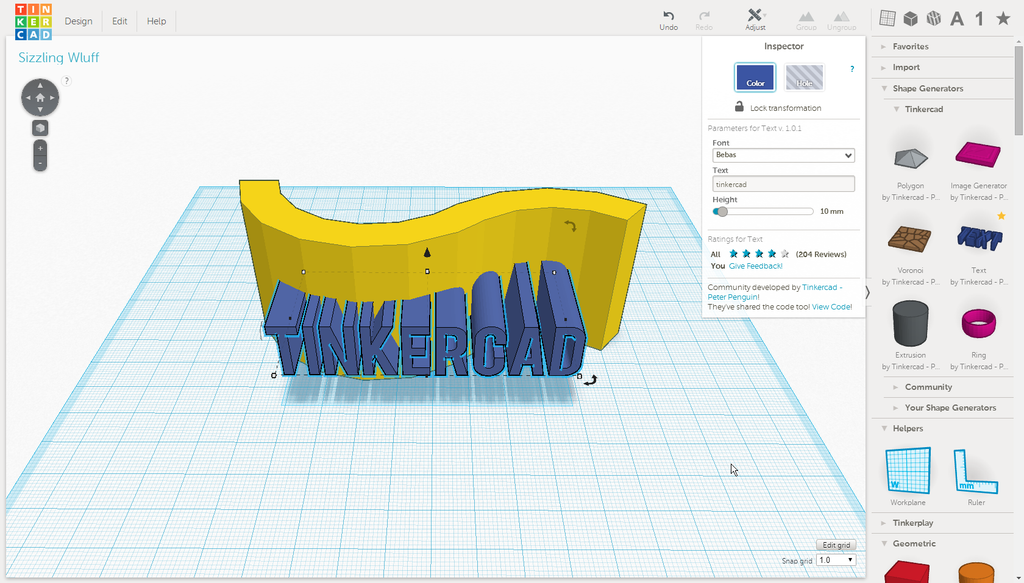
Rotate the Text to make it perpendicular to the S-Wall shape. Hold down the Shift-key while you rotate to make this more accurate.
旋转文本以使其垂直于 S 墙形状。在旋转时按住 Shift 键以使其更准确。

-
Stretch the depth of the Text (or raise the height in the inspector).
拉伸文本的深度(或在检查器中提高高度)。
-
Move the Text to cross the wave object, as on screengrabs above.
移动文本以穿过波形对象,如上面的屏幕截图所示。
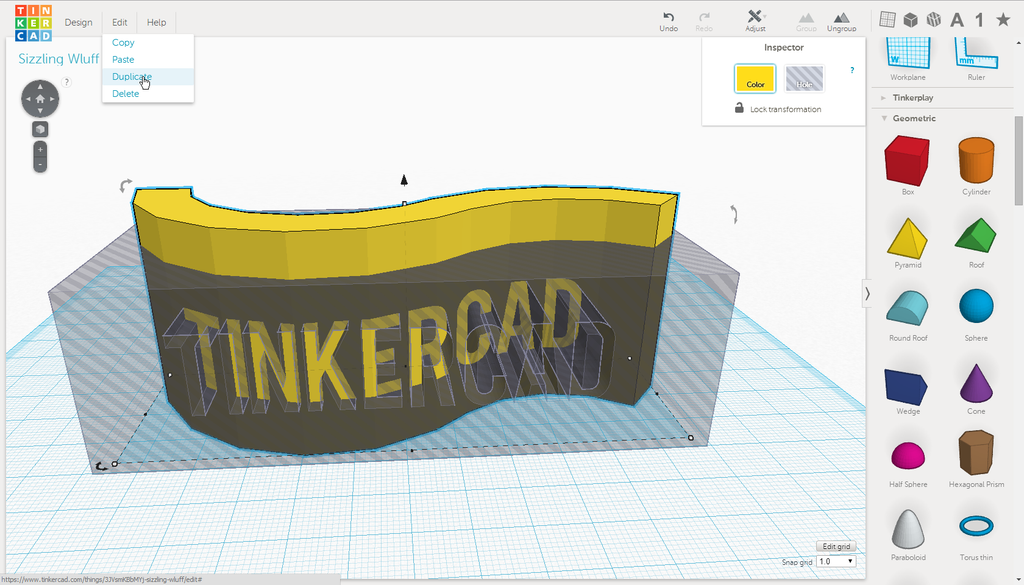
Step 3: Make Hole of the Negative Space 第 3 步:在负空间上打孔
-
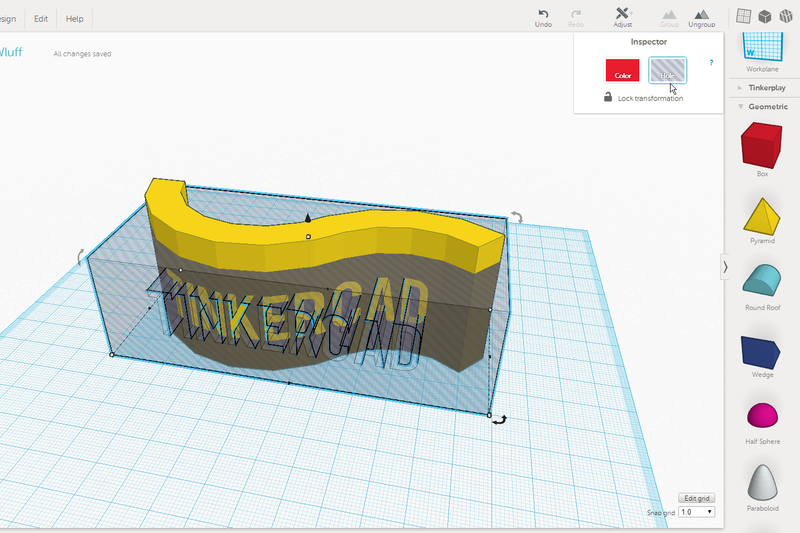
Cover the Wall shape with a Box shape, while letting the Text shape pop out in the front and back. Optionally, let the curved Wall shape stick out to easily select it later. (This might not work for other shapes, so learn to deselect using Shift-key.)
用“框”形状覆盖“墙”形状,同时让“文本”形状在正面和背面弹出。(可选)让弯曲的墙形状伸出,以便以后轻松选择它。(这可能不适用于其他形状,因此请学习使用 Shift 键取消选择。

-
Set the Text as hole.
将文本设置为孔。

-
Group Text and Box.
组文本和框。 -
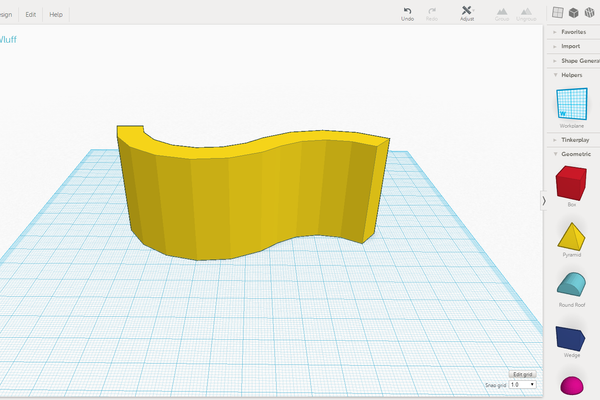
Set new group as hole. Now your design will look like the screengrab above.
将新组设置为孔。现在,您的设计将看起来像上面的屏幕截图。

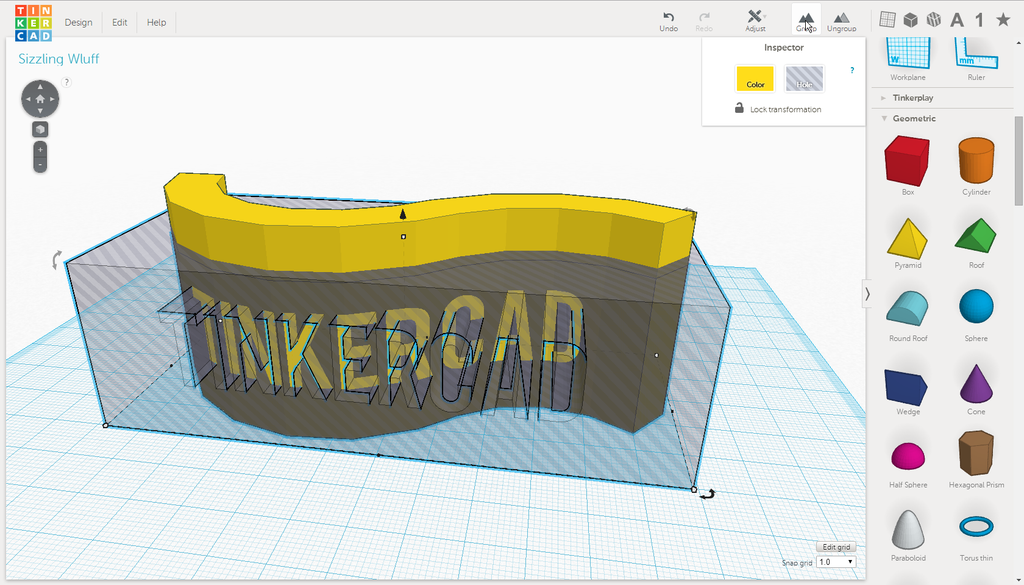
步骤 4:使文本与波形保持一致
-
Select the wave shape, use Ctrl + D to duplicate the object in the same location.
选择波形,使用 Ctrl + D 在同一位置复制对象。
-
If you had the shape stick out, now change the height of its duplicate to less than the grouped Box-and-Text hole.
如果形状突出,现在将其副本的高度更改为小于分组的框和文本孔。
-
While the duplicated shape is still selected, hold the Shift-key to additionally select the grouped Box-and-Text.
当复制的形状仍处于选中状态时,按住 Shift 键以另外选择分组的框和文本。

-
Now group these two objects.
现在对这两个对象进行分组。
-
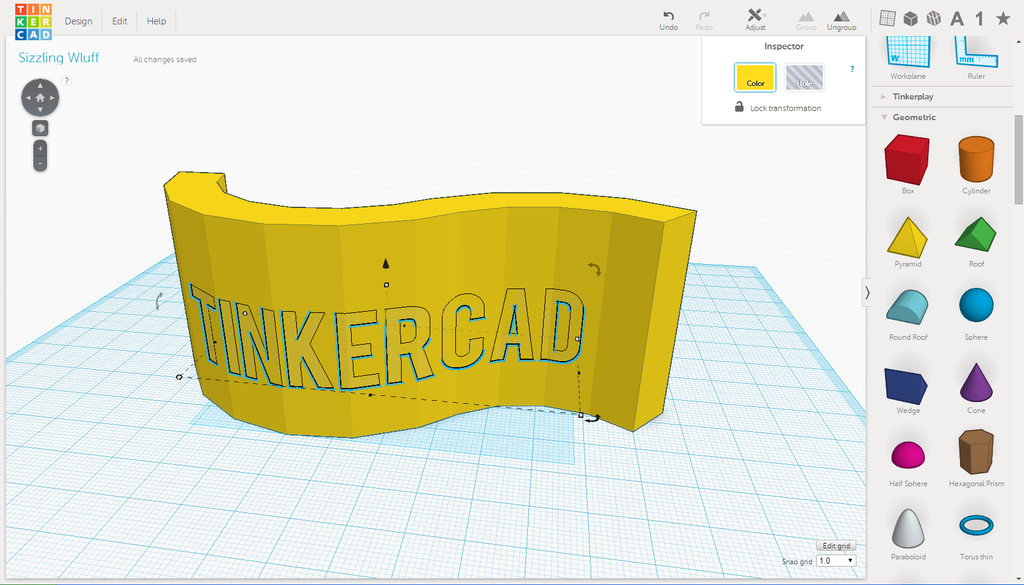
Use the arrows on your keyboard to move the letters a bit out of the wave and change the color.
使用键盘上的箭头将字母稍微移出波浪并更改颜色。
Step 5: Try This Process on Other Shapes! 第 5 步:在其他形状上尝试此过程!
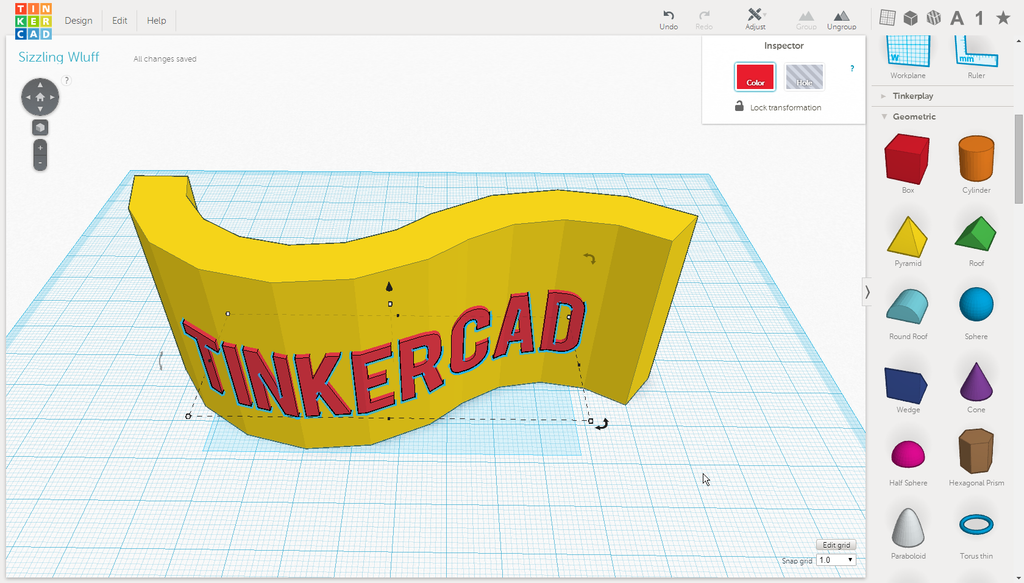
Try this process on other shapes!
在其他形状上尝试此过程!
第 6 步:练习:在球体上创建文本
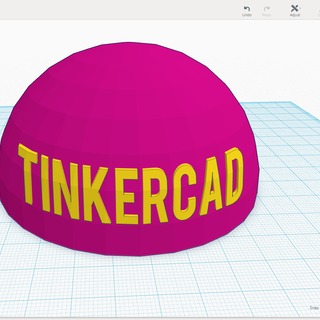
Using the same method, please practice to create text on the sphere surface.
使用相同的方法,请练习在球体表面上创建文本。