文章目录
- 一、导读
- 二、环境部署
- 三、使用示例
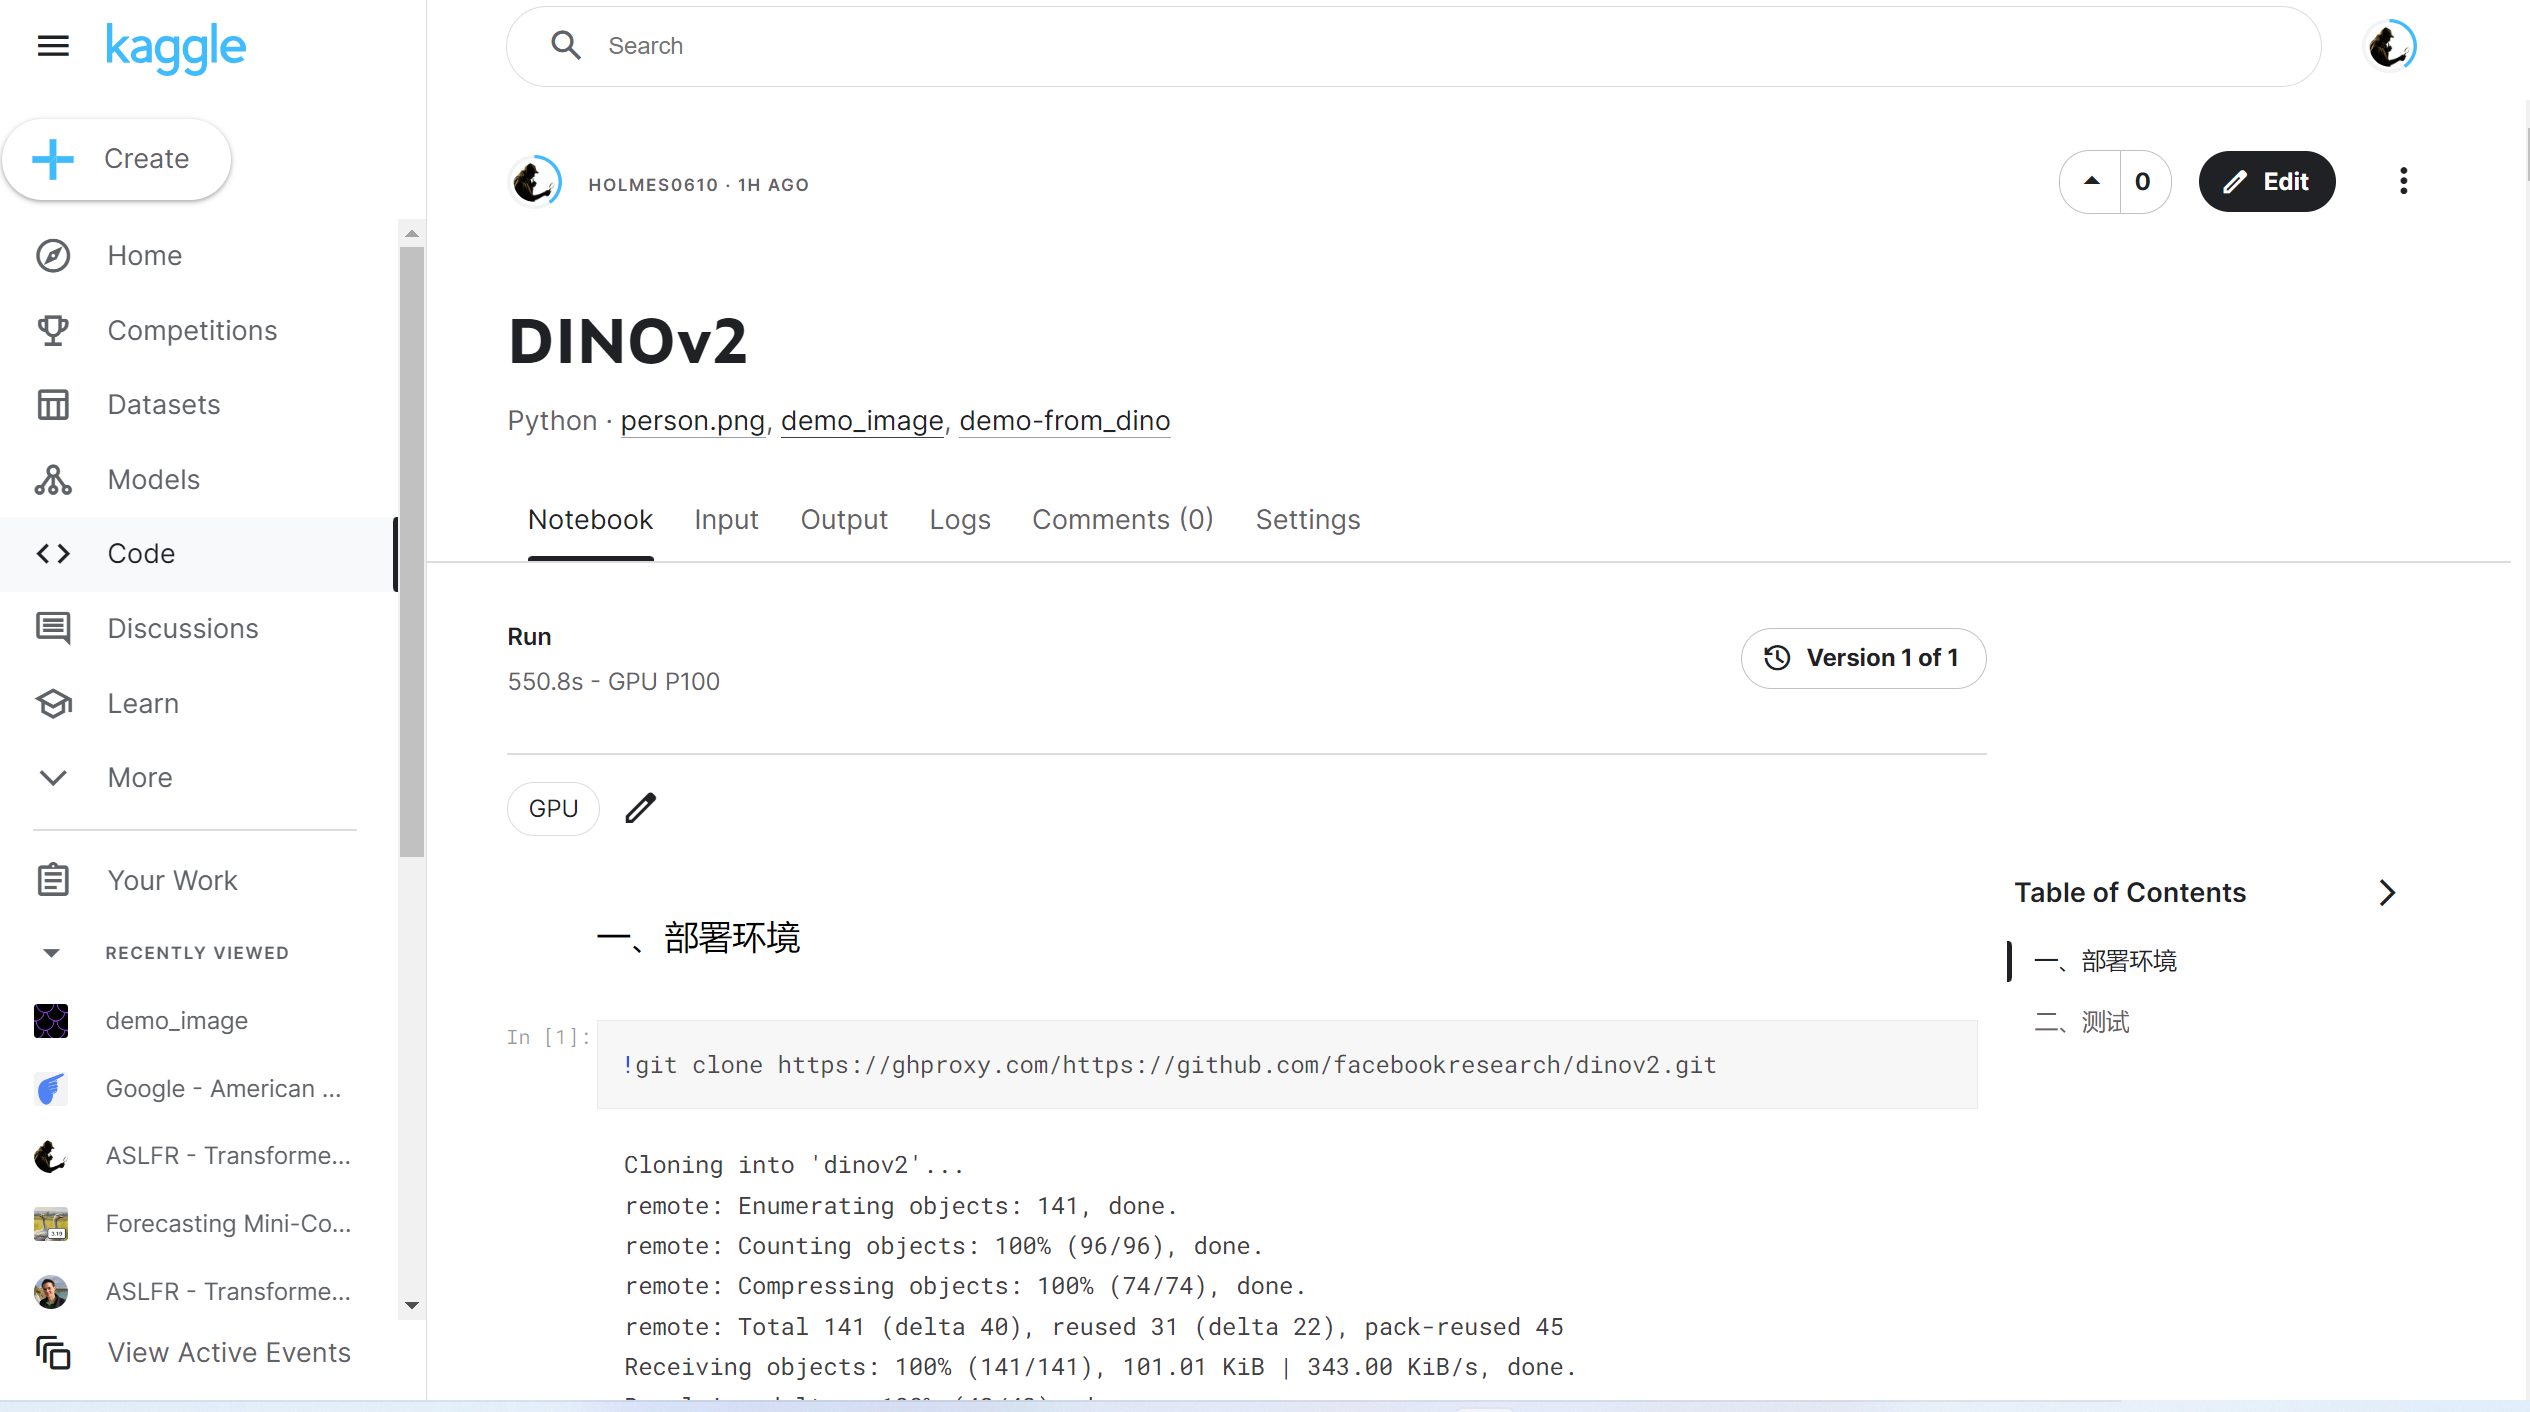
我的代码示范已经上传了Kaggle平台,具体的笔记地址为:
https://www.kaggle.com/code/holmes0610/dinov2
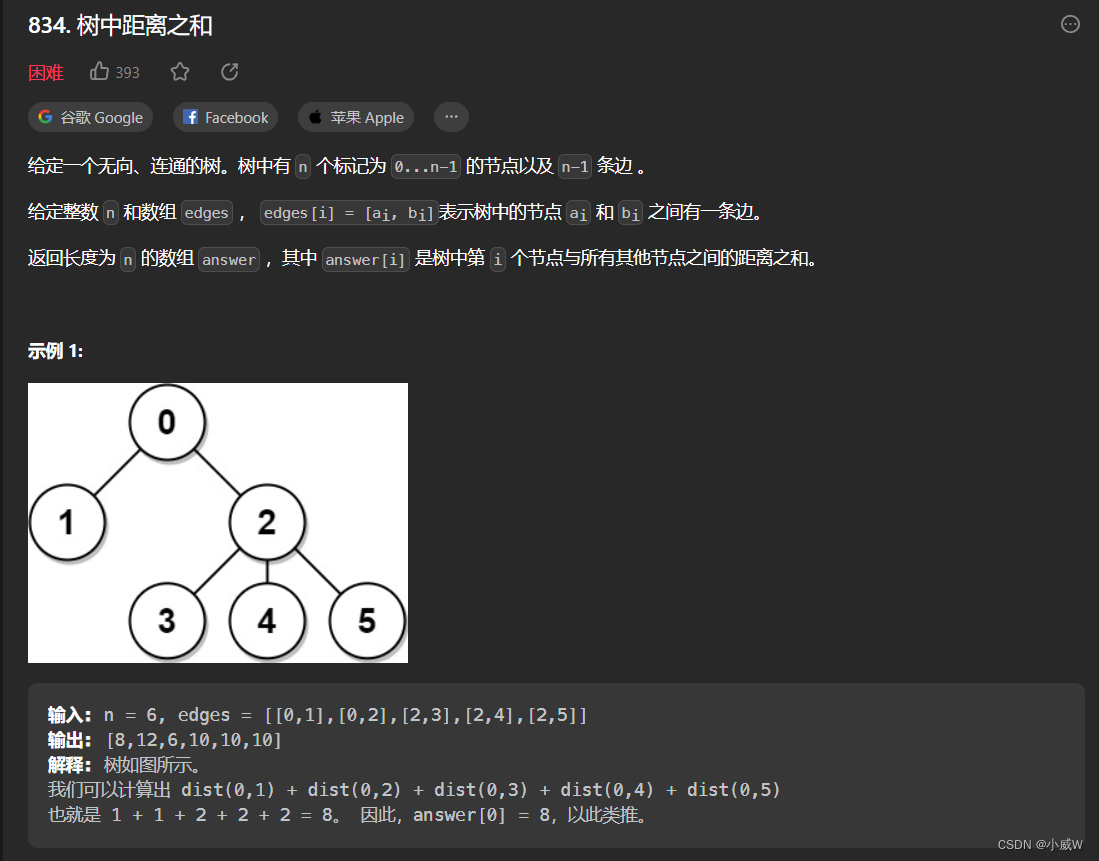
一、导读
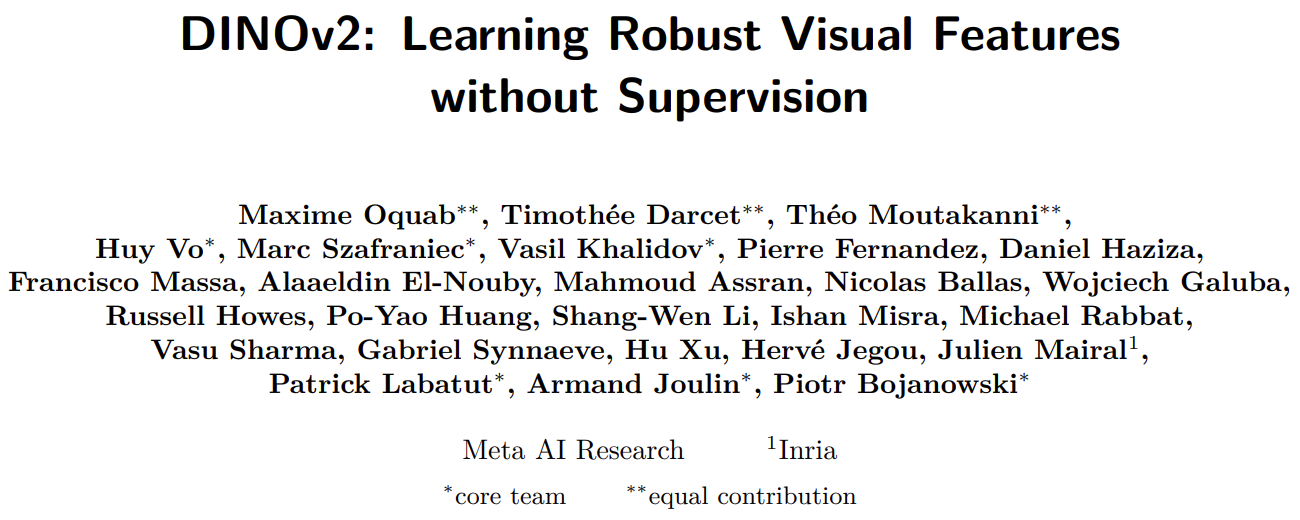
DINOv2:在没有监督的情况下学习鲁棒的视觉特征
这是第一种训练计算机视觉模型的方法,它使用自我监督学习来实现与该领域使用的标准方法相匹配或超过标准方法的结果。
最近,自然语言处理在大量数据上进行模型预训练方面取得了突破,为计算机视觉中的类似基础模型开辟了道路。 这些模型可以通过产生通用的视觉特征(即无需微调即可跨图像分布和任务工作的特征)来极大地简化任何系统中图像的使用。
这项工作表明,现有的预训练方法,尤其是自监督方法,如果使用来自不同来源的足够的精选数据进行训练,可以产生此类特征。 我们重新审视现有的方法并结合不同的技术来扩展我们的数据和模型大小的预训练。 大多数技术贡献旨在加速和稳定大规模培训。 在数据方面,我们提出了一个自动管道来构建专用的、多样化的和精选的图像数据集,而不是像自我监督文献中通常所做的那样未经精选的数据。
在模型方面,我们使用 1B 参数训练 ViT 模型(Dosovitskiy 等人,2020),并将其提炼成一系列较小的模型,这些模型超越了最佳可用的通用功能 OpenCLIP(Ilharco 等人,2021) 大多数图像和像素级别的基准测试。
论文地址:
https://arxiv.org/abs/2304.07193
项目地址:
https://github.com/facebookresearch/dinov2/tree/main
demo的地址:
https://dinov2.metademolab.com/demos
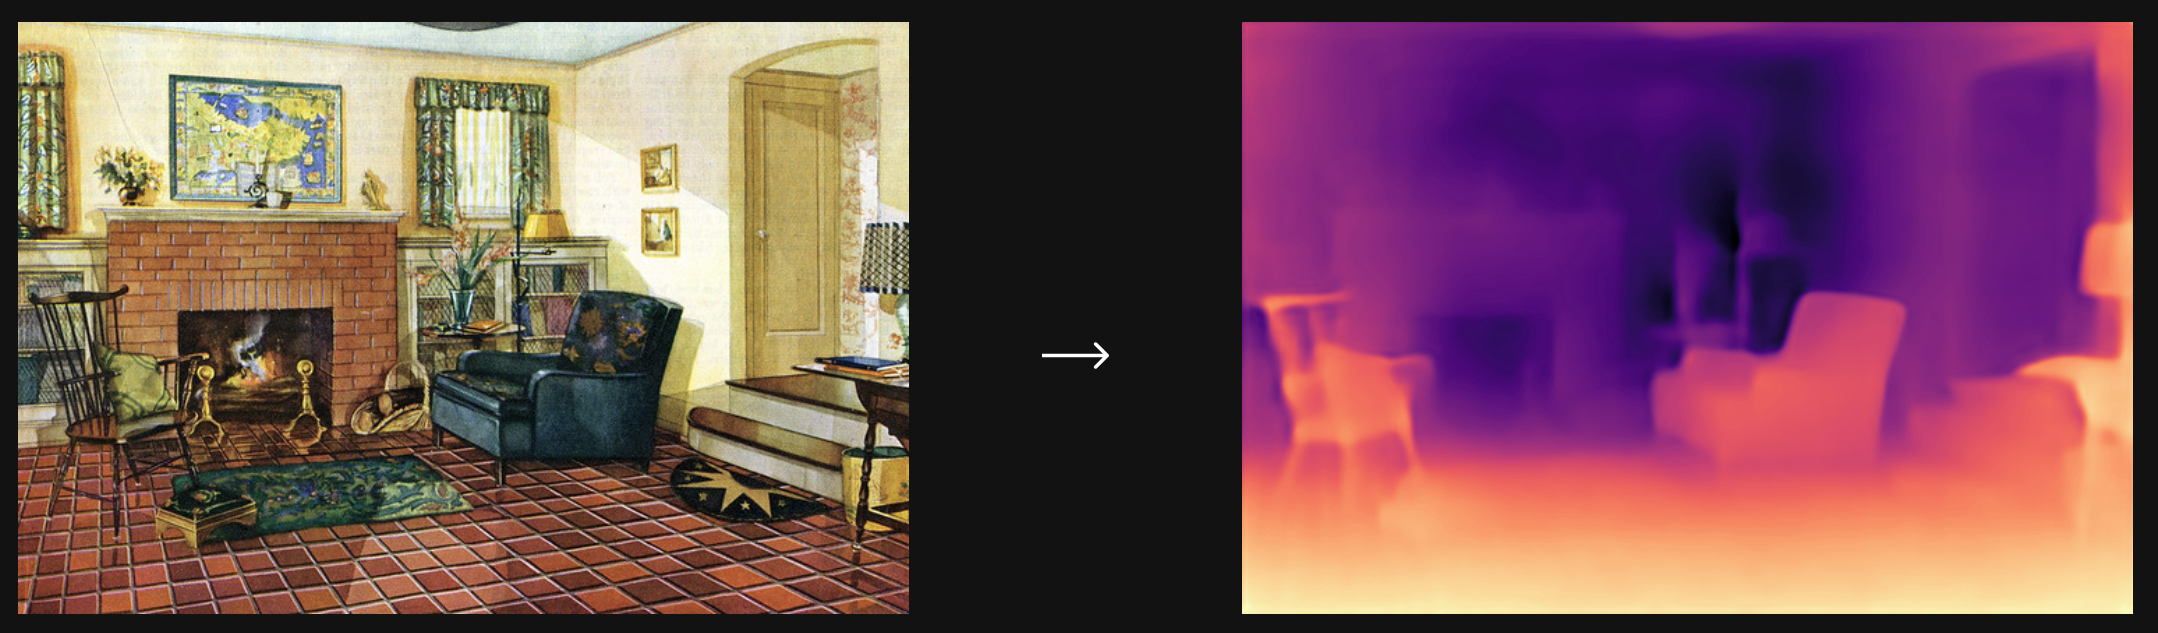
深度估计的结果:
DINOv2 冻结特征可以很容易地用于预测单个图像的每像素深度的模型,无论是分布内还是分布外。
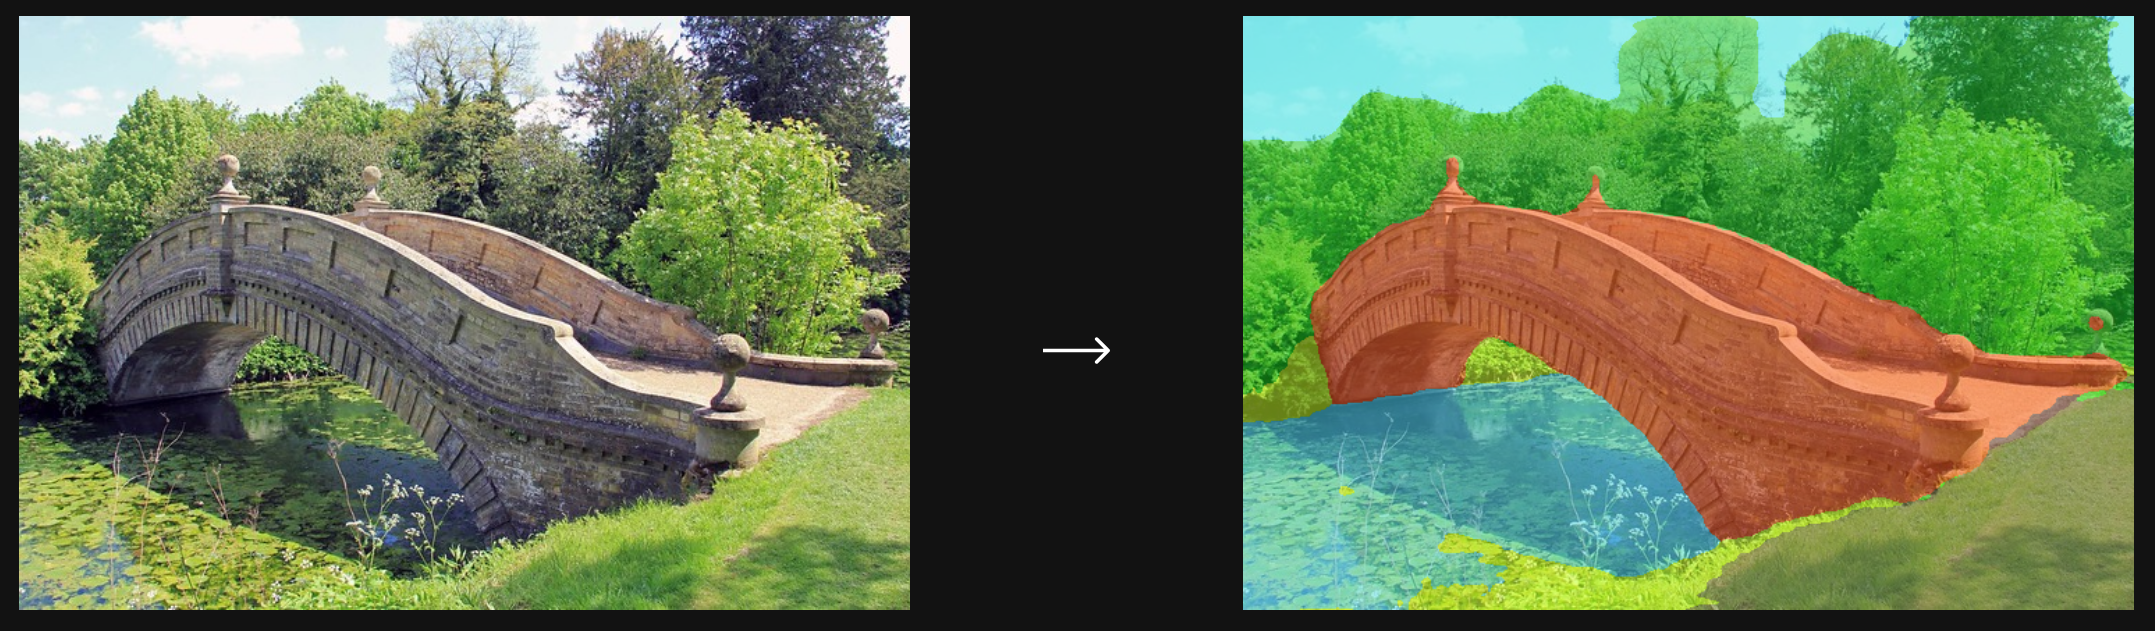
语义分割的结果:
DINOv2 冻结特征可以很容易地用于预测单个图像中每像素对象类的模型。
二、环境部署
先下载代码到本地:
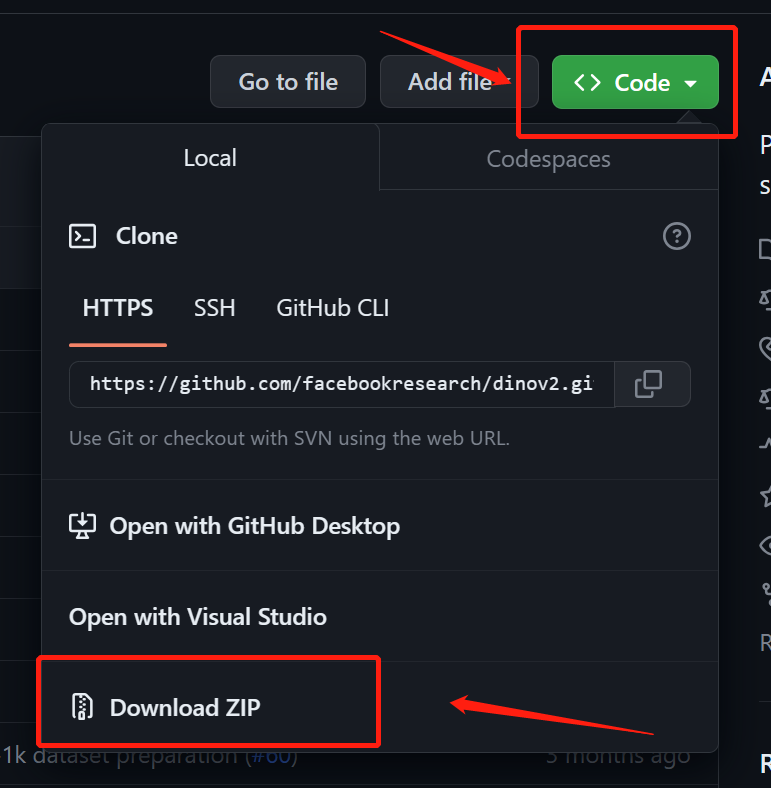
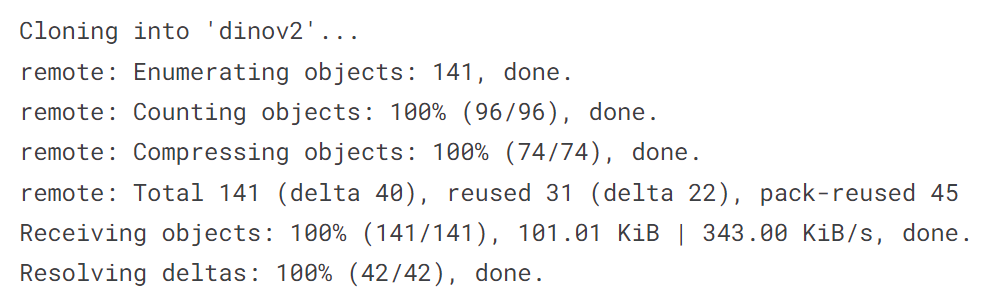
或者可以直接使用git进行拉取项目文件:
!git clone https://ghproxy.com/https://github.com/facebookresearch/dinov2.git
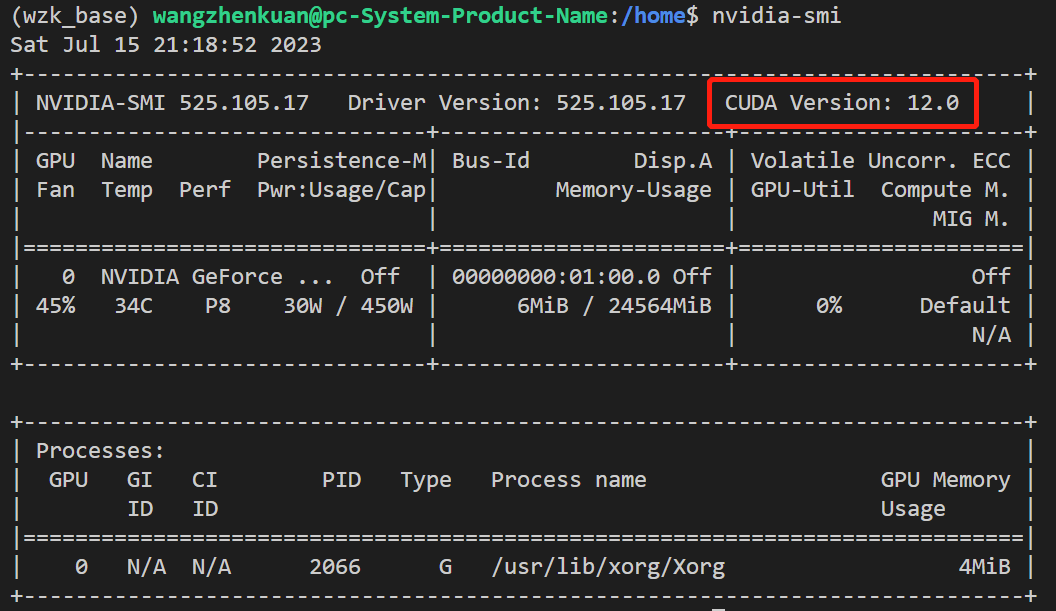
按照源码要求,需要使用11.7的CUDA,需要查看一下自己的电脑是否符合要求,可以通过cmd输入:
nvidia-smi
查询支持的CUDA Version:
在上述文件夹中打开cmd命令(处于当前位置),输入以下指令:
创建新python的环境,按照conda.yml的形式:
conda env create -f conda.yaml
然后激活环境:
conda activate dinov2
会遇到报错,用记事本打开conda.yml将红色部分先删除:
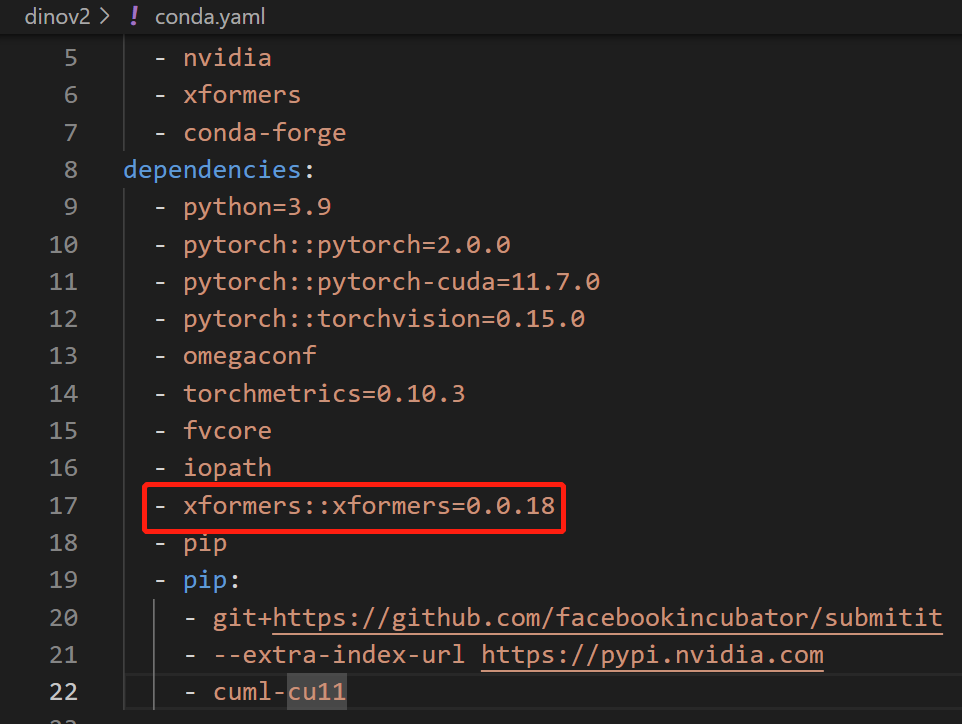
再次按照上面cmd命令运行,完成后会显示done。
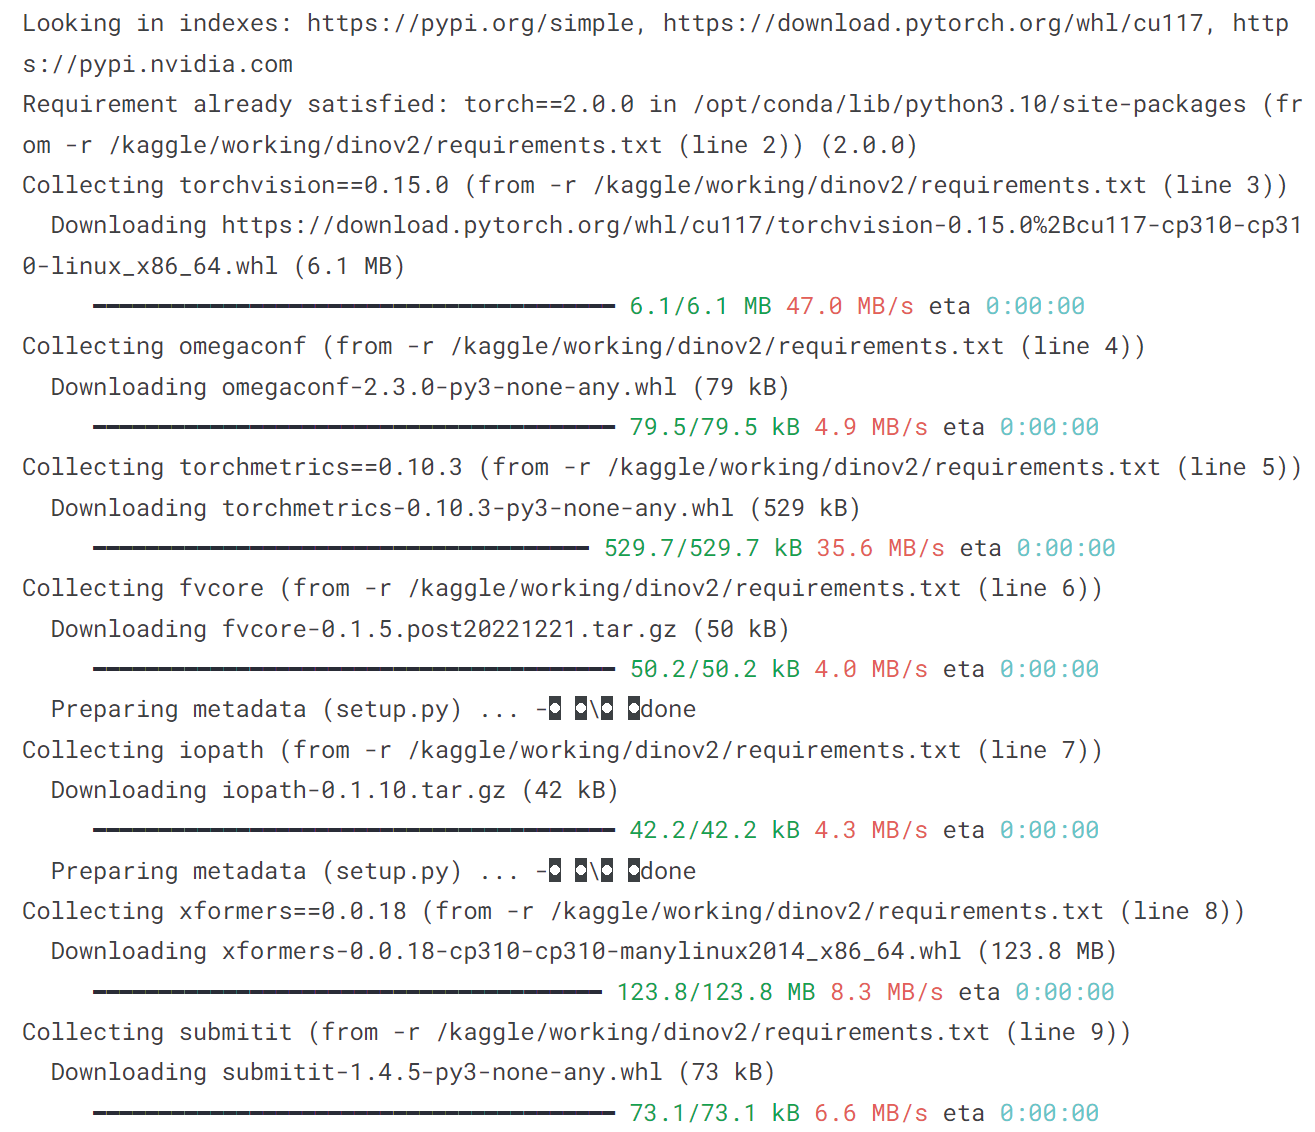
然后手动安装剩余的包。
我是直接选择全部安装的:
!pip install -r /kaggle/working/dinov2/requirements.txt
最后虽然有报错,但是还可以顺利使用:
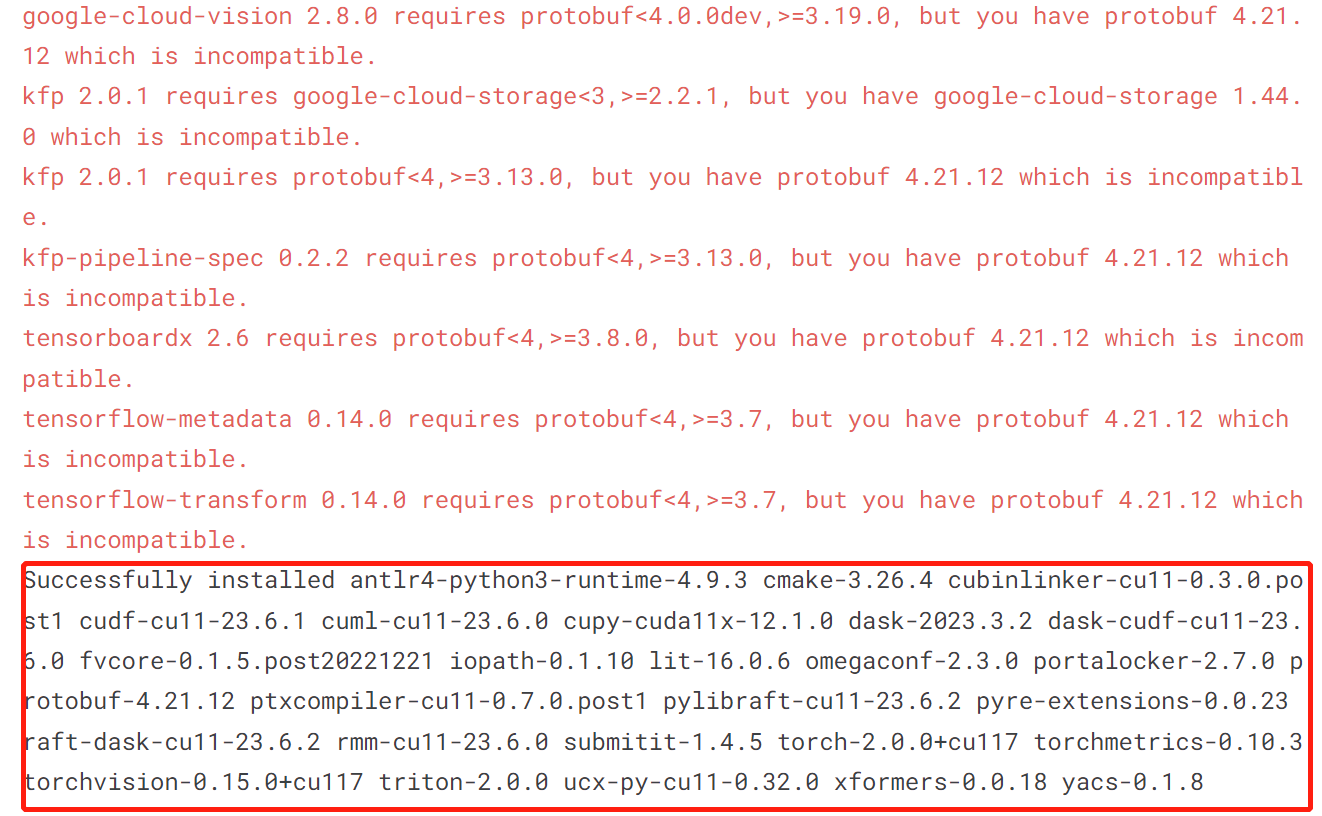
还需要安装sklearn:
!pip install scikit-learn -i https://pypi.tuna.tsinghua.edu.cn/simple
到这里没有什么意外的话,环境就部署成功了!
三、使用示例
DINOv2提供的训练好的模型为:
import torch

dinov2_vits14 = torch.hub.load('facebookresearch/dinov2', 'dinov2_vits14')
dinov2_vitb14 = torch.hub.load('facebookresearch/dinov2', 'dinov2_vitb14')
dinov2_vitl14 = torch.hub.load('facebookresearch/dinov2', 'dinov2_vitl14')
dinov2_vitg14 = torch.hub.load('facebookresearch/dinov2', 'dinov2_vitg14')
我们提供 4 个模型:1 个从头开始训练的 ViT-g,以及从 ViT-g 中提取的 3 个 ViT-S/B/L 模型。
该模型将图像作为输入并返回类标记和补丁标记。
嵌入维数为:
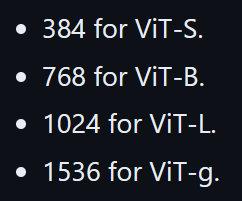
这些模型遵循 Transformer 架构,补丁大小为 14。对于 224x224 图像,这会产生 1 个类标记 + 256 个补丁标记。
如果图像形状是块大小 (14) 的倍数,则模型可以接受更大的图像。 如果未验证此条件,模型将裁剪为最接近的小块大小倍数。
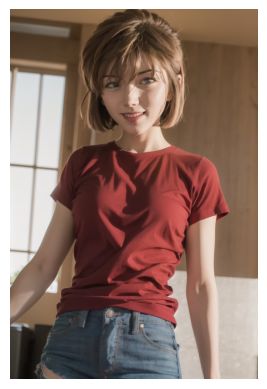
我们使用的测试原图为:
%matplotlib inline
import matplotlib.pyplot as plt
import matplotlib.image as mpimg

image = mpimg.imread('/kaggle/input/demo-image/1 (4).png')

plt.imshow(image)
plt.axis('off')
plt.show()

# 输出图像尺寸
print("图像尺寸:{} x {} x {}".format(image.shape[0], image.shape[1], image.shape[2]))
我们测试几个不同的模型,首先是dinov2_vits14:
import torch
import torchvision.transforms as T
import matplotlib.pyplot as plt
from PIL import Image
from sklearn.decomposition import PCA


patch_h = 60
patch_w = 40
feat_dim = 384  # vits14

transform = T.Compose([
    T.GaussianBlur(9, sigma=(0.1, 2.0)),
    T.Resize((patch_h * 14, patch_w * 14)),
    T.CenterCrop((patch_h * 14, patch_w * 14)),
    T.ToTensor(),
    T.Normalize(mean=(0.485, 0.456, 0.406), std=(0.229, 0.224, 0.225)),
])

dinov2_vitb14 = torch.hub.load('', 'dinov2_vits14', source='local').cuda()

features = torch.zeros(4, patch_h * patch_w, feat_dim)
imgs_tensor = torch.zeros(4, 3, patch_h * 14, patch_w * 14).cuda()

img_path = f'/kaggle/input/demo-image/1 (4).png'
img = Image.open(img_path).convert('RGB')
imgs_tensor[0] = transform(img)[:3]
with torch.no_grad():
    features_dict = dinov2_vitb14.forward_features(imgs_tensor)
    features = features_dict['x_norm_patchtokens']

features = features.reshape(4 * patch_h * patch_w, feat_dim).cpu()

pca = PCA(n_components=3)
pca.fit(features)
pca_features = pca.transform(features)

pca_features_bg = pca_features[:, 0] < 10
pca_features_fg = ~pca_features_bg

# PCA for only foreground patches
pca_features_rem = pca.transform(features[pca_features_fg])
for i in range(3):
    pca_features_rem[:, i] = (pca_features_rem[:, i] - pca_features_rem[:, i].mean()) / (pca_features_rem[:, i].std() ** 2) + 0.5

pca_features_rgb = pca_features.copy()
pca_features_rgb[pca_features_bg] = 0
pca_features_rgb[pca_features_fg] = pca_features_rem

pca_features_rgb = pca_features_rgb.reshape(4, patch_h, patch_w, 3)
plt.imshow(pca_features_rgb[0][..., ::-1])
plt.savefig('features1.png')
plt.show()
plt.close()
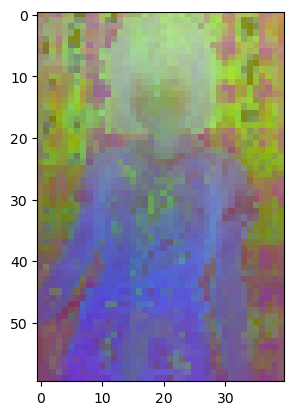
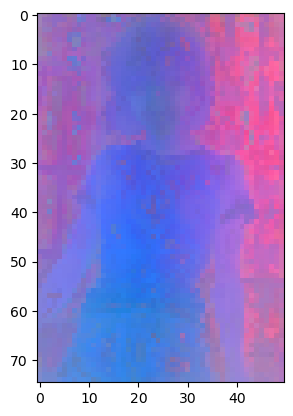
输出的结果为:
dinov2_vitl14模型的使用:
import torch
import torchvision.transforms as T
import matplotlib.pyplot as plt
import numpy as np
import matplotlib.image as mpimg
from PIL import Image
from sklearn.decomposition import PCA
import matplotlib

patch_h = 75
patch_w = 50
feat_dim = 1024 # vitl14

transform = T.Compose([
    T.GaussianBlur(9, sigma=(0.1, 2.0)),
    T.Resize((patch_h * 14, patch_w * 14)),
    T.CenterCrop((patch_h * 14, patch_w * 14)),
    T.ToTensor(),
    T.Normalize(mean=(0.485, 0.456, 0.406), std=(0.229, 0.224, 0.225)),
])

dinov2_vitb14 = torch.hub.load('', 'dinov2_vitl14',source='local').cuda()

features = torch.zeros(4, patch_h * patch_w, feat_dim)
imgs_tensor = torch.zeros(4, 3, patch_h * 14, patch_w * 14).cuda()

img_path = f'/kaggle/input/demo-image/1 (4).png'
img = Image.open(img_path).convert('RGB')
imgs_tensor[0] = transform(img)[:3]
with torch.no_grad():
    features_dict = dinov2_vitb14.forward_features(imgs_tensor)
    features = features_dict['x_norm_patchtokens']

features = features.reshape(4 * patch_h * patch_w, feat_dim).cpu()
# print(features)
pca = PCA(n_components=3)
pca.fit(features)
pca_features = pca.transform(features)
pca_features[:, 0] = (pca_features[:, 0] - pca_features[:, 0].min()) / (pca_features[:, 0].max() - pca_features[:, 0].min())

pca_features_fg = pca_features[:, 0] > 0.3
pca_features_bg = ~pca_features_fg

b = np.where(pca_features_bg)
# print("1",pca_features[:, 0])
# print(pca_features_fg)
# PCA for only foreground patches
pca.fit(features[pca_features_fg])
pca_features_rem = pca.transform(features[pca_features_fg])
for i in range(3):
    pca_features_rem[:, i] = (pca_features_rem[:, i] - pca_features_rem[:, i].min()) / (pca_features_rem[:, i].max() - pca_features_rem[:, i].min())
    # transform using mean and std, I personally found this transformation gives a better visualization
    # pca_features_rem[:, i] = (pca_features_rem[:, i] - pca_features_rem[:, i].mean()) / (pca_features_rem[:, i].std() ** 2) + 0.5

pca_features_rgb = pca_features.copy()
pca_features_rgb[pca_features_fg] = pca_features_rem
pca_features_rgb[b] = 0
# print("digtial",pca_features_rgb)
pca_features_rgb = pca_features_rgb.reshape(4, patch_h, patch_w, 3)
plt.imshow(pca_features_rgb[0][...,::-1])
plt.savefig('features3.png')
plt.show()
plt.close()
输出结果为:
最后使用vitg14:
import torch
import torchvision.transforms as T
import matplotlib.pyplot as plt
import numpy as np
import matplotlib.image as mpimg
from PIL import Image
from sklearn.decomposition import PCA
import matplotlib

patch_h = 75
patch_w = 50
feat_dim = 1536 # vitg14

transform = T.Compose([
    T.GaussianBlur(9, sigma=(0.1, 2.0)),
    T.Resize((patch_h * 14, patch_w * 14)),
    T.CenterCrop((patch_h * 14, patch_w * 14)),
    T.ToTensor(),
    T.Normalize(mean=(0.485, 0.456, 0.406), std=(0.229, 0.224, 0.225)),
])

dinov2_vitb14 = torch.hub.load('', 'dinov2_vitg14',source='local').cuda()

features = torch.zeros(4, patch_h * patch_w, feat_dim)
imgs_tensor = torch.zeros(4, 3, patch_h * 14, patch_w * 14).cuda()

img_path = f'/kaggle/input/demo-image/1 (4).png'
img = Image.open(img_path).convert('RGB')
imgs_tensor[0] = transform(img)[:3]
with torch.no_grad():
    features_dict = dinov2_vitb14.forward_features(imgs_tensor)
    features = features_dict['x_norm_patchtokens']

features = features.reshape(4 * patch_h * patch_w, feat_dim).cpu()
# print(features)
pca = PCA(n_components=3)
pca.fit(features)
pca_features = pca.transform(features)
pca_features[:, 0] = (pca_features[:, 0] - pca_features[:, 0].min()) / (pca_features[:, 0].max() - pca_features[:, 0].min())

pca_features_fg = pca_features[:, 0] > 0.3
pca_features_bg = ~pca_features_fg

b = np.where(pca_features_bg)
# print("1",pca_features[:, 0])
# print(pca_features_fg)
# PCA for only foreground patches
pca.fit(features[pca_features_fg])
pca_features_rem = pca.transform(features[pca_features_fg])
for i in range(3):
    pca_features_rem[:, i] = (pca_features_rem[:, i] - pca_features_rem[:, i].min()) / (pca_features_rem[:, i].max() - pca_features_rem[:, i].min())
    # transform using mean and std, I personally found this transformation gives a better visualization
    # pca_features_rem[:, i] = (pca_features_rem[:, i] - pca_features_rem[:, i].mean()) / (pca_features_rem[:, i].std() ** 2) + 0.5

pca_features_rgb = pca_features.copy()
pca_features_rgb[pca_features_fg] = pca_features_rem
pca_features_rgb[b] = 0
# print("digtial",pca_features_rgb)
pca_features_rgb = pca_features_rgb.reshape(4, patch_h, patch_w, 3)
plt.imshow(pca_features_rgb[0][...,::-1])
plt.savefig('features2.png')
plt.show()
plt.close()
最后的输出结果为:
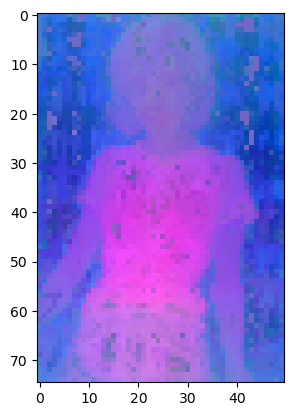
明显最后的效果更好一点!

![[JAVA]程序逻辑控制,输入输出](https://img-blog.csdnimg.cn/b0cde9c7df4c4abea80f842e2539fa0f.png)