配置LVGL8.3源码
LVGL GITHUB代码仓库如下:https://github.com/lvgl/lvgl/tree/release/v8.3
官方已经在ESP32上移植好的代码demo,目前最新版是LVGL 7.9:https://github.com/lvgl/lv_port_esp32
我们可以将LVGL官方配置好的ESP32 LVGL仓库下载下来,直接编译作为工程使用:
不出问题,可以直接编译成功,如下图:
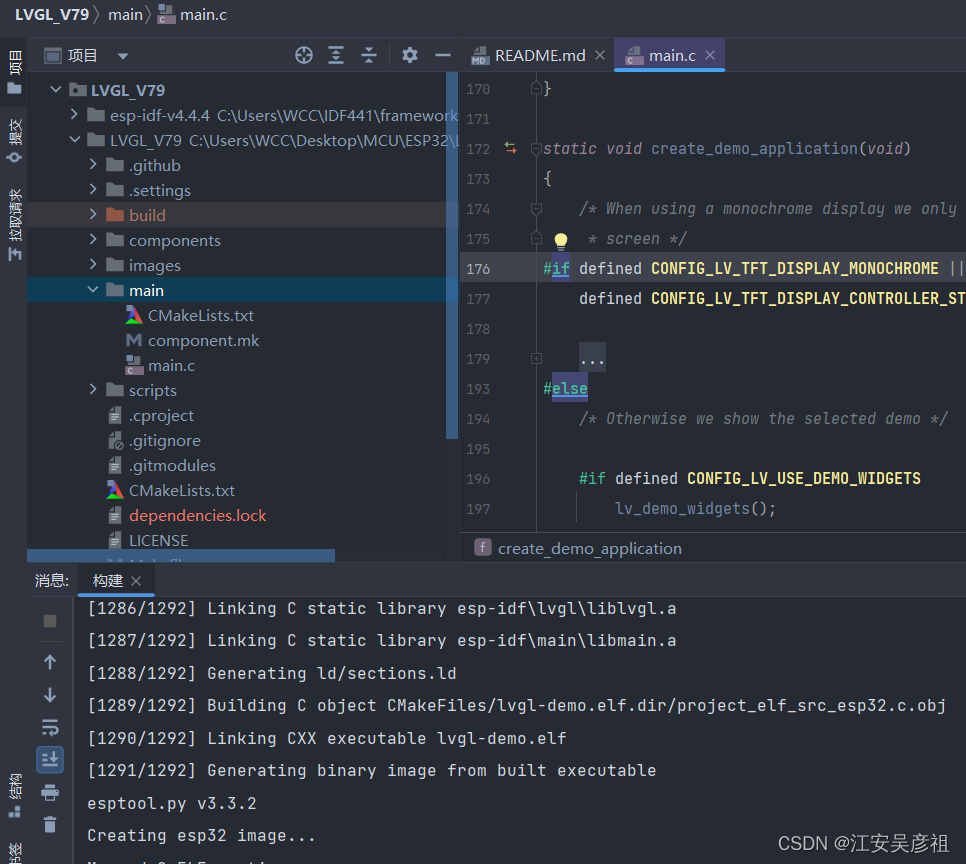
如果对LVGL版本没要求,就可以直接在这个工程上面添加代码。
如果是要在现有工程中添加LVGL指定版本,这种方法则不行。官网给的配置流程如下:
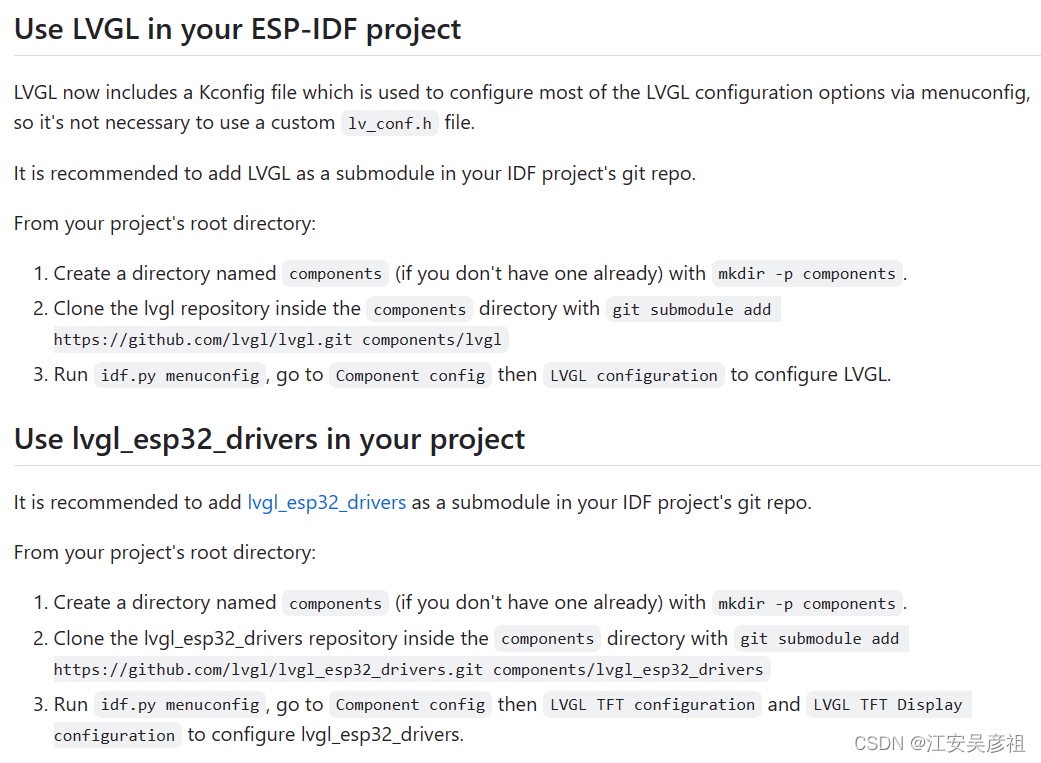
首先我们从IDF的例程代码里拷贝过来一个空白hello_world工程:
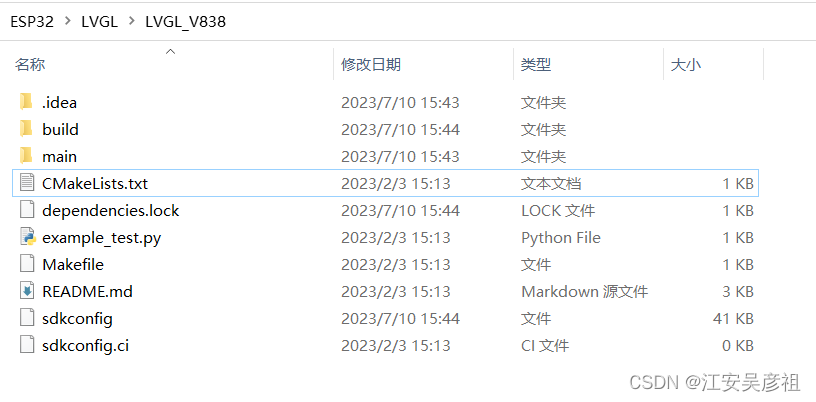
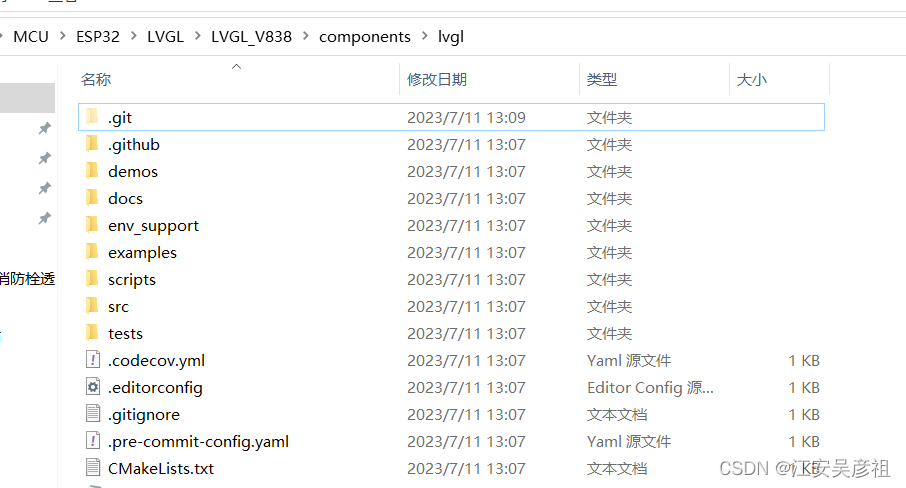
我们将本文件夹创建为一个git仓库,然后打开git bash,执行以下指令,将相应版本的LVGL代码添加到本工程的components中:
git clone -b v8.3.8 --depth 1 git@github.com:lvgl/lvgl.git components/lvgl
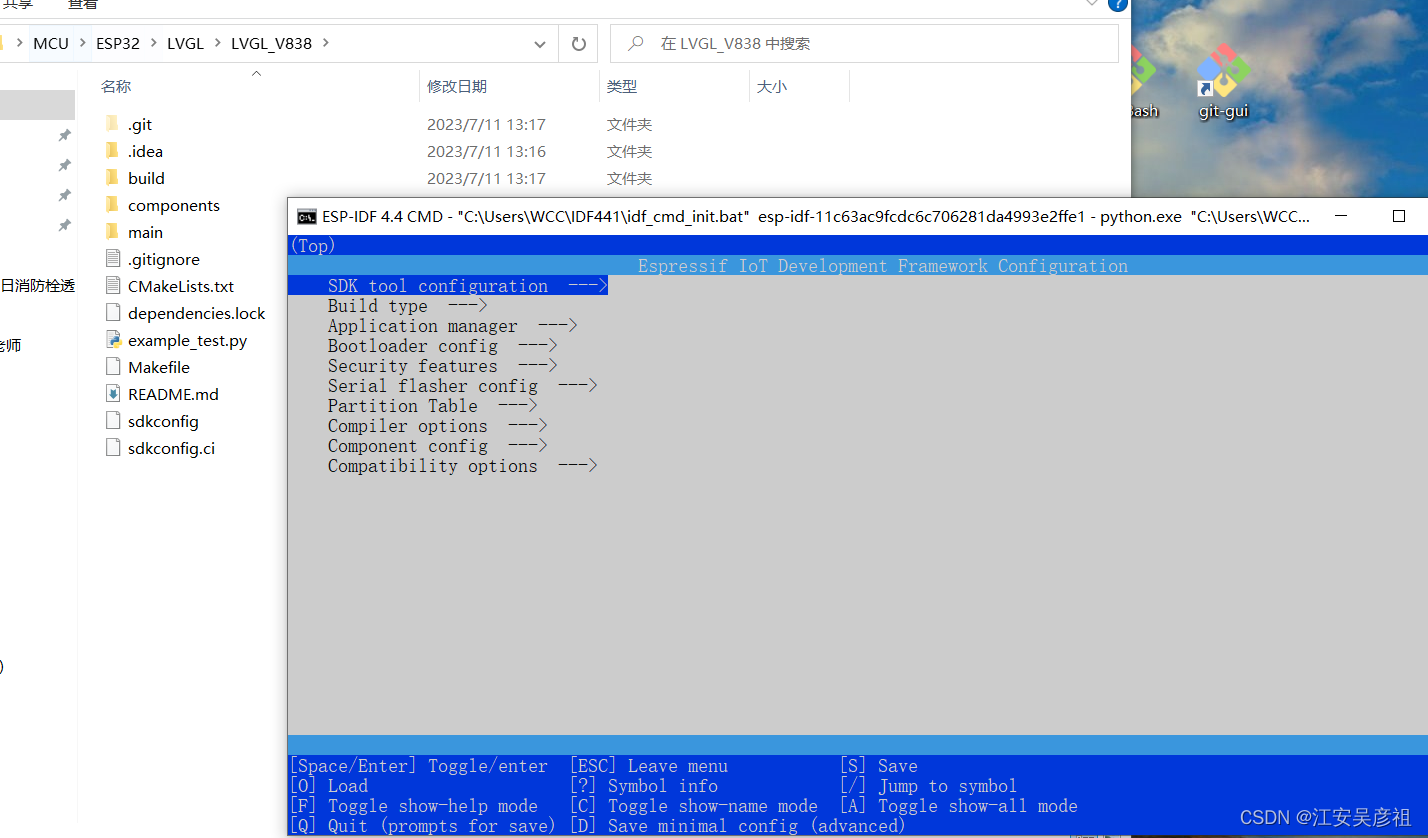
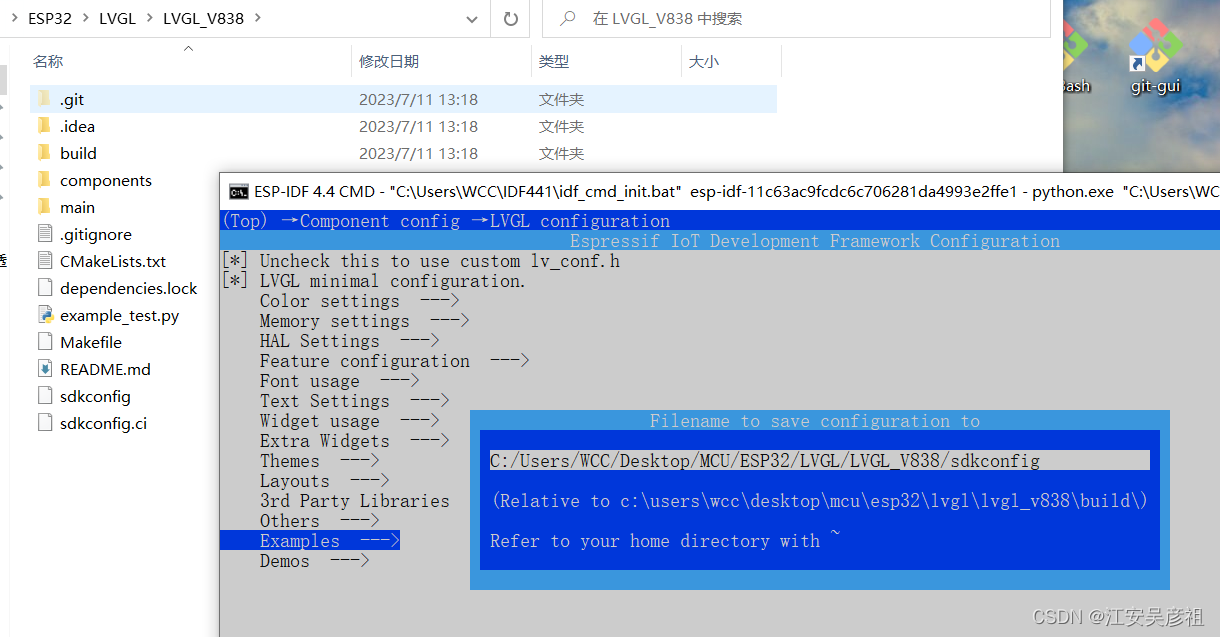
然后运行idf cmd进入到此文件夹,运行idf.py menuconfig
然后进入Component config -> LVGL configuration去配置 LVGL.
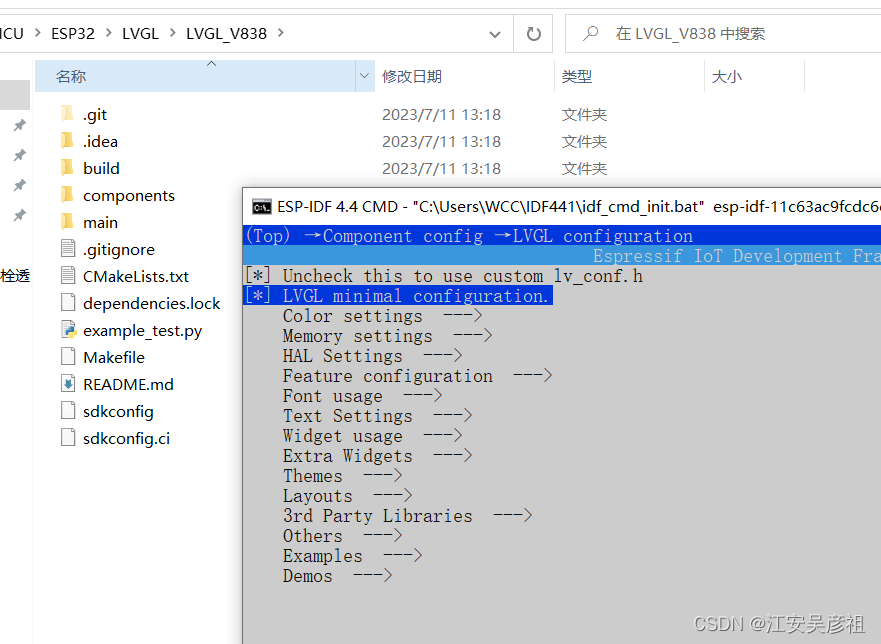
然后按S保存并退出:
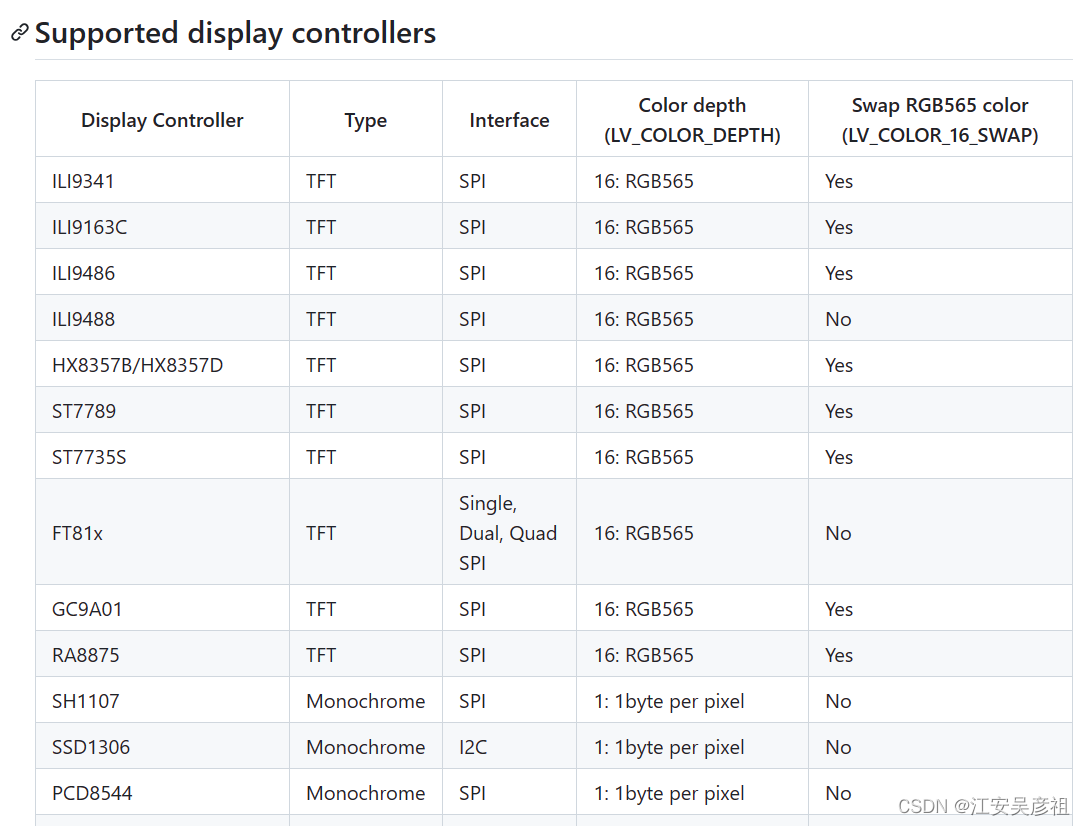
然后,我将LVGL ESP32的驱动作为子模块添加到本工程中,其支持的屏幕驱动芯片如下:
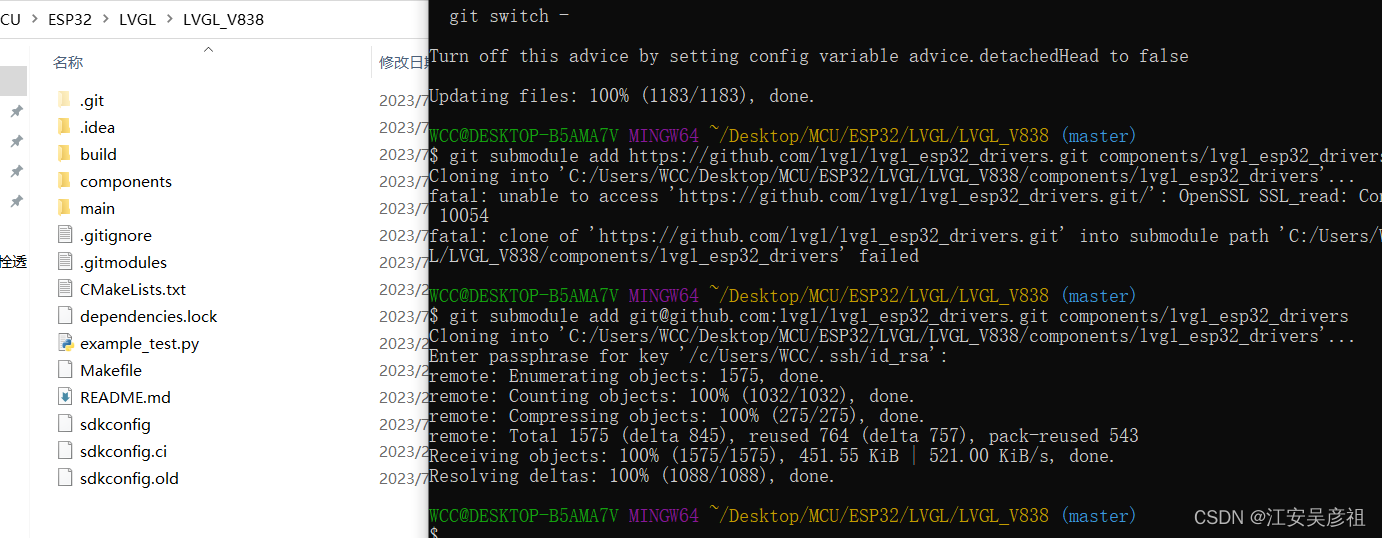
我们运行以下命令:
git submodule add https://github.com/lvgl/lvgl_esp32_drivers.git components/lvgl_esp32_drivers
然后,运行idf.py menuconfig
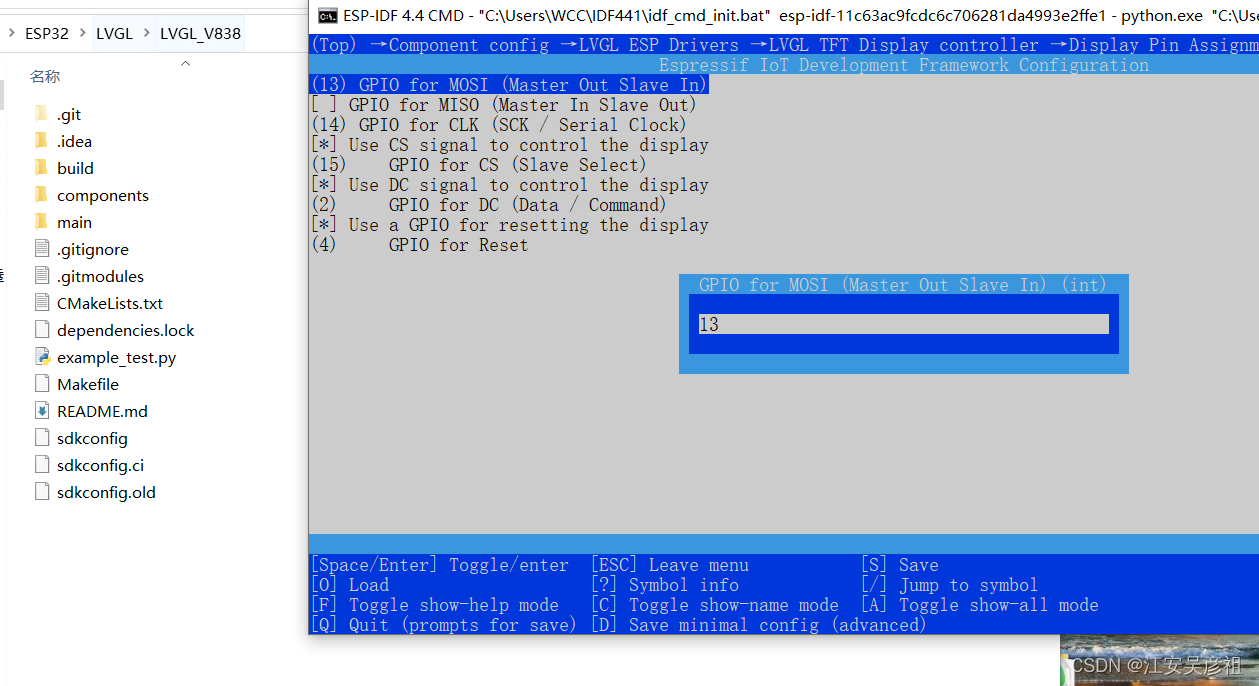
在Component config -> LVGL ESP Drivers -> LVGL TFT Display controller配置 lvgl_esp32_drivers:
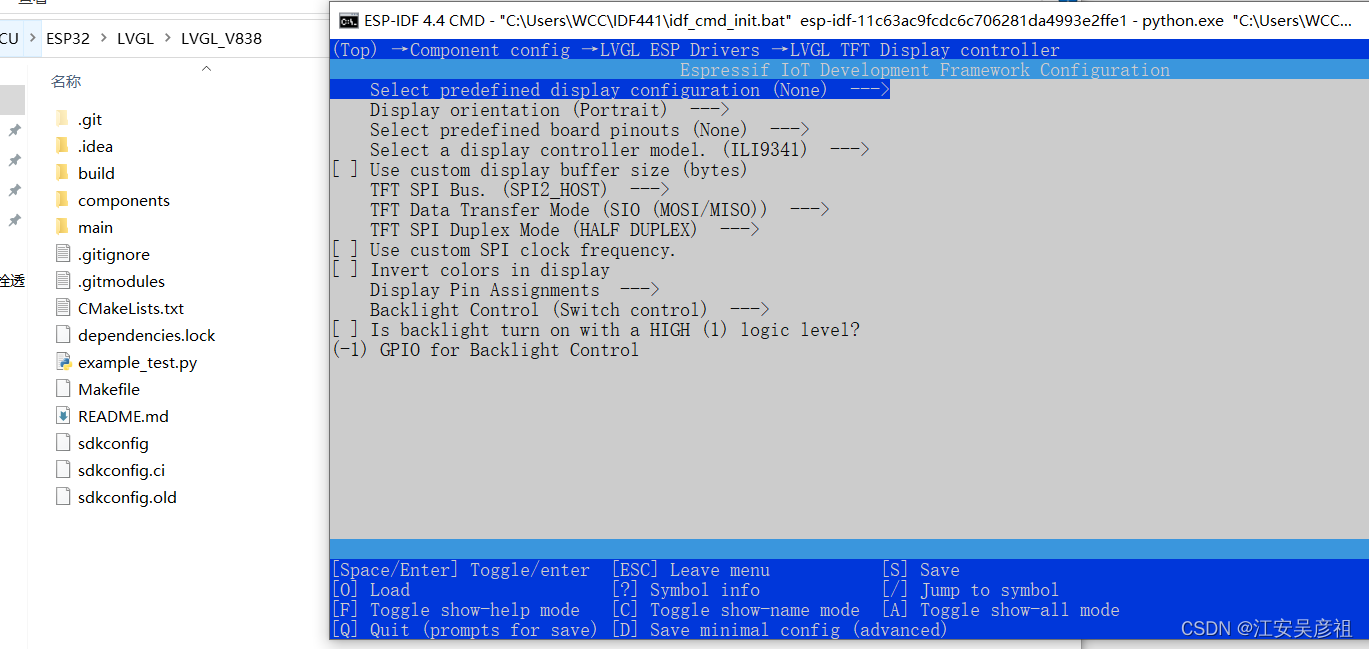
配置驱动屏幕的SPI引脚:
在main.c文件中编辑如下:
#include "lvgl.h"

// #include "driver.h"

#include "demo.h"

int app_main(void)
{
    lv_init();

    /* Initialize your hardware. */

    /* hw_init(); */

    demo_create();

    /* Create the UI or start a task for it.
     * In the end, don't forget to call `lv_task_handler` in a loop. */

    /* hw_loop(); */

    return 0;
}
参考链接
LVGL官网ESP32移植LVGL仓库
LVGL源码仓库
ESP32配置LVGL并设计UI






![[GWCTF 2019]babyvm 题解](https://img-blog.csdnimg.cn/40e3ed00328f41ca93945ba727ab77b1.png)
