ZMQ专题学习之四:libzmq的发布及订阅方式_jyl_sh的博客-CSDN博客
一、背景介绍
高速并发消息通信框架——ZeroMQ详解(一) - 知乎 (zhihu.com)
zmq将socket进行了封装,可以快速在两个进程间进行通信
二、编译libzip
https://github.com/zeromq/libzmq
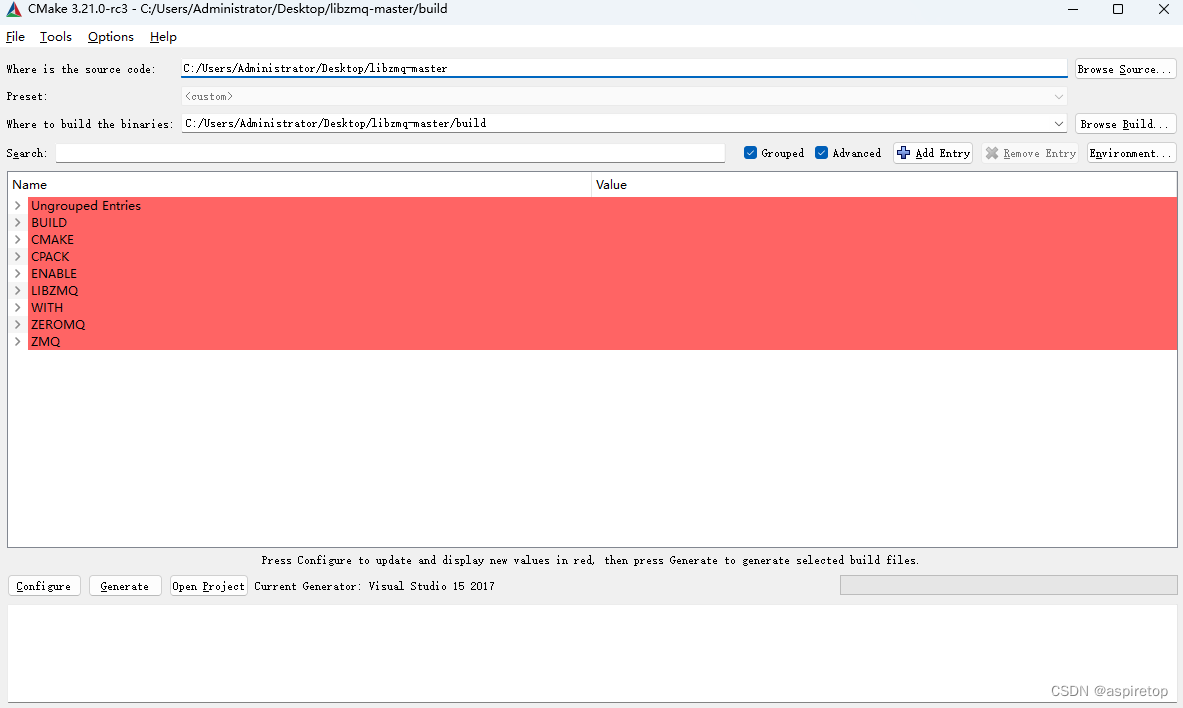
下载源码后,使用cmake进行配置,然后打开vs,编译即可,约10分钟,不需要进行额外配置
 编译完成后,会生成这些文件
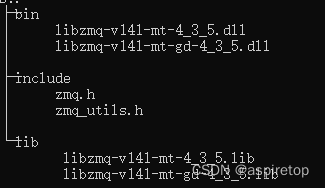
在VS里配置包含目录、库目录,附加依赖项后,即可使用
三、代码
发送端代码
#include "zmq.h"
//#include "zmq_utils.h"
#include <string.h>
#include <time.h>
#include <assert.h>
#include <iostream>
#include <Windows.h>
using namespace std;


// Publisher.cpp
int main(int argc, char* argv[])
{
	void *context = zmq_ctx_new();
	void *publisher = zmq_socket(context, ZMQ_PUB);
	int rc = zmq_bind(publisher, "tcp://*:5556");
	assert(rc == 0);

	while (1) {
		// Send timestamp to all subscribers
		char timestamp[31] = { 0 };
		sprintf(timestamp, "时间戳 %ld", time(NULL));//发送内容
		int size = zmq_send(publisher, timestamp, 30, 0);
		//printf("send %s\n", timestamp);
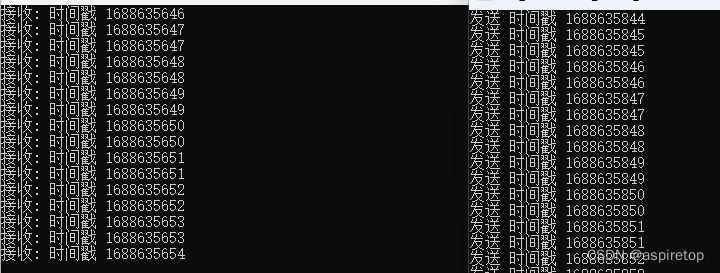
		cout << "发送 "<<timestamp << endl;
		Sleep(500);
	}
	zmq_close(publisher);
	zmq_ctx_destroy(context);
	return 0;
}
接收端代码
#include "zmq.h"
#include "zmq_utils.h"
#include <windows.h>
#include <iostream>
#include <string>


// Subscribe.cpp
int main(int argc, char* argv[])
{
	void *context = zmq_ctx_new();
	void *subscriber = zmq_socket(context, ZMQ_SUB);
	int rc = zmq_connect(subscriber, "tcp://localhost:5556");


	const char *filter = "时间戳 ";
	rc = zmq_setsockopt(subscriber, ZMQ_SUBSCRIBE, filter, strlen(filter)); //设置zmq属性,过滤直接收关键字时间戳
	while (1) {

		char buffer[256] = { 0 };
		int size = zmq_recv(subscriber, buffer, 255, 0);
		printf("接收: %s\n", buffer);
	}

	zmq_close(subscriber);
	zmq_ctx_destroy(context);
	getchar();
	return 0;
}
