linux线程完结
文章目录
- 前言
- 一、线程池的实现
- 二、了解性知识
- 1.其他常见的各种锁
- 2.读者写者问题
- 总结
前言
什么是线程池呢?
一、线程池的实现
线程池的使用会用到我们之前自己设计的lockguard,我会将代码放在最后。
下面我们创建一个线程池文件和main.cc文件,然后先写一个线程池的框架:
const int gnum = 5;

template <class T>
class ThreadPool
{
public:
    ThreadPool(const int &num = gnum)
        : _num(num)
    {

    }
    ~ThreadPool()
    {

    }

private:
    int _num;
    vector<pthread_t *> _threads;
    queue<T> _task_queue;
    pthread_mutex_t _mutex;
    pthread_cond_t _cond;
};
我们的线程池是用vector进行管理的,里面存放每一个线程对象的地址。然后我们还需要一个队列,这个队列存放的是线程要执行的任务,我们的目的是让多个线程去竞争任务。既然是多线程那么必须要有一把锁来防止线程安全问题,而线程每次去任务队列拿任务,如果有任务就拿没有任务就阻塞在队列中,所以我们还需要一个条件变量。接下来我们解释构造函数,我们在构造函数中需要确定线程池中要创建多少个线程,所以需要定义一个全局变量gnum来当缺省参数。
    ThreadPool(const int &num = gnum)
        : _num(num)
    {
        pthread_mutex_init(&_mutex,nullptr);
        pthread_cond_init(&_cond,nullptr);
        for (int i = 0;i<_num;i++)
        {
            _threads.push_back(new pthread_t);
        }
    }
    static void* handerTask(void* args)
    {

    }
    ~ThreadPool()
    {
        pthread_mutex_destroy(&_mutex);
        pthread_cond_destroy(&_cond);
        for (auto& t: _threads)
        {
            delete t;
        }
    }
我们在构造函数初始化的时候先将锁和条件变量初始化了,然后挨个给vector中的线程指针开一个线程的空间,并且让它们去执行handerTask方法。在析构函数中我们需要将锁和条件变量释放掉,然后挨个将vector中每个线程指针指向的资源释放。
    static void* handerTask(void* args)
    {
        while (true)
        {
            sleep(1);
            cout<<"thread "<<pthread_self()<<"run....."<<std::endl;
        }
        return nullptr;
    }
然后我们写一个线程启动方法让线程启动(也就是创建线程)。
    void start()
    {
        for (const auto& t: _threads)
        {
            pthread_create(t,nullptr,handerTask,nullptr);
            cout<<pthread_self()<<"start...."<<endl;
        }
    }
有了线程启动后我们就可以先写main函数测试一下我们的代码有没有问题:
#include "ThreadPool.hpp"
#include <memory>

int main()
{
    std::unique_ptr<ThreadPool<int>> tp(new ThreadPool<int>());
    tp->start();
    while (1)
    {
        sleep(1);
    }
    return 0;
}
在这里我们用了智能指针来管理线程池,然后将线程池启动,下面我们运行起来:
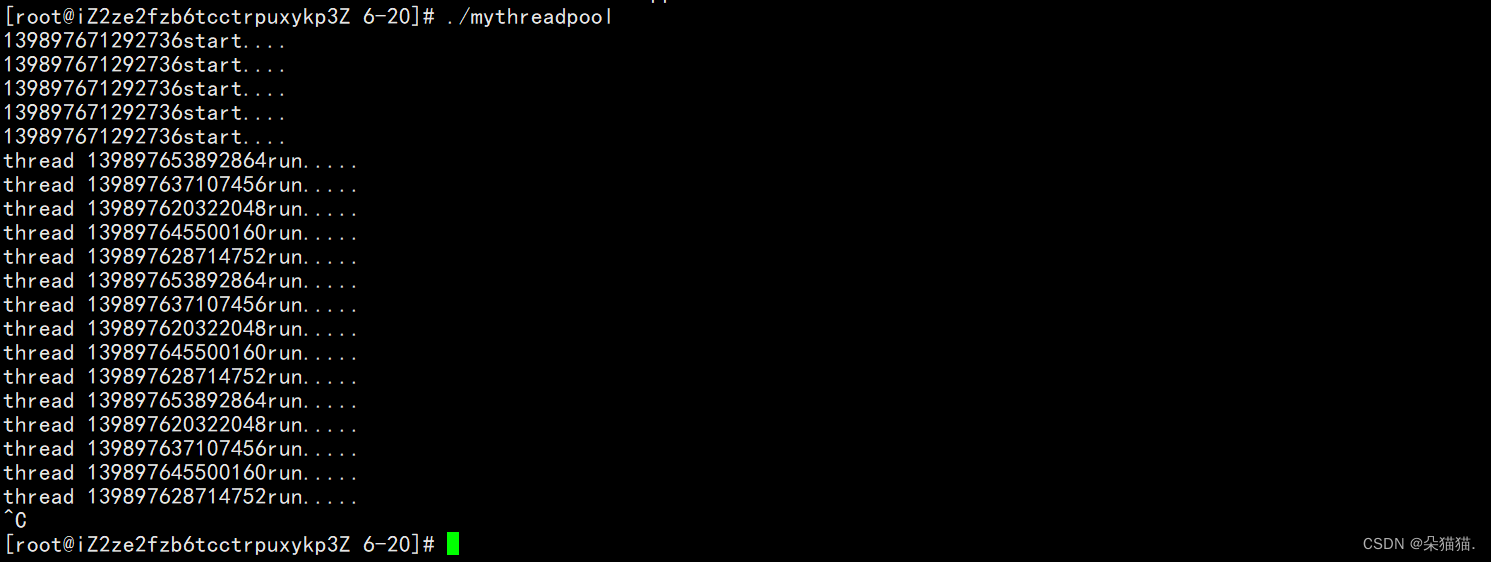
可以看到我们前面写的代码是没有问题的,下面我们继续编写线程池执行任务的代码:
我们的任务队列要面对多个线程来抢任务的情景,所以任务队列必须要加锁。
    static void* handerTask(void* args)
    {
        while (true)
        {
            pthread_mutex_lock(&_mutex);
            while (_task_queue.empty())
            {
                pthread_cond_wait(&_cond,&_mutex);
            }
            //获取任务队列中的任务
            T t = _task_queue.front();
            //处理任务
            t();
            pthread_mutex_unlock(&_mutex);
        }
        return nullptr;
    }
加锁后我们还有判断任务队列是否为空,如果为空则需要去条件变量中等待。如果不为空我们就可以获取条件变量中的任务,然后利用仿函数去处理任务。
既然有了任务队列那么我们肯定是要向任务队列中添加任务的,所以我们再写一个Push接口:
    void Push(const T& in)
    {
        pthread_mutex_lock(&_mutex);
        _task_queue.push(in);
        pthread_cond_signal(&_cond);
        pthread_mutex_unlock(&_mutex);
    }
对于添加任务我们首先要做的还是先加锁,然后将任务添加进去,一旦添加了任务我们就可以唤醒阻塞在条件变量中的线程。
实际上当我们写完代码才发现handerTask这个接口是有问题的,因为我们定义的是静态成员函数,在静态成员函数内部是不可以使用普通成员变量的,这个时候我们就需要封装一批接口来供这个方法使用:
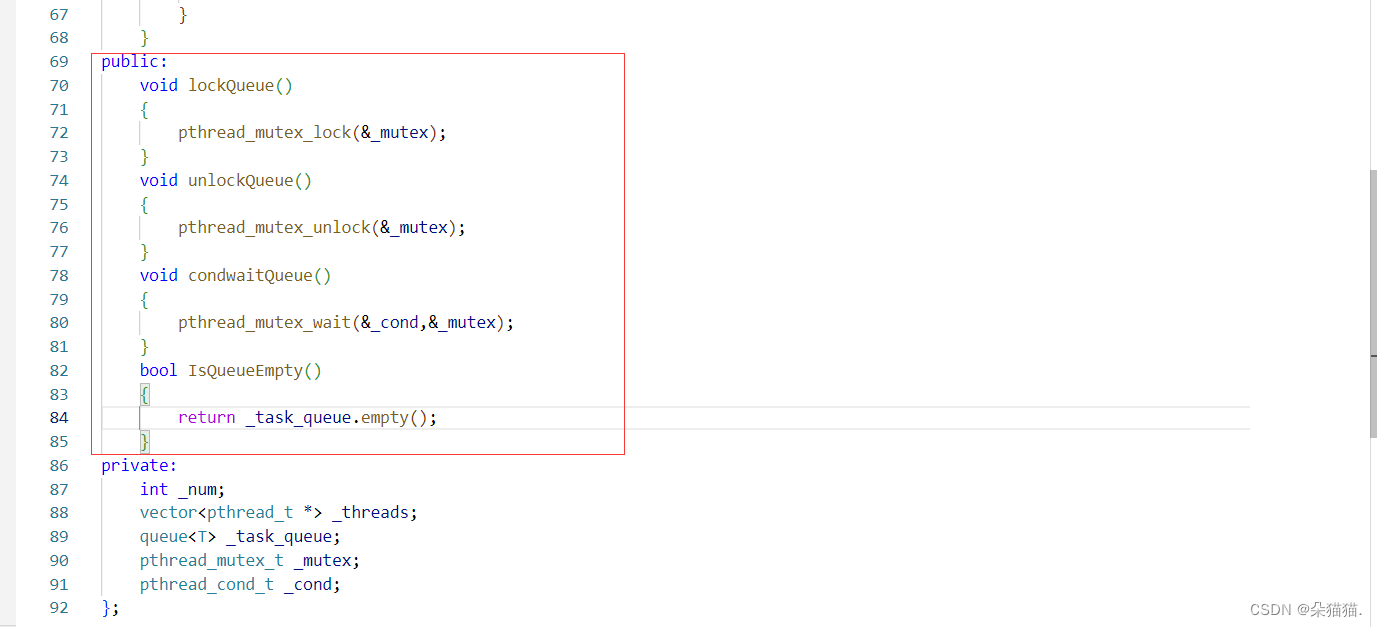
    void lockQueue()
    {
        pthread_mutex_lock(&_mutex);
    }
    void unlockQueue()
    {
        pthread_mutex_unlock(&_mutex);
    }
    void condwaitQueue()
    {
        pthread_cond_wait(&_cond,&_mutex);
    }
    bool IsQueueEmpty()
    {
        return _task_queue.empty();
    }
    T popQueue()
    {
        T t = _task_queue.front();
        _task_queue.pop();
        return t;
    }
下面我们用这些接口对handerTask进行修改:
    static void* handerTask(void* args)
    {
        ThreadPool<T>* threadpool = static_cast<ThreadPool<T>*>(args);
        while (true)
        {
            threadpool->lockQueue();
            while (threadpool->IsQueueEmpty())
            {
                threadpool->condwaitQueue();
            }
            //获取任务队列中的任务
            T t = threadpool->popQueue();
            //处理任务
            //t();
            threadpool->unlockQueue();
            t();
        }
        return nullptr;
    }
这样我们就完成了handerTask方法的设计,但是我们处理任务的代码是有问题的,我们设计的是多线程的模型,让多个线程共同去抢任务执行,如果我们将处理任务的方法放到锁中,那么这个处理任务的过程就变成了串行的,就不符合我们的预期了,所以我们处理任务的过程一定是在解锁后,接下来我们把前一篇文章用到的Task任务导入:
int main()
{
    std::unique_ptr<ThreadPool<Task>> tp(new ThreadPool<Task>());
    tp->start();
    int x ,y;
    char op;
    while (1)
    {
        cout<<"请输入数据1#: ";
        cin>>x;
        cout<<"请输入数据2#: ";
        cin>>y;
        cout<<"请输入你要进行的运算#: ";
        cin>>op;
        Task t(x,y,op);
        tp->Push(t);
        sleep(1);
    }
    return 0;
}
当然为了让运行的结果更容易观察,我们在hander方法中让线程处理完成任务后打印一下结果:
    static void* handerTask(void* args)
    {
        ThreadPool<T>* threadpool = static_cast<ThreadPool<T>*>(args);
        while (true)
        {
            threadpool->lockQueue();
            while (threadpool->IsQueueEmpty())
            {
                threadpool->condwaitQueue();
            }
            //获取任务队列中的任务
            T t = threadpool->popQueue();
            //处理任务
           // t();   注意处理任务不能放在加锁过程中,否则就变成串行的了
            threadpool->unlockQueue();
            t();
            cout<<t.formatArg()<<"?   "<<"的运算的结果为:"<<t.formatRes()<<endl;
        }
        return nullptr;
    }
下面我们看看运行后的效果:

可以看到是没有问题的。
下面我们将线程池中所有加锁的东西都用我们自己写的lockguard做一下整合:
我们先写一个接口用来拿到锁:

然后我们就可以修改一下hander方法:
 static void* handerTask(void* args)
    {
        ThreadPool<T>* threadpool = static_cast<ThreadPool<T>*>(args);
        while (true)
        {
            T t;
            {
                LockGuard(threadpool->getMutex());
                while (threadpool->IsQueueEmpty())
                {
                    threadpool->condwaitQueue();
                }
                // 获取任务队列中的任务
                t = threadpool->popQueue();
            }
            t();
            cout<<t.formatArg()<<"?   "<<"的运算的结果为:"<<t.formatRes()<<endl;
        }
        return nullptr;
    }
当然我们也可以不要用匿名对象,直接定义一下,不然生命周期会有问题:
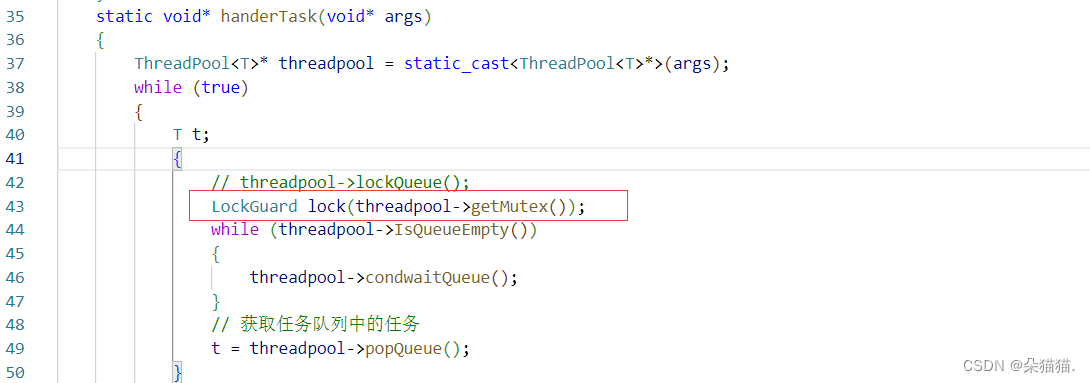
    void Push(const T& in)
    {
        LockGuard lock(&_mutex);
        _task_queue.push(in);
        pthread_cond_signal(&_cond);
    }
修改后我们重新运行一下:

可以看到是没有问题的。
下面我们将这个线程池改为单例模式:

首先将构造函数设置为私有,然后将拷贝构造和赋值删除。
下面我们定义一个静态的线程池指针:

下面我们再设计一个启动单例模式的方法:

注意我们的启动方法一般都是静态的,因为我们要求这个方法只属于这个类。
然后main函数中原来的指针就变成了用类名直接调用静态方法:
int main()
{
    ThreadPool<Task>::getInstance()->start();
    int x ,y;
    char op;
    while (1)
    {
        cout<<"请输入数据1#: ";
        cin>>x;
        cout<<"请输入数据2#: ";
        cin>>y;
        cout<<"请输入你要进行的运算#: ";
        cin>>op;
        Task t(x,y,op);
        ThreadPool<Task>::getInstance()->Push(t);
        sleep(1);
    }
    return 0;
}
然后我们运行起来也是正常的,当然我们获取单列对象的方法一个线程是没有问题的,但是当多线程并发访问就会有问题,就有可能存在多次new对象的情况,所以我们在创建单例模式的时候加一把锁:

我们这里加的锁是C++库中的,为什么不用之前的那个锁呢?因为我们的获取单例对象的函数是静态的,并且这个函数不需要传this参数,不像我们之前hander方法需要传this参数正好可以用我们之前定义的Linux中的锁。
    static ThreadPool<T>* getInstance()
    {
        if (_tp == nullptr)
        {
            _mtx.lock();
            if (_tp == nullptr)
            {
                _tp = new ThreadPool<T>();
            }
            _mtx.unlock();
        }
        return _tp;
    }
加锁后我们的静态成员函数的代码如上,至于为什么要判断两次,这是因为我们只有第一次获取单例对象的时候才需要加锁,如果已经有对象了我们还要加锁解锁那么就会浪费资源,所以我们判断两次保证只有第一次进来创建单例对象的时候才加锁。这样就完成了一个简单的单例模式的设定。
STL中的指针是否是线程安全的?
其他常见的各种锁
读者写者问题
int pthread_rwlockattr_setkind_np(pthread_rwlockattr_t *attr, int pref);
/*
pref 共有 3 种选择
PTHREAD_RWLOCK_PREFER_READER_NP (默认设置) 读者优先,可能会导致写者饥饿情况
PTHREAD_RWLOCK_PREFER_WRITER_NP 写者优先,目前有 BUG,导致表现行为和
PTHREAD_RWLOCK_PREFER_READER_NP 一致
PTHREAD_RWLOCK_PREFER_WRITER_NONRECURSIVE_NP 写者优先,但写者不能递归加锁
*/
初始化:
int pthread_rwlock_init(pthread_rwlock_t *restrict rwlock,const pthread_rwlockattr_t
*restrict attr);
销毁:
int pthread_rwlock_destroy(pthread_rwlock_t *rwlock);加锁和解锁:
int pthread_rwlock_rdlock(pthread_rwlock_t *rwlock);
int pthread_rwlock_wrlock(pthread_rwlock_t *rwlock);
int pthread_rwlock_unlock(pthread_rwlock_t *rwlock);
总结
本篇文章中重点在于如何实现线程池,其他都是一些了解性的概念,对于其他种类的锁,只要学习了互斥锁其实很多接口都是和互斥锁类似的,到时候二次学习即可。
