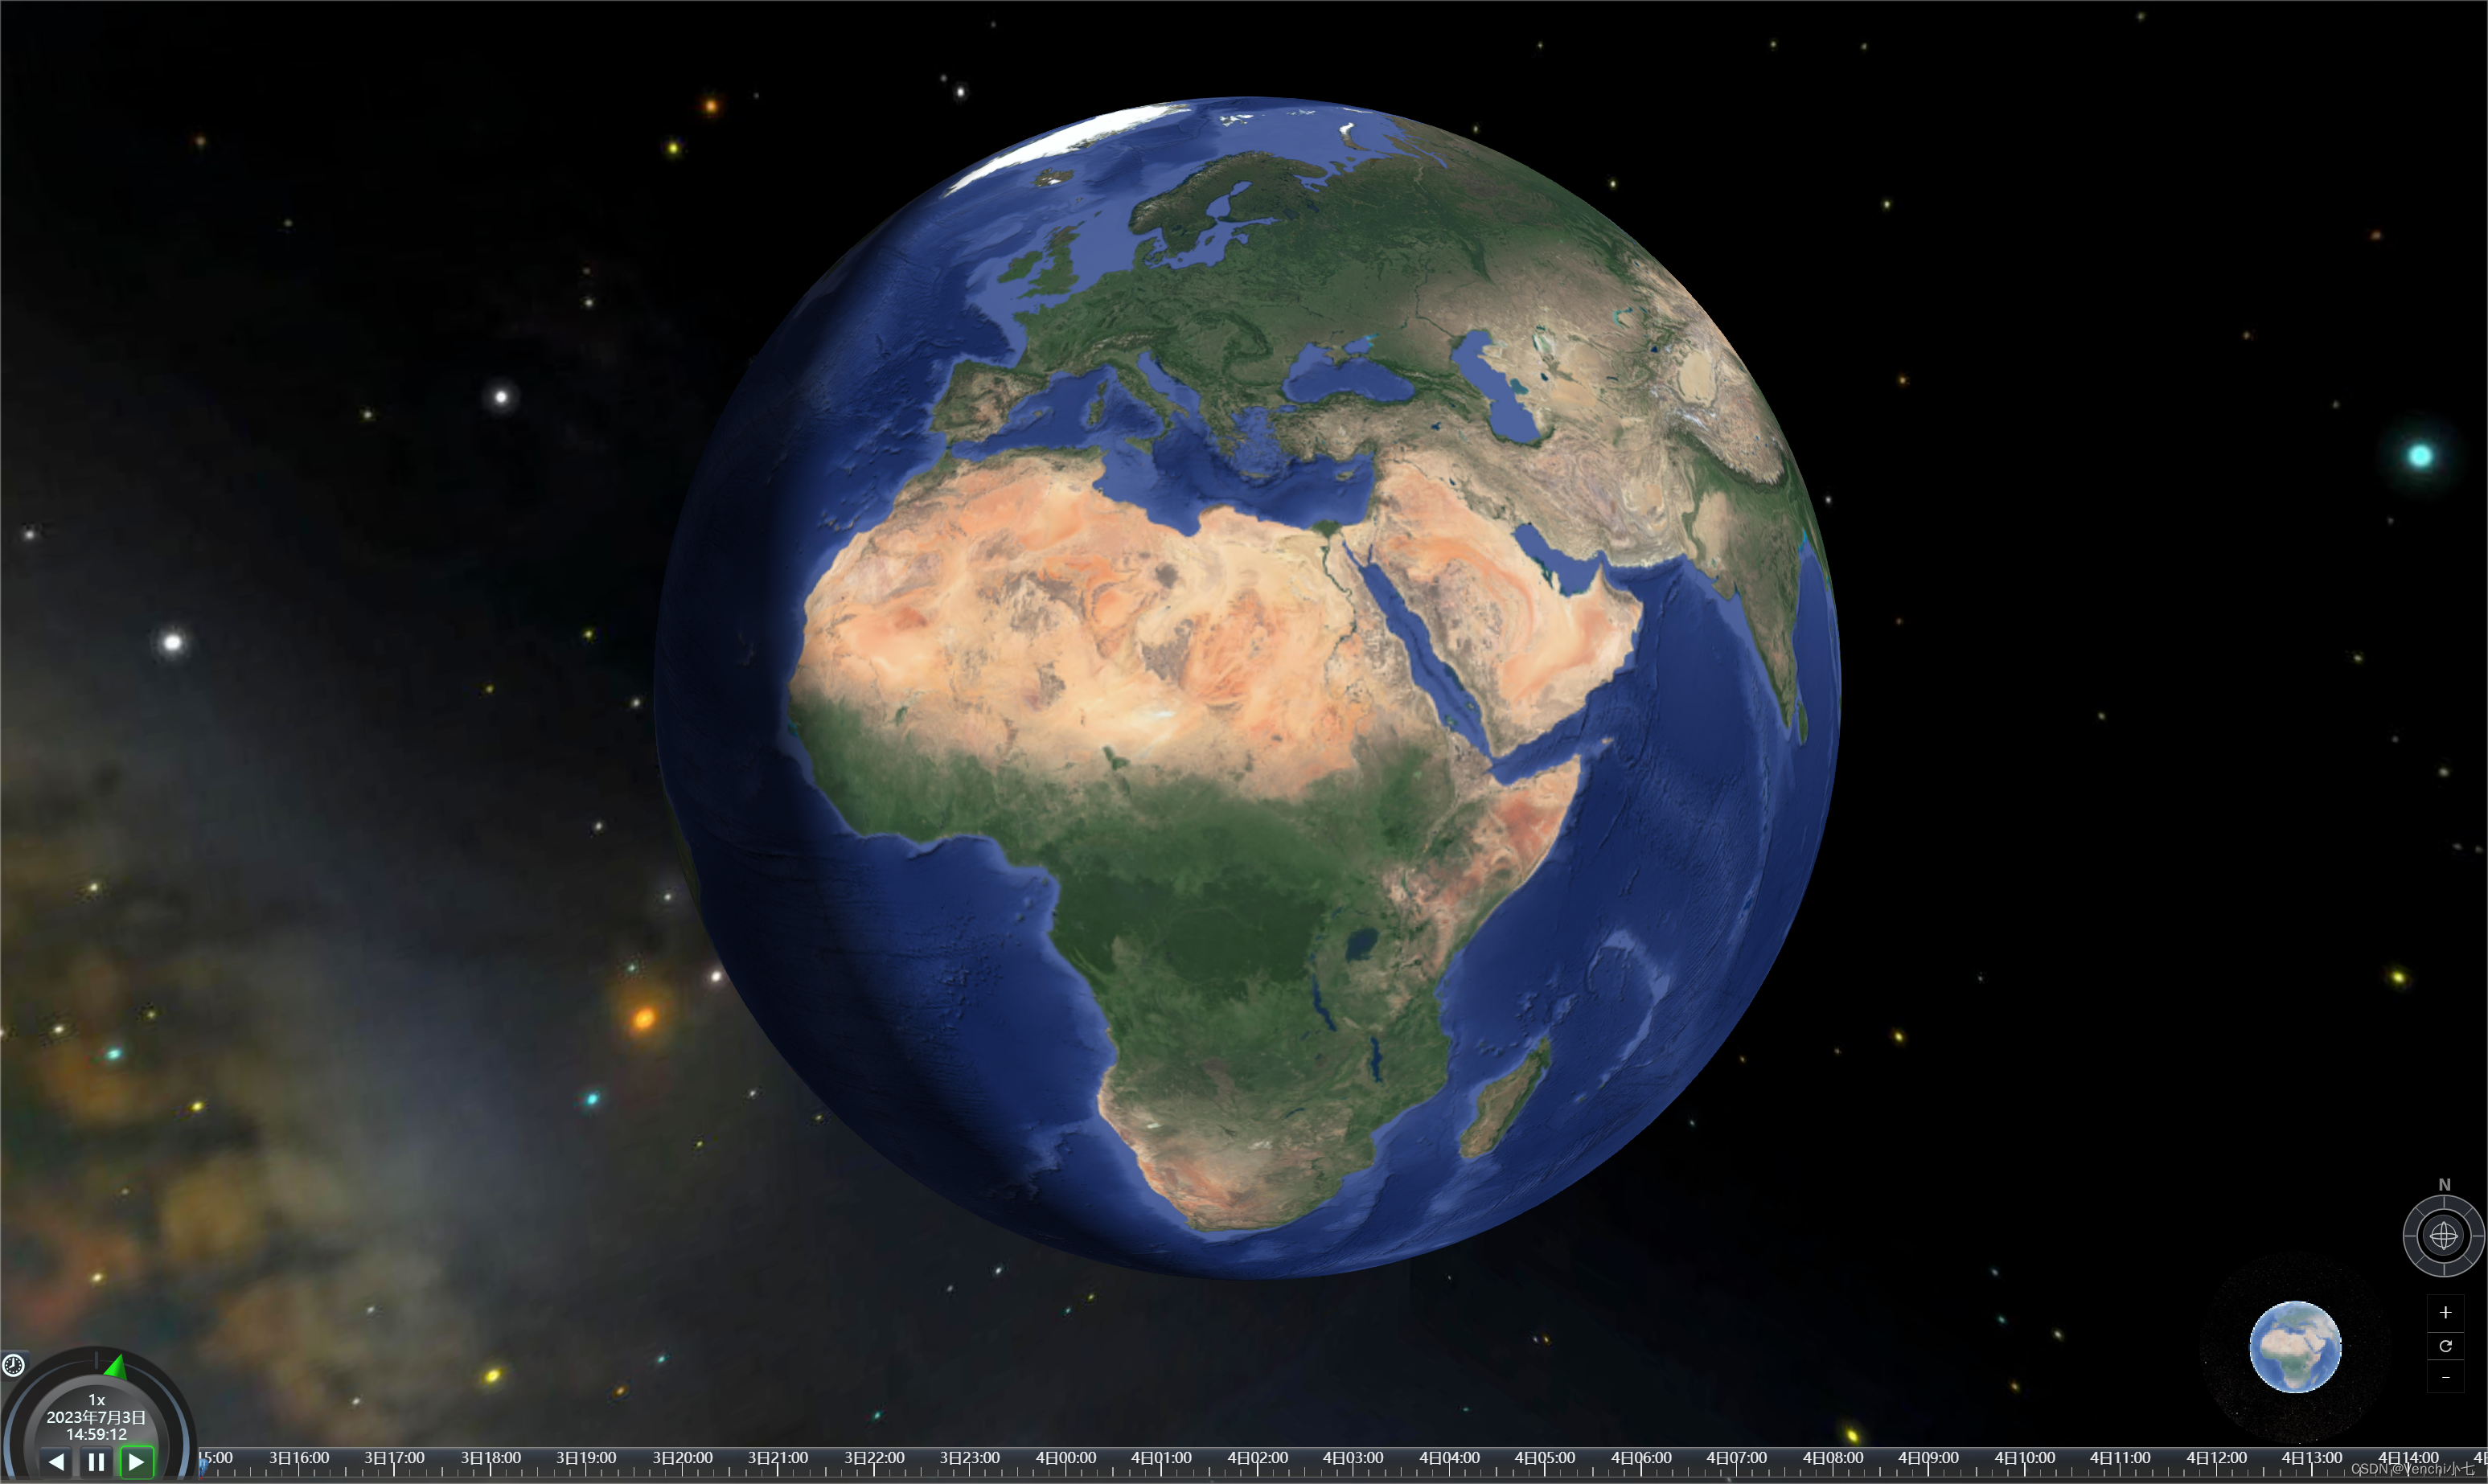
具体思路是:新建一个viewer作为鹰眼地图,监听主地图的相机change事件,手动更新鹰眼地图的视角。
效果:
1. 创建一个id为hawkEyeMap的DOM节点,配置一下样式。
<div id="hawkEyeMap"></div>

#hawkEyeMap {
  position: absolute;
  bottom: 55px;
  right: 90px;
  border-radius: 50%;
  height: 160px;
  width: 160px;
  overflow: hidden;
}
2. 新建一个hawkEyeMap.js文件。
import earth from '@/assets/cesium/images/earth.png';
import { SingleTileImageryProvider, UrlTemplateImageryProvider } from 'cesium'

export default class HawkEyeMap {
    constructor(viewer) {
        this._viewer = viewer; // 主地图viewer
        this._hawkEyeMap = null;
    }

    // 初始化函数
    _init() {
        this._hawkEyeMap = new Cesium.Viewer('hawkEyeMap', {
            imageryProvider: new SingleTileImageryProvider({
                url: earth // 底图
            }),
            geocoder: false,
            homeButton: false,
            sceneModePicker: false,
            baseLayerPicker: false,
            navigationHelpButton: false,
            animation: false,
            timeline: false,
            fullscreenButton: false,
        });

        let control = this._hawkEyeMap.scene.screenSpaceCameraController;
        // 旋转
        control.enableRotate = false;
        // 旋转
        control.enableTranslate = false;
        // 放大
        control.enableZoom = false;
        // 倾斜
        control.enableTilt = false;
        // 看向
        control.enableLook = false;

        this._hawkEyeMap.cesiumWidget.creditContainer.style.display = 'none';
        this._hawkEyeMap.scene.backgroundColor = Cesium.Color.TRANSPARENT;
        this._hawkEyeMap.imageryLayers.removeAll();

        this._hawkEyeMap.imageryLayers.addImageryProvider(new        UrlTemplateImageryProvider({
            url: '', // 瓦片地图地址
            minimumLevel: 3,
            maximumLevel: 10
        }));

        // 引起事件监听的相机变化幅度
        this._viewer.camera.percentageChanged = 0.01;

        this._bindEvent();
    }

    // 绑定事件
    _bindEvent() {
        // 监听主图相机变化
        this._viewer.camera.changed.addEventListener(this._syncMap, this);

    }

    // 同步主图与鹰眼地图
    _syncMap() {
        this._hawkEyeMap.camera.flyTo({
            destination: this._viewer.camera.position,
            orientation: {
                heading: this._viewer.camera.heading,
                pitch: this._viewer.camera.pitch,
                roll: this._viewer.camera.roll,
            },
            duration: 0.0,
        })
    }
}
3. 引用HawkEyeMap
传参主地图的viewer
const hawkEyeMap = new HawkEyeMap(mainViewer);
hawkEyeMap._init();