文章目录
- 滚动视图的嵌套
- 创建项目(前期准备)
- 工程搭建
- 编写XML
- 正式代码
- By-Round Moon
滚动视图的嵌套
说明:本博客是博主学习安卓开发的第一个案例。接下来会进行一系列的样例,含很多基础部分,各位观众老爷请见谅。
Android Studio 版本:2022.2.1 patch 2
创建项目(前期准备)
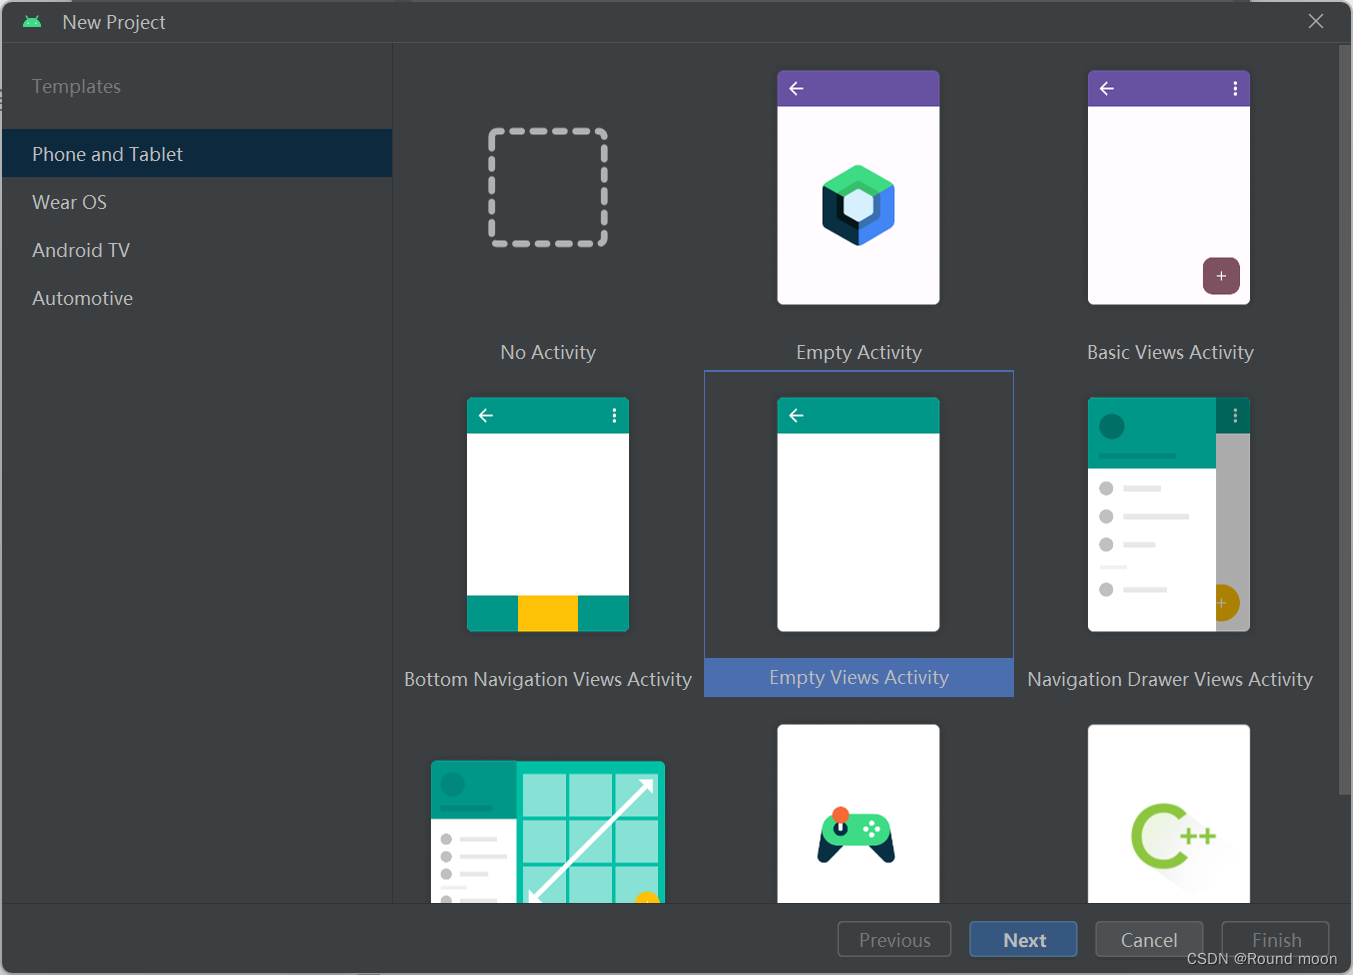
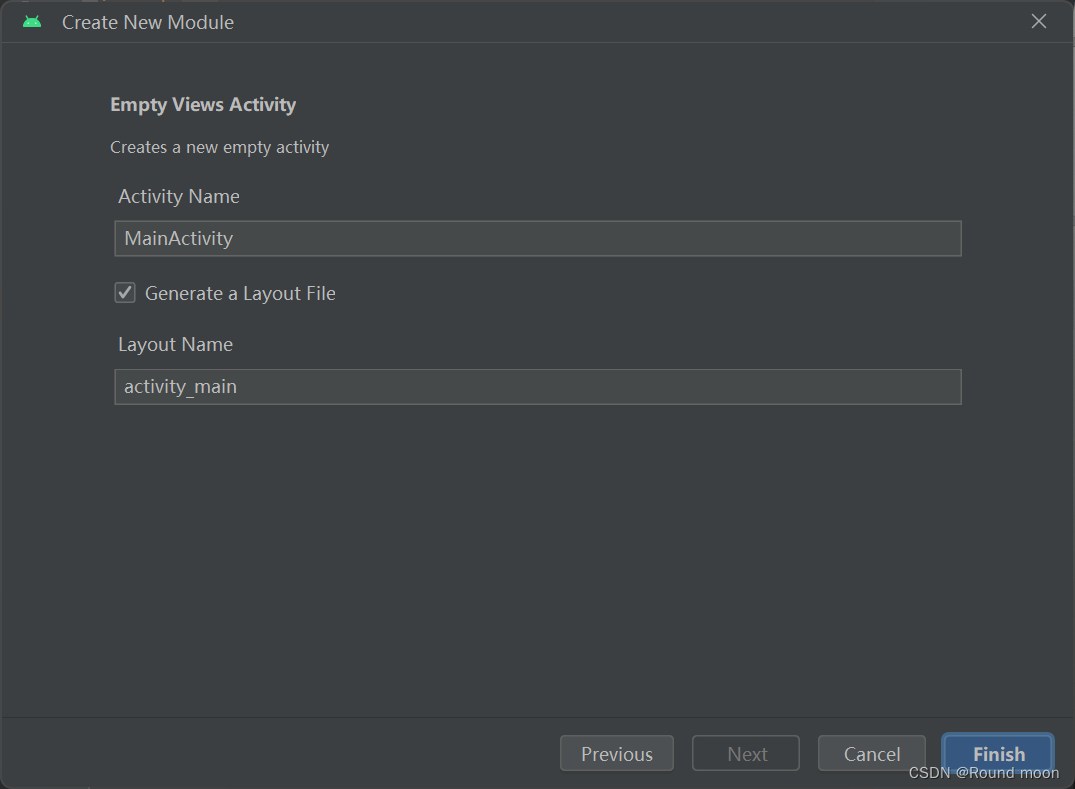
由于新版本和以往视频教学的不一样,这里选择Empty Views Activity。如果选择Empty Activity 就选择了以往版本里的 Empty Compose Activity了。
自己随便起一个名字。点击Finish,中间的package name ,我自从自己改过一次后,他自己就默认成这样了,触发条件尚未明确。

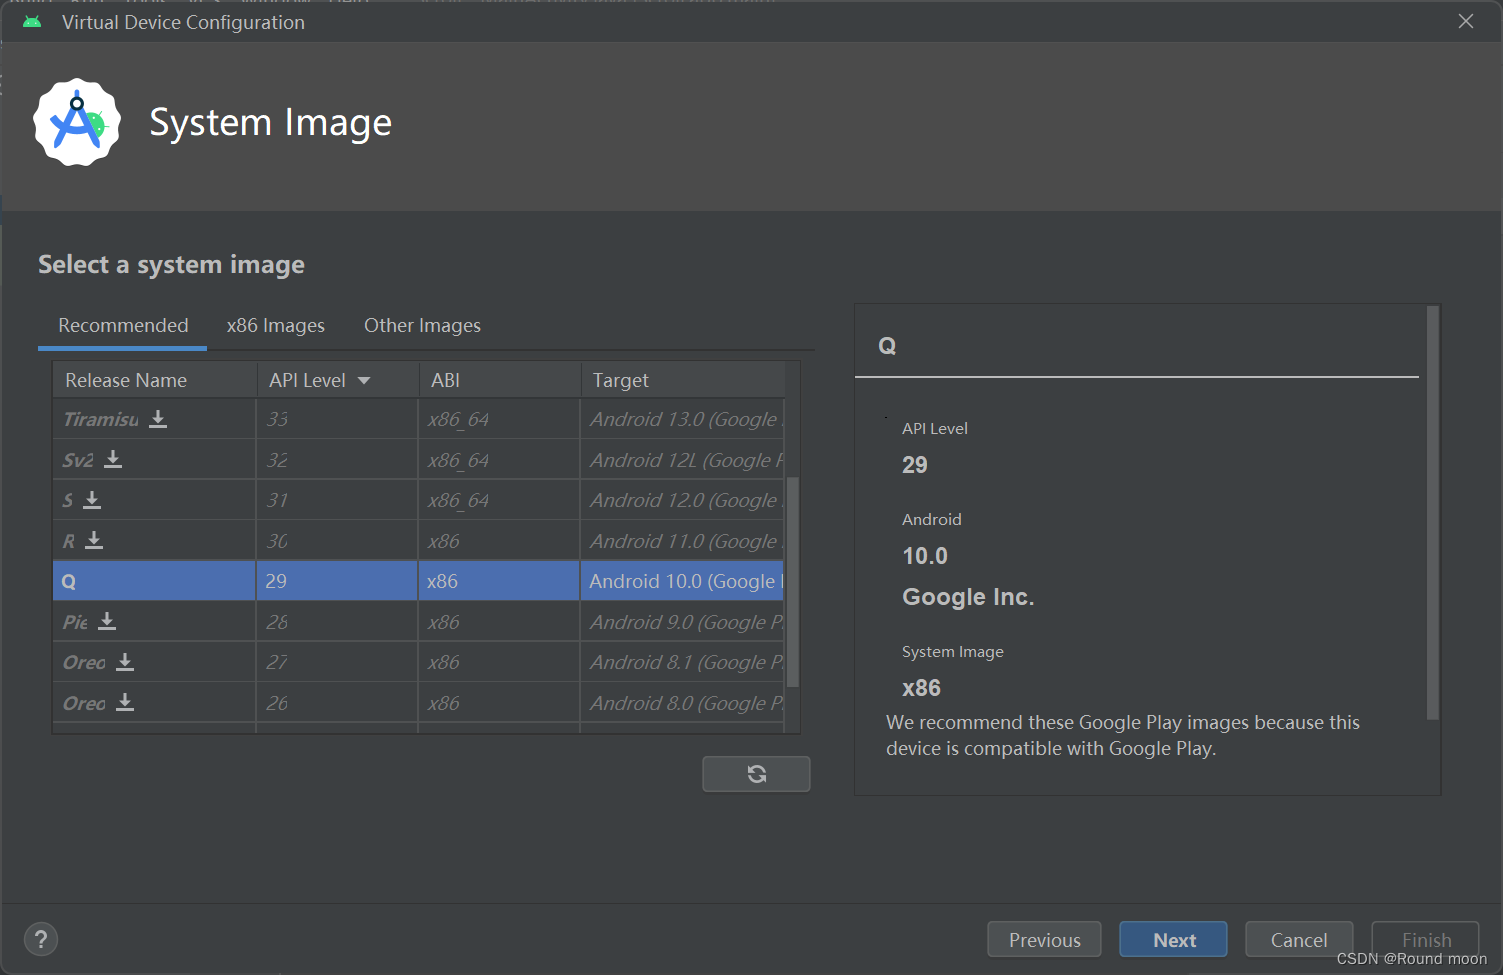
选择适合的版本,下载,然后下一步,然后finish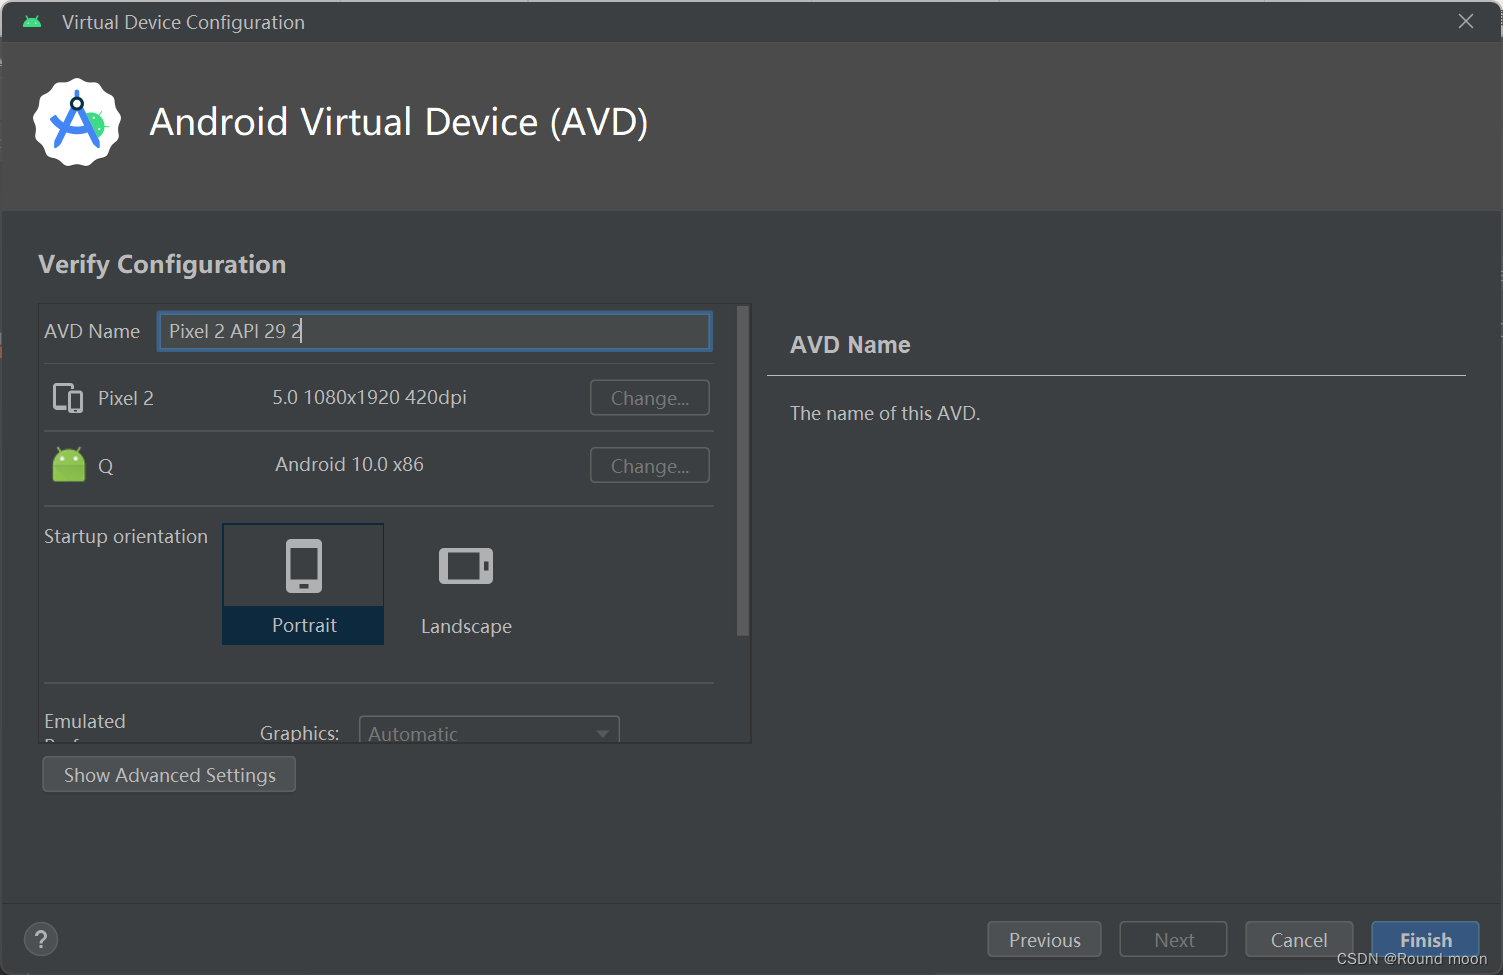
最后验证的环节,直接点击这个按钮,不用在乎图片是否与我一致,直接点击。
等待若干秒,显示如下图所示,则成功。
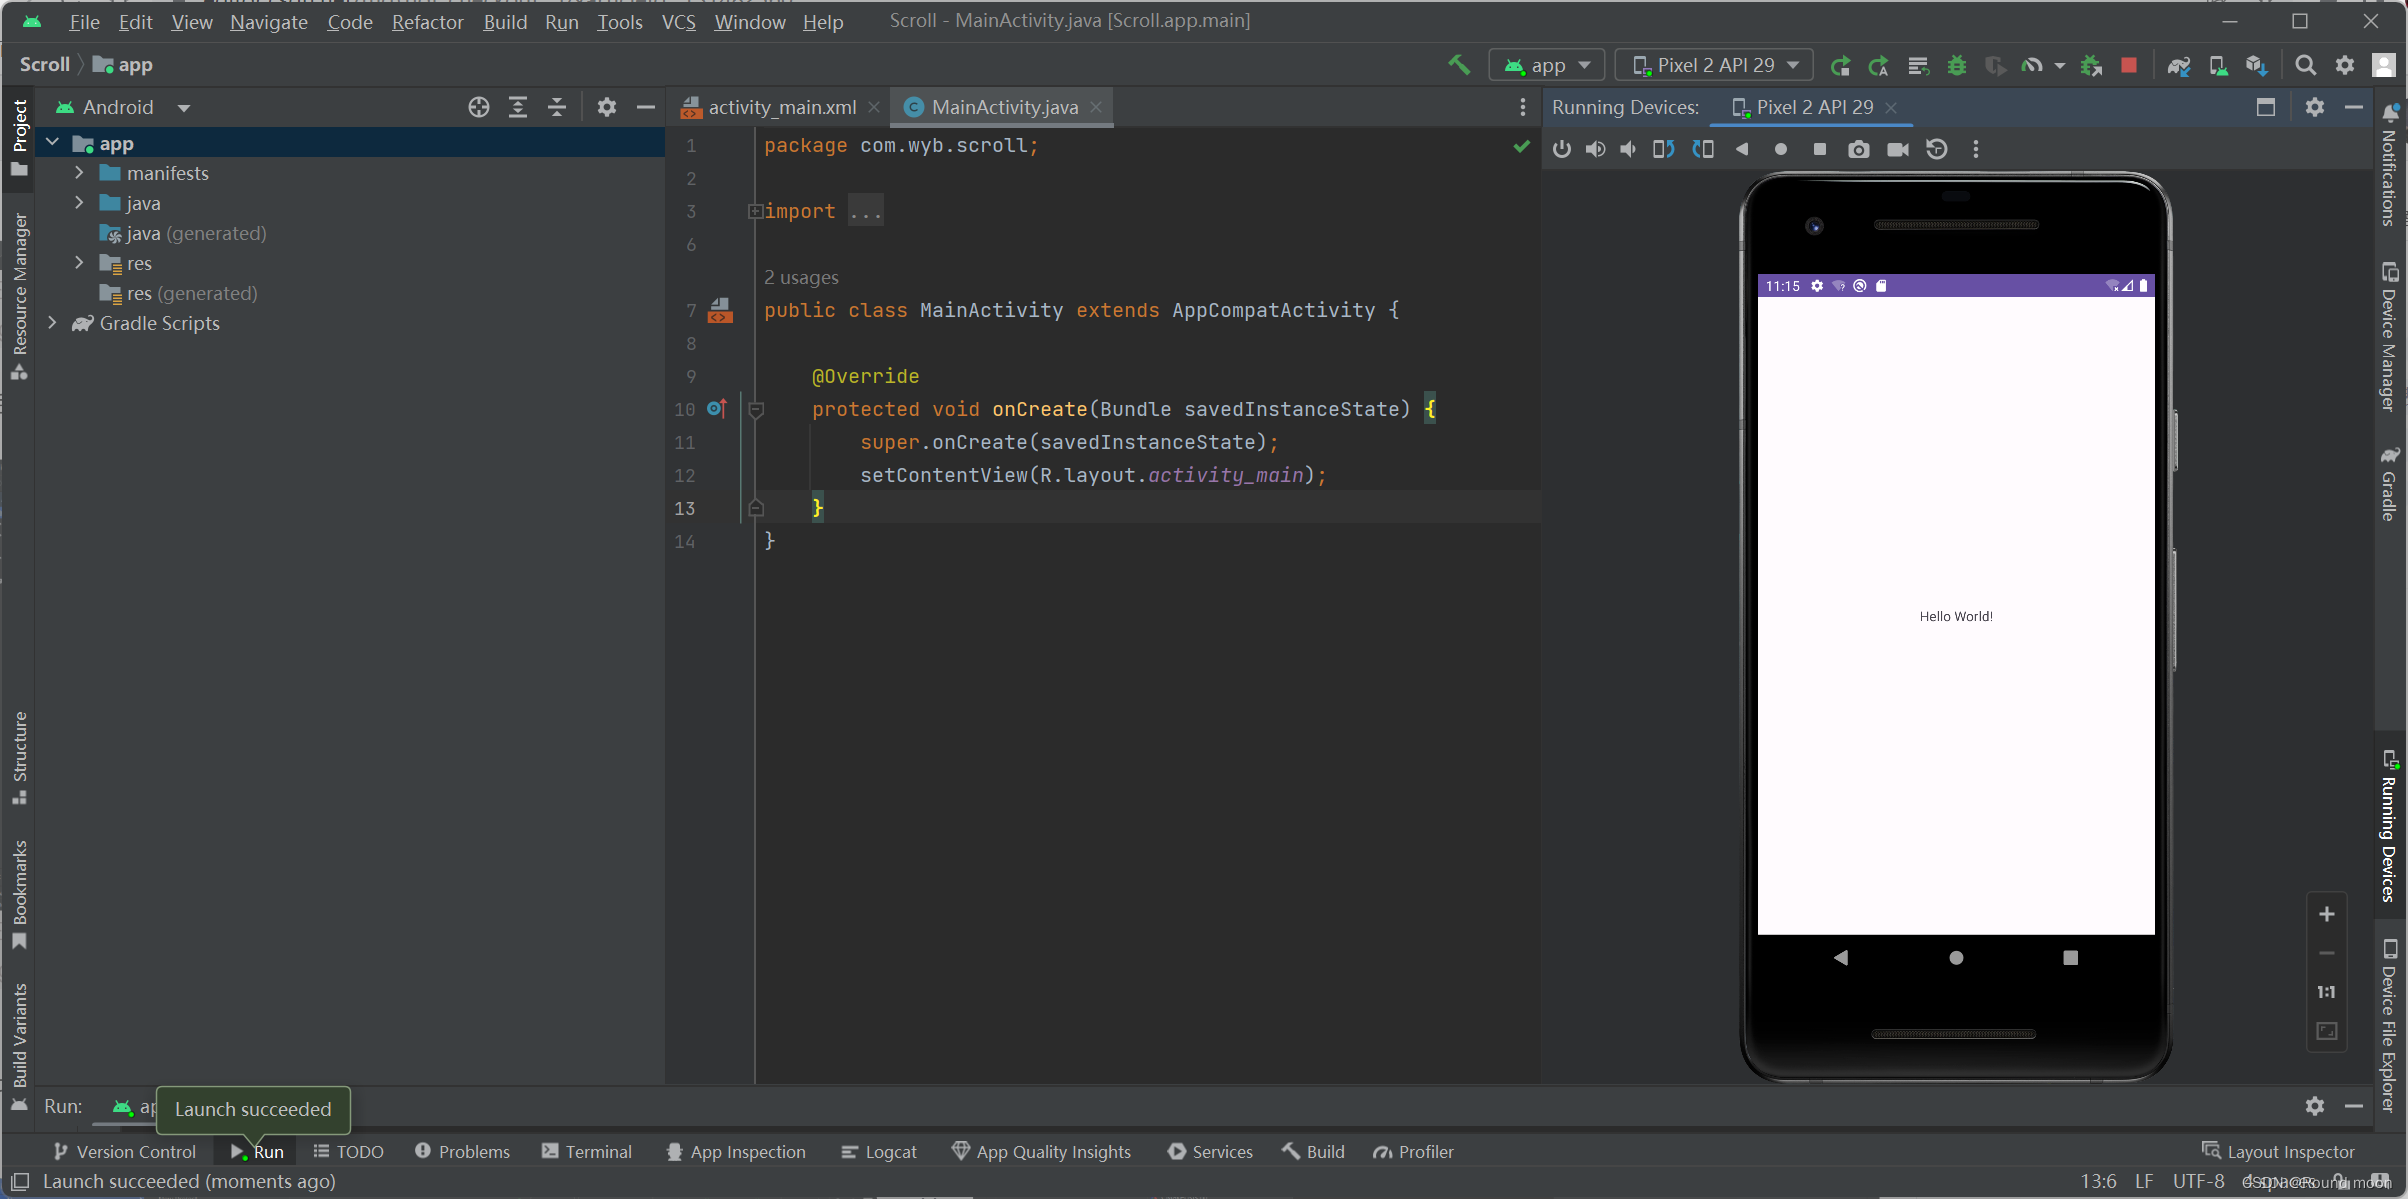
至此,前期准备工作完成。
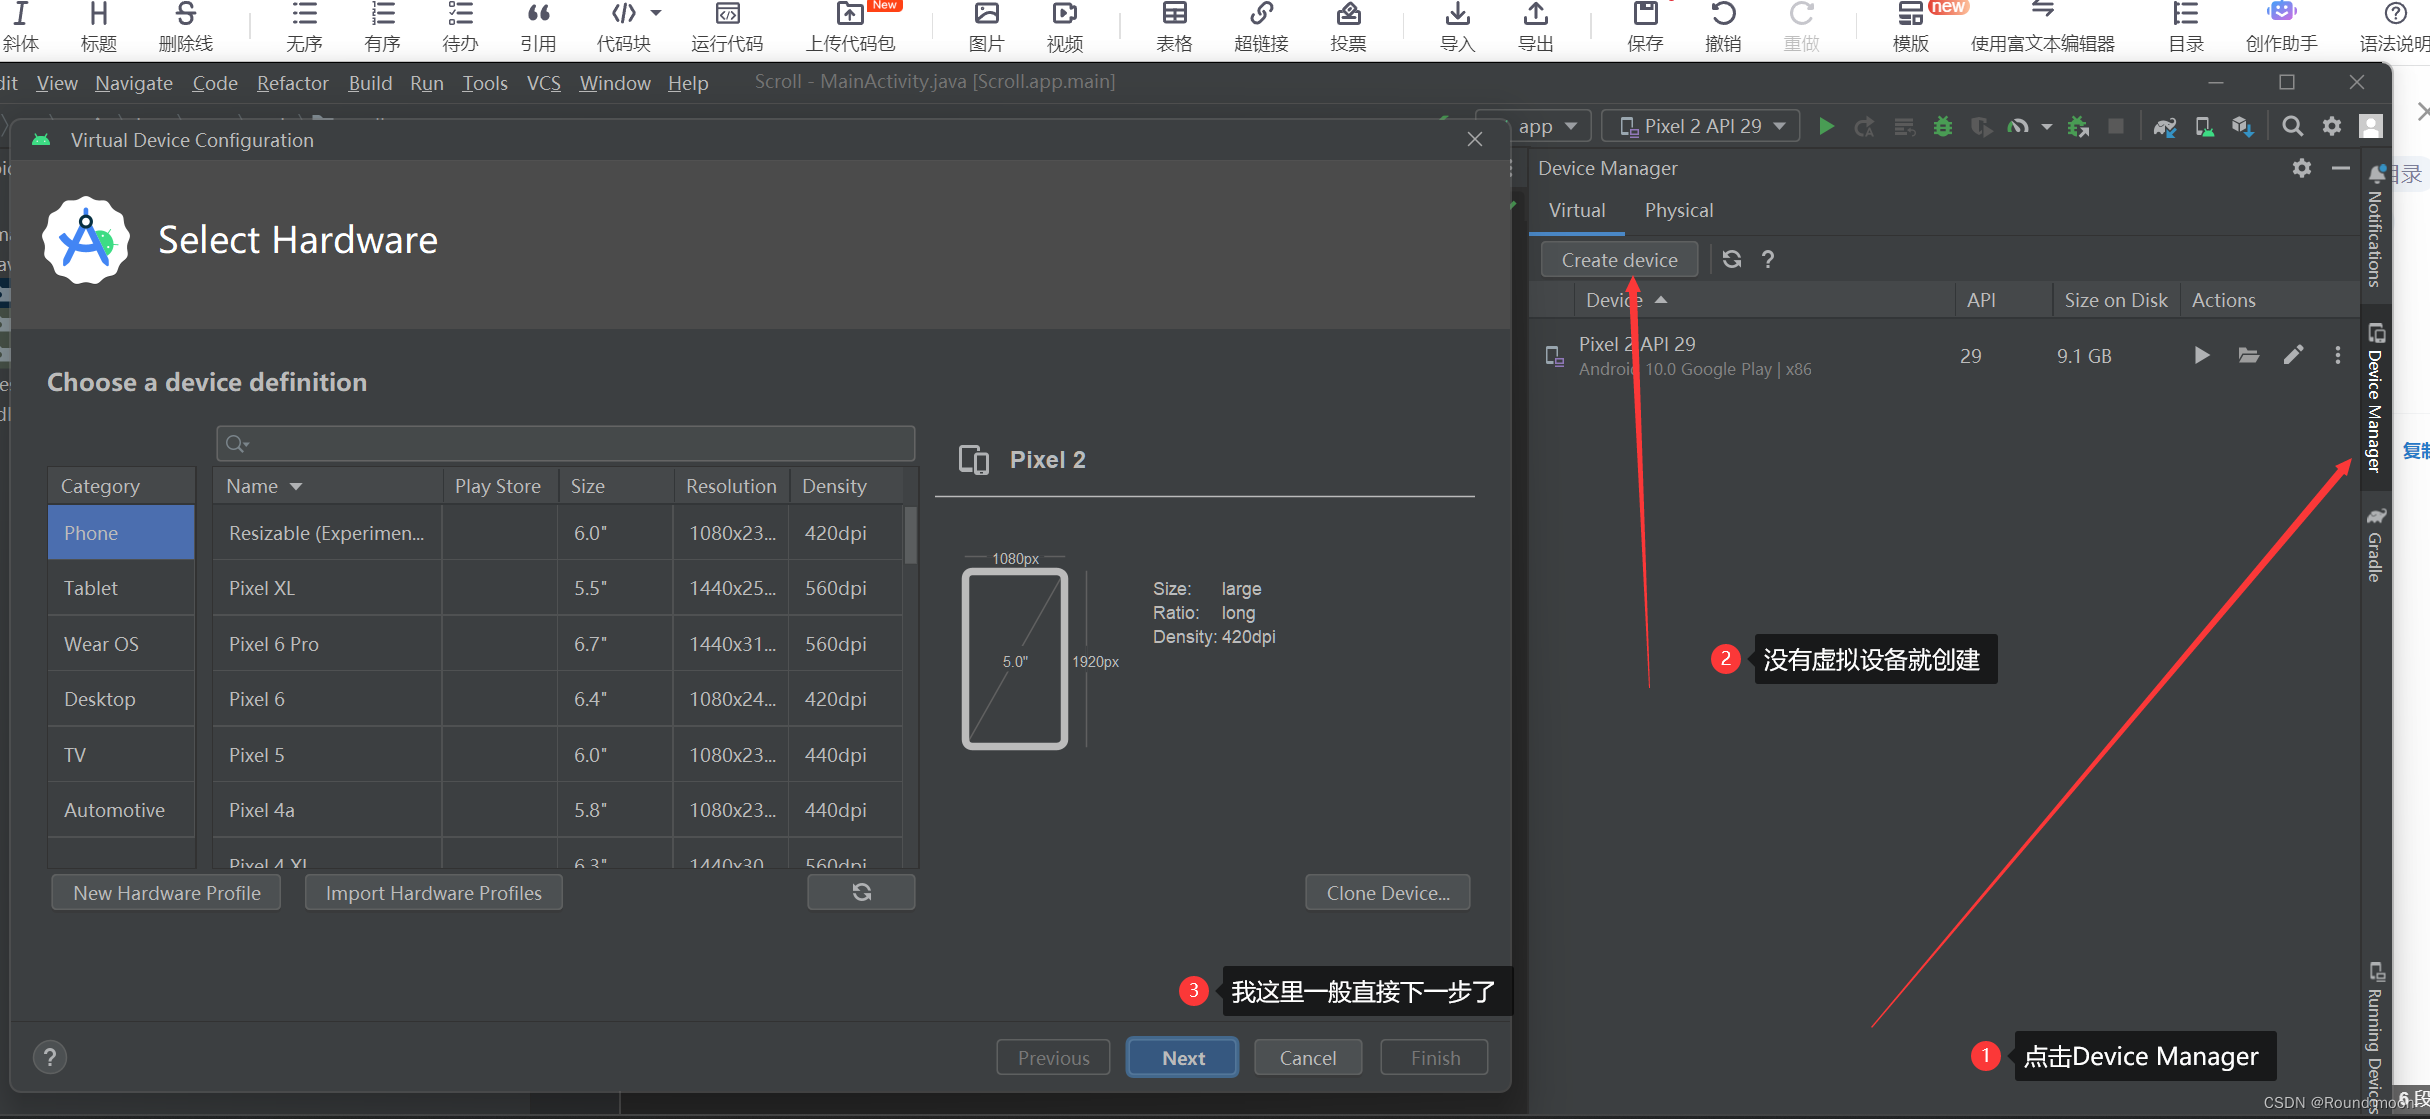
工程搭建
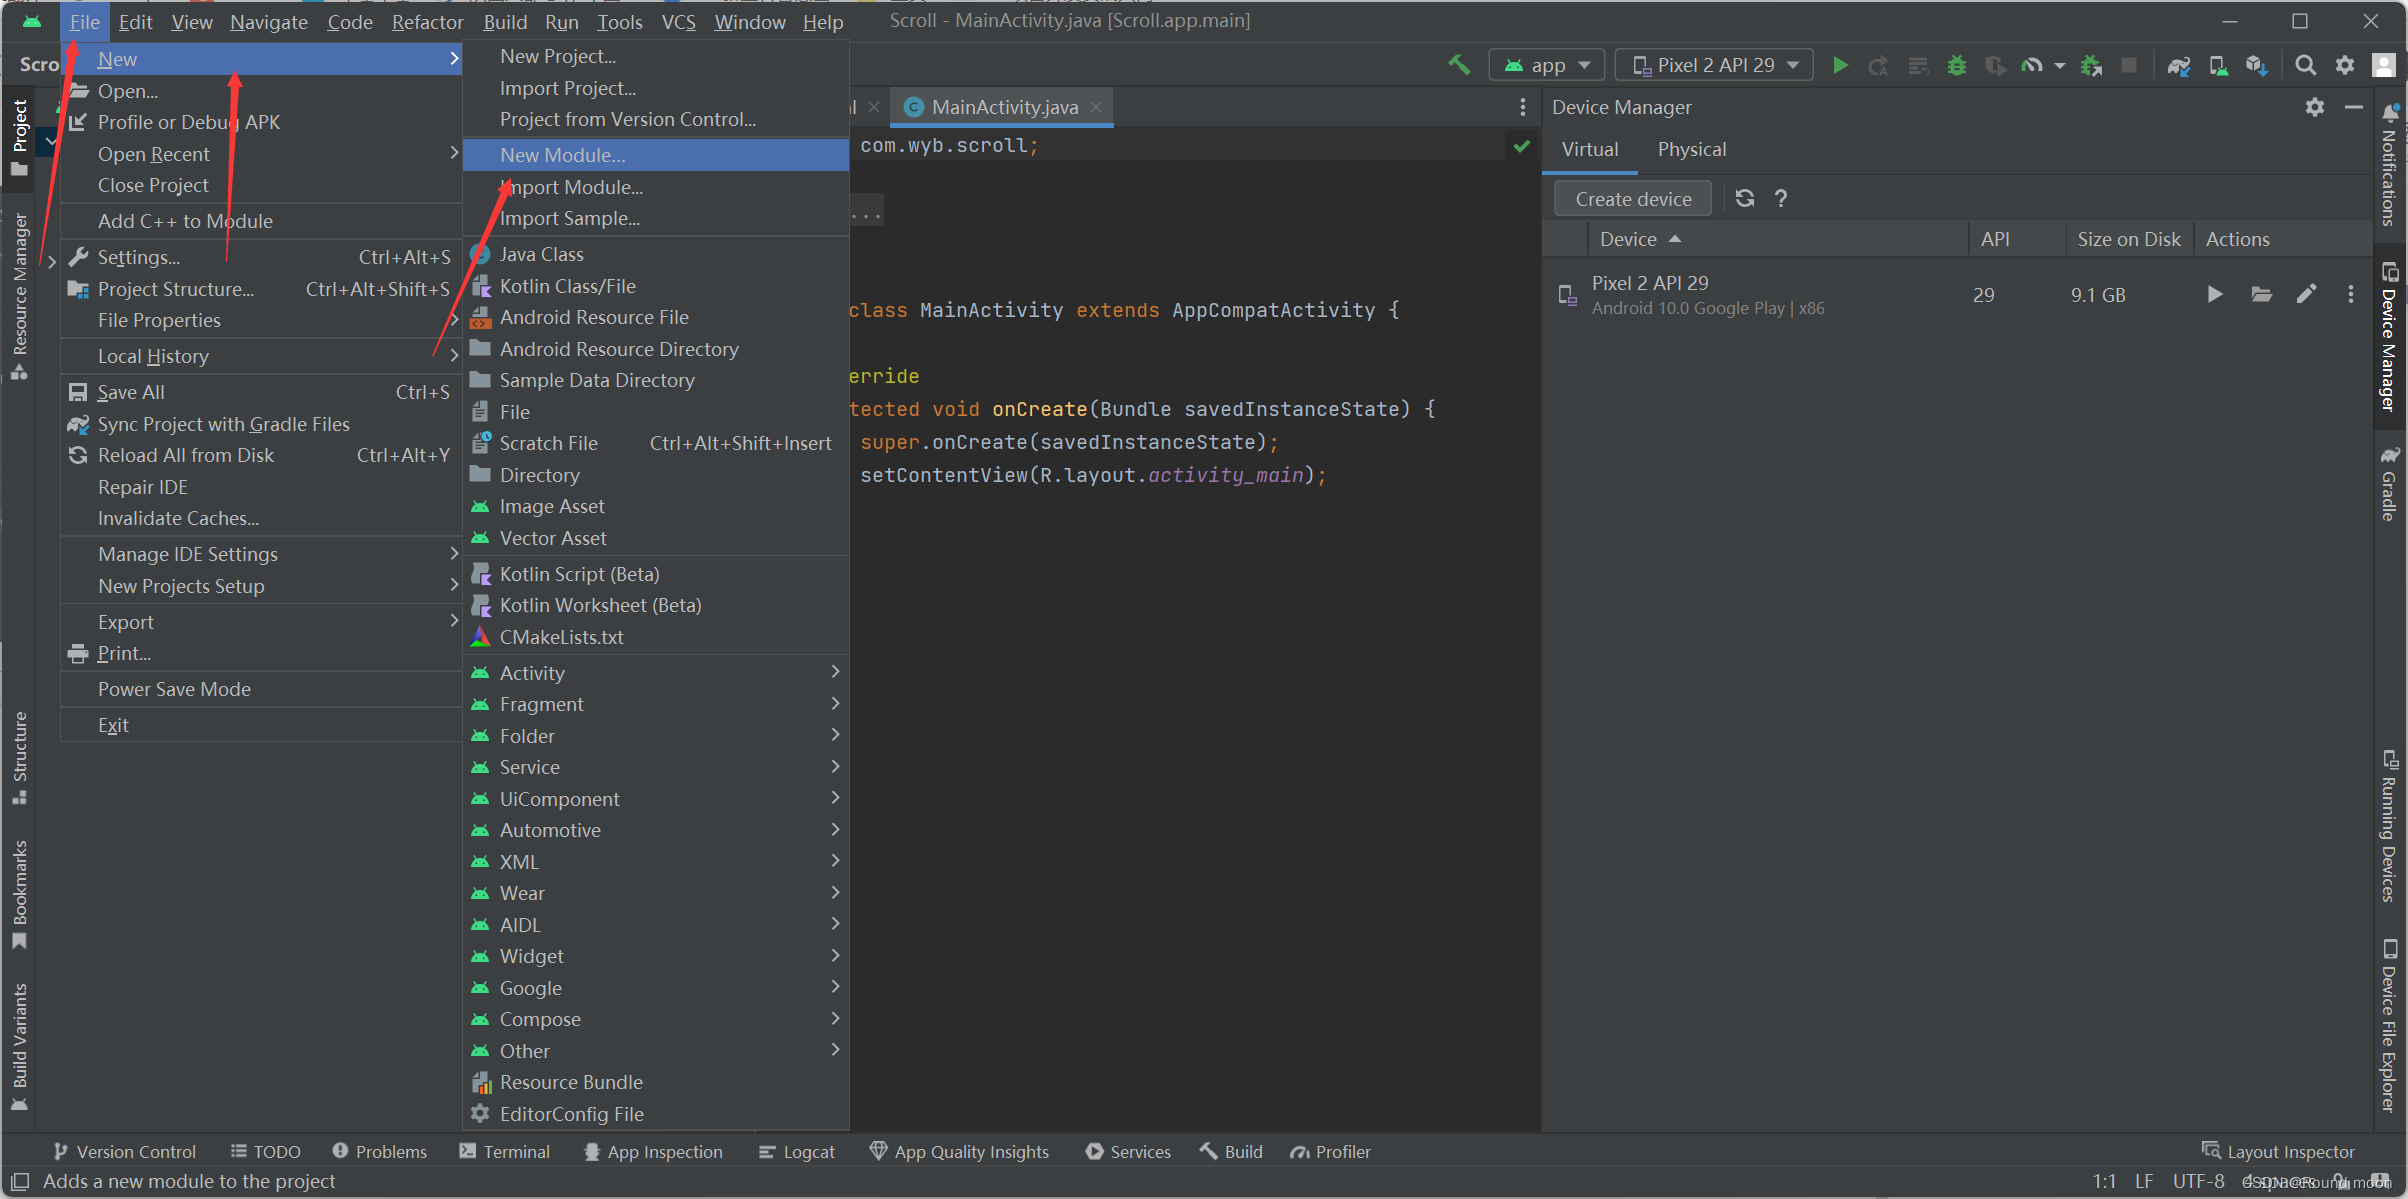
进行添加新模块的操作,我们添加一个模块,进行项目的开发。
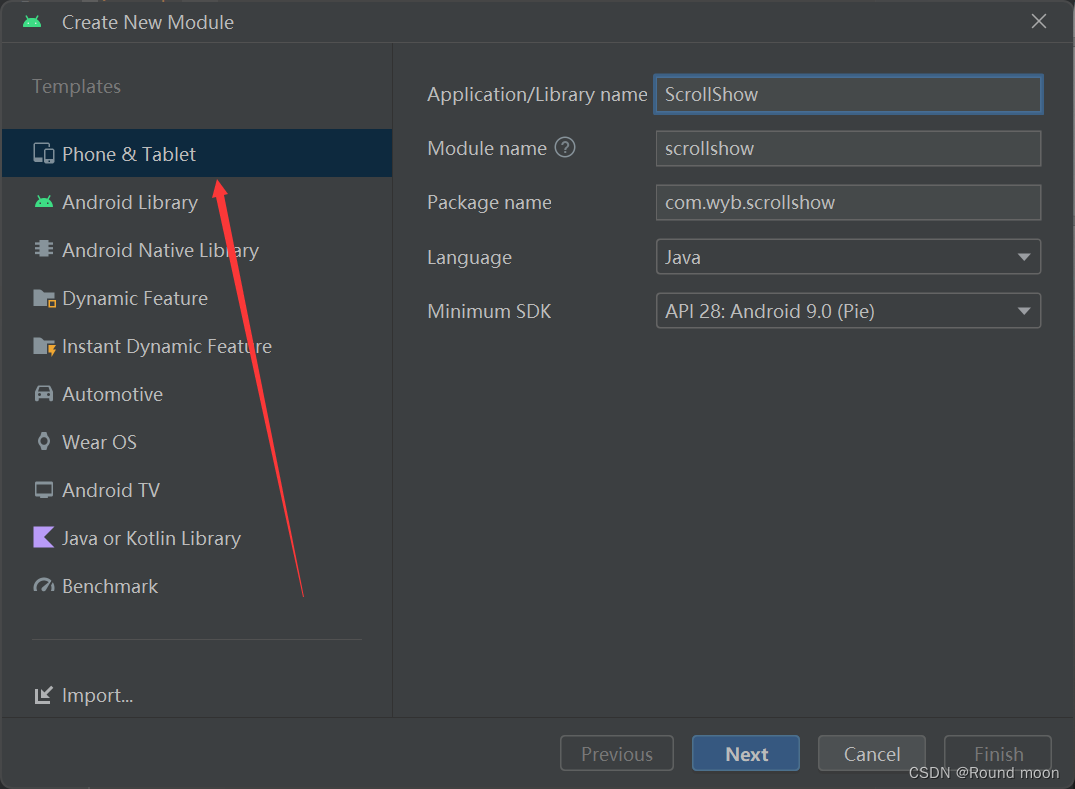
选择Phone&Table,Library Name 随便起名。进行Next
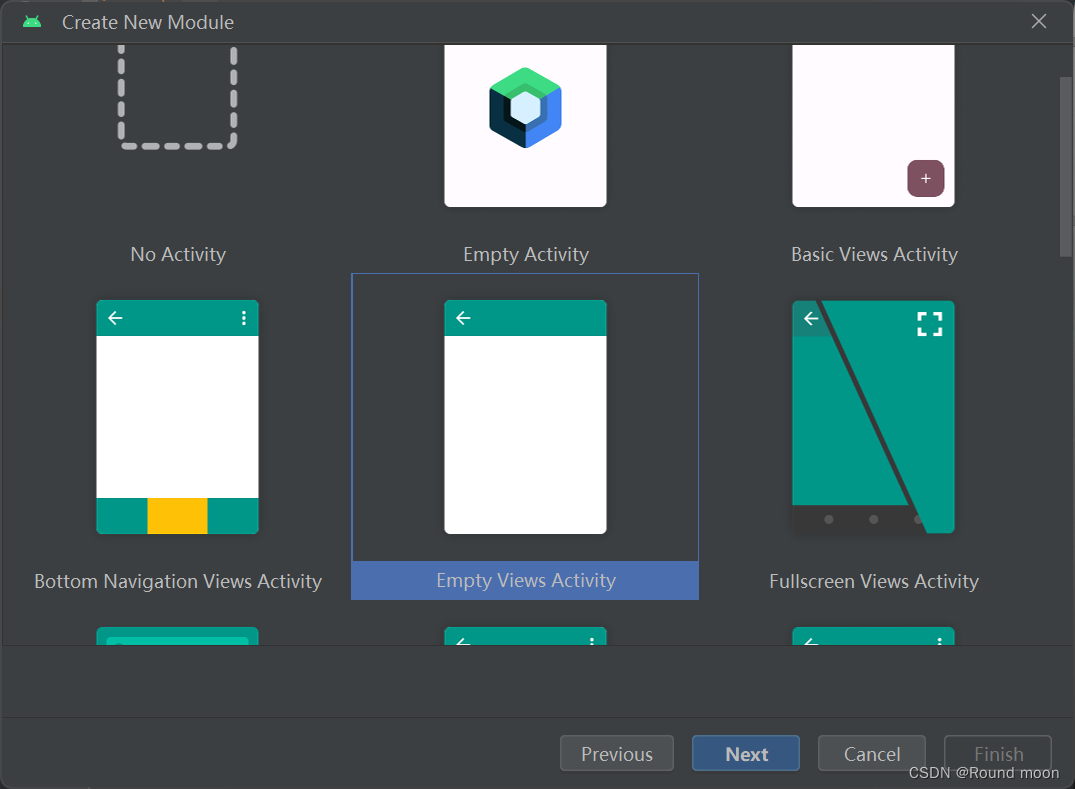
还是选择空项目。不要和之前版本的选混了。即选择图片类似的。
这里直接Finish,等待几秒,给软件构建时间。
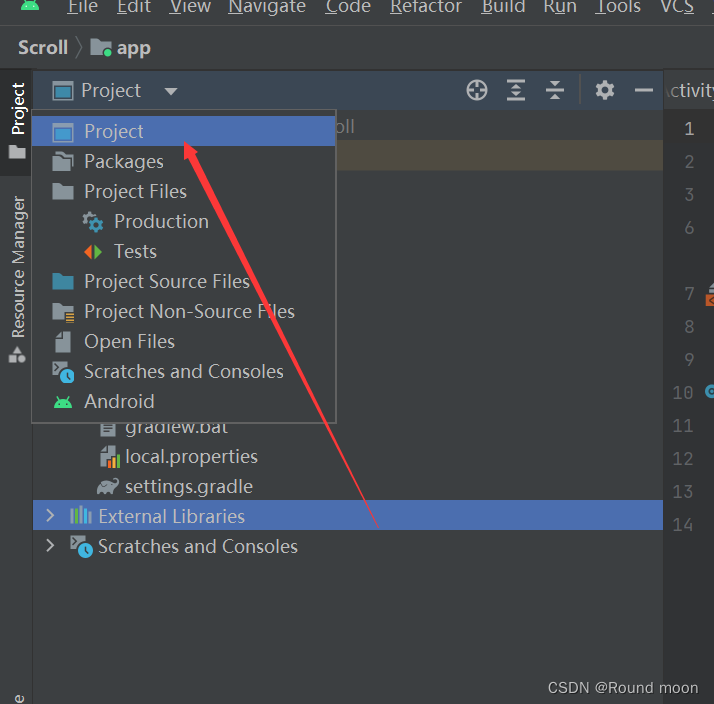
切换成Project
创建Activity
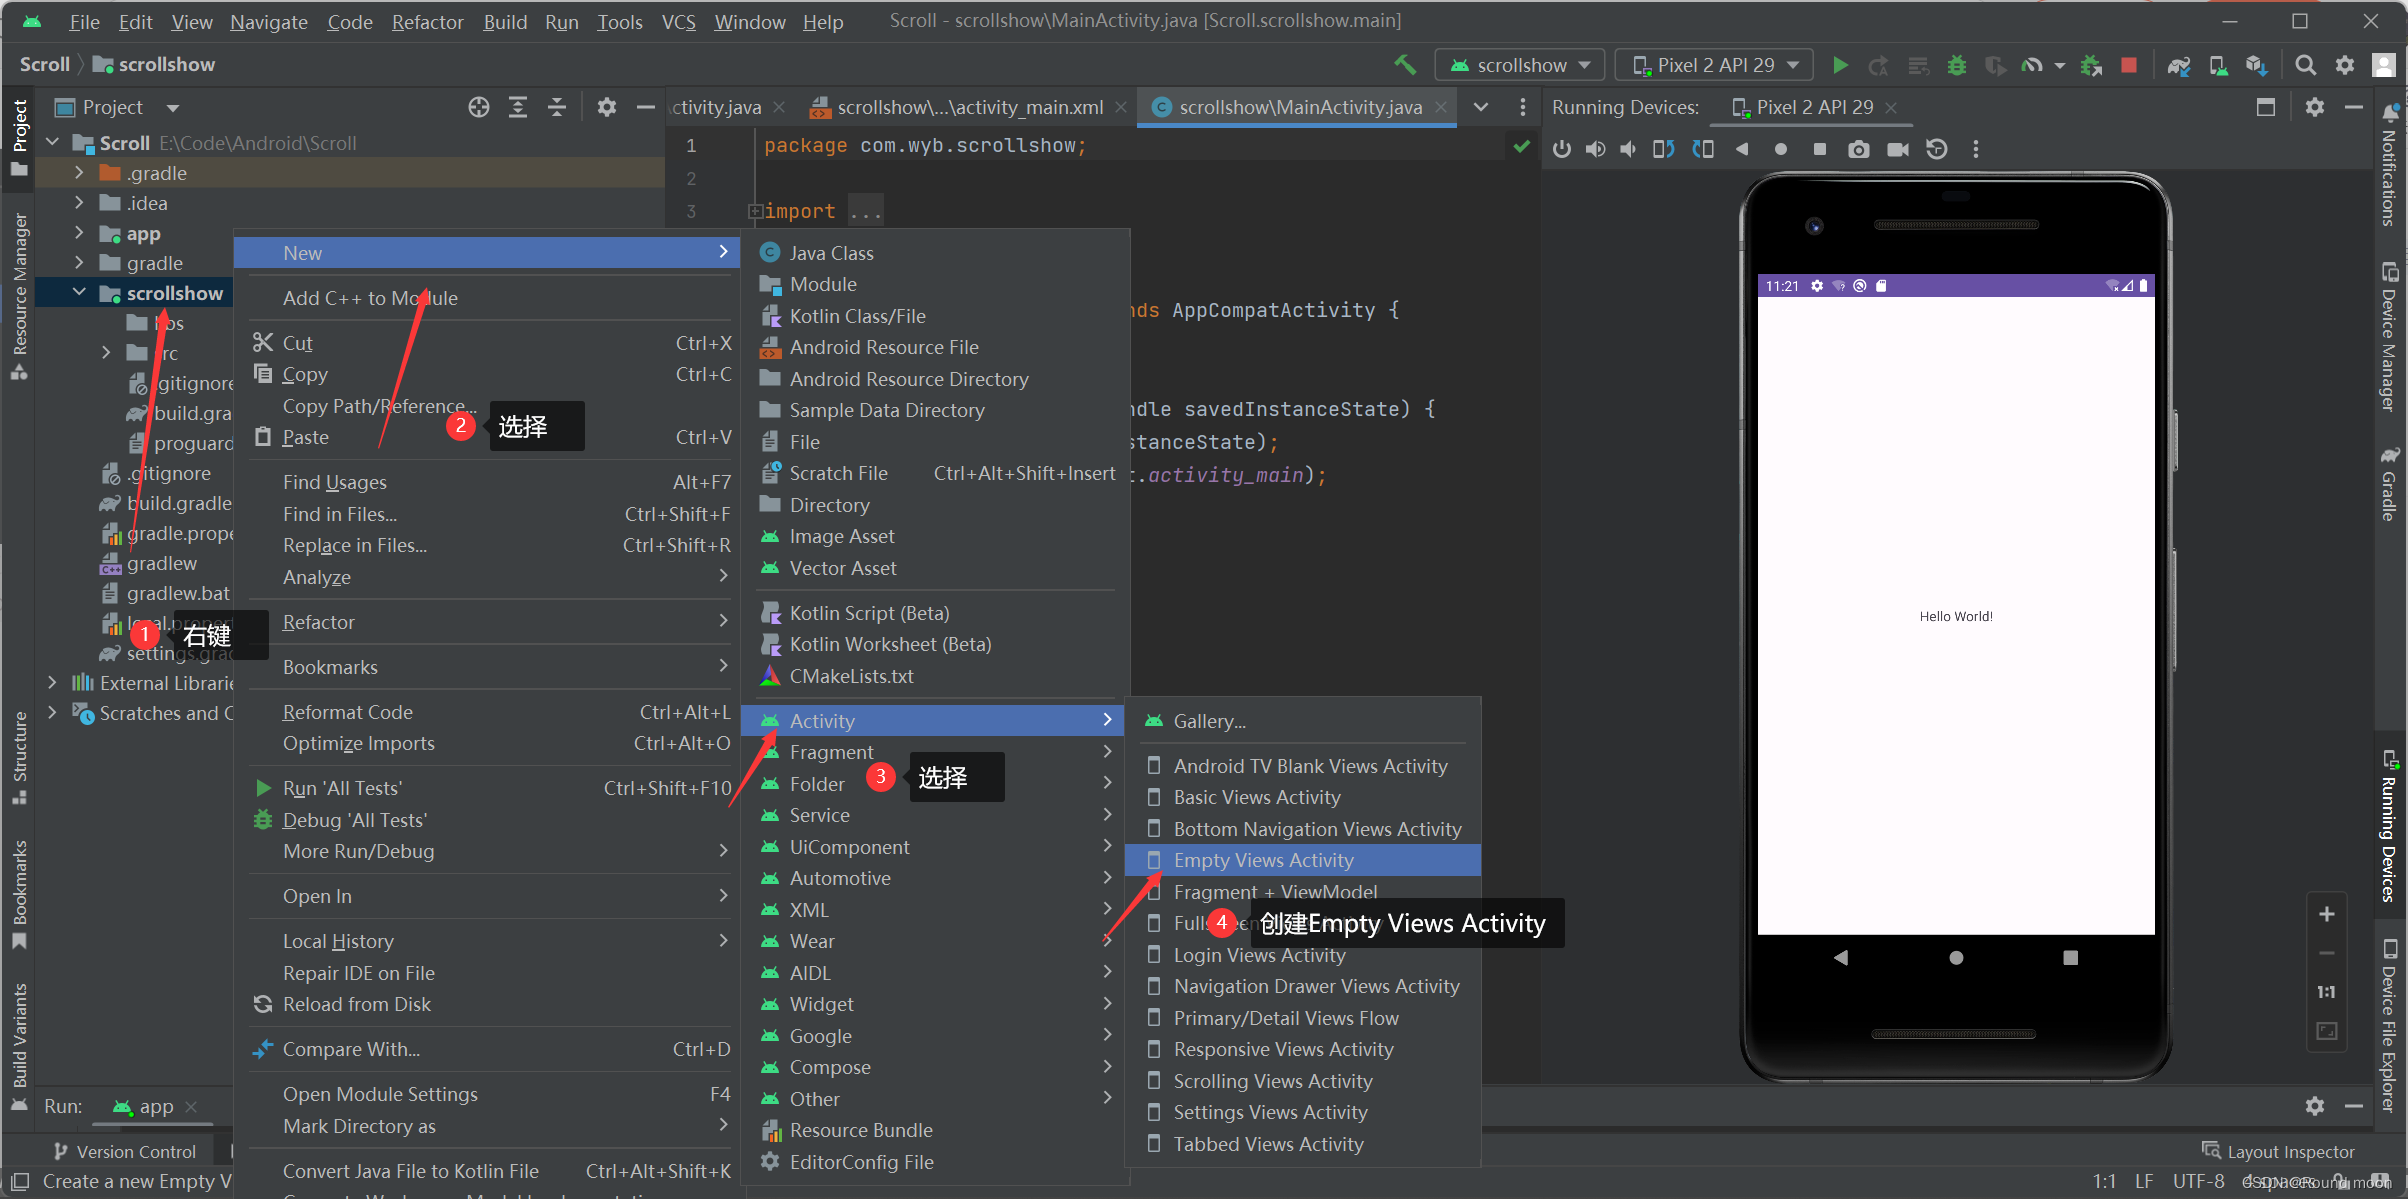
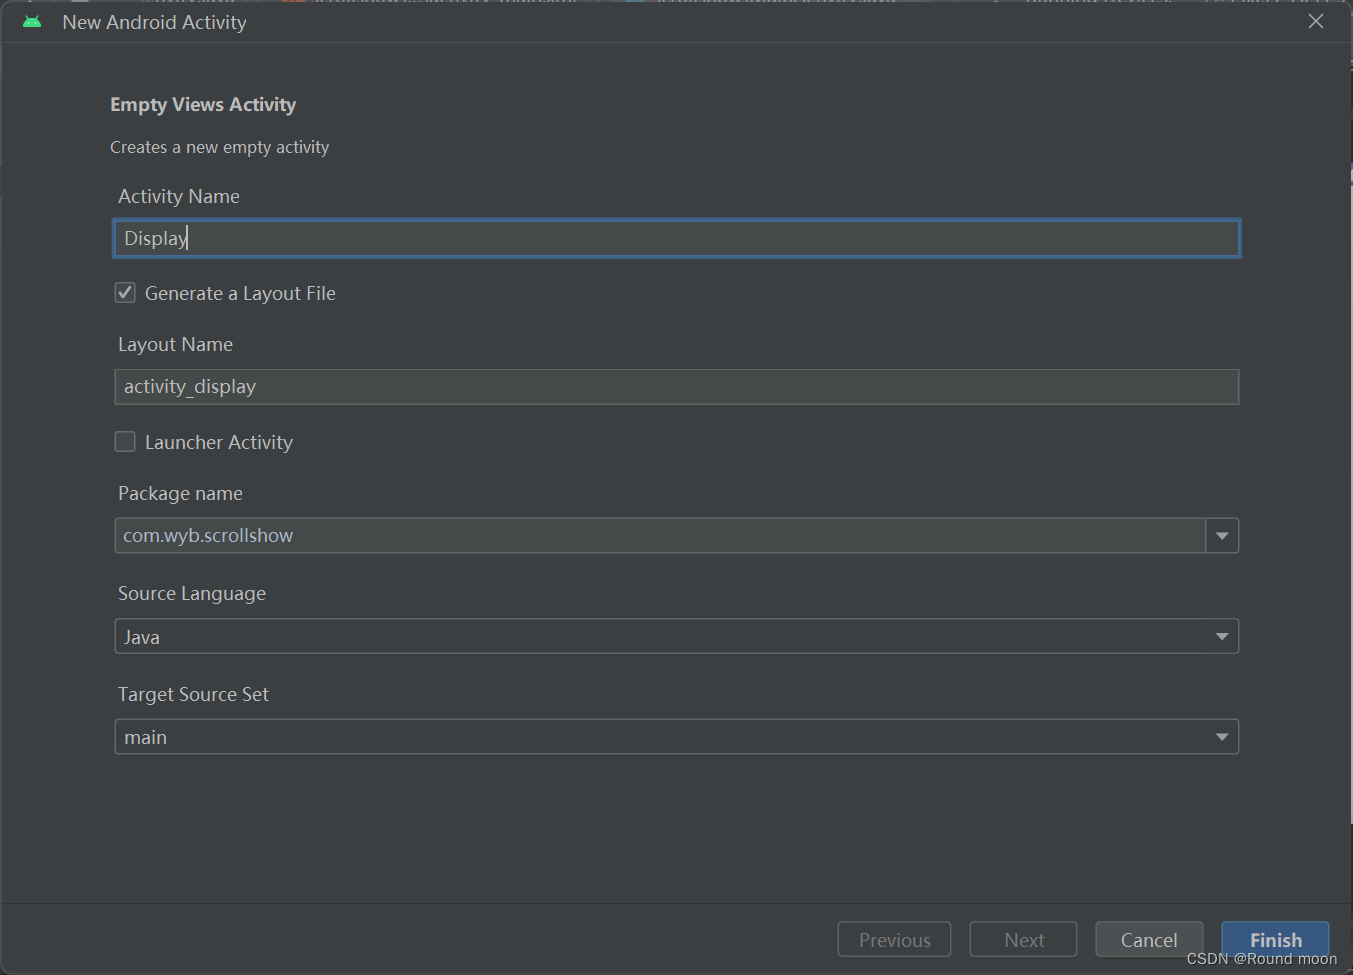
同样,自己命名。
这里可以看到,xml也跟着建立出来了。
接下来进行第三步编写XML。
编写XML
双击XML,进入页面后,点击Code,进行代码编辑模式。
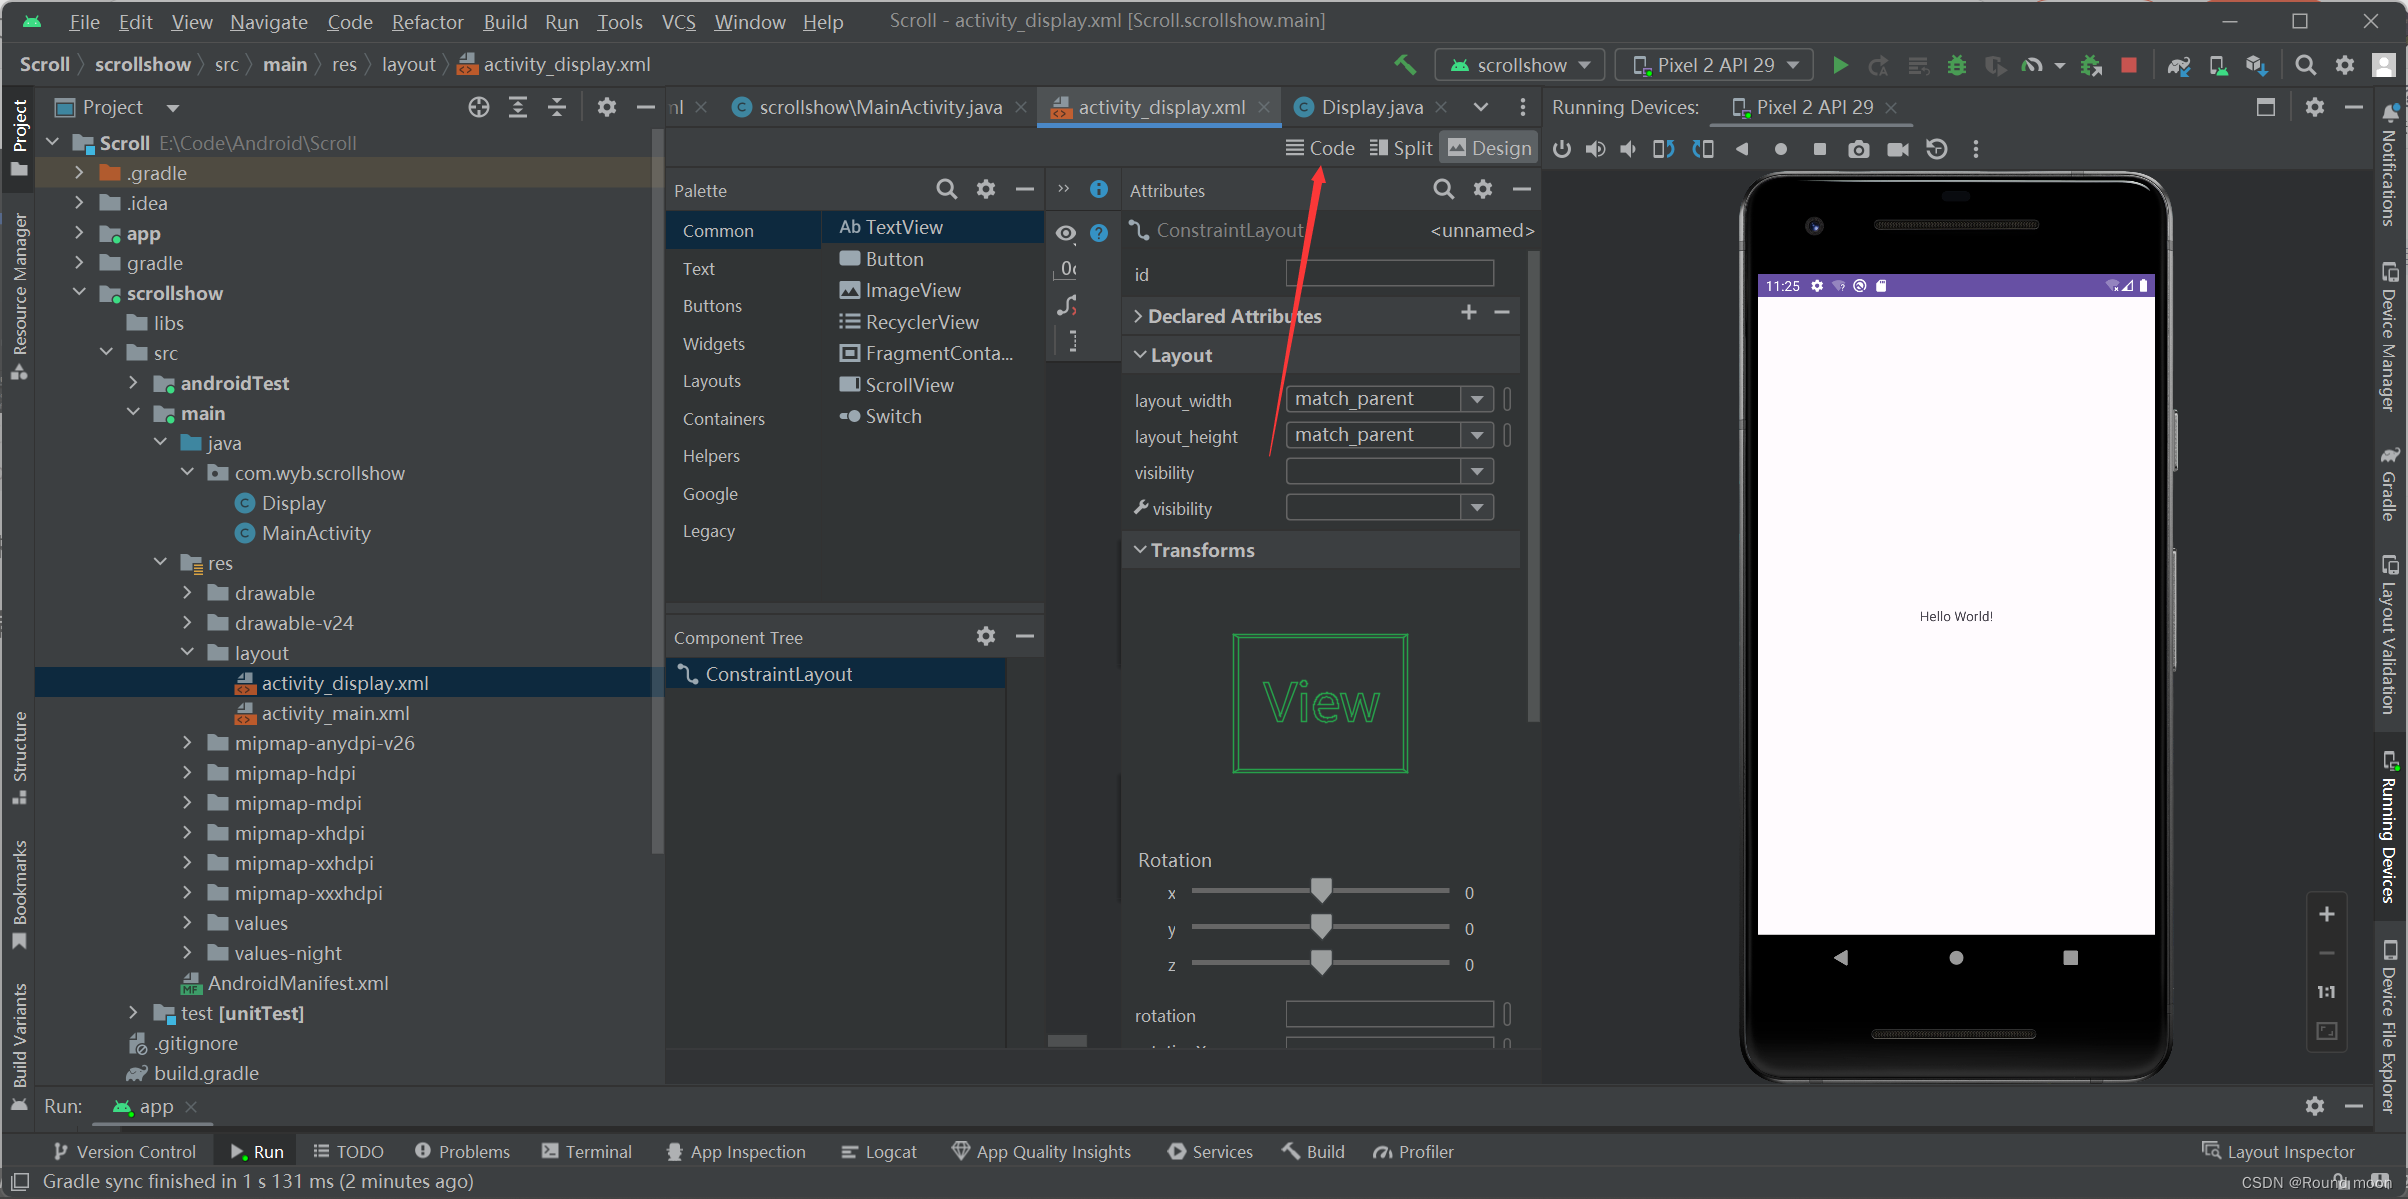
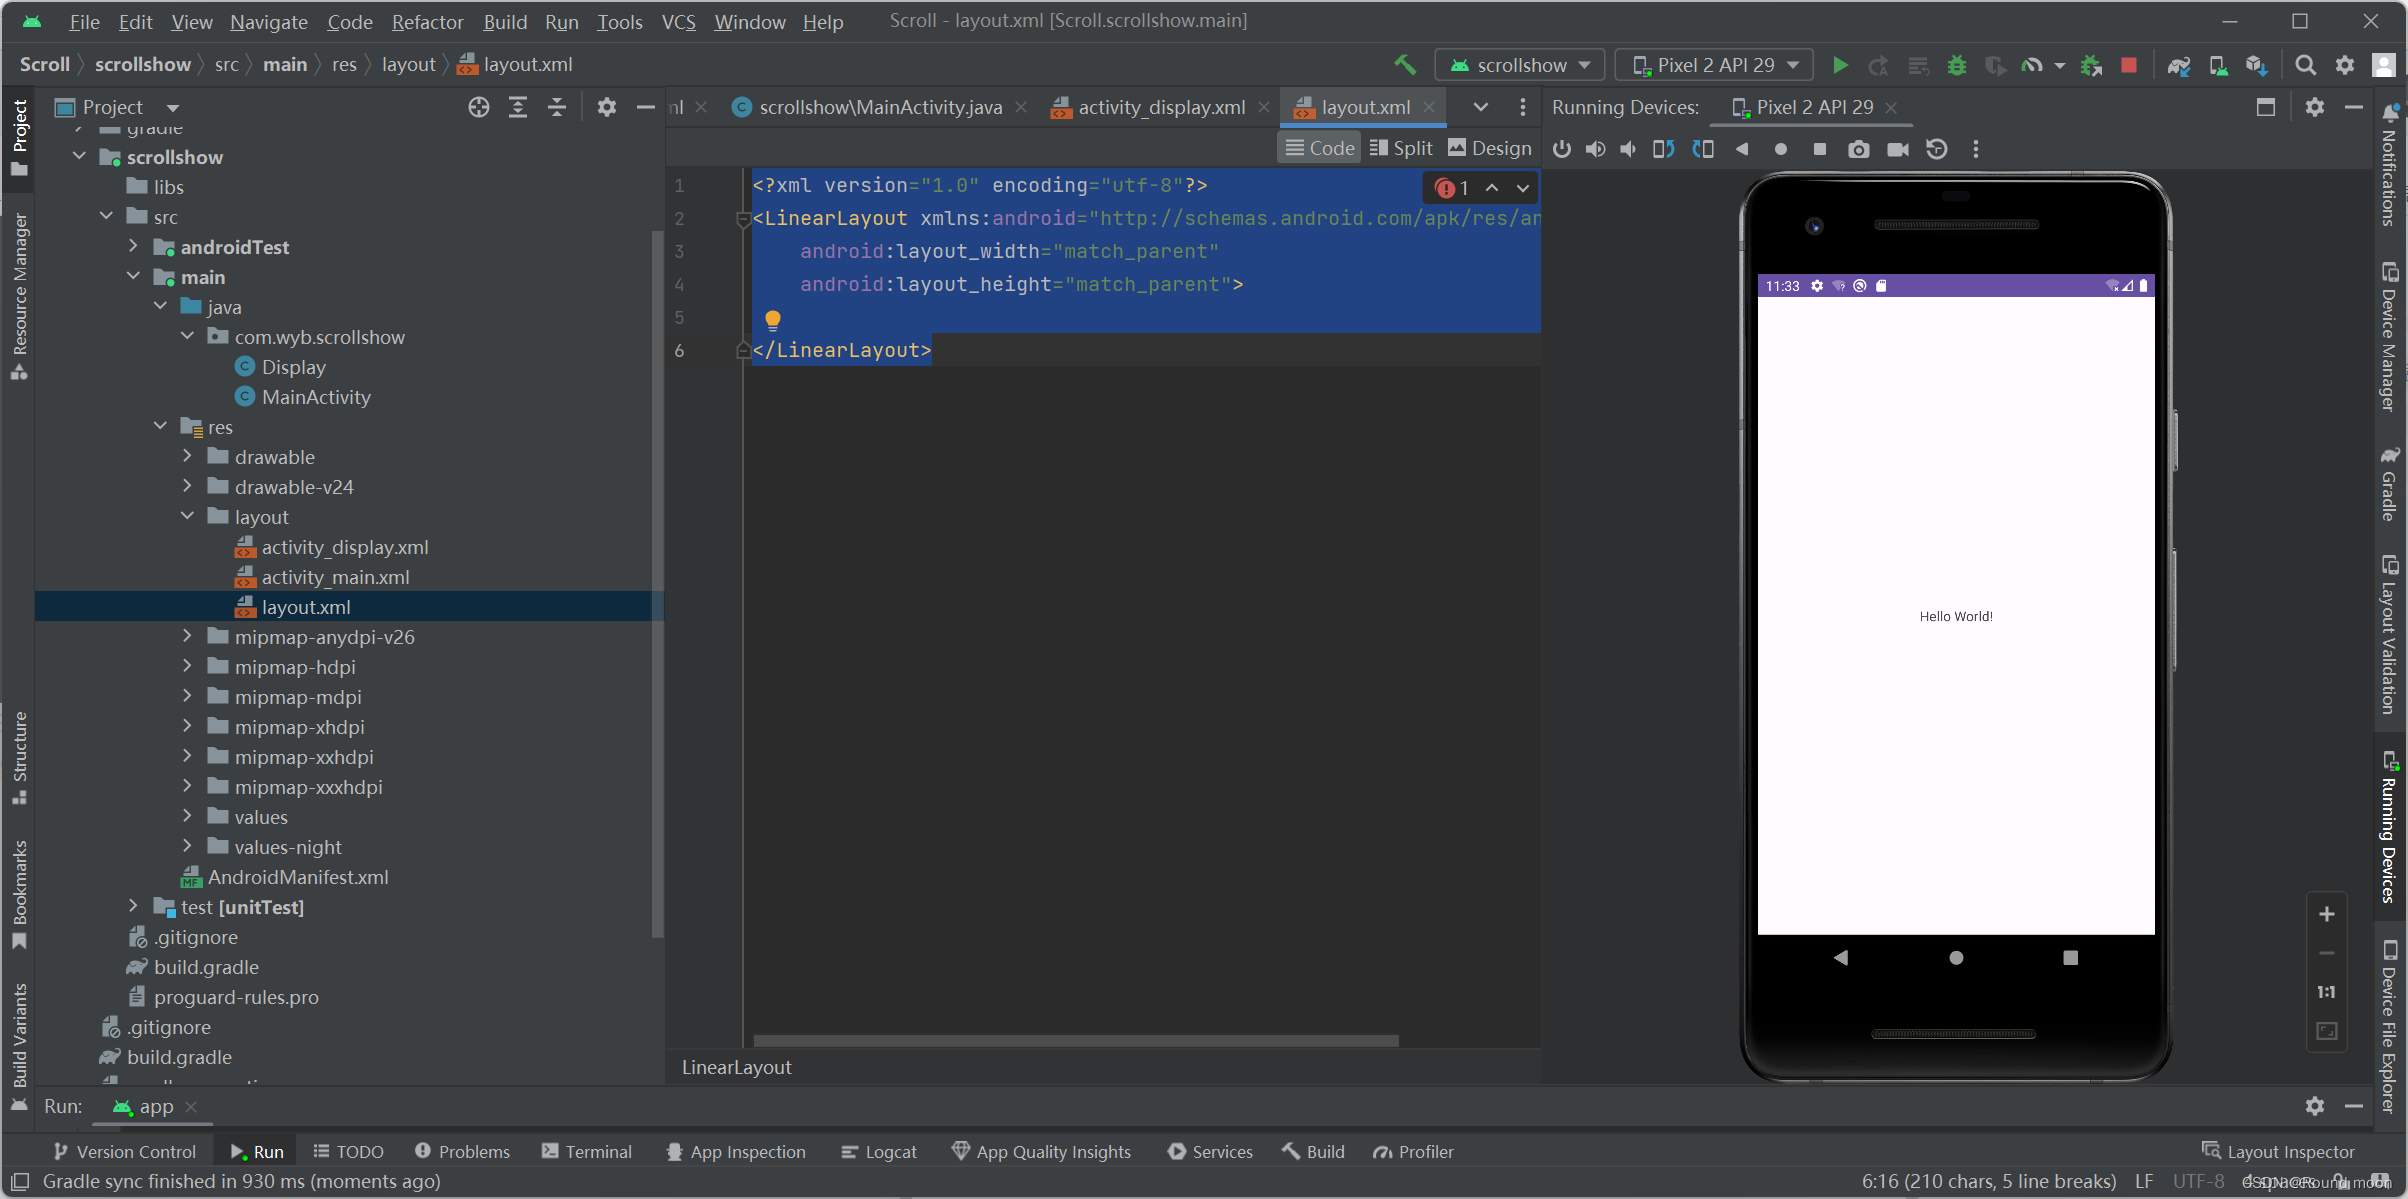
一般情况下,我们用LinearLayout的布局方法来编写。我们可以直接复制博主的代码,也可以自己浅创建。
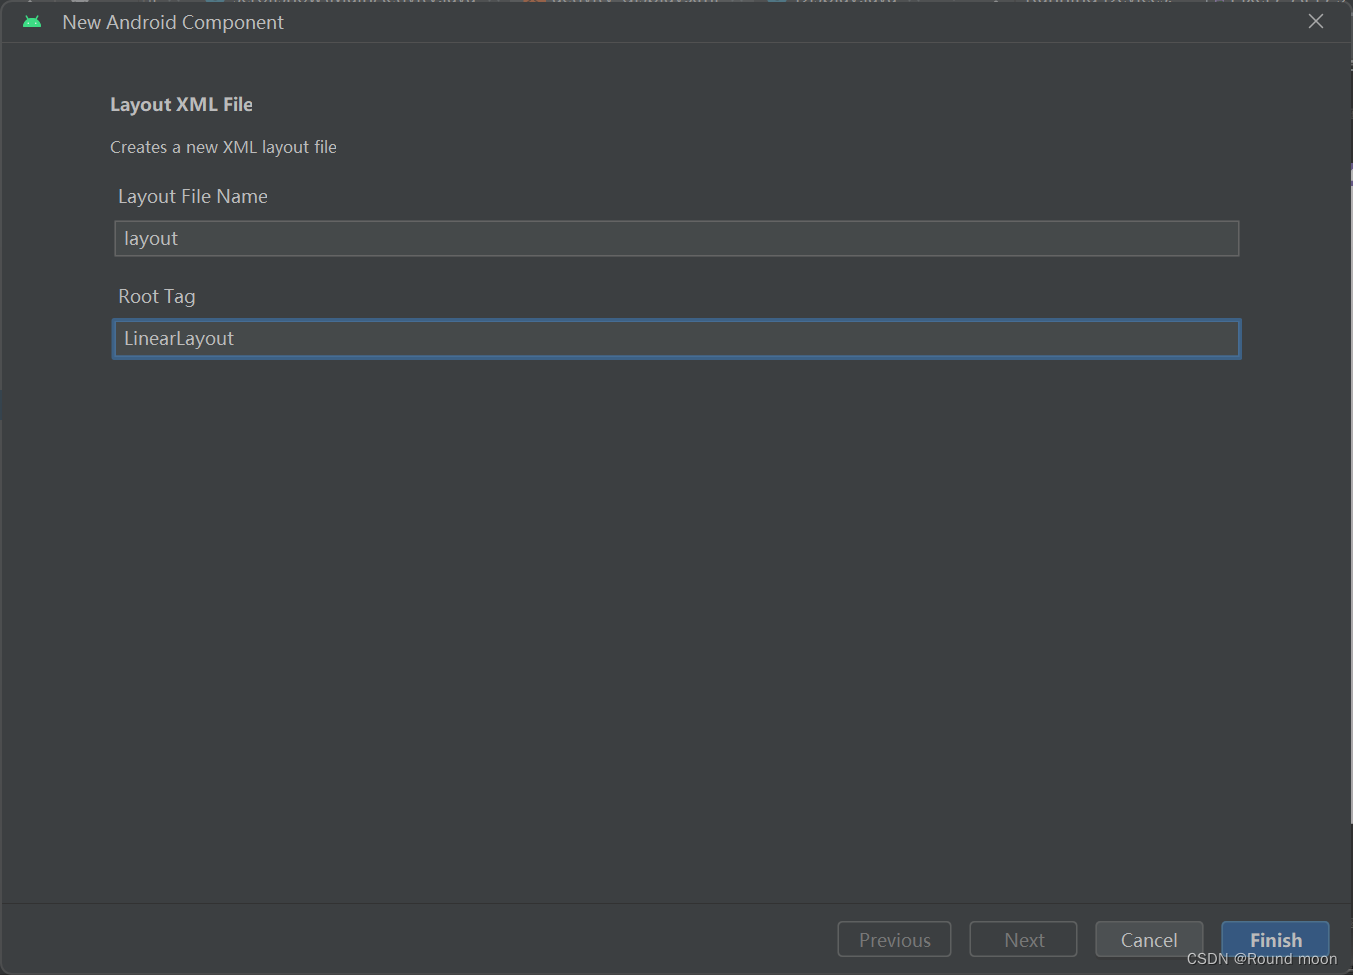
LinearLayout布局
<?xml version="1.0" encoding="utf-8"?>
<LinearLayout xmlns:android="http://schemas.android.com/apk/res/android"
    android:layout_width="match_parent"
    android:layout_height="match_parent">

</LinearLayout>
创建方法如下。
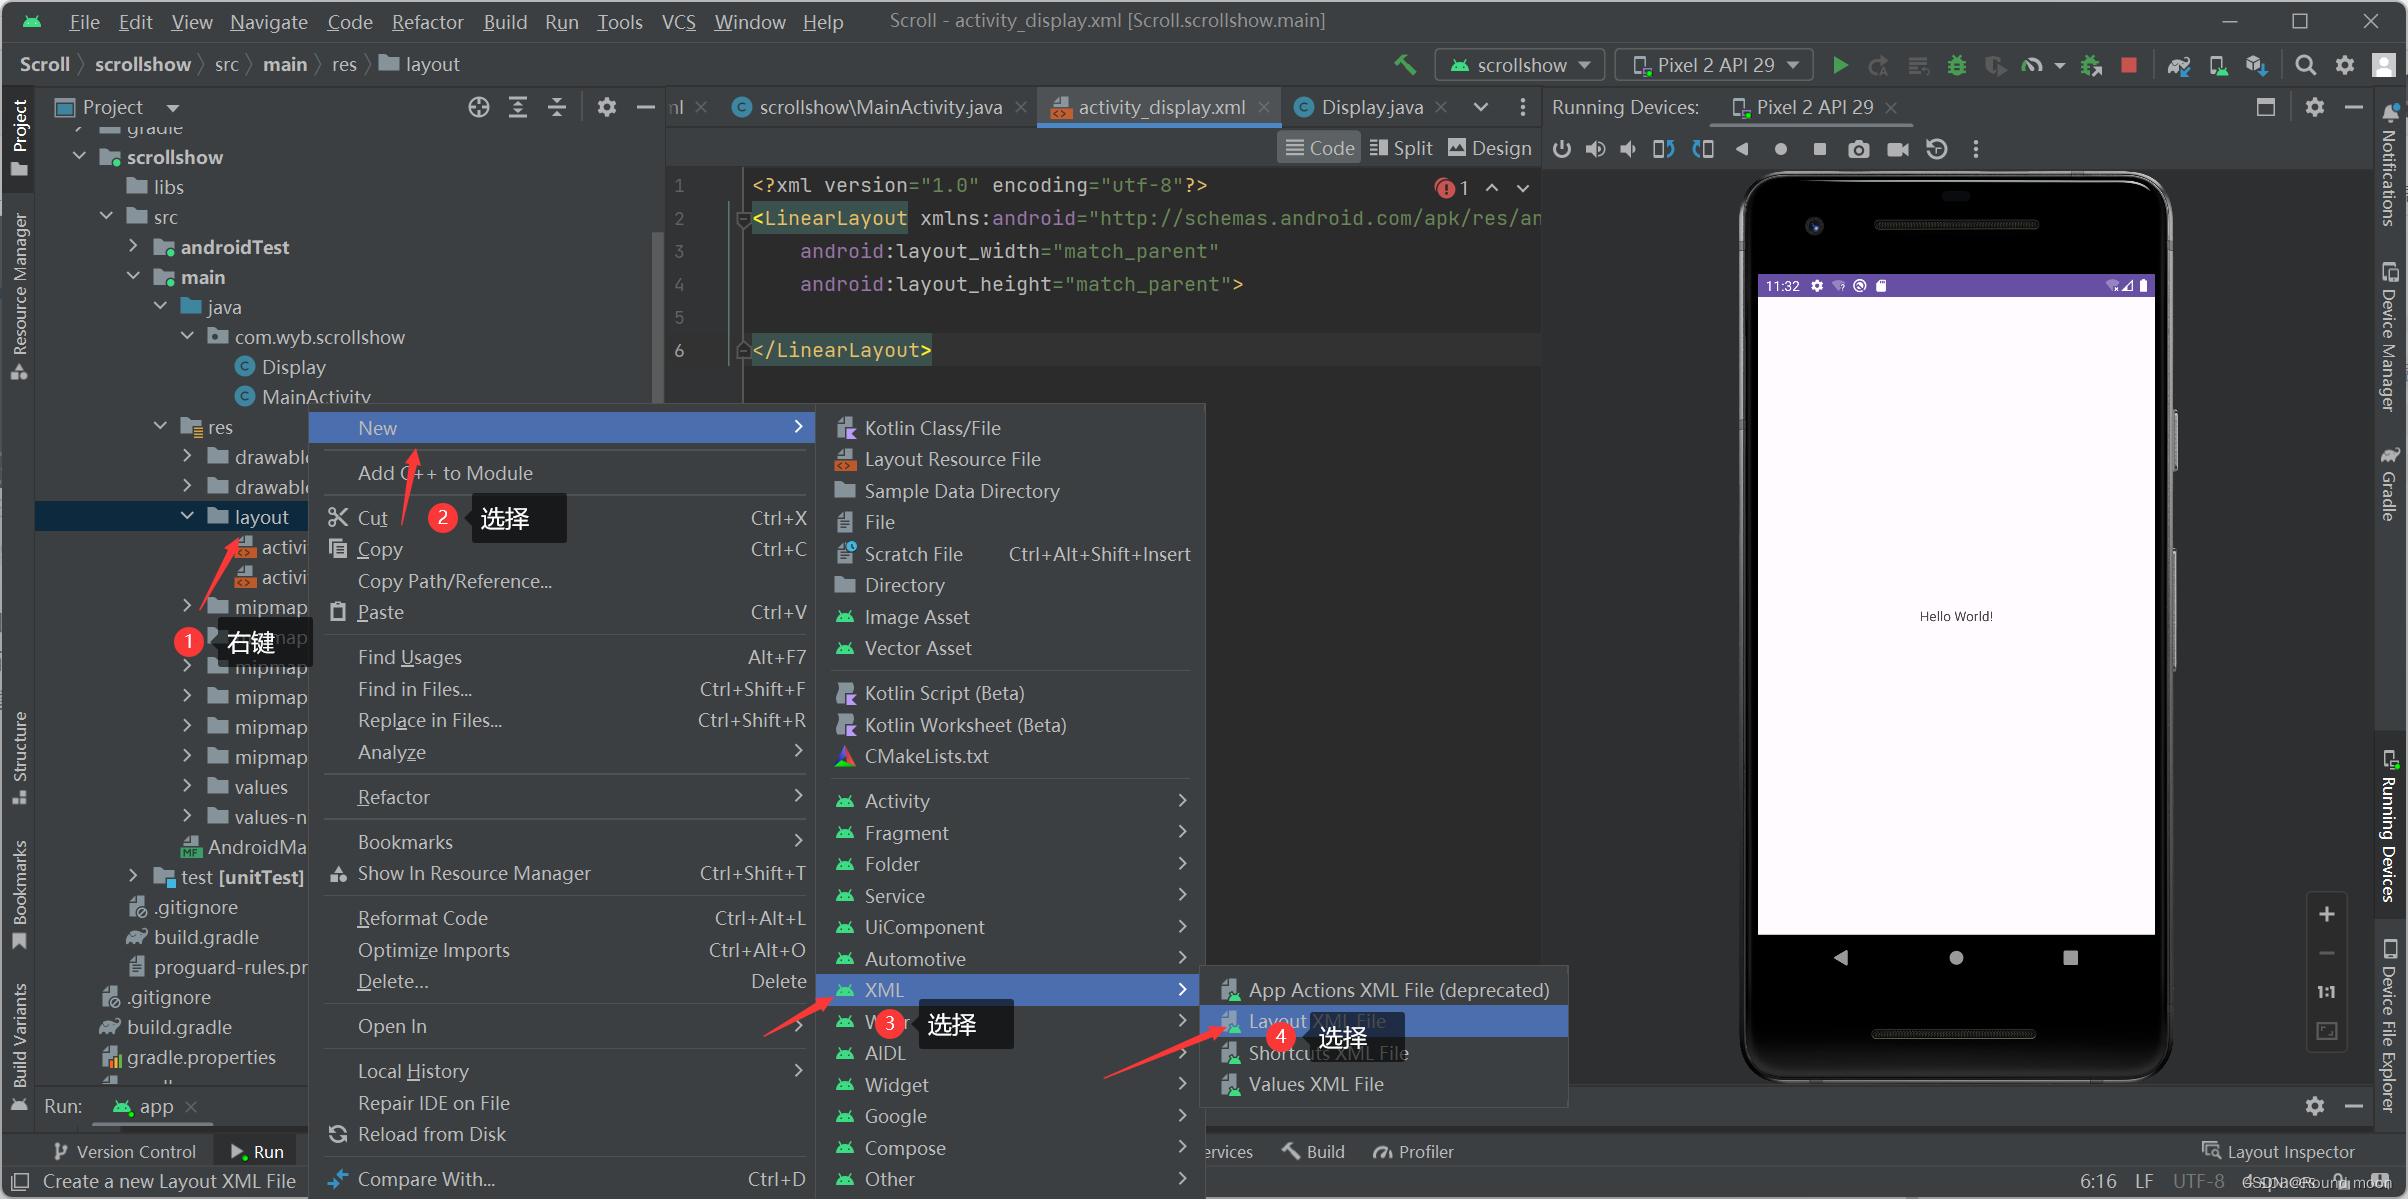
接下来默认即可,Finish
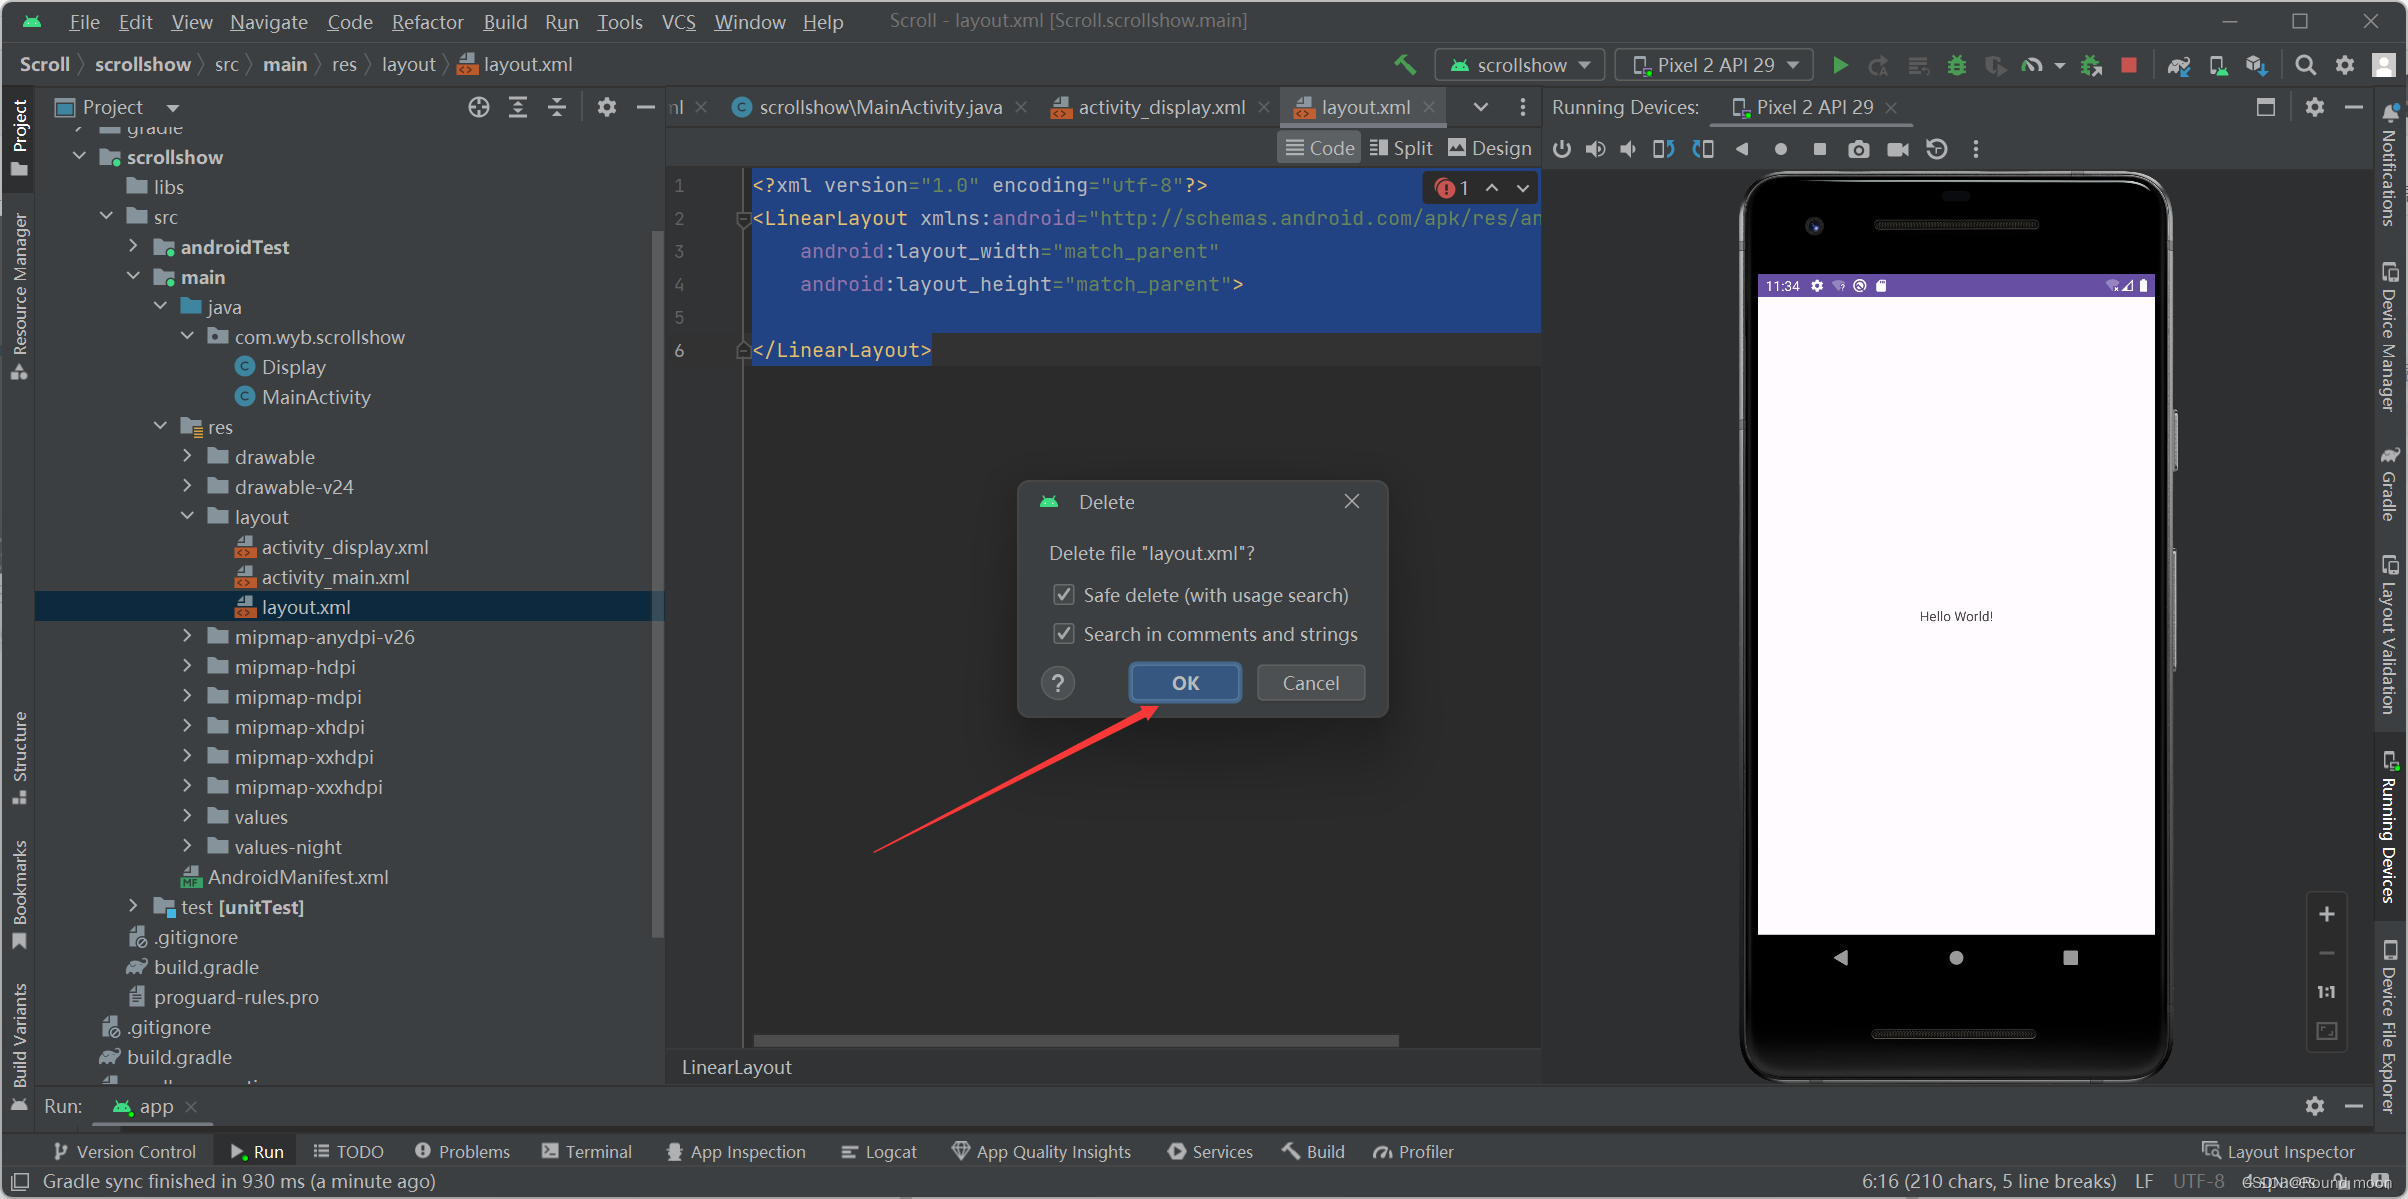
创建出来,复制粘贴到我们自己生成的xml即可。
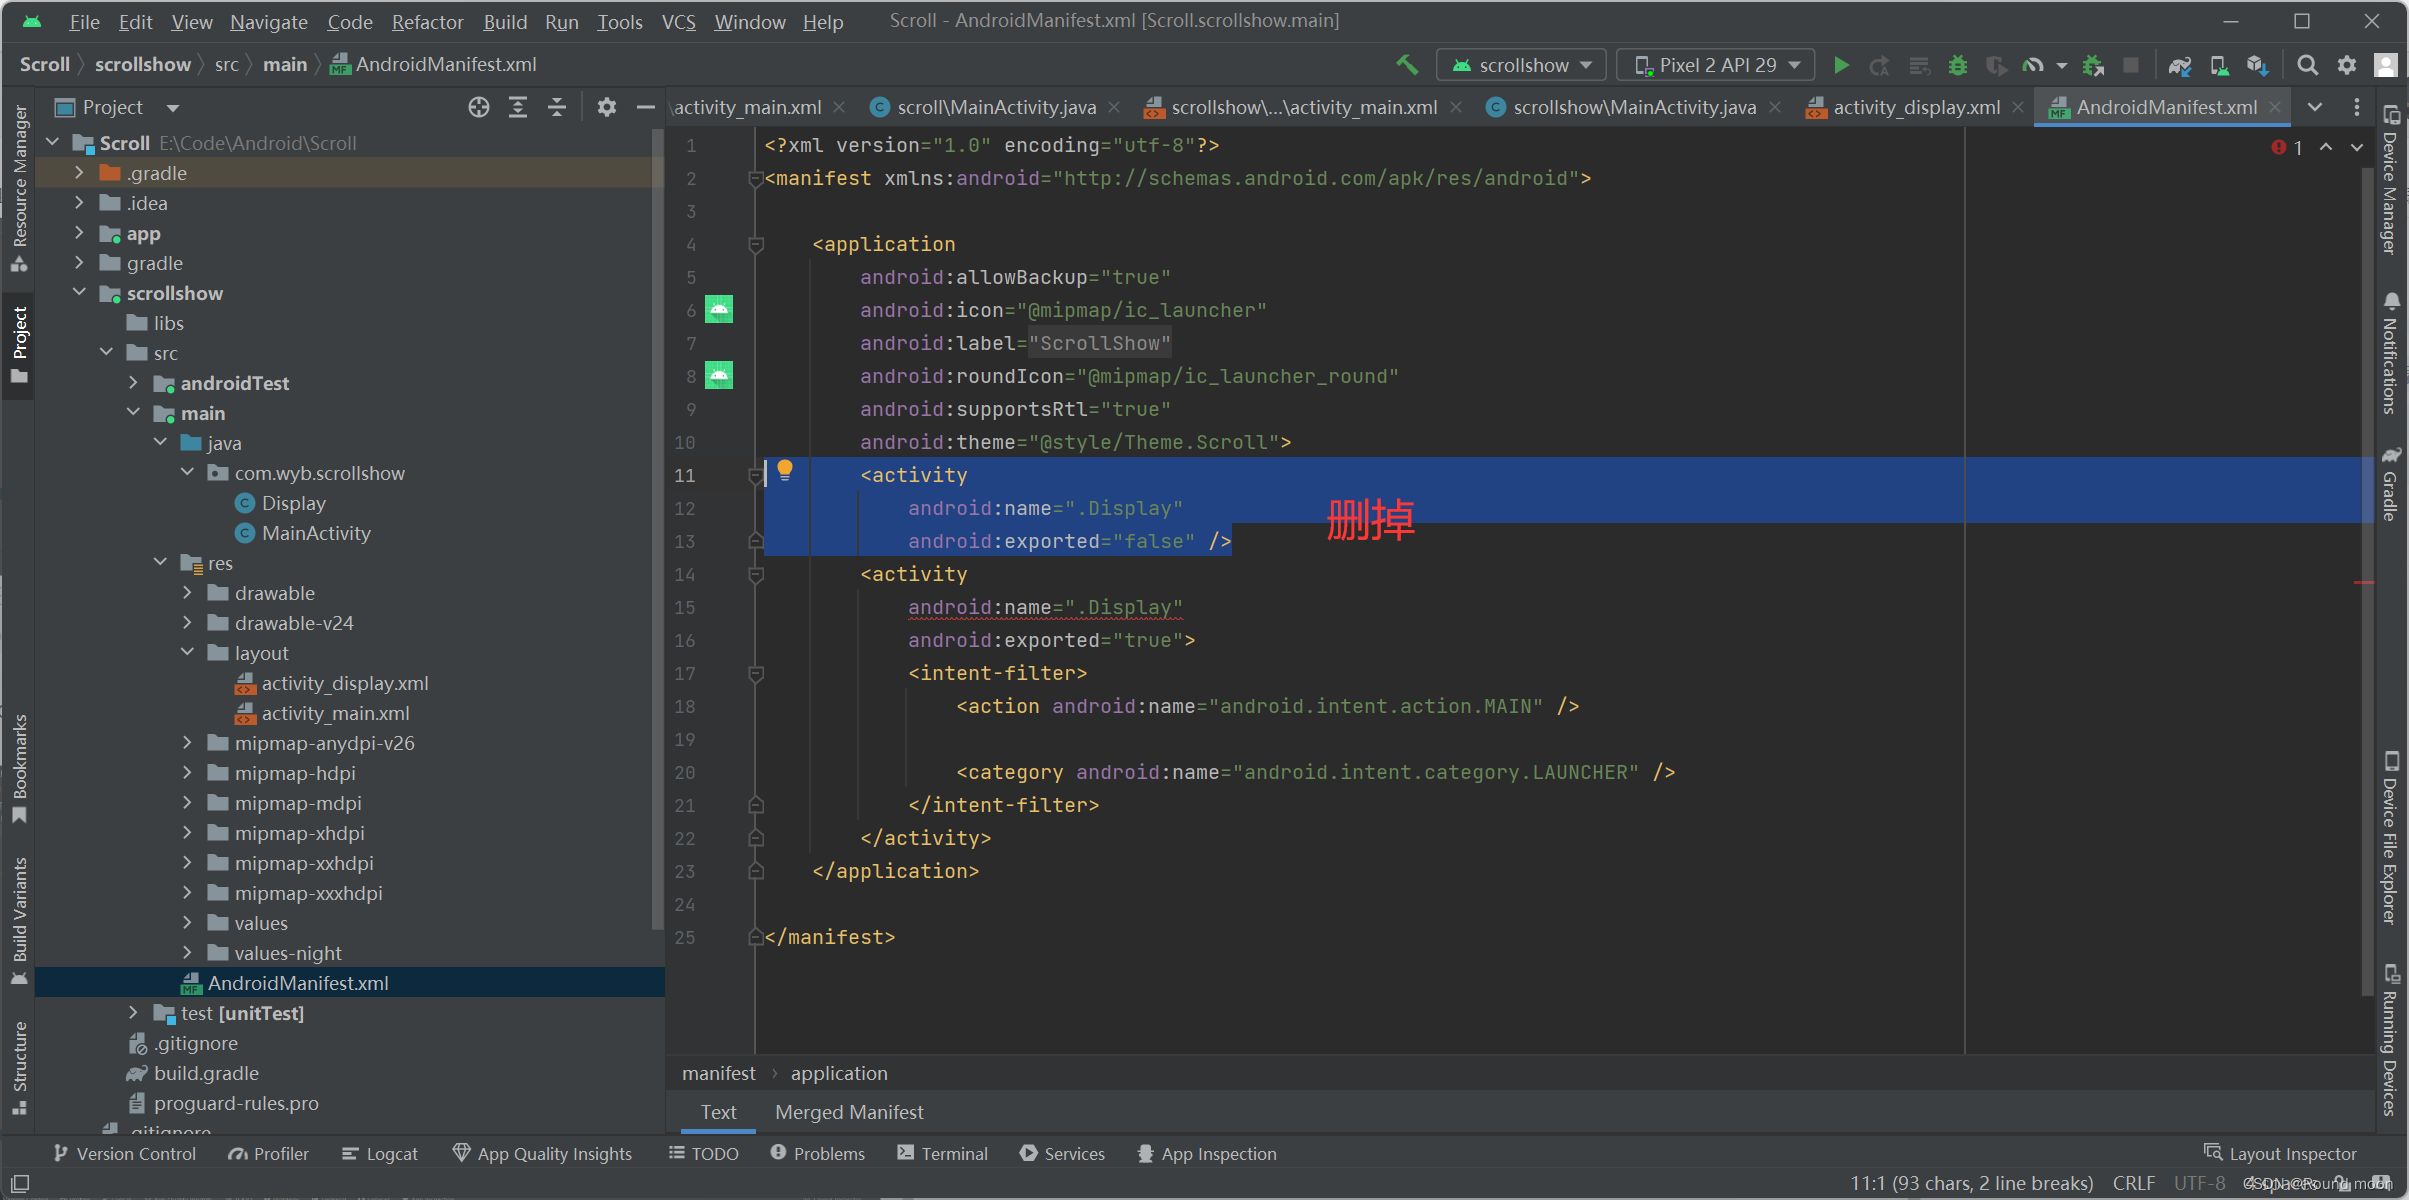
卸磨杀驴,Delete键,确定,卸载。
正式代码
xmlns:tools=“http://schemas.android.com/tools”
tools:ignore=“UselessParent”>
这两句是代码编辑器自动补全的,我也不知道是啥,没有就报警报,有知道的观众老爷可以在评论区发表看法。
<?xml version="1.0" encoding="utf-8"?>
<LinearLayout xmlns:android="http://schemas.android.com/apk/res/android"
    xmlns:tools="http://schemas.android.com/tools"
    android:layout_width="match_parent"
    android:layout_height="match_parent"
    android:orientation="vertical">
    <ScrollView
        android:layout_width="match_parent"
        android:layout_height="wrap_content"
        tools:ignore="UselessParent">
        <LinearLayout
            android:layout_width="match_parent"
            android:layout_height="wrap_content"
            android:orientation="vertical">
            <HorizontalScrollView
                android:layout_width="wrap_content"
                android:layout_height="300dp">
                <LinearLayout
                    android:layout_width="wrap_content"
                    android:layout_height="match_parent"
                    android:orientation="horizontal">
                    <TextView
                        android:layout_width="300dp"
                        android:layout_height="match_parent"
                        android:background="#ff0000"/>
                    <TextView
                        android:layout_width="300dp"
                        android:layout_height="match_parent"
                        android:background="#00ff00"/>
                </LinearLayout>
            </HorizontalScrollView>
            <TextView
                android:layout_width="match_parent"
                android:layout_height="300dp"
                android:background="#ffff00"/>
            <TextView
                android:layout_width="match_parent"
                android:layout_height="300dp"
                android:background="#00ffff"/>
        </LinearLayout>
    </ScrollView>
</LinearLayout>
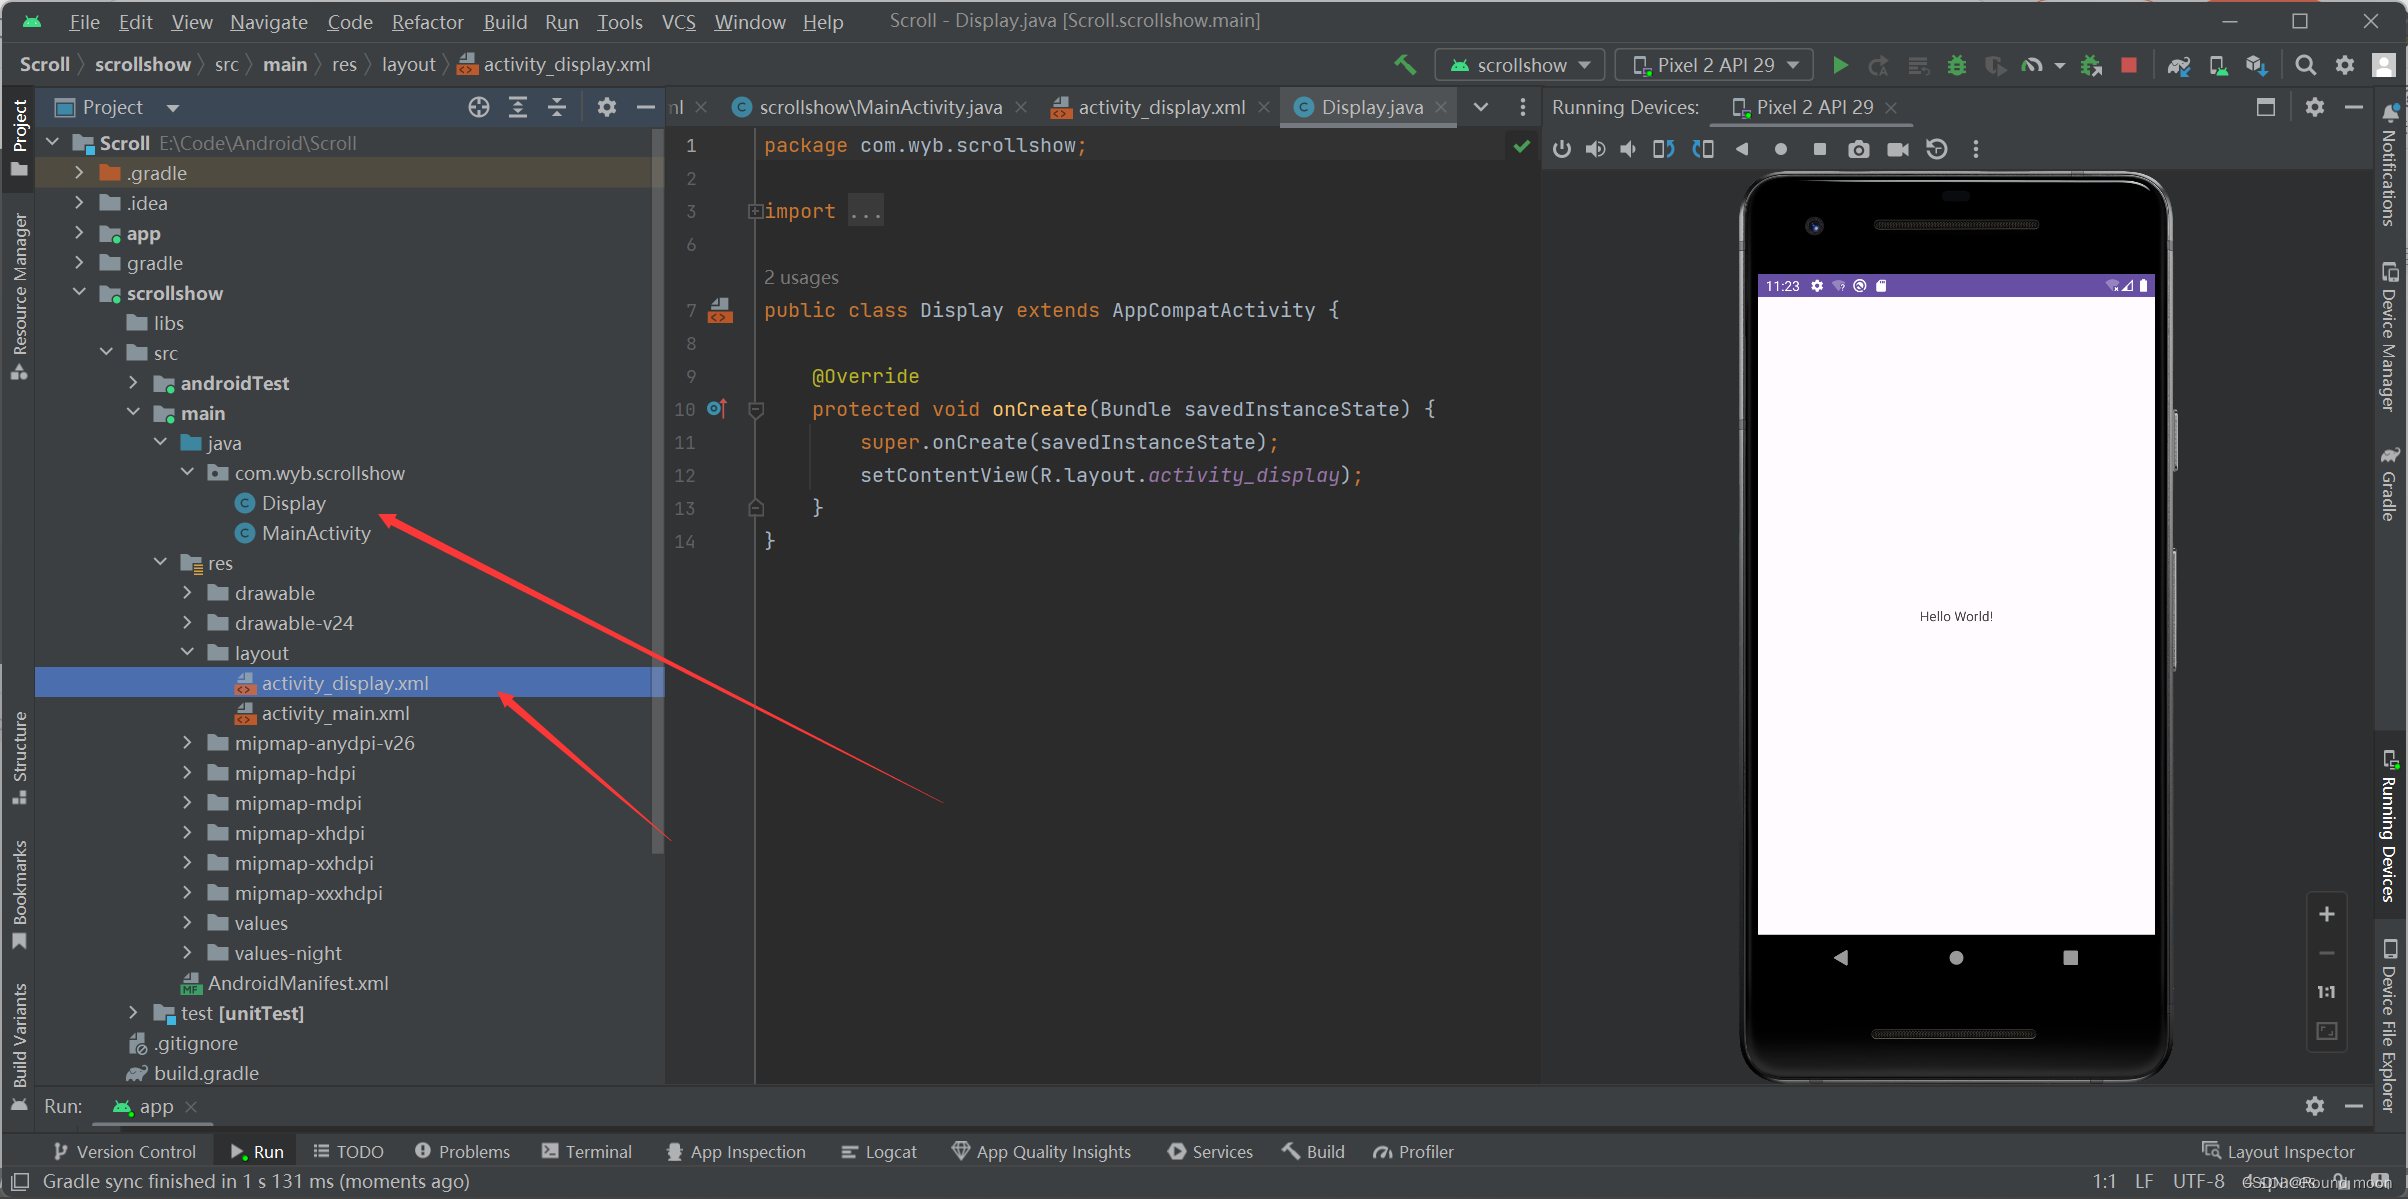
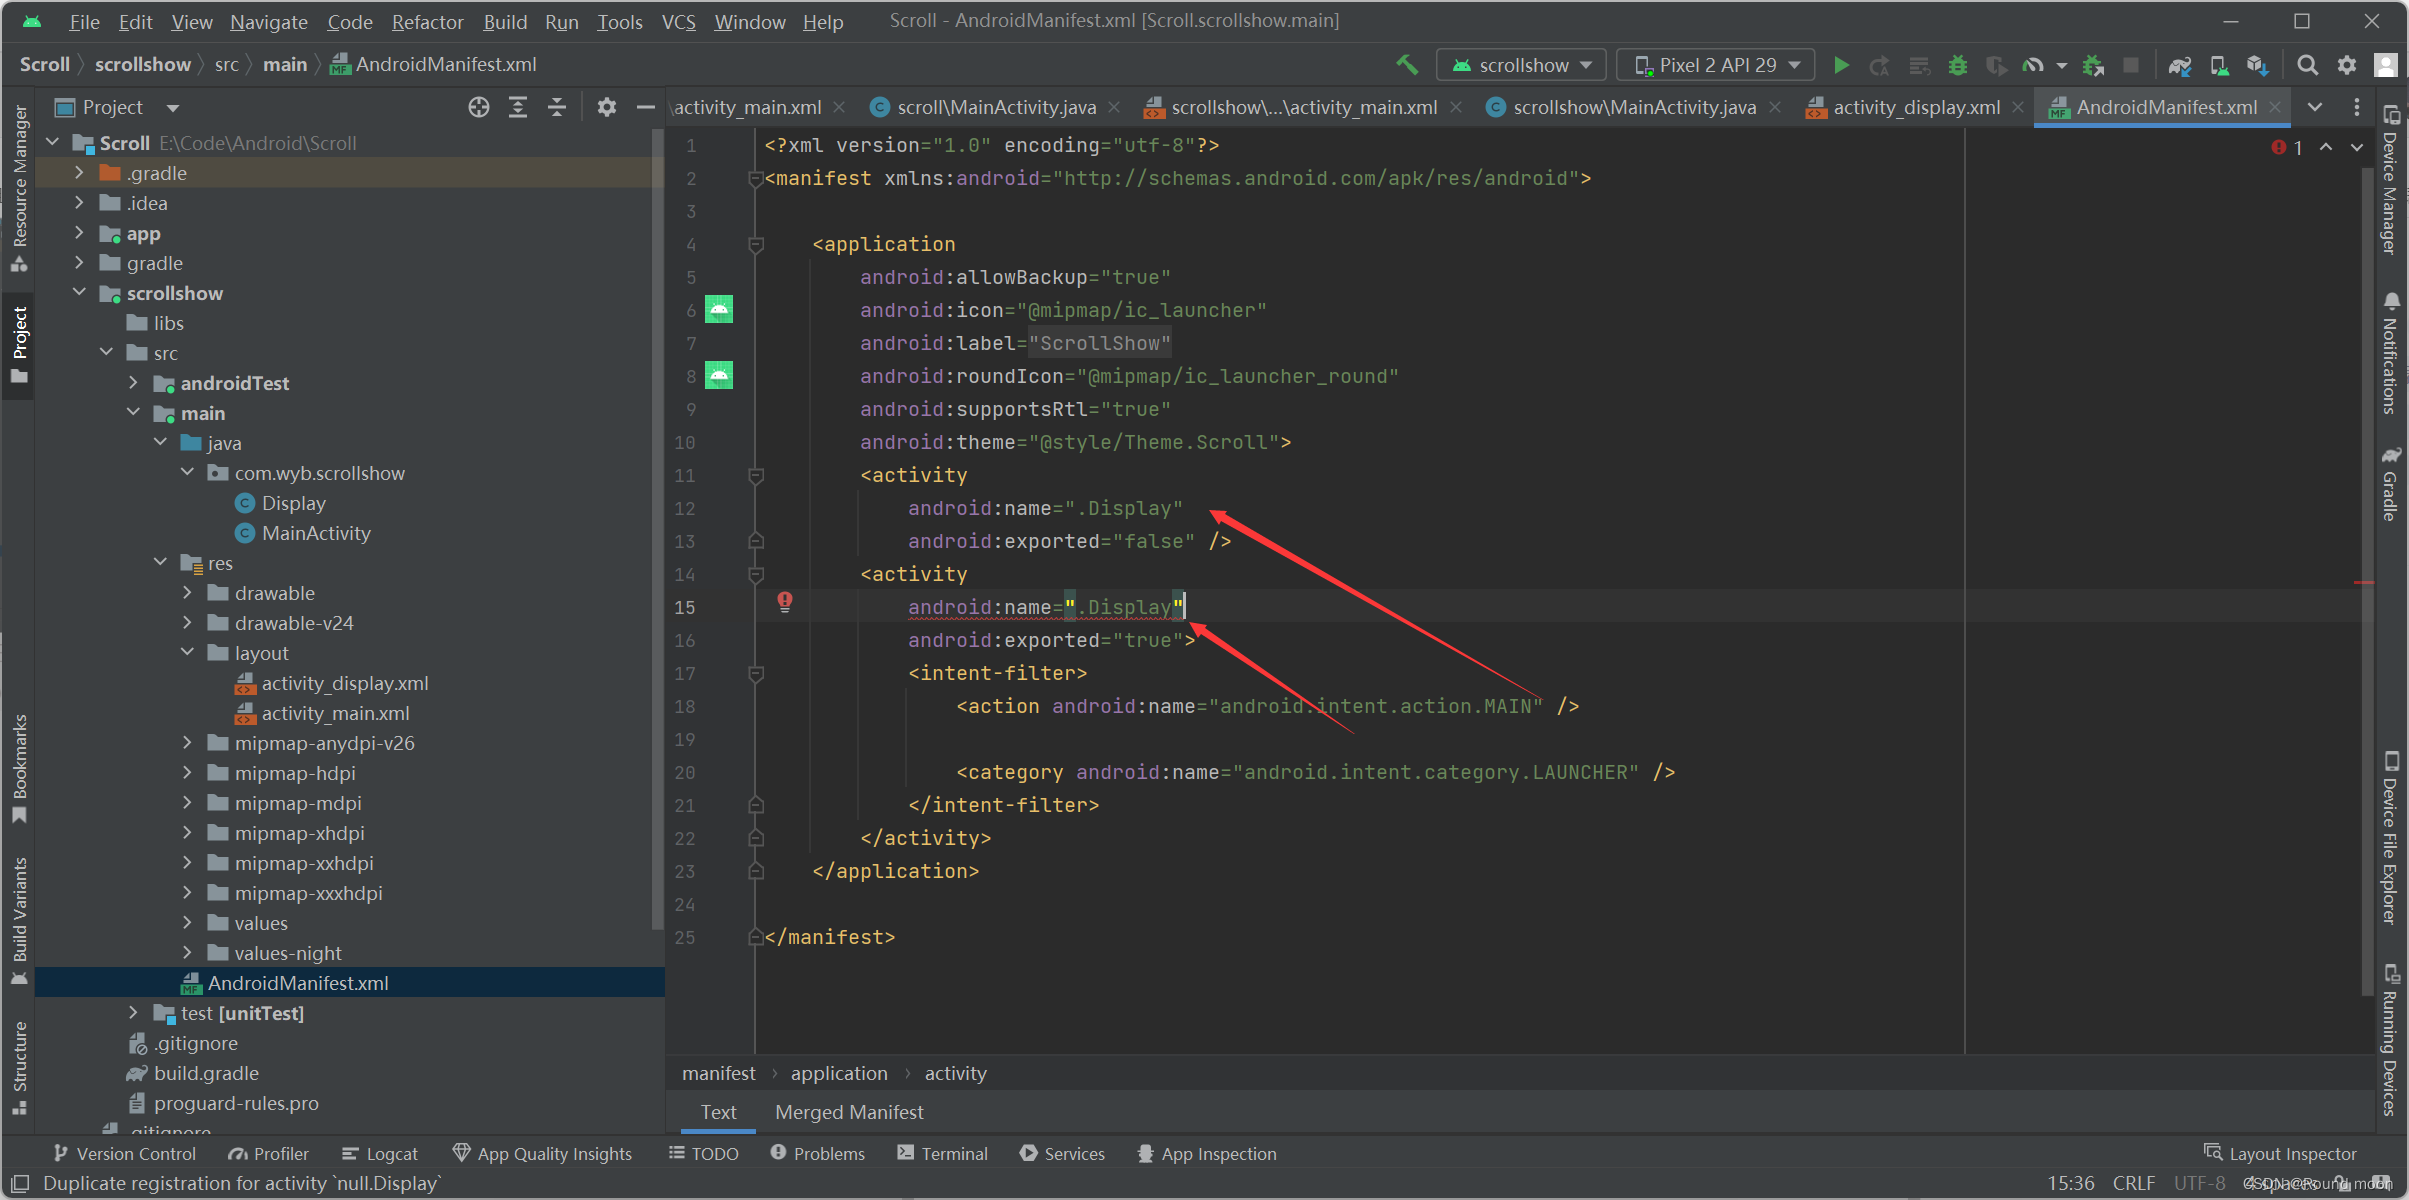
最后,将显示的xml,更改为当前的activity即可运行了。
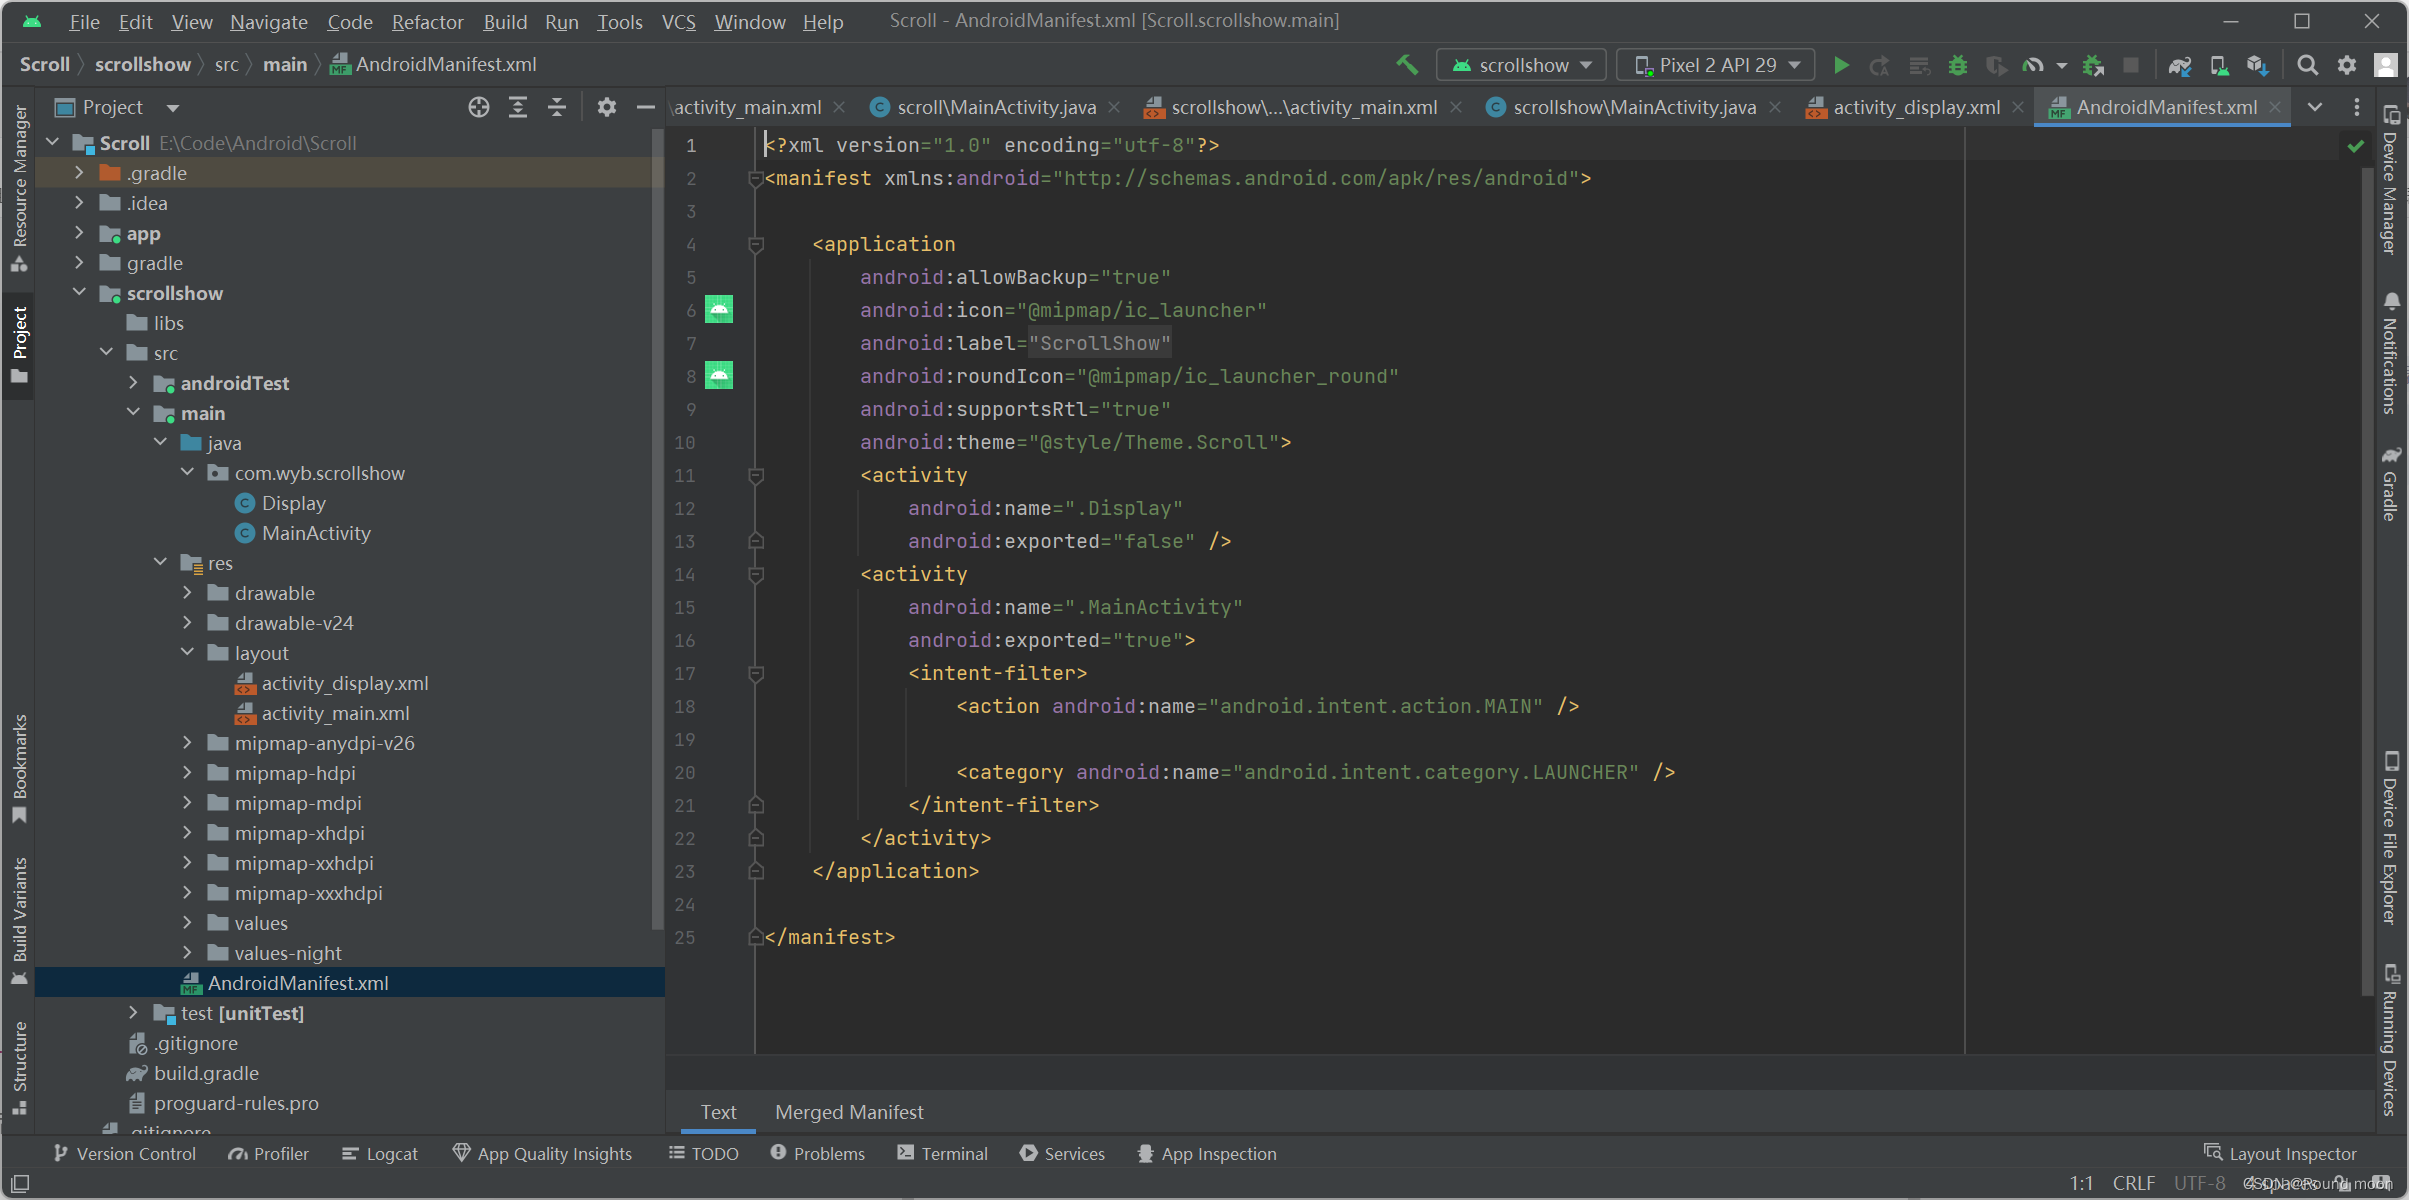
android:name改为新建的android:name
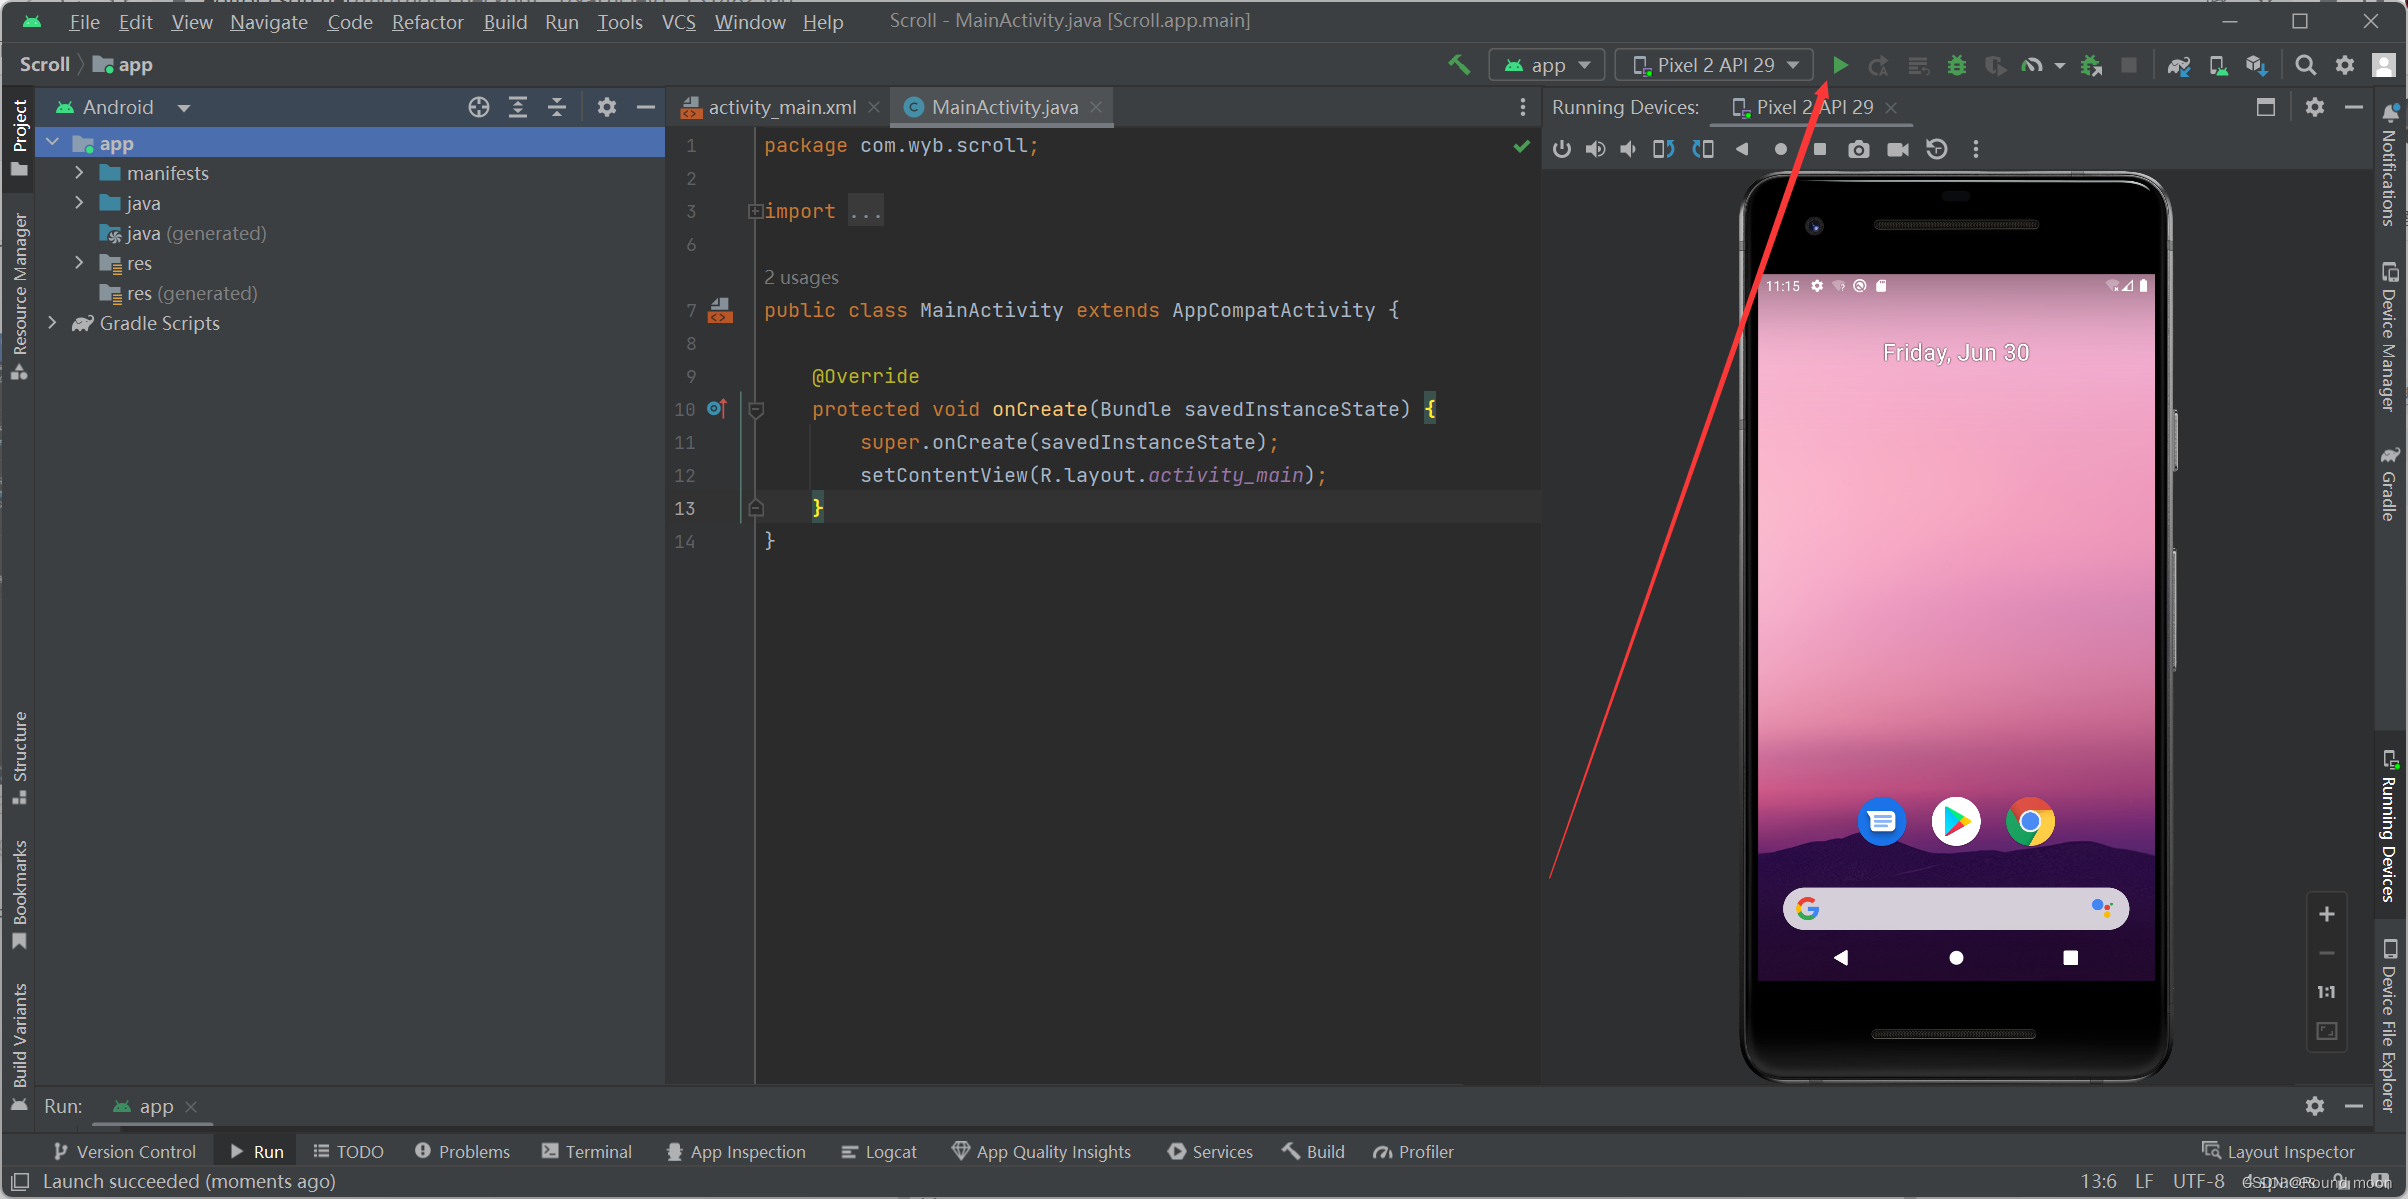
保存后,运行看看结果。
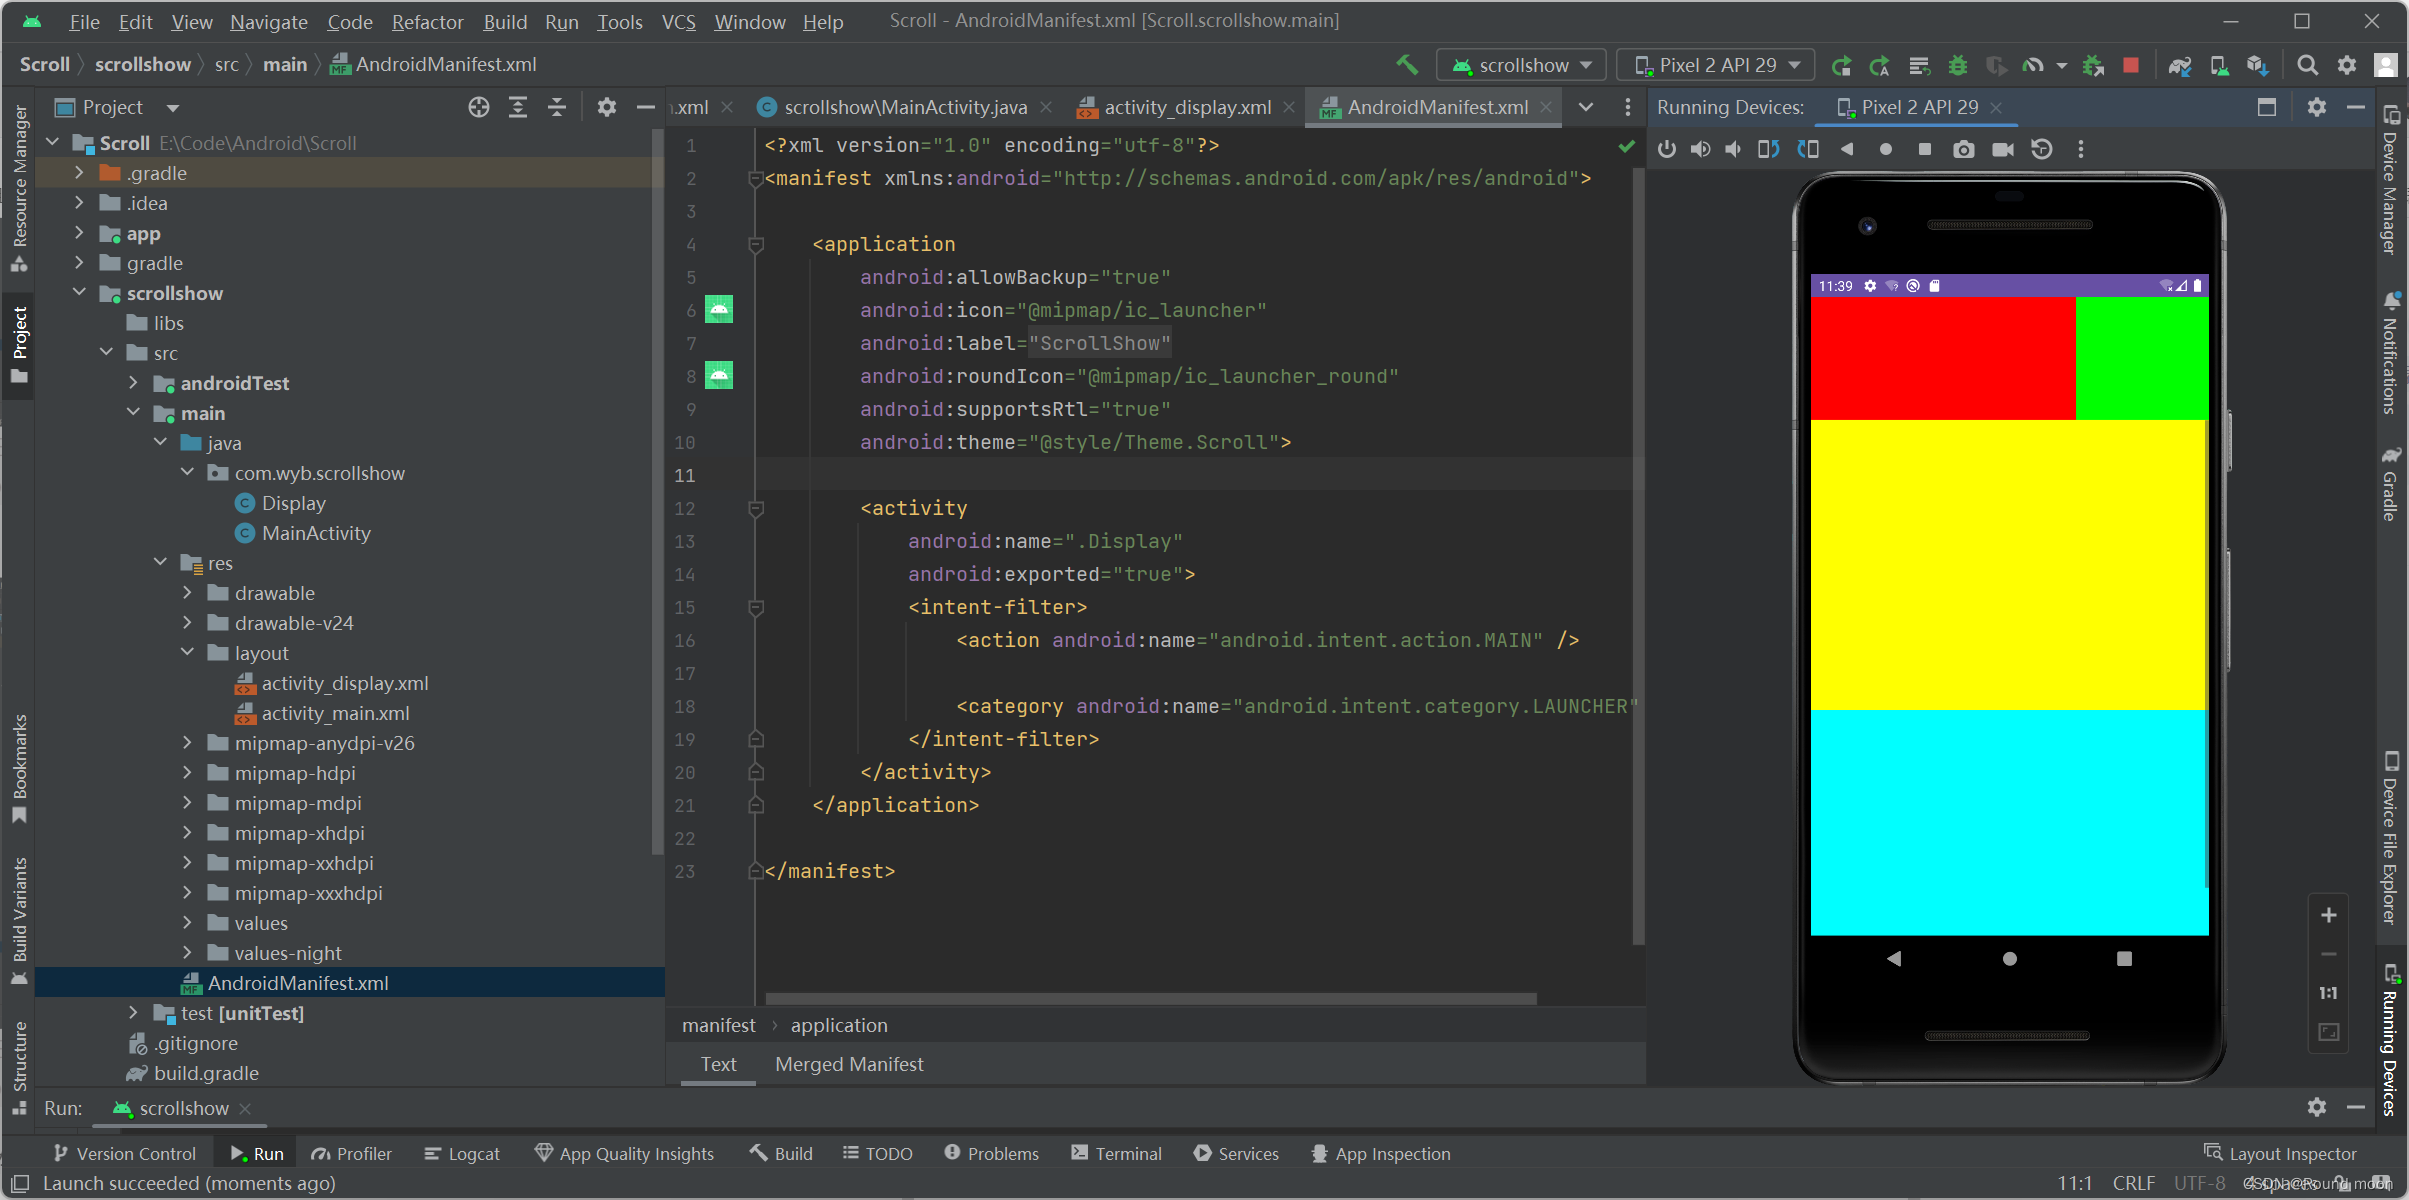
效果很好。