前言
整个安装过程非常简单,运行得也很丝滑,最大的难点在于中文资料太少,英文看得头痛。本文也是参考了许多链接,有些链接比我写得详细多了,各位选择性看吧
安装
安装过程参考github链接,按顺序一步一步安装,
# environment
conda create --name nerfstudio -y python=3.8
conda activate nerfstudio
python -m pip install --upgrade pip

# pytorch这里用适合自己的版本
pip install torch==1.12.1+cu113 torchvision==0.13.1+cu113 -f https://download.pytorch.org/whl/torch_stable.html

# 很容易漏掉的一步!!! Tiny-cuda-nn
pip install ninja git+https://github.com/NVlabs/tiny-cuda-nn/#subdirectory=bindings/torch

# 克隆github
git clone https://github.com/nerfstudio-project/nerfstudio.git
cd nerfstudio
pip install --upgrade pip setuptools
pip install -e .

# 如果还想生成位姿的话,安装如下命令
conda install -c conda-forge colmap
conda install -c conda-forge mpir
以上就安装完成了,如果因为网络导致git命令无法使用,参考链接。
测试
提供的demo代码数据集无法下载,所以另辟蹊径
下载数据集
数据集链接,选择plane.zip下载,下载完成后使用如下代码测试
ns-train nerfacto --data data/nerfstudio/plane --vis viewer --max-num-iterations 50000

根据提供的链接在网页中就可以查看实时渲染情况
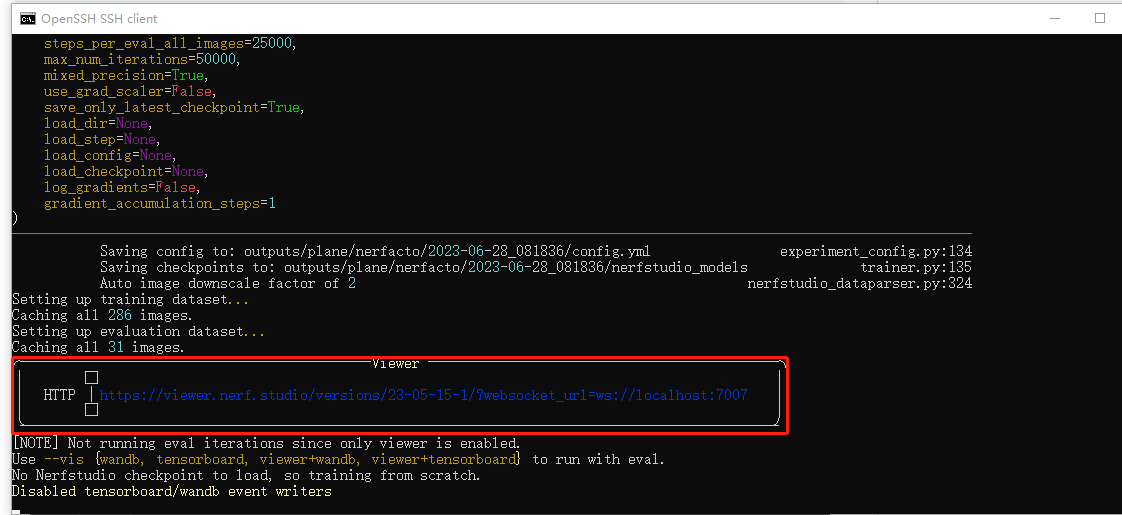
模型选择
如何选择不同的模型 参考链接
ns-train {nerfacto,instant-ngp,mipnerf,semantic-nerfw,vanilla-nerf,tensorf,dnerf,phototourism}
 nerfacto  : 推荐的实时模型为真实捕获而调整。这个模型将不断更新
 depth-nerfacto: 具有深度监督的 Nerfacto
 instant-ngp:Instant-NGP 的现实,推荐用于无限制场景的实时模型
 instant-ngp-bounded:Instant-NGP 的实现,推荐用于有界真实和合成场景
 mipnerf:有界场景的高质量模型(慢)
 semantic-nerfw:预测语义分割并过滤掉瞬时对象
 vanilla-nerf:原始NeRF模型(慢)
 tensorftensorf
 dnerf:动态NeRF模型(慢)
 phototurism:使用Phototourism的数据
 nerfplayer-nerfacto:带有nerfacto主干的NeRFPlayer
 nerfplayer-ngp配备InstantNGP主干的NeRFPlayer
自己的数据集
有一个问题就是.json文件在每种nerf下的设置还不同,所以要根据需求生成nerf文件,头大
此外如果使用vanilla-nerf,还需要注册wandb
登录注册账号:https://wandb.ai/
登陆注册账号后创建一个project,会得到一个账号相关联的key
可以认为该key是一个身份码,与自己注册的账号绑定
(学习教程:https://docs.wandb.ai/quickstart)
一些命令行
# 使用vanilla-nerf 训练bed-001
cd nerf/nerfstudio
source activate nerfstudio


ns-train vanilla-nerf --data data/nerfstudio/bed_001


