目录:导读
- 前言
- 一、Python编程入门到精通
- 二、接口自动化项目实战
- 三、Web自动化项目实战
- 四、App自动化项目实战
- 五、一线大厂简历
- 六、测试开发DevOps体系
- 七、常用自动化测试工具
- 八、JMeter性能测试
- 九、总结(尾部小惊喜)
前言
为了提高复用性,我们在写测试用例的时候,会用到不同的fixture,比如:最常见的登录操作,大部分的用例的前置条件都是登录
假设不同的用例想登录不同的测试账号,那么登录fixture就不能把账号写死,需要通过传参的方式来完成登录操作
案例1:传单个参数
import pytest


@pytest.fixture()
def login(request):
    name = request.param
    print(f"== 账号是:{name} ==")
    return name


data = ["pyy1", "polo"]
ids = [f"login_test_name is:{name}" for name in data]


@pytest.mark.parametrize("login", data, ids=ids, indirect=True)
def test_name(login):
    print(f" 测试用例的登录账号是:{login} ")
执行结果
collecting ... collected 2 items

10fixture_request.py::test_name[login_test_name is:pyy1] == 账号是:pyy1 ==
PASSED          [ 50%] 测试用例的登录账号是:pyy1

10fixture_request.py::test_name[login_test_name is:polo] == 账号是:polo ==
PASSED          [100%] 测试用例的登录账号是:polo
添加 indirect=True 参数是为了把 login 当成一个函数去执行,而不是一个参数,并且将data当做参数传入函数;
def test_name(login) ,这里的login是获取fixture返回的值;
案例2:多个参数
@pytest.fixture()
def logins(request):
    param = request.param
    print(f"账号是:{param['username']},密码是:{param['pwd']}")
    return param


data = [
    {"username": "name1", "pwd": "pwd1"},
    {"username": "name2", "pwd": "pwd2"},
]


@pytest.mark.parametrize("logins", data, indirect=True)
def test_name_pwd(logins):
    print(f"账号是:{logins['username']},密码是:{logins['pwd']}")
执行结果
10fixture_request.py::test_name_pwd[logins0] 账号是:name1,密码是:pwd1
PASSED                      [ 50%]账号是:name1,密码是:pwd1

10fixture_request.py::test_name_pwd[logins1] 账号是:name2,密码是:pwd2
PASSED                      [100%]账号是:name2,密码是:pwd2
如果需要传多个参数,需要通过字典去传
案例3:多个fixture(只加一个装饰器)
这种更常用
# 多个fixture
@pytest.fixture(scope="module")
def input_user(request):
    user = request.param
    print("登录账户:%s" % user)
    return user


@pytest.fixture(scope="module")
def input_psw(request):
    psw = request.param
    print("登录密码:%s" % psw)
    return psw


data = [
    ("name1", "pwd1"),
    ("name2", "pwd2")
]


@pytest.mark.parametrize("input_user,input_psw", data, indirect=True)
def test_more_fixture(input_user, input_psw):
    print("fixture返回的内容:", input_user, input_psw)
执行结果
10fixture_request.py::test_more_fixture[name1-pwd1] 登录账户:name1
登录密码:pwd1
PASSED               [ 50%]fixture返回的内容: name1 pwd1

10fixture_request.py::test_more_fixture[name2-pwd2] 登录账户:name2
登录密码:pwd2
PASSED               [100%]fixture返回的内容: name2 pwd2
案例4:多个fixture(叠加装饰器)
# 多个fixture
@pytest.fixture(scope="function")
def input_user(request):
    user = request.param
    print("登录账户:%s" % user)
    return user


@pytest.fixture(scope="function")
def input_psw(request):
    psw = request.param
    print("登录密码:%s" % psw)
    return psw


name = ["name1", "name2"]
pwd = ["pwd1", "pwd2"]


@pytest.mark.parametrize("input_user", name, indirect=True)
@pytest.mark.parametrize("input_psw", pwd, indirect=True)
def test_more_fixture(input_user, input_psw):
    print("fixture返回的内容:", input_user, input_psw)
执行结果
10fixture_request.py::test_more_fixture[pwd1-name1] 登录账户:name1
登录密码:pwd1
PASSED               [ 25%]fixture返回的内容: name1 pwd1

10fixture_request.py::test_more_fixture[pwd1-name2] 登录账户:name2
登录密码:pwd1
PASSED               [ 50%]fixture返回的内容: name2 pwd1

10fixture_request.py::test_more_fixture[pwd2-name1] 登录账户:name1
登录密码:pwd2
PASSED               [ 75%]fixture返回的内容: name1 pwd2

10fixture_request.py::test_more_fixture[pwd2-name2] 登录账户:name2
登录密码:pwd2
PASSED               [100%]fixture返回的内容: name2 pwd2
测试用例数=2*2=4条
| 下面是我整理的2023年最全的软件测试工程师学习知识架构体系图 |
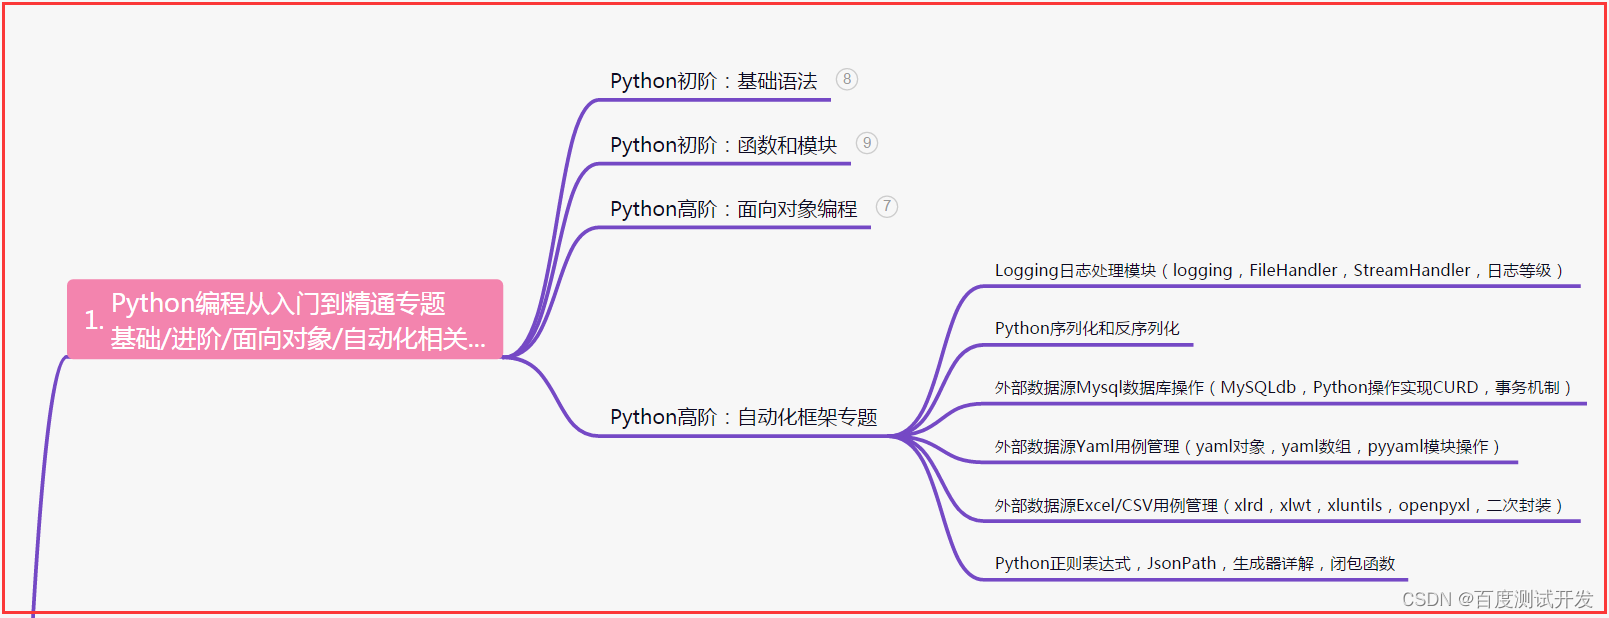
一、Python编程入门到精通
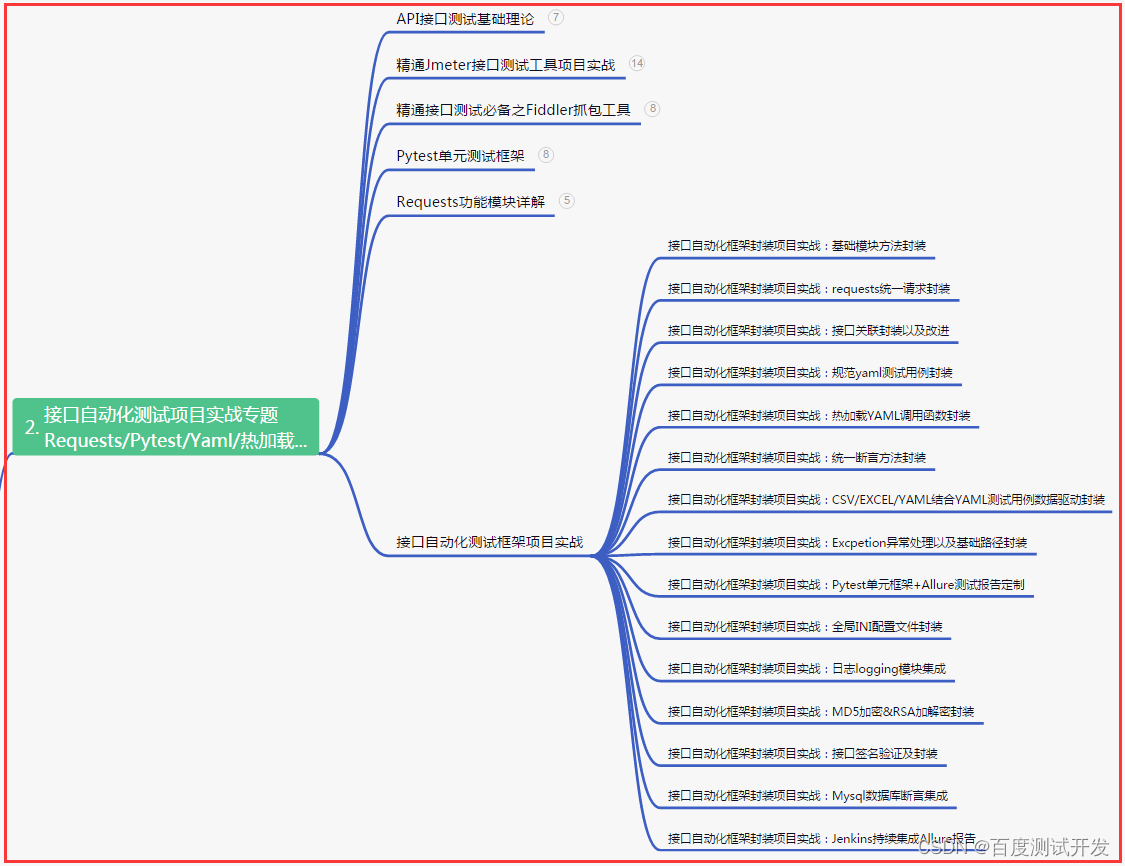
二、接口自动化项目实战
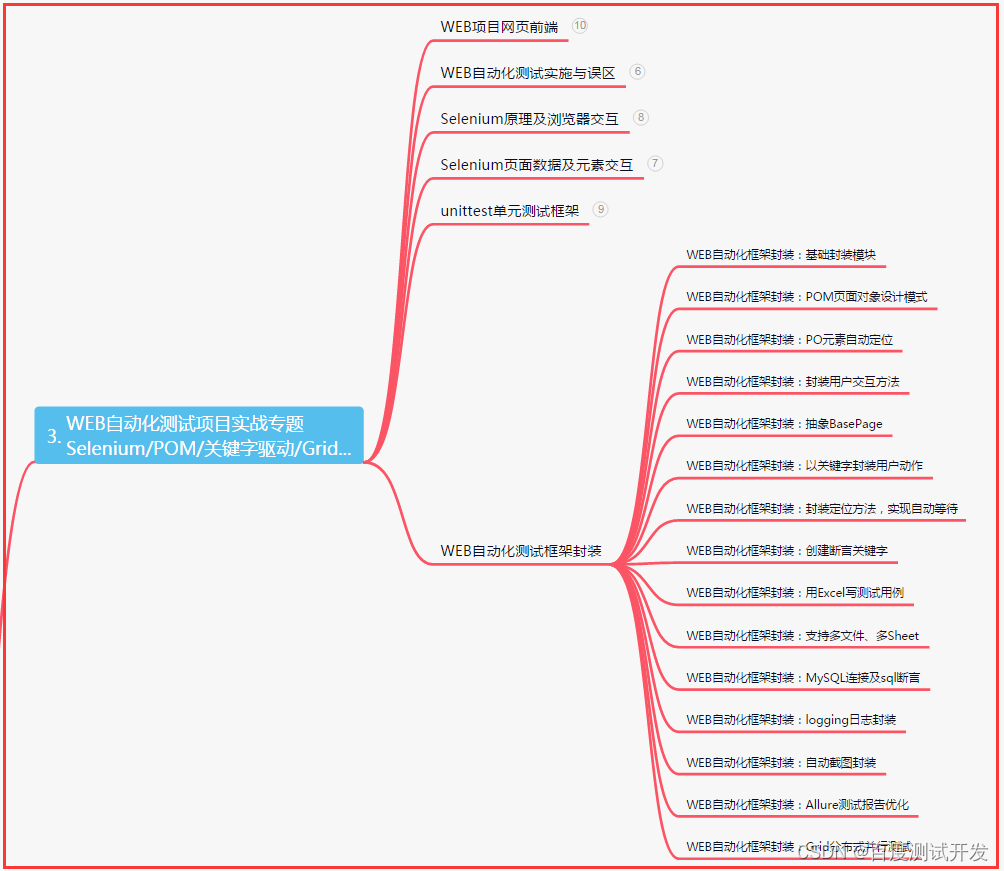
三、Web自动化项目实战
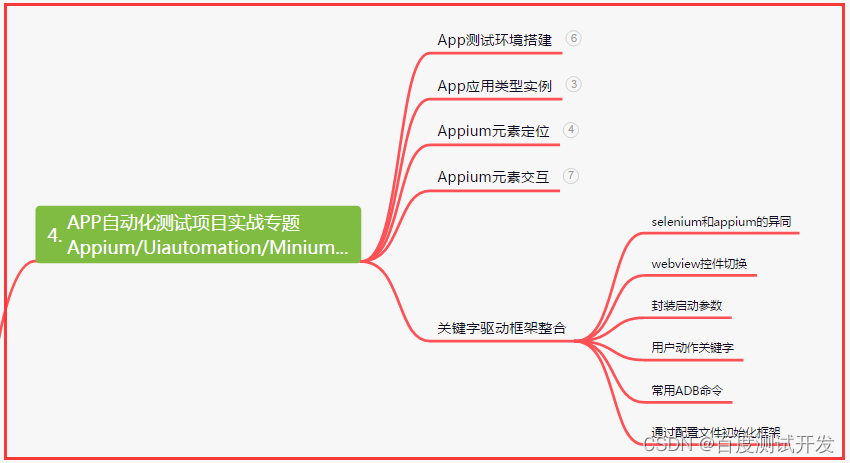
四、App自动化项目实战
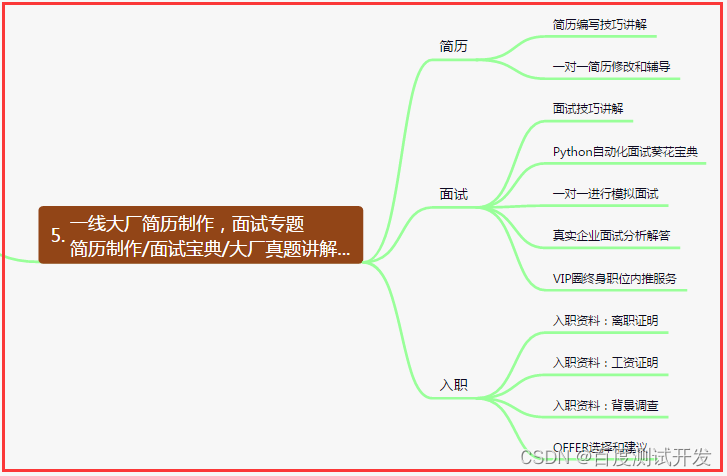
五、一线大厂简历
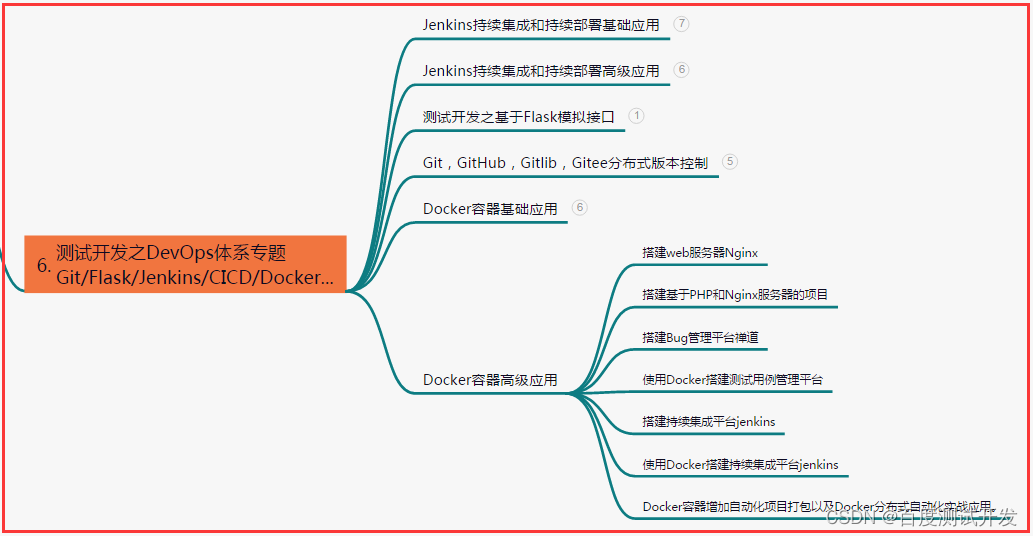
六、测试开发DevOps体系
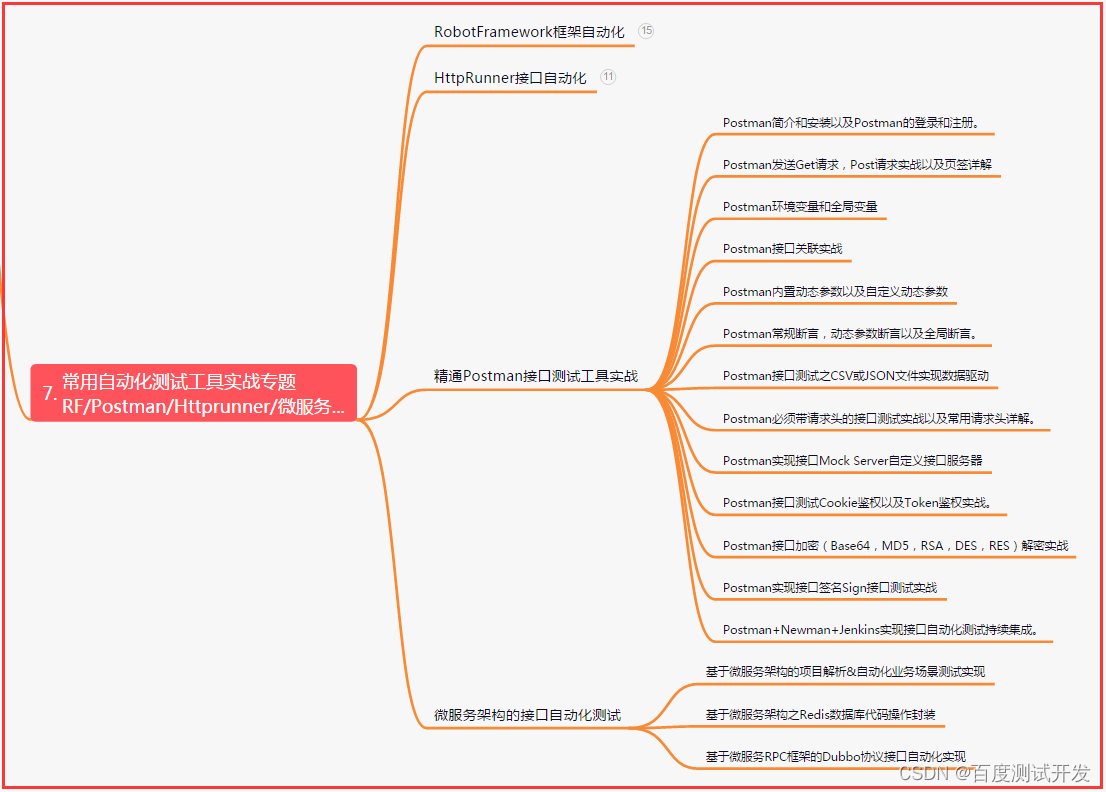
七、常用自动化测试工具
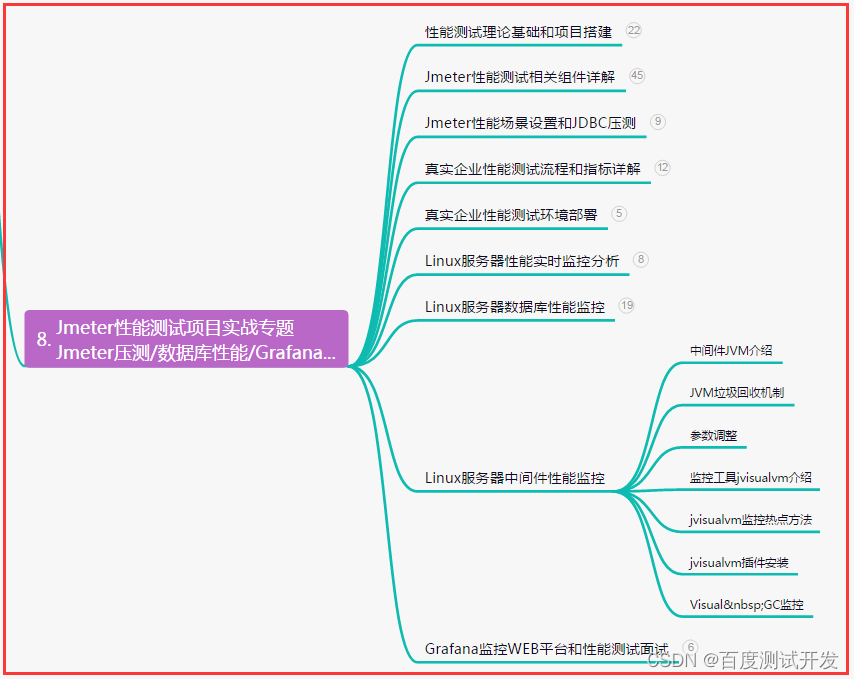
八、JMeter性能测试
九、总结(尾部小惊喜)
勇往直前,志存高远。不断奋斗,追逐梦想。每一次努力都是自我突破的机会,坚持不懈,成功必将在你脚下绽放。相信自己,你就能战胜一切困难,创造属于自己的辉煌人生!
勇往直前,不畏艰辛;拼尽全力,追逐梦想;执着坚持,无所畏惧;奋斗不息,创造辉煌;脚踏实地,登上巅峰;努力奋进,成就自己;积极进取,收获未来;信心满怀,无所不能;生命短暂,奋斗不停。
只有持之以恒的努力,才能驱散迷茫的阴霾,迈向辉煌的明天。无论前路多坎坷,心怀梦想,不停奋斗;只要脚踏实地,必能收获成功。相信自己,超越极限,勇往直前!
