NUCLEO-F411RE RT-Thread 体验 (4) - GCC环境 LED控制以及CMD命令的添加
1、LED的控制
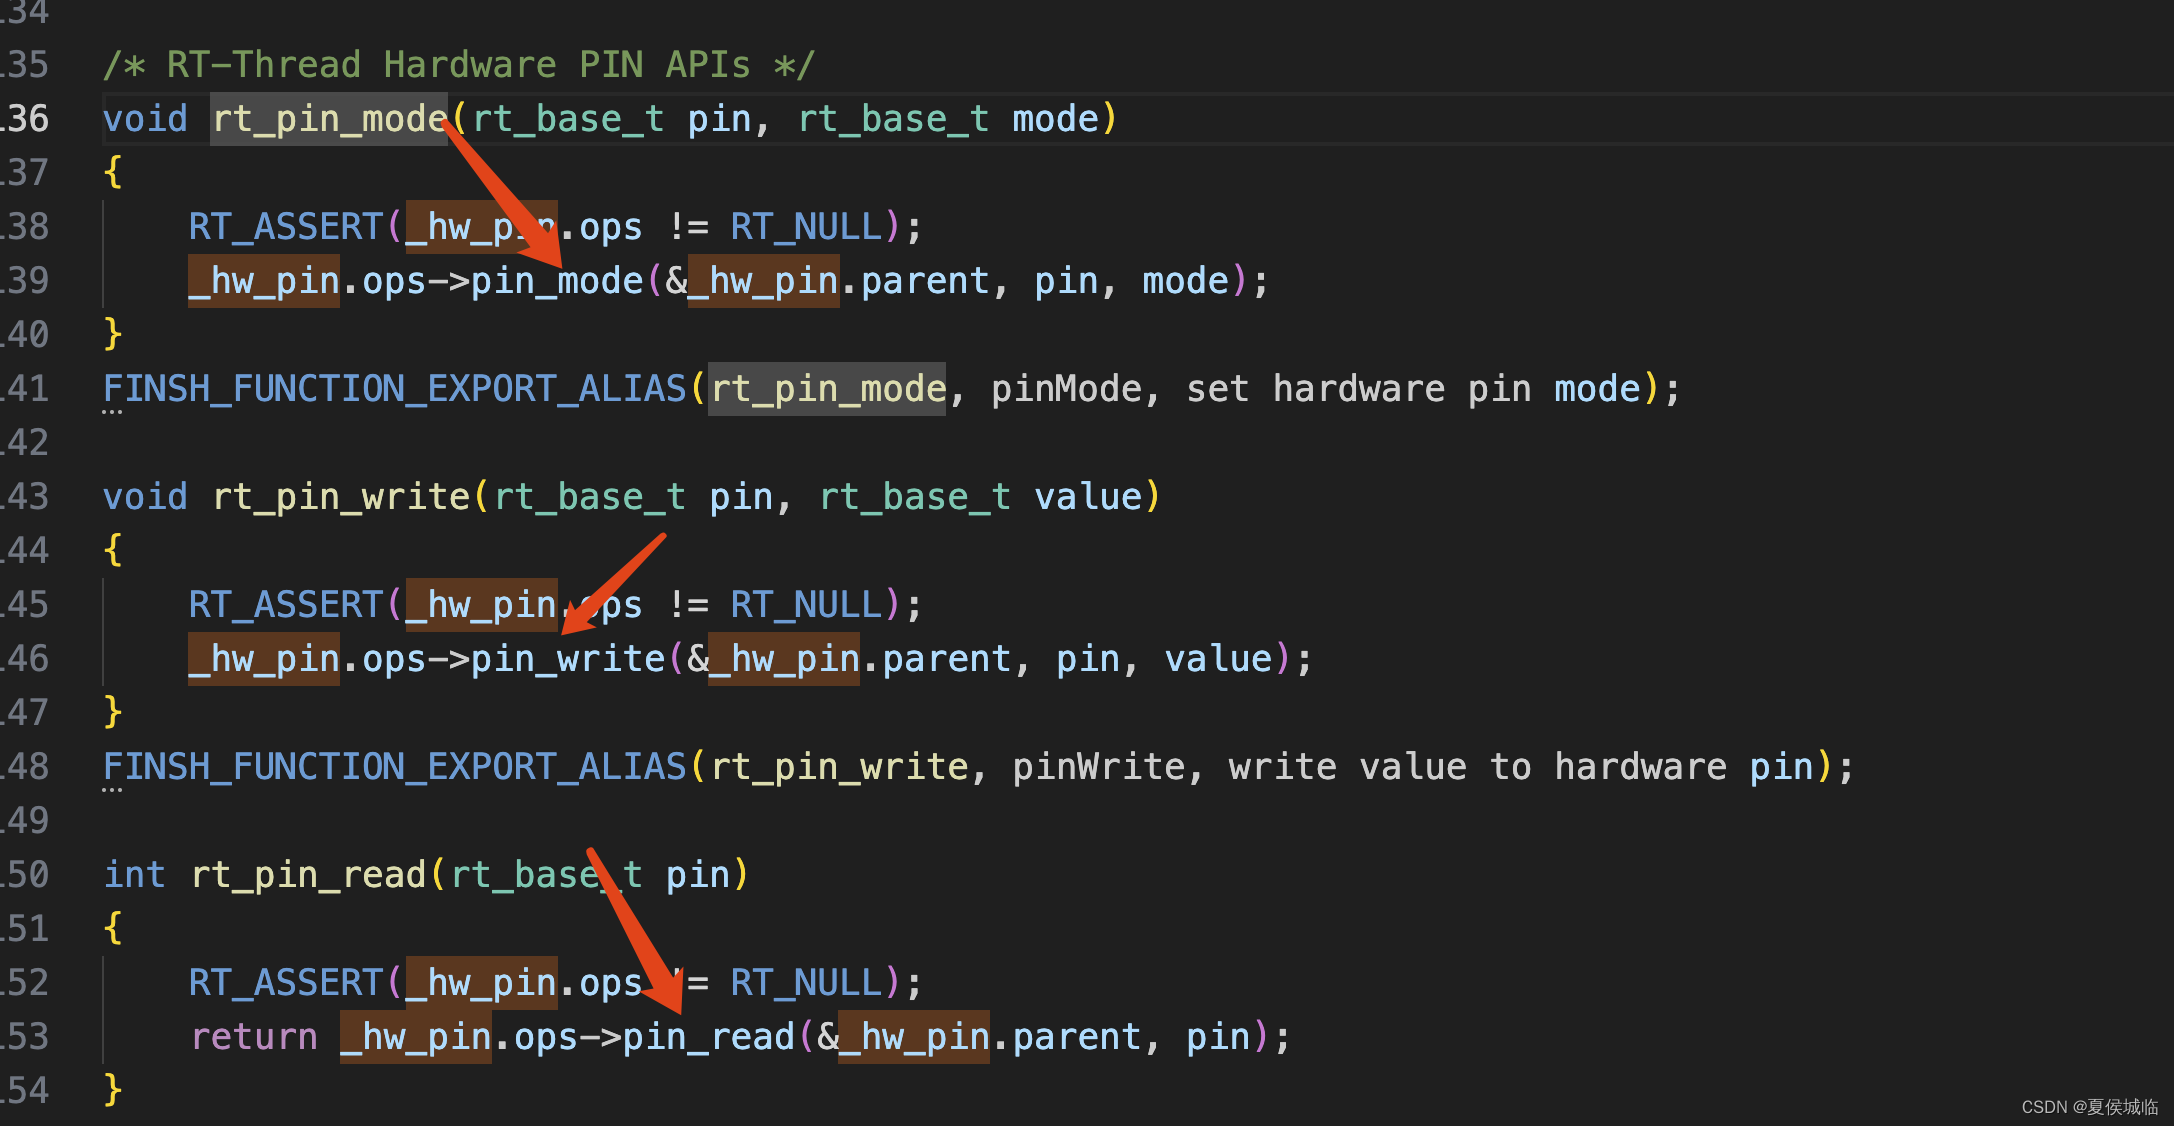
前面pin驱动移植后,我们使用rt_pin_mode() rt_pin_write() 控制gpio拉高拉低,从而控制LED灯的闪烁。
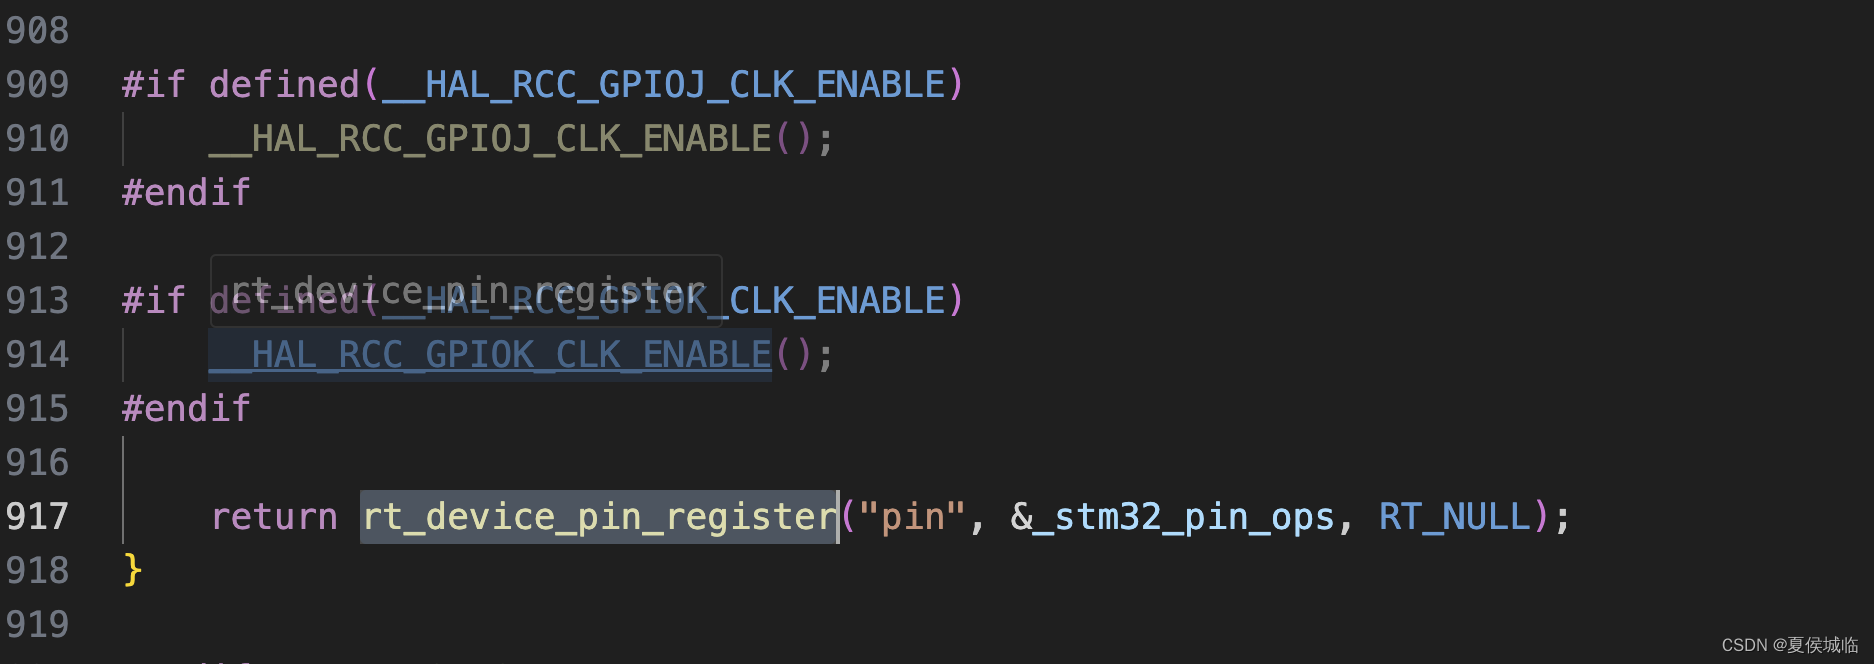
整个pin的初始化流程在rt_hw_board_init里。

rt_hw_pin_init中最重要的是rt_device_pin_register这个函数。
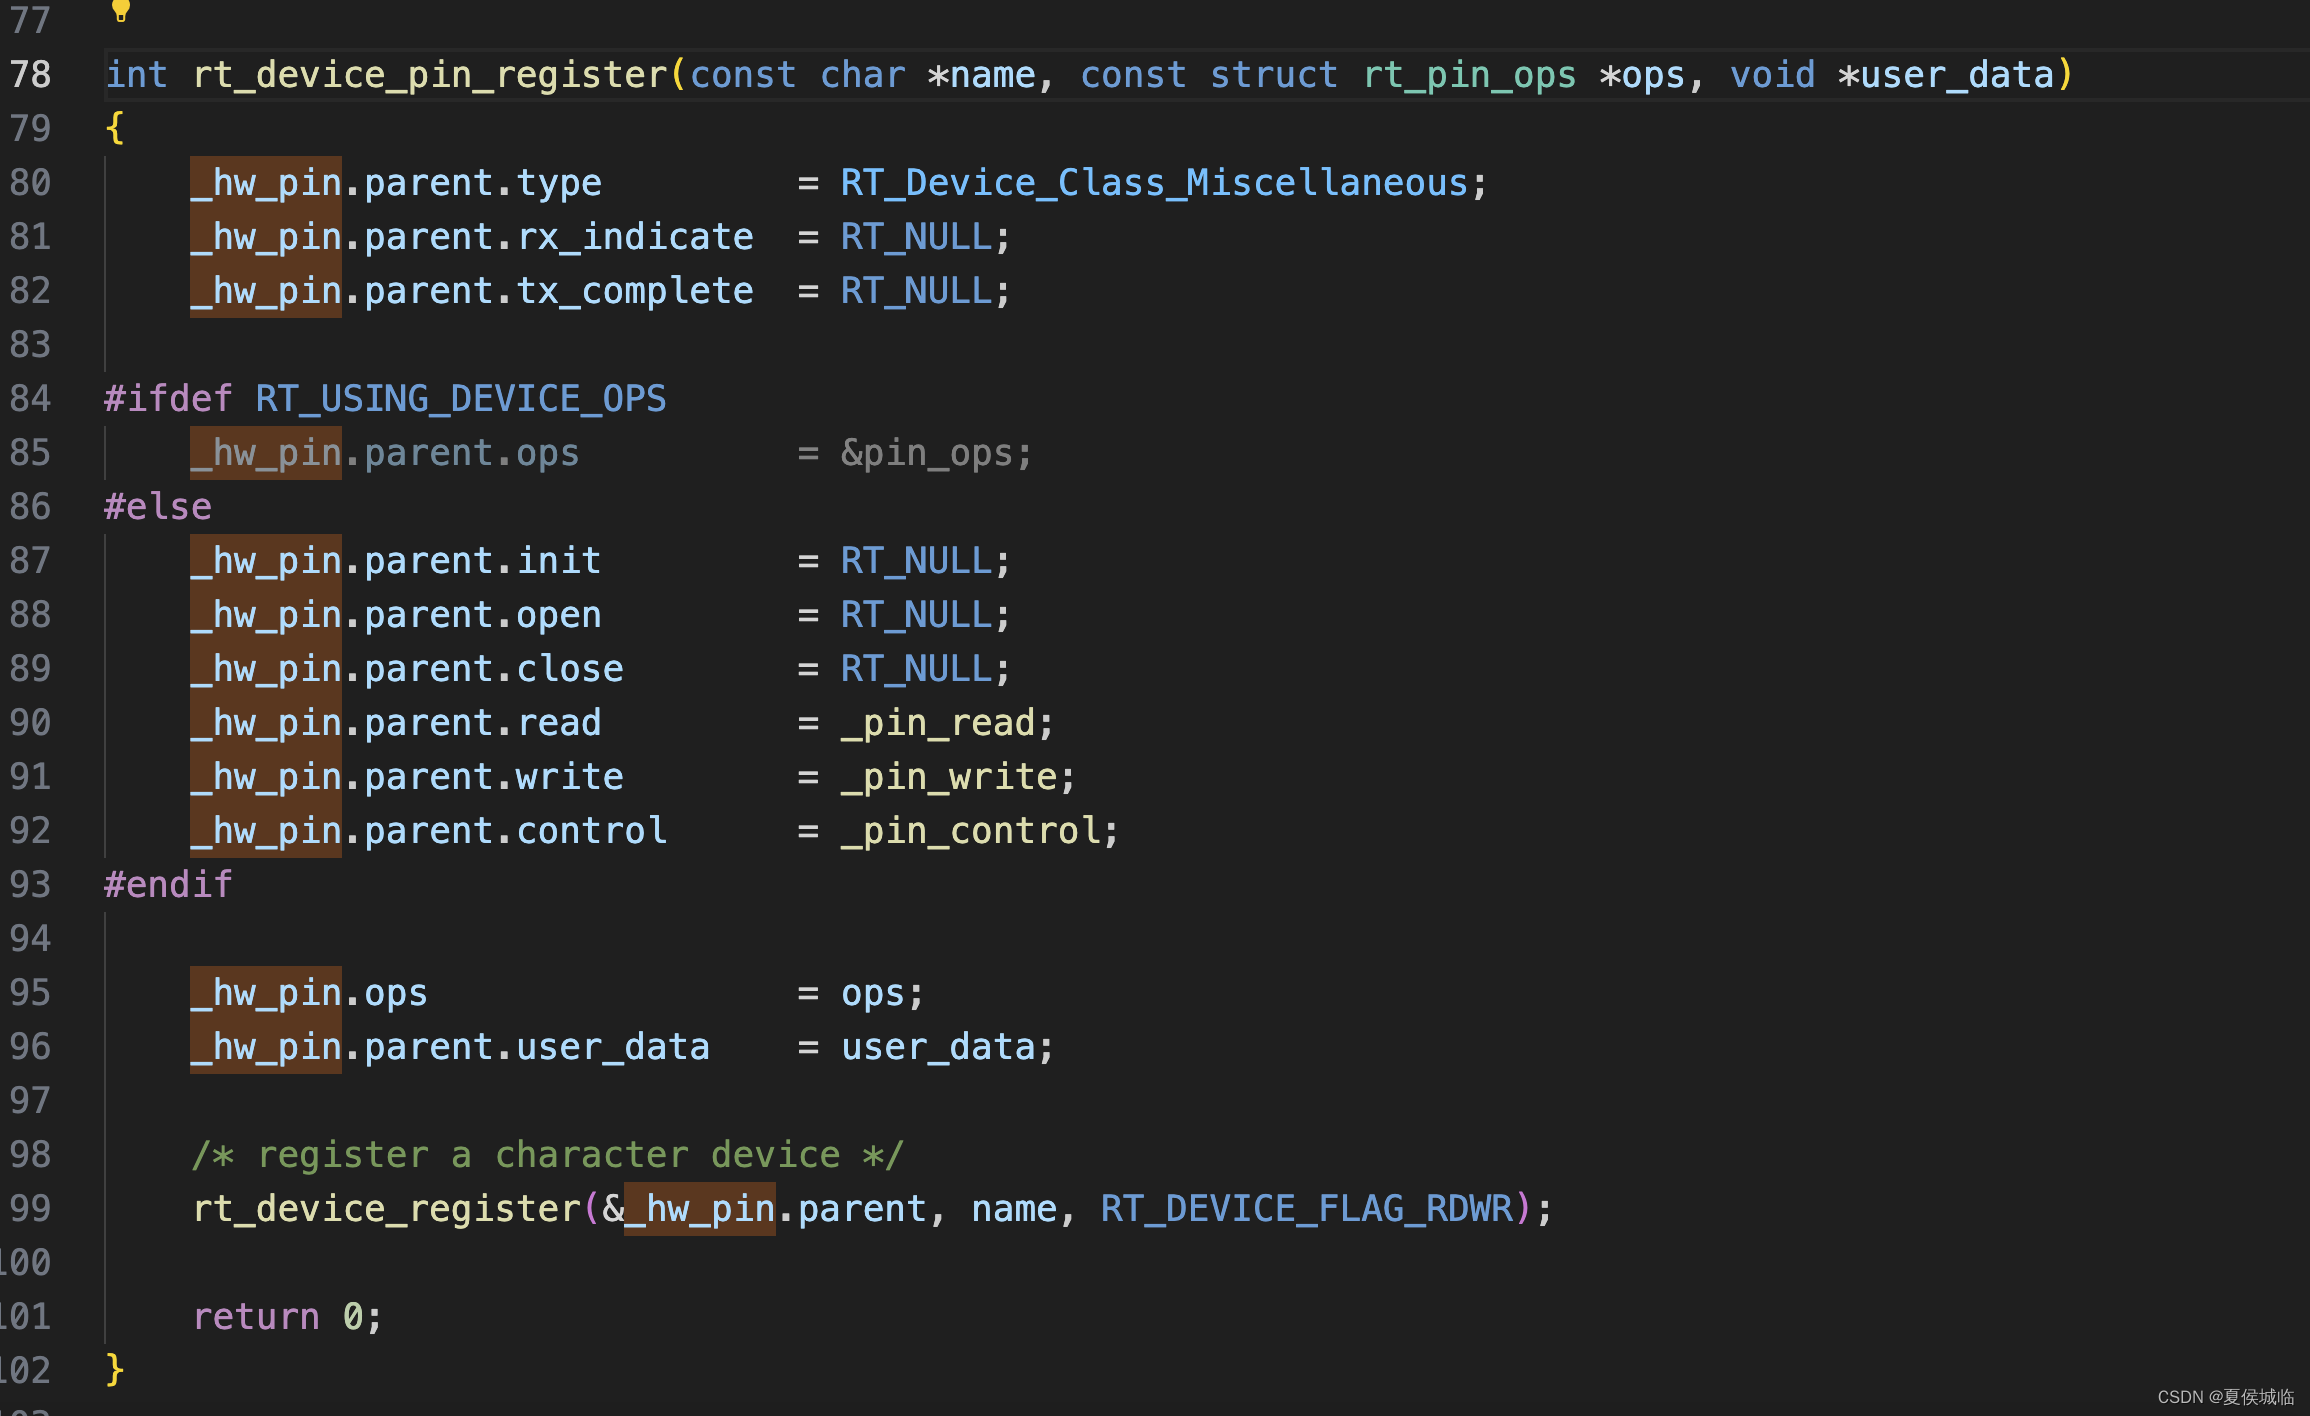
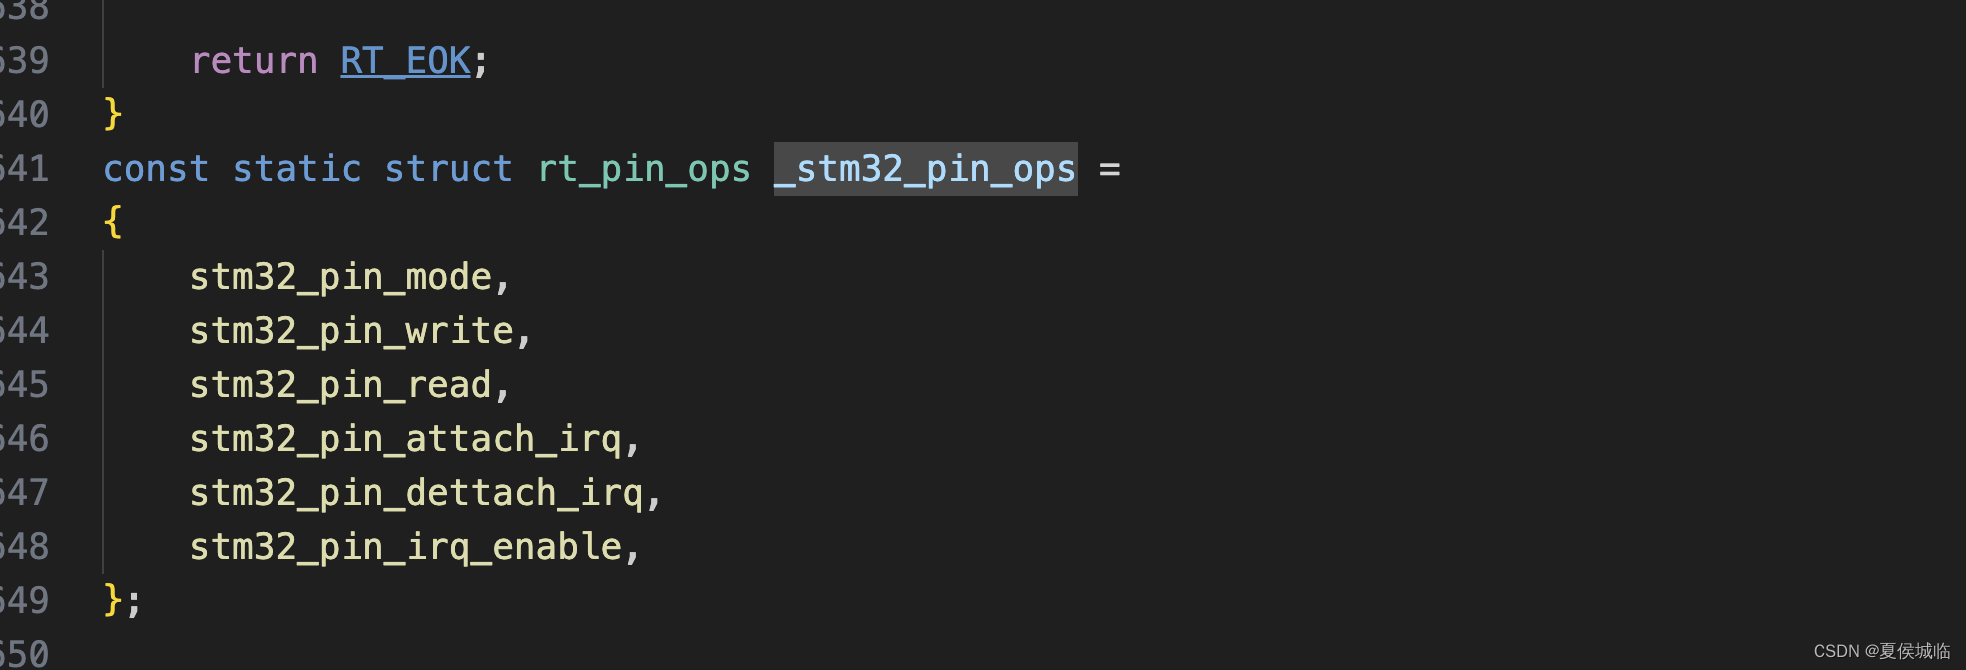
rt_device_pin_register这个函数里_hw_pin.parent应该没啥用,最重要的是_hw_pin.ops = ops;这句话,将_stm32_pin_ops赋值过来。
这些函数指针分别对应
从而调用到hal库中的函数。而之前 tm32cumxbe生成的gpio.c gpio.h 文件我们也可以删掉了。
2、finsh命令添加
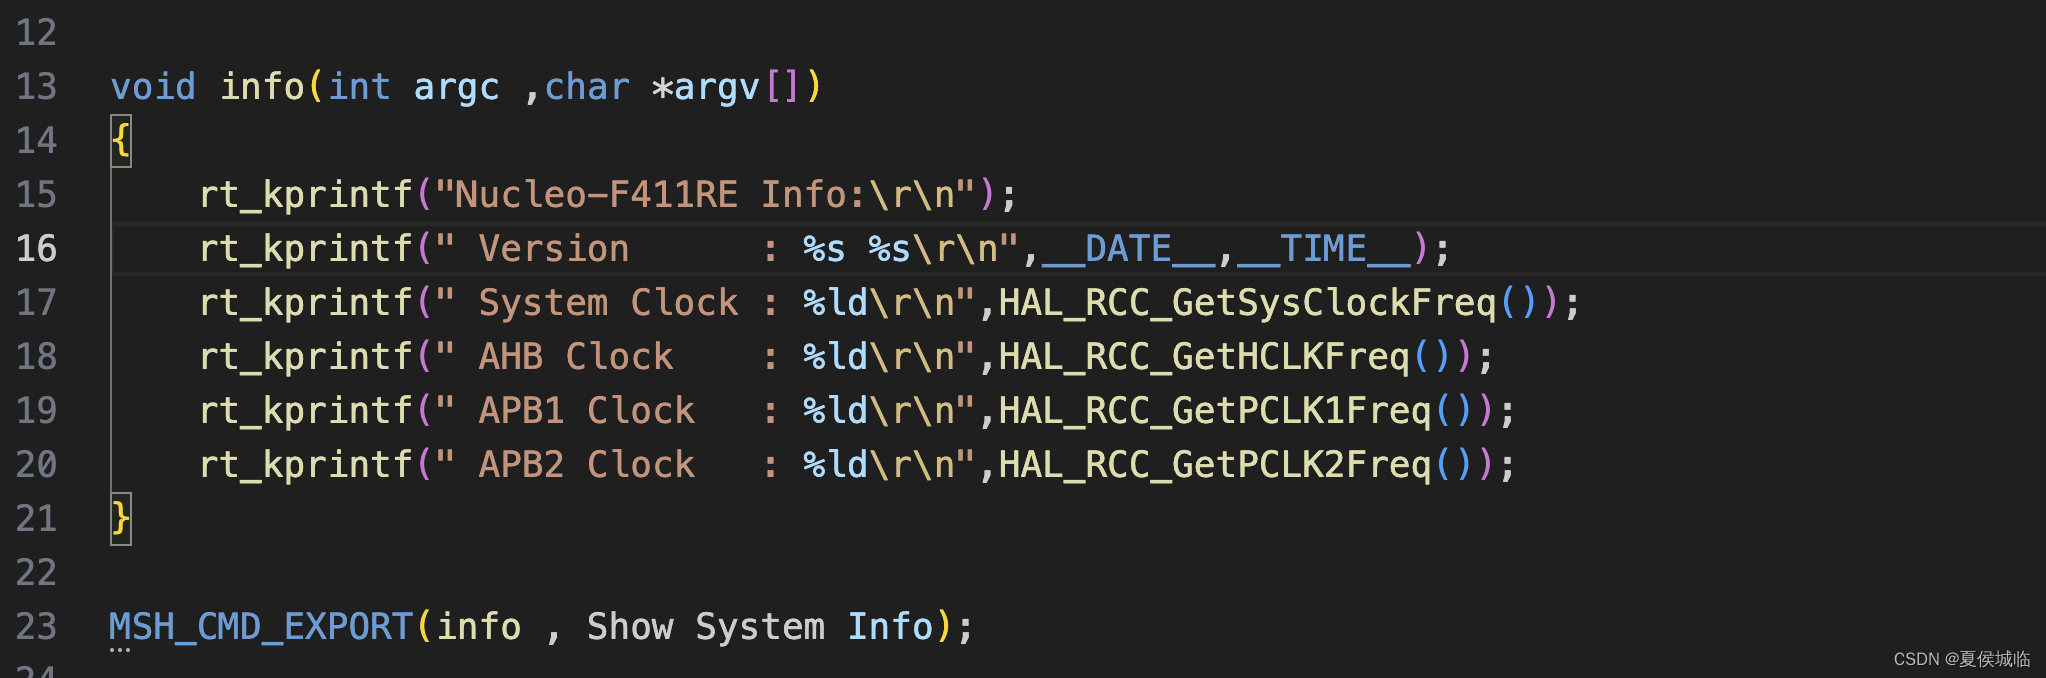
1、添加info命令,显示系统时钟等信息
2、添加led命令,控制LED的亮灭等
void led_show_usage(void)
{
    rt_kprintf("Usage:\r\n");
    rt_kprintf("  led (-h | --help)\r\n");
    rt_kprintf("  led (-i | --info      )   show led pin info \r\n");
    rt_kprintf("  led (-s | --set x 0/1 )   set led status \r\n");
    rt_kprintf("  led (-g | --get       )   get led status\r\n");
}
int led(int argc ,char *argv[])
{
    int c;
    int longindex = 0;
    int mode_value = 0;
    int pin_value = 0;
    const char short_options[] = "his:g";
    const struct option long_options[] =
    {
        {"help",        0,  NULL,     'h'},
        {"info",        0,  NULL,     'i'},
        {"set",         0,  NULL,     's'},
        {"get",         0,  NULL,     'g'},
        {NULL,          0,  NULL,      0},
    };

    if (argc == 1)
    {
        /* goto the help */
        led_show_usage();
        return 0;
    }
    /* init 0 */
    optind = 0;
    opterr = 0;

    do
    {
        /* code */
        /* parse the args */
        c = getopt_long(argc, argv, short_options, long_options, &longindex);
        switch (c)
        {
        case 'h':
            led_show_usage();
            break;
        case 'i':
            rt_kprintf("Led Pin Index = %d\n",LED0_PIN);
            break;
        case 's':
            mode_value = strtol(optarg,NULL,10);
            if (mode_value == 0 || mode_value ==1)
            {
                rt_pin_write(LED0_PIN,mode_value);
            }
            else
            {
                led_show_usage();
            }
            break;
        case 'g':
            pin_value = rt_pin_read(LED0_PIN);
            rt_kprintf("get Led Pin State %s\n",pin_value == 1 ? "On" : "Off");
            break;
        default:
            break;
        }
    } while (c != -1);

    return 0;
}

MSH_CMD_EXPORT(led , Led Control);