参考
老孟 flutter: 网络请求-dio
http
http 是一个可组合,基于Future的库,用于HTTP请求。该软件包包含高级功能和类,可轻松使用HTTP资源。它是多平台的,并且支持移动设备,台式机和浏览器。此软件包为官方出品。
安装
flutter pub add http
安装完成后依赖信息会自动添加到pubspec.yaml文件里
get请求
ElevatedButton(
        onPressed: () async {
          // https://github.com/flutter/flutter/blob/master/README.md
          // Uri.https 参数1:github.com(主机名),参数2:/flutter/flutter/blob/master/README.md(路径)
          var url = Uri.https(
              'github.com', '/781238222/flutter-do/blob/master/README.md');
          var response = await http.get(url);
          print("响应code:${response.statusCode}");
          print("响应体:${response.body}");
        },
        child: const Text('请求数据'));

post请求
var url = Uri.https(
   'example.com', '/whatsit/create');
var response = await http.post(url,body: {
 'name':'doodle',
 'color':'blue'
});
dio
dio 是一个强大的Dart Http请求库,支持Restful API、FormData、拦截器、请求取消、Cookie管理、文件上传/下载、超时、自定义适配器等
安装
在 pubspec.yaml 中添加如下依赖
dependencies:
  dio: ^4.0.0
flutter pub get
注:dio库依赖于http库,如果之前安装了http库再安装dio库会出现版本冲突的问题,可以卸载掉http库,flutter packages pub remove http
get请求
import 'package:dio/dio.dart';

ElevatedButton(
        onPressed: () async {
          final dio = Dio();
          Response response = await dio
              .get('https://github.com/flutter/flutter/blob/master/README.md');

          print("响应code:${response.statusCode}");
          print("响应体:${response.data.toString()}");
        },
        child: const Text('请求数据'));
可以看到dio库比http库在操作上更加简单了
添加请求参数
dia.get(path,queryParameters:{...})
post请求
Response response=await Dio().post("https://xxx.com/test",queryParameters: {'name':'laomeng','page':1});
发送FormData
var formData = FormData.fromMap({
  "name": "laomeng",
  "page": 1,
});
Response response=await Dio().post('https://xxx.com/test',data:formData );
文件上传
var formData = FormData.fromMap({
  'name': 'laomeng',
  'file': await MultipartFile.fromFile("./text.txt",filename: "upload.txt"),
  'files': [
    await MultipartFile.fromFile("./text1.txt", filename: "text1.txt"),
    await MultipartFile.fromFile("./text2.txt", filename: "text2.txt"),
  ]
});
Response response=await Dio().post('https://xxx.com/test',data:formData );
监听上传进度
response = await Dio().post(
  'https://xxx.com/test',
  data: formData,
  onSendProgress: (int sent, int total) {
    print("$sent $total");
  },
);
拦截器
拦截器可以在请求前或响应之后做统一的预处理,比如给所有的请求的header添加token等。添加 打印日志 拦截器,网络请求的相关信息会打印到控制台,方便调试和定位问题:
_dio = Dio(options)..interceptors.add(LogInterceptor());
LogInterceptor 是 Dio 包自带的拦截器
自定义拦截器
class MyInterceptor extends Interceptor{
Future onRequest(RequestOptions options) {
// TODO: implement onRequest
return super.onRequest(options);
}
Future onResponse(Response response) {
// TODO: implement onResponse
return super.onResponse(response);
}
Future onError(DioError err) {
// TODO: implement onError
return super.onError(err);
}
}
onRequest 请求前调用,一般是添加请求的公共部分,比如添加 token:
Future onRequest(RequestOptions options) {
options.headers['token'] = 'token';
return super.onRequest(options);
}
onResponse 响应后调用,一般用于通用数据解析等。
onError 请求发生异常时调用,一般用于异常功能处理。
请求取消
CancelToken cancelToken = CancelToken();

Response response = await Dio().post("https://xxx.com/test",
	queryParameters: {'name': 'laomeng', 'page': 1},
	cancelToken: cancelToken);
cancelToken.cancel();
dio封装
使用 Dio 的时候通常会创建一个单例并设置默认配置
class HttpManager {
  factory HttpManager() => _getInstance();
  static HttpManager _instance;

  Dio get http => _dio;
  Dio _dio;

  static const int CONNECT_TIMEOUT = 50000;
  static const int RECEIVE_TIMEOUT = 30000;

  static _getInstance() {
    if (_instance == null) {
      _instance = HttpManager._();
    }
    return _instance;
  }

  ///
  /// 初始化
  ///
  HttpManager._() {
    var options = BaseOptions(
        connectTimeout: CONNECT_TIMEOUT, receiveTimeout: RECEIVE_TIMEOUT);
        // 添加拦击器
    _dio = Dio(options)..interceptors.add(LogInterceptor());
  }
}
使用
可以正常使用dio的方法,只是保证了单一实例并且添加了拦击器和基本配置
HttpManager().http.post('');
json数据转为Model
网络请求返回的数据通常是 json 格式,因此将 json 格式转换为 model 格外重要。只有转换成一个model类才方便后续的使用
这里可以使用JsonToDart 插件
安装
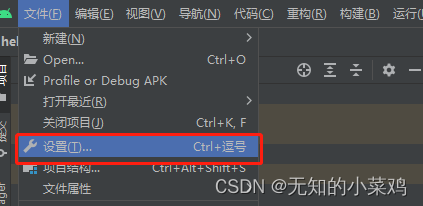
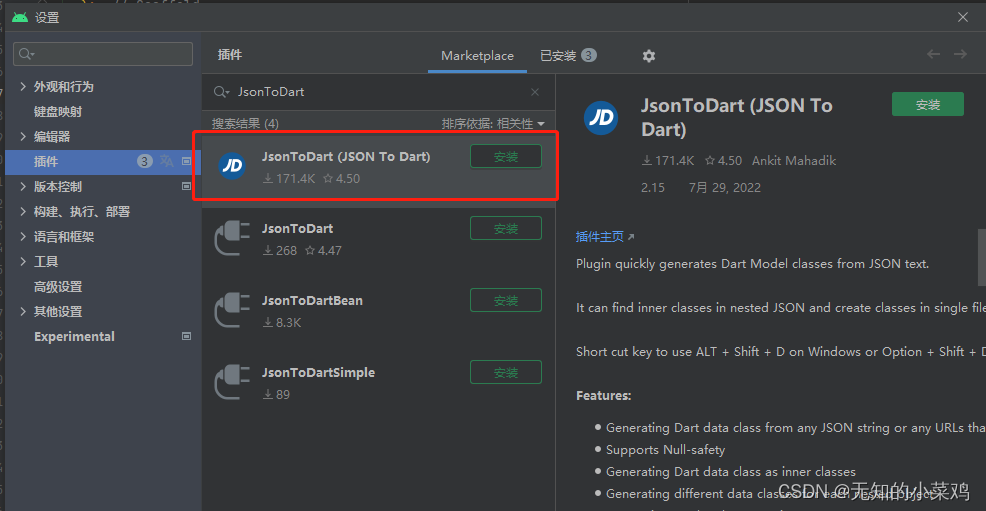
使用
选定目录,点击右键,选择 New->Json to Dart,或者使用快捷键
- Windows:ALT + Shift + D
- Mac:Option + Shift + D
将json数据填入,填写要生成的类名,点击生成
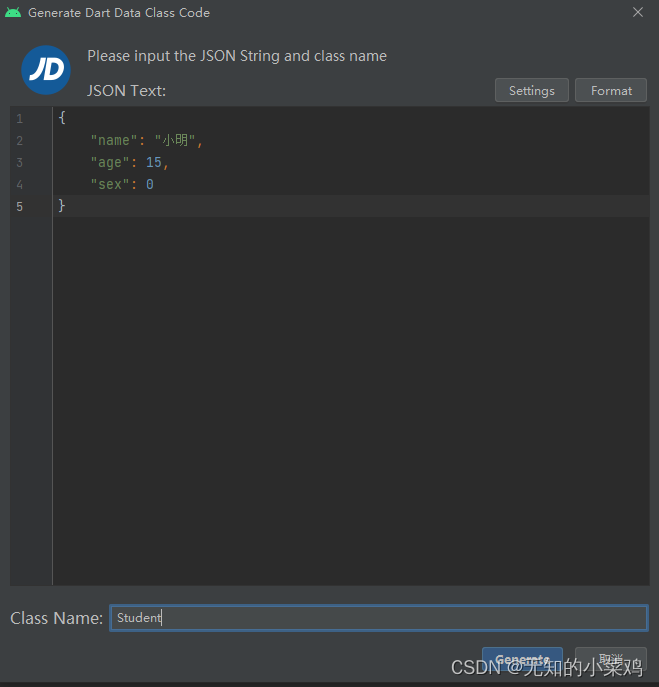
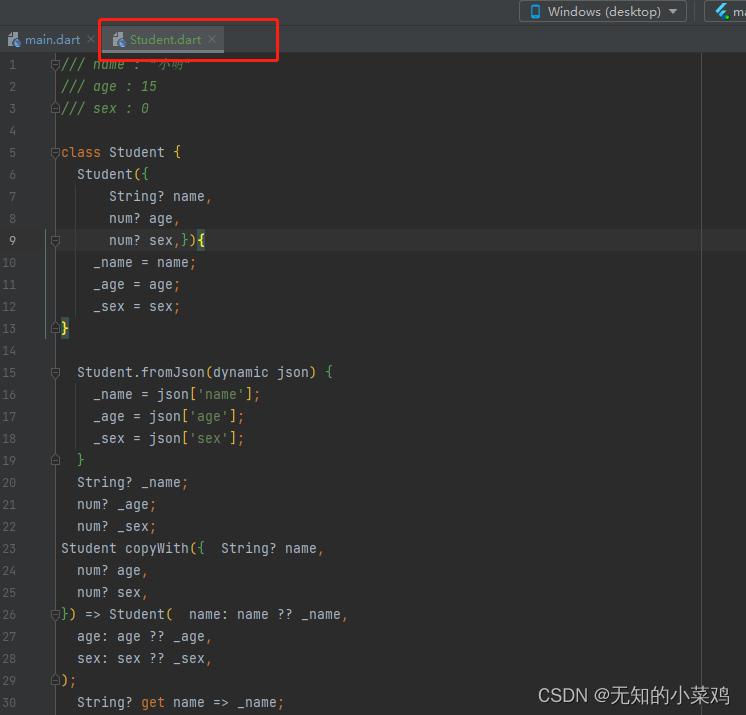
生成的类
