整合的最后一块 我们整合一个数据源
Druid
我们还是打开idea 创建一个项目
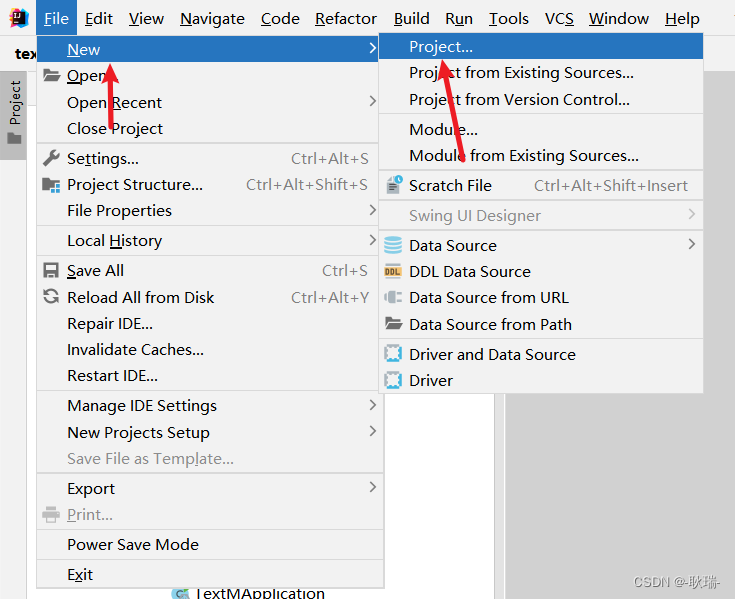
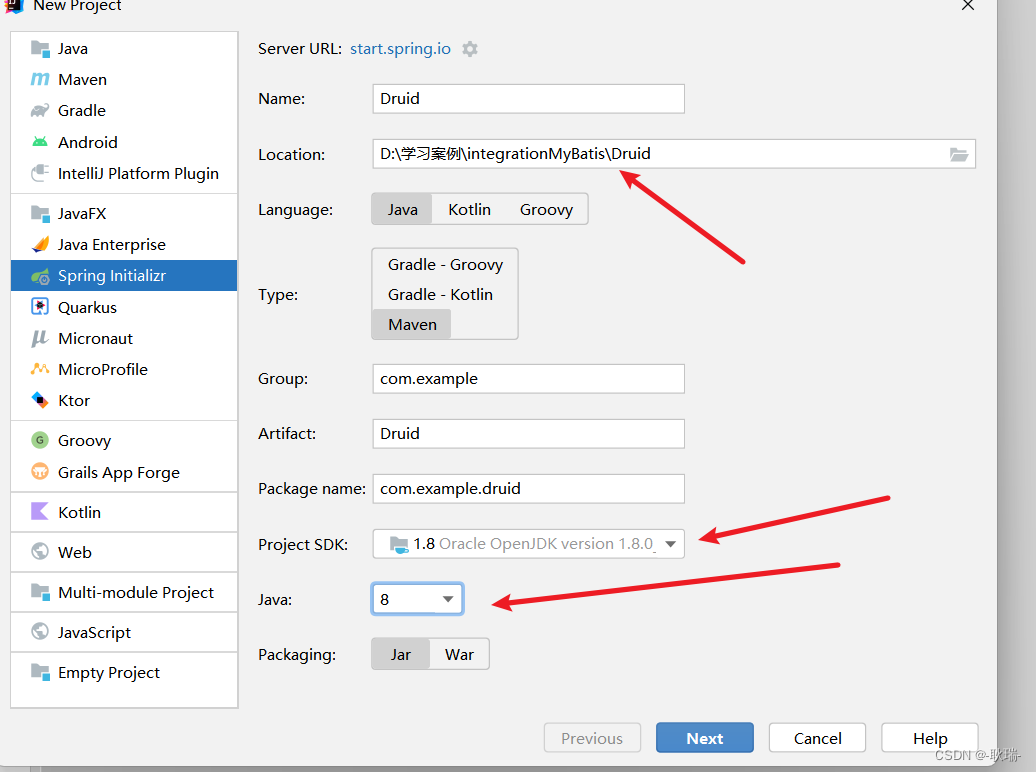
路径和版本调一下 路径选一个好的目录就可以了 至于版本 最好是 java 8 JDK 1.8 然后 Next 下一步
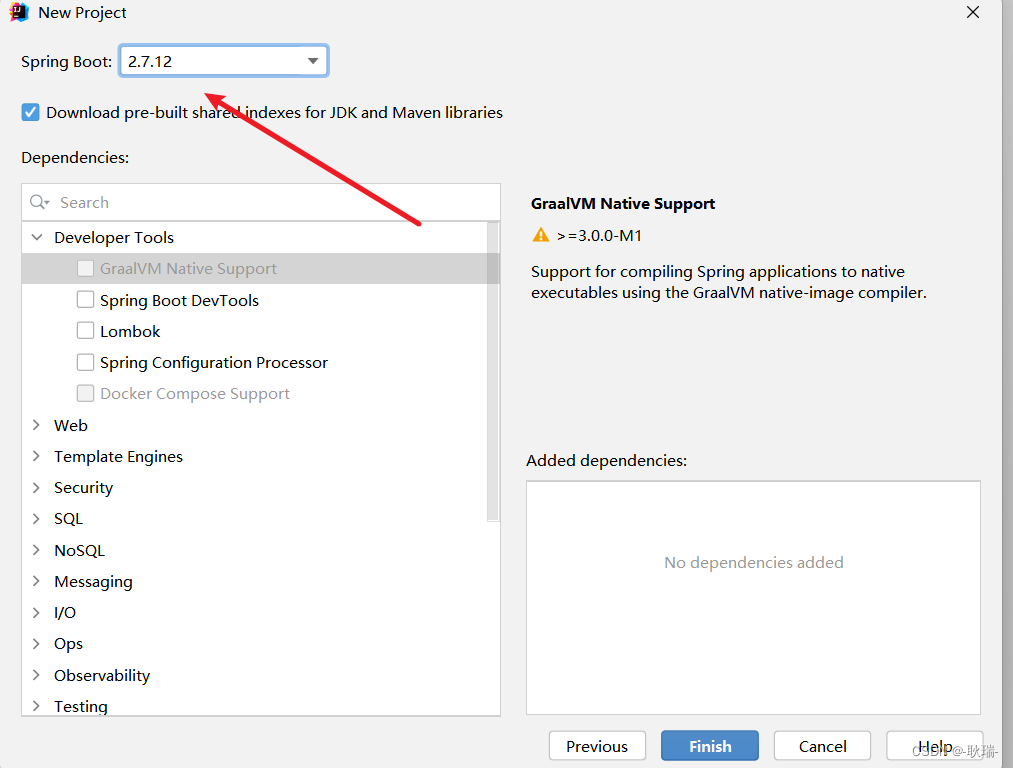
这里 spring boot 的版本记得选一下 不要搞太高 2.几即可
Druid 在这里 显然也是找不到的 所以 我们要后面手动去添加 那么 这里 我们要引入两个依赖
MyBatis和MySql的启动
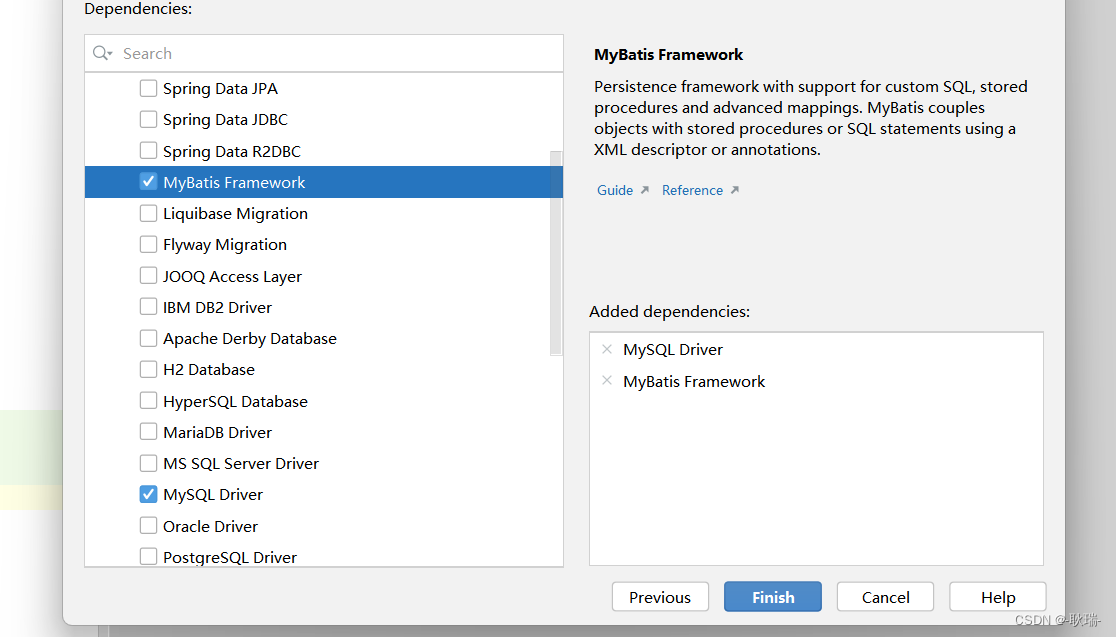
然后点击 Finish 确认创建项目
然后 我们的项目就出来了
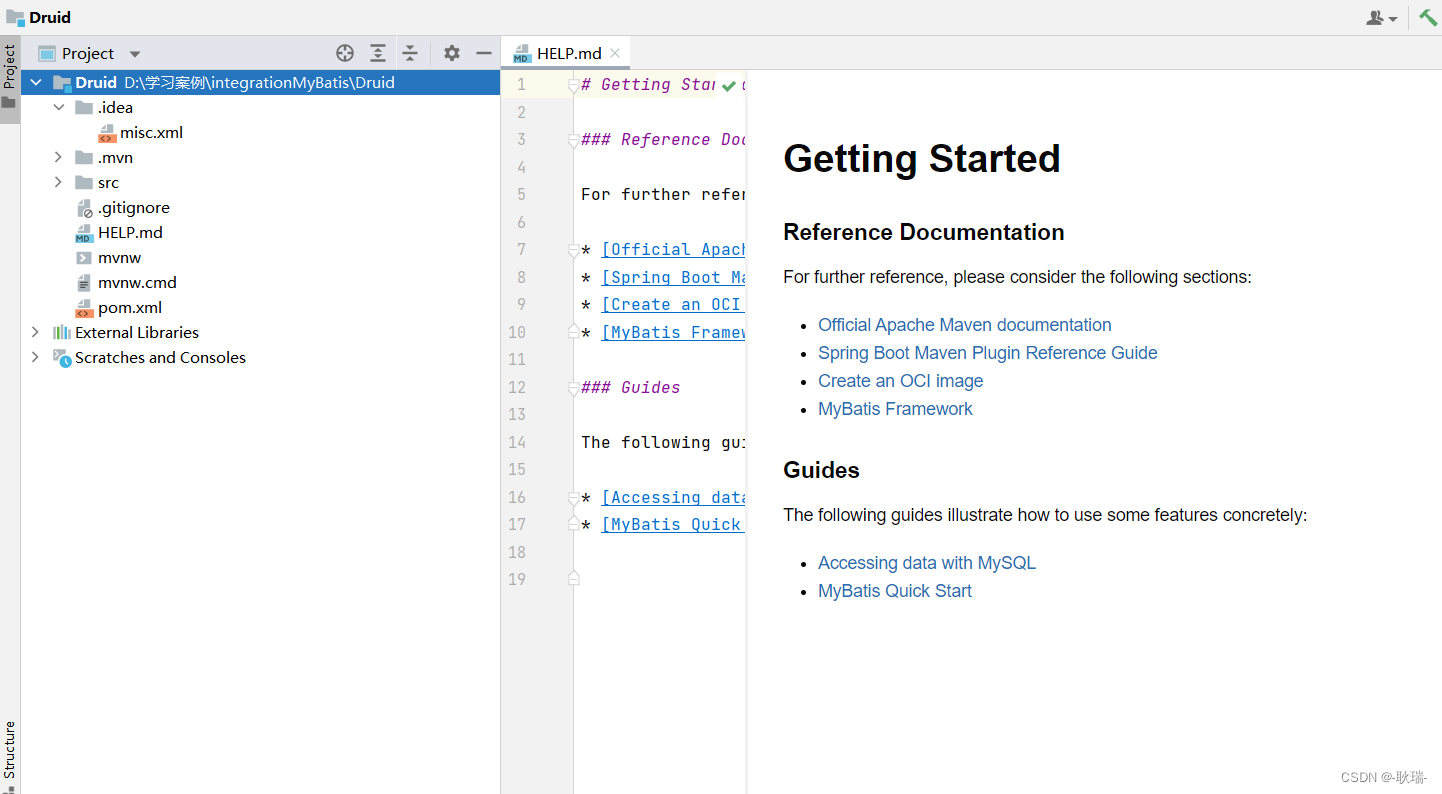
那么 我们创建好项目 首要要解决的问题肯定就是Druid啦 还没有引入今天的主角呢
我们访问
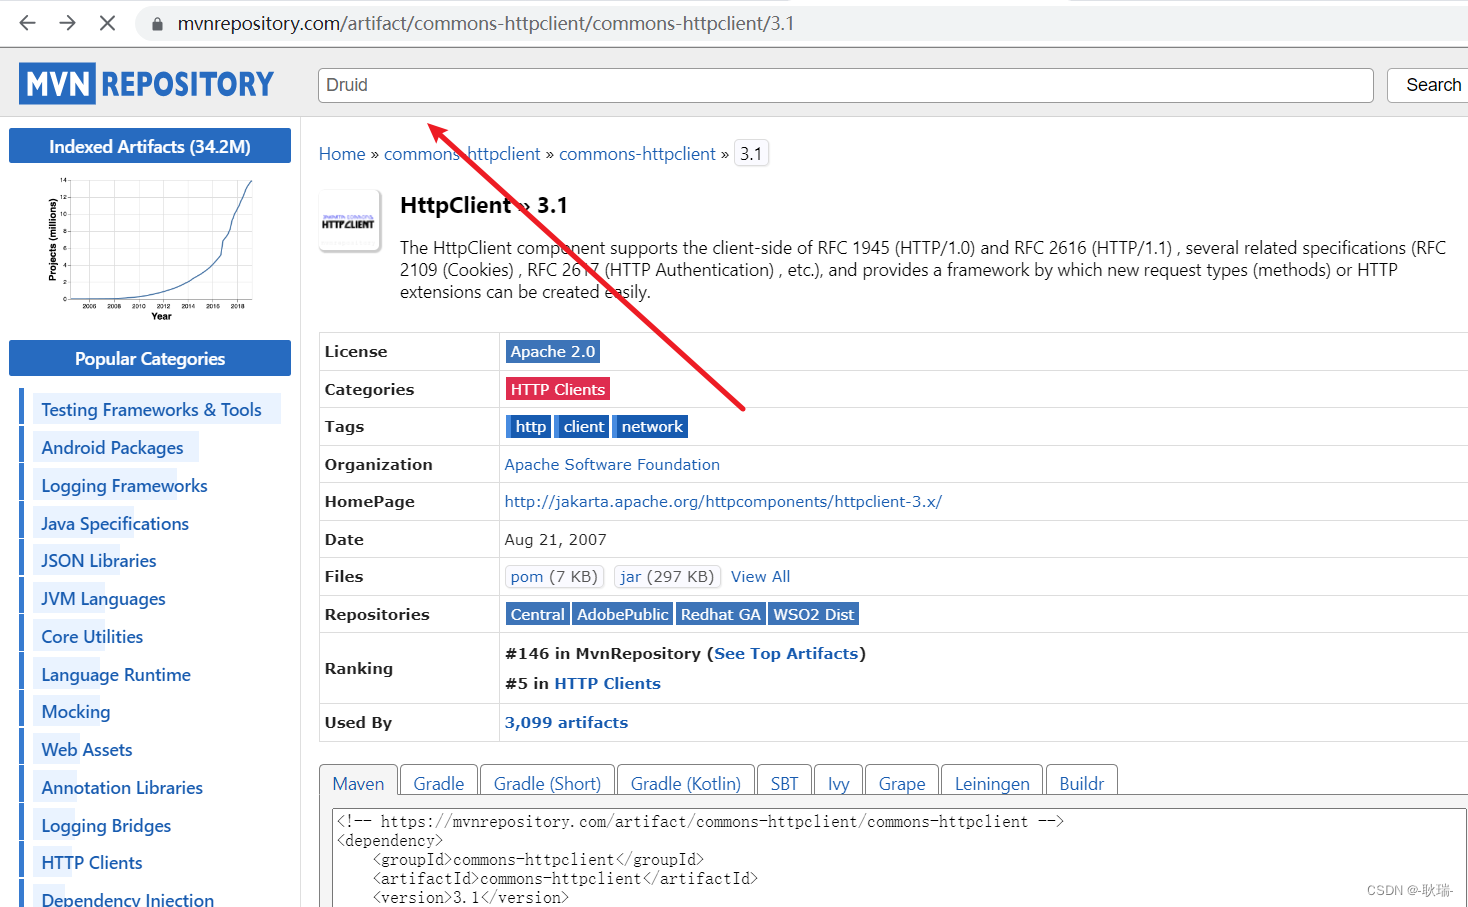
https://mvnrepository.com/artifact/commons-httpclient/commons-httpclient/3.1
顶部搜索 Druid
按回车 他就列出来了
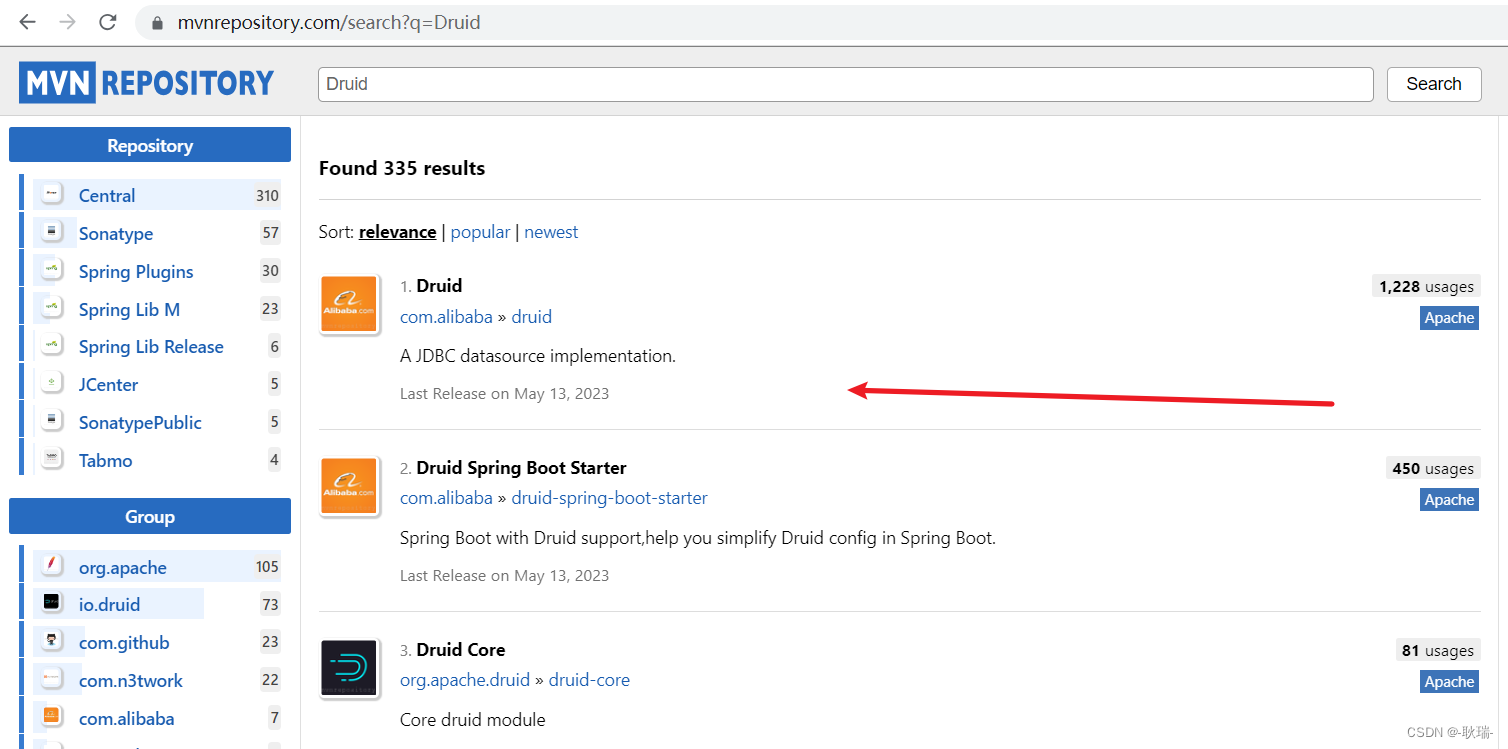
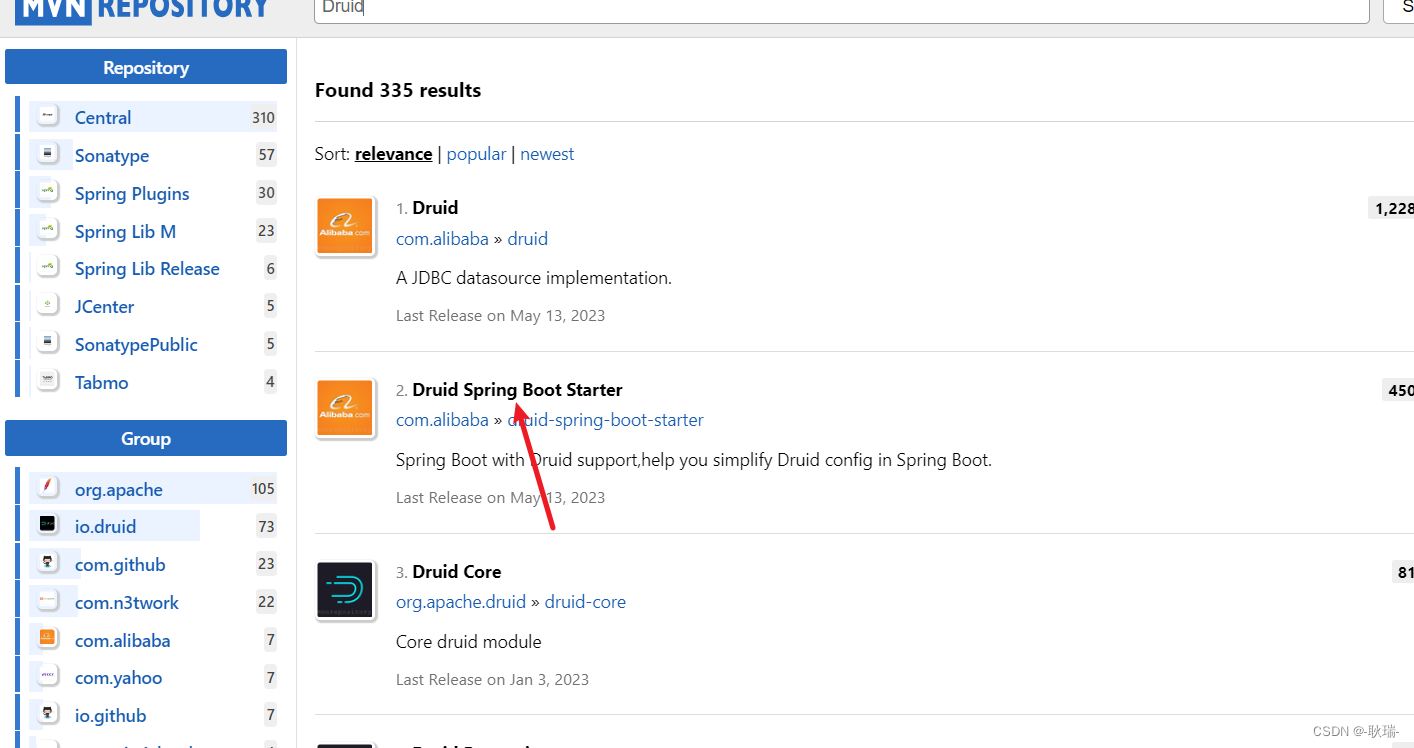
我们点这个 Spring Boot Starter 的进去
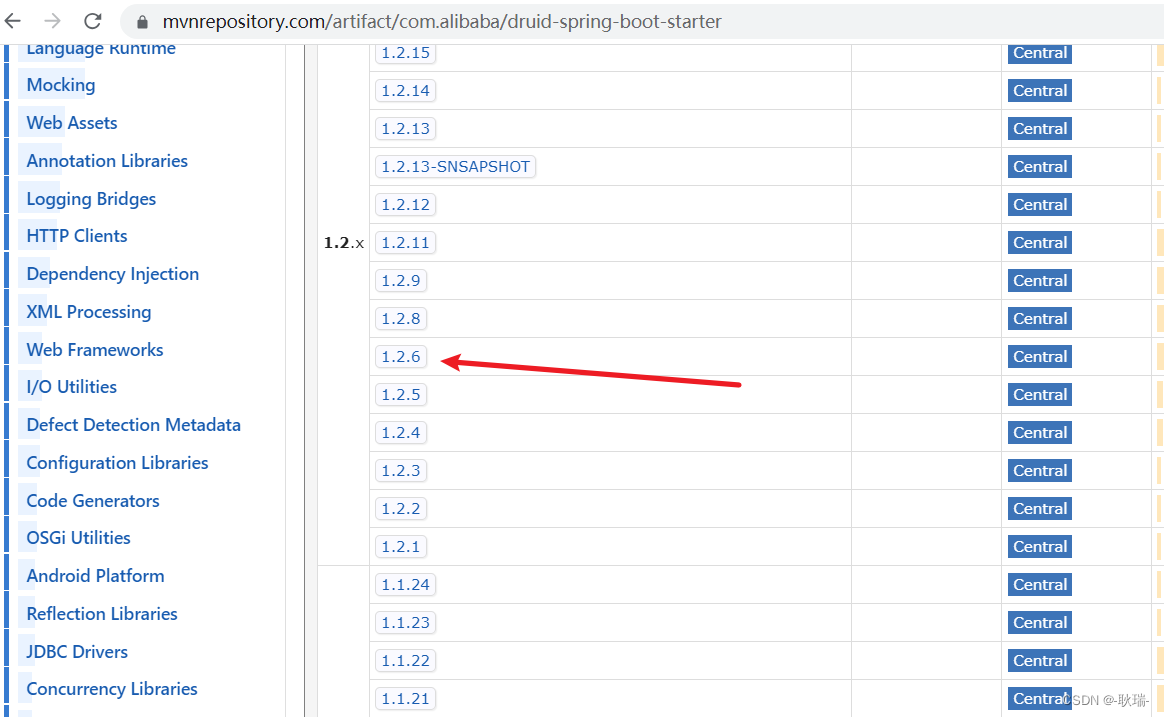
版本的话 选个 1.2.6 点进去
进来自后 向下拉 我们就可以看到他的一个坐标了
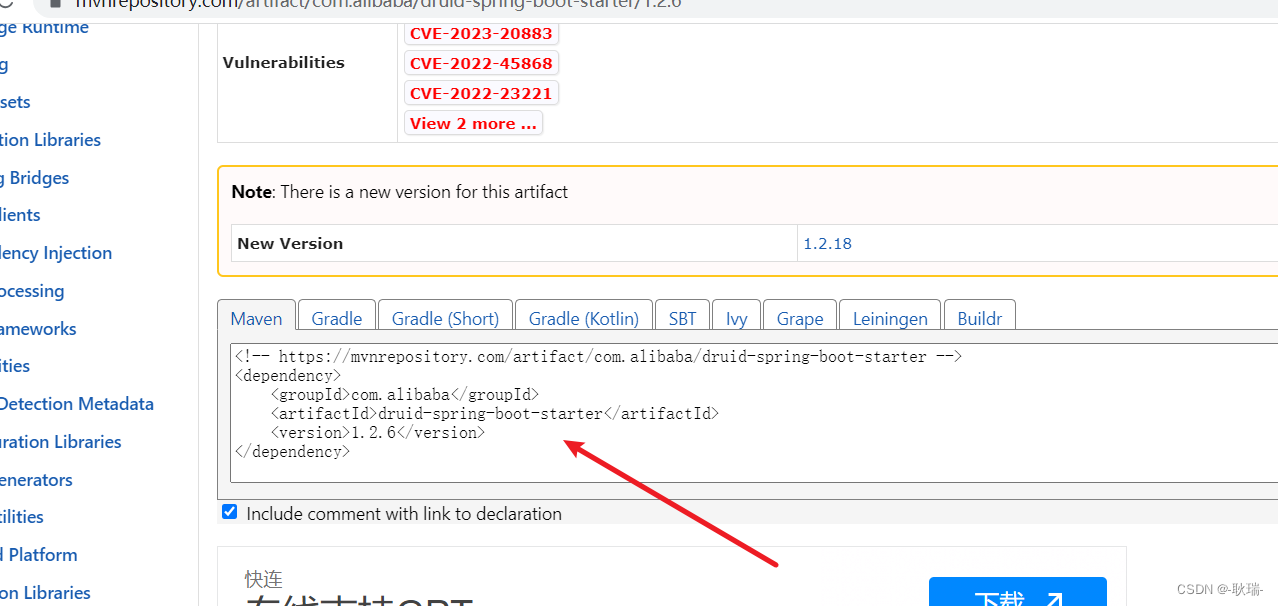
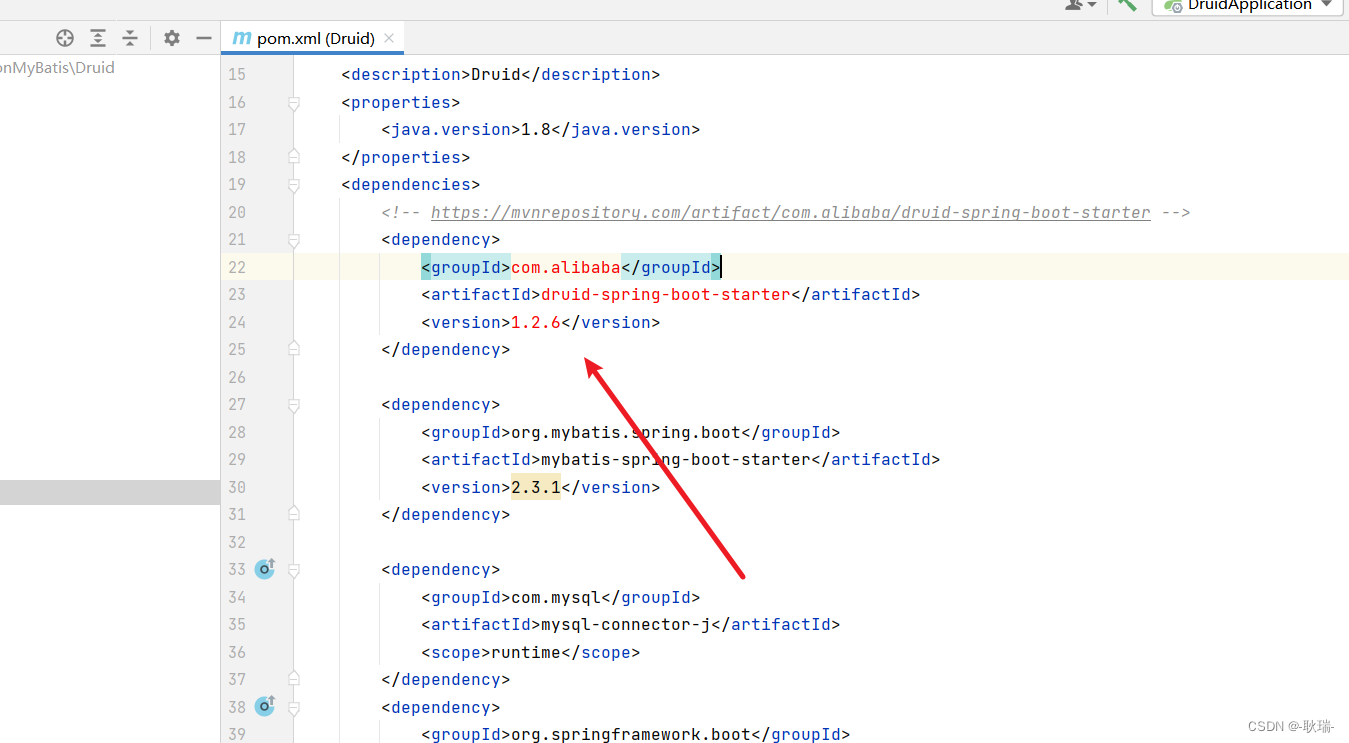
将这个复制到 我们刚创建的项目的 pom.xml 的 dependencies标签下
那么 如果你和我一样 用的 2019 那就复制上来会报错找不到
我们右键操作一下 Maven
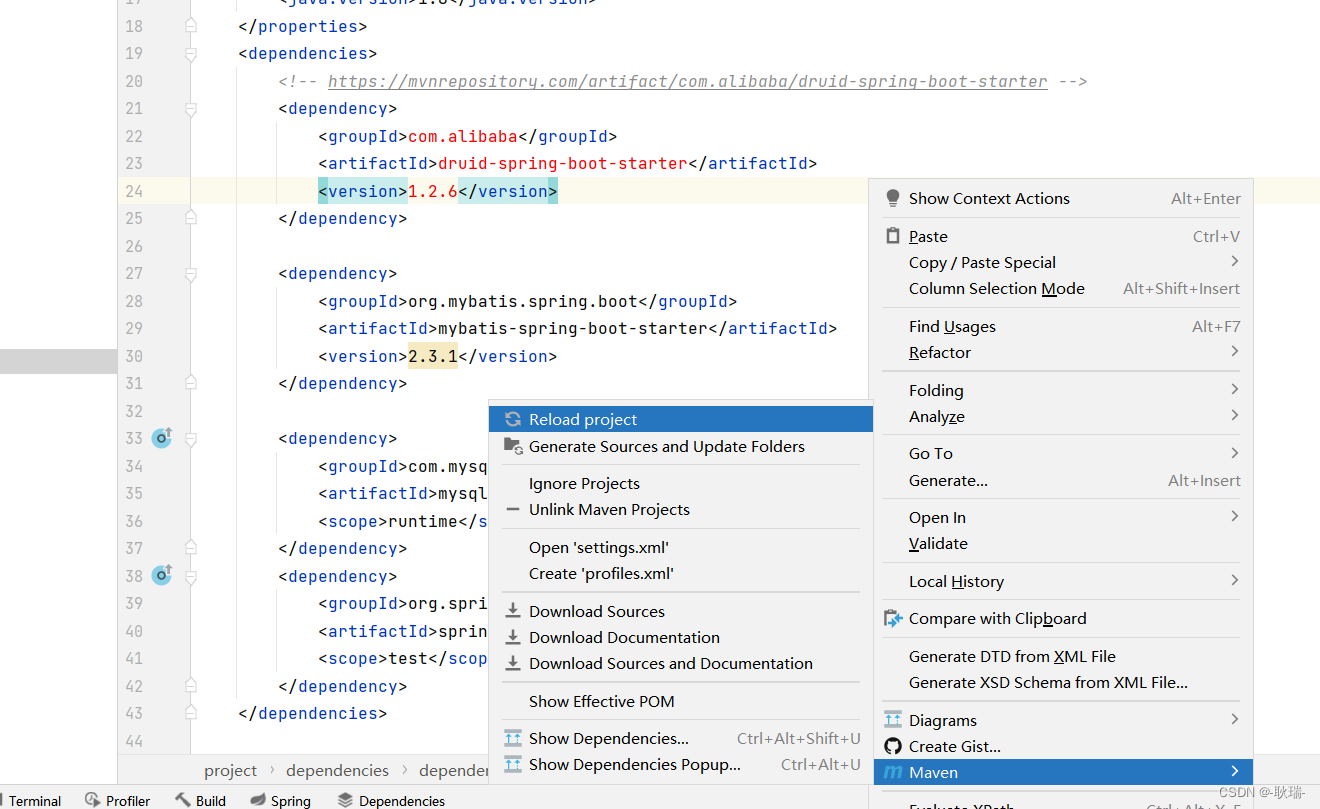
等待这边下载好

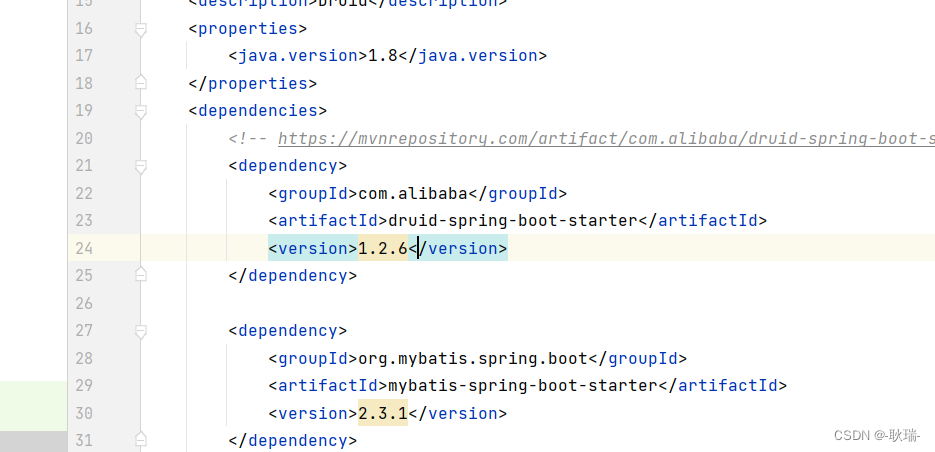
然后 就不会报错了
然后 我们还是将application.properties改为application.yml
参考代码如下
spring:
  datasource:
    driver-class-name: com.mysql.jdbc.Driver
    url: jdbc:mysql://localhost:3306/test
    username: root
    password: root
这里 我们设置 访问本机的 MySql数据库
url设置为 本机ip 3306 下的 test数据库
这里大家需要看一下 因为我的MySql下有一个 test数据库 大家还是要根据情况去写
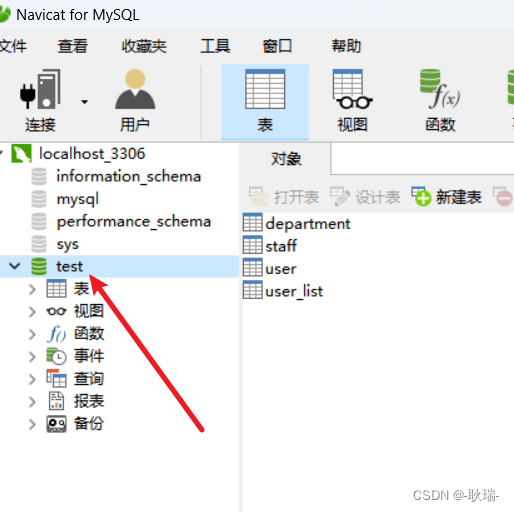
然后 用户名和密码 因为我都没动过 所以就是 root
然后 这里我们要配一下数据源
第一种方式
你在后面加个 type: Druid 提示自然就出来了 选择第一个即可
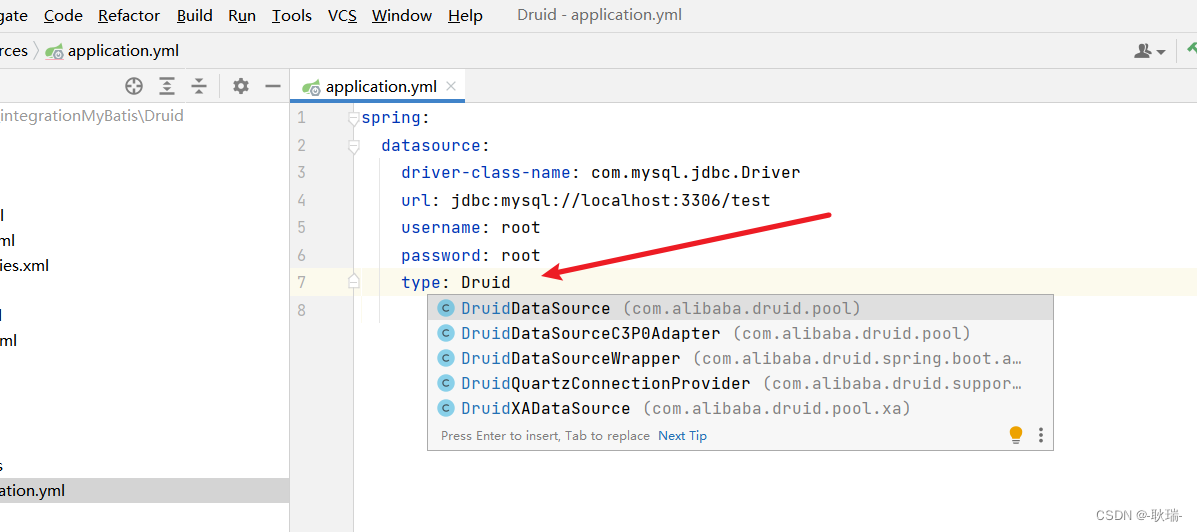
这是第一种方式 这种方式 只能说能用 但不是整合型的配法
第二种配法
在下面输入 druid 也会出现提示
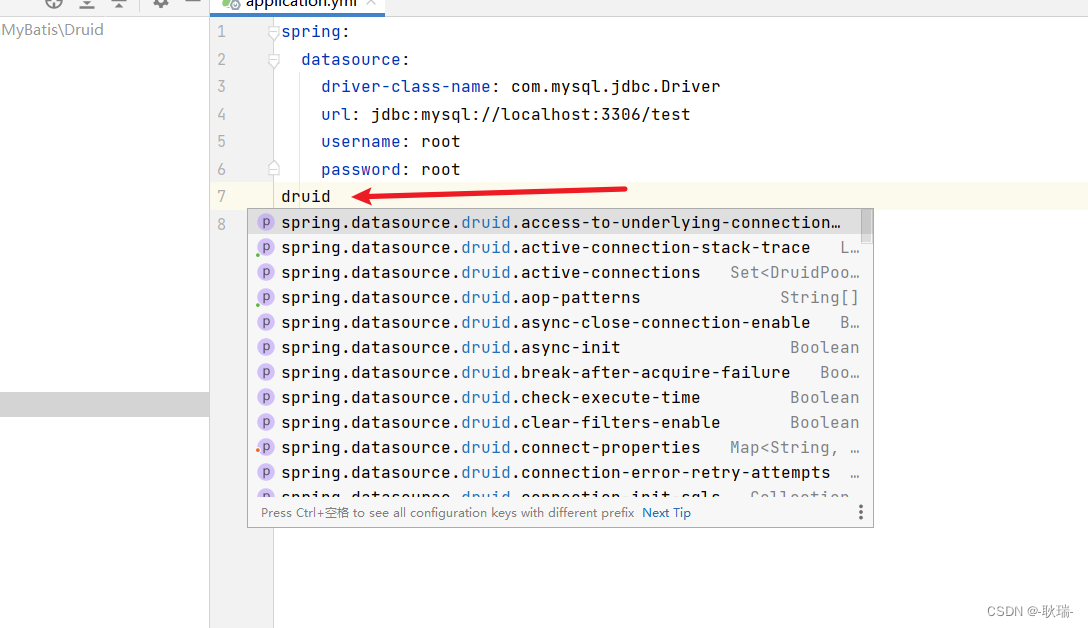
提示中有什么 用户名密码啊 其实直接这样就好了
spring:
  datasource:
    druid:
      driver-class-name: com.mysql.jdbc.Driver
      url: jdbc:mysql://localhost:3306/test
      username: root
      password: root
这就是 druid 整合之后专用配置了
然后 我们还是将环境搭起来
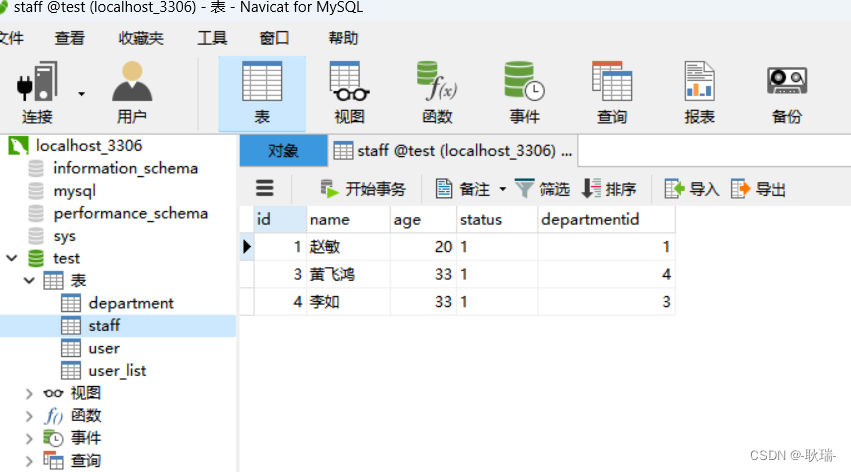
查看我今天要操作的 staff 数据库表
找到启动类所在目录 在同目录下创建文件夹 叫 domain
下面创建一个与数据库同名的java属性类 staff
参考代码如下
package com.example.druid.domain;

public class staff {
    private int id;
    private String name;
    private int age;
    private int status;
    private int departmentid;

    @Override
    public String toString(){
        return "staff{"+
                "id"+id+
                "namne"+name+
                "age"+age+
                "status"+status+
                "departmentid"+departmentid+
                "}";
    }

    public int getId() {
        return id;
    }
    public void setId(int id) {
        this.id = id;
    }

    public String getName() {
        return name;
    }
    public void setName(String name) {
        this.name = name;
    }

    public int getAge() {
        return age;
    }
    public void setAge(int age) {
        this.age = age;
    }

    public int getStatus() {
        return status;
    }
    public void setStatus(int status) {
        this.status = status;
    }

    public int getDepartmentid() {
        return departmentid;
    }
    public void setDepartmentid(int departmentid) {
        this.departmentid = departmentid;
    }
}
我们根据数据库表字段 声明了对应的属性
然后 在启动类同目录创建 包 dao
下面创建一个接口staffDao
参考代码如下
package com.example.druid.dao;

import com.example.druid.domain.staff;
import org.apache.ibatis.annotations.Mapper;
import org.apache.ibatis.annotations.Select;

@Mapper
public interface staffDao {
    @Select("select * from staff where id = #{id}")
    staff getById(Integer id);
}
这里 我们还是一个很正常的MyBatis操作
然后 我们在测试类中编写
package com.example.druid;

import com.example.druid.dao.staffDao;
import org.junit.jupiter.api.Test;
import org.springframework.beans.factory.annotation.Autowired;
import org.springframework.boot.test.context.SpringBootTest;

@SpringBootTest
class DruidApplicationTests {

    @Autowired
    private staffDao staffDao;

    @Test
    void contextLoads() {
        System.out.println(staffDao.getById(1));
    }
}
然后 我们在测试类中调用我们刚刚写的 getById 查询id为1的数据
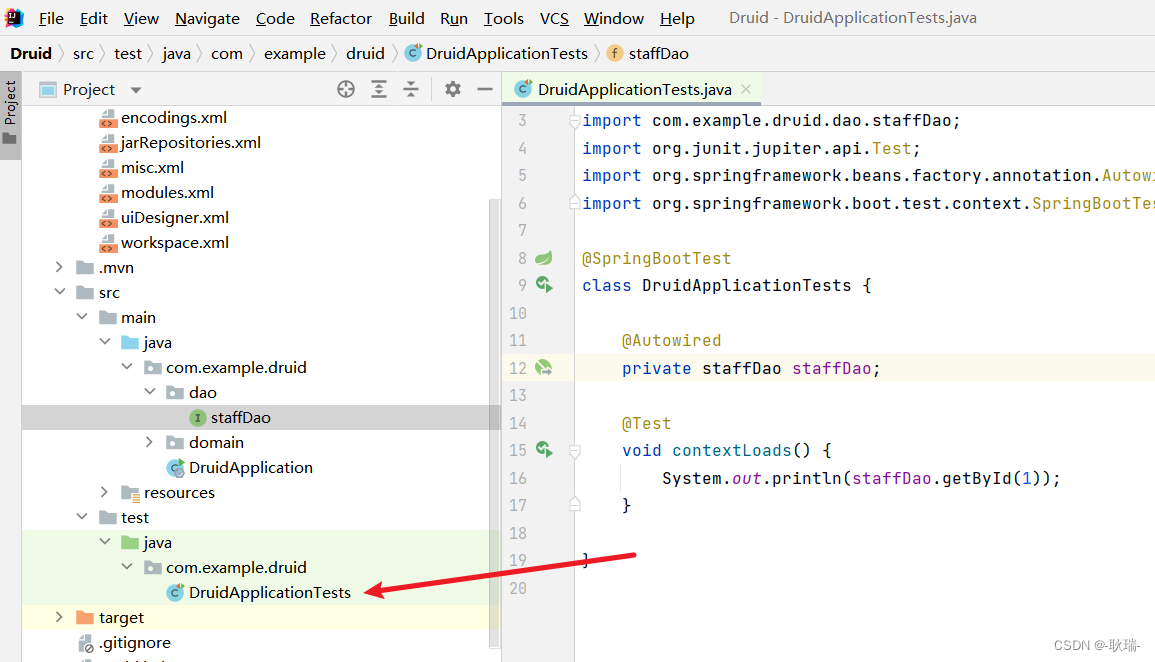
然后运行代码
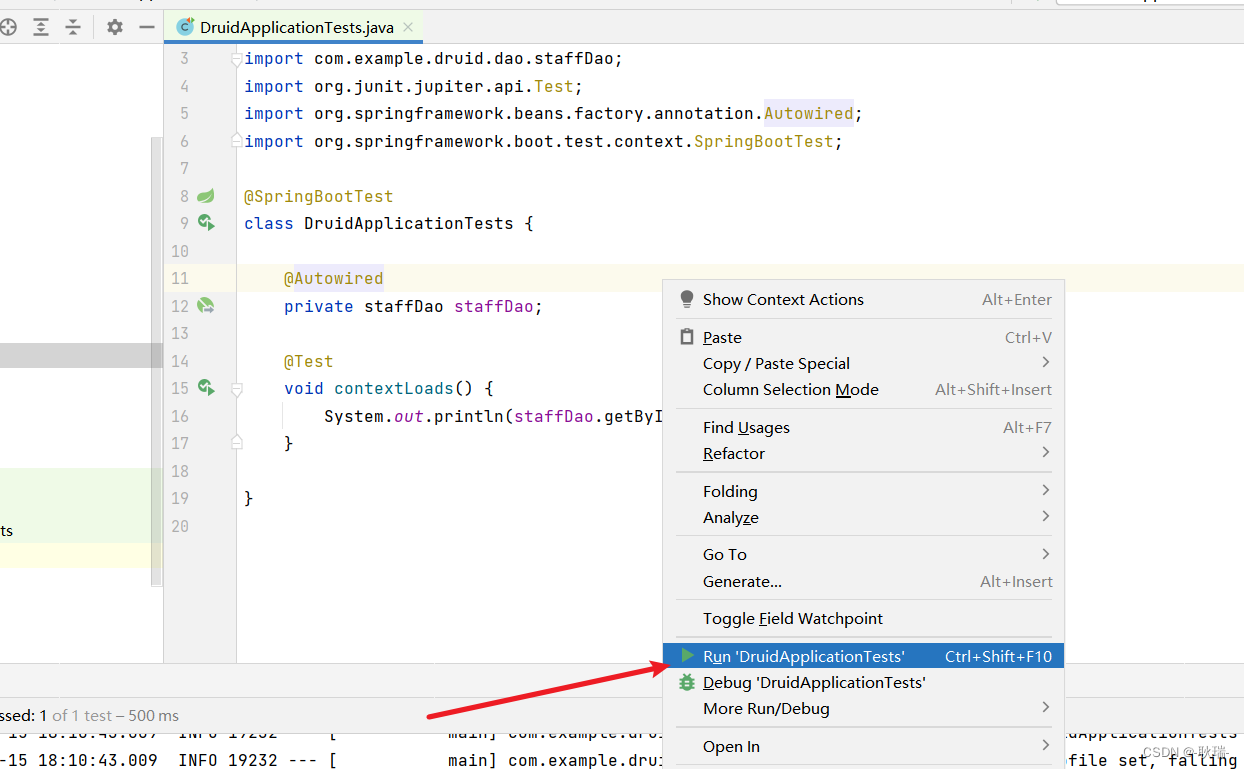
运行结果如下
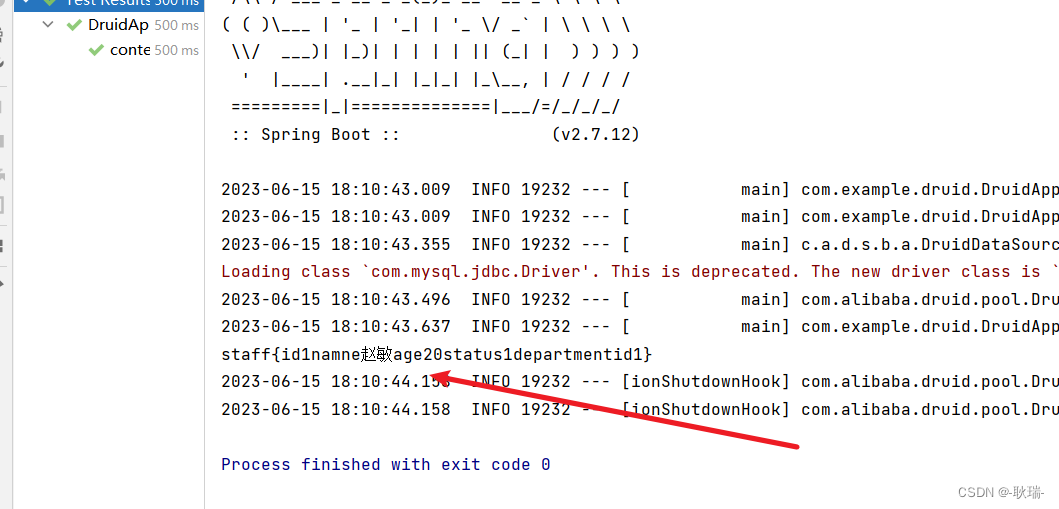
这里也是成功的讲数据查出来了
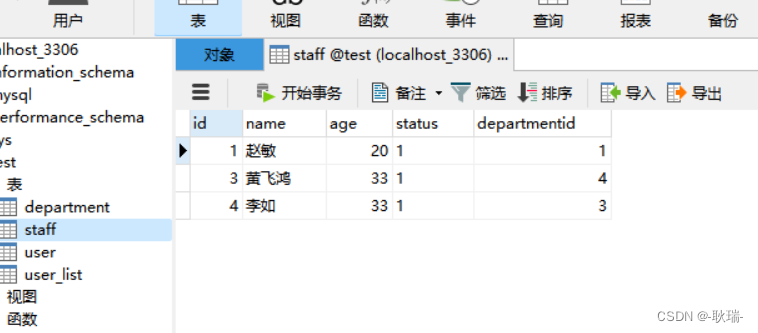
而我们查看日志输出内容
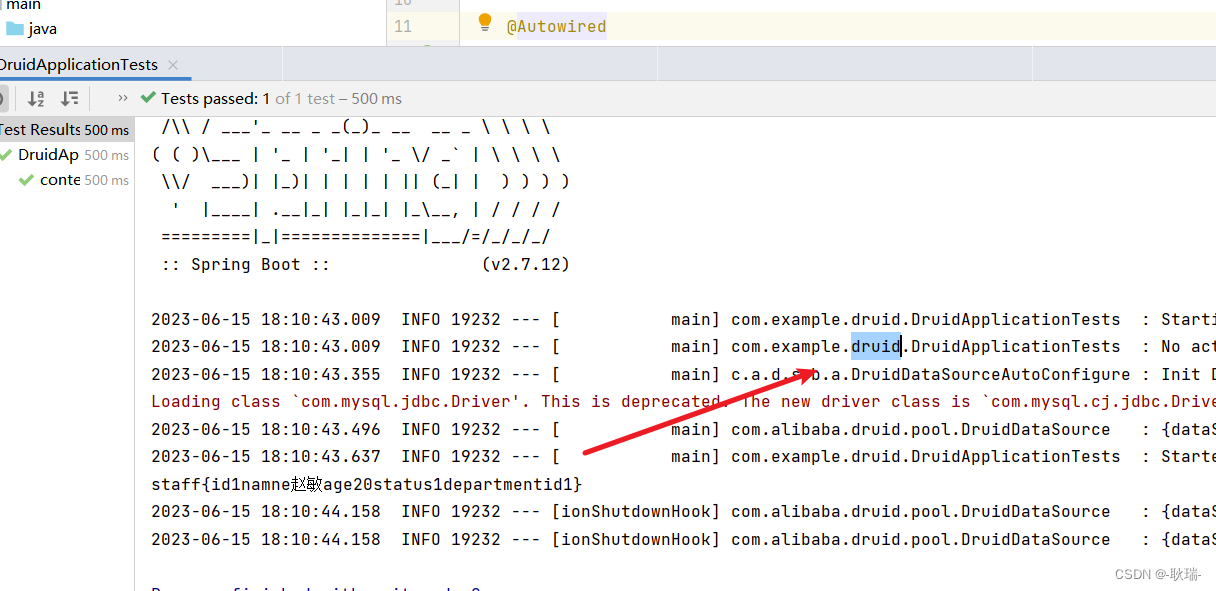
也是留下了druid的痕迹

