Mysql安装
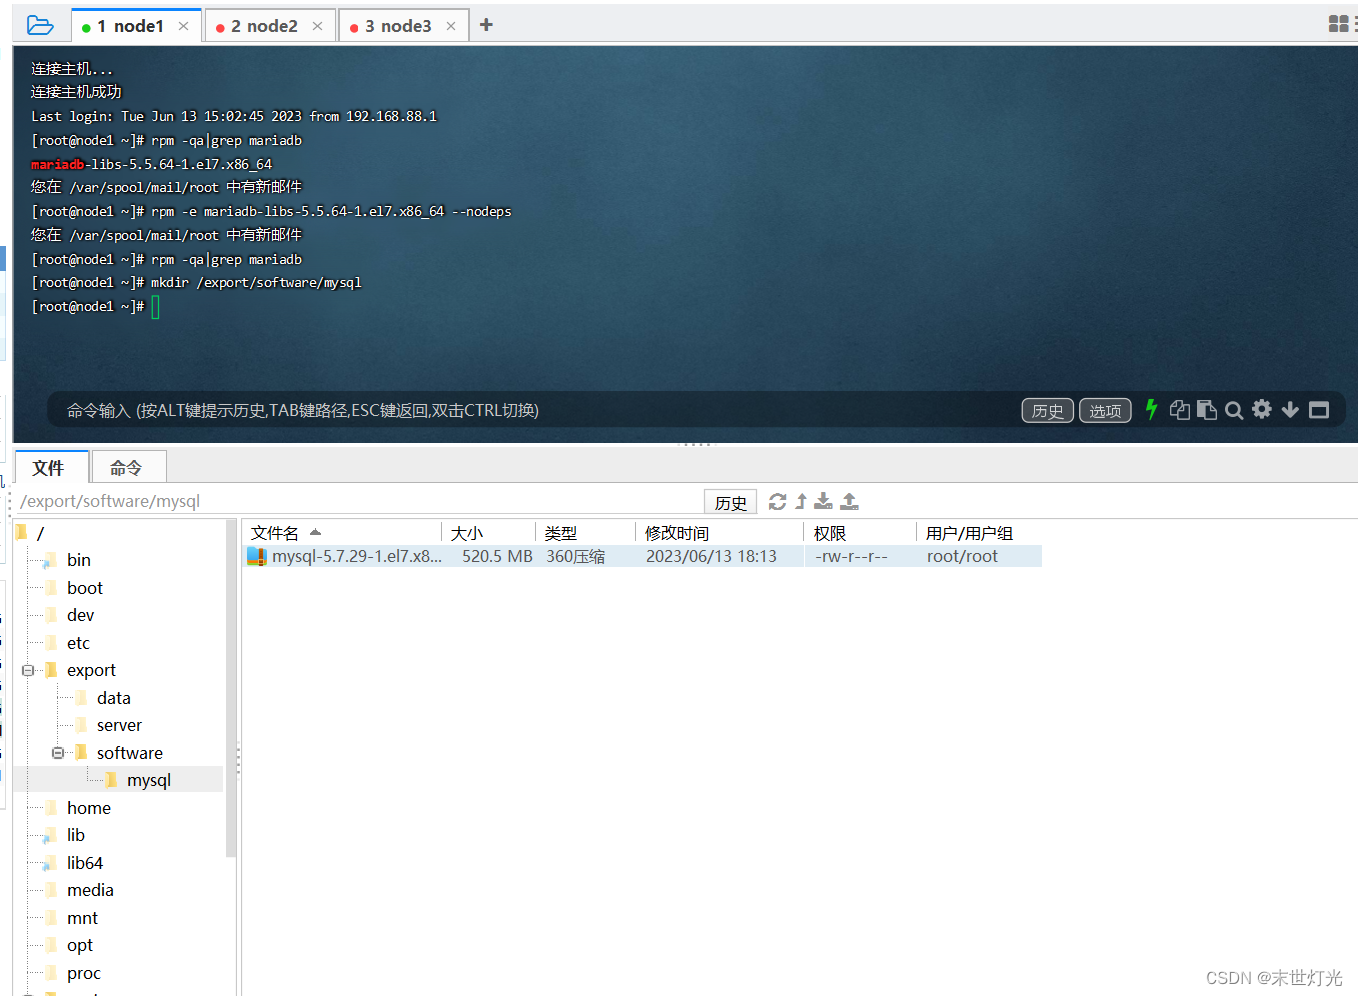
卸载Centos7自带的mariadb
rpm -qa|grep mariadb
rpm -e mariadb-libs-5.5.64-1.el7.x86_64 --nodeps
rpm -qa|grep mariadb
安装mysql
mkdir /export/software/mysql
上传mysql-5.7.29-1.el7.x86_64.rpm-bundle.tar 到上述文件夹下后解压
tar xvf mysql-5.7.29-1.el7.x86_64.rpm-bundle.tar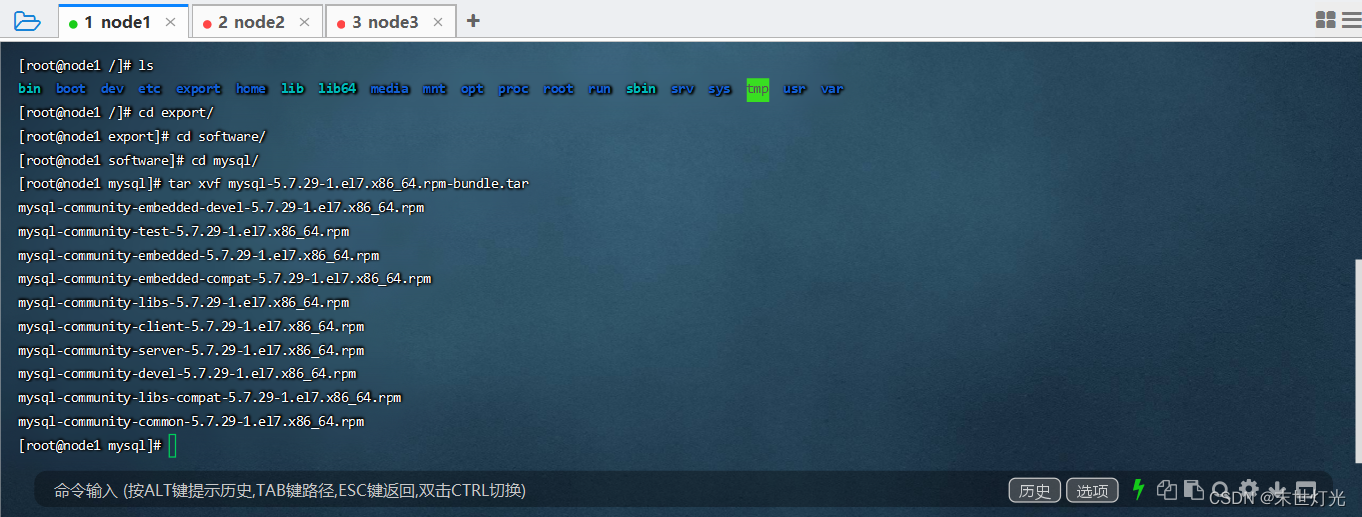
执行安装
yum -y install libaio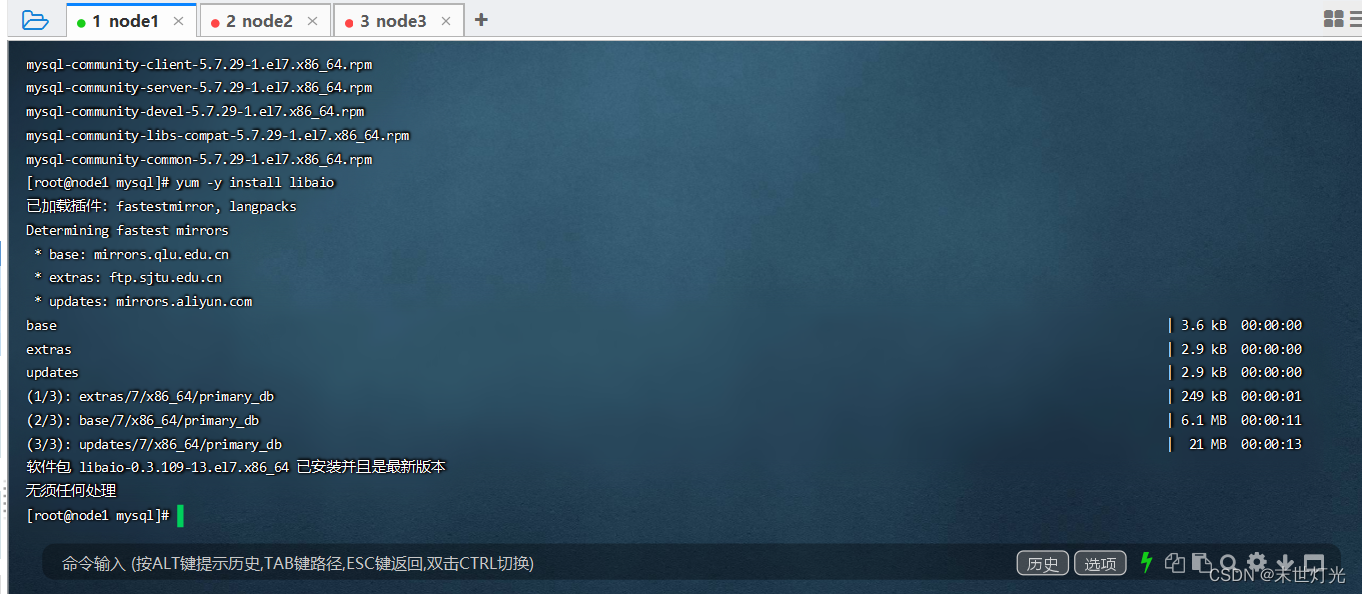
rpm -ivh mysql-community-common-5.7.29-1.el7.x86_64.rpm mysql-community-libs-5.7.29-1.el7.x86_64.rpm mysql-community-client-5.7.29-1.el7.x86_64.rpm mysql-community-server-5.7.29-1.el7.x86_64.rpm 
mysql初始化设置
初始化
mysqld --initialize更改所属组
chown mysql:mysql /var/lib/mysql -R
启动mysql
systemctl start mysqld.service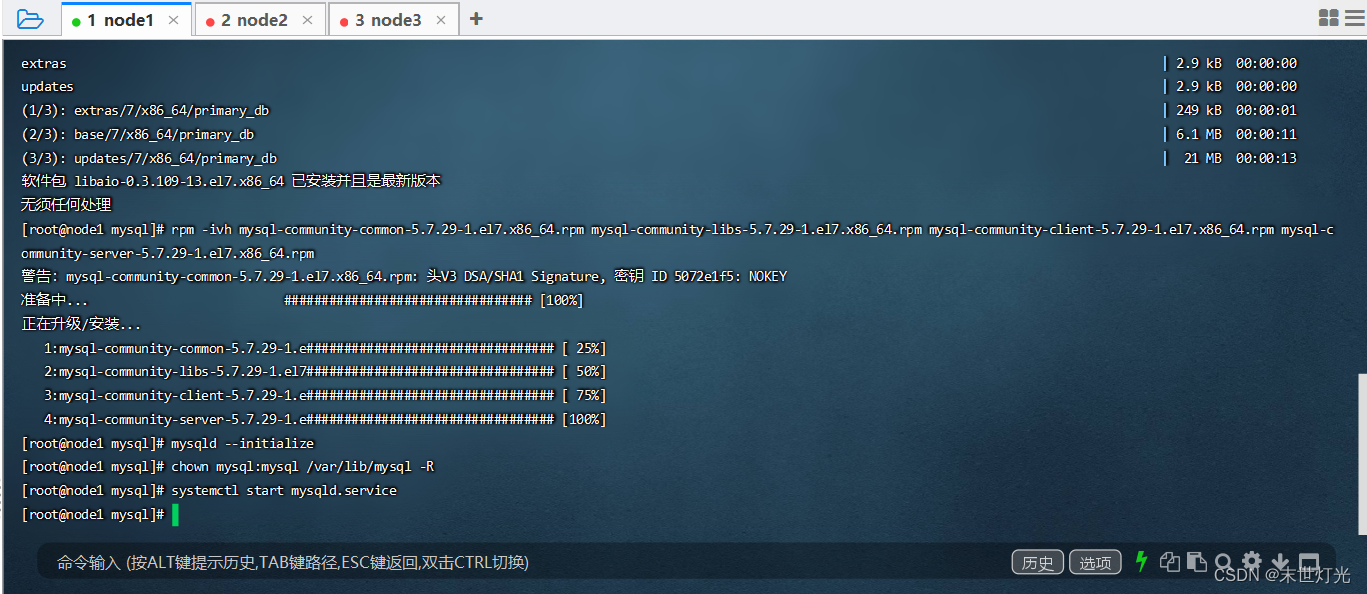
查看生成的临时root密码
cat /var/log/mysqld.log
root@localhost: eK*yWCSok70%
修改root密码 授权远程访问 设置开机自启动
mysql -u root -p
这里输入在日志中生成的临时密码。
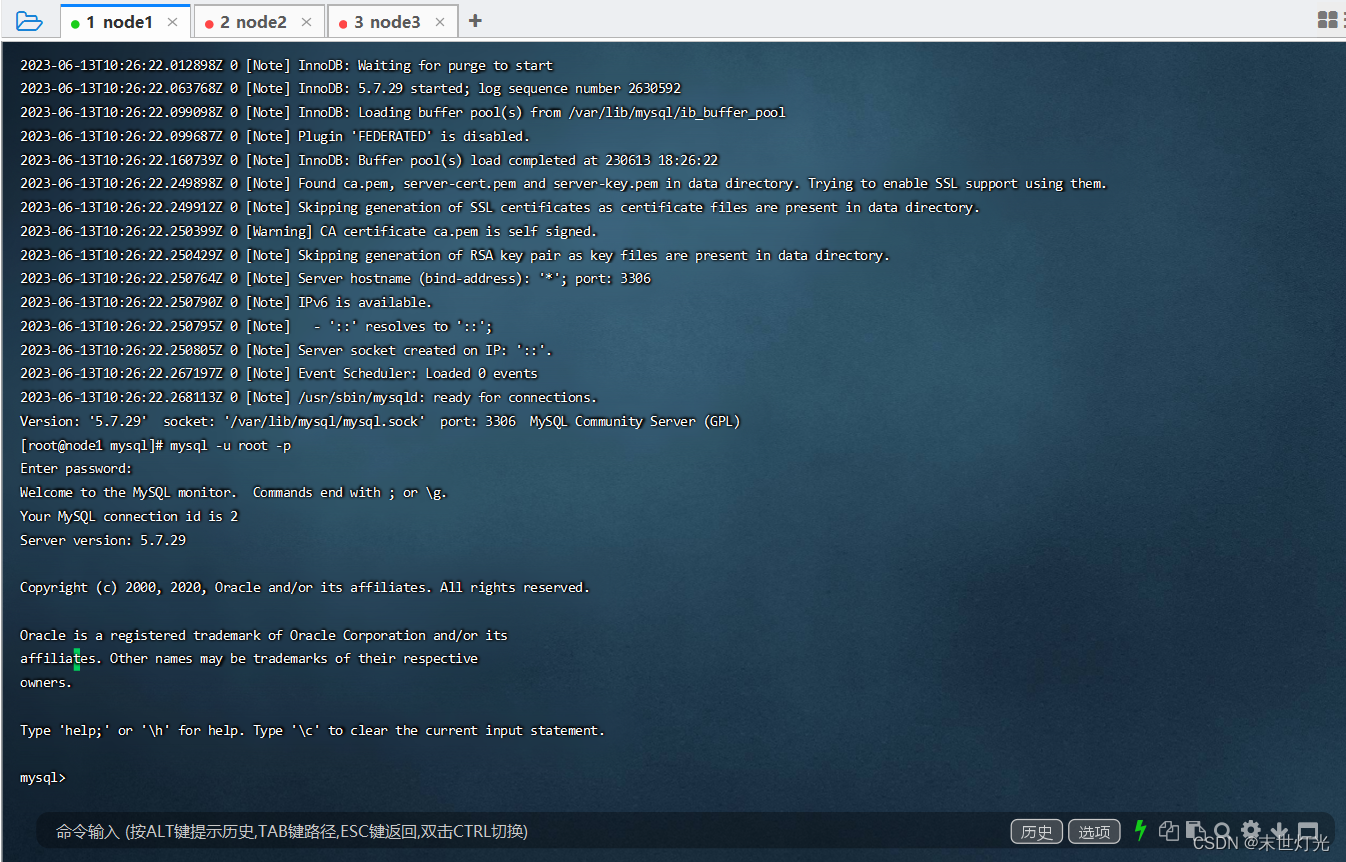
更新root密码 设置为hadoop
alter user user() identified by "hadoop";
授权
use mysql;GRANT ALL PRIVILEGES ON *.* TO 'root'@'%' IDENTIFIED BY 'hadoop' WITH GRANT OPTION;FLUSH PRIVILEGES; 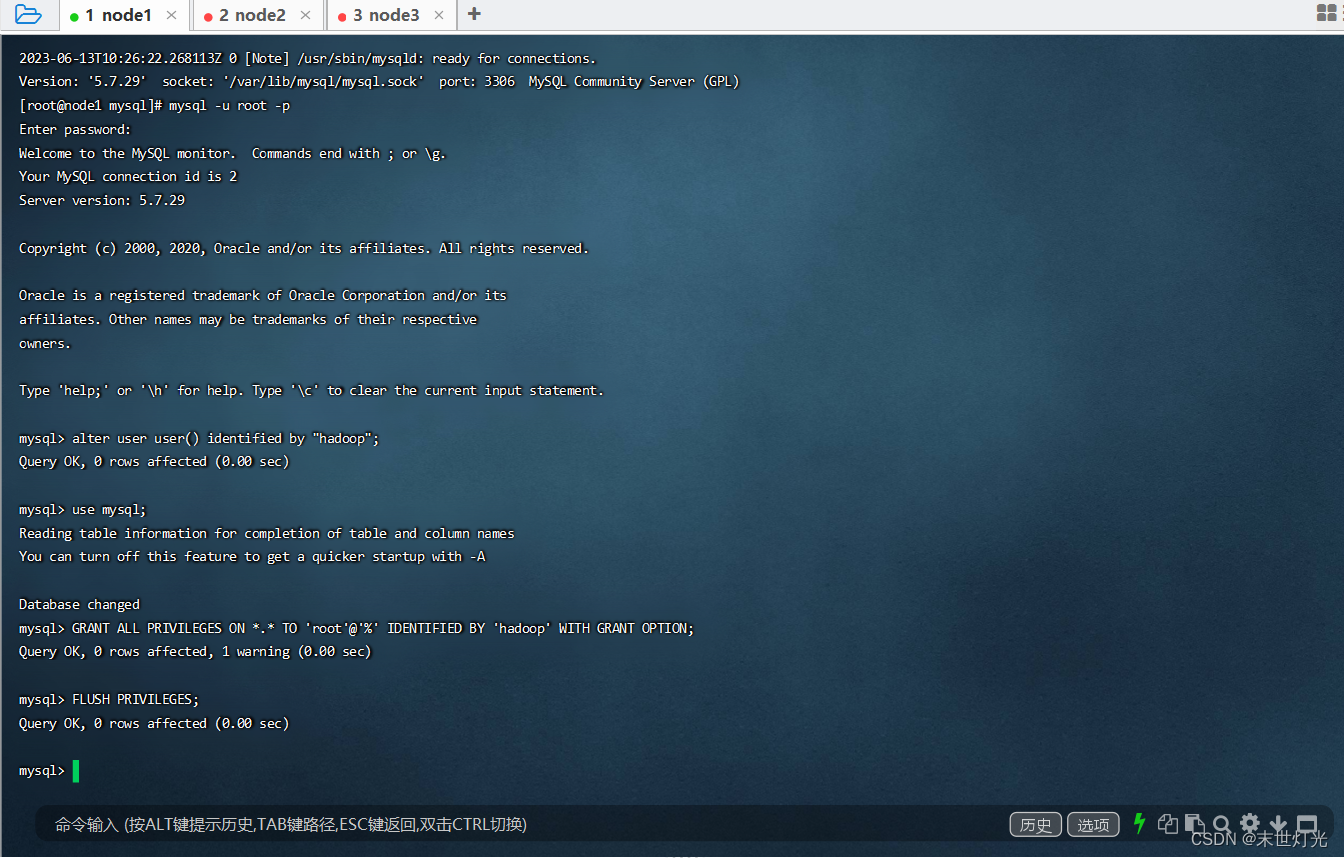
mysql的启动和关闭 状态查看 (这几个命令必须记住)
systemctl stop mysqld
systemctl status mysqld
systemctl start mysqld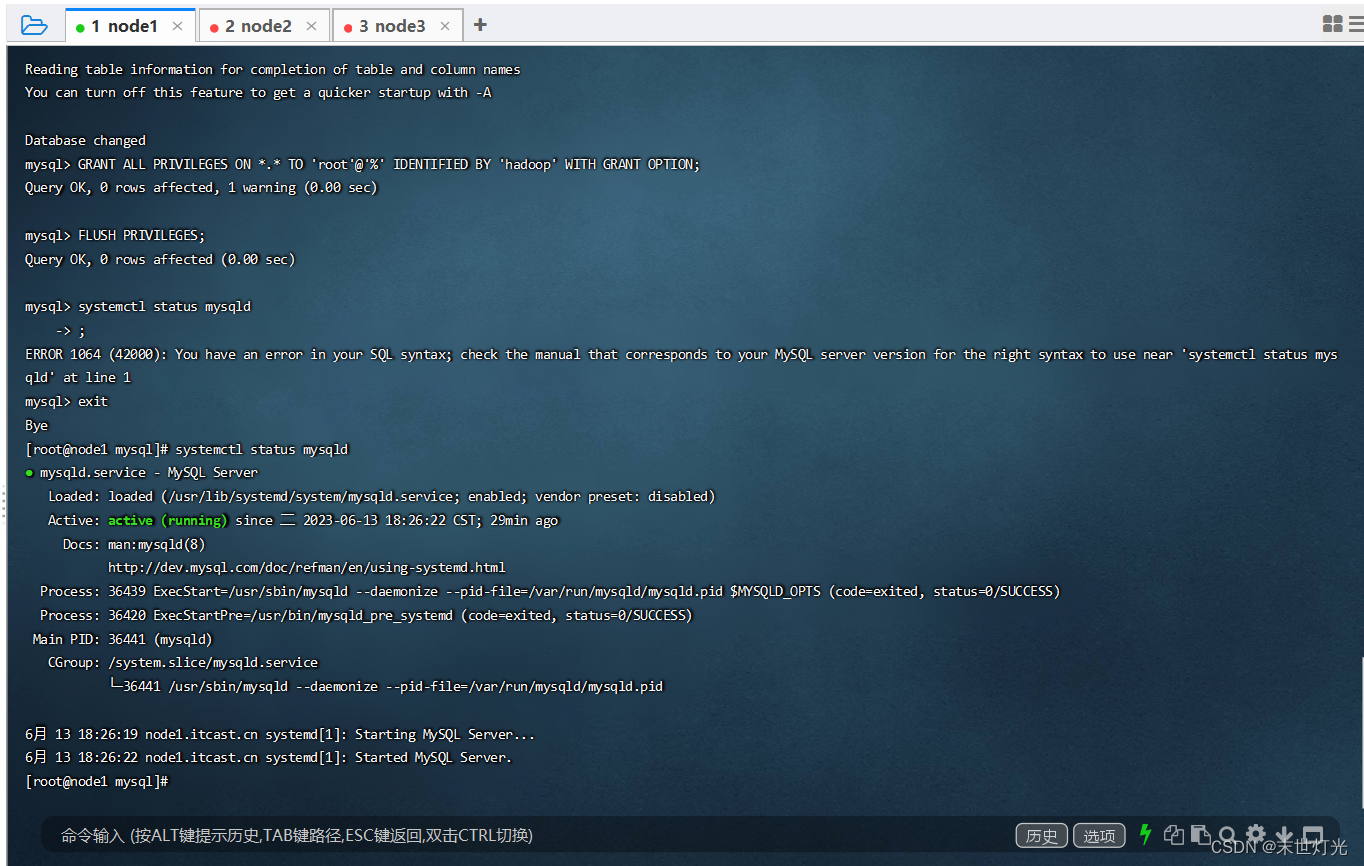
建议设置为开机自启动服务
systemctl enable mysqld
查看是否已经设置自启动成功
systemctl list-unit-files | grep mysqld
Hive的安装
上传安装包 解压
tar zxvf apache-hive-3.1.2-bin.tar.gz
解决Hive与Hadoop之间guava版本差异
cd /export/server/apache-hive-3.1.2-bin/
rm -rf lib/guava-19.0.jar
cp /export/server/hadoop-3.3.0/share/hadoop/common/lib/guava-27.0-jre.jar ./lib/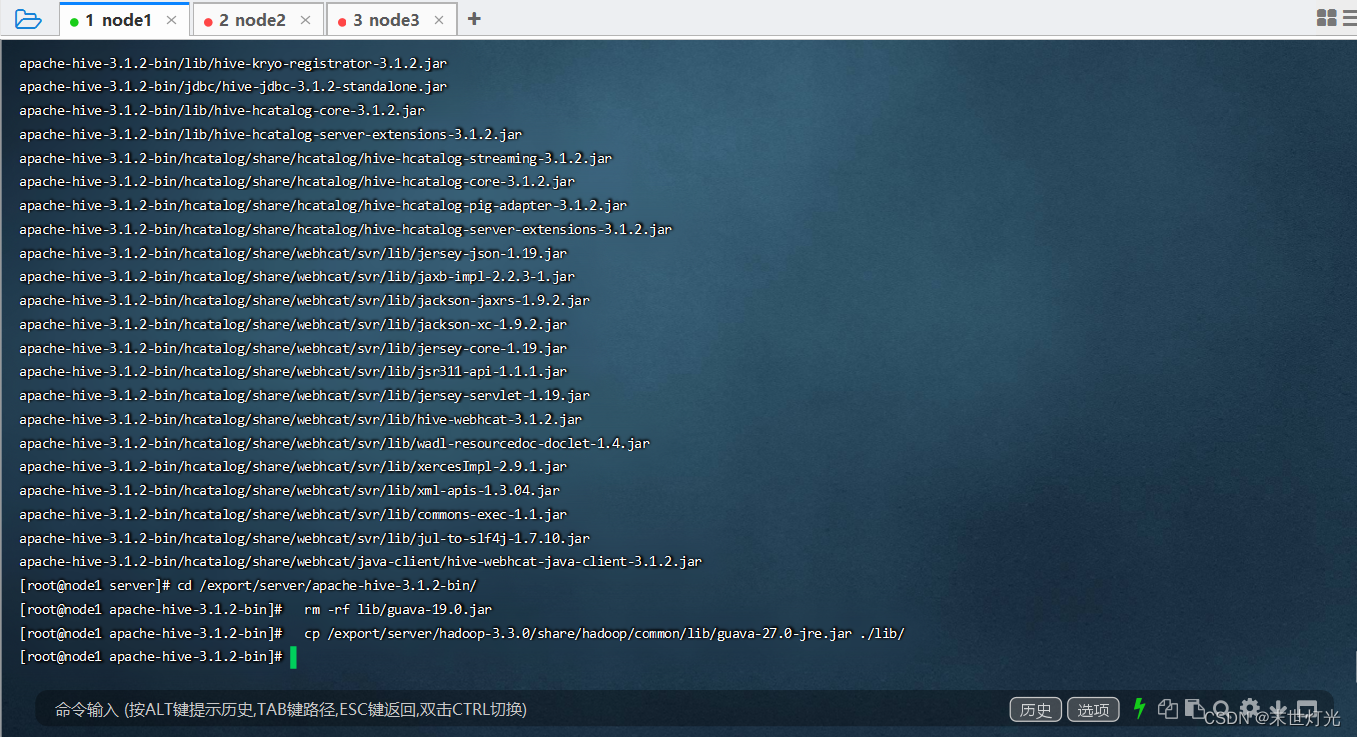
修改配置文件
hive-env.sh
cd /export/server/apache-hive-3.1.2-bin/conf
mv hive-env.sh.template hive-env.sh

vim hive-env.sh
export HADOOP_HOME=/export/server/hadoop-3.3.0
export HIVE_CONF_DIR=/export/server/apache-hive-3.1.2-bin/conf
export HIVE_AUX_JARS_PATH=/export/server/apache-hive-3.1.2-bin/lib
hive-site.xml
vim hive-site.xml
```
```xml
<configuration>
<!-- 存储元数据mysql相关配置 -->
<property>
<name>javax.jdo.option.ConnectionURL</name>
<value>jdbc:mysql://node1:3306/hive3?createDatabaseIfNotExist=true&useSSL=false&useUnicode=true&characterEncoding=UTF-8</value>
</property>
<property>
<name>javax.jdo.option.ConnectionDriverName</name>
<value>com.mysql.jdbc.Driver</value>
</property>
<property>
<name>javax.jdo.option.ConnectionUserName</name>
<value>root</value>
</property>
<property>
<name>javax.jdo.option.ConnectionPassword</name>
<value>hadoop</value>
</property>
<!-- H2S运行绑定host -->
<property>
<name>hive.server2.thrift.bind.host</name>
<value>node1</value>
</property>
<!-- 远程模式部署metastore metastore地址 -->
<property>
<name>hive.metastore.uris</name>
<value>thrift://node1:9083</value>
</property>
<!-- 关闭元数据存储授权 -->
<property>
<name>hive.metastore.event.db.notification.api.auth</name>
<value>false</value>
</property>
</configuration>
```上传mysql jdbc驱动到hive安装包lib下
mysql-connector-java-5.1.32.jar
初始化元数据
cd /export/server/apache-hive-3.1.2-bin/

bin/schematool -initSchema -dbType mysql -verbos
初始化成功会在mysql中创建74张表
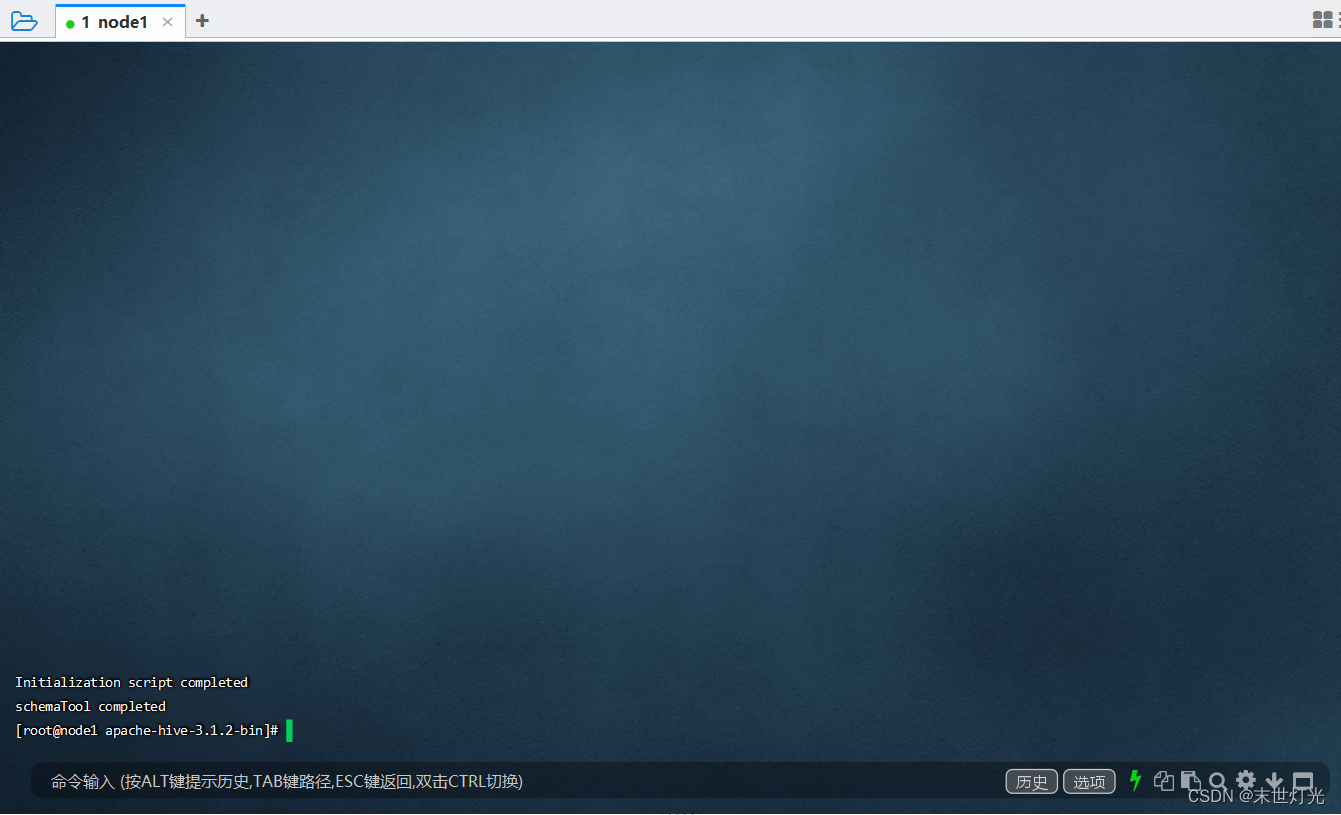
在hdfs创建hive存储目录(如存在则不用操作)
hadoop fs -mkdir /tmp
hadoop fs -mkdir -p /user/hive/warehouse
hadoop fs -chmod g+w /tmp
hadoop fs -chmod g+w /user/hive/warehouse
启动hive
启动metastore服务
/export/server/apache-hive-3.1.2-bin/bin/hive --service metastore
/export/server/apache-hive-3.1.2-bin/bin/hive --service metastore --hiveconf hive.root.logger=DEBUG,console
启动hiveserver2服务
/export/server/apache-hive-3.1.2-bin/bin/hive --service hiveserver2安装DataGrip()
默认安装即可:
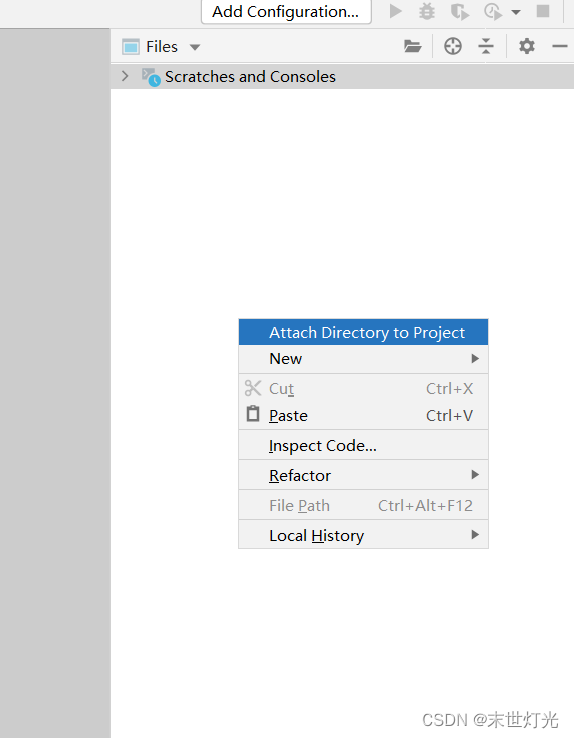
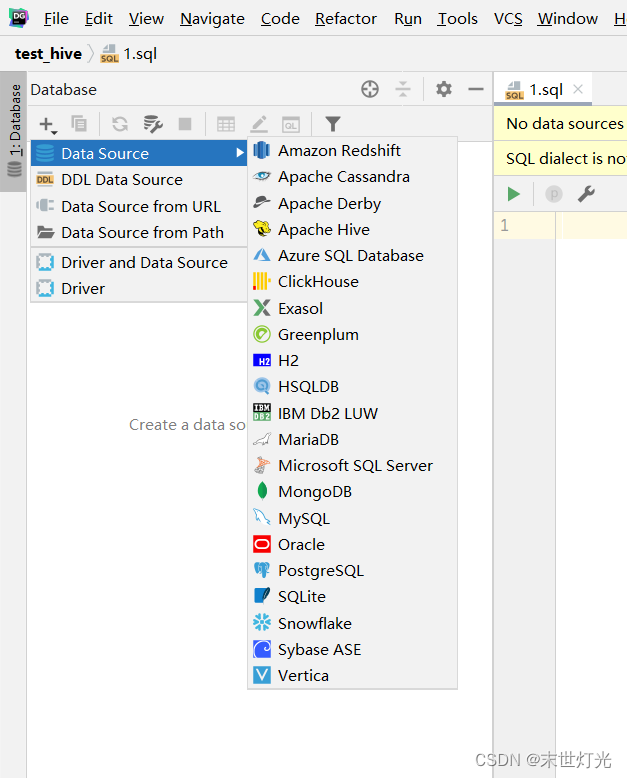
更换驱动:
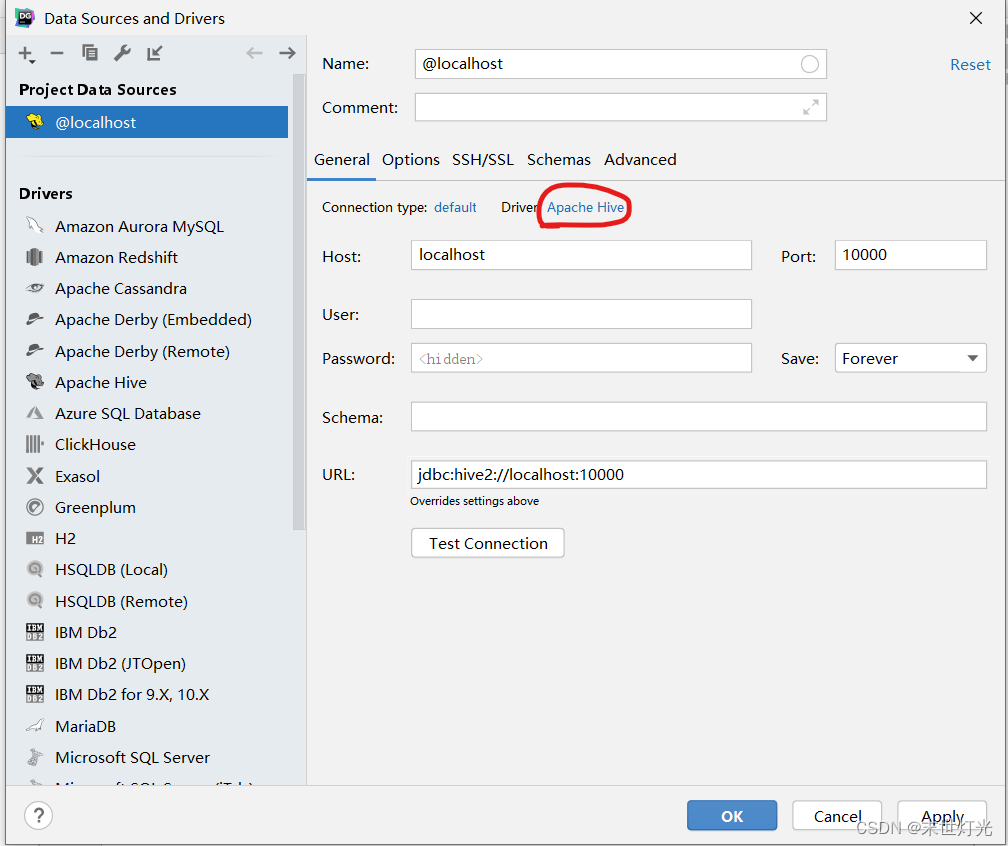
删除原有驱动
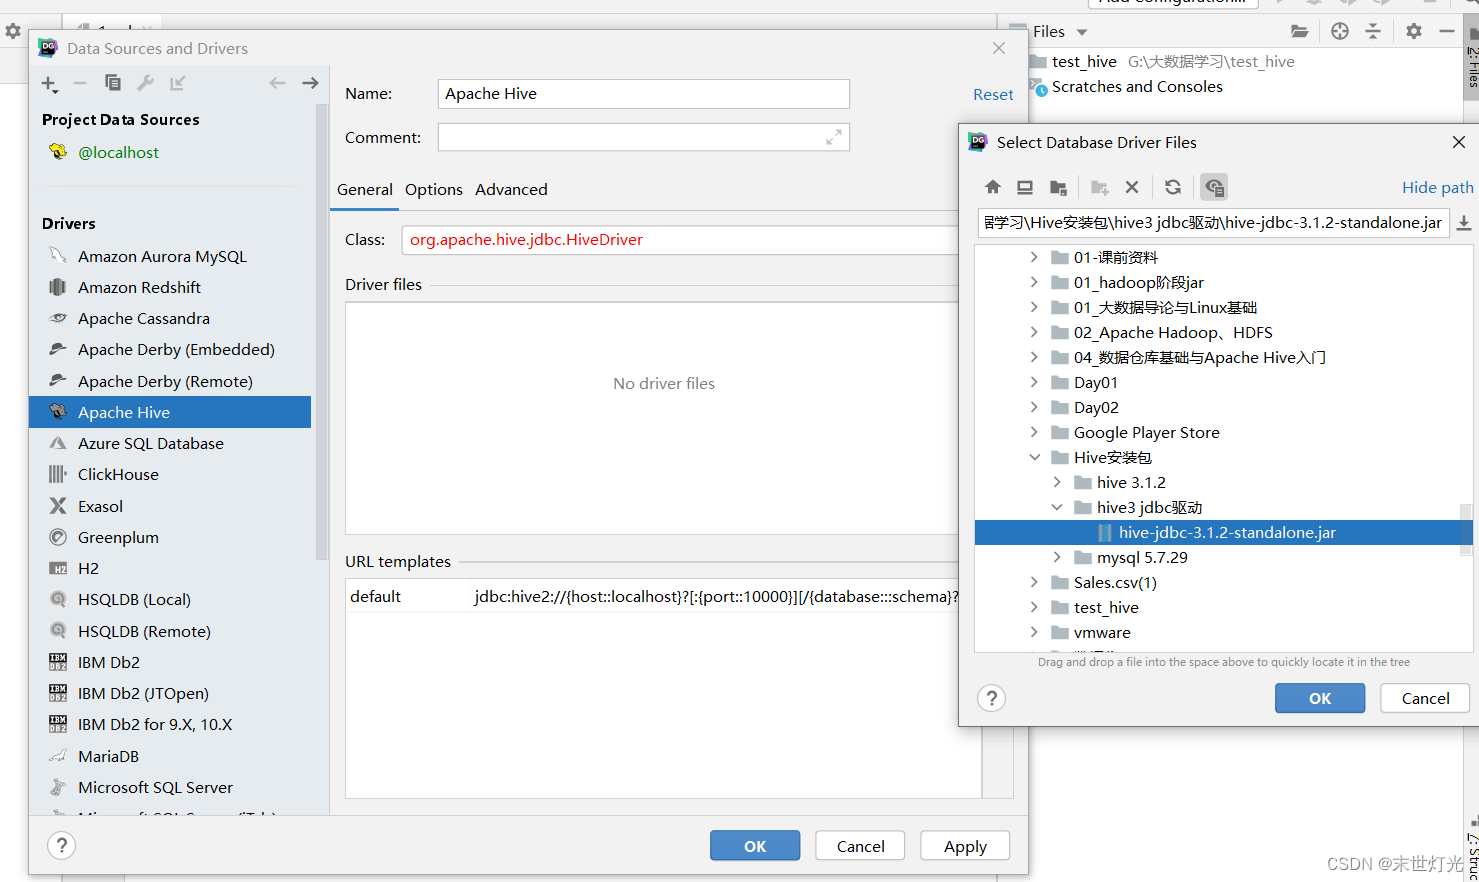
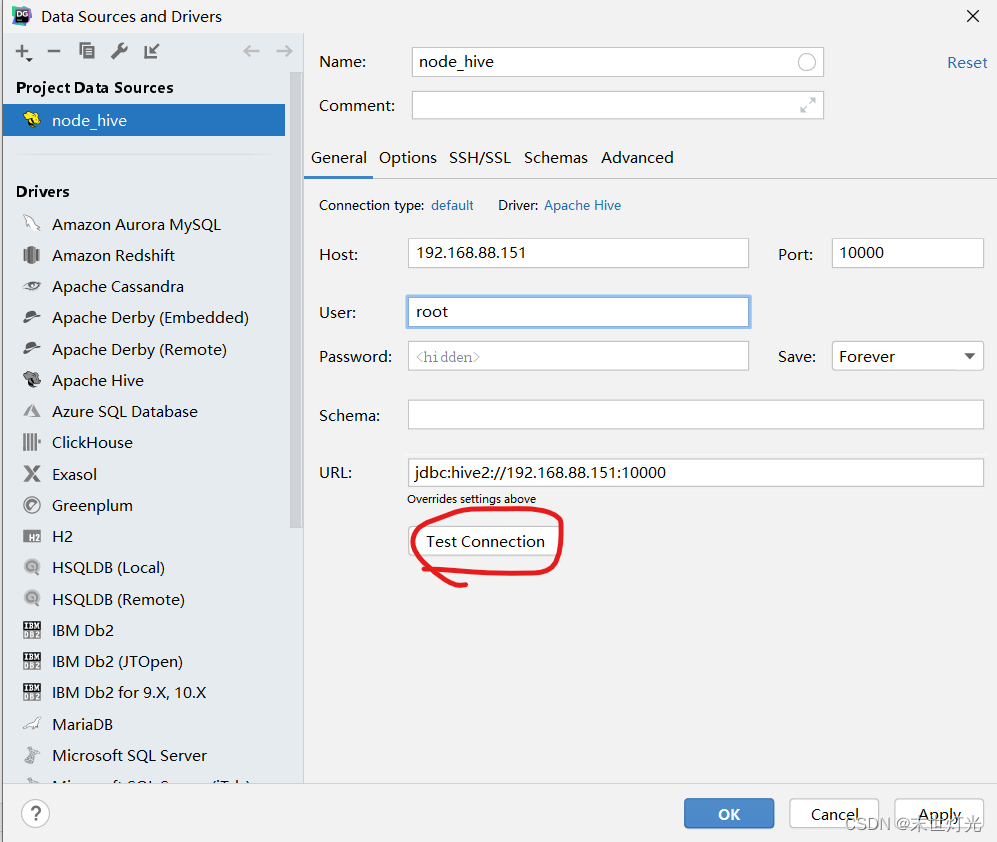
可以先进行测试,看是否连接。
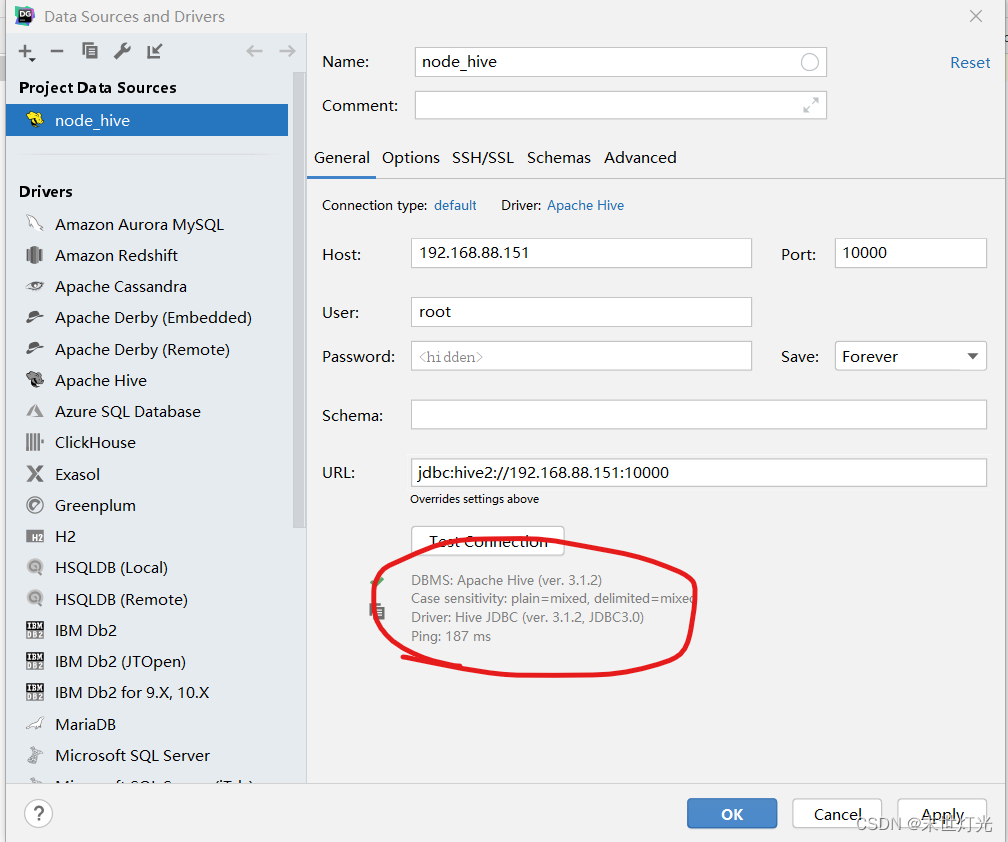
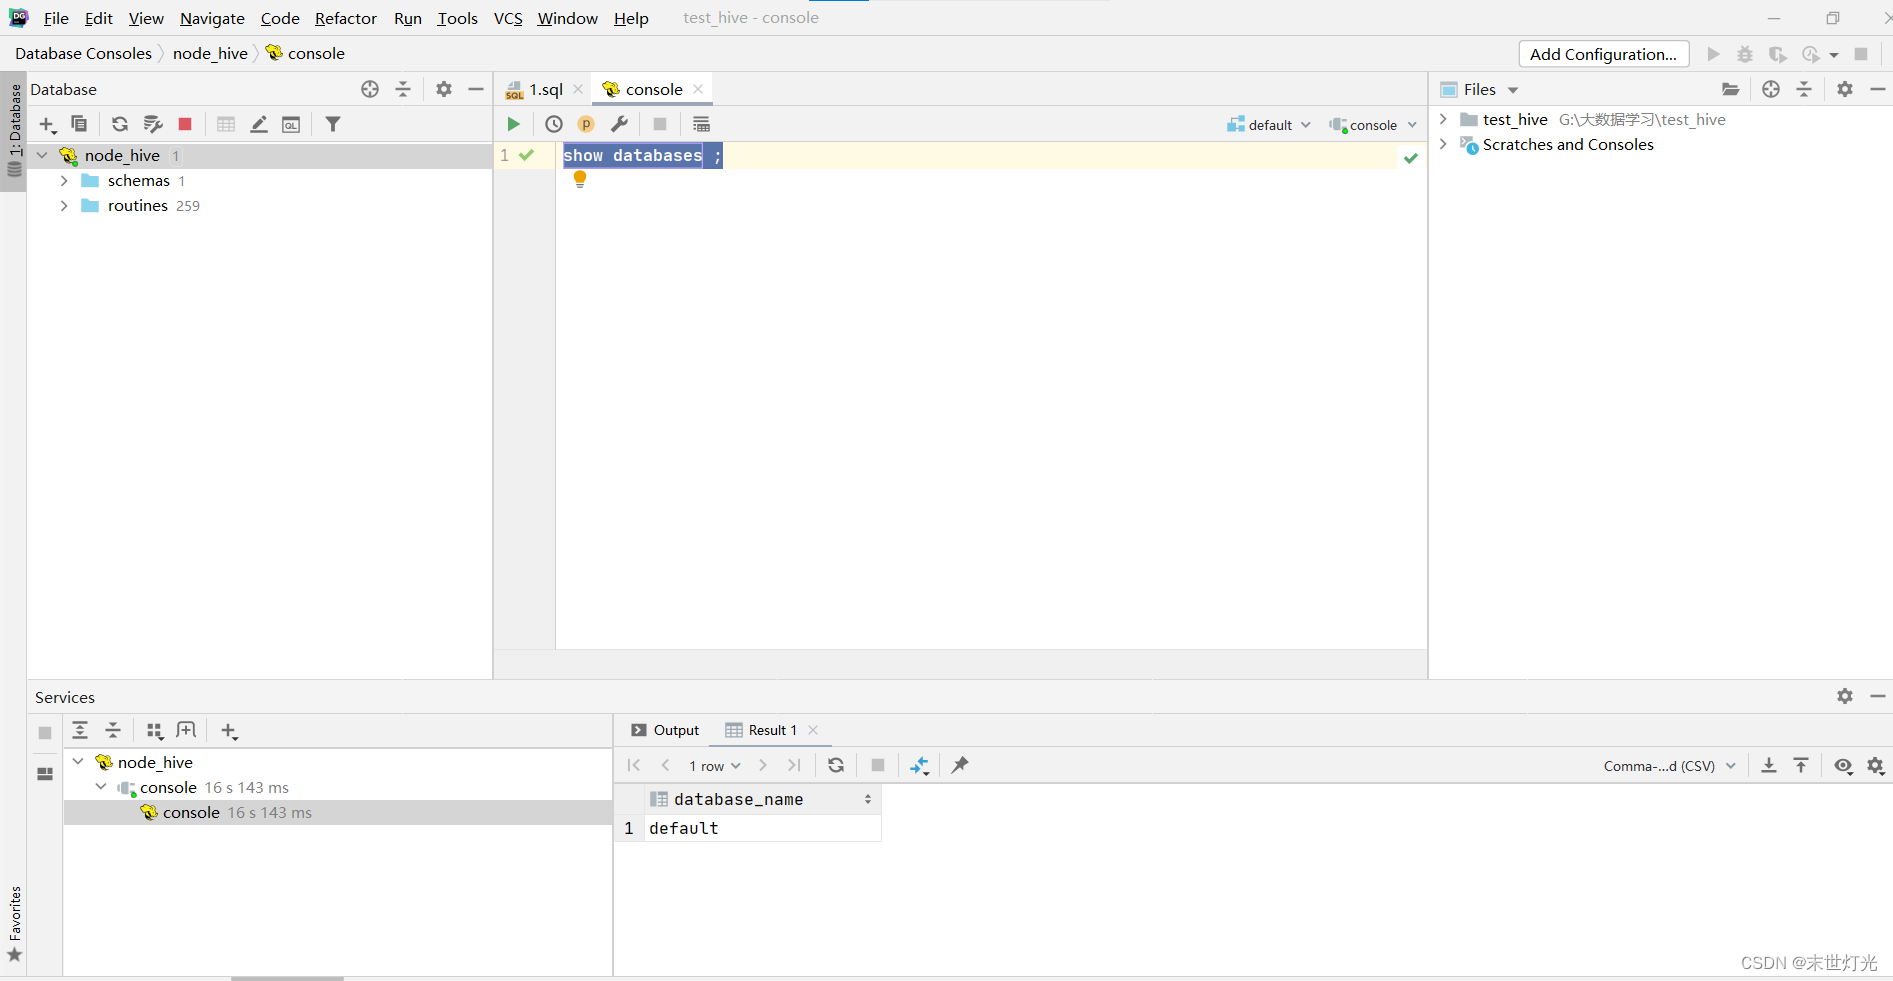
数据库测试:
show databases ;

create database bigdata;

use bigdata;

show tables ;

create table Google_Playstore(App_Name string,App_Id string,Category string,Rating float,Rating_Count int,Installs string,Minimum_Installs int,Maximum_Installs int,Free string,Price float,Currency string,Size string,Minimum_Android string,Developer_Id string,Developer_Website string,Developer_Email string,Released string,Last_Updated string,Content_Rating string,Privacy_Policy string,Ad_Supported string,In_App_Purchases string,Editors_Choice string,Scraped_Time string) row format delimited fields terminated by ',';

LOAD DATA LOCAL INPATH '/export/data/data.csv' INTO TABLE Google_Playstore;

select * from Google_Playstore;