上节课我们完成的定价页面是这样的
上节课我们完成的定价页面是这样的
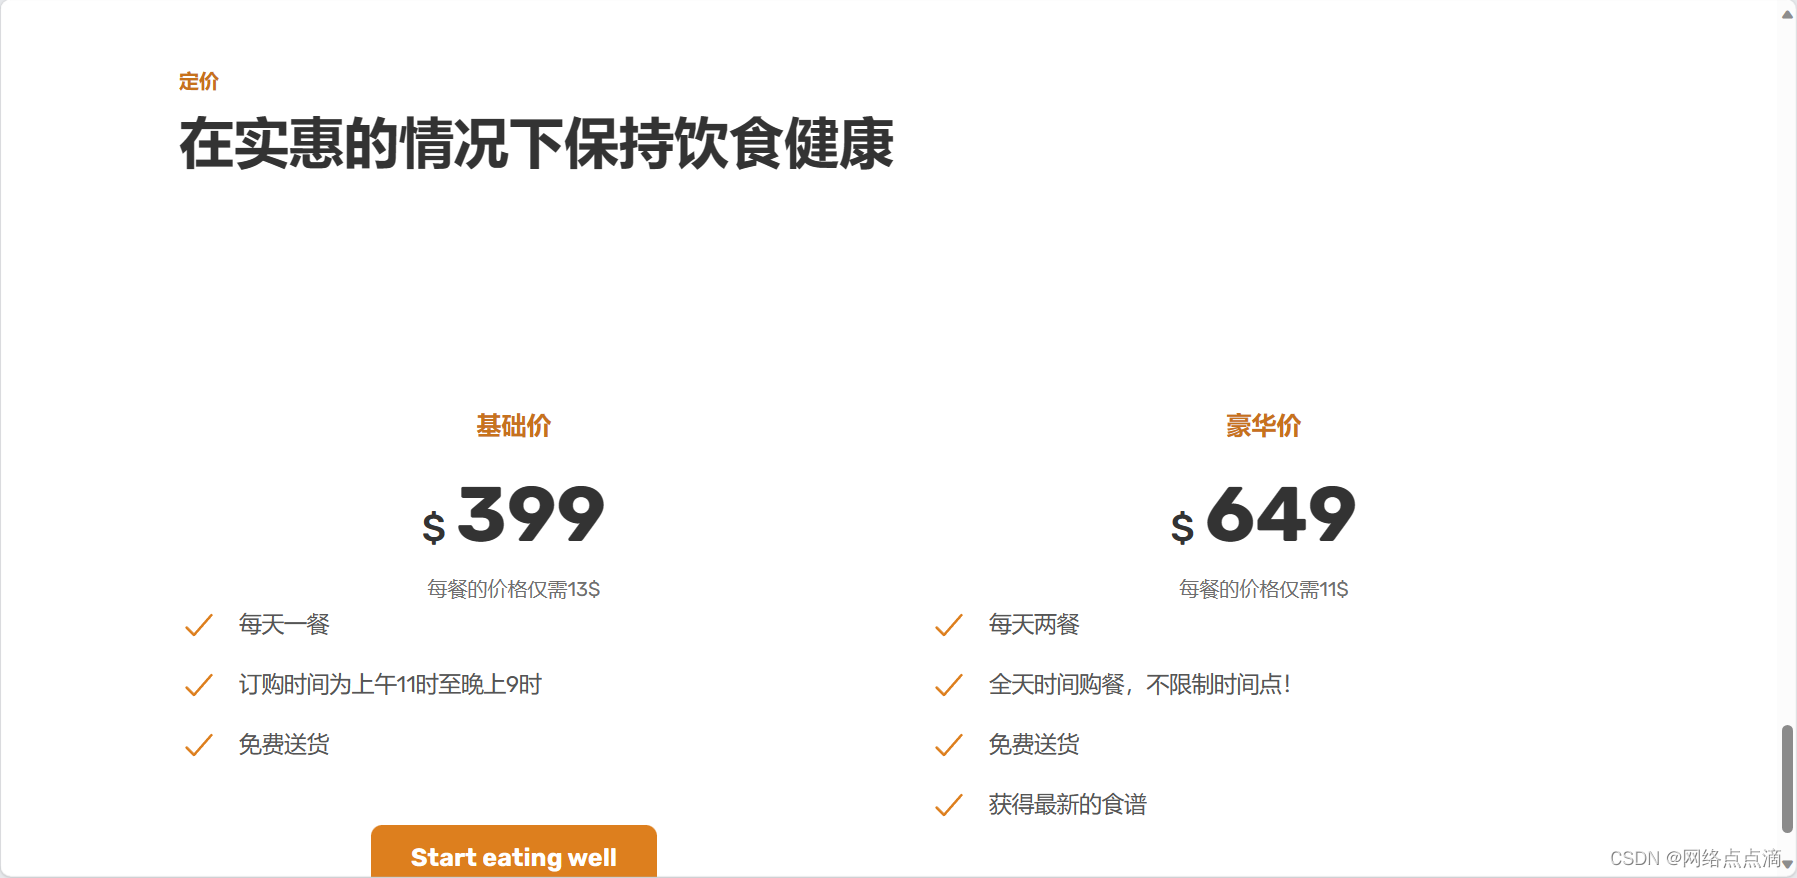
● 首先我们先给卡片加上背景颜色
.princing-plan {
  background-color: #fdf2e9;
  border-radius: 11px;
  padding: 4.8rem;
}
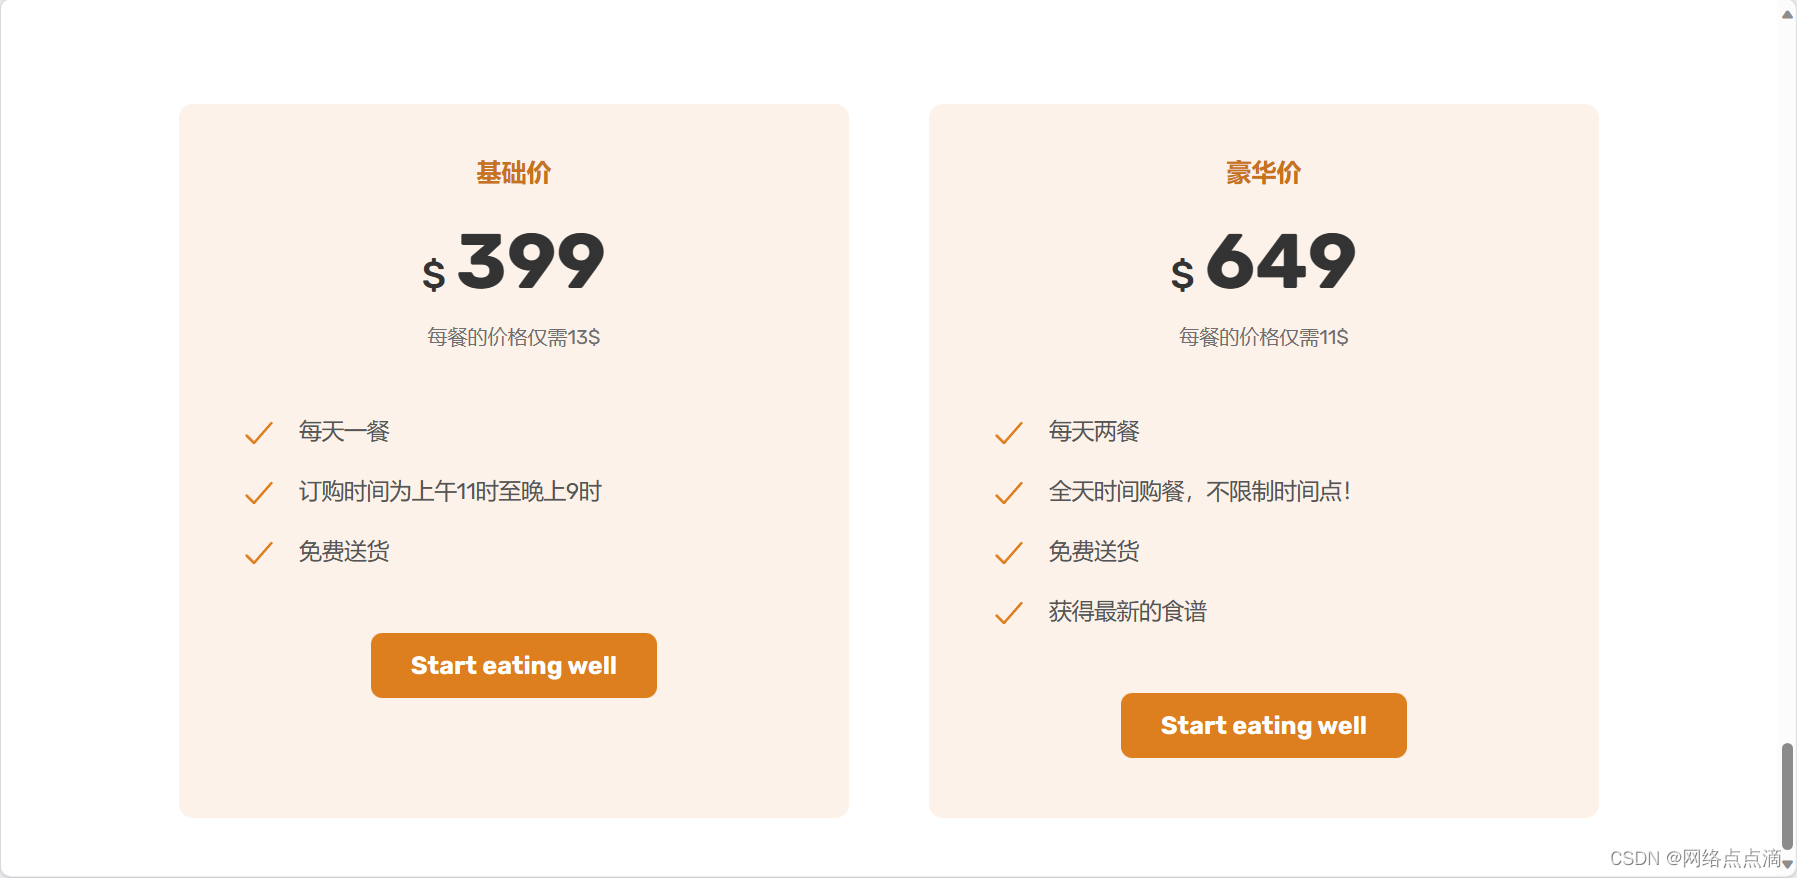
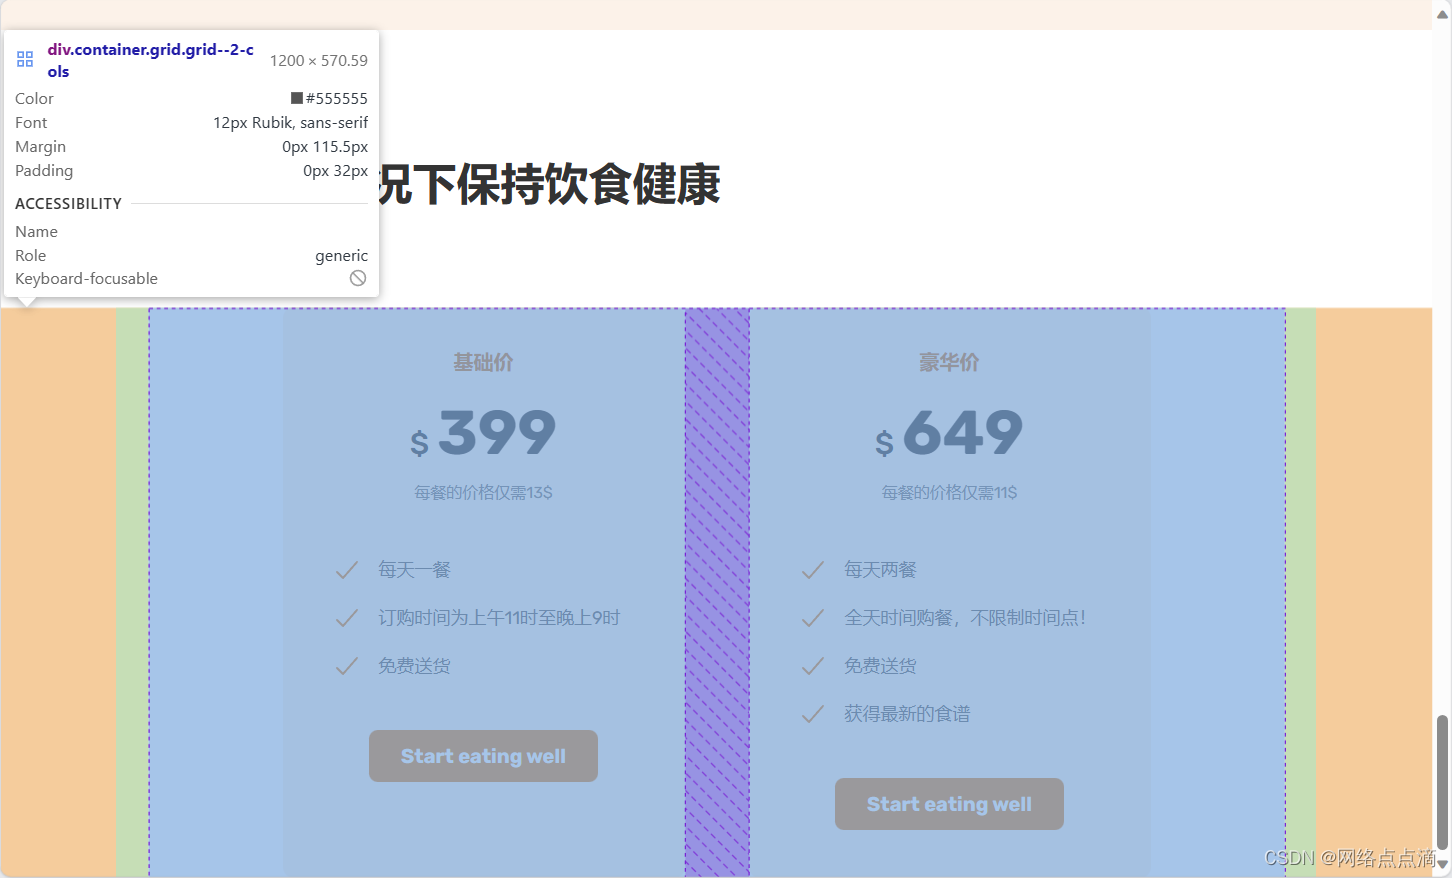
● 之后我们调整下框子的大小和位置

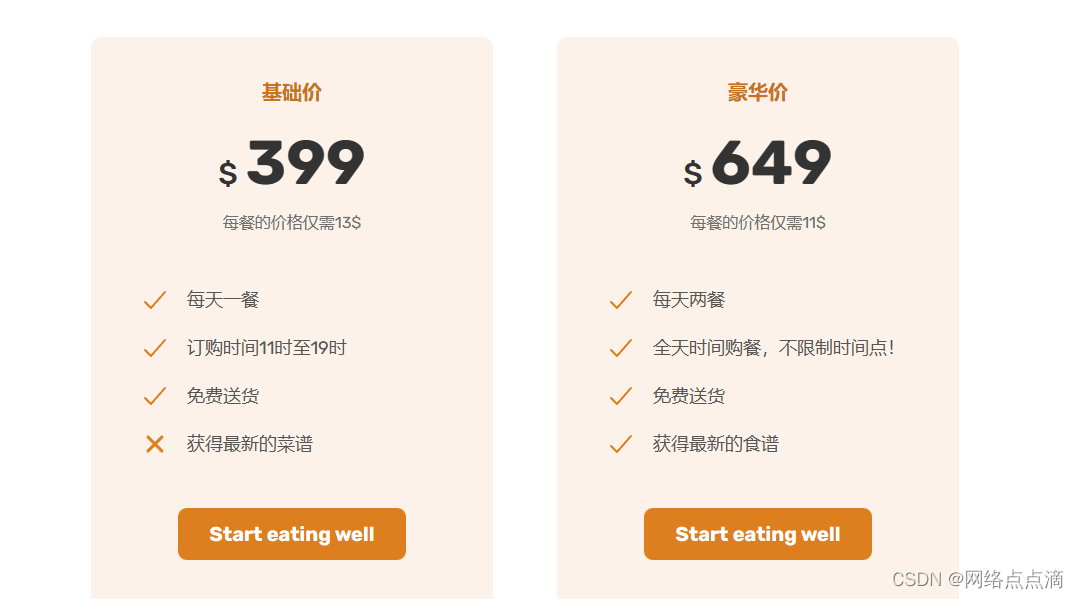
● 接着我们给基础价格再调价一项,为了使得按钮一平
● 作为企业我们肯定去推荐豪华价的这种,所以我要把基础价淡化,构造视觉层次
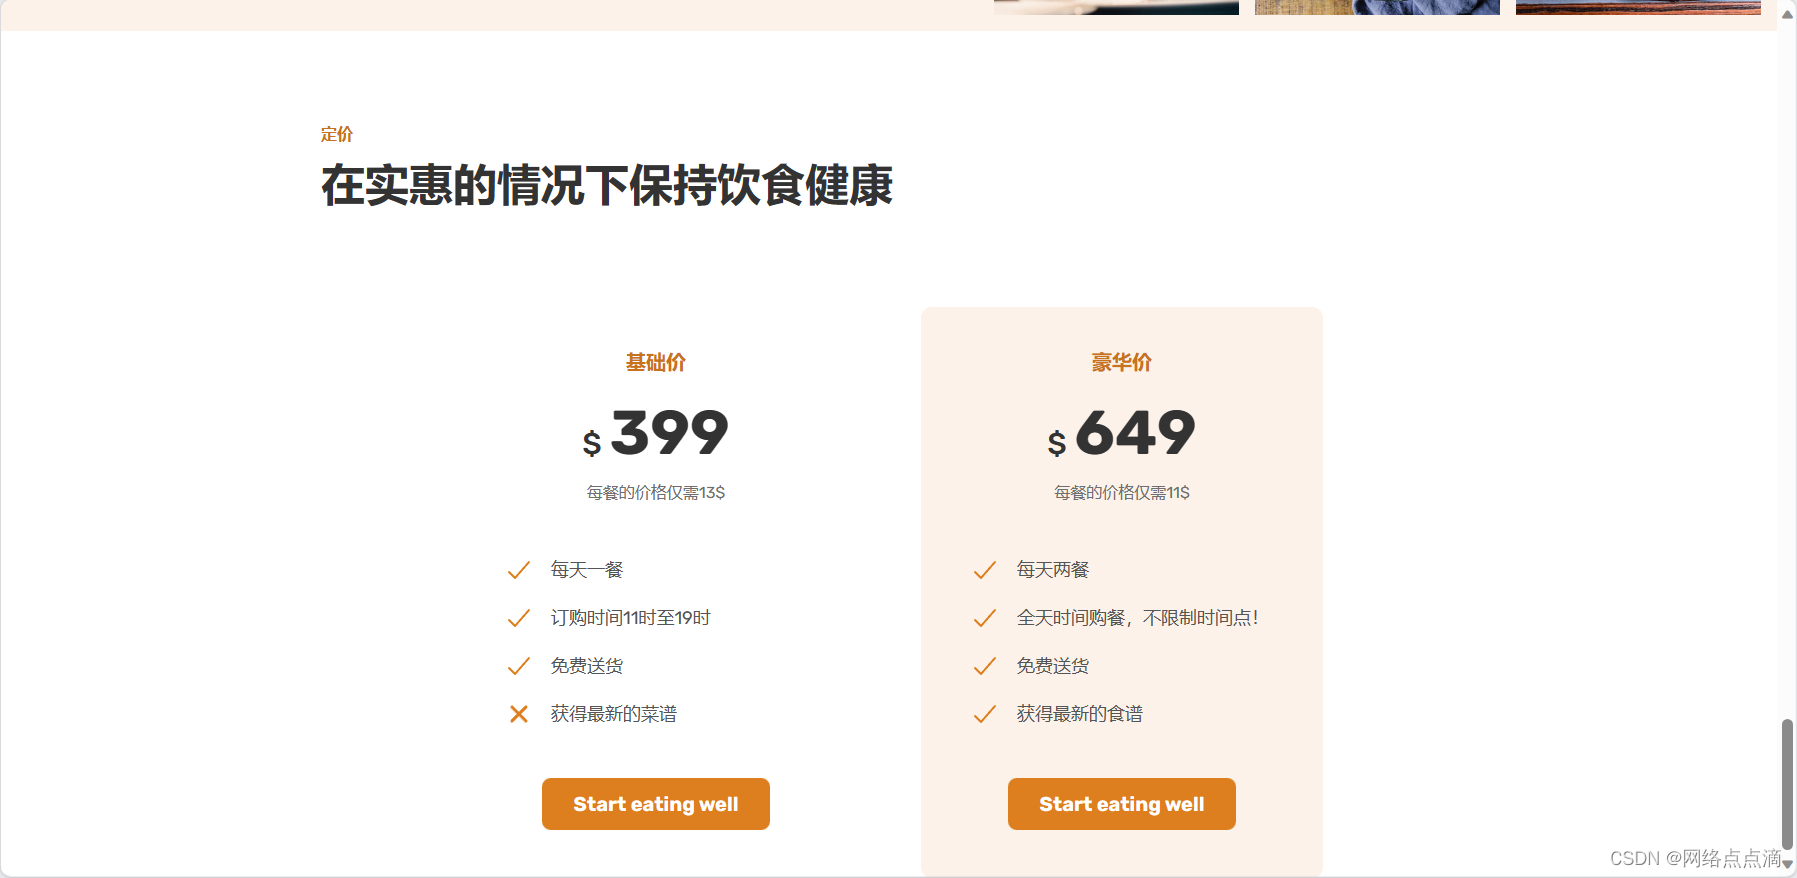
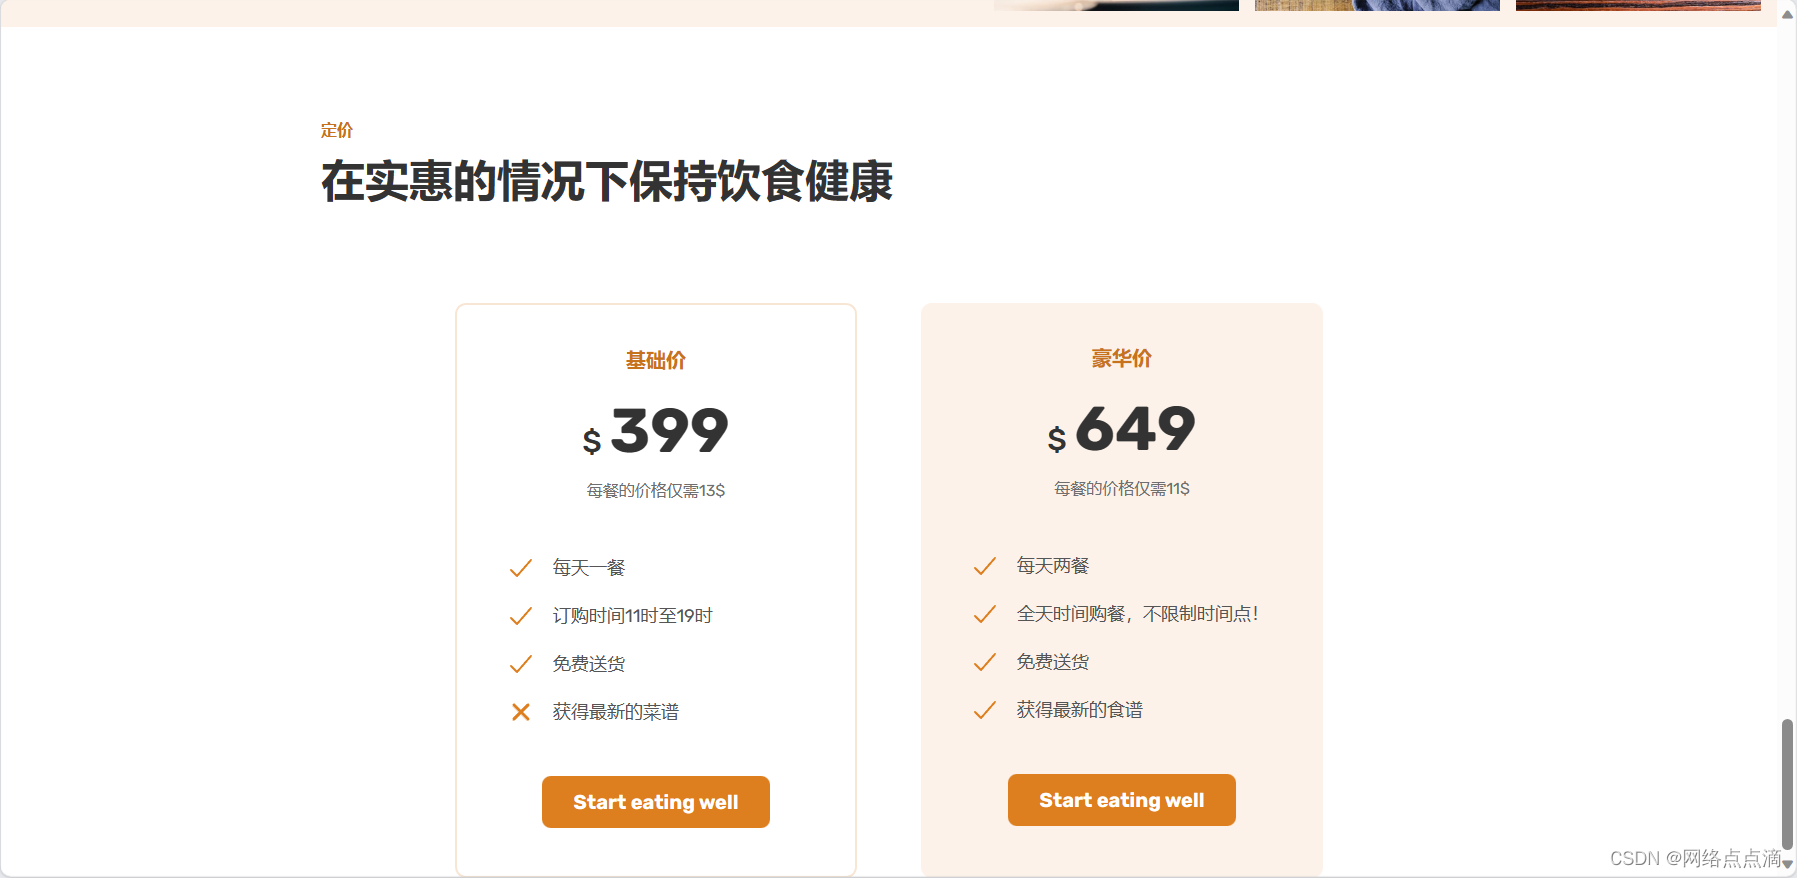
● 但是这个基础价也太惨淡了,我们给它添加一些边框
.princing-plan--starter {
  justify-self: end;
  border: 2px solid #fae5d3;
}
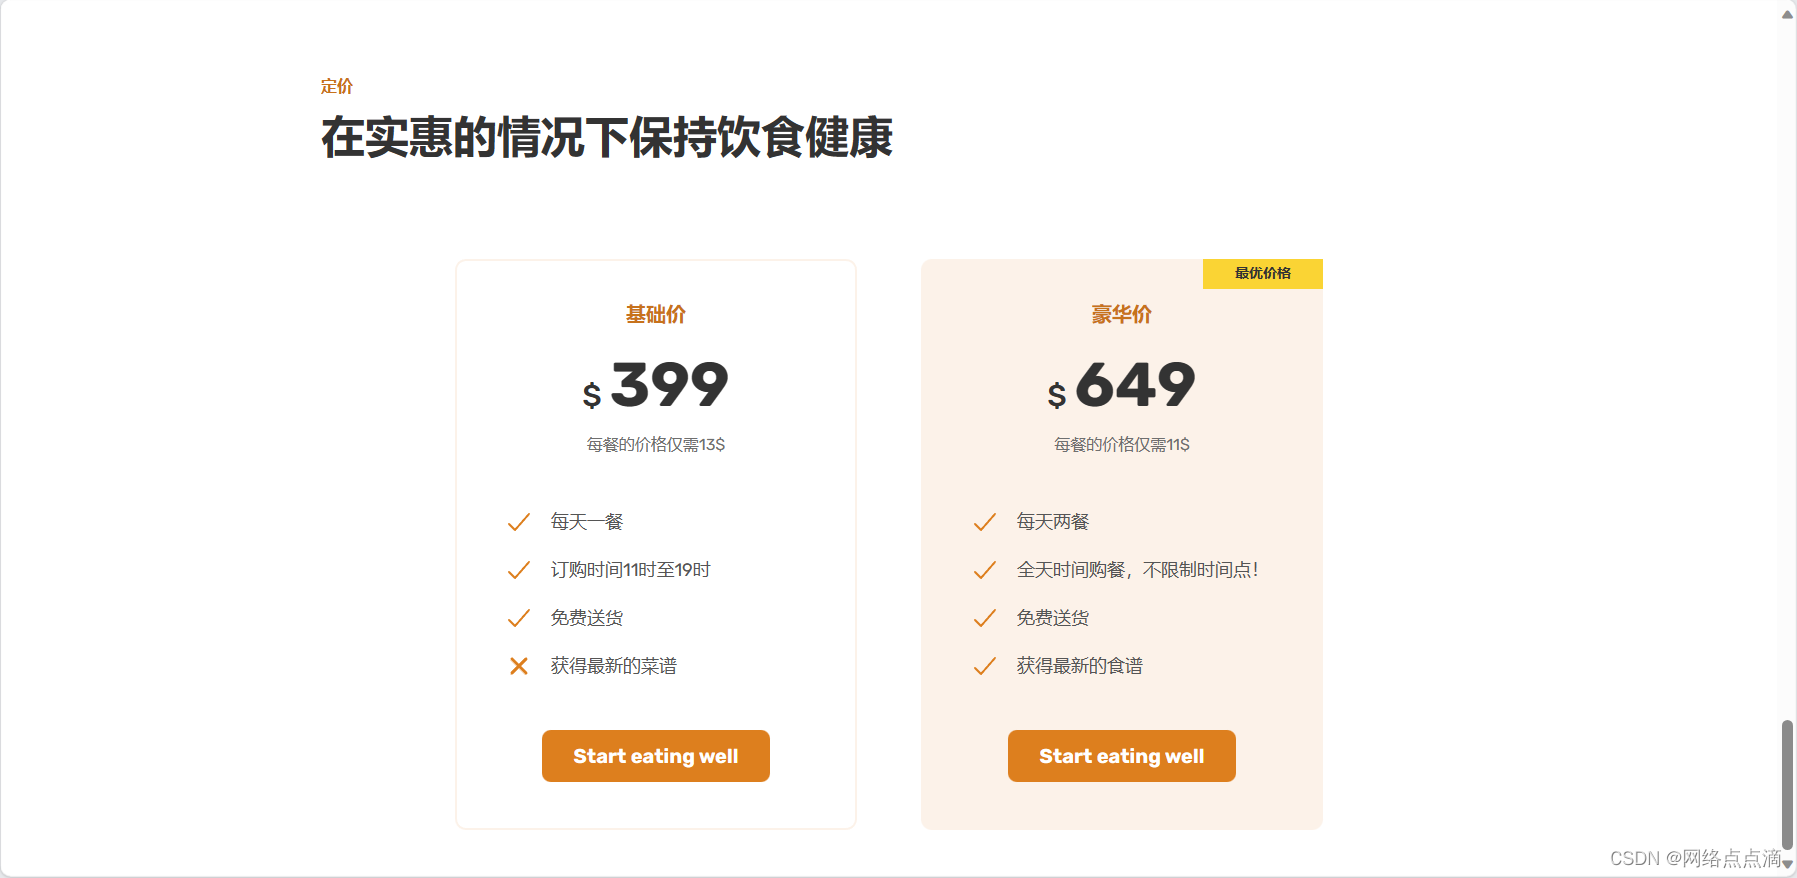
● 接着我们给649价格加一个推荐的效果
.princing-plan--complete {
   background-color: #fdf2e9;
   padding: 4.8rem;
   position: relative;
}

.princing-plan--complete::after {
  content: "最优价格";
  position: absolute;
  top: 0;
  right: 0;

  font-size: 1.4rem;
  font-weight: 700;
  color: #333;
  background-color: #ffd43d;
  padding: 0.8rem 3.2rem ;
  /* transform: rotate(45deg); */
}
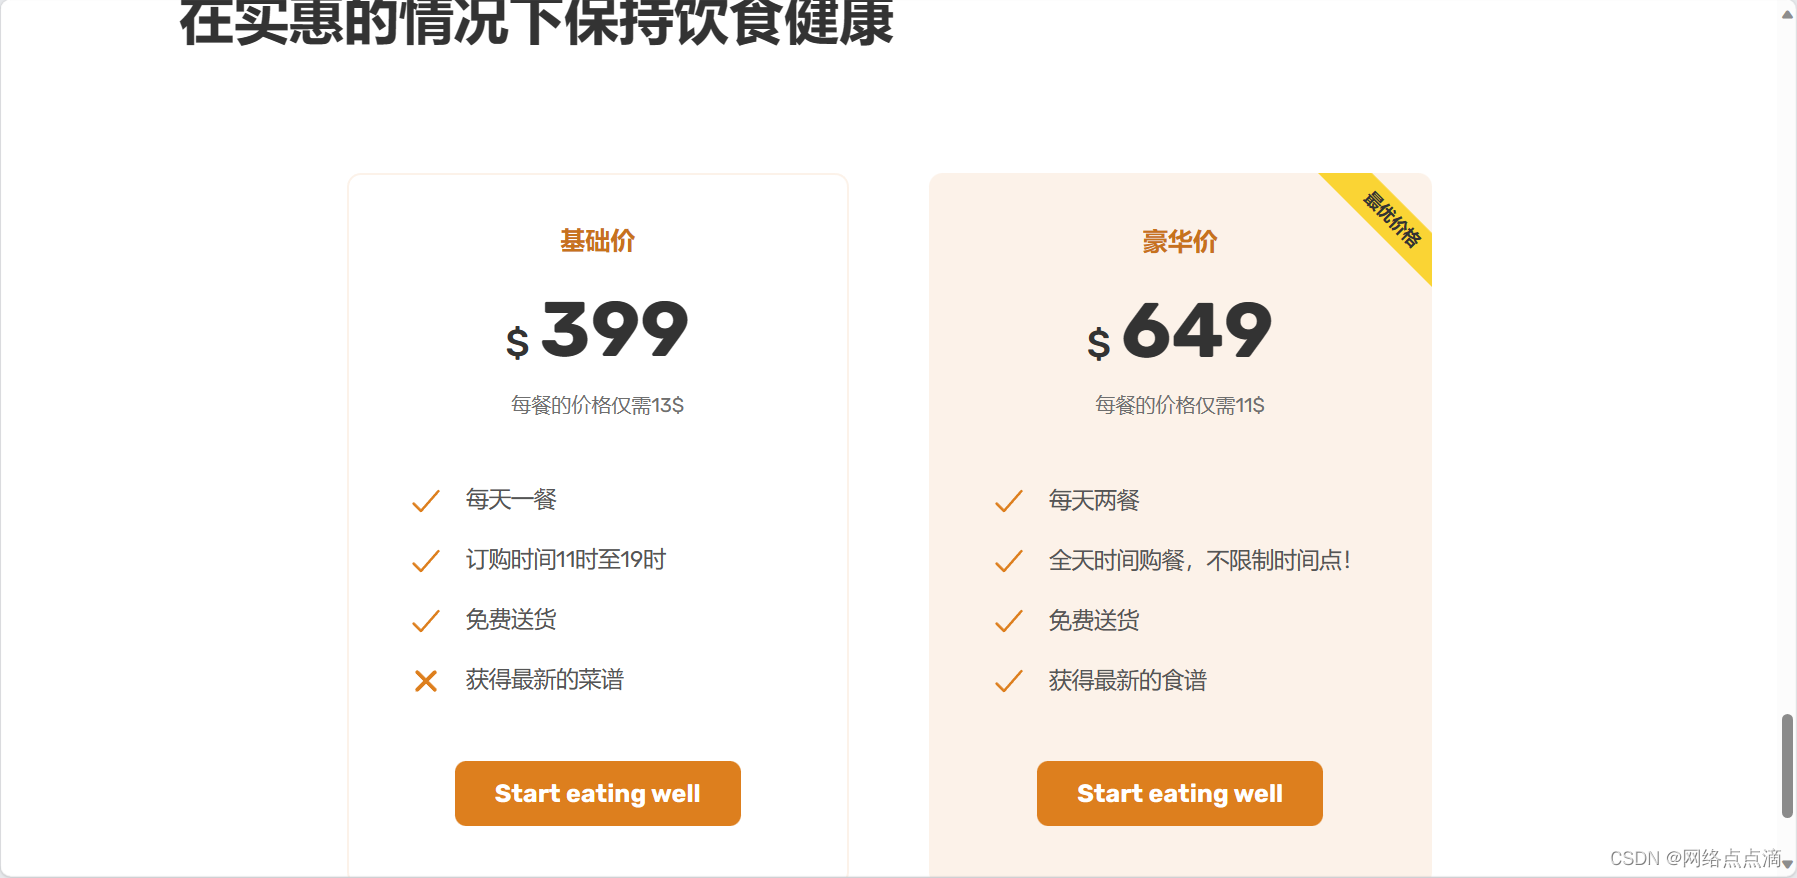
● 然后再调整下位置
.princing-plan--complete {
   background-color: #fdf2e9;
   padding: 4.8rem;
   position: relative;
   overflow: hidden;
}

.princing-plan--complete::after {
  content: "最优价格";
  position: absolute;
  top: 4%;
  right: -19%;

  font-size: 1.4rem;
  font-weight: 700;
  color: #333;
  background-color: #ffd43d;
  padding: 0.8rem 8rem ;
  transform: rotate(45deg);
}
● 接着我们再下面添加一些推荐性的语句
  <div class="container grid grid--4-cols">
        <div class="feature">Feature1</div>
        <div class="feature">Feature2</div>
        <div class="feature">Feature3</div>
        <div class="feature">Feature4</div>
      </div>
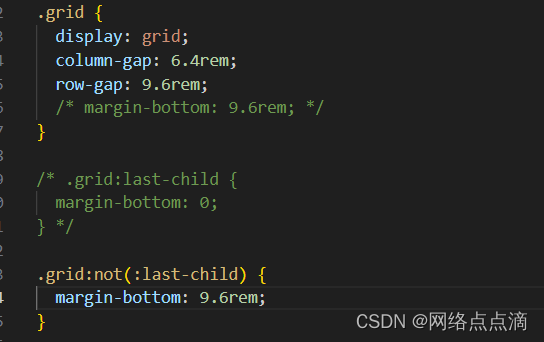
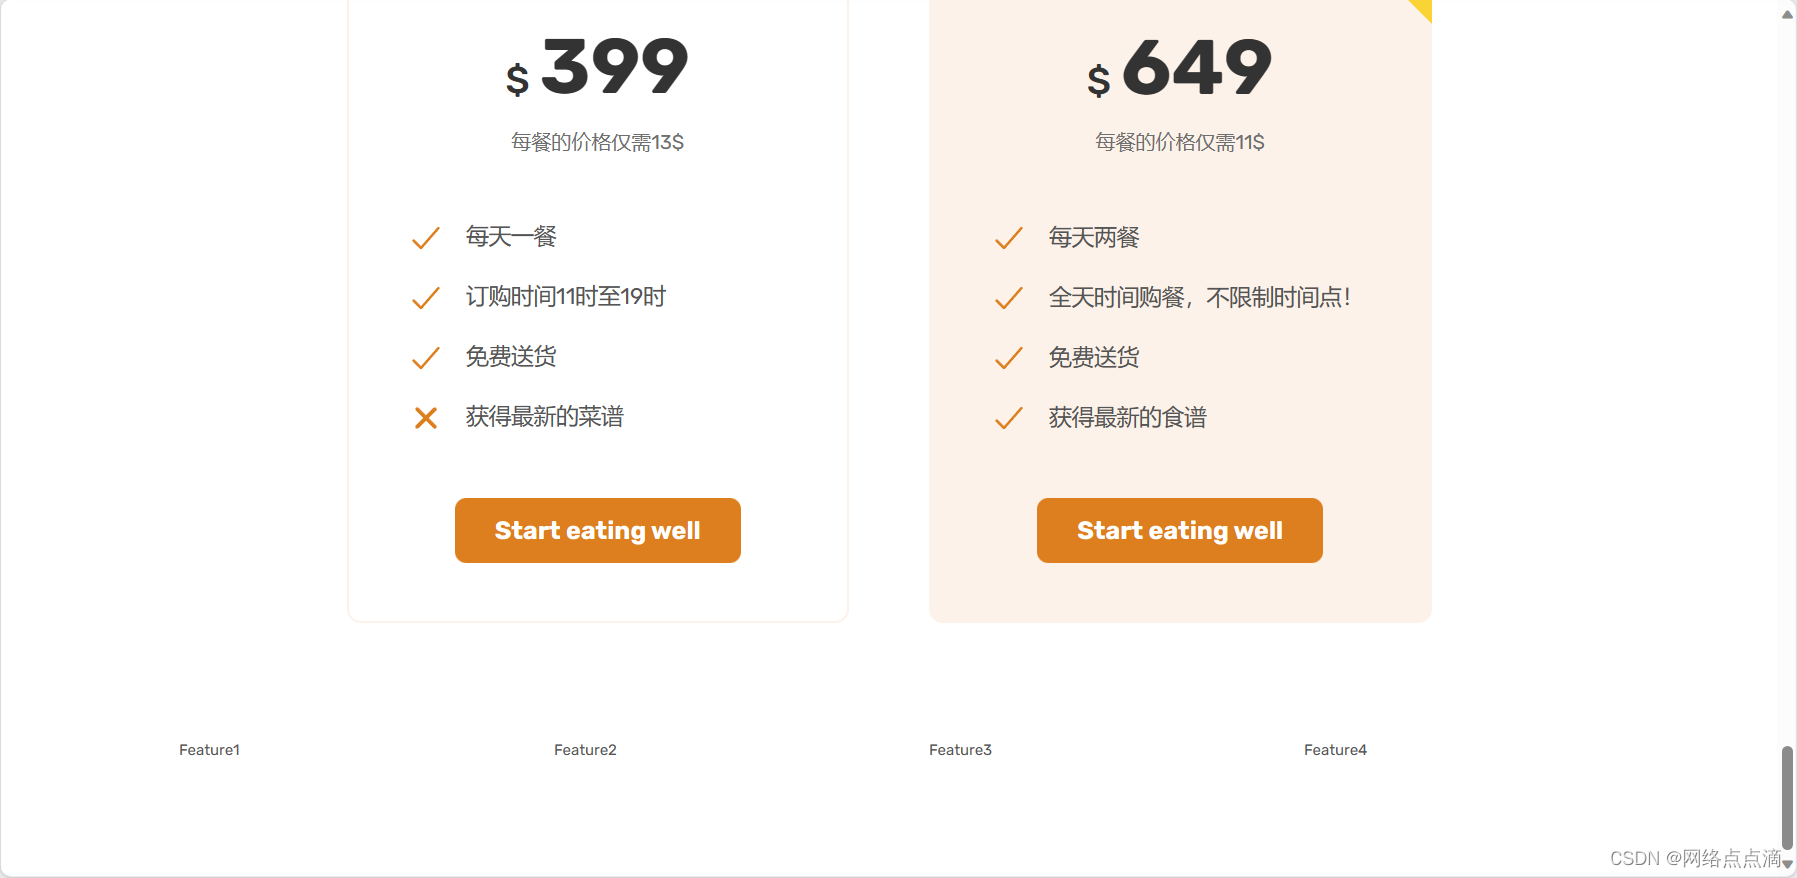
● 之后通过not添加一个间距
对于推荐这一部分的内容,我们下一节课再继续完善!!

