支线小小项目(pyautogui实现自动连接GP VPN)
用了pyautogui做了一个懒人小脚本,主要是在家上班,每天要连公司vpn, 然后还要等好久,公司用的GP(global protect) VPN, 长这个样子

主要问题每次点击connect后需要等他先出来windows NT的login认证,然后在等一会才出来RSA的login, 而RSA的秘钥要从这个里面获取,然后再填进去。
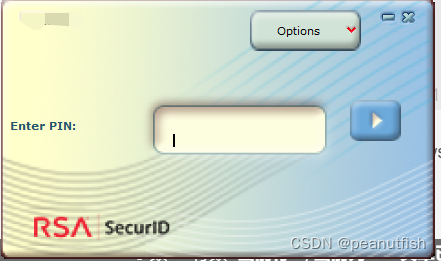
最后终于连上了,还要调整gateway,整个过程比较费时,所以做了一个小脚本,放在github上了,需要的可以去拿(麻烦star一下),然后改一改就可以实现你自己的小功能了。
源码如下:
# 这是一个分支项目
# pyautogui实现自动连接GP(global protect)

import pyautogui as pg
import time
import os

# Main steps:
# 1. find GP icon->left click-> if already connected -> check if no-split -> if yes -> exit, if not -> func(choose no-split).
# 2. if not connected/connect failed status --> go to func(connect)
# 3. wait for prompt of NT login window
# 4. func(sign in pwd) - click pic center - typewrite(pwd) - moveRel - click sign on
# 5. get RSA credential from func(rsa) - rsa copy(mvoeRel(0,75)) - ctrl+V
# 6. func(sign in rsa window) - check if cert_confirm - click ok
# 7. wait for GP connected status --> check if gp no-split

NT_PASSWD = 'Ballball15'
RSA_PASSWD = '10538185'

def click_center(png, x_offset=0, y_offset=0, showed=True):
    """
    Used to click the center of a picture and also provide following function:
    1. Use x_offset,y_offset to click somewhere around center position,
    2. Use "showed" flag to mark if need to wait for the ICON/PROMPT showup before click it.
    3. Return the center position(x,y).
    """
    try:
        # first check if need to wait ICON/PROMPT showup
        # if ICON/PROMPT is there then get its position
        if showed:
            x1, y1 = pg.locateCenterOnScreen(png)
        else:
            # if ICON/PROMPT is not there then waiting it showup
            number = 0
            while (not showed):
                showed = pg.locateCenterOnScreen(png)
                number += 1
                print(f'Waiting {png} for {number} times')
            x1, y1 = showed[0], showed[1]

        # click the center position or somewhere around it
        pg.click(x1+x_offset, y1+y_offset, button='left')
        # return back center position
        print(f'{png} position({x1},{y1})')
        return (x1, y1)
    except Exception as e:
        print(f'Cannot find {png} in your Screen.')


def signin(temp=None):
    # mvoe mouse to input login passwd info
    x1, y1 = click_center('.\GP_login_signon.png', 0, -50, showed=False)
    # check if it is NT login or RSA login
    if temp:
        pg.typewrite(temp)
    else:
        pg.hotkey('ctrl', 'v')
    # click "sign on" button
    pg.click(x1, y1, button='left', duration=0.5)
    time.sleep(2)
    # click the certification confirm dialog
    click_center('.\cert_confirm.png', 0, 0, showed=False)


def get_rsa(token):
    click_center('.\RSA_icon.png', 0, 0, showed=True)
    time.sleep(1)
    click_center('.\RSA_main.png', 0, 0, showed=True)
    pg.typewrite(token)
    pg.press('enter')
    # move to copy button
    click_center('.\RSA_copy.png', 0, 0, showed=True)

def choose_GP(x, y):
    # check if no-split is connected
    if (pg.locateOnScreen('.\GP_nosplit.png')):
        print('No Split is connected! Enjoy it!')
    # if not then choose no-split
    else:
        print('changing gateway')
        # click the "Change Gateway"
        pg.click(x+100, y-95, button='left', duration=1)
        # go to the search box
        pg.click(x+100, y-320, button='left', duration=1)
        pg.typewrite('no')
        # click the "no split"
        pg.click(x+100, y-292, button='left', duration=1)
        print('Done, enjoy it.')


def connect_GP(x, y):
    # find and click "connect"
    pg.click(x+85, y-50, button='left')
    # time.sleep(5)
    # GP login with NT
    signin(NT_PASSWD)
    get_rsa(RSA_PASSWD)
    # GP login with RSA
    signin()


if __name__ == '__main__':
    # check if GP icon is gray(notconnected or connectfailed)
    gray_gp = click_center('.\gray_GP1.png', 0, 0, showed=True) or click_center('.\gray_GP2.png', 0, 0, showed=True)
    blue_gp = click_center('.\GP_blue.png', 0, 0, showed=True)
    # if not connected then do connection flow
    if (gray_gp):
        gp_x, gp_y = gray_gp[0], gray_gp[1]
        connect_GP(gp_x, gp_y)
        time.sleep(10)
        click_center('.\GP_blue.png', 0, 0, showed=False)
        choose_GP(gp_x, gp_y)
    # if connected then check if no-split is choosen
    elif (blue_gp):
        # get GP icon position using blue icon
        gp_x, gp_y = blue_gp[0], blue_gp[1]
        choose_GP(gp_x, gp_y)
    else:
        os.system('taskkill /IM PanGPA.exe /F')
        # time.sleep(6)
        pg.moveTo(1300, 1056)
        pg.moveRel(500, 0, duration=0.5)
        print('Cleared unknown status, please retry')
图片内容在GITHUB:
https://github.com/peanutfisher/GPAutoConnect.git
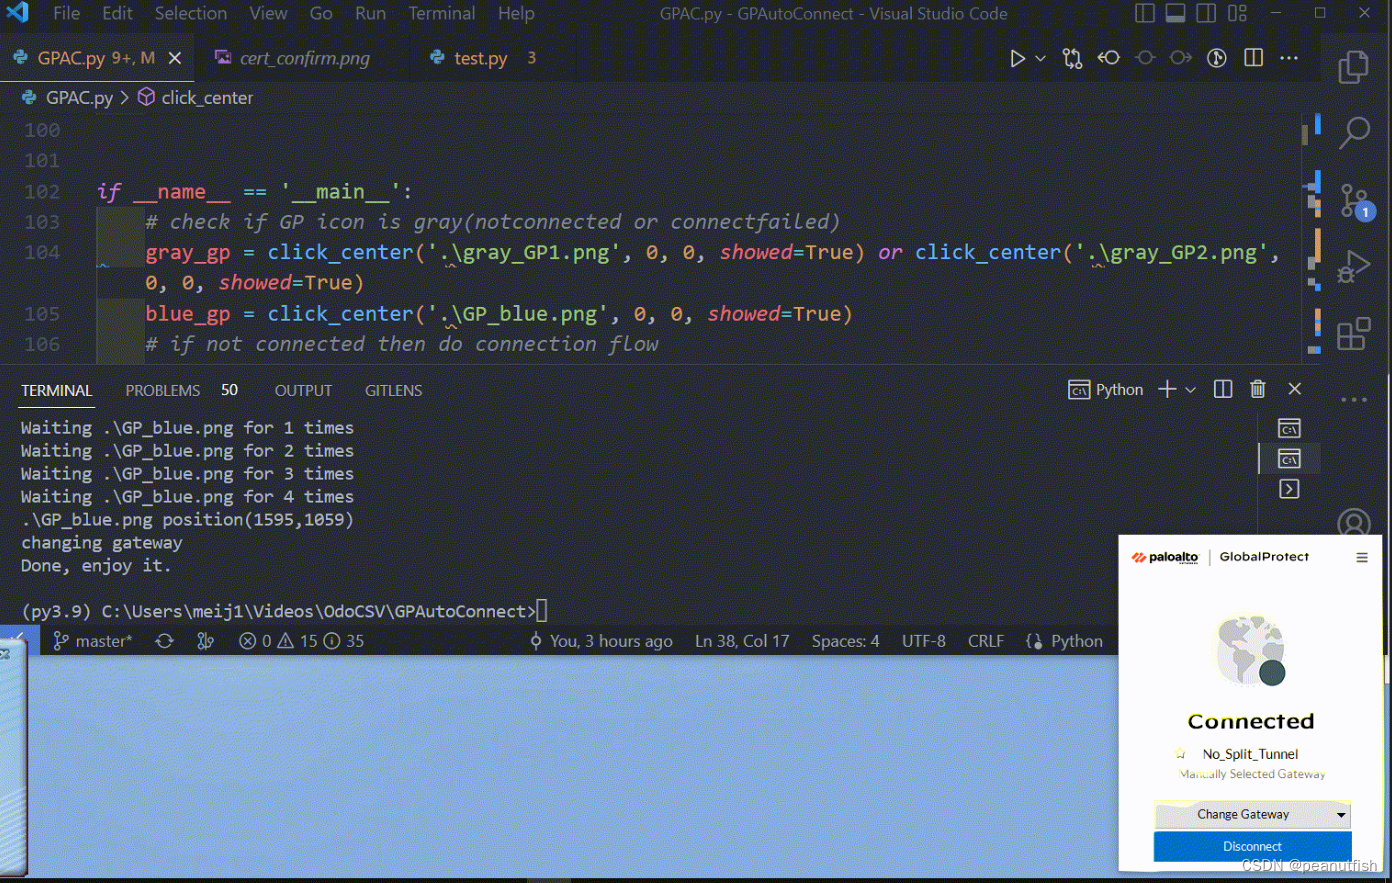
最终效果: (gif太大了,放张截图吧)
pyautogui的中文说明书参照下面
https://github.com/asweigart/pyautogui/blob/master/docs/simplified-chinese.ipynb
英文的是这个:
https://pyautogui.readthedocs.io/en/latest/quickstart.html#general-functions
![【读书笔记】《贫穷的本质》- [印度] Abhijit Banerjee / [法] Esther Duflo](https://img-blog.csdnimg.cn/7e9b78f47e144bc5a658d70e357a4105.png)


