文章目录
- axios封装
- http.js
- testAPI.js
- main.js测试
- 如果项目中需要多个baseURL
- 自动导入scss文件
- 案例文件
- 使用案例
- 引入aliyun图标库
- 先看效果
- 查看官网文档
- 引入并使用
- vueuse实现-吸附导航交互
- 安装
- 案例
- 多个组件共享的请求、数据、封装到pinia
- 案例
- 父组件中调用
- 子组件中应用
axios封装
http.js

//axios基础的封装
import axios from 'axios'

const httpInstance = axios.create({
    baseURL: 'http://pcapi-xiaotuxian-front-devtest.itheima.net',
    timeout:5000
})

//拦截器
// 添加请求拦截器
httpInstance.interceptors.request.use(function (config) {
    return config;
}, function (error) {
    return Promise.reject(error);
});

// 添加响应拦截器
httpInstance.interceptors.response.use(function (response) {
    return response;
}, function (error) {
    return Promise.reject(error);
});

export default httpInstance
testAPI.js

import httpInstance from "@/utils/http";

export function getCategory(){
   return httpInstance({
        url:'home/category/head'
    })
}
main.js测试

//测试接口函数
import {getCategory} from "@/apis/testAPI";
getCategory().then (res => {
    console.log(res)
})
如果项目中需要多个baseURL

自动导入scss文件
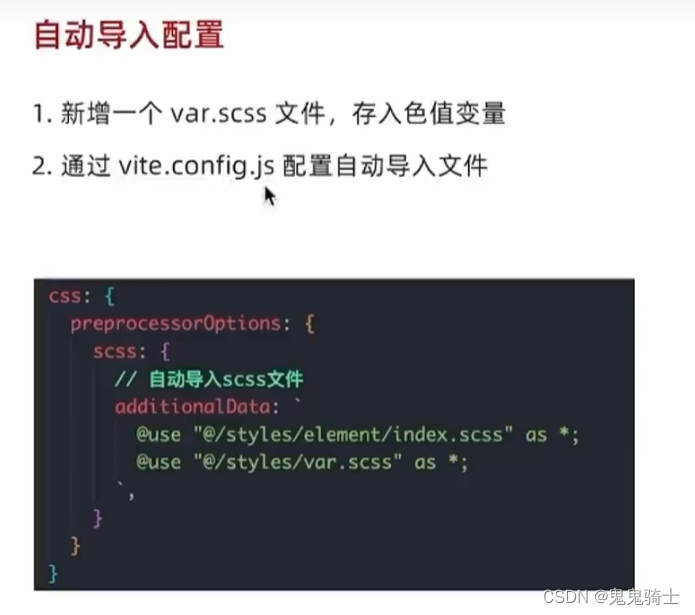
案例文件
$xtxColor: #27ba9b;
$helpColor: #e26237;
$sucColor: #1dc779;
$warnColor: #ffb302;
$priceColor: #cf4444;
使用案例
<!--setup-开关:允许在script书写组合式API-->
<script setup>

</script>

<template>
  <div>
    <el-button type="primary">Primary</el-button>
    <!--一级路由出口-->
    <RouterView />
    <div class="test">
      test scss
    </div>
  </div>
</template>

<style scoped lang="scss">
.test{
  color:$warnColor;
}
</style>
引入aliyun图标库
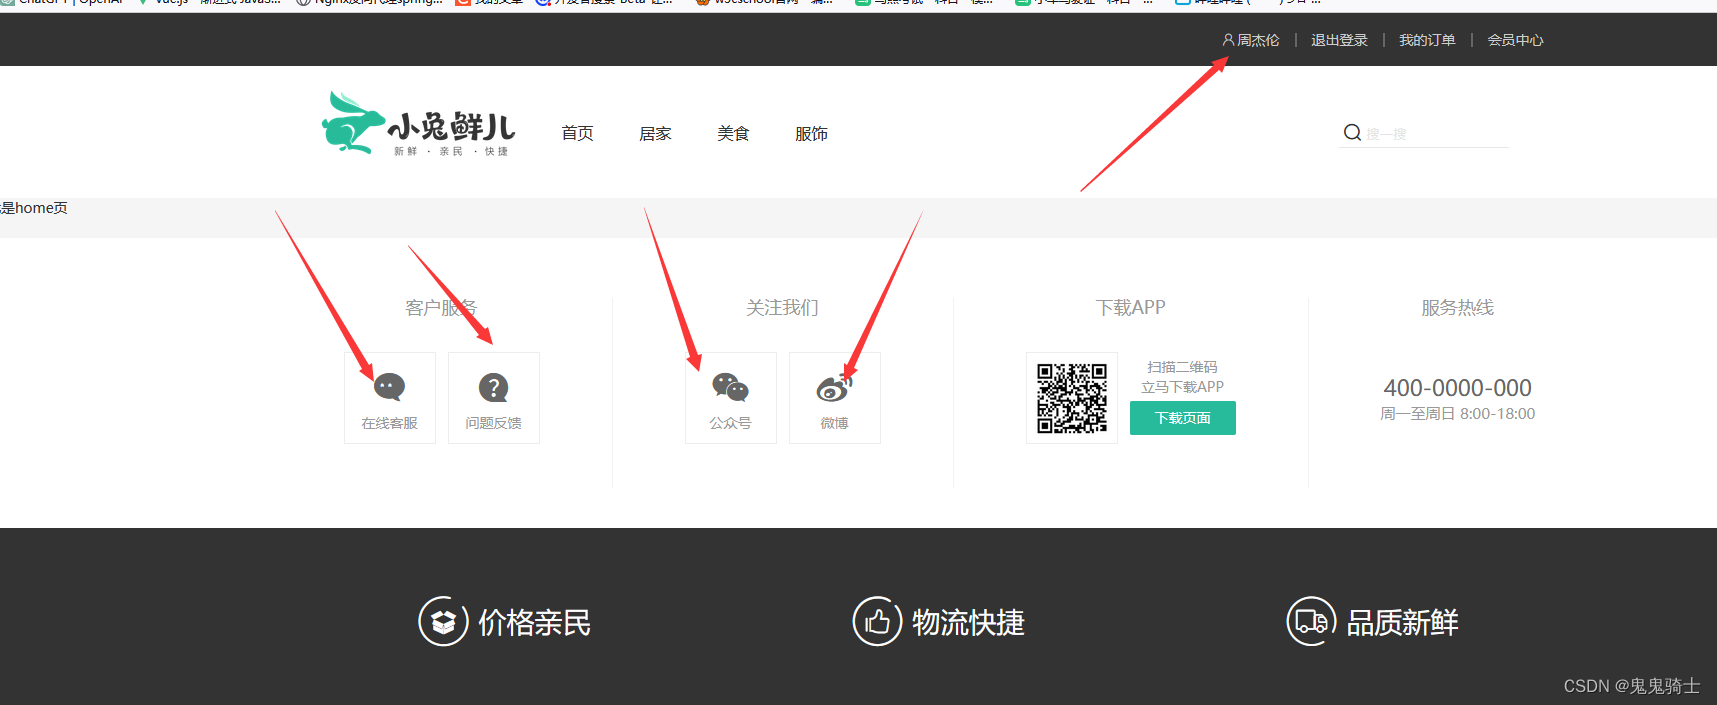
先看效果
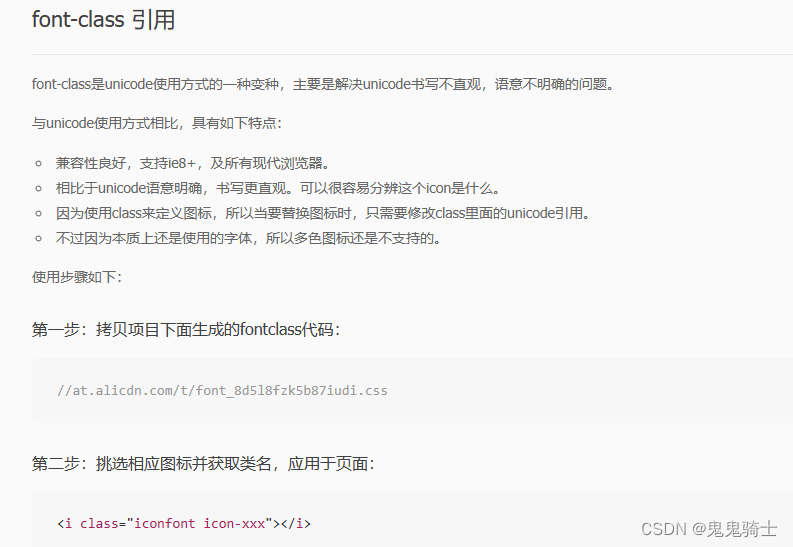
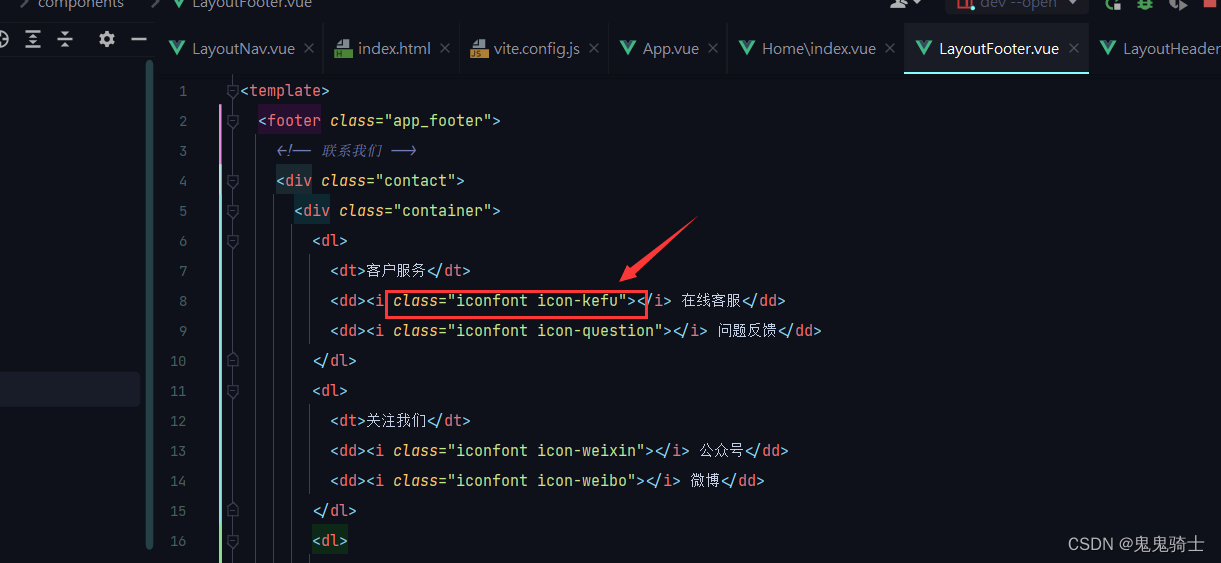
查看官网文档
官方文档说明
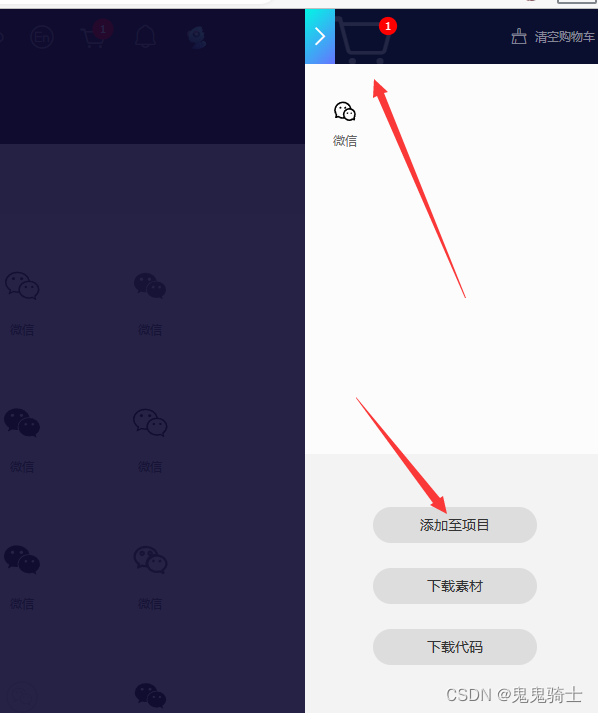
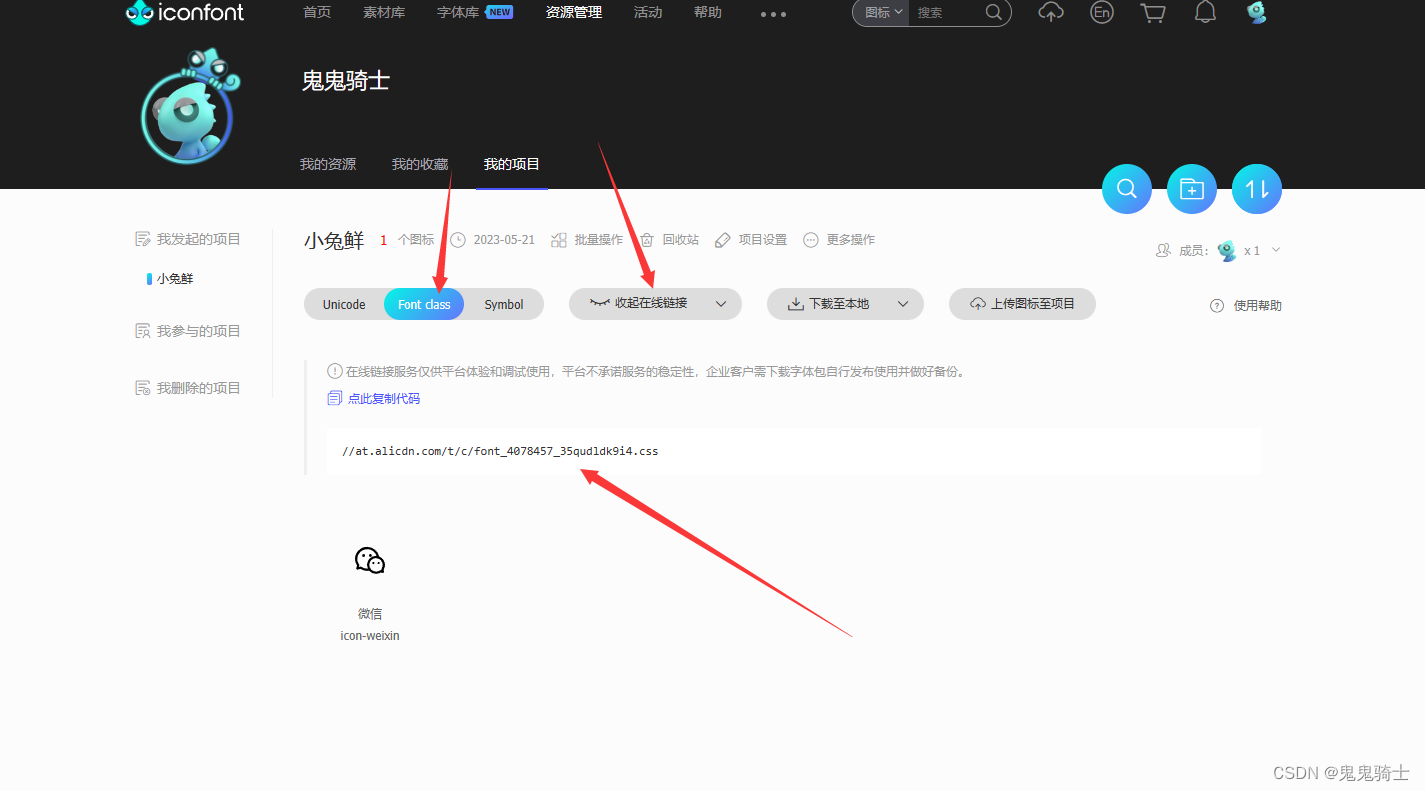
引入并使用
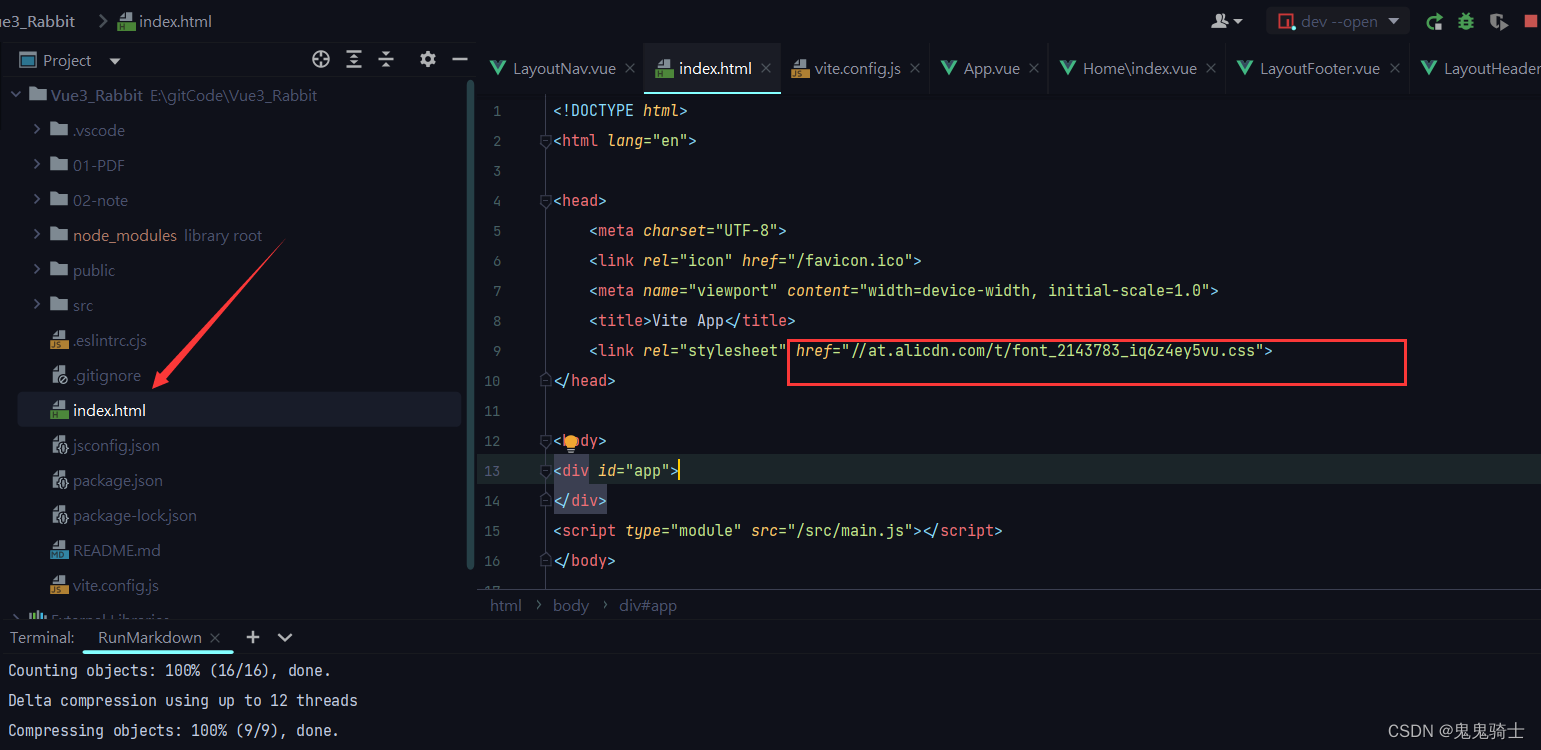
如果没有index.html,新建一个就好了
注意需要替换内容
<!DOCTYPE html>
<html lang="en">

<head>
    <meta charset="UTF-8">
    <link rel="icon" href="/favicon.ico">
    <meta name="viewport" content="width=device-width, initial-scale=1.0">
    <title>Vite App</title>
    <link rel="stylesheet" href="//at.alicdn.com/t/font_2143783_iq6z4ey5vu.css">
</head>

<body>
<div id="app">
</div>
<script type="module" src="/src/main.js"></script>
</body>

</html>
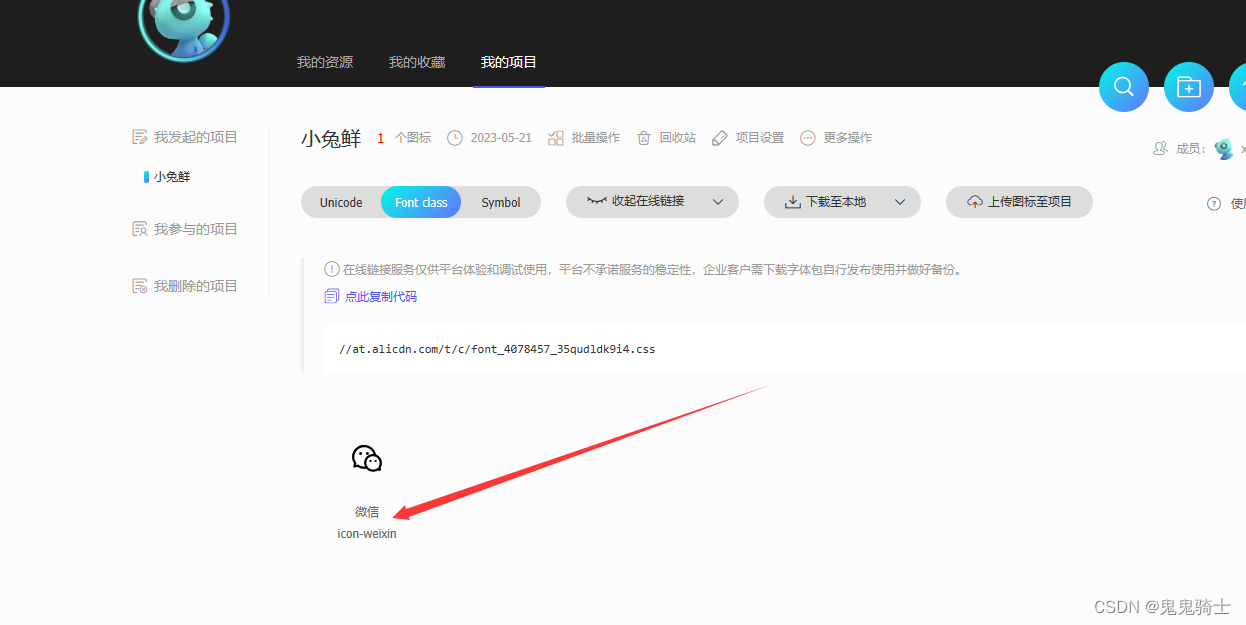
使用
vueuse实现-吸附导航交互
安装
npm i @vueuse/core
案例
这个案例就是又生成了一个新的组件,根据一定情况渲染在页面中
具体来说,当滚动位置y大于78时,该元素会添加show类。
在CSS部分,有一个名为.show的CSS类定义。这个类用于在app-header-sticky元素具有show类时应用样式。这些样式包括过渡效果(transition)为0.3秒线性过渡,变换(transform)为默认值,以及不透明度(opacity)为1。
因此,根据滚动位置y是否大于78,app-header-sticky元素将动态地添加或移除show类,从而触发过渡效果和样式的变化。
核心代码
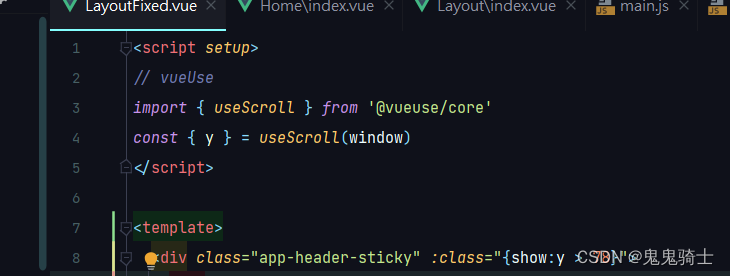
<script setup>
// vueUse
import { useScroll } from '@vueuse/core'
const { y } = useScroll(window)
</script>

<template>
  <div class="app-header-sticky" :class="{show:y > 78}">
    <div class="container">
      <RouterLink class="logo" to="/" />
      <!-- 导航区域 -->
      <ul class="app-header-nav ">
        <li class="home">
          <RouterLink to="/">首页</RouterLink>
        </li>
        <li>
          <RouterLink to="/">居家</RouterLink>
        </li>
        <li>
          <RouterLink to="/">美食</RouterLink>
        </li>
        <li>
          <RouterLink to="/">服饰</RouterLink>
        </li>
        <li>
          <RouterLink to="/">母婴</RouterLink>
        </li>
        <li>
          <RouterLink to="/">个护</RouterLink>
        </li>
        <li>
          <RouterLink to="/">严选</RouterLink>
        </li>
        <li>
          <RouterLink to="/">数码</RouterLink>
        </li>
        <li>
          <RouterLink to="/">运动</RouterLink>
        </li>
        <li>
          <RouterLink to="/">杂项</RouterLink>
        </li>
      </ul>

      <div class="right">
        <RouterLink to="/">品牌</RouterLink>
        <RouterLink to="/">专题</RouterLink>
      </div>
    </div>
  </div>
</template>


<style scoped lang='scss'>
.app-header-sticky {
  width: 100%;
  height: 80px;
  position: fixed;
  left: 0;
  top: 0;
  z-index: 999;
  background-color: #fff;
  border-bottom: 1px solid #e4e4e4;
  // 此处为关键样式!!!
  // 状态一:往上平移自身高度 + 完全透明
  transform: translateY(-100%);
  opacity: 0;

  // 状态二:移除平移 + 完全不透明
  &.show {
    transition: all 0.3s linear;
    transform: none;
    opacity: 1;
  }

  .container {
    display: flex;
    align-items: center;
  }

  .logo {
    width: 200px;
    height: 80px;
    background: url("@/assets/images/logo.png") no-repeat right 2px;
    background-size: 160px auto;
  }

  .right {
    width: 220px;
    display: flex;
    text-align: center;
    padding-left: 40px;
    border-left: 2px solid $xtxColor;

    a {
      width: 38px;
      margin-right: 40px;
      font-size: 16px;
      line-height: 1;

      &:hover {
        color: $xtxColor;
      }
    }
  }
}

.app-header-nav {
  width: 820px;
  display: flex;
  padding-left: 40px;
  position: relative;
  z-index: 998;

  li {
    margin-right: 40px;
    width: 38px;
    text-align: center;

    a {
      font-size: 16px;
      line-height: 32px;
      height: 32px;
      display: inline-block;

      &:hover {
        color: $xtxColor;
        border-bottom: 1px solid $xtxColor;
      }
    }

    .active {
      color: $xtxColor;
      border-bottom: 1px solid $xtxColor;
    }
  }
}
</style>
多个组件共享的请求、数据、封装到pinia
案例
封装以下请求
import { ref } from 'vue'
import { defineStore } from 'pinia'
import { getCategoryAPI } from '@/apis/layout'
export const useCategoryStore = defineStore('category', () => {
    // 导航列表的数据管理
    // state 导航列表数据
    const categoryList = ref([])

    // action 获取导航数据的方法
    const getCategory = async () => {
        const res = await getCategoryAPI()
        categoryList.value = res.data.result
    }

    return {
        categoryList,
        getCategory
    }
})
父组件中调用
//触发获取导航列表的action
import {useCategoryStore} from "@/stores/categoryStore";
import {onMounted} from "vue";

const categoryStore = useCategoryStore();

onMounted(() => categoryStore.getCategory())
子组件中应用
使用变更数据后的state
<script setup>
import { useCategoryStore } from '@/stores/categoryStore'
const categoryStore = useCategoryStore()
</script>


<template>
  <ul class="app-header-nav">
    <li class="home">
      <RouterLink to="/">首页</RouterLink>
    </li>
    <li class="home" v-for="item in categoryStore.categoryList" :key="item.id">
      <RouterLink active-class="active" :to="`/category/${item.id}`">
        {{ item.name }}
      </RouterLink>
    </li>
  </ul>
</template>
