python的web框架 Flask
参考: https://dormousehole.readthedocs.io/en/2.1.2/tutorial/factory.html
一、启动脚本
随便编写一个py文件,如test.py
from flask import Flask

app = Flask(__name__)

@app.route("/")
def hello_world():
    return "<p>Hello Flask!</p>"
如果没有写
if __name__ == '__main__':
    app.run()
方式一:
修为为app.py或者wsgi.py
方式二:
使用命令flask --app test.py run
方式三:
加上
if __name__ == '__main__':
    app.run()
二、url_for()参数问题
url_for()将函数名转为对应的url请求地址
from flask import url_for

app = Flask(__name__)

@app.route('/')
def index():
    return 'index'

@app.route('/login')
def login():
    return 'login'

@app.route('/user/<username>')
def profile(username):
    return f'{username}\'s profile'

with app.test_request_context():
    print(url_for('index'))
    print(url_for('login'))
    print(url_for('login', next='/'))
    # 对于变量类型的url,需要在第二个参数位置传递参数名
    print(url_for('profile', username='John Doe'))

if __name__ == '__main__':
    app.run(debug=True)
app.test_request_context()有啥用?
用于测试使用, 例如测试发送一个请求地址为
/login,请求方式为GET的请求with app.test_request_context('/login', method='GET'): print("测试请求到来...") # 对测试的请求地址和方式进行断言,如果断言不通过,就会报错 assert request.path == '/login' assert request.method == 'GET'
三、静态html文件中引入css/js/image等资源
在html中使用
{{url_for("参数1","参数2")}}
- 参数1: 表示static静态文件目录
- 参数2: 表示要引入的文件, 格式: filename=“xxx”
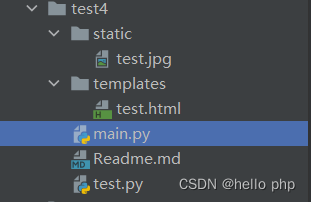
说明: 文件层级结构为
<!DOCTYPE html>
<html lang="en">
<head>
    <meta charset="UTF-8">
    <title>Title</title>
</head>
<body>

测试html

<!--<img src="{{url_for('static',filename='test.jpg')}}" alt="">-->
<!-- 等同于 -->
<img src="/static/test.jpg" alt="">

</body>
</html>
四、是否对html格式的字符串原样解析
关键方法:
Markup()
from markupsafe import Markup
五、获取请求数据: request.args、request.form
request.args
获取url后
?号后面的参数如: http://127.0.0.1:5000/login?info=shanghai&address=BJ使用request.args获取到的是
info=shanghai&address=BJ这部分数据无论此时的请求方式是
POST还是GET,request.args获取到的永远都是url中?后面的那部分request.form
- 获取的是body中的数据(如form表单提交)
- 无论此时的请求方式是
GET还是POST,request.form获取的永远都是body中的数据
from flask import Flask, request

app = Flask(__name__)

@app.route("/login", methods=['GET', 'POST'])
def login():
    print(request.form)
    print(request.args)
    return "hello!"


if __name__ == '__main__':
    app.run(debug=True)
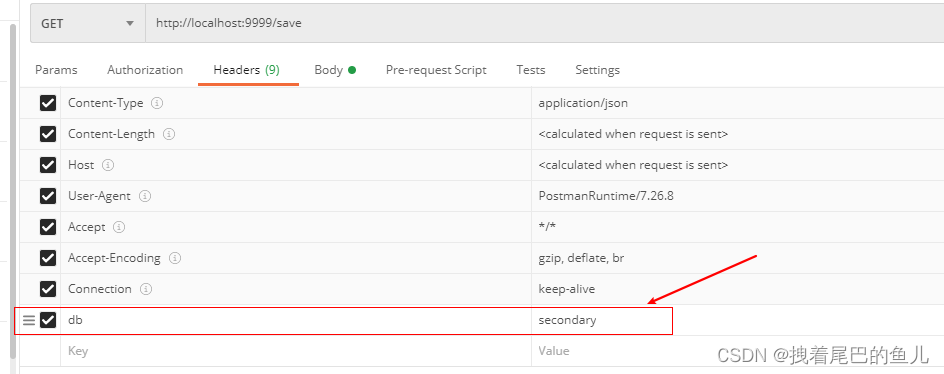
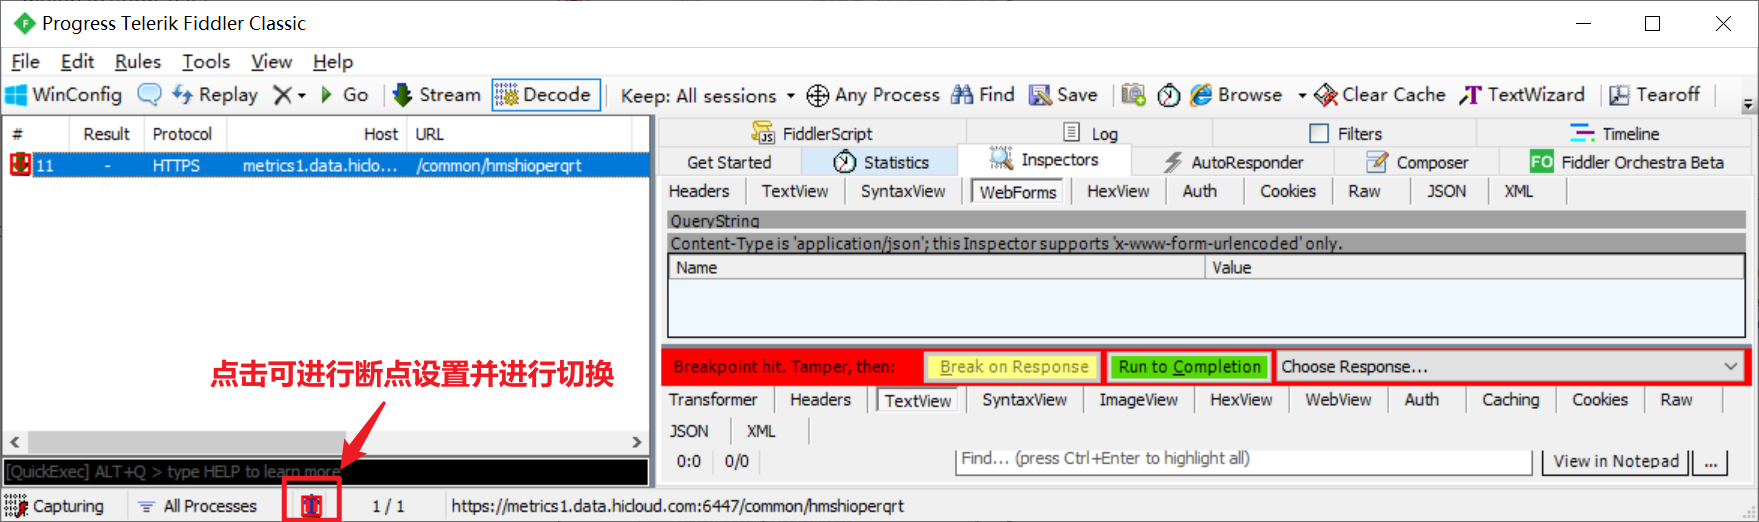
① GET请求时, 分别设置Params参数和Body参数, 使用postman测试如下:
| 展示GET请求Params部分请求参数 | 展示GET请求Body部分请求参数 |
|---|---|
 | 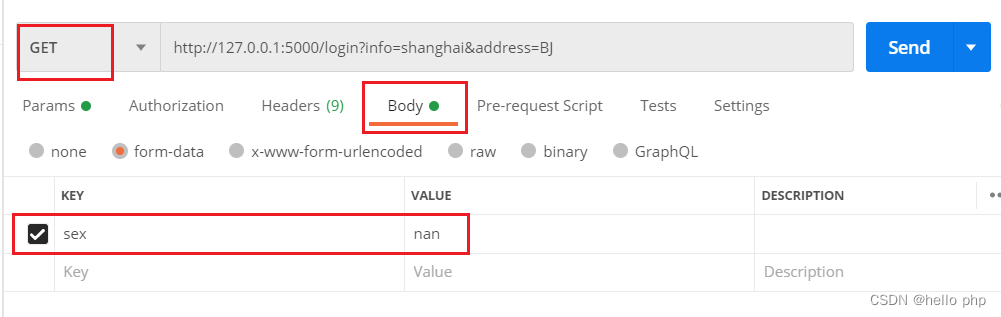 |
响应结果如下:
ImmutableMultiDict([('sex', 'nan')])
ImmutableMultiDict([('info', 'shanghai'), ('address', 'BJ')])
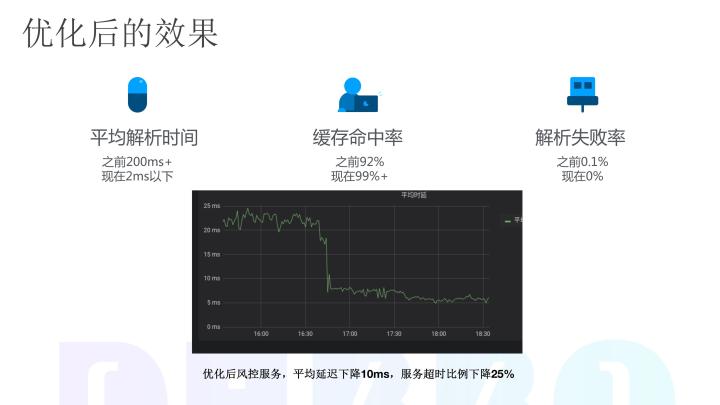
② POST请求时, 分别设置Params参数和Body参数, 使用postman测试如下:
| 展示POST请求Params部分请求参数 | 展示POST请求Body部分请求参数 |
|---|---|
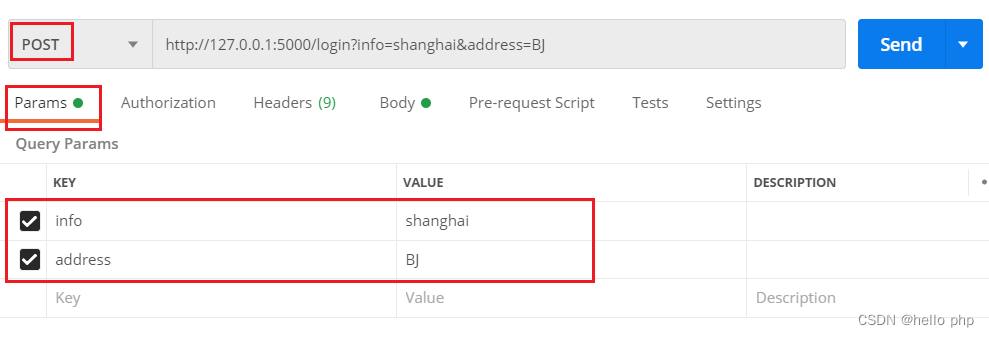 | 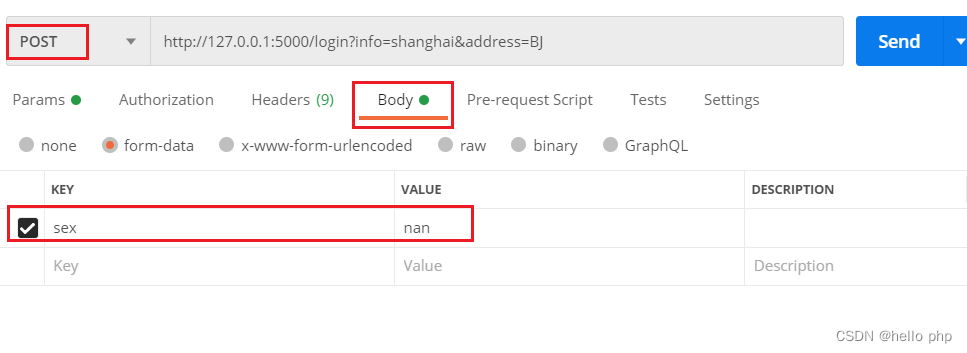 |
响应结果如下:
ImmutableMultiDict([('sex', 'nan')])
ImmutableMultiDict([('info', 'shanghai'), ('address', 'BJ')])
六、重定向页面,终止页面以及自定义404等错误页面
①重定向页面
from flask import Flask, request, render_template, make_response, redirect, abort
from werkzeug.utils import secure_filename

app = Flask(__name__)

@app.route("/")
def index():
    # 重定向
    return redirect(url_for("showInfo"))


@app.route("/info")
def showInfo():
    return "info信息..."


if __name__ == '__main__':
    app.run(debug=True)
②终止程序执行
from flask import Flask, request, render_template, make_response, redirect, abort
from werkzeug.utils import secure_filename

app = Flask(__name__)

@app.route("/")
def index():
    abort(404)

if __name__ == '__main__':
    app.run(debug=True)
③自定义错误页面
from flask import Flask, request, render_template, make_response, redirect, abort,url_for
from werkzeug.utils import secure_filename

app = Flask(__name__)


@app.route("/")
def index():
    abort(404)

"""
当访问 http://localhost:5000/ 时,会先走index方法, index方法终止,并响应404, 404码会被标注了@app.errorhandler(404)注解的方法捕获,最终走自定义的404页面
"""
@app.errorhandler(404)
def page_not_found(error):
    # 自定义错误页面
    return render_template("404.html",error=error),404

if __name__ == '__main__':
    app.run(debug=True)
七、使用session时,需要执行secret_key
from flask import Flask, session, redirect, url_for, request

app = Flask(__name__)
"""
设置 secret_key,可以使用如下方式生成:
import secrets
print(secrets.token_hex())进行生成
"""
app.secret_key = b'_5#y2L"F4Q8z\n\xec]/'


@app.route('/')
def index():
    if 'username' in session:
        return f'Logged in as {session["username"]}'
    return 'You are not logged in'


@app.route('/login', methods=['GET', 'POST'])
def login():
    if request.method == 'POST':
        session['username'] = request.form['username']
        return redirect(url_for('index'))
    return '''
        <form method="post">
            <p><input type=text name=username>
            <p><input type=submit value=Login>
        </form>
    '''


@app.route('/logout')
def logout():
    # remove the username from the session if it's there
    session.pop('username', None)
    return redirect(url_for('index'))


if __name__ == '__main__':
    app.run(debug=True)
八、日志工具
app.logger
from flask import Flask

app = Flask(__name__)

@app.route('/')
def index():
    app.logger.debug("debug信息...")
    app.logger.warning("提醒信息")
    app.logger.error("出错了..")
    return "hello"

if __name__ == '__main__':
    app.run(debug=True)
九、关于Flask()的参数问题
class Flask(Scaffold):
    # ...省略...

    # 构造方法如下,着重看下初始化参数含义:
	def __init__(
        self,
        import_name: str,
        static_url_path: t.Optional[str] = None,
        static_folder: t.Optional[t.Union[str, os.PathLike]] = "static",
        static_host: t.Optional[str] = None,
        host_matching: bool = False,
        subdomain_matching: bool = False,
        template_folder: t.Optional[t.Union[str, os.PathLike]] = "templates",
        instance_path: t.Optional[str] = None,
        instance_relative_config: bool = False,
        root_path: t.Optional[str] = None,
    ):
参数说明
-
import_name: 值flask应用所在的包名或模块名, 一般为
__name__ -
static_folder: 默认值为
static, 指的是静态文件所在的目录; 如改为assets,则需要将静态资源文件css/js/images等放到assets目录下 -
static_url_path: 指的是会在页面静态资源(图片,css,js)文件展示的时候,会在路径前面追加上指定的字符;
举例: 在页面显示一张图片时,html代码为
<img src="{{url_for('static',filename='test.jpg')}}" alt="">渲染到页面上后,为
http://localhost:5000/test.jpg; 如果设置了: static_url_path=“/abc/def”, 则页面渲染后变成了http://localhost:5000/abc/def/test.jpg -
template_folder: 指定模板html的路径,默认为
templates
十、蓝图 - Blueprint
Flask框架的蓝图(Blueprint)类似与PHP的控制器,如用户控制器UserController.php,商品控制器GoodsController.php; 从对应关系上来说, 一个蓝图(Blueprint)对应一个控制器; 如果没有蓝图概念的话,估计需要将所有的处理页面请求的逻辑代码写到一个py文件(如: main.py)中, 有了蓝图以后就可以对不同的请求进行拆分了: 用户模块的前端请求逻辑写到用户蓝图(如: User.py)中; 商品模块的前端请求逻辑写到商品蓝图(如: Goods.py)中. 最后在将写好的蓝图注册到主应用(如: main.py, 主应用就是写有
app=Flask(__name__)并启动(app.run())了的那个py文件)中就行了
举例: 有两个模块: 一个是用户鉴权模块,需要登录和注册(auth.py); 另外一个是网站的其他普通页面(main.py)
auth.py 是一个蓝图
from flask import Flask, Blueprint, render_template

auth_bp = Blueprint("auth", __name__, url_prefix="/auth")


@auth_bp.route("/register")
def user_register():
    print("用户注册...")
    return render_template("register.html")

@auth_bp.route("/login")
def user_login():
    print("用户登录...")
    return render_template("login.html")

"""
@auth_bp.before_app_request注解在其他方法之前先调用, 可以用它做统一的校验,类似与`前置方法`,
类似的注解, Flask框架提供的还有很多
"""
@auth_bp.before_app_request
def check():
    print("Before request 被调用了...")
main.py 应用实例文件
from flask import Flask, render_template
import auth

app = Flask(__name__)


@app.route("/")
@app.route("/index")
def index():
    print("网站首页...")
    return render_template("index.html")


if __name__ == '__main__':

    """在服务启动前将auth.py蓝图注册进来"""
    from auth import auth_bp
    app.register_blueprint(auth_bp)

    app.run(debug=True)
浏览器访问: http://localhost:5000, 响应结果如下:
index首页面
浏览器访问: http://localhost:5000/auth/login, 响应结果如下:
登录页面
浏览器访问: http://localhost:5000/auth/register, 响应结果如下:
注册页面
使用蓝图起到了不同的逻辑分文件编写的作用
十一、将项目打包成.whl文件
参考: https://dormousehole.readthedocs.io/en/2.1.2/tutorial/install.html
大致过程如下:
-
在开发完成的项目根目录中书写
setup.py文件和MANIFEST.in文件例如你可以按照下列的demo样例进行书写, 详细的书写规则请百度搜索:
setup.pyfrom setuptools import find_packages, setup setup( name='MyFlaskProject', version='1.0.0', packages=find_packages(), include_package_data=True, zip_safe=False, install_requires=[ 'flask', ], )MANIFEST.in:include MyFlaskProject/myData.sql graft MyFlaskProject/static graft MyFlaskProject/templates global-exclude *.pyc -
执行
python setup.py bdist_wheel命令进行打包项目, 打包完成后,会在根目录下生成文件/dist/MyFlaskProject-1.0.0-py3-none-any.whl, 该文件就是项目打包后的压缩文件 -
将该文件
MyFlaskProject-1.0.0-py3-none-any.whl发送到其他有python开发环境的电脑上, 直接进行pip install MyFlaskProject-1.0.0-py3-none-any.whl就可以安装使用了
十二、部署项目
在本地开发的时候可以使用内置的web服务器,但是到真正生产环境的时候不可以这么干,需要使用专业的服务器:如waitress
具体使用方式请百度
相关指令如:
pip install waitress

waitress-serve --call 'MyFlaskProject:create_app'
Serving on http://0.0.0.0:8080
十三、html代码转义问题
对于一段普通的 html渲染到html模板的时候, 默认会原样输出, 如下
import flask
from flask import Flask, render_template, flash, render_template_string, Markup

app = Flask(__name__)

@app.route("/")
@app.route("/index")
def index():
    """该段html代码会直接输出在html页面上"""
    data = "<a href='http://www.baidu.com'>点击查看详情</a>"
    return render_template("index.html", data=data)

if __name__ == '__main__':
    app.run(debug=True)
html页面如下:
<!DOCTYPE html>
<html lang="en">
<head>
    <meta charset="UTF-8">
    <title>Title</title>
</head>
<body>

<h1>index首页面</h1>

{{data}}

</body>
</html>
浏览器输出如下:
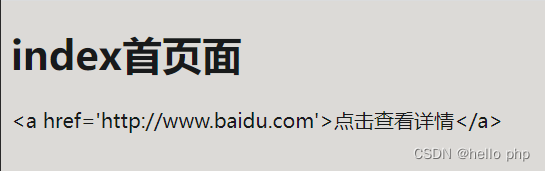
要想在html页面解析这段html,方法有三种:
① python代码中使用Markup()
import flask
from flask import Flask, render_template, flash, render_template_string, Markup

app = Flask(__name__)

@app.route("/")
@app.route("/index")
def index():
    """该段html代码会直接输出在html页面上"""
    data = "<a href='http://www.baidu.com'>点击查看详情</a>"
    return render_template("index.html", data=Markup(data))

if __name__ == '__main__':
    app.run(debug=True)
页面如下:

② html页面中是有|safe过滤器
<!DOCTYPE html>
<html lang="en">
<head>
    <meta charset="UTF-8">
    <title>Title</title>
</head>
<body>

<h1>index首页面</h1>

{{data|safe}}

</body>
</html>
页面如下:
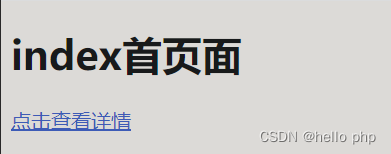
③ html中关闭转义设置
<!DOCTYPE html>
<html lang="en">
<head>
    <meta charset="UTF-8">
    <title>Title</title>
</head>
<body>

<h1>index首页面</h1>

{% autoescape false %}

{{data}}

{% endautoescape %}

</body>
</html>
页面如下:

十四、自定义过滤器
方式一:
使用@app.template_filter(“xxx”)注解来定义
import flask
from flask import Flask, render_template, flash, render_template_string, Markup

app = Flask(__name__)

@app.route("/")
@app.route("/index")
def index():
    data = "<a href='http://www.baidu.com'>点击查看详情</a>"
    return render_template("index.html", data=data, target_str="javaAndPhp")


"""
使用@app.template_filter注解来进行自定义过滤器
"""
@app.template_filter("my_reverse_filter")
def reverse_filter(s):
    return s[::-1]

if __name__ == '__main__':
    app.run(debug=True)
在html中使用该过滤器
<!DOCTYPE html>
<html lang="en">
<head>
<meta charset="UTF-8">
<title>Title</title>
</head>
<body>
<h1>index首页面</h1>
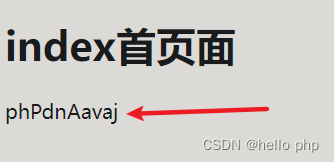
{{target_str|my_reverse_filter}}
</body>
</html>
页面显示:
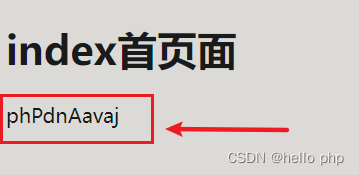
方式二:
在app启动前进使用
app.jinja_env.filters['xxx1'] = xxx2进行注册
import flask
from flask import Flask, render_template, flash, render_template_string, Markup

app = Flask(__name__)
app.secret_key = "ABC"


@app.route("/")
@app.route("/index")
def index():
    data = "<a href='http://www.baidu.com'>点击查看详情</a>"
    return render_template("index.html", data=data, target_str="javaAndPhp")


def test_filter(s):
    return s[::-1]


if __name__ == '__main__':
	# 注册自定义的过滤器
    app.jinja_env.filters['my_reverse_filter'] = test_filter
    app.run(debug=True)
在html中使用该过滤器
<!DOCTYPE html>
<html lang="en">
<head>
    <meta charset="UTF-8">
    <title>Title</title>
</head>
<body>

<h1>index首页面</h1>

{{target_str|my_reverse_filter}}

</body>
</html>
界面显示如下:
十五、环境处理器
环境处理器有点像过滤器
用法一: 向模板页面传递变量
使用
@app.context_processor注解传递变量; 当访问一个url时, 被该注解标注的方法会自动执行,并将变量传递到html模板页面
from flask import Flask, render_template, flash, render_template_string, Markup
app = Flask(__name__)
@app.route("/")
@app.route("/index")
def index():
data = "<a href='http://www.baidu.com'>点击查看详情</a>"
return render_template("index.html")
"""
使用 @app.context_processor 向模板传递变量
"""
@app.context_processor
def my_env_param():
print("被调用了...")
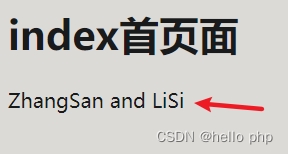
return dict(user="ZhangSan and LiSi")
if __name__ == '__main__':
app.run(debug=True)
html页面如下:
<!DOCTYPE html>
<html lang="en">
<head>
    <meta charset="UTF-8">
    <title>Title</title>
</head>
<body>

<h1>index首页面</h1>

{{user}}

</body>
</html>
响应如下:
用法二: 向html模板页面传递Python函数或者自定义函数
这个用法非常广泛, 可以传递自定义函数来作为过滤器使用
也可以传递python内置函数(因为在模板html页面中直接使用python内置函数会有受限, 很多内置函数没法直接使用)
from flask import Flask, render_template, flash, render_template_string, Markup
from datetime import date

app = Flask(__name__)

@app.route("/")
@app.route("/index")
def index():
    data = "<a href='http://www.baidu.com'>点击查看详情</a>"
    return render_template("index.html")

"""
使用 @app.context_processor 向模板传递python内置函数 datetime.date.today(); 该函数在html模板中不能直接使用,通过
这种方式就可以传递到html模板中进行使用了
"""
@app.context_processor
def my_env_param():
    return dict(my_date=datetime.date.today())


if __name__ == '__main__':
    app.run(debug=True)
html页面内容如下:
<!DOCTYPE html>
<html lang="en">
<head>
<meta charset="UTF-8">
<title>Title</title>
</head>
<body>
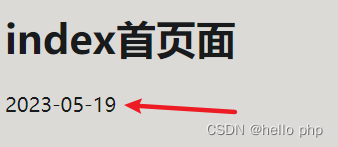
<h1>index首页面</h1>
{{my_date}}
</body>
</html>
响应结果如下: