发起请求的方式有Axios、XMLHttpRequest、Fetch
Axios
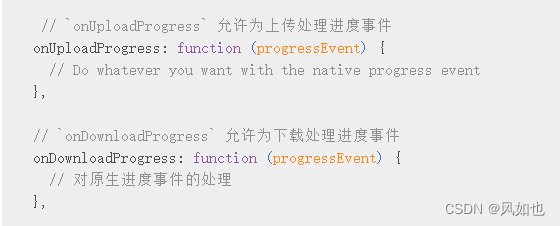
Axios下载进度演示-onDownloadProgress
<!DOCTYPE html>
<html lang="en">
<head>
  <meta charset="UTF-8">
  <meta http-equiv="X-UA-Compatible" content="IE=edge">
  <meta name="viewport" content="width=device-width, initial-scale=1.0">
  <title>Document</title>
  <script src="https://unpkg.com/axios@1.4.0/dist/axios.min.js"></script>
</head>
<body>
  <button id="btn">下载</button>
  <script>
    document.querySelector('#btn').addEventListener('click', () => {
      axios({
        method: 'get',
        url: 'https://picture-bed.pek3b.qingstor.com/picture-bed-2023-05-04/202305160908424.png',
        responseType: 'blob',
        onDownloadProgress: (e) => {
          console.log(e)
        }
      }).then(res => {
        console.log(res)
      })
    })
  </script>
</body>
</html>
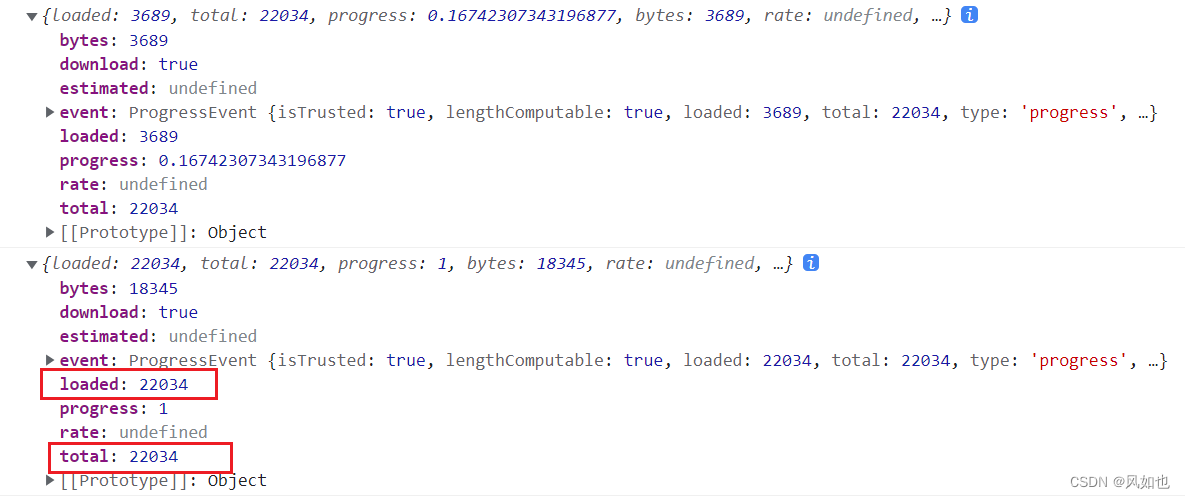
在onDownloadProgress中,total和loaded分别表示文件的大小和已下载文件的大小,那么下载的进度值就可以为parseFloat((e.loaded / e.total * 100).toFixed(2))
Axios上传进度展示-onUploadProgress
document.querySelector('#btn').addEventListener('click', () => {
      axios({
        method: 'post',
        url: '/api/upload',
        onUploadProgress: (e) => {
          console.log(e)
        }
      }).then(res => {
        console.log(res)
      })
    })

在onUploadProgress中,total和loaded分别表示文件的大小和已上传文件的大小,那么上传的进度值就可以为parseFloat((e.loaded / e.total * 100).toFixed(2))
注意:progressEvent下
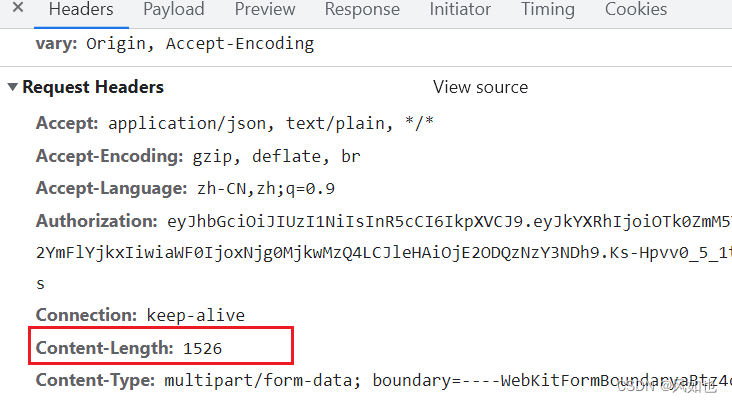
total的值如果为0,查看下载接口中响应头的ContentLength字段是否有返回。该值需要后端人员在接口的响应头中添加
直接使用定时器展示进度条
startTimer() {
   this.intervalId = setInterval(() => {
     // 每 1s 执行一次函数
     if (this.modal.percent < 90) {
       // 如果 percentage 值小于 100,则自增 1
       this.modal.percent = parseFloat((this.modal.percent + 1.8).toFixed(1));
     } else {
       // 如果 percentage 值达到 100,则停止计时器
       clearInterval(this.intervalId);
     }
   }, 100);
 },
// 1.8是如何计算出来的,预估接口请求大概需要5s,5/0.1 = 50, 90/50 = 1.8
// 等接口数据返回成功后让进度值为100,并清除定时器
this.modal.percent = 100;
clearInterval(this.intervalId);
XMLHttpRequest进度处理-opprogress
    function ajax (url, method, progressCallback, body, headers) {
      return new Promise((resolve, reject) => {
        let request = new XMLHttpRequest()
        request.open(method, url) // 初始化一个请求
        for (let key in headers) {
          request.setRequestHeader(key, headers[key]) // 设置HTTP请求头部的方法,该方法必须在 open()之后,send() 之前调用
        }
        // 进度事件处理
        request.onprogress = (e) => {
          progressCallback(e)
        }
        request.onreadystatechange = () => {
          // debugger
          if (request.readyState === 4) {
            if (request.status === 200 || request.status === 304) {
              resolve(request.responseText) // request.responseText 是一个字符串,需要 JSON.parse() 转换
            } else {
              reject(request)
            }
          }
        }

        request.send(body) // 发送http请求
      })
    }

    document.querySelector('#btn').addEventListener('click', () => {
      ajax(
        'https://picture-bed.pek3b.qingstor.com/picture-bed-2023-05-04/202305160908424.png',
        'get',
        (e) => {
          console.log(e)
        }
        ).then(res => {
      })
    })

fetch 方法允许去跟踪 下载 进度,fetch 方法无法跟踪 上传 进度。
fetch下载进度处理
document.querySelector('#btn').addEventListener('click', async () => {
      // Step 1:启动 fetch,并获得一个 reader
      let response = await fetch('https://picture-bed.pek3b.qingstor.com/picture-bed-2023-05-04/202305160908424.png');

      const reader = response.body.getReader();

      // Step 2:获得总长度(length)
      const contentLength = +response.headers.get('Content-Length');

      // Step 3:读取数据
      let receivedLength = 0; // 当前接收到了这么多字节
      let chunks = []; // 接收到的二进制块的数组(包括 body)
      while(true) {
        const {done, value} = await reader.read();

        if (done) {
          break;
        }

        chunks.push(value);
        receivedLength += value.length;

        console.log(`Received ${receivedLength} of ${contentLength}`)
      }

      // Step 4:将块连接到单个 Uint8Array
      let chunksAll = new Uint8Array(receivedLength); // (4.1)
      let position = 0;
      for(let chunk of chunks) {
        chunksAll.set(chunk, position); // (4.2)
        position += chunk.length;
      }

      // Step 5:解码成字符串
      let result = new TextDecoder("utf-8").decode(chunksAll);

      // 我们完成啦!
      console.log(result)
    })

