参考文献
点击这里访问
感谢大佬!
说明
我这个只编译了release版本,如果还需要debug版本,cmake编译和vs编译都需要另外设置一些东西,我没有弄。
文章目录
- 参考文献
- 说明
- 1. 需要使用的库
- 2. 需要的工具
- 3. 准备工作
- 3.1 建一个文件夹用来放所有解压后的源代码
- 3.2 建一个文件夹用来放所有的 b u i l d build build文件
- 3.3 建一个文件夹用来放所有的 i n s t a l l install install文件
- 4. 打开 c m a k e cmake cmake开始编译。
- 5. 动态库整理
- 6. 测试
- 7. 结论
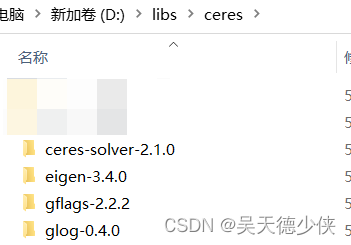
1. 需要使用的库
- ceres-solver-2.1.0
- eigen-3.4.0
- gflags-2.2.2
- glog-0.4.0
大家需要自行到对应的github上去下载。
2. 需要的工具
- visual studio 2022 community
- cmake 3.26.3
大家需要自行下载安装。
3. 准备工作
3.1 建一个文件夹用来放所有解压后的源代码
比如这样:
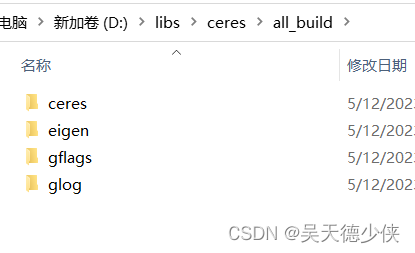
3.2 建一个文件夹用来放所有的 b u i l d build build文件
比如all_build,里面建4个文件夹用来放4个库的build文件
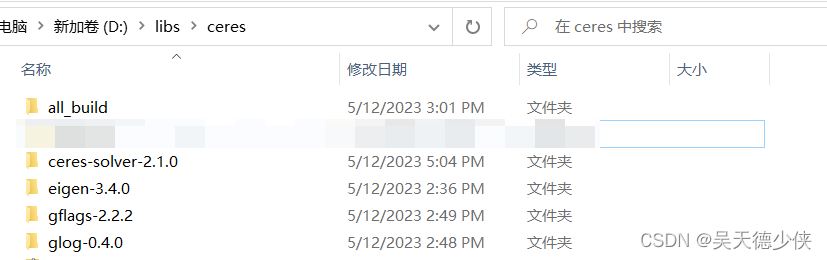
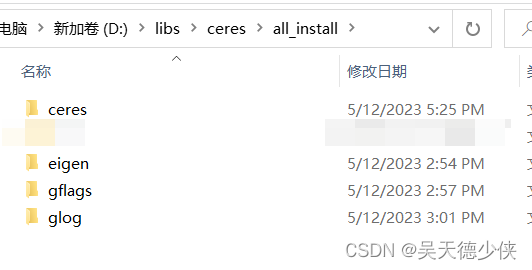
3.3 建一个文件夹用来放所有的 i n s t a l l install install文件
跟建all_build类似,建一个all_install:

4. 打开 c m a k e cmake cmake开始编译。
4.1 e i g e n eigen eigen
4.1.1 c m a k e cmake cmake编译

点击config
→
\rightarrow
→选择对应的平台
→
\rightarrow
→finish。会一片红色。
- 将
CMAKE_INSTALL_PREFIX改为之前建的all_install文件夹对应的eigen子文件夹

config,这个时候应该没有报错了,
→
\rightarrow
→generate
→
\rightarrow
→open project,打开vs工程。
4.1.2 v s vs vs编译
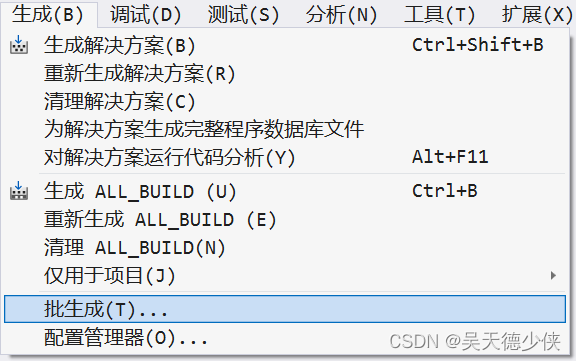
点击 生成 → \rightarrow →批生成


勾选 ALL_BUILD的release版本和INSTALL的release版本,点击 生成,没有报错,说明就对了。
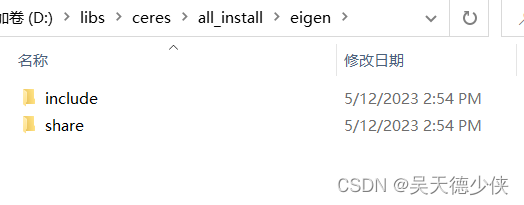
结果:会在eigen的install文件夹下生成一些文件:
4.2 g f l a g s gflags gflags
4.2.1 c m a k e cmake cmake编译

点击config
→
\rightarrow
→选择对应的平台
→
\rightarrow
→finish。会一片红色。
- 勾选
BUILD_SHARED_LIBS - 将
CMAKE_INSTALL_PREFIX改为gflags对应的install文件夹。

config,这个时候应该没有报错了, → \rightarrow →generate→ \rightarrow →open project,打开vs工程。
4.2.2 v s vs vs编译
步骤同
4.1.2
4.1.2
4.1.2一样。
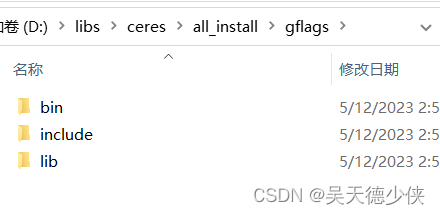
没有报错的话,结果会在gflags对应的install文件夹下生成一些文件:
4.3 g l o g glog glog
4.3.1 c m a k e cmake cmake编译

点击config
→
\rightarrow
→选择对应的平台
→
\rightarrow
→finish。会一片红色。
- 勾选
BUILD_SHARED_LIBS - 将
CMAKE_INSTALL_PREFIX改为glog对应的install路径 - 设置
gflags_DIR为gflags对应的build路径

config,这个时候应该没有报错了, → \rightarrow →generate→ \rightarrow →open project,打开vs工程。
4.3.2 v s vs vs编译
步骤同
4.1.2
4.1.2
4.1.2一样。
没有报错的话,结果会在glog对应的install文件夹下生成一些文件:

4.4 c e r e s ceres ceres
4.4.1 c m a k e cmake cmake编译

点击config
→
\rightarrow
→选择对应的平台
→
\rightarrow
→finish。会一片红色。
- 勾选
BUILD_SHARED_LIBS - 将
CMAKE_INSTALL_PREFIX改为ceres对应的install路径 - 将
Eigen3_DIR设置为eigen的build路径 - 将
gflags_DIR设置为gflags的build路径 - 将
CMAKE_BUILD_TYPE设置为Release
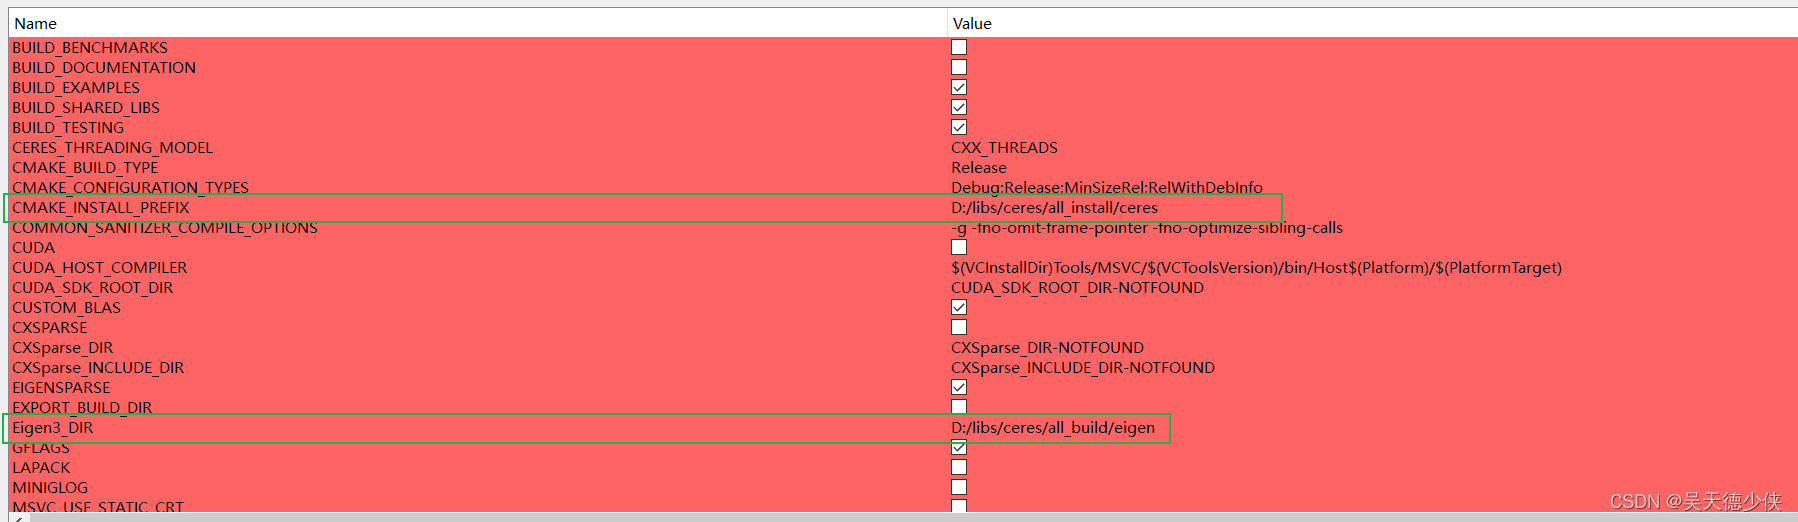


点击config,这个时候应该没有报错了, → \rightarrow →generate→ \rightarrow →open project,打开vs工程。
4.4.2 v s vs vs编译
步骤同
4.1.2
4.1.2
4.1.2一样。
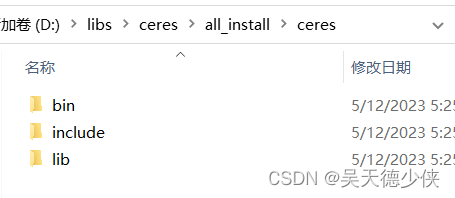
没有报错的话,结果会在ceres对应的install文件夹下生成一些文件:
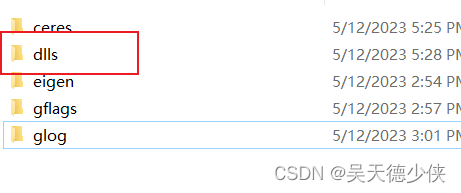
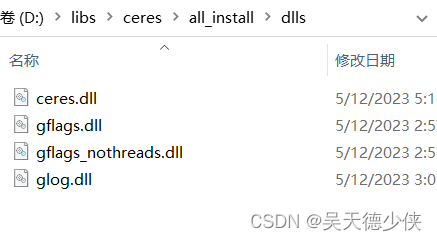
5. 动态库整理
在all_install文件夹下新建一个dlls文件夹,然后将all_install文件夹下ceres/bin,gflags/bin,以及glog/bin里面的.dll文件全部复制到dlls文件夹中
6. 测试
6.1 代码
让我们写一段代码来进行测试吧。新建一个项目,复制粘贴下面的代码。
这是求解
x
x
x 的值使得
1
2
(
10
−
x
)
2
\frac{1}{2}(10−x)^2
21(10−x)2 最小
#include<iostream>
#include<ceres/ceres.h>
using namespace std;

//第一部分:构建代价函数
struct CostFunctor {
    //模板函数,泛化函数类型
    template <typename T>
    //重载符号(),仿函数;传入待优化变量列表和承接残差的变量列表
    bool operator()(const T* const x, T* residual) const
    {
        //残差计算步骤
        residual[0] = T(0.5) * (T(10.0) - x[0]) * (T(10.0) - x[0]);//1/2(10−x)^2
        return true;
    }
};

//主函数
int main(int argc, char** argv)
{
    // 寻优参数x的初始值,为5
    double initial_x = 5.0;
    double x = initial_x;

    // 第二部分:构建寻优问题
    //实例化Problem
    ceres::Problem problem;
    //代价函数赋值
    //使用自动求导,将之前的代价函数结构体传入,第一个1是输出维度,即残差的维度,第二个1是输入维度,即待寻优参数x的维度。
//    ceres::CostFunction* cost_function = new AutoDiffCostFunction<CostFunctor, 1, 1>(new CostFunctor);
    //添加误差项,1、上一步实例化后的代价函数2、核函数3、待优化变量
    problem.AddResidualBlock(new ceres::AutoDiffCostFunction<CostFunctor, 1, 1>(new CostFunctor), nullptr, &x);

    //第三部分: 配置并运行求解器
    ceres::Solver::Options options;
    //配置增量方程的解法,此处为QR求解
    options.linear_solver_type = ceres::DENSE_QR;
    //是否输出到cout
    options.minimizer_progress_to_stdout = true;
    //优化信息
    ceres::Solver::Summary summary;
    //求解:1、求解器2、实例化problem 3、优化器
    Solve(options, &problem, &summary);
    //输出优化的简要信息,迭代次数和每次的cost
    std::cout << summary.BriefReport() << "\n";
    //最终结果
    std::cout << "初始值x : " << initial_x << " 迭代到-> " << x << "\n";
    return 0;
}
显然会报很多错,因为还没有设置环境。
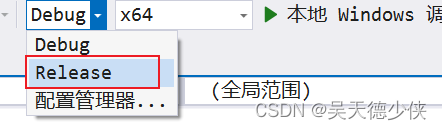
6.2 将模式改为 r e l e a s e release release
因为编译的是release模式
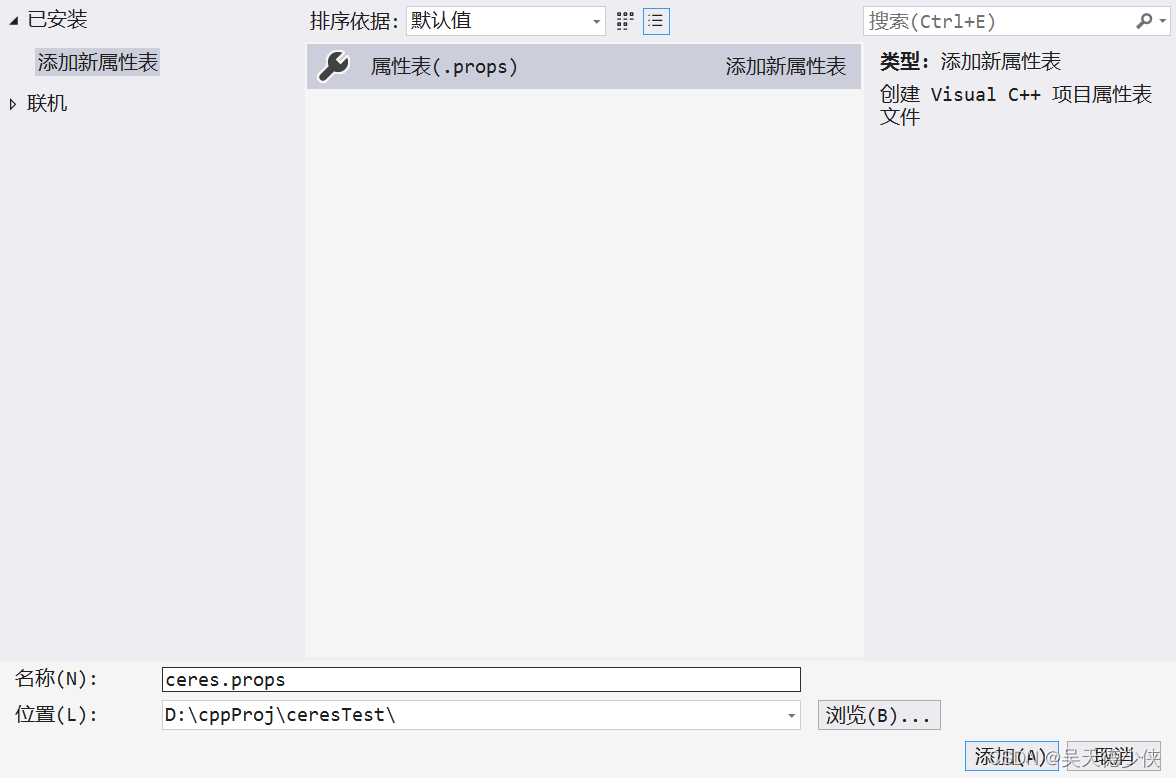
6.3 添加属性表,以后都可以用
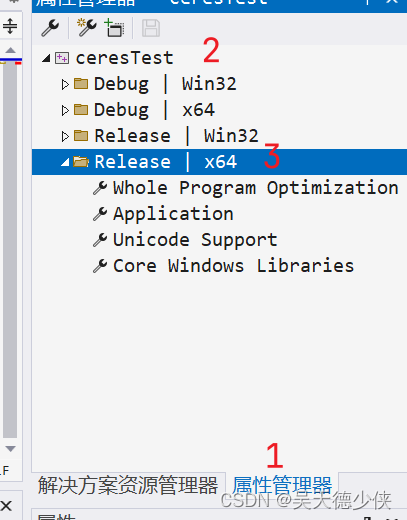
属性管理器
→
\rightarrow
→release
→
\rightarrow
→右键,添加新项目属性表,改名为ceres.props,点击添加,双击这个属性表,打开进行设置。
6.4 设置属性表
6.4.1 c / c + + → c/c++\rightarrow c/c++→常规 → \rightarrow →附加包含目录
将all_install文件夹下的ceres/include、gflags/include、glog/include全部添加进去。对应eigen,添加它的源代码目录。也就是一开始放4个源码的那里,找到eigen。
最后点击应用。

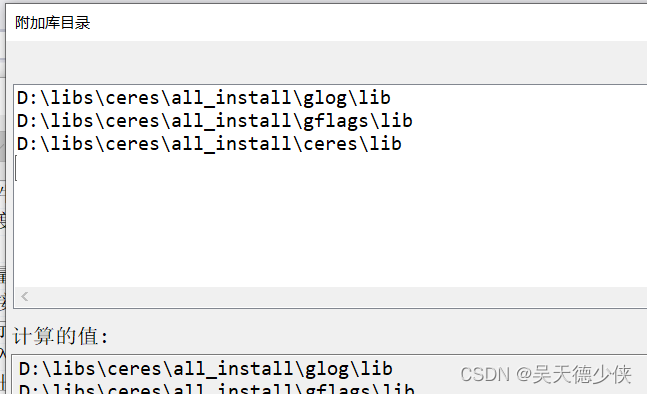
6.4.2 链接器 → \rightarrow →常规 → \rightarrow →附加库目录
将all_install文件夹下的ceres/lib、gflags/lib、glog/lib全部添加进去。
6.4.3 链接器 → \rightarrow →输入 → \rightarrow →附加依赖项
将all_install文件夹下的ceres/lib、gflags/lib、glog/lib下的.lib文件全部添加进去。

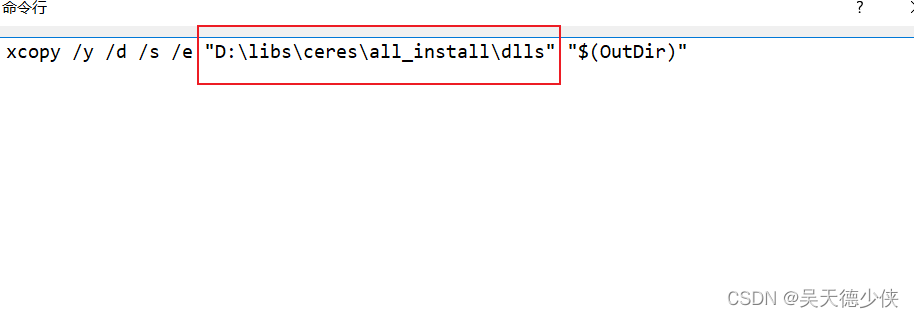
6.4.4 生成事件 → \rightarrow →生成后事件 → \rightarrow →命令行
复制以下命令行xcopy /y /d /s /e "D:\libs\ceres\all_install\dlls" "$(OutDir)",但是将路径替换为你自己的dlls的路径。就是动态库整理那一步中创建的路径。
确定,保存属性表。
6.5 编译与运行
- 可能会遇到一些
visual studio的安全性错误,这个在网上搜一下就可以解决。只要不是报库的错误就行。 - 结果:
我们预期是10,结果显然是对的。

7. 结论
大功告成!