文章目录
- Spring Clud Bus
- 什么是总线
- 基本原理
- 牛刀小试
Spring Clud Bus
在Spring Cloud学习–配置中心(Config)中实现了集中管理微服务配置、不同环境不同配置、运行期间也可动态调整、配置修改后可以自动更新的需求,但同时也有一个弊端,假如有多个微服务客户端,每个微服务都要执行一次post请求,很不科学,能不能做到手动刷新?且刷新一次,就能解决所有客户端同步问题?
使用Spring Cloud Bus 配合 Spring Cloud Config 使用可以实现配置的动态刷新。
什么是总线
在微服务架构的系统中,通常会使用轻量级的消息代理来构建一个共用的消息主题,并让系统中所有微服务实例都连接上来。由于该主题中产生的消息会被所有实例监听和消费,所以称它为消息总线。在总线上的各个实例,都可以方便地广播一些需要让其他连接在该主题上的实例都知道的消息。
Spring Cloud Bus是用来将分布式系统的节点与轻量级消息系统链接起来的框架,它整合了Java的事件处理机制和消息中间件的功能。
Spring Clud Bus目前支持RabbitMQ和Kafka。
如图所示,利用消息总线触发一个服务端ConfigServer的/bus/refresh端点,而刷新所有客户端的配置。

基本原理
ConfigClient实例都监听MQ中同一个topic(默认是springCloudBus)。当一个服务刷新数据的时候,它会把这个信息放入到Topic中,这样其它监听同一Topic的服务就能得到通知,然后去更新自身的配置。
牛刀小试
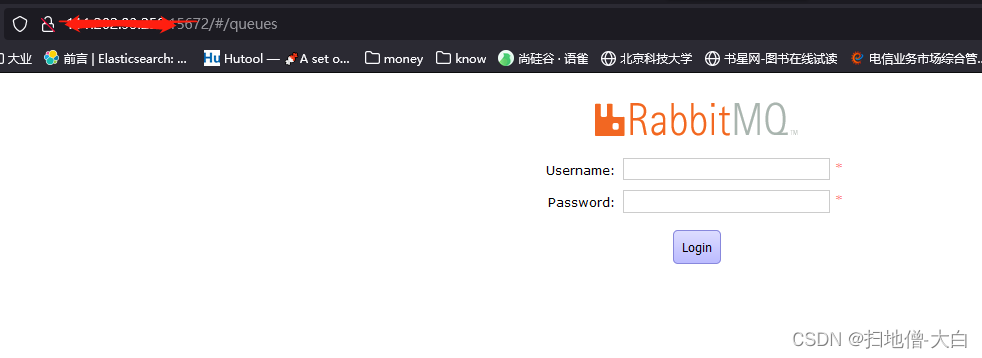
以RabbitMQ为例,要先安装好RabbitMQ。
 项目部署如图所示:

第一步,新建Config Server model,添加消息总线支持,pom文件添加依赖:
<!--添加消息总线RabbitMQ支持-->
        <dependency>
            <groupId>org.springframework.cloud</groupId>
            <artifactId>spring-cloud-starter-bus-amqp</artifactId>
        </dependency>
        <dependency>
            <groupId>org.springframework.boot</groupId>
            <artifactId>spring-boot-starter-actuator</artifactId>
        </dependency>
        <dependency>
            <groupId>org.springframework.cloud</groupId>
            <artifactId>spring-cloud-config-server</artifactId>
        </dependency>

        <!--eureka-client-->
        <dependency>
            <groupId>org.springframework.cloud</groupId>
            <artifactId>spring-cloud-starter-netflix-eureka-client</artifactId>
        </dependency>

        <!--一般基础配置类-->
        <dependency>
            <groupId>org.springframework.boot</groupId>
            <artifactId>spring-boot-devtools</artifactId>
            <scope>runtime</scope>
            <optional>true</optional>
        </dependency>
        <dependency>
            <groupId>org.projectlombok</groupId>
            <artifactId>lombok</artifactId>
            <optional>true</optional>
        </dependency>
        <dependency>
            <groupId>org.springframework.boot</groupId>
            <artifactId>spring-boot-starter-test</artifactId>
            <scope>test</scope>
        </dependency>
        <dependency>
            <groupId>org.springframework.boot</groupId>
            <artifactId>spring-boot-autoconfigure</artifactId>
            <version>2.2.0.RELEASE</version>
        </dependency>
增加配置文件application.yml
server:
  port: 3344

spring:
  application:
    name:  cloud-config-center #注册进Eureka服务器的微服务名
  cloud:
    config:
      server:
        git:
          uri: https://github.com/songxiansen521/spring-cloud-config-repo.git #GitHub上面的git仓库名字
          username: ***your name***
          password: ***your password***

#rabbitmq相关配置
  rabbitmq:
    host: host
    port: port
    username: ******
    password: ******

##rabbitmq相关配置,暴露bus刷新配置的端点
management:
  endpoints:
    web:
      exposure:
        include: 'bus-refresh'

#服务注册到eureka地址
eureka:
  client:
    service-url:
      defaultZone: http://localhost:7001/eureka
启动类 添加注解@EnableConfigServer
@SpringBootApplication
@EnableConfigServer
public class SpringConfigServerApplication {
    public static void main(String[] args) {
        SpringApplication.run(SpringConfigServerApplication.class, args);
    }
}
第二步,增加Config Client model,添加消息总线支持,pom文件添加依赖:
  <!--添加消息总线RabbitMQ支持-->
        <dependency>
            <groupId>org.springframework.cloud</groupId>
            <artifactId>spring-cloud-starter-bus-amqp</artifactId>
        </dependency>

        <dependency>
            <groupId>org.springframework.cloud</groupId>
            <artifactId>spring-cloud-starter-config</artifactId>
        </dependency>
        <dependency>
            <groupId>org.springframework.cloud</groupId>
            <artifactId>spring-cloud-starter-netflix-eureka-client</artifactId>
        </dependency>
        <dependency>
            <groupId>org.springframework.boot</groupId>
            <artifactId>spring-boot-starter-web</artifactId>
        </dependency>
        <dependency>
            <groupId>org.springframework.boot</groupId>
            <artifactId>spring-boot-starter-actuator</artifactId>
        </dependency>

        <dependency>
            <groupId>org.springframework.boot</groupId>
            <artifactId>spring-boot-devtools</artifactId>
            <scope>runtime</scope>
            <optional>true</optional>
        </dependency>
        <dependency>
            <groupId>org.projectlombok</groupId>
            <artifactId>lombok</artifactId>
            <optional>true</optional>
        </dependency>
        <dependency>
            <groupId>org.springframework.boot</groupId>
            <artifactId>spring-boot-starter-test</artifactId>
            <scope>test</scope>
        </dependency>
添加bootstrap.yml
server:
  port: 3355

spring:
  application:
    name: config-client
  cloud:
    #Config客户端配置
    config:
      label: master #分支名称
      name: microservice-foo #配置文件名称
      profile: test #读取后缀名称
      uri: http://localhost:3344 #配置中心地址
#rabbitmq相关配置
  rabbitmq:
    host: IP
    port: port
    username: ******
    password: ******
#服务注册到eureka地址
eureka:
  client:
    service-url:
      defaultZone: http://localhost:7001/eureka
# 暴露监控端点
management:
  endpoints:
    web:
      exposure:
        include: "*"   # 'refresh'
添加业务类,获取配置信息
@RestController
public class ConfigClientController
{
    @Value("${profile}")
    private String configInfo;

    @GetMapping("/configProfile")
    public String getConfigProfile()
    {
        return configInfo;
    }
}
第三步,copy 第二步,实现3366项目。
测试,访问localhost:3355/configProfie,能够获取到配置信息:
Github上,修改配置信息内容并提交保存,
发起post请求localhost:3344/actuator/bus-refresh,刷新配置,再次访问localhost:3355/configProfie
同理测试3366,得到同样的结果。
实现了一次修改,处处生效的需求。


