1、安装lrzsz
$ brew install lrzsz
2、创建并设置iterm2-send-zmodem.sh
sudo vim /usr/local/bin/iterm2-send-zmodem.sh
# /usr/local/bin/iterm2-send-zmodem.sh

#!/bin/bash
# Author: Matt Mastracci (matthew@mastracci.com)
# AppleScript from http://stackoverflow.com/questions/4309087/cancel-button-on-osascript-in-a-bash-script
# licensed under cc-wiki with attribution required
# Remainder of script public domain

osascript -e 'tell application "iTerm2" to version' > /dev/null 2>&1 && NAME=iTerm2 || NAME=iTerm
if [[ $NAME = "iTerm" ]]; then
    FILE=`osascript -e 'tell application "iTerm" to activate' -e 'tell application "iTerm" to set thefile to choose file with prompt "Choose a file to send"' -e "do shell script (\"echo \"&(quoted form of POSIX path of thefile as Unicode text)&\"\")"`
else
    FILE=`osascript -e 'tell application "iTerm2" to activate' -e 'tell application "iTerm2" to set thefile to choose file with prompt "Choose a file to send"' -e "do shell script (\"echo \"&(quoted form of POSIX path of thefile as Unicode text)&\"\")"`
fi
if [[ $FILE = "" ]]; then
    echo Cancelled.
    # Send ZModem cancel
    echo -e \\x18\\x18\\x18\\x18\\x18
    sleep 1
    echo
    echo \# Cancelled transfer
else
    # 这里是根据sz的安装位置来设定的(我的brew install lrzsz安装后就在这里)
    /opt/homebrew/Cellar/lrzsz/0.12.20_1/bin/sz "$FILE" -e -b
    sleep 1
    echo
    echo \# Received $FILE
fi
3、创建并设置iterm2-recv-zmodem.sh
sudo vim /usr/local/bin/iterm2-recv-zmodem.sh
# /usr/local/bin/iterm2-recv-zmodem.sh

#!/bin/bash
# Author: Matt Mastracci (matthew@mastracci.com)
# AppleScript from http://stackoverflow.com/questions/4309087/cancel-button-on-osascript-in-a-bash-script
# licensed under cc-wiki with attribution required
# Remainder of script public domain
#!/bin/bash
# Author: Matt Mastracci (matthew@mastracci.com)
# AppleScript from http://stackoverflow.com/questions/4309087/cancel-button-on-osascript-in-a-bash-script
# licensed under cc-wiki with attribution required
# Remainder of script public domain

osascript -e 'tell application "iTerm2" to version' > /dev/null 2>&1 && NAME=iTerm2 || NAME=iTerm
if [[ $NAME = "iTerm" ]]; then
else
    FILE=`osascript -e 'tell application "iTerm2" to activate' -e 'tell application "iTerm2" to set thefile to choose folder with prompt "Choose a folder to place received files in"' -e "do shell script (\"echo \"&(quoted form of POSIX path of thefile as Unicode text)&\"\")"`
fi

if [[ $FILE = "" ]]; then
    echo Cancelled.
    # Send ZModem cancel
    echo -e \\x18\\x18\\x18\\x18\\x18
    sleep 1
    echo
    echo \# Cancelled transfer
else
    cd "$FILE"
    # 根据sz的安装位置来设定
    /opt/homebrew/Cellar/lrzsz/0.12.20_1/bin/rz -E -e -b
    sleep 1
    echo
    echo
    echo \# Sent \-\> $FILE
fi
4、设置文件可执行全县权限
sudo chmod 777 /usr/local/bin/iterm2-*
5、设置iterm2 ssh快捷登录(使用sh执行expect登录服务器)
sudo vim /Users/yinsls/my/ssh/login.sh
# /Users/yinsls/my/ssh/login.sh

#!/bin/sh
export LC_CTYPE=en_US
# expect脚本所在位置
filepath=/Users/Yinsls/My/ssh/myCentos.ssh
if [ -f $filepath ]; then
  expect $filepath
else
  echo "$filepath not exits"
fi
6、创建并设置ssh文件
sudo vim /Users/yinsls/my/ssh/myCentos.ssh
# /Users/yinsls/my/ssh/myCentos.ssh

#!/usr/bin/expect -f

# 设置登录服务器ip
set host 175.xx.xxx.x

# 设置登录账号
set user root

# 设置登录的密码
set password 123456

spawn ssh $user@$host
expect "*assword:*"
send "$password\r"
interact
expect eof
7、打开iterm2配置
=> Iterm2(打开iterm2时 点击导航栏中的Iterm2)
=> Preference
=> Profiles
=> Default
=> Advanced
=> Trigger
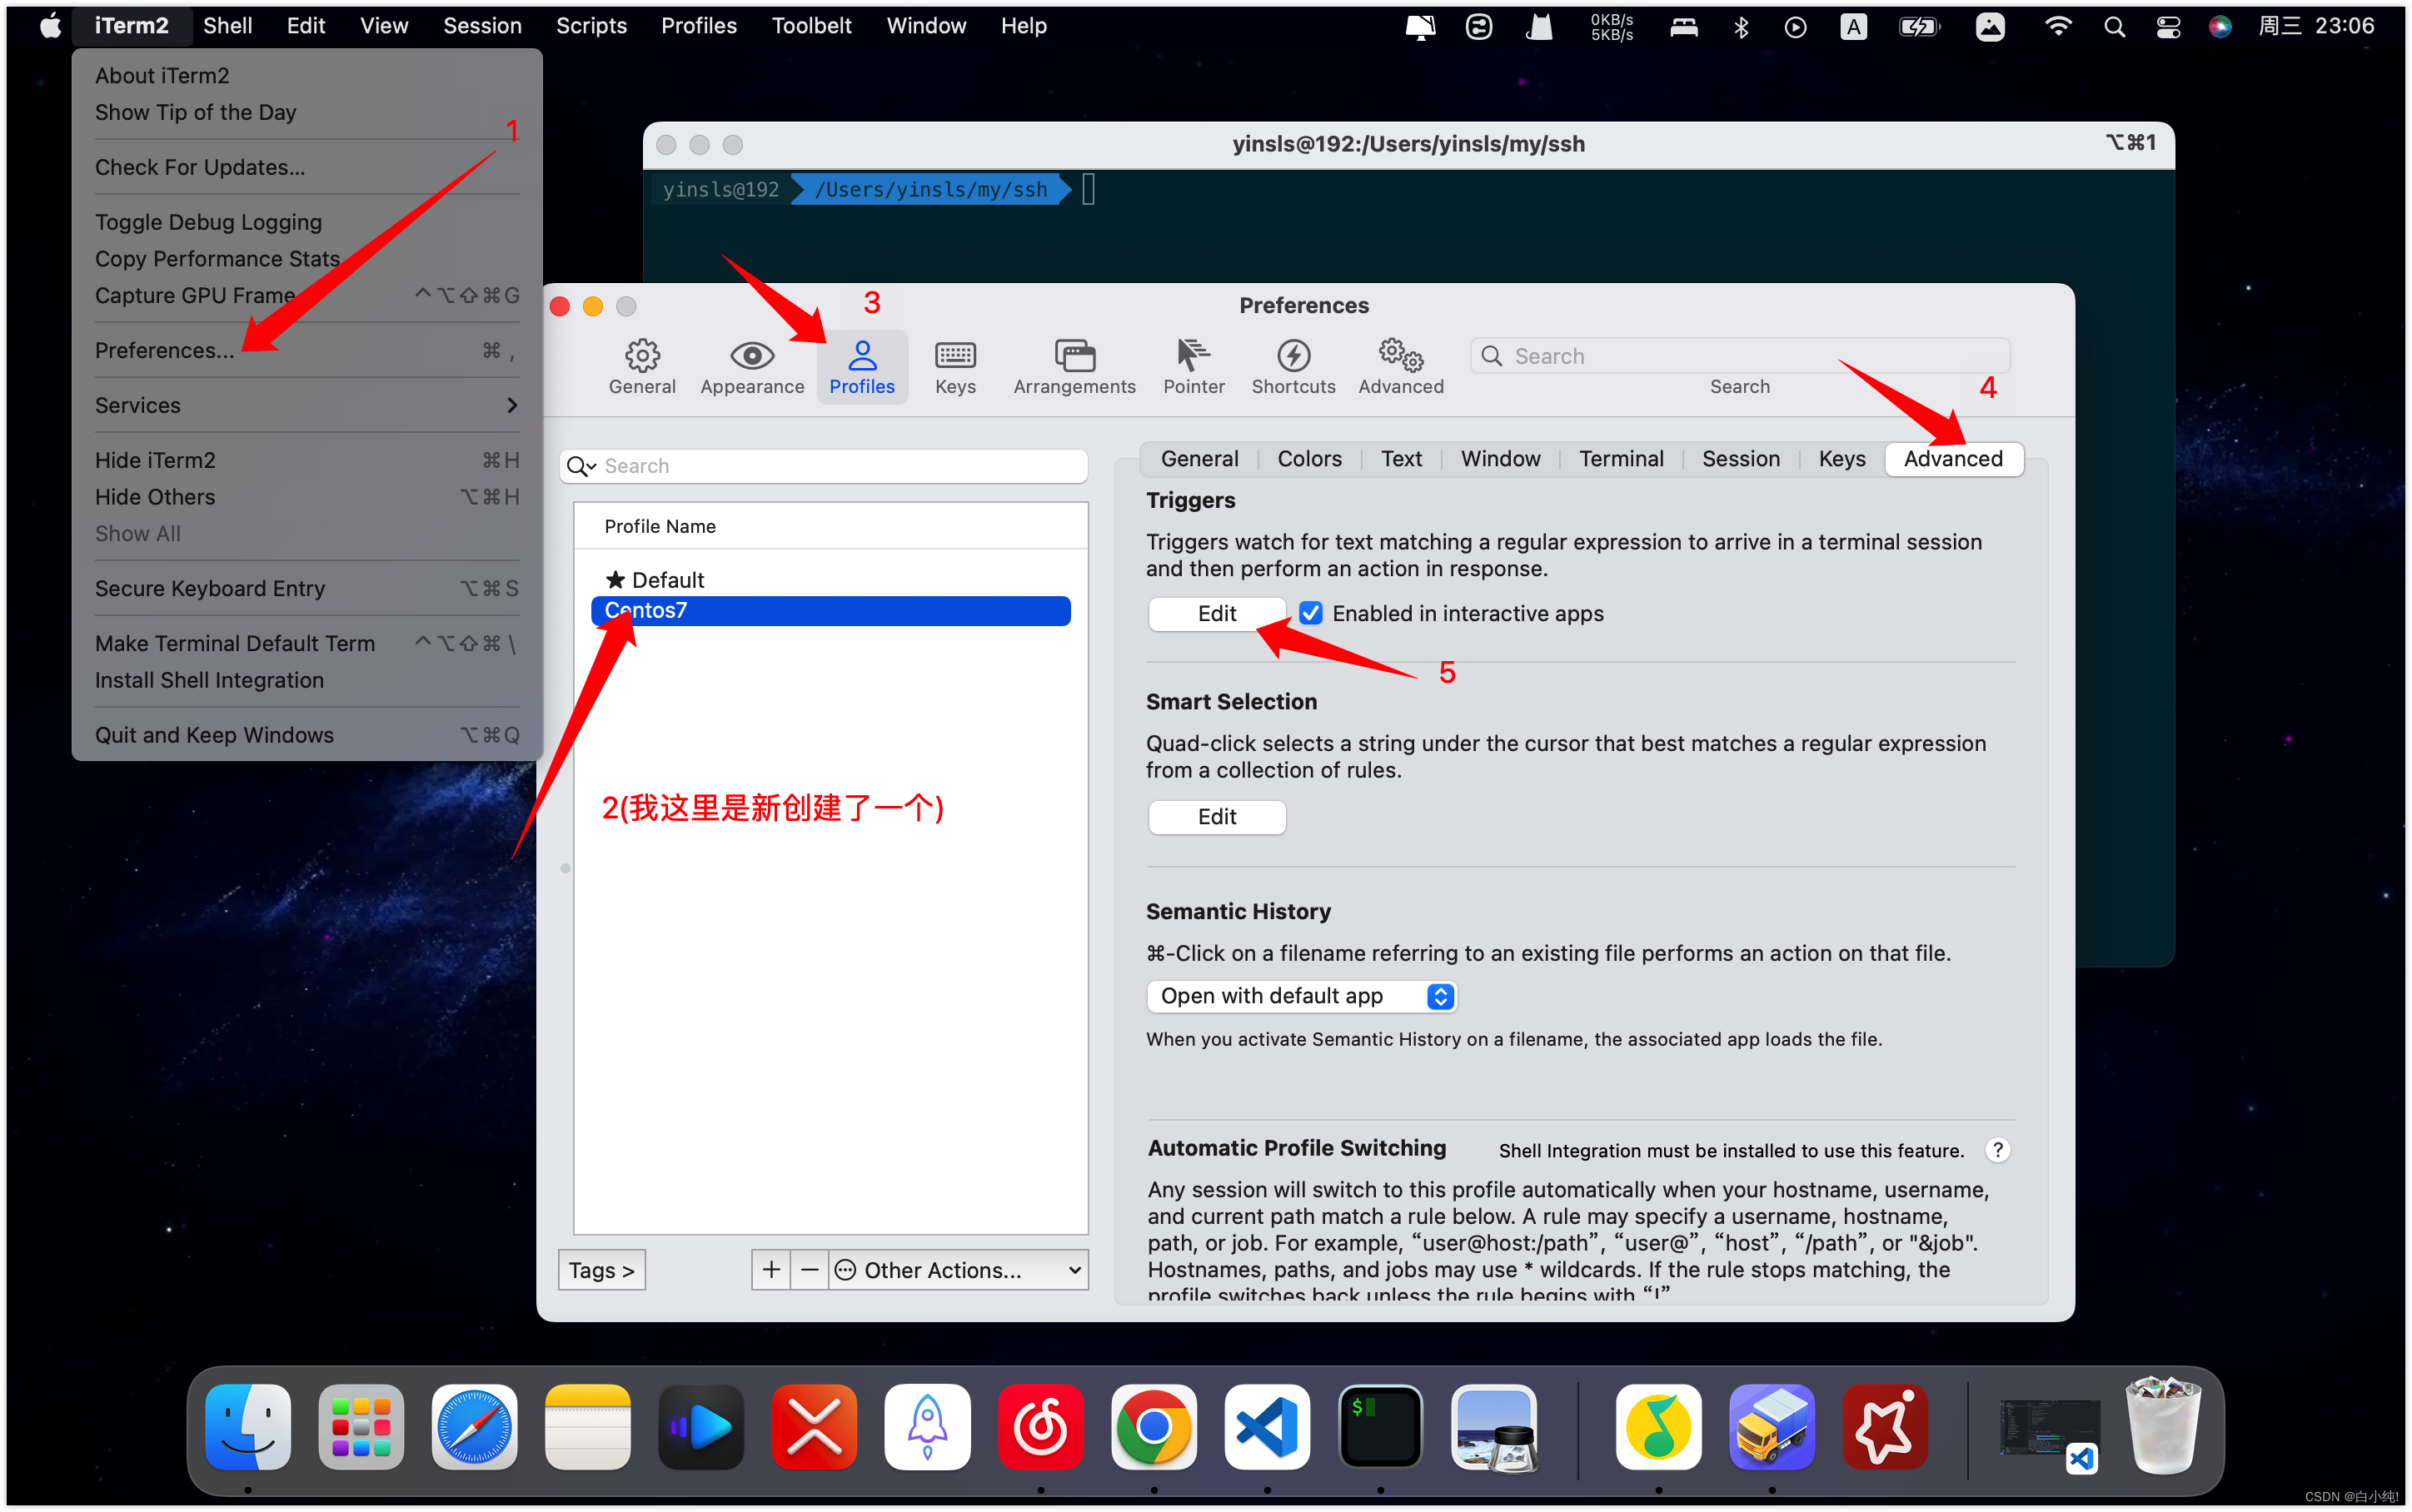
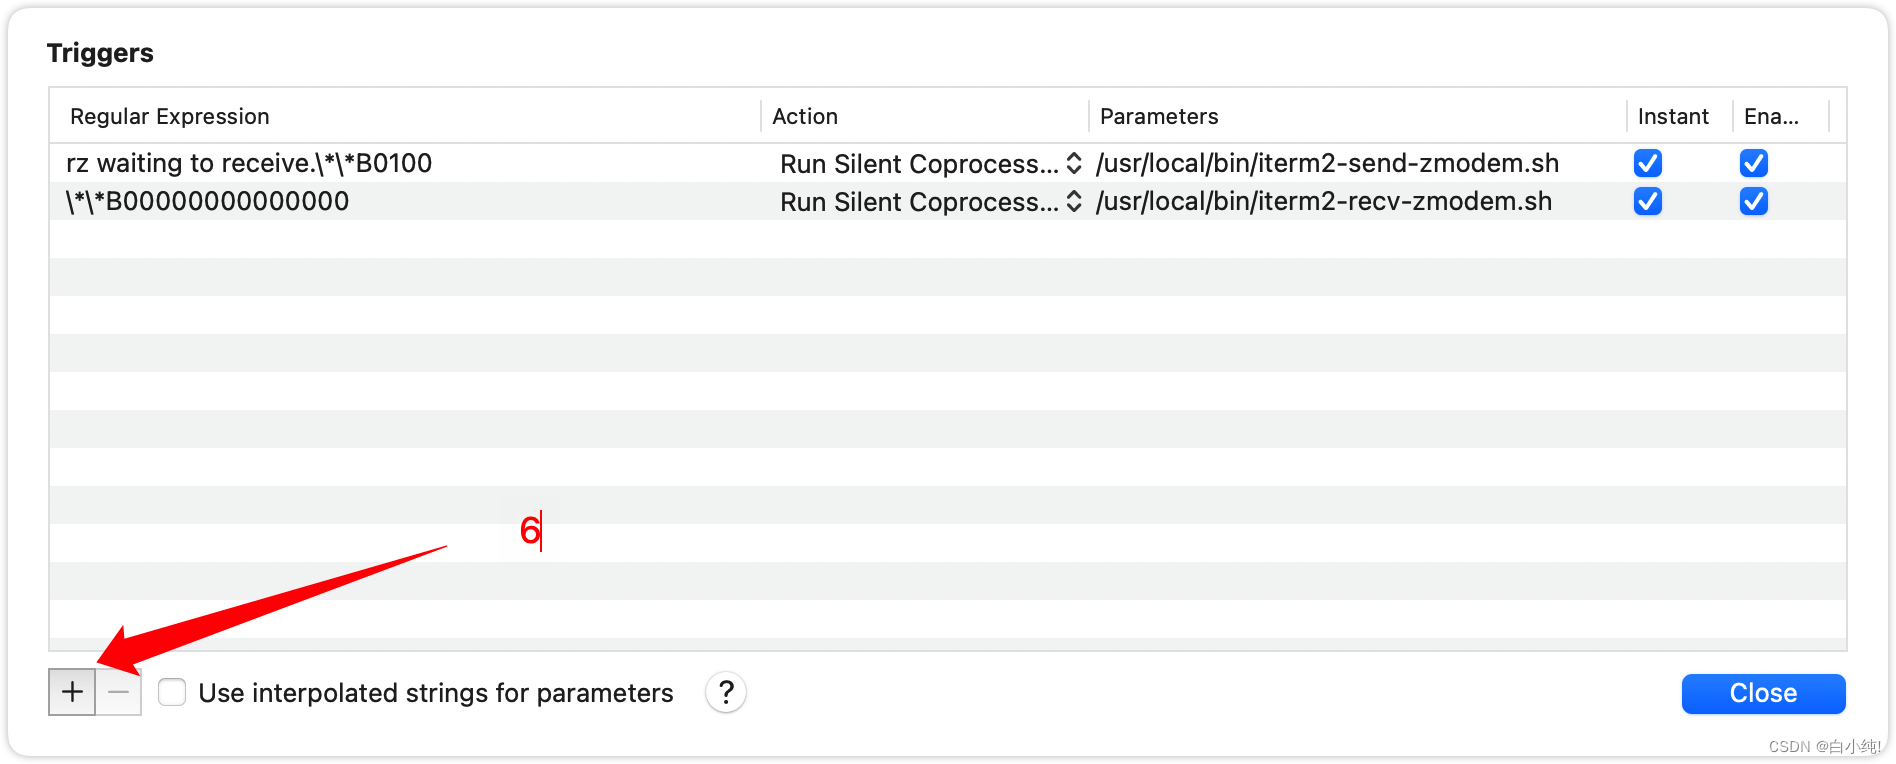
两行分别给三栏设置这些内容
   Regular expression:\*\*B0100
   Action: Run Silent Coprocess
   Parameters: /usr/local/bin/iterm2-send-zmodem.sh

   Regular expression:\*\*B00000000000000
   Action: Run Silent Coprocess
   Parameters: /usr/local/bin/iterm2-recv-zmodem.sh
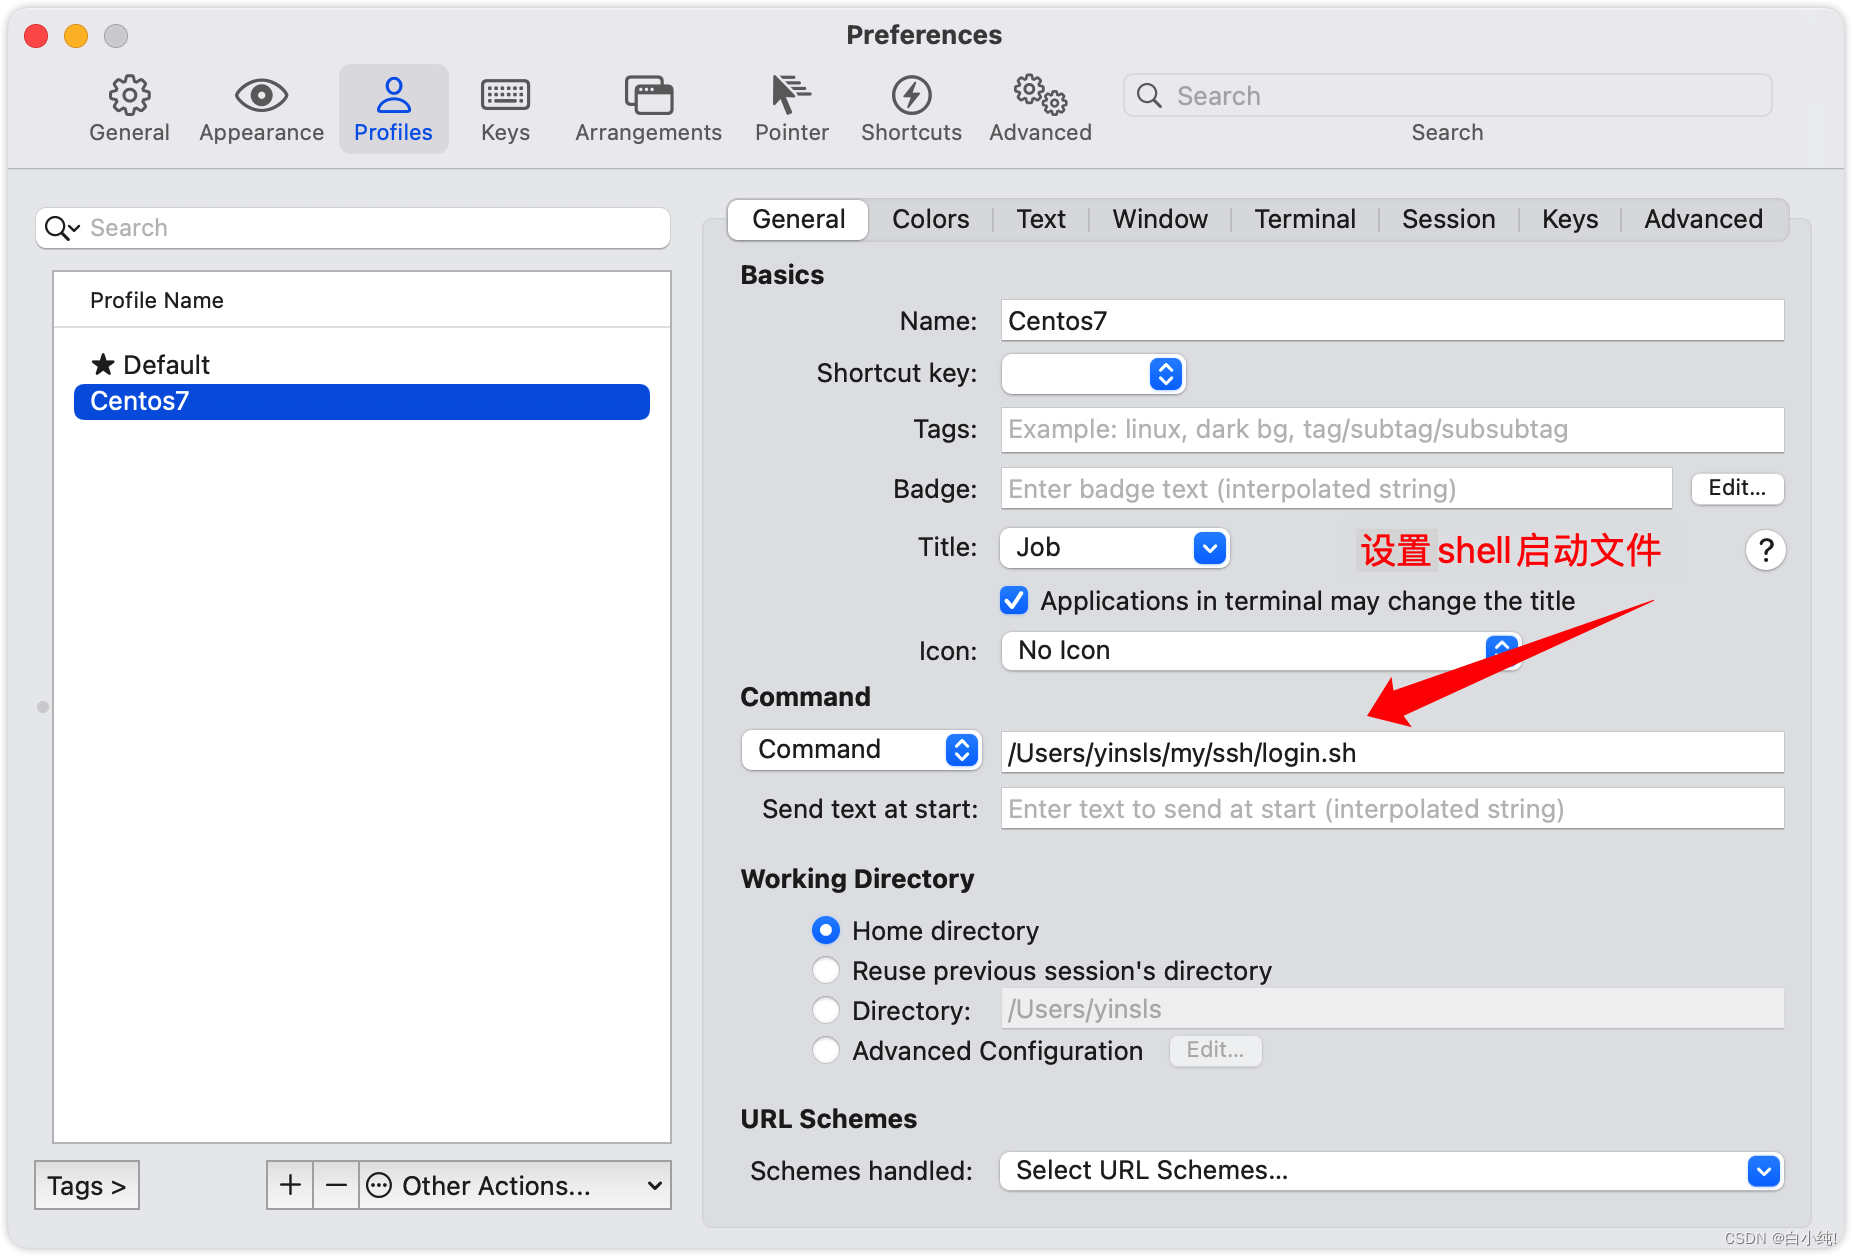
8、设置shell启动文件
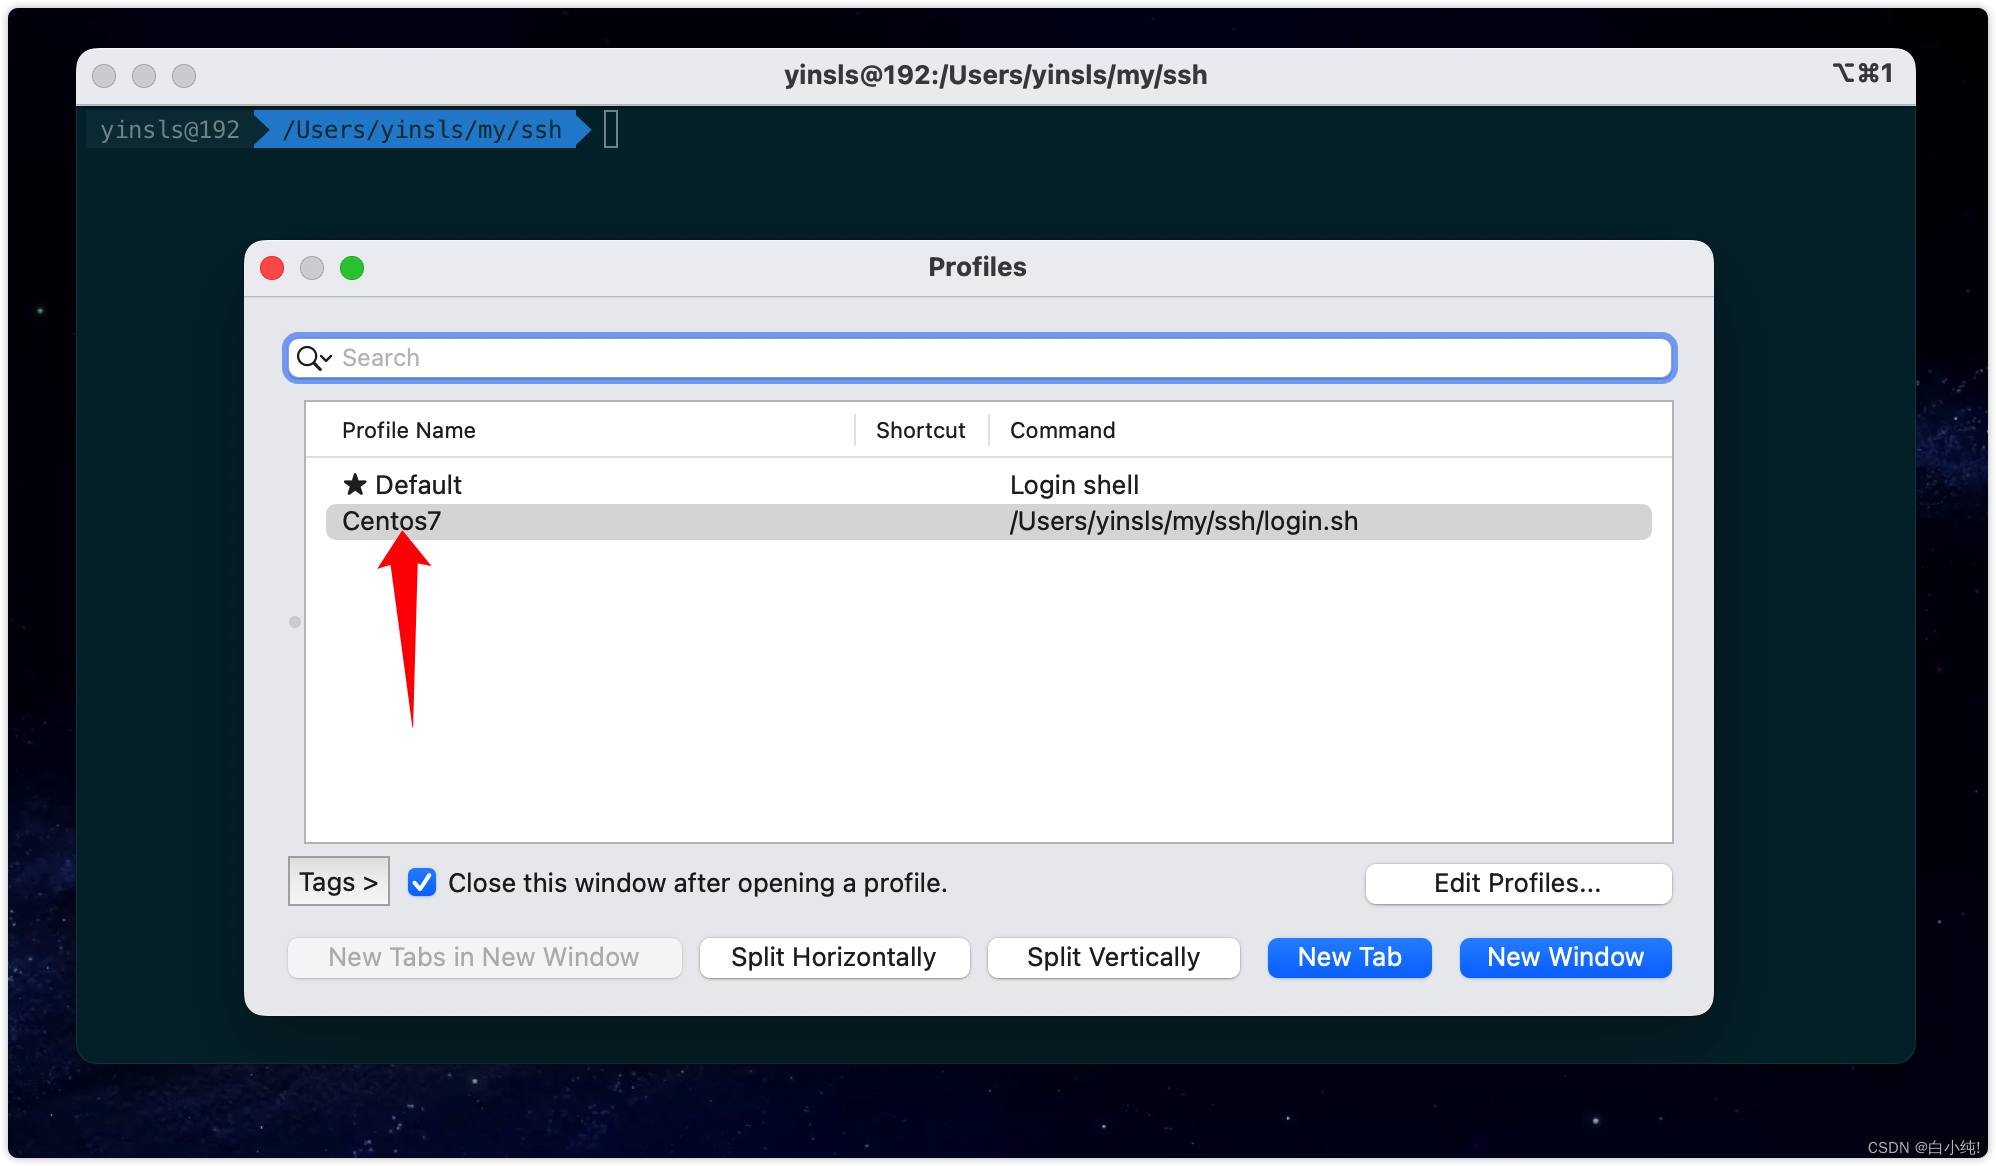
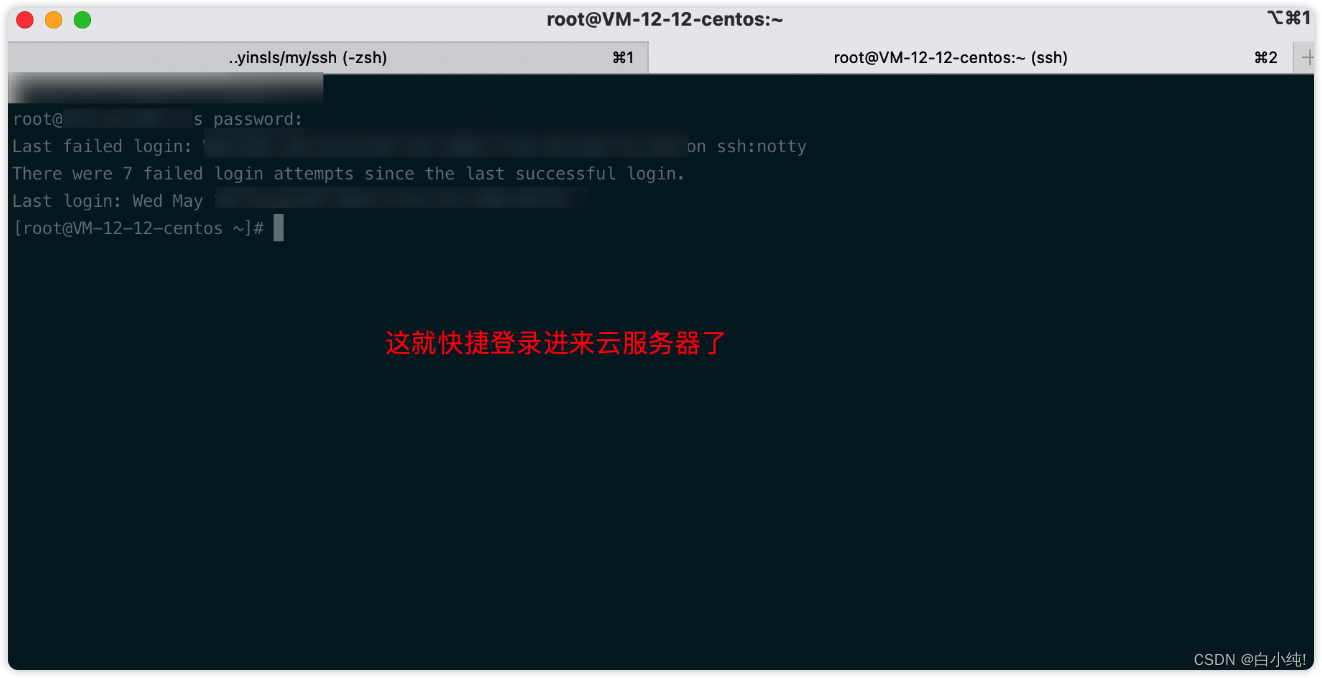
9、ok,现在就可以command + O(如果没有改过快捷键的话)登录服务器了
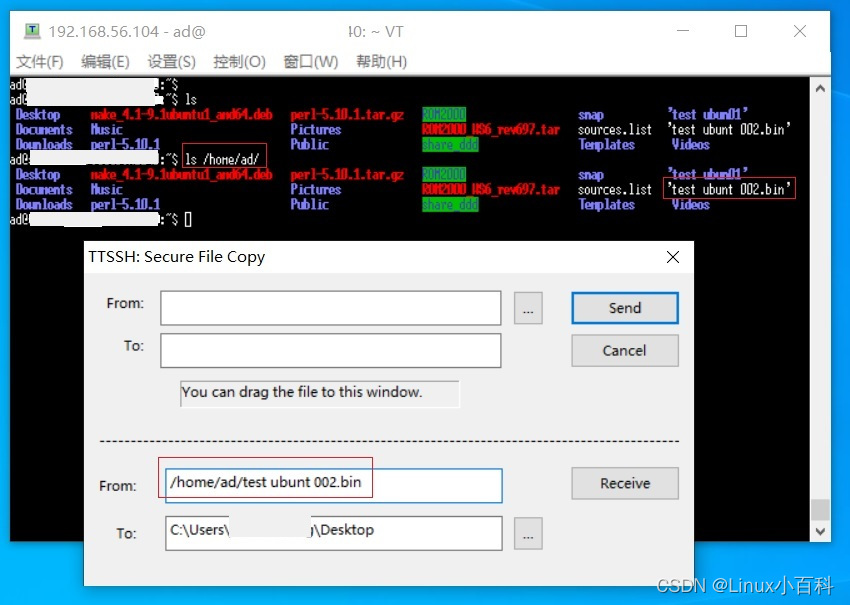
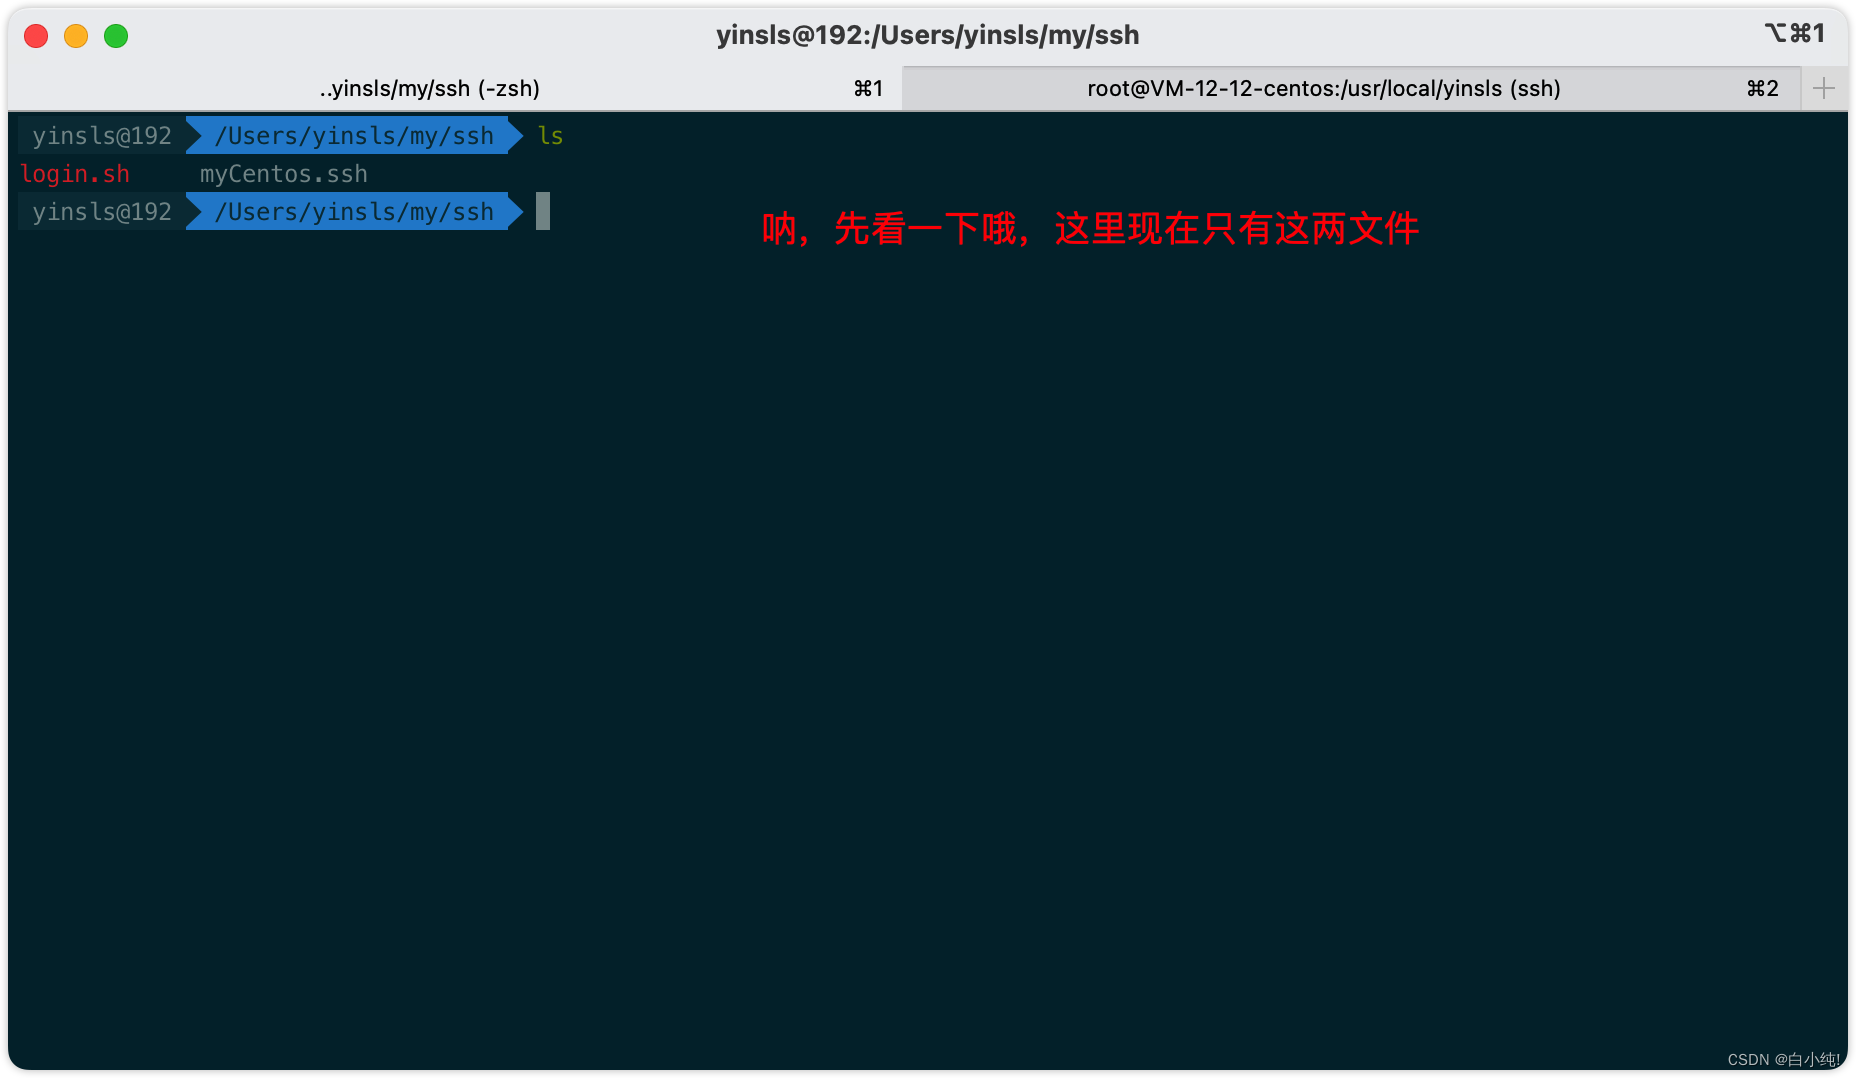
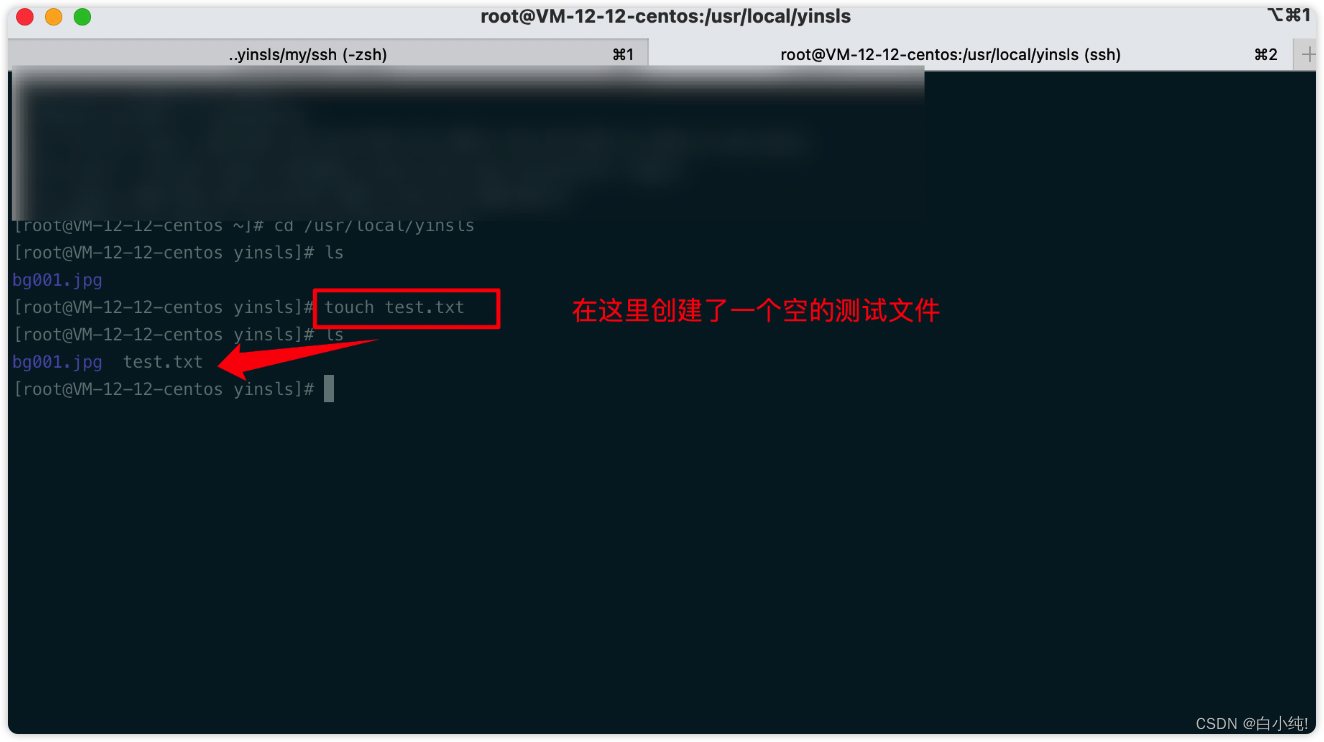
10、接着测试一下文件传输
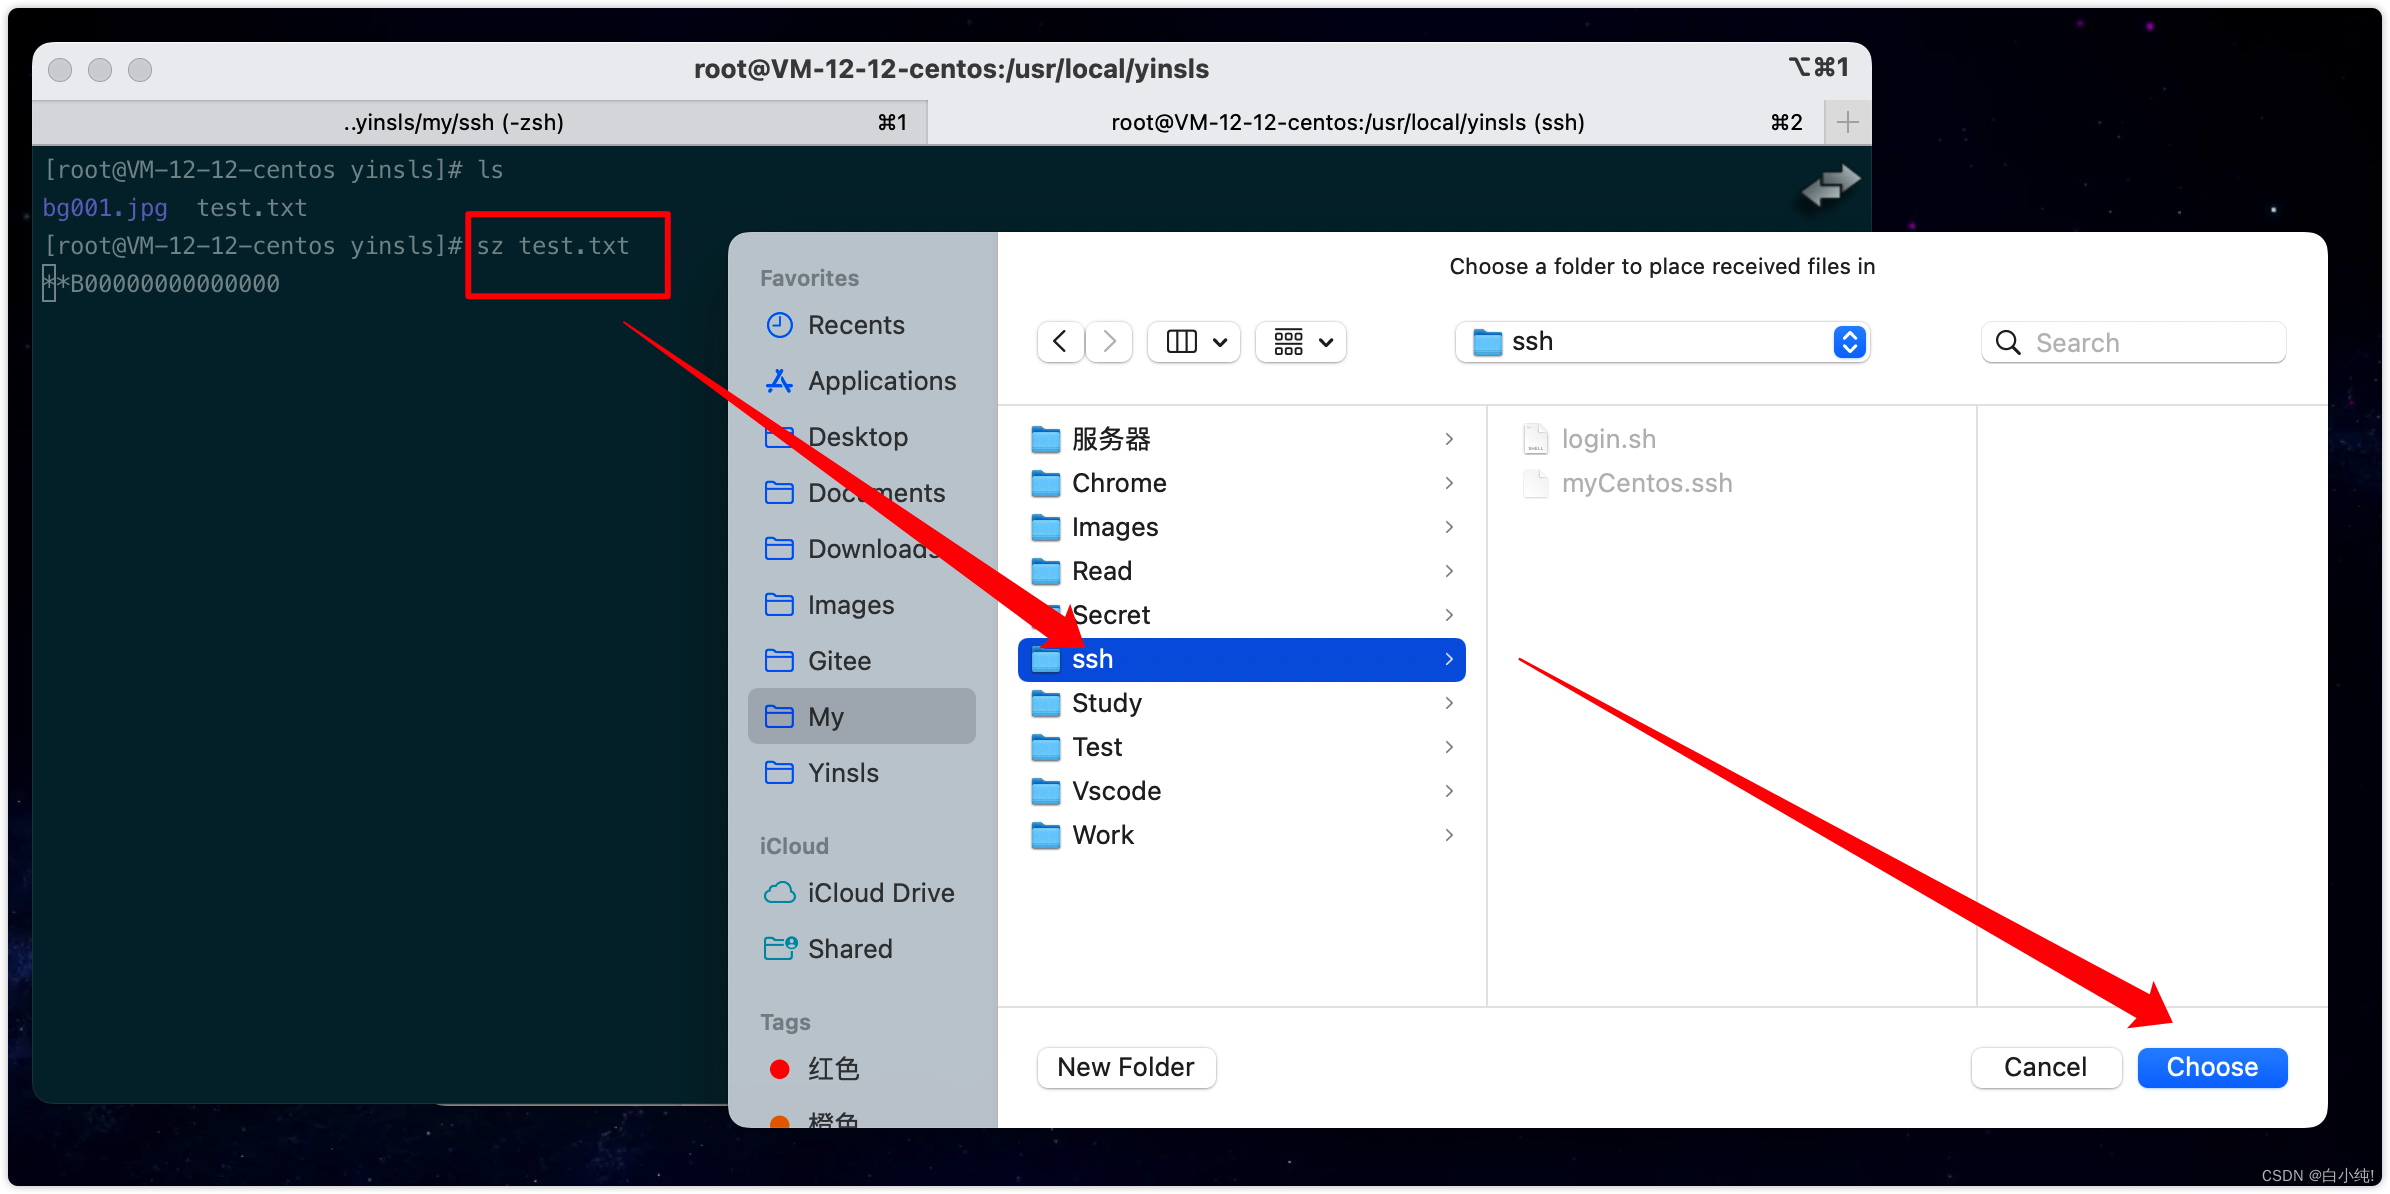
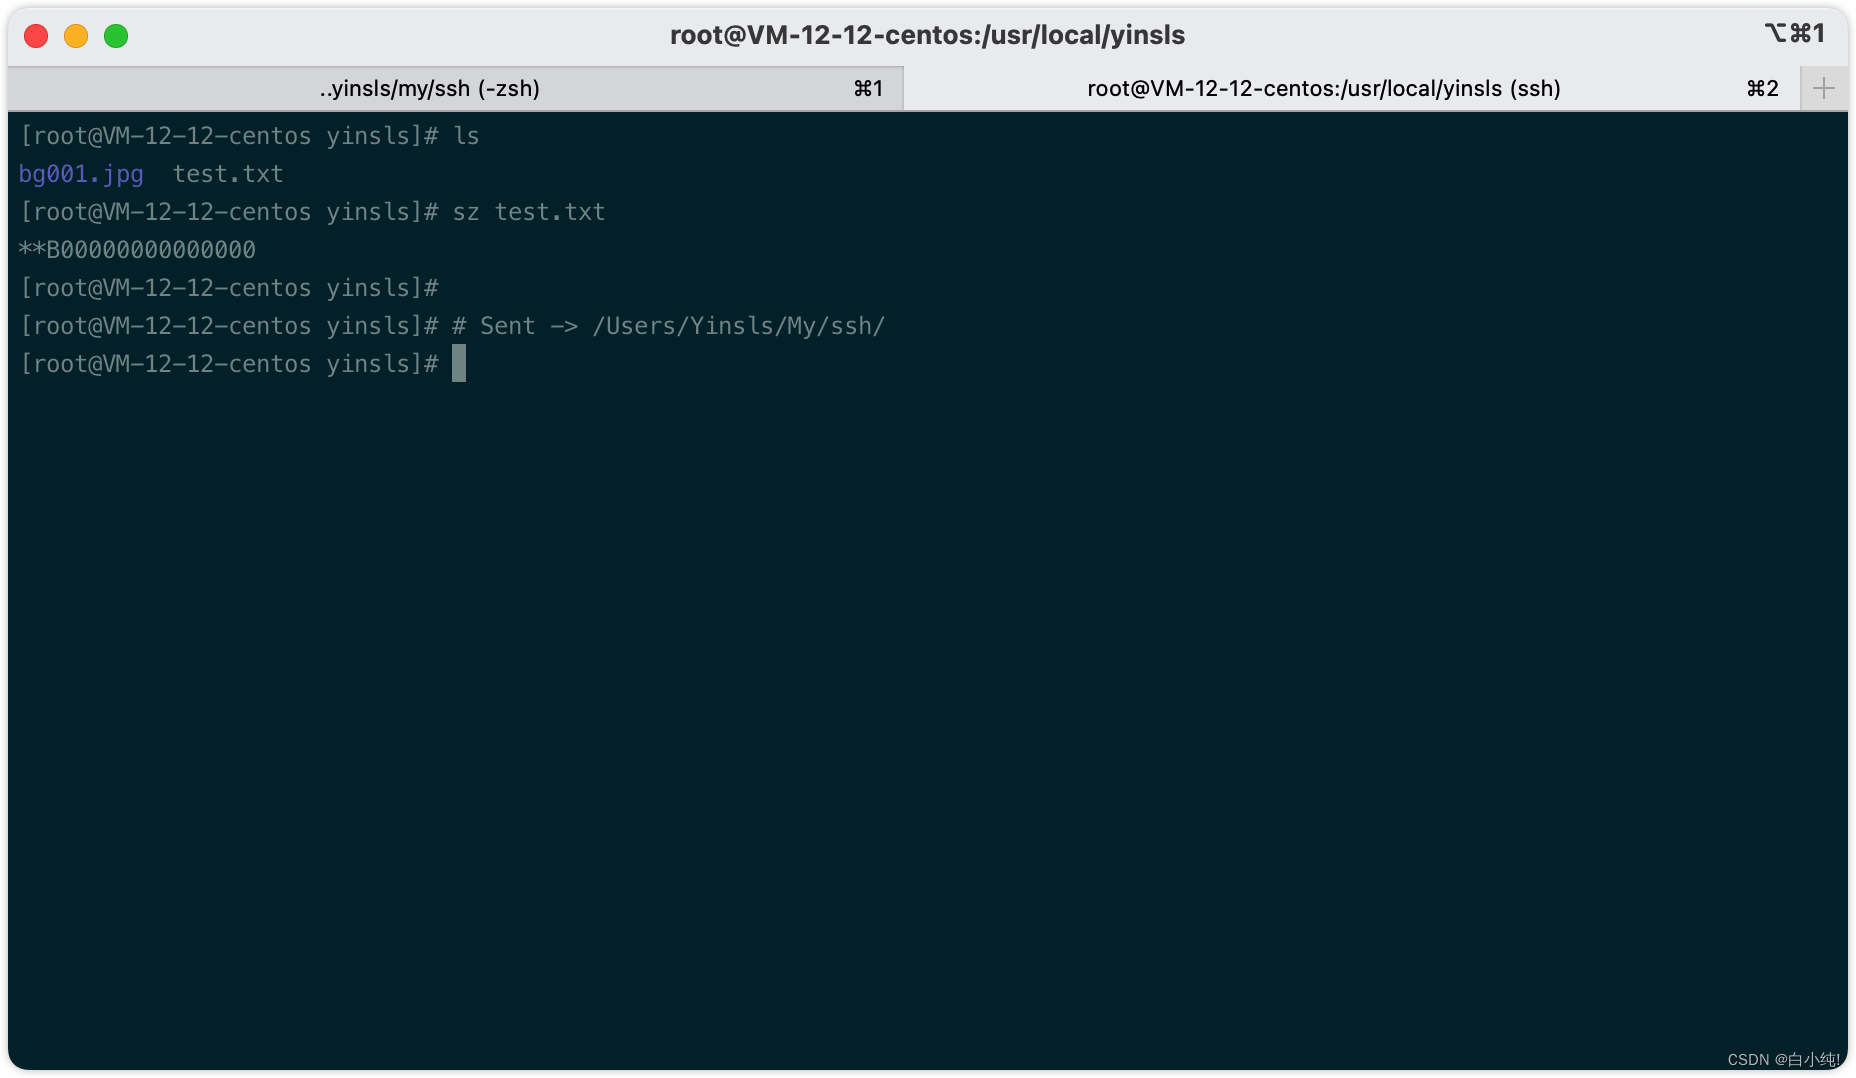
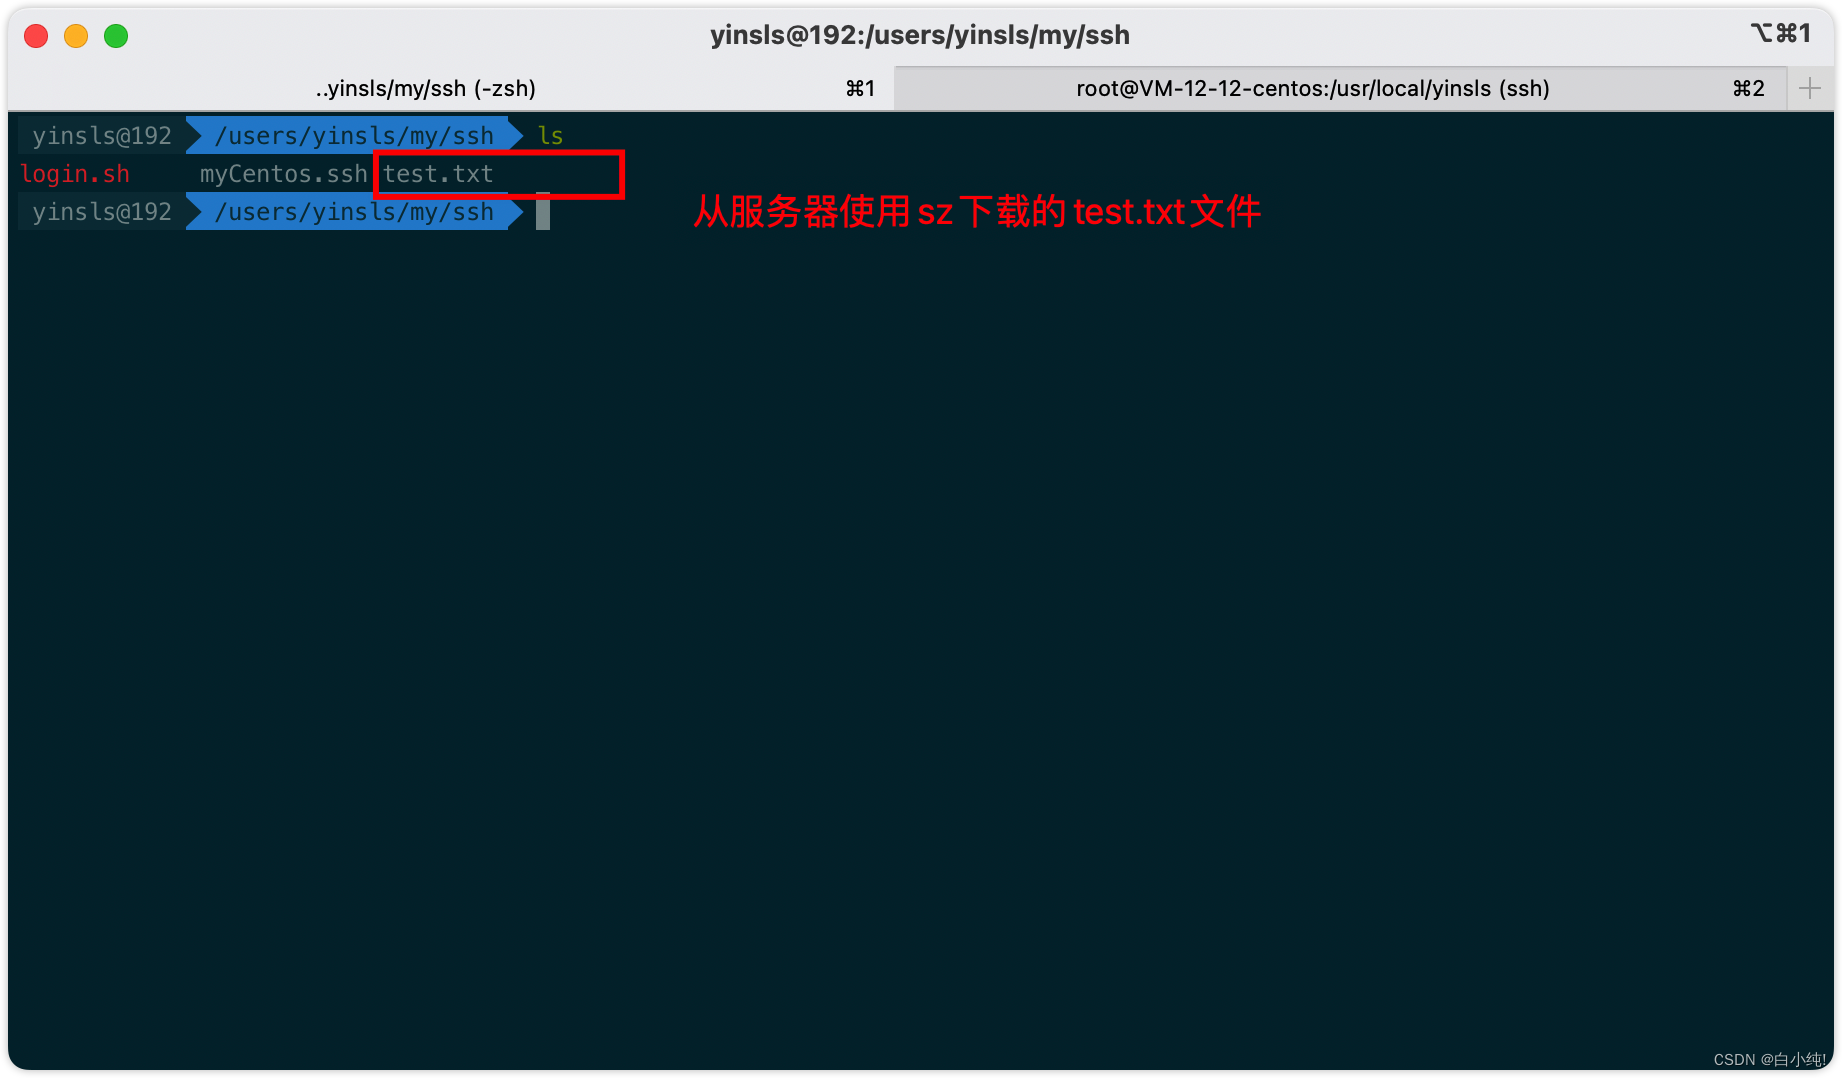
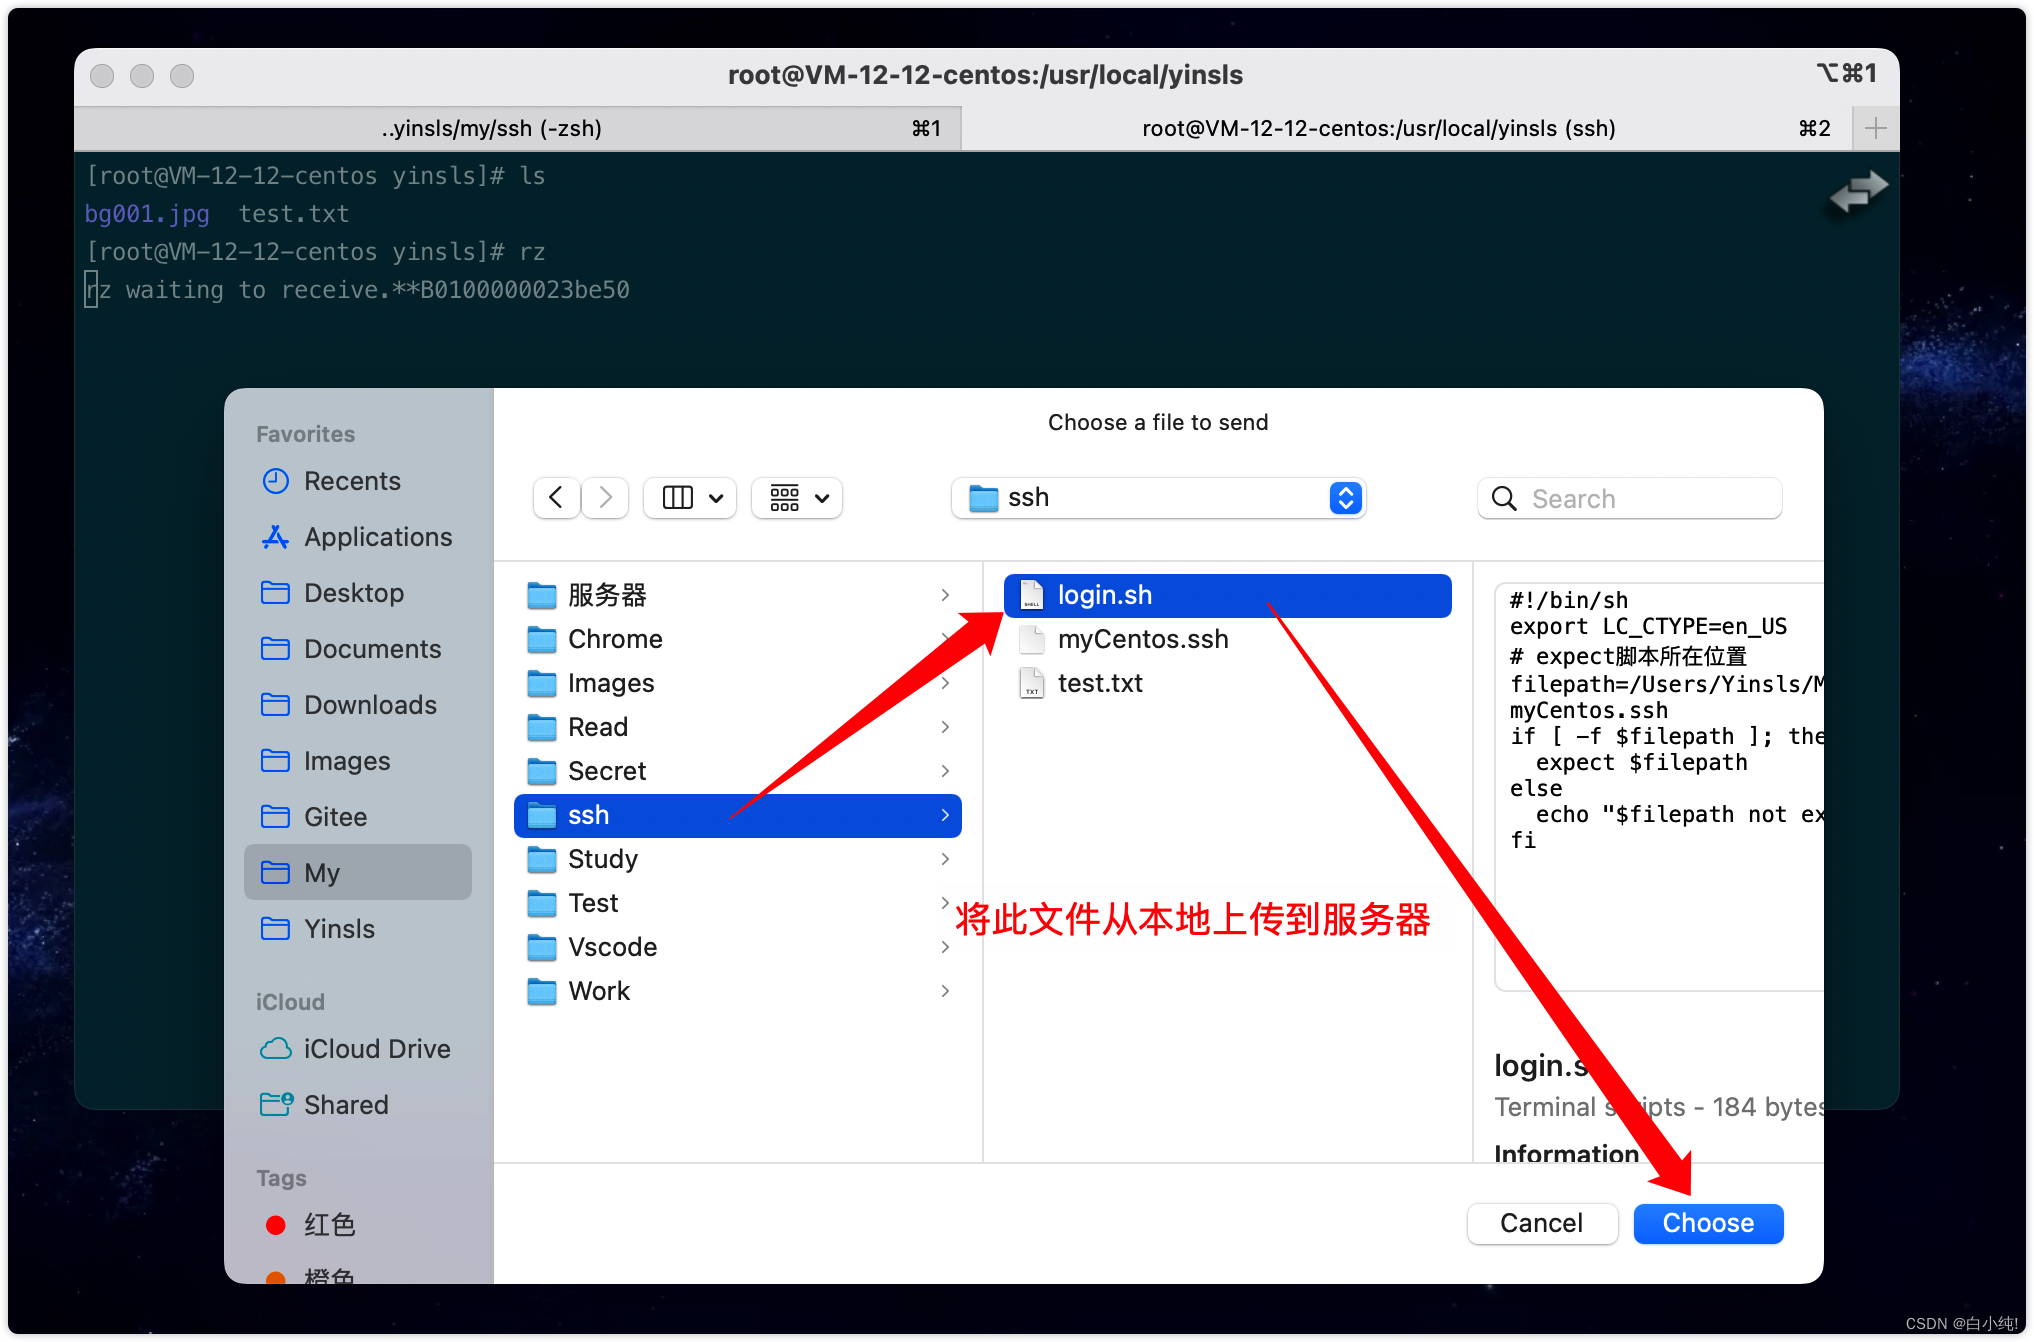
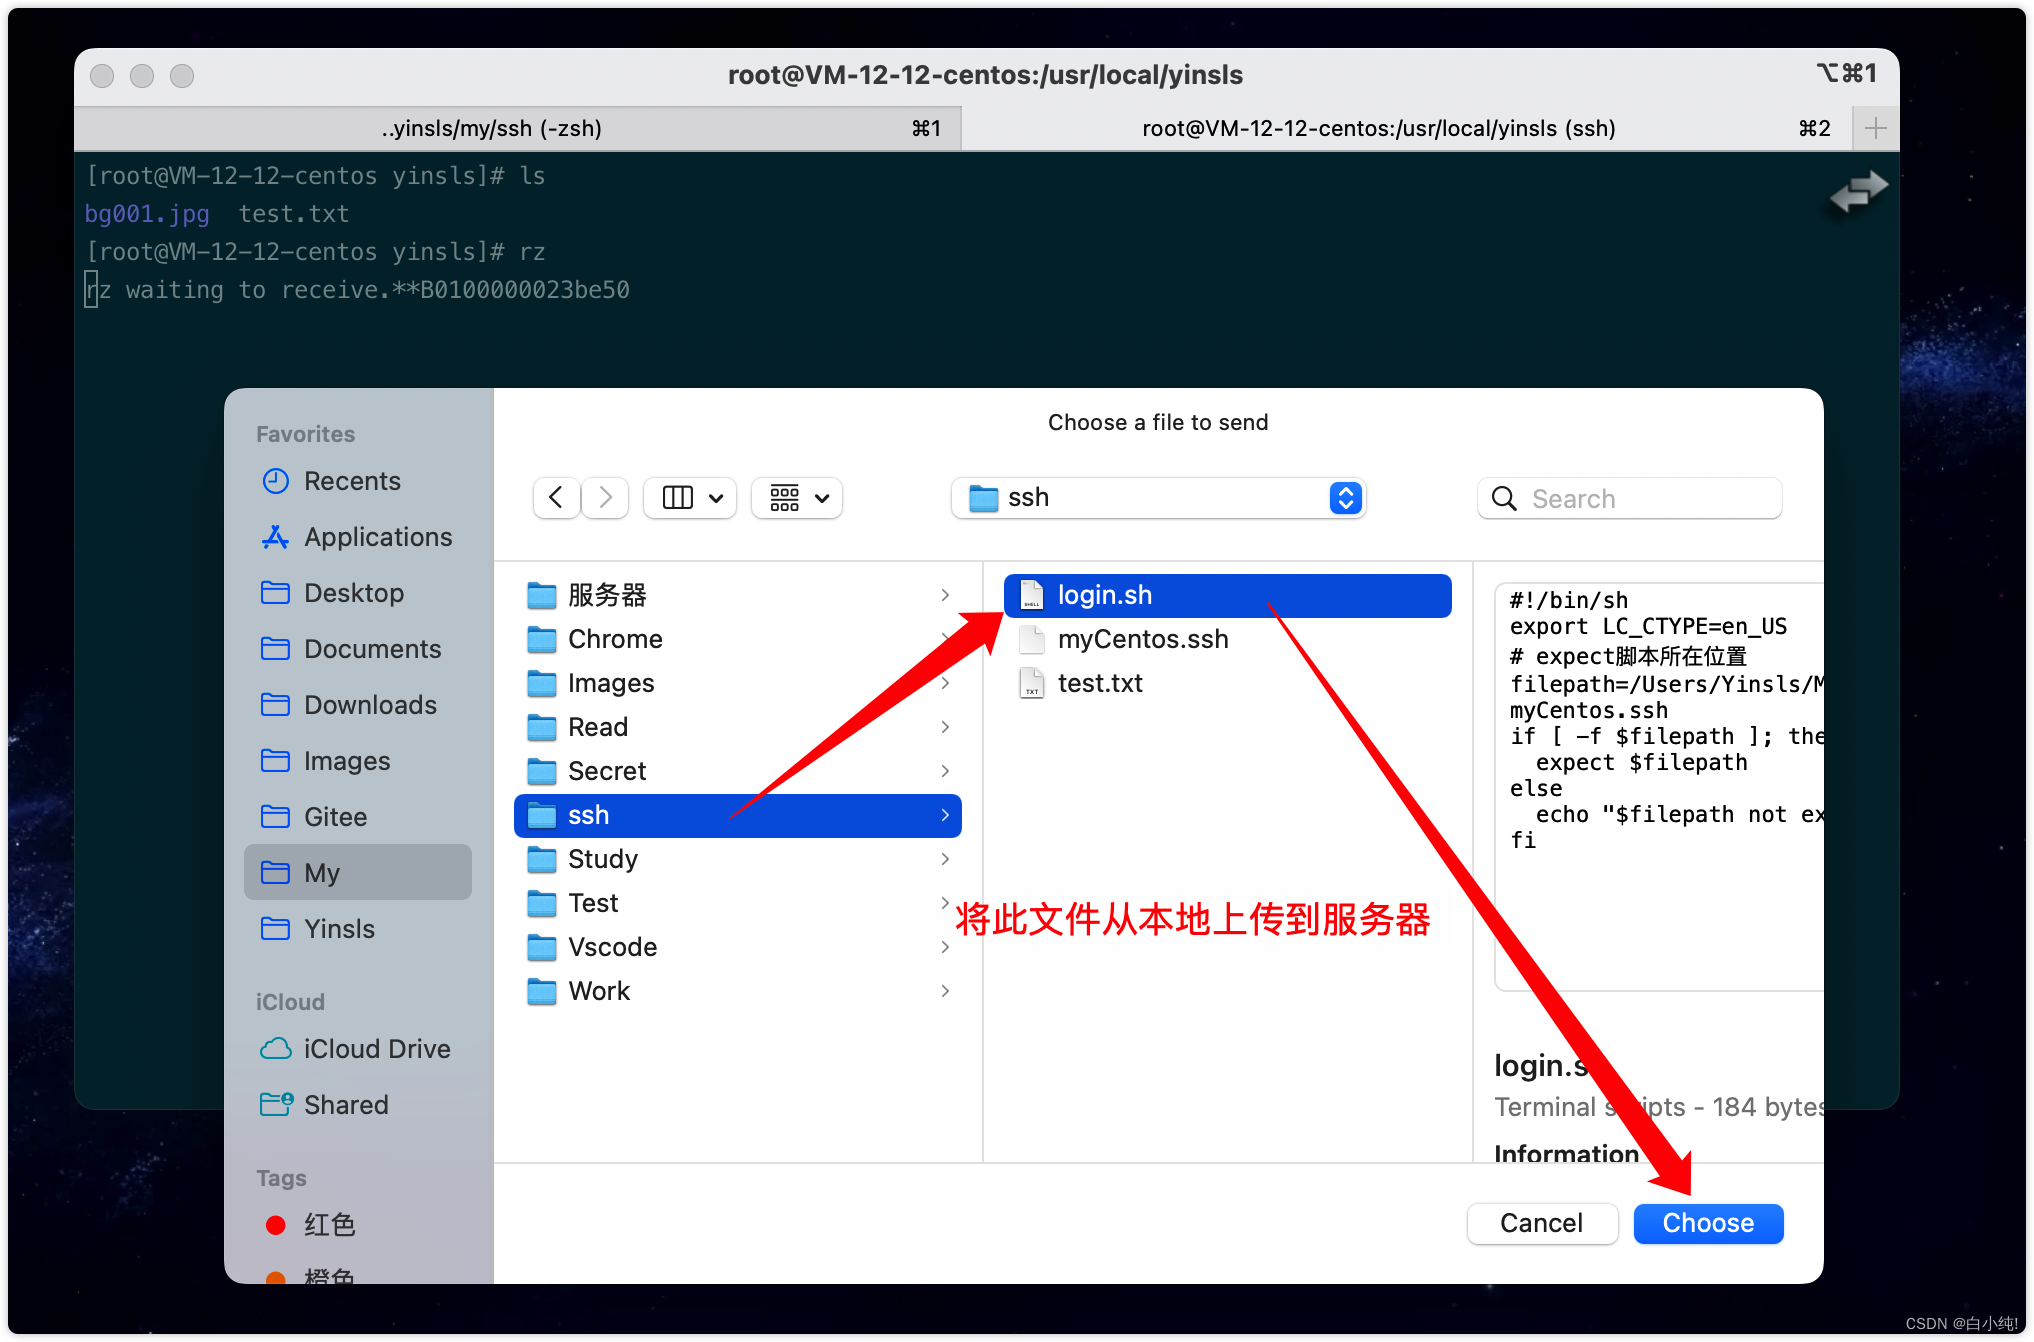
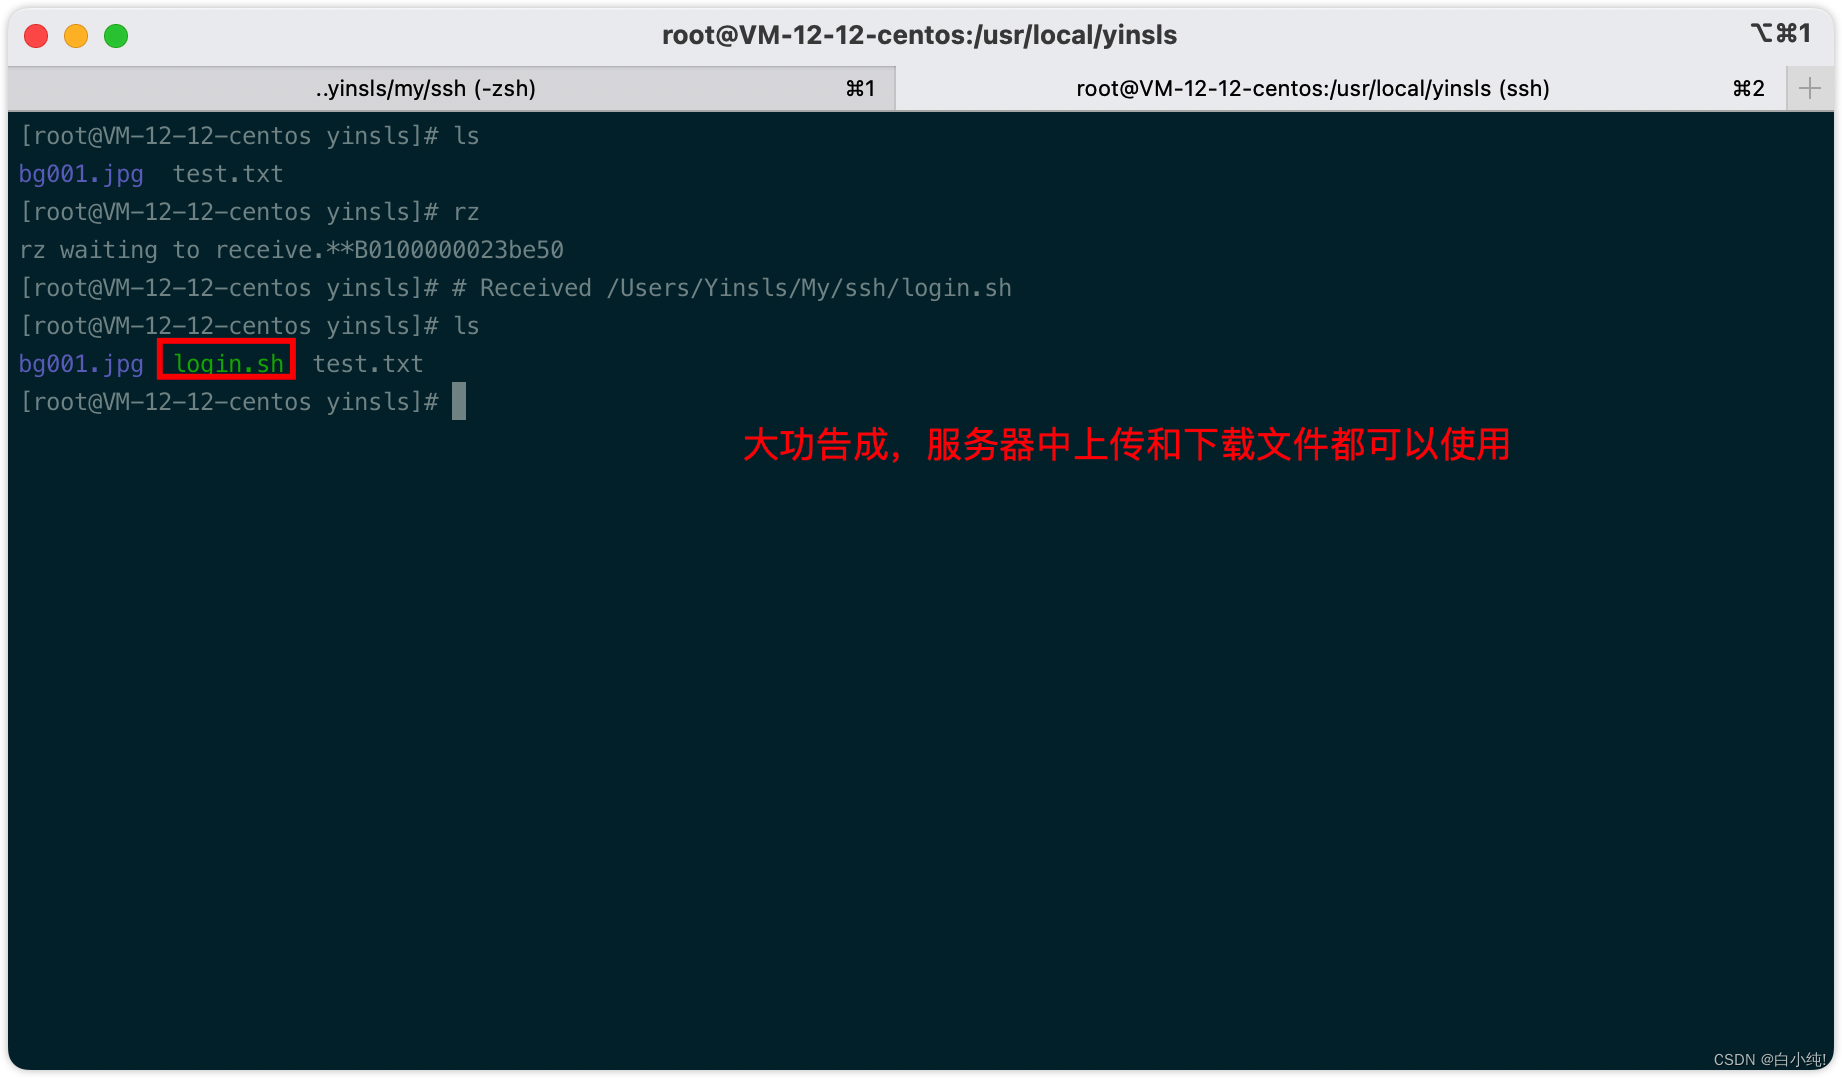
现在来解释一下为什么要创建一个sh绕路去执行expec而快捷登录服务器,
其实是因为虽然brew install lrzsz并且设置成功,很可能出现sz和rz能够使用,但却会发现操作之后文件没有找到 (原因就是expect方式会导致sz、rz失效)
对了,如果你并不使用快捷登录方式连接服务器,那就没什么问题,直接ssh root@175.xx.xxx.x的方式手动输入密码,不用设置.sh文件和ssh文件。不使用expect,sz rz老好用了
我也是踩坑后出来,在此心酸一下了. 拜拜~


