简介
-
Loopback Scaler可以添加画面细节
-
渣图挽救者:在图生图中对原图迭代重绘,修复渣图。脚本在多个循环中处理输入图像,每个循环提高分辨率并优化图像质量。然后,一个循环的图像结果作为下一个循环的输入图像插入,该循环不断基于已创建的内容构建;
-
降噪变化:可以针对每个循环调整去噪强度,使用户能够在保留细节和减少伪影之间取得平衡;
-
图像滤镜:支持对补绘的图片设定锐度、亮度、对比度、饱和度,也支持对画面细节、模糊、平滑度进行设置;
-
一种新的分辨率提升方式,可以在重绘中对分辨率扩增,而且这是一种自适应更改——脚本根据输入图像的平均强度调整每个循环的分辨率增加量。这有助于产生更自然的效果;
-
深化细节,补绘原图,支持重设prompt增加原图没有的细节;
效果对比
官网
- Loopback Scaler - v1.0 | Stable Diffusion Other | Civitai
- GitHub - Elldreth/loopback_scaler: Automatic1111 python script to enhance image quality
教程
原理
使用
跑通demo
首先安装这个脚本
自动安装
- 启动 web ui
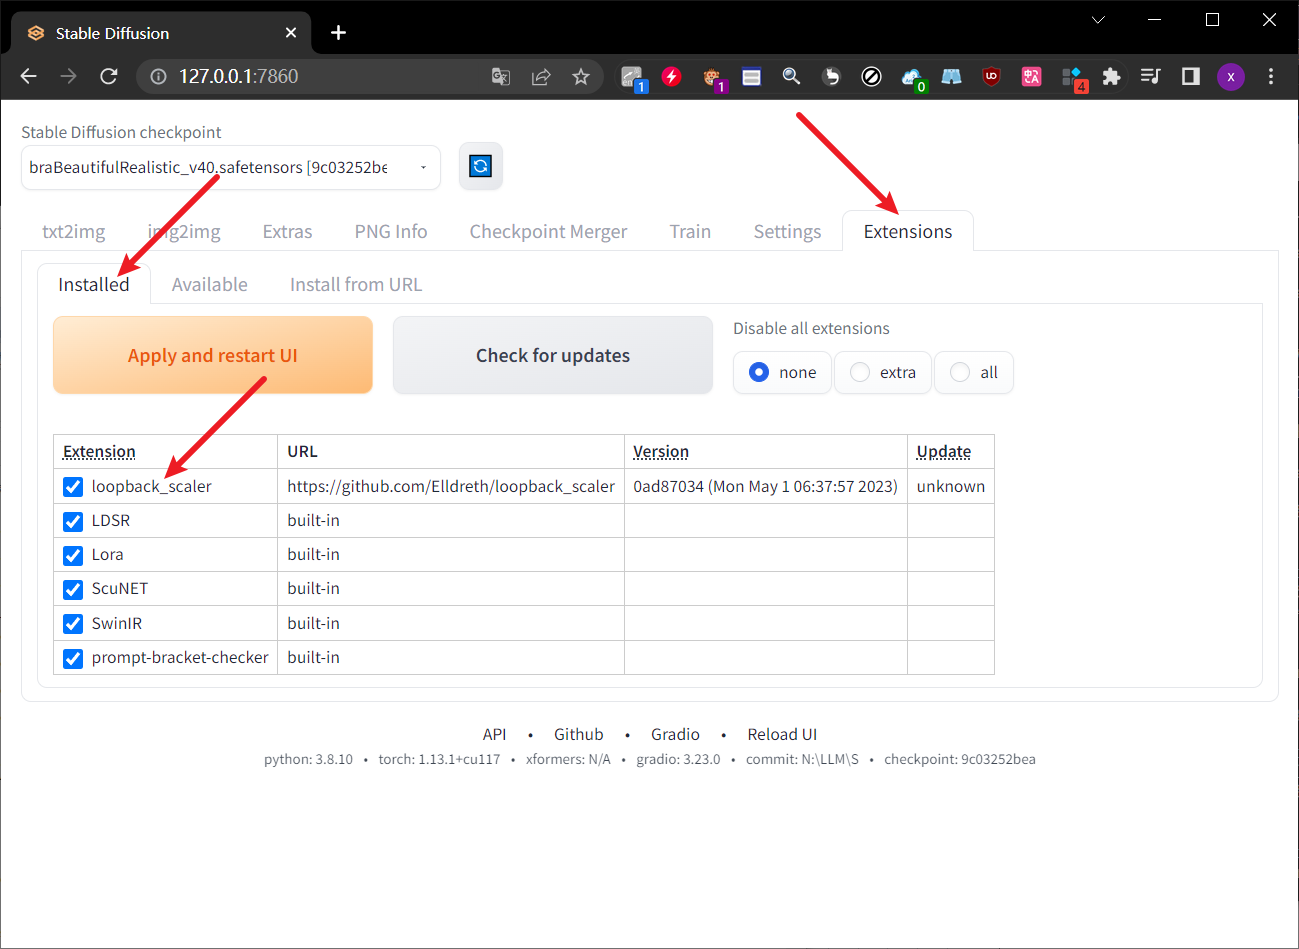
- 在Stable Diffusion的扩展选项卡下,选择 从网址安装 install from url,粘贴
https://github.com/Elldreth/loopback_scaler,本地目录名 留空即可,点击安装,安装完毕后重启web-ui。 - GitHub - Elldreth/loopback_scaler: Automatic1111 python script to enhance image quality
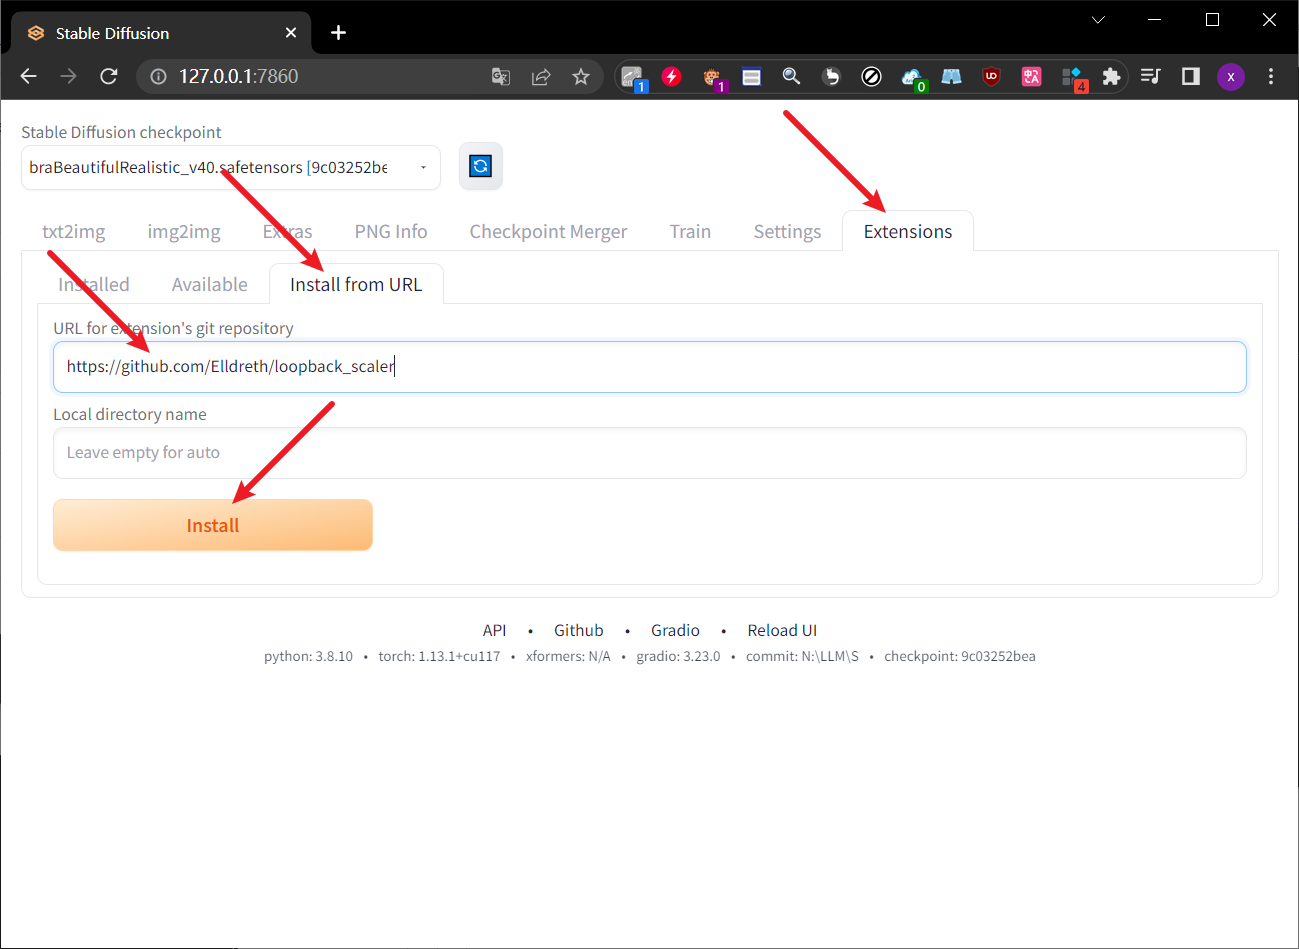
- 从Installed这里可以看到自己刚才安装的这个插件
- 手动安装
- 从GitHub上下载loopback_scaler.py文件,将脚本移动到文件夹
\stable-diffusion-webui\scripts

- 之后重启web UI即可
先绘出一张原图
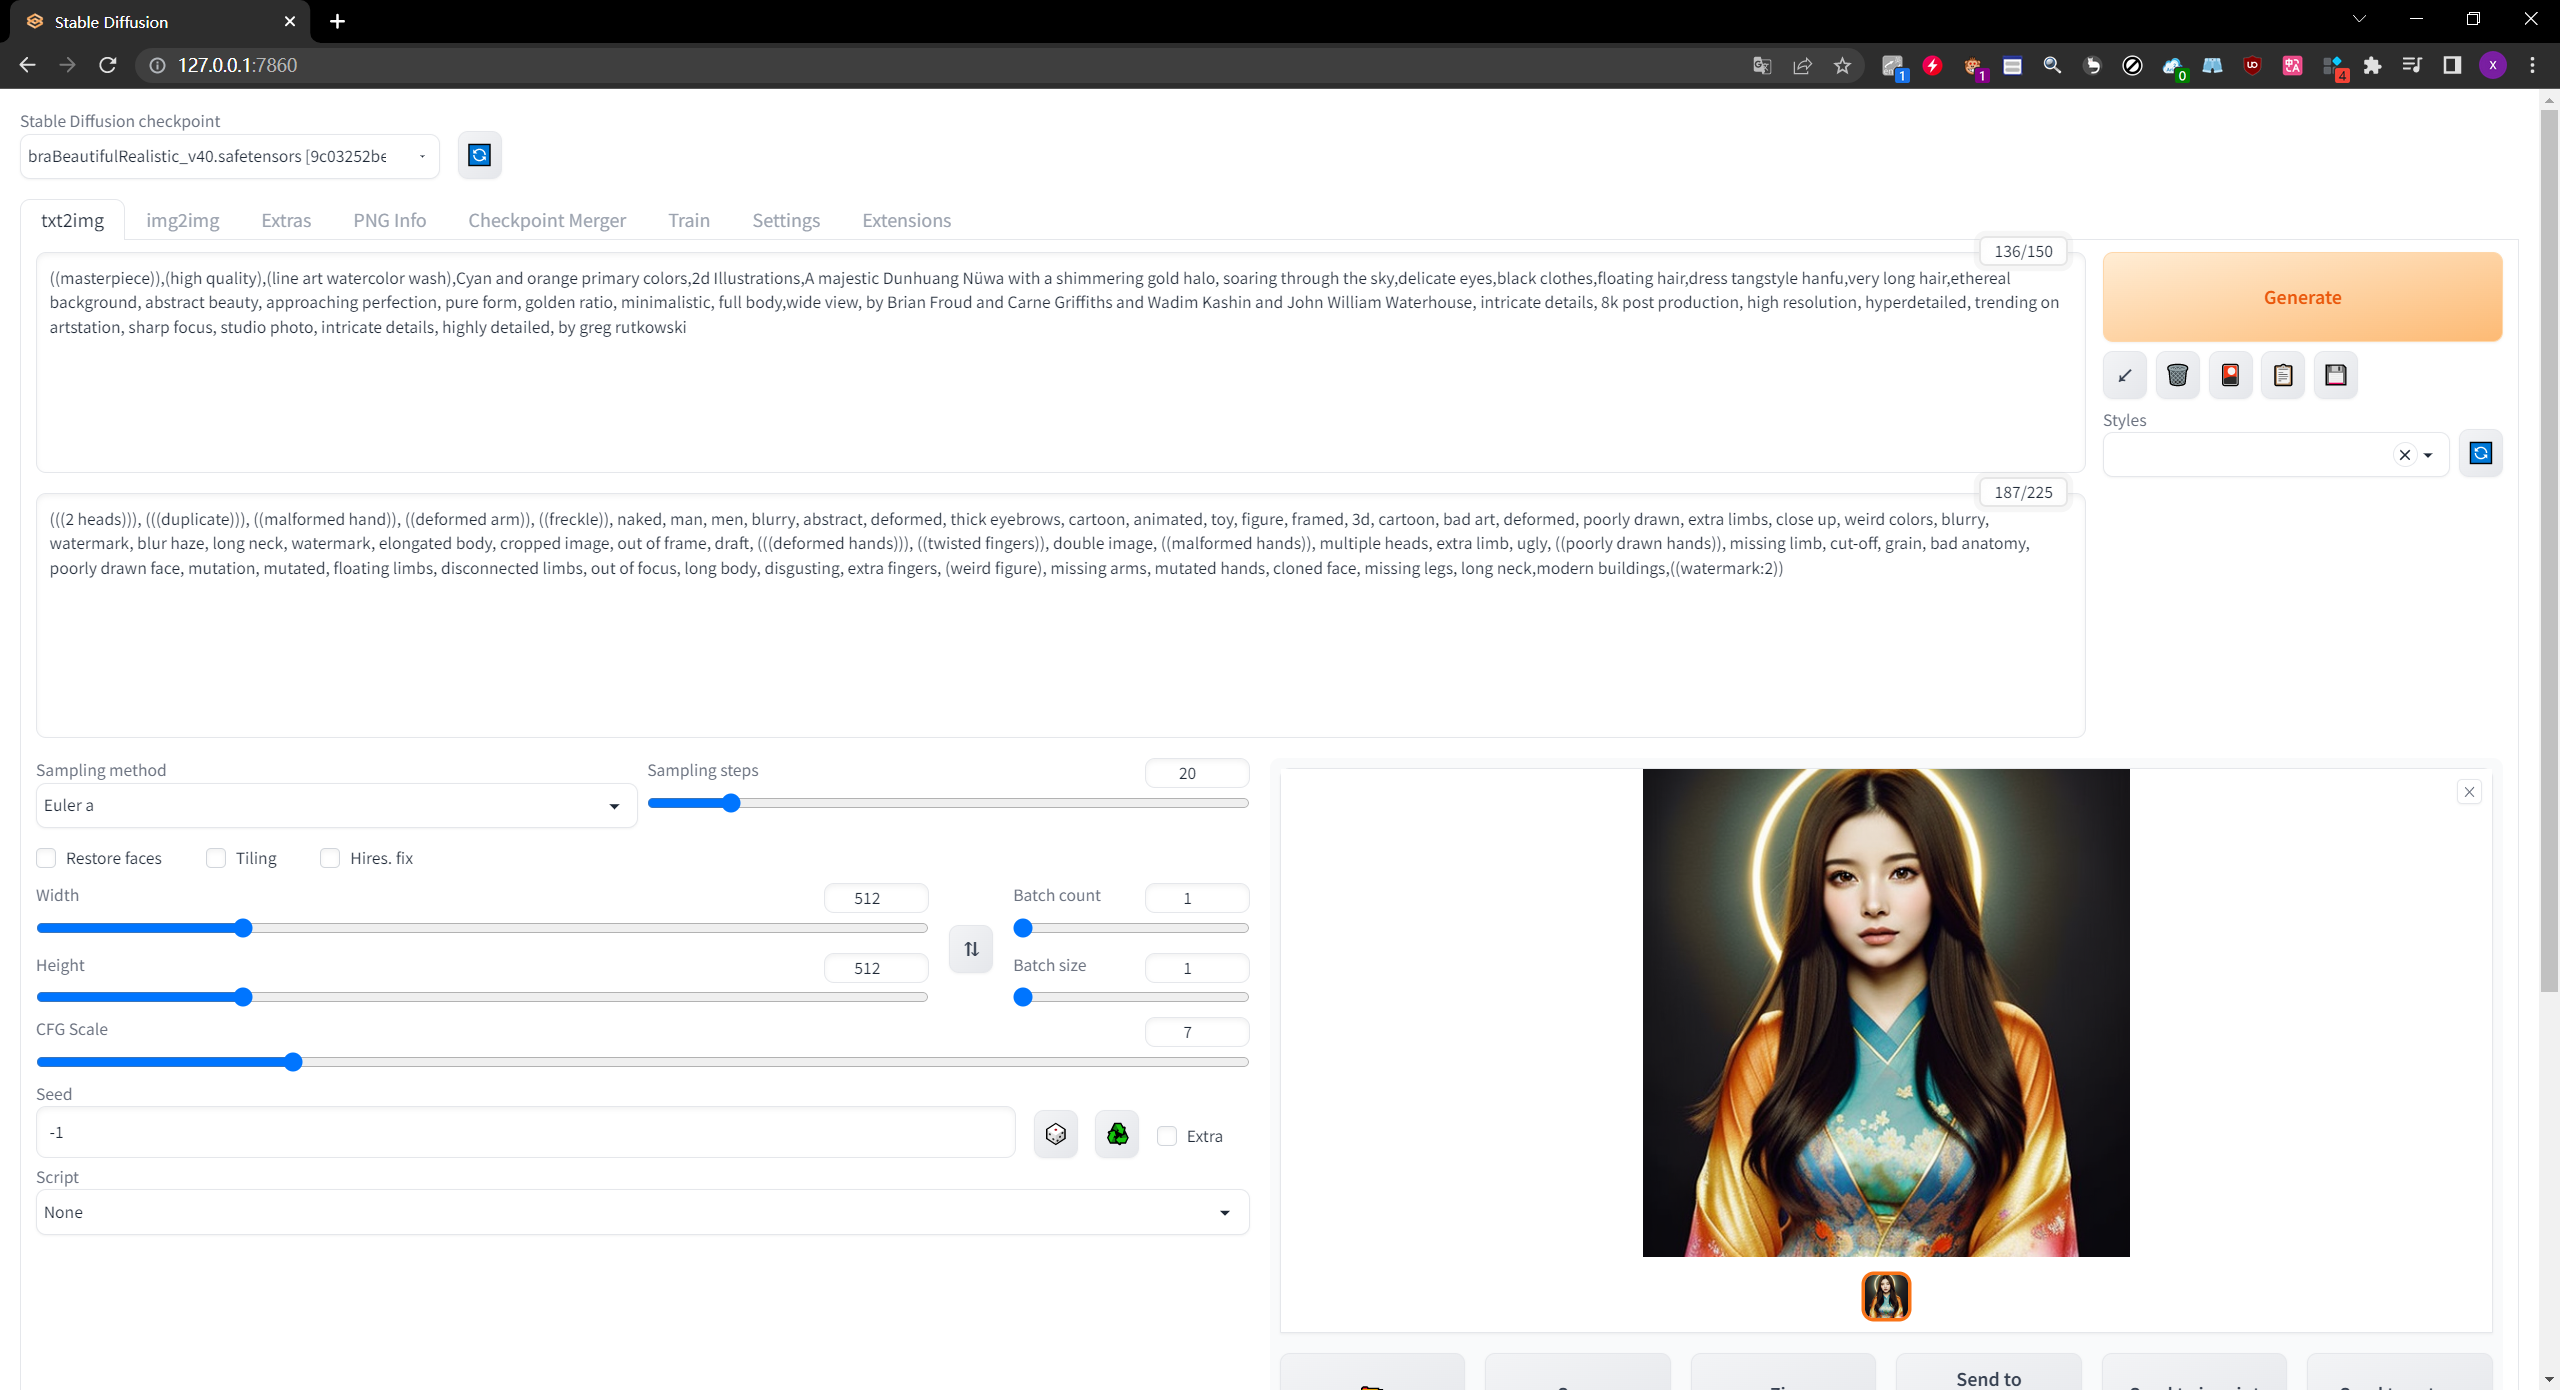
pos prompt正词:
((masterpiece)),(high quality),(line art watercolor wash),Cyan and orange primary colors,2d Illustrations,A majestic Dunhuang Nüwa with a shimmering gold halo, soaring through the sky,delicate eyes,black clothes,floating hair,dress tangstyle hanfu,very long hair,ethereal background, abstract beauty, approaching perfection, pure form, golden ratio, minimalistic, full body,wide view, by Brian Froud and Carne Griffiths and Wadim Kashin and John William Waterhouse, intricate details, 8k post production, high resolution, hyperdetailed, trending on artstation, sharp focus, studio photo, intricate details, highly detailed, by greg rutkowski
neg prompt反词:
(((2 heads))), (((duplicate))), ((malformed hand)), ((deformed arm)), ((freckle)), naked, man, men, blurry, abstract, deformed, thick eyebrows, cartoon, animated, toy, figure, framed, 3d, cartoon, bad art, deformed, poorly drawn, extra limbs, close up, weird colors, blurry, watermark, blur haze, long neck, watermark, elongated body, cropped image, out of frame, draft, (((deformed hands))), ((twisted fingers)), double image, ((malformed hands)), multiple heads, extra limb, ugly, ((poorly drawn hands)), missing limb, cut-off, grain, bad anatomy, poorly drawn face, mutation, mutated, floating limbs, disconnected limbs, out of focus, long body, disgusting, extra fingers, (weird figure), missing arms, mutated hands, cloned face, missing legs, long neck,modern buildings,((watermark:2))
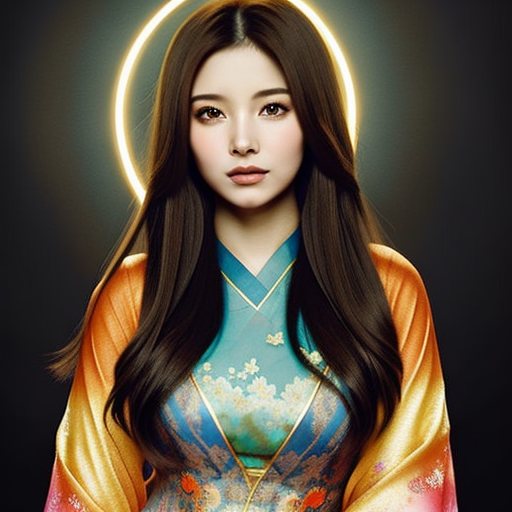
生成的效果图
魔改
打开脚本
- 之前是使用text2img进行的生成,现在我们使用img2img
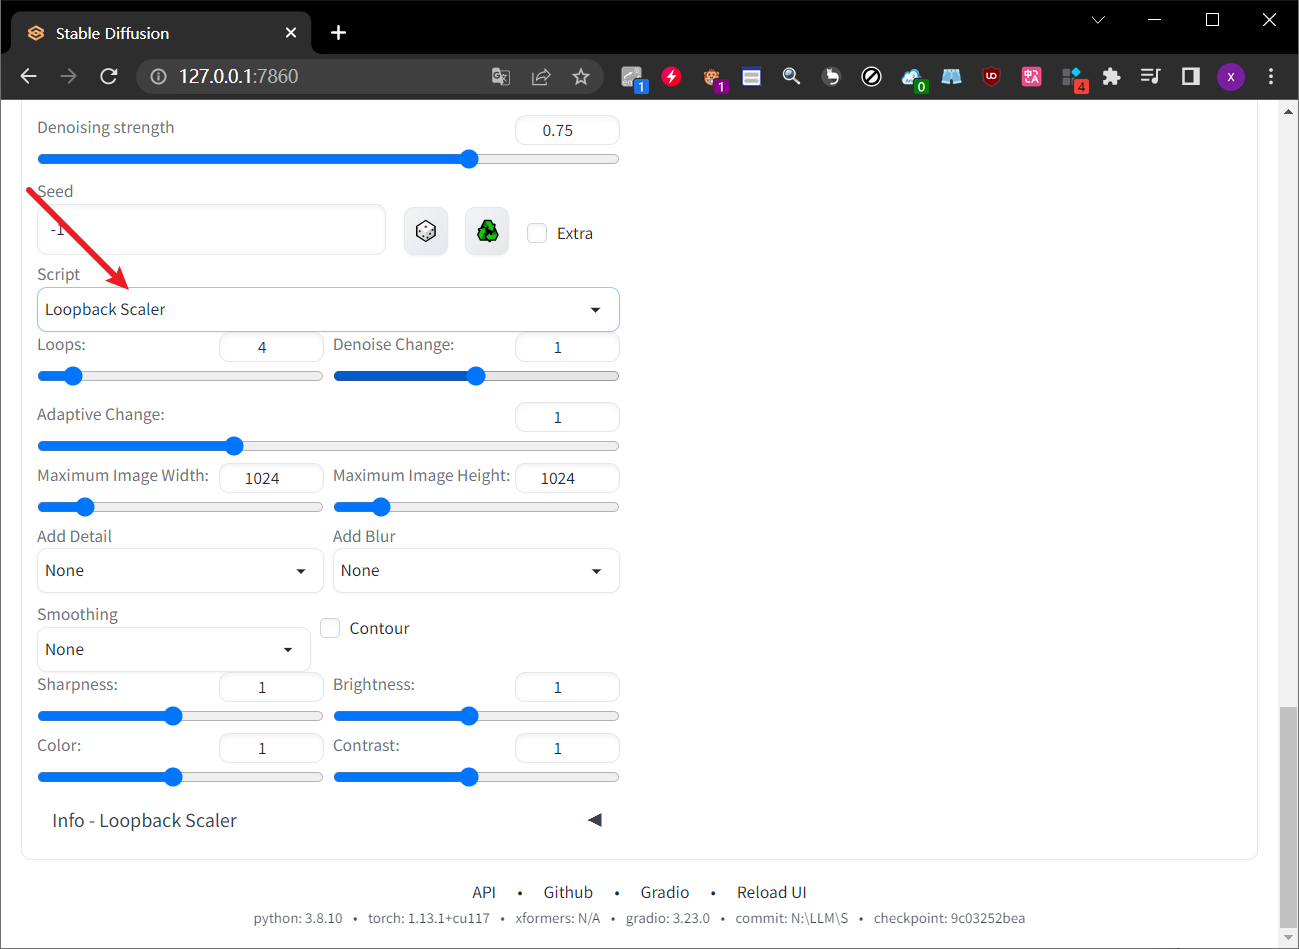
- 打开img2img页面,移动到最下方,选择Loopback Scaler脚本
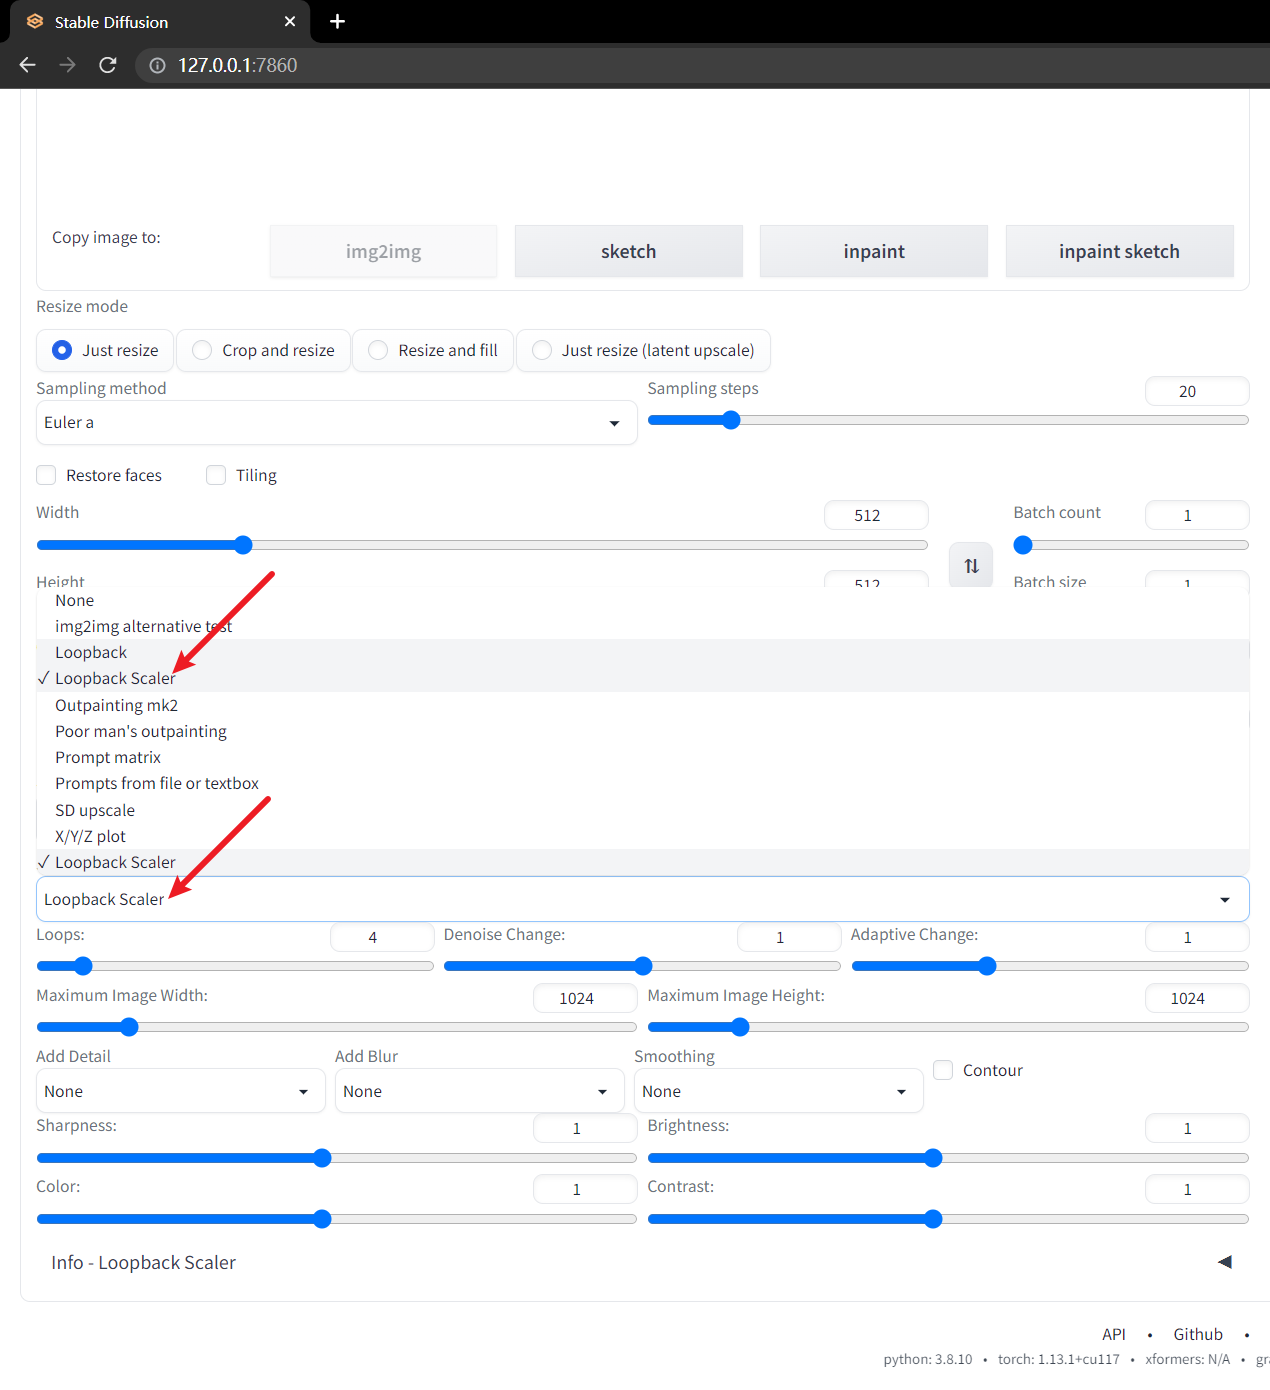
- 之后就会弹出对应的参数设置界面

- 设置参数
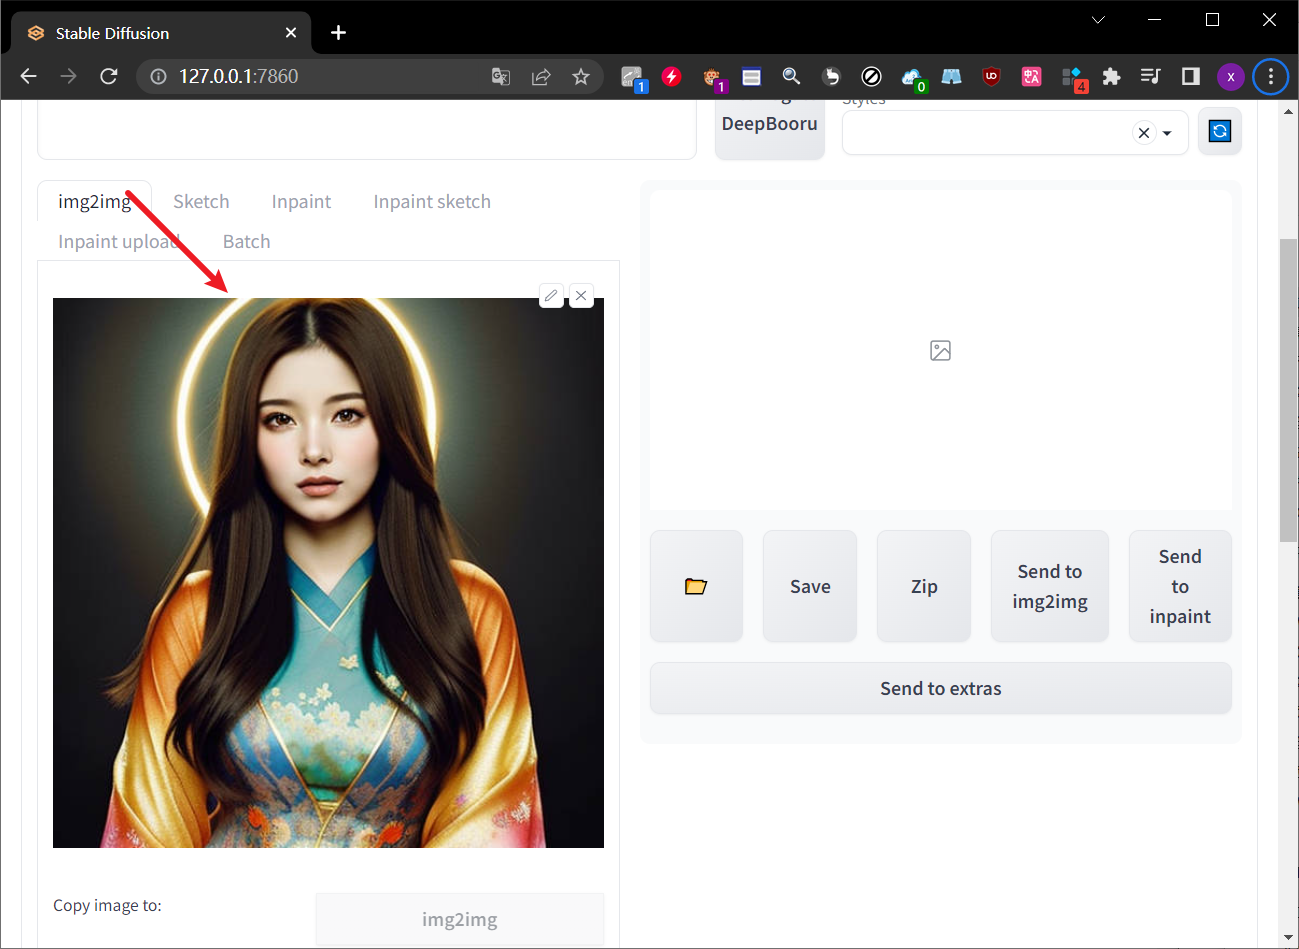
- 将原图拖过来
- 我们将之前生成的图拖入到这个区域

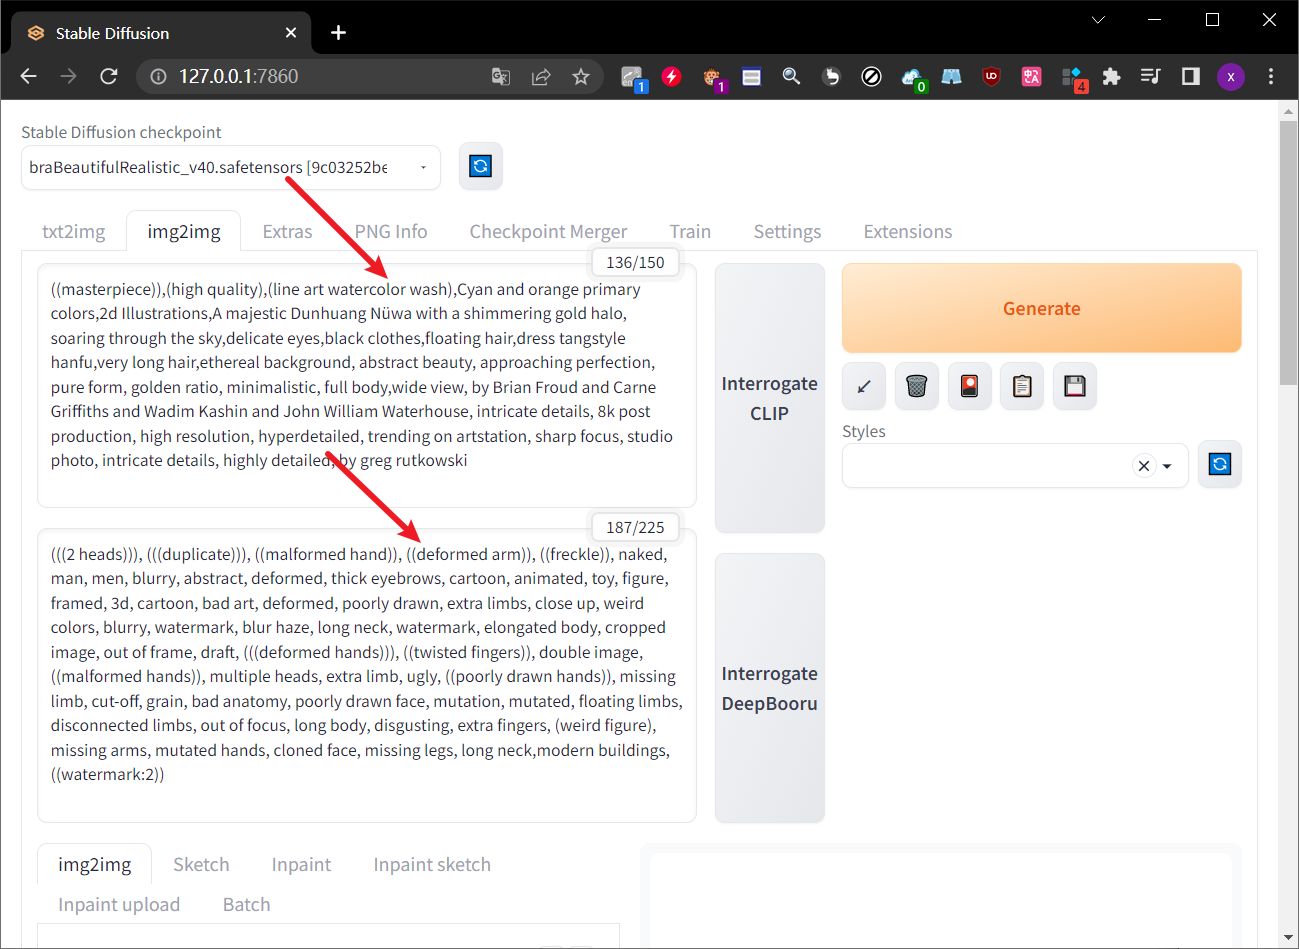
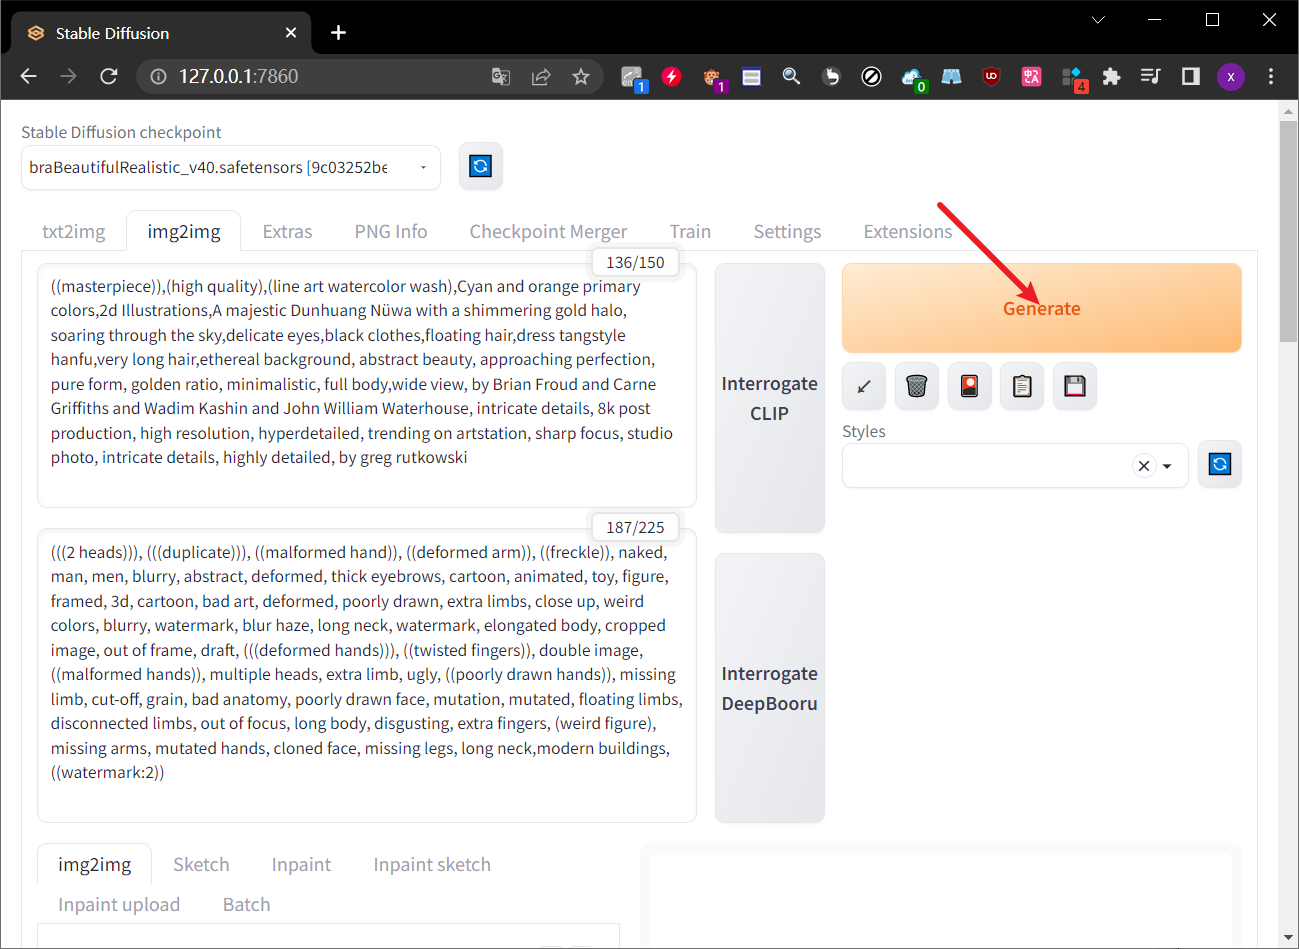
- 然后把之前的prompt提示词再拿过来
- Loopback Scaler参数介绍
- 主要有以下几个参数具体可以查看官网
- Loops
- 循环次数
- 脚本推断图像并逐步提高分辨率的次数。每个循环增加的分辨率量由此数字和最大图像宽度/高度决定。循环越多,图像获取更多细节的机会就越大,但也会出现伪影。**4 到 10 **是我发现效果最好的,但你可能或多或少喜欢。
- Denoise change
- 此设置将增加或减少每个循环的降噪强度。推荐设置为1。
- 较高的值将增加去噪强度,而较低的值将降低降噪强度。设置为 1 将保持 img2img 设置中设置的去噪强度。
- Adaptive change
- 分辨率增加量
- 此设置更改每个循环的分辨率增加量,使更改不呈线性。该值越高,在循环结束时分辨率变化越显著。
- Maximum Image Width/Height
- 最大图像宽度/高度
- 这些参数设置最终图像的最大宽度和高度。始终从小于这些尺寸的图像开始。您开始的越小,结果就越令人印象深刻。我通常从 340x512 或 512x768 开始。
- Detail::细节添加程度
- Blur:模糊添加程度
- Smooth:光滑添加程度
- Contour::是否产生描边图
- Sharpness:清晰度/锐度
- Brightness:亮度
- Color:色彩
- Contrast:对比度
- Img2Img Settings
- 这里的参数我们就设置默认
- 最后点击生成
- 效果如下
- 可以看到新生成的图是在原图的基础上进行的二次创作

- 生成的模型都放在outputs文件夹下面,风格都是比较类似的,可以从中挑选自己比较满意的图片
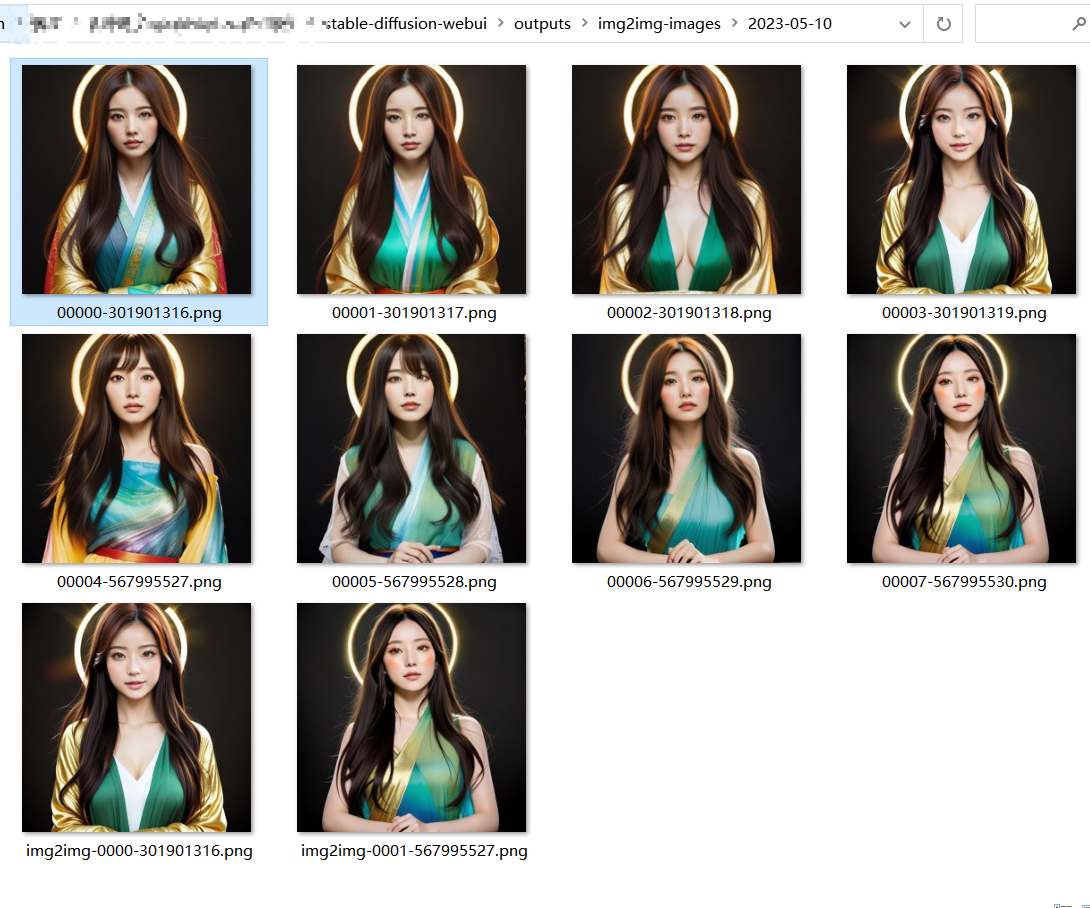
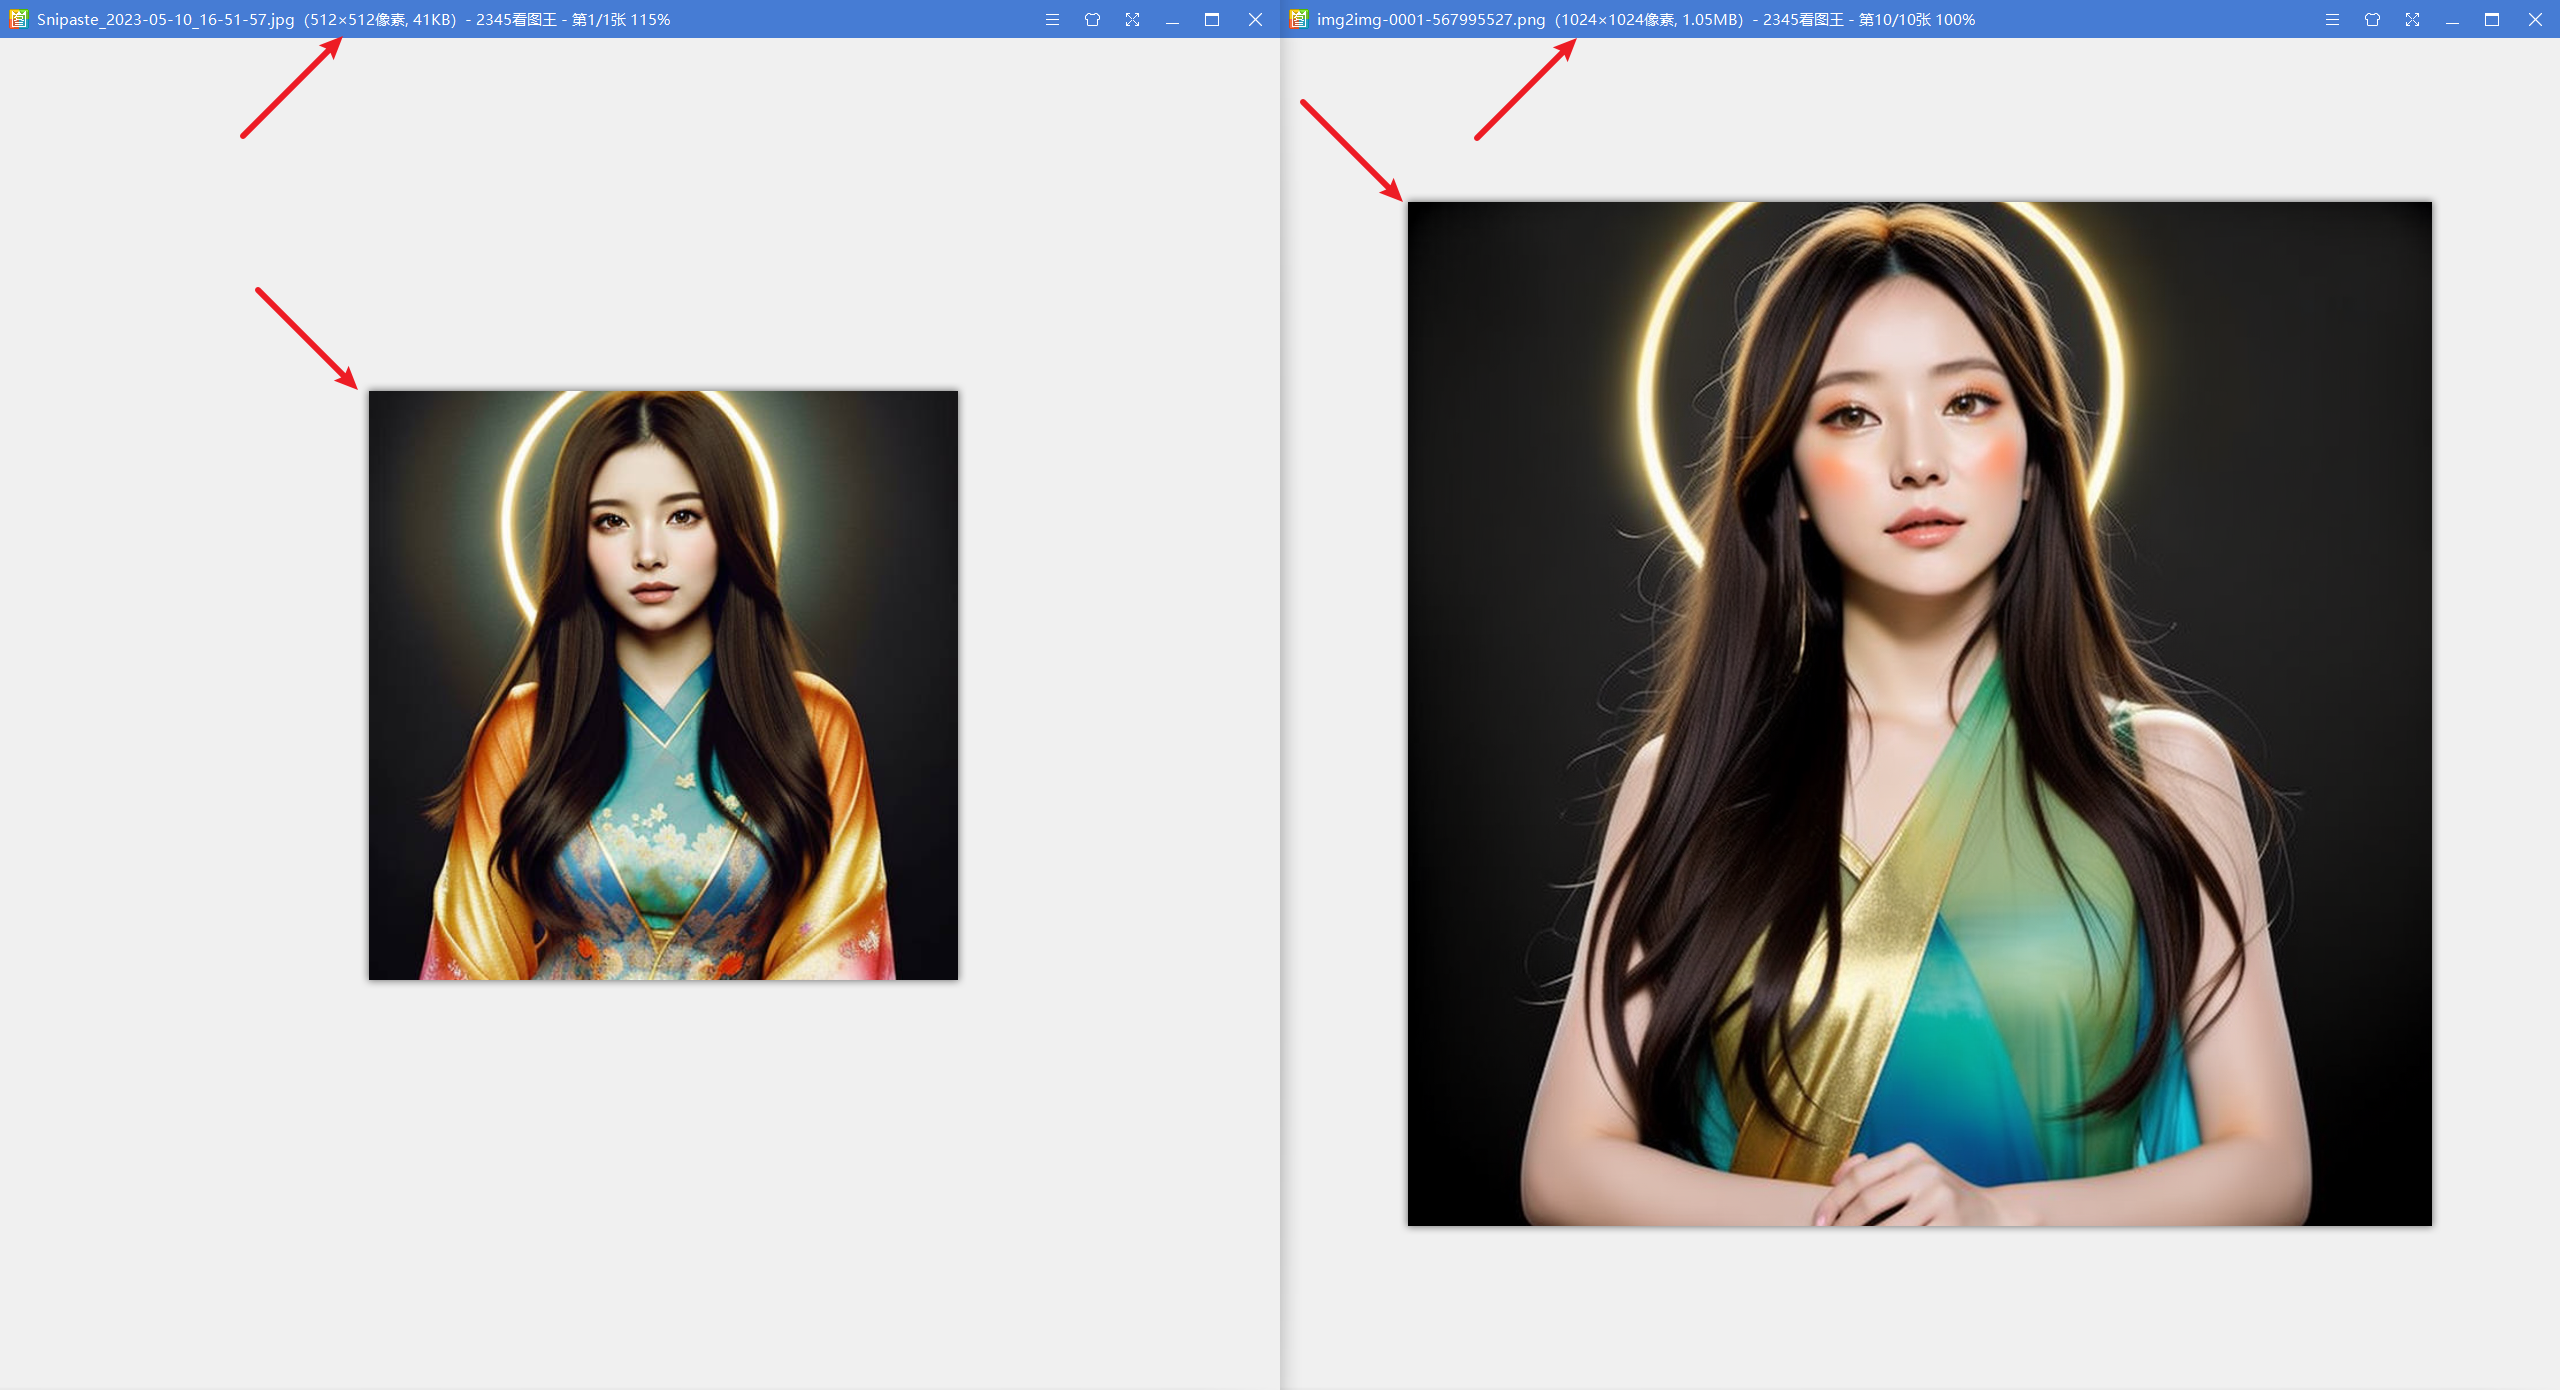
- 从下面的对比图我们可以看到,新图比原图分辨率更高,而且细节更加饱满

