spring boot starter 编写自己的starter
陈钊
2023-5-1
源码地址: https://gitcode.net/qq_39339588/my-spring-boot-starter.git
封装my-spring-boot-starter
- 新建springboot工程,来封装为自己的spring-boot-starter
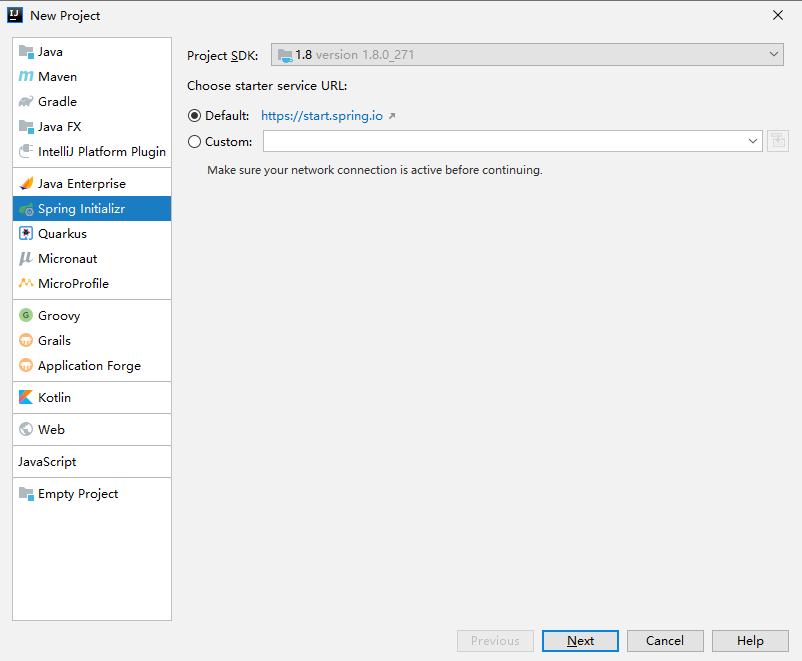
-
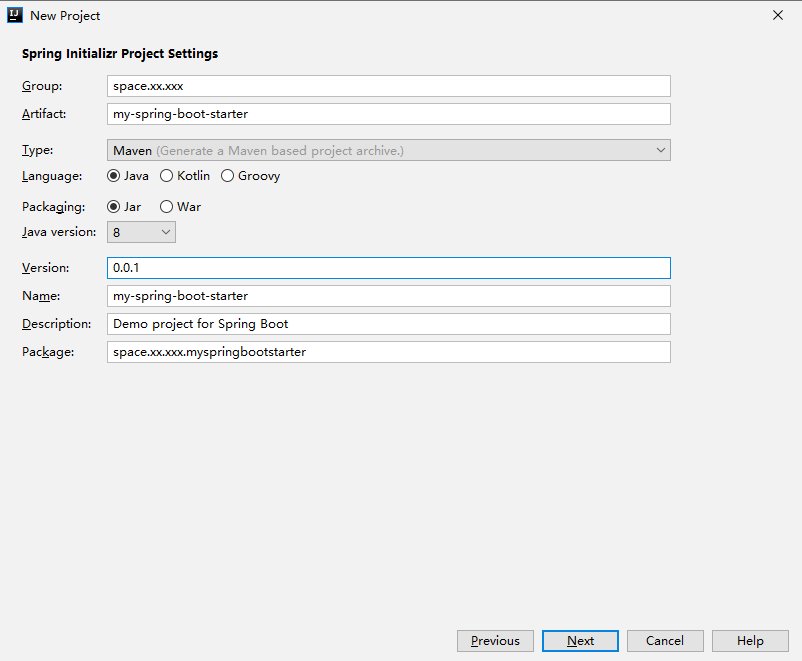
包名,随便写,这里没有什么限制
版本号设置为0.0.1,方便后期依赖使用
- 依赖,选择基础的几个就行
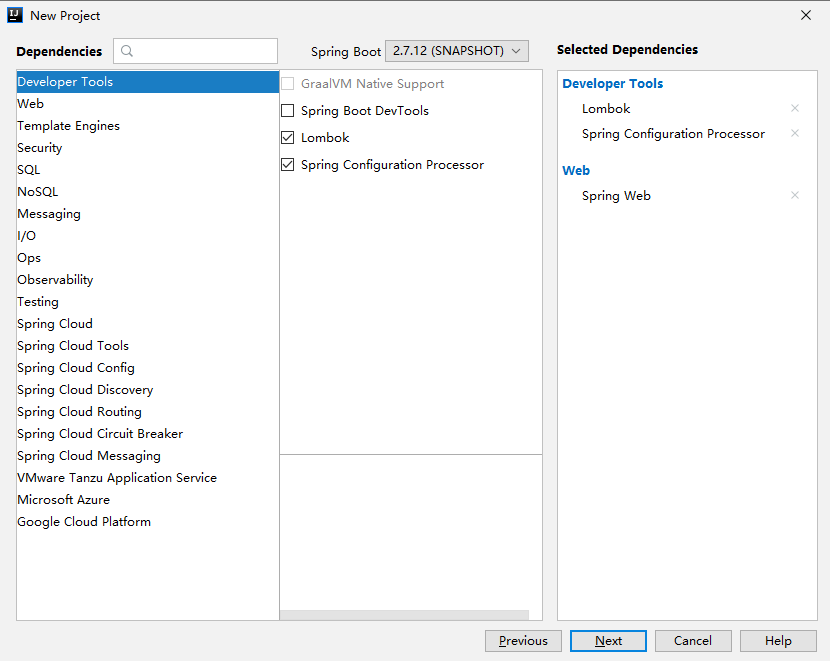
- 项目是用来创建封装自己的starter,不需要打包插件,删除pom.xml中无用的内容

-
注意看lombok依赖,去掉optional
<dependency> <groupId>org.projectlombok</groupId> <artifactId>lombok</artifactId> <!-- 这个去掉,不然会不向下传递--> <!-- <optional>true</optional>--> </dependency> -
项目是用来创建封装自己的starter,删除启动类和测试相关的
[外链图片转存失败,源站可能有防盗链机制,建议将图片保存下来直接上传(img-TxkUYcSM-1682945752378)(images/image-20230501173330189.png)]
- 只剩下了空架子,如图
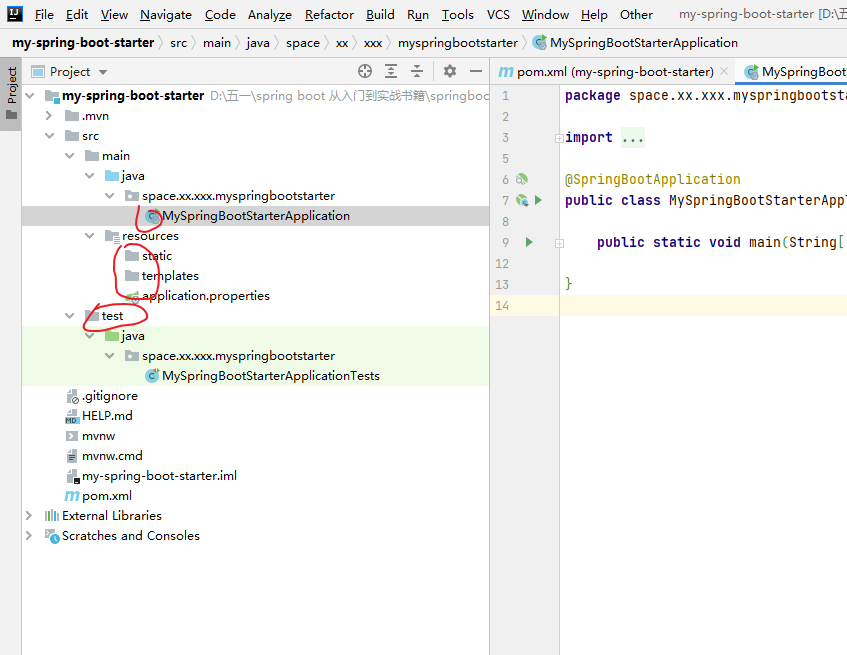
- 创建 自定义自动配置类,一会儿在spring.factories文件中会设置引导
package space.xx.xxx.myspringbootstarter.config;

import org.springframework.context.annotation.Configuration;

/**
* 我的-自定义的自动装配类;会由spring.factories文件引导
*
* @author chenzhao
* @create 2023-05-01 17:35
*/
@Configuration
public class MyEnableAutoConfiguration {
   //TODO 一会儿添加内容
}
- 创建spring.factories引导文件
在resources文件夹下,新创建META-INF文件夹,在其中新建spring.factories文件
配置指向"MyEnableAutoConfiguration"类
org.springframework.boot.autoconfigure.EnableAutoConfiguration=space.xx.xxx.myspringbootstarter.config.MyEnableAutoConfiguration
- 创建配置文件的类MyProperties, 别的工程依赖后,会读取别的工程中my开头的配置文件
package space.xx.xxx.myspringbootstarter.config;

import lombok.Data;
import org.springframework.boot.context.properties.ConfigurationProperties;

/**
* 配置文件类,装配数据
* @author chenzhao
* @create 2023-05-01 17:45
*/
@Data
@ConfigurationProperties(prefix = "my")
public class MyProperties {
   private String name;
   private Integer age;
}
- 创建service层,使用配置类的配置参数
package space.xx.xxx.myspringbootstarter.service;

import lombok.AllArgsConstructor;

/**
* 封装service,方便其他注入使用
* @author chenzhao
* @create 2023-05-01 14:40
*/
@AllArgsConstructor
public class MyService {
   private String name;
   public String sayName(){
       return this.name;
   }
}
- 编辑完善MyEnableAutoConfiguration,引入MyProperties.class,注入MyService
package space.xx.xxx.myspringbootstarter.config;

import org.springframework.boot.autoconfigure.condition.ConditionalOnProperty;
import org.springframework.boot.context.properties.EnableConfigurationProperties;
import org.springframework.context.annotation.Bean;
import org.springframework.context.annotation.Configuration;
import space.xx.xxx.myspringbootstarter.service.MyService;

/**
* 我的-自定义的自动装配类;会由spring.factories文件引导
*
* @author chenzhao
* @create 2023-05-01 17:35
*/
@Configuration
@EnableConfigurationProperties(MyProperties.class)
@ConditionalOnProperty("my.name")
public class MyEnableAutoConfiguration {
   /**
    * 装配 MyService
    * @param myProperties
    * @return
    */
   @Bean
   public MyService my2Service(MyProperties myProperties){
       return new MyService(myProperties.getName());
   }
}
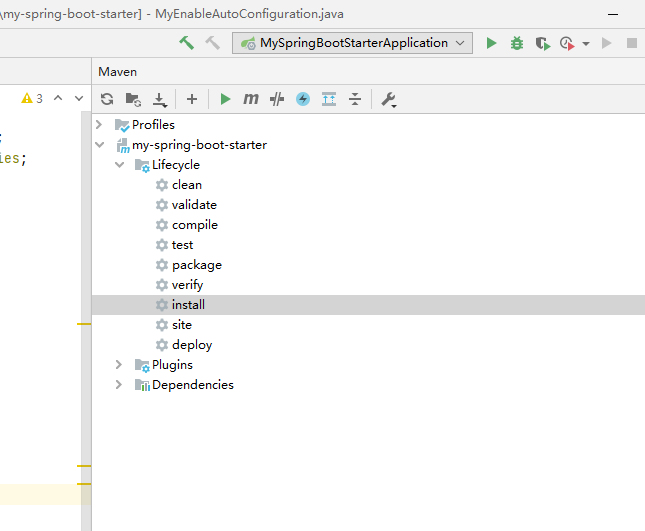
- 部署到本地maven仓库install一下,会把创建的my-starter打包到maven仓库,其他工程就可以找到这个了。
新建其他spring-boot项目,依赖验证
- 新建springboot工程,默认不依赖任何包
- 依赖my-spring-boot-starter包
<dependencies>
   <dependency>
       <groupId>space.xx.xxx</groupId>
       <artifactId>my-spring-boot-starter</artifactId>
       <version>0.0.1</version>
   </dependency>
</dependencies>
- 配置文件中application.properties,设置name
my.name=goldchen
-
编写测试接口
package space.goldchen.my.mytest.rest; import lombok.RequiredArgsConstructor; import org.springframework.web.bind.annotation.GetMapping; import org.springframework.web.bind.annotation.RestController; import space.xx.xxx.myspringbootstarter.service.MyService; /** * @author chenzhao * @create 2023-05-01 12:05 */ @RestController @RequiredArgsConstructor public class HiRest { private final MyService myService; @GetMapping("hi") public String say(){ return myService.sayName(); } } -
调用接口,MyService可以直接注入使用了,并且配置中的name也读取过来了

-
大功告成


![[优雅的面试]MySQL与Redis双写一致性方案](https://img-blog.csdnimg.cn/img_convert/0fe744b099af749d7152388df99fefce.png)


