目录
一.通知概述
通知简介
通知业务流程
广播的类型
接口说明
开发前期准备
二.发送普通文本类型通知
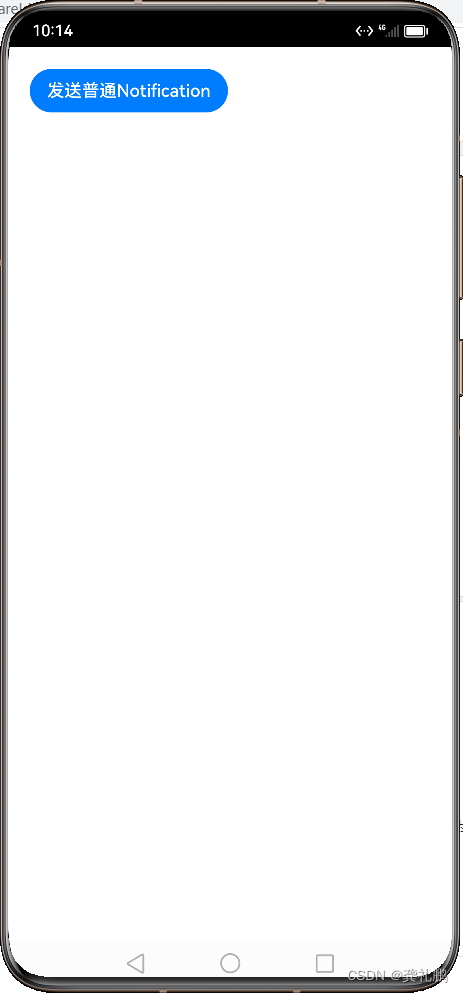
1.先初始化广播的请求request
2.然后发送广播
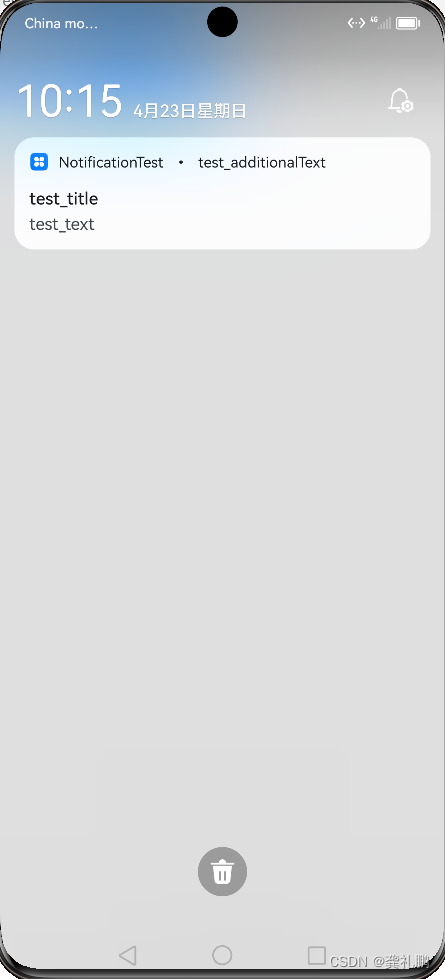
3.显示效果如下
三.发送长文本类型广播
1.构建发送广播的参数request
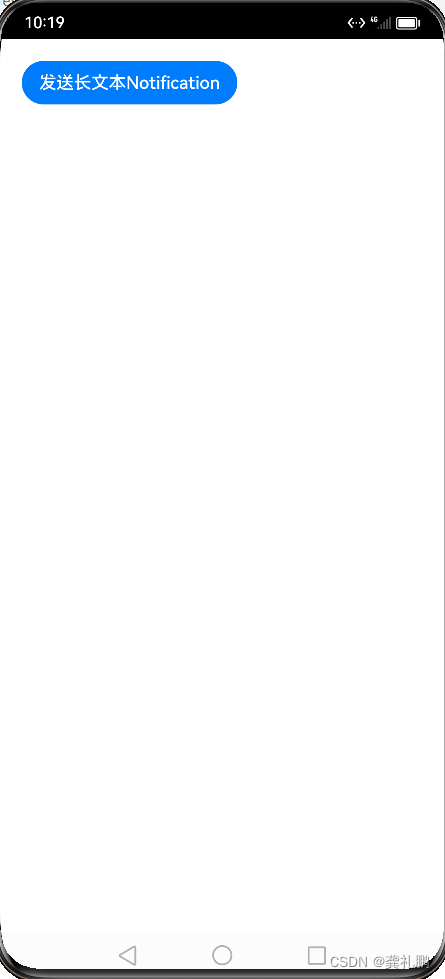
2.然后发送广播
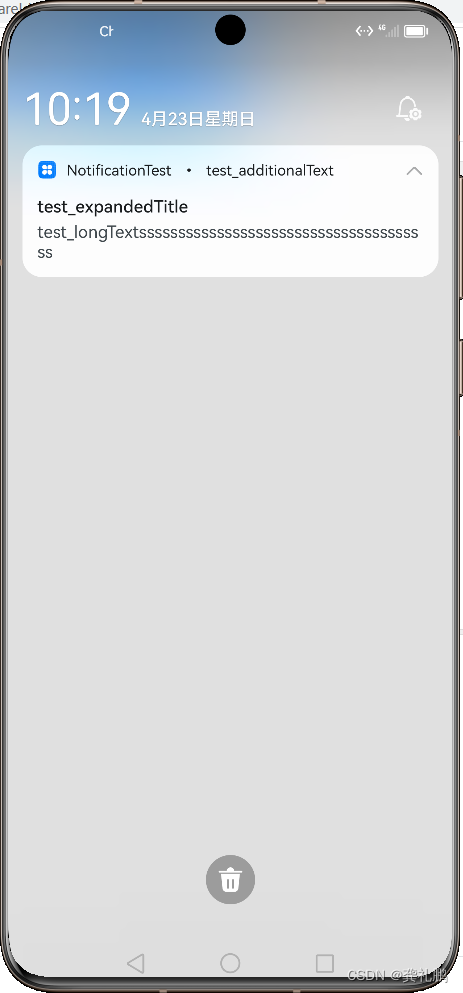
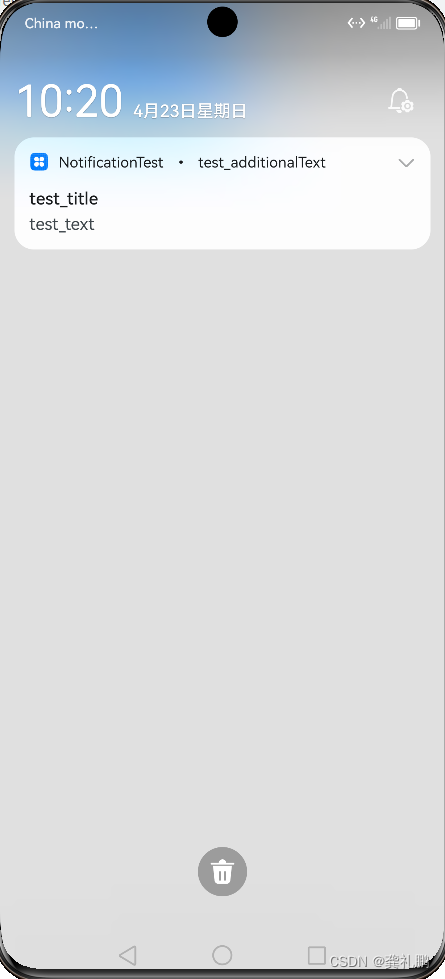
3.显示效果如下
注意事项
四.发送多行文本类型广播
1.构建发送广播的参数request
2.发送广播
3.显示效果
注意事项
五.发送图片类型广播
代码
显示效果
六.发送意图类型广播
1.创建wantAgent字段
2.构建发送广播的参数request
3.发送广播
4.显示结果
一.通知概述
通知简介
应用可以通过通知接口发送通知消息,终端用户可以通过通知栏查看通知内容,也可以点击通知来打开应用。
通知常见的使用场景:
-
显示接收到的短消息、即时消息等。
-
显示应用的推送消息,如广告、版本更新等。
-
显示当前正在进行的事件,如下载等。
HarmonyOS通过ANS(Advanced Notification Service,通知系统服务)对通知类型的消息进行管理,支持多种通知类型,如基础类型通知、进度条类型通知。
通知业务流程
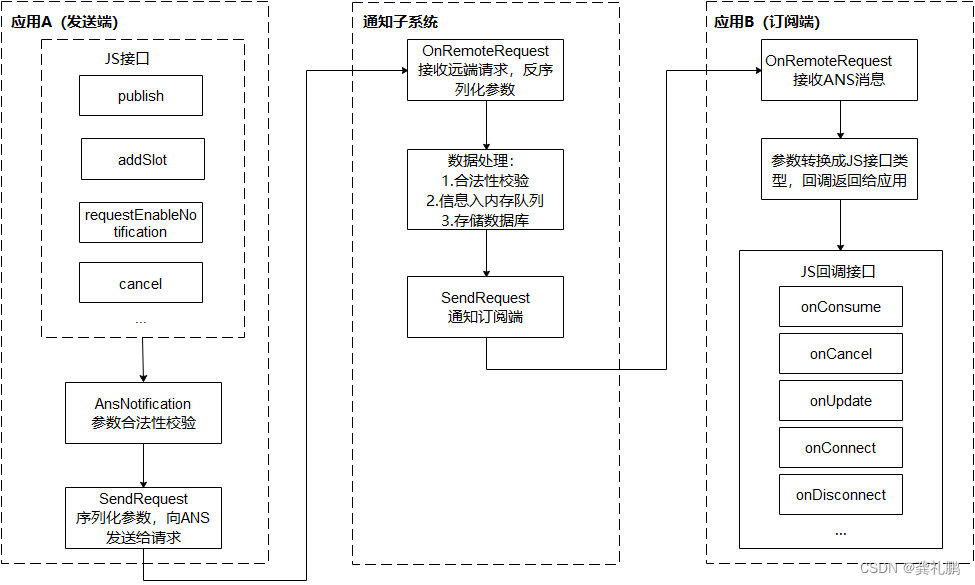
通知业务流程由通知子系统、通知发送端、通知订阅端组成。
一条通知从通知发送端产生,通过IPC通信发送到通知子系统,再由通知子系统分发给通知订阅端。
系统应用还支持通知相关配置,如使能开关、配置参数由系统配置发起请求,发送到通知子系统存储到内存和数据库。
广播的类型
- NOTIFICATION_CONTENT_BASIC_TEXT:普通文本类型
- NOTIFICATION_CONTENT_LONG_TEXT:长文本类型
- NOTIFICATION_CONTENT_MULTILINE:多行文本类型
- NOTIFICATION_CONTENT_PICTURE:图片类型
广播的类型主要分为普通文本类型,发送普通的文本广播;长文本类型,发送长文本类型的广播;多行文本类型,可以将文字多行显示发送广播;发送图片类型的广播。
接口说明
通知发布接口如下表所示,不同发布类型通知由NotificationRequest的字段携带不同的信息。
| 接口名 | 描述 |
|---|
| publish(request: NotificationRequest, callback: AsyncCallback<void>): void | 发布通知。 |
| cancel(id: number, label: string, callback: AsyncCallback<void>): void | 取消指定的通知。 |
| cancelAll(callback: AsyncCallback<void>): void; | 取消所有该应用发布的通知。 |
开发前期准备
导包
| import NotificationManager from '@ohos.notificationManager';
|
二.发送普通文本类型通知
1.先初始化广播的请求request
| let notificationRequest = {
id: 1,
content: {
contentType: NotificationManager.ContentType.NOTIFICATION_CONTENT_BASIC_TEXT, // 普通文本类型通知
normal: {
title: 'test_title', //标题,必选项
text: 'test_text', //内容,必选项
additionalText: 'test_additionalText', //附加信息,非必选
}
}
}
|
2.然后发送广播
| @Entry
@Component
struct Index {
build() {
Row() {
Column() {
Button("发送普通Notification").onClick(_ => {
NotificationManager.publish(notificationRequest, (err) => {
if (err) {
console.error(`[ANS] failed to publish, error[${err}]`);
return;
}
console.info(`[ANS] publish success`);
});
}).margin({ bottom: 20 })
}.alignItems(HorizontalAlign.Start).padding(20)
.width('100%')
}.alignItems(VerticalAlign.Top)
.height('100%')
}
}
|
3.显示效果如下
 点击发送普通广播按钮后下拉通知栏
三.发送长文本类型广播
长文本类型通知继承了普通文本类型的字段,同时新增了长文本内容、内容概要和通知展开时的标题。通知默认显示与普通文本相同,展开后,标题显示为展开后标题内容,内容为长文本内容。
1.构建发送广播的参数request
| let notificationRequestLong = {
id: 2,
content: {
contentType: NotificationManager.ContentType.NOTIFICATION_CONTENT_LONG_TEXT, // 长文本类型通知
longText: {
title: 'test_title',
text: 'test_text',
additionalText: 'test_additionalText',
longText: 'test_longTextssssssssssssssssssssssssssssssssssssss',
briefText: 'test_briefText',
expandedTitle: 'test_expandedTitle',
}
}
}
|
2.然后发送广播
| @Entry
@Component
struct Index {
build() {
Row() {
Column() {
Button("发送长文本Notification").onClick(_ => {
NotificationManager.publish(notificationRequestLong, (err) => {
if (err) {
console.error(`[ANS] failed to publish, error[${err}]`);
return;
}
console.info(`[ANS] publish success`);
});
}).margin({ bottom: 20 })
}.alignItems(HorizontalAlign.Start).padding(20)
.width('100%')
}.alignItems(VerticalAlign.Top)
.height('100%')
}
}
|
3.显示效果如下
 点击按钮后然后下拉通知栏显示效果
注意事项
- 目前测试发现长文本要足够长,如果不够长则只会显示出长文本内容,普通文本内容显示不出来
四.发送多行文本类型广播
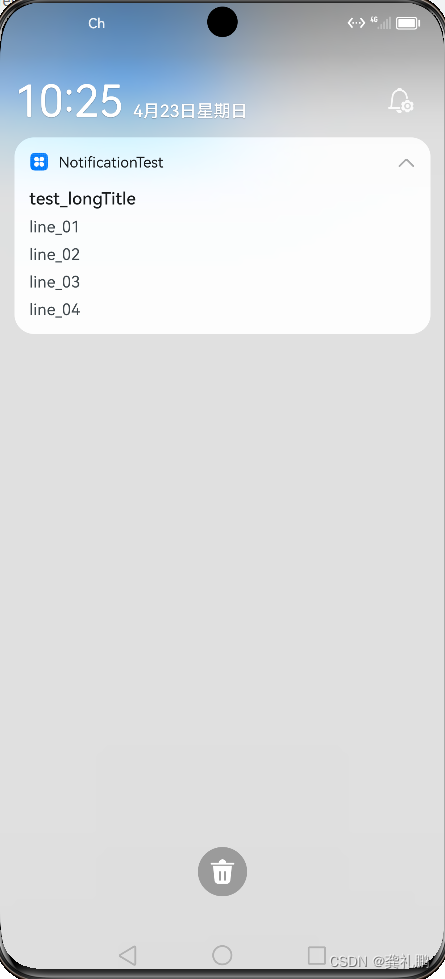
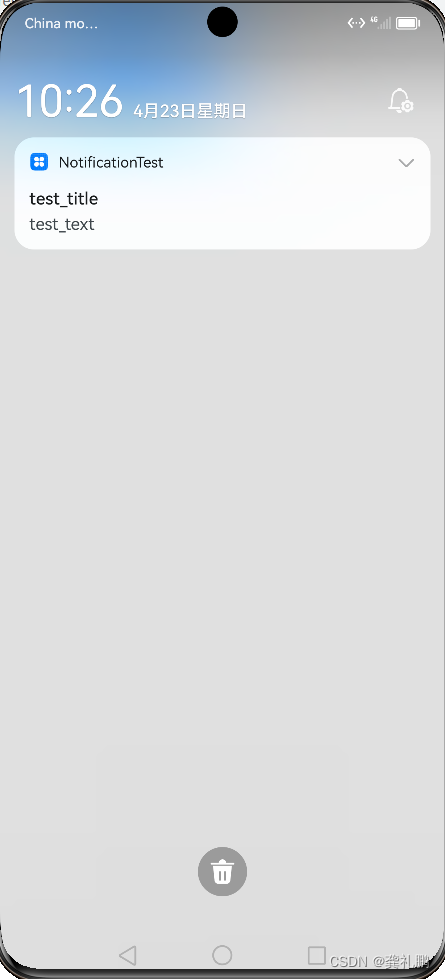
多行文本类型通知继承了普通文本类型的字段,同时新增了多行文本内容、内容概要和通知展开时的标题。通知默认显示与普通文本相同,展开后,标题显示为展开后标题内容,多行文本内容多行显示。
1.构建发送广播的参数request
| let notificationRequestLines = {
id: 3,
content: {
contentType: NotificationManager.ContentType.NOTIFICATION_CONTENT_MULTILINE, // 多行文本类型通知
multiLine: {
title: 'test_title',
text: 'test_text',
briefText: 'test_briefText',
longTitle: 'test_longTitle',
lines: ['line_01', 'line_02', 'line_03', 'line_04'],
}
}
}
|
2.发送广播
| @Entry
@Component
struct Index {
build() {
Row() {
Column() {
Button("发送多行Notification").onClick(_ => {
NotificationManager.publish(notificationRequestLines, (err) => {
if (err) {
console.error(`[ANS] failed to publish, error[${err}]`);
return;
}
console.info(`[ANS] publish success`);
});
}).margin({ bottom: 20 })
}.alignItems(HorizontalAlign.Start).padding(20)
.width('100%')
}.alignItems(VerticalAlign.Top)
.height('100%')
}
}
|
3.显示效果
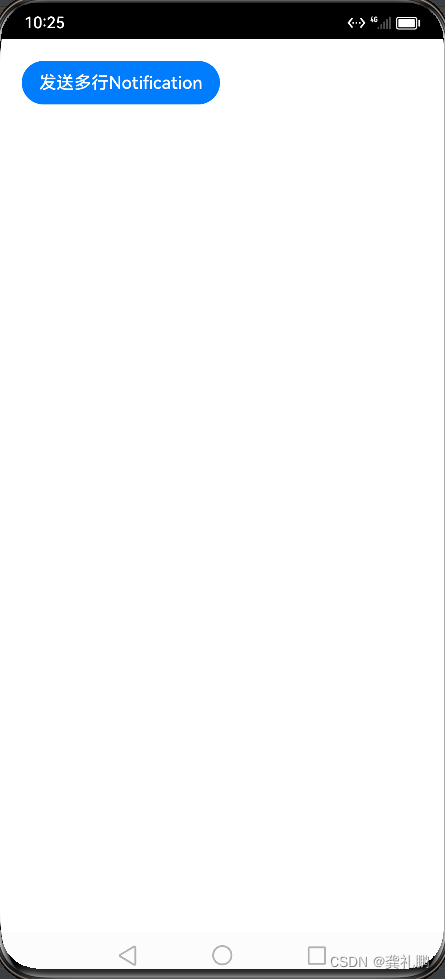 点击后下拉通知栏
注意事项
- 如果文本只有一行,会只显示出多行文本类型的内容,不显示普通文本类型的内容
五.发送图片类型广播
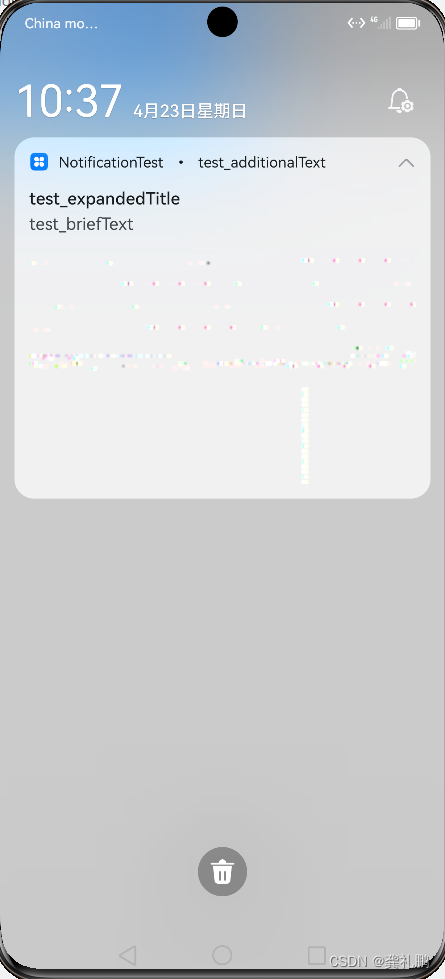
图片类型通知继承了普通文本类型的字段,同时新增了图片内容、内容概要和通知展开时的标题,图片内容为PixelMap型对象,其大小不能超过2M。
代码
| @Entry
@Component
struct Index {
build() {
Row() {
Column() {
Button("发送Image Notification").onClick(_ => {
// 图片构造
const color = new ArrayBuffer(60000);
let bufferArr = new Uint8Array(color);
for (var i = 0; i<bufferArr.byteLength;i++) {
bufferArr[i++] = 60;
bufferArr[i++] = 20;
bufferArr[i++] = 220;
bufferArr[i] = 100;
}
let opts = { editable:true, pixelFormat:image.PixelMapFormat.RGBA_8888,size: {height:100, width : 150}};
image
.createPixelMap(color, opts)
.then( value => {
value.getImageInfo().then(imageInfo => {
console.log("=====size: ====" + JSON.stringify(imageInfo.size));
}).catch(err => {
console.error("Failed to obtain the image pixel map information." + JSON.stringify(err));
return;
})
let notificationRequest = {
id: 1,
content: {
contentType: NotificationManager.ContentType.NOTIFICATION_CONTENT_PICTURE,
picture: {
title: 'test_title',
text: 'test_text',
additionalText: 'test_additionalText',
picture: value,
briefText: 'test_briefText',
expandedTitle: 'test_expandedTitle',
}
},
}
// 发送通知
NotificationManager.publish(notificationRequest, (err) => {
if (err) {
console.error(`[ANS] failed to publish, error[${err}]`);
return;
}
console.info(`[ANS] publish success `);
});
}).catch(err=>{
console.error('create pixelmap failed =========='+ JSON.stringify(err));
return;
})
}).margin({ bottom: 20 })
}.alignItems(HorizontalAlign.Start).padding(20)
.width('100%')
}.alignItems(VerticalAlign.Top)
.height('100%')
}
}
|
显示效果
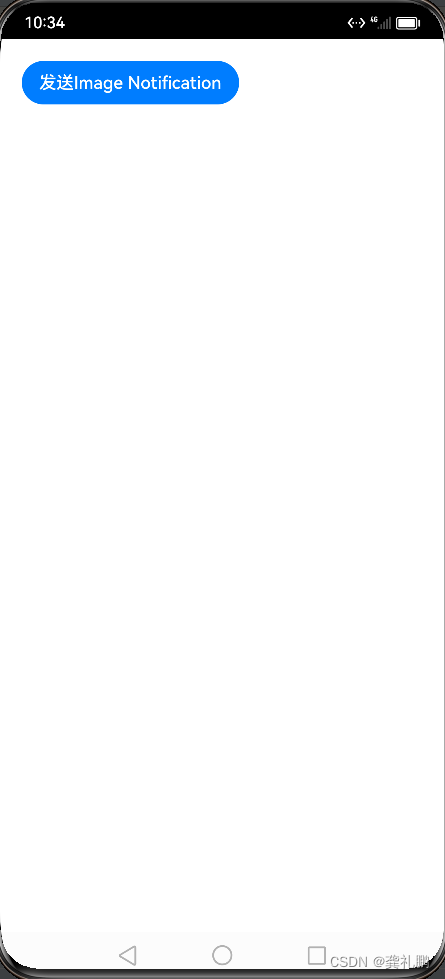 点击按钮后下拉通知栏显示
六.发送意图类型广播
意图类型的广播就是发送后可以点击并跳转到页面的广播,意图类型通知继承了普通文本类型的字段,同时新增了wantAgent字段,此参数的跳转到哪个页面的意思
1.创建wantAgent字段
| // 通过WantAgentInfo的operationType设置动作类型。
let wantAgentInfoDisplay = {
wants: [
{
deviceId: '',
bundleName: 'com.example.notificationtest',
abilityName: 'MainAbility'
}
],
operationType: wantAgent.OperationType.START_ABILITY,
requestCode: 0,
wantAgentFlags: [wantAgent.WantAgentFlags.CONSTANT_FLAG]
}
|
| @Entry
@Component
struct NotificationWantAgent {
@State message: string = 'Hello World'
build() {
Row() {
Column() {
Button("意图通知").onClick(_ => {
// 创建WantAgent
wantAgent.getWantAgent(wantAgentInfoDisplay, (err, data) => {
if (err) {
console.error('[WantAgent]getWantAgent err=' + JSON.stringify(err));
} else {
console.info('[WantAgent]getWantAgent success');
}
});
})
}.padding(20).alignItems(HorizontalAlign.Start)
.width('100%')
}
.height('100%').alignItems(VerticalAlign.Top)
}
}
|
如上得到的data就是wantAgent参数
2.构建发送广播的参数request
| let notificationRequest = {
content: {
contentType: NotificationManager.ContentType.NOTIFICATION_CONTENT_BASIC_TEXT,
normal: {
title: 'Test_Title',
text: 'Test_Text',
additionalText: 'Test_AdditionalText',
},
},
id: 6,
label: 'TEST',
wantAgent: data,
}
|
3.发送广播
| // 通知发送
NotificationManager.publish(notificationRequest, (err) => {
if (err) {
console.error(`[ANS] failed to publish, error[${err}]`);
return;
}
console.info(`[ANS] publish success `);
});
|
4.显示结果
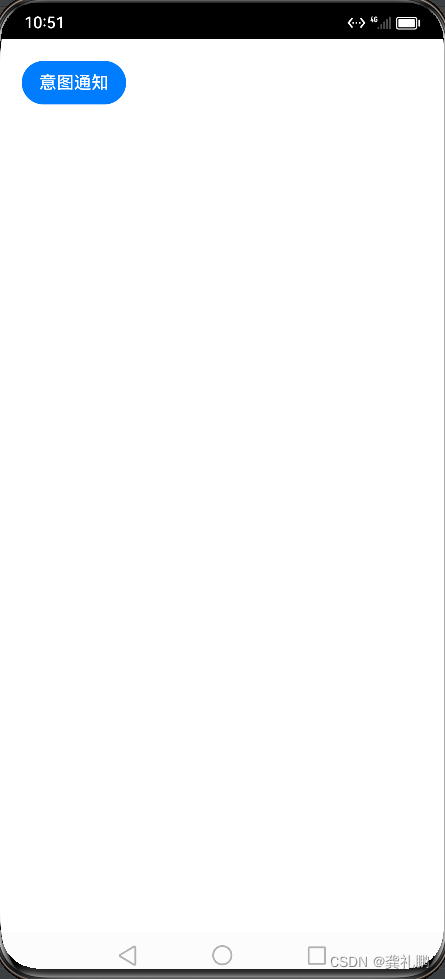 点击后下拉通知栏点击通知栏
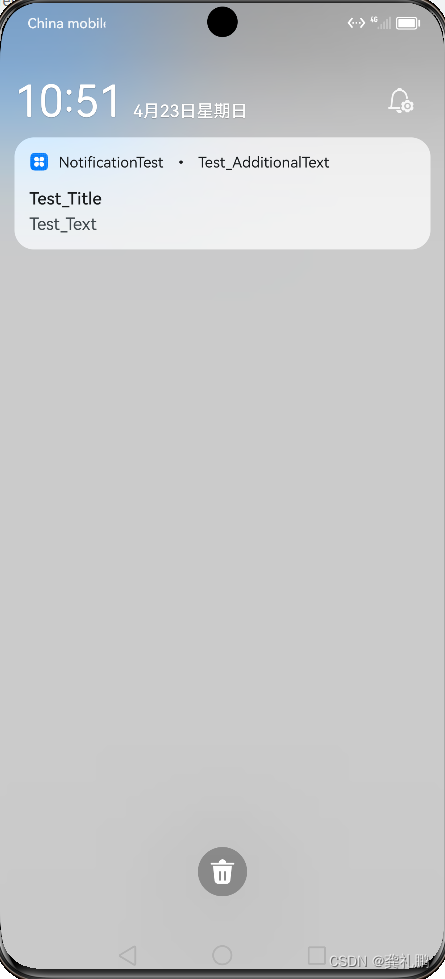

 点击发送普通广播按钮后下拉通知栏
 点击按钮后然后下拉通知栏显示效果

 点击后下拉通知栏

 点击按钮后下拉通知栏显示
 点击后下拉通知栏点击通知栏

