使用环境参考
Node.js v16.19.1
正文
跟着文档画个线
看看 Three 的官方文档,起步 -> 画线 -> 没了?!!
不管怎么说,先画个线吧。
import * as THREE from 'three'

const scene = new THREE.Scene()
const camera = new THREE.PerspectiveCamera(
    75,
    window.innerWidth / window.innerHeight,
    0.1,
    1000
)
const renderer = new THREE.WebGLRenderer()
renderer.setSize(window.innerWidth, window.innerHeight)
document.body.appendChild(renderer.domElement)

const points = []
points.push(new THREE.Vector3(-1, 0, 0))
points.push(new THREE.Vector3(0, 1, 0))
points.push(new THREE.Vector3(1, 0, 0))

// 根据三个点,构建一个形状
const geometry = new THREE.BufferGeometry().setFromPoints(points)
// 红色的线材质
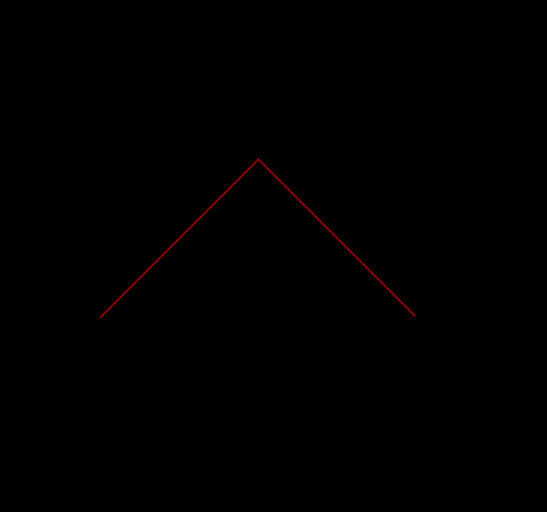
const material = new THREE.LineBasicMaterial({ color: 'red' })
const line = new THREE.Line(geometry, material)
scene.add(line)

// 改变摄像机的位置,离物体远点
camera.position.z = 5

const animate = () => {
    requestAnimationFrame(animate)
    renderer.render(scene, camera)
}
animate()

window.addEventListener('resize', () => {
    camera.aspect = window.innerWidth / window.innerHeight
    camera.updateProjectionMatrix()
    renderer.setSize(window.innerWidth, window.innerHeight)
})
然后执行 npm run start
模型展示
事实上在项目中基本用不上基础点、线。最直接的还是加载模型然后显示,在官方项目里搞一个 gltf 模型出来。
这里:https://github.com/mrdoob/three.js/raw/dev/examples/models/gltf/SheenChair.glb
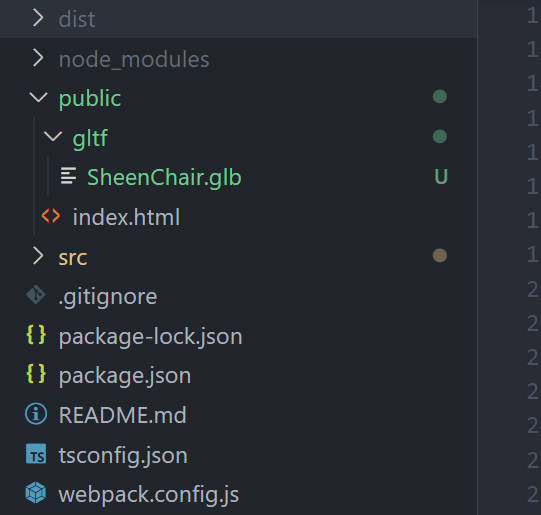
把资源放到 public 的 gltf 目录下
import * as THREE from 'three'
import { GLTFLoader } from 'three/examples/jsm/loaders/GLTFLoader'

const scene = new THREE.Scene()
scene.background = new THREE.Color('white')
const camera = new THREE.PerspectiveCamera(
    55,
    window.innerWidth / window.innerHeight,
    0.1,
    1000
)
camera.position.set(0, 3, 5)
camera.lookAt(new THREE.Vector3(0, 0, 0))
// 环境光
const light = new THREE.AmbientLight('white', 1.5)
scene.add(light)
const renderer = new THREE.WebGLRenderer({ antialias: true })
renderer.setSize(window.innerWidth, window.innerHeight)
document.body.appendChild(renderer.domElement)

const loader = new GLTFLoader()
loader.load('gltf/SheenChair.glb', (gltf) => {
    console.log(gltf)
    scene.add(gltf.scene)
})

const animate = () => {
    requestAnimationFrame(animate)
    renderer.render(scene, camera)
}
animate()

window.addEventListener('resize', () => {
    camera.aspect = window.innerWidth / window.innerHeight
    camera.updateProjectionMatrix()
    renderer.setSize(window.innerWidth, window.innerHeight)
})
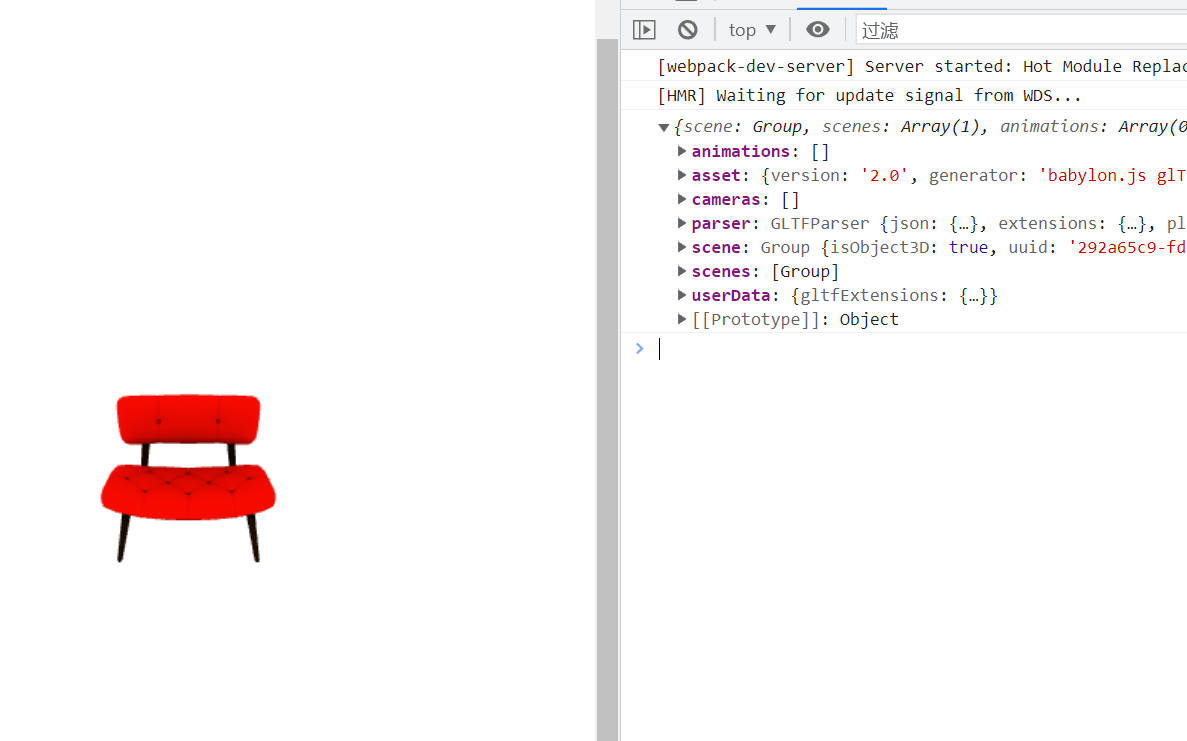
你会发现能直接加载模型资源文件,因为 public 目录被配置到了 webpack 中的 devServer 里,开发时直接就会变成根目录。
{
    devServer: {
        static: path.join(__dirname, 'public'),
        compress: true,
        port: 9000
    }
}
那打包时,会打包到 dist 目录,怎么把 public 的资源移到 dist 呢?
打包发布
安装插件 npm install copy-webpack-plugin --save-dev
然后配置一下 webpack.config.js
const path = require('path')
const TerserPlugin = require('terser-webpack-plugin')
const HtmlWebpackPlugin = require('html-webpack-plugin')
const CopyPlugin = require('copy-webpack-plugin')

module.exports = {
    entry: './src/index.ts',
    output: {
        filename: '[name].[fullhash:7].js',
        path: path.resolve(__dirname, 'dist'),
        clean: true
    },
    resolve: {
        extensions: ['.ts', '.js']
    },
    module: {
        rules: [
            {
                test: /\.ts$/,
                use: 'ts-loader',
                exclude: /node_modules/
            }
        ]
    },
    devServer: {
        static: path.join(__dirname, 'public'),
        compress: true,
        port: 9000
    },
    plugins: [
        new HtmlWebpackPlugin({
            template: './public/index.html'
        }),
        new CopyPlugin({
            patterns: [
                { from: './public/gltf', to: 'gltf' }
            ]
        })
    ],
    optimization: {
        minimize: true,
        minimizer: [
            new TerserPlugin({
                extractComments: false
            })
        ]
    }
}
加入控制器
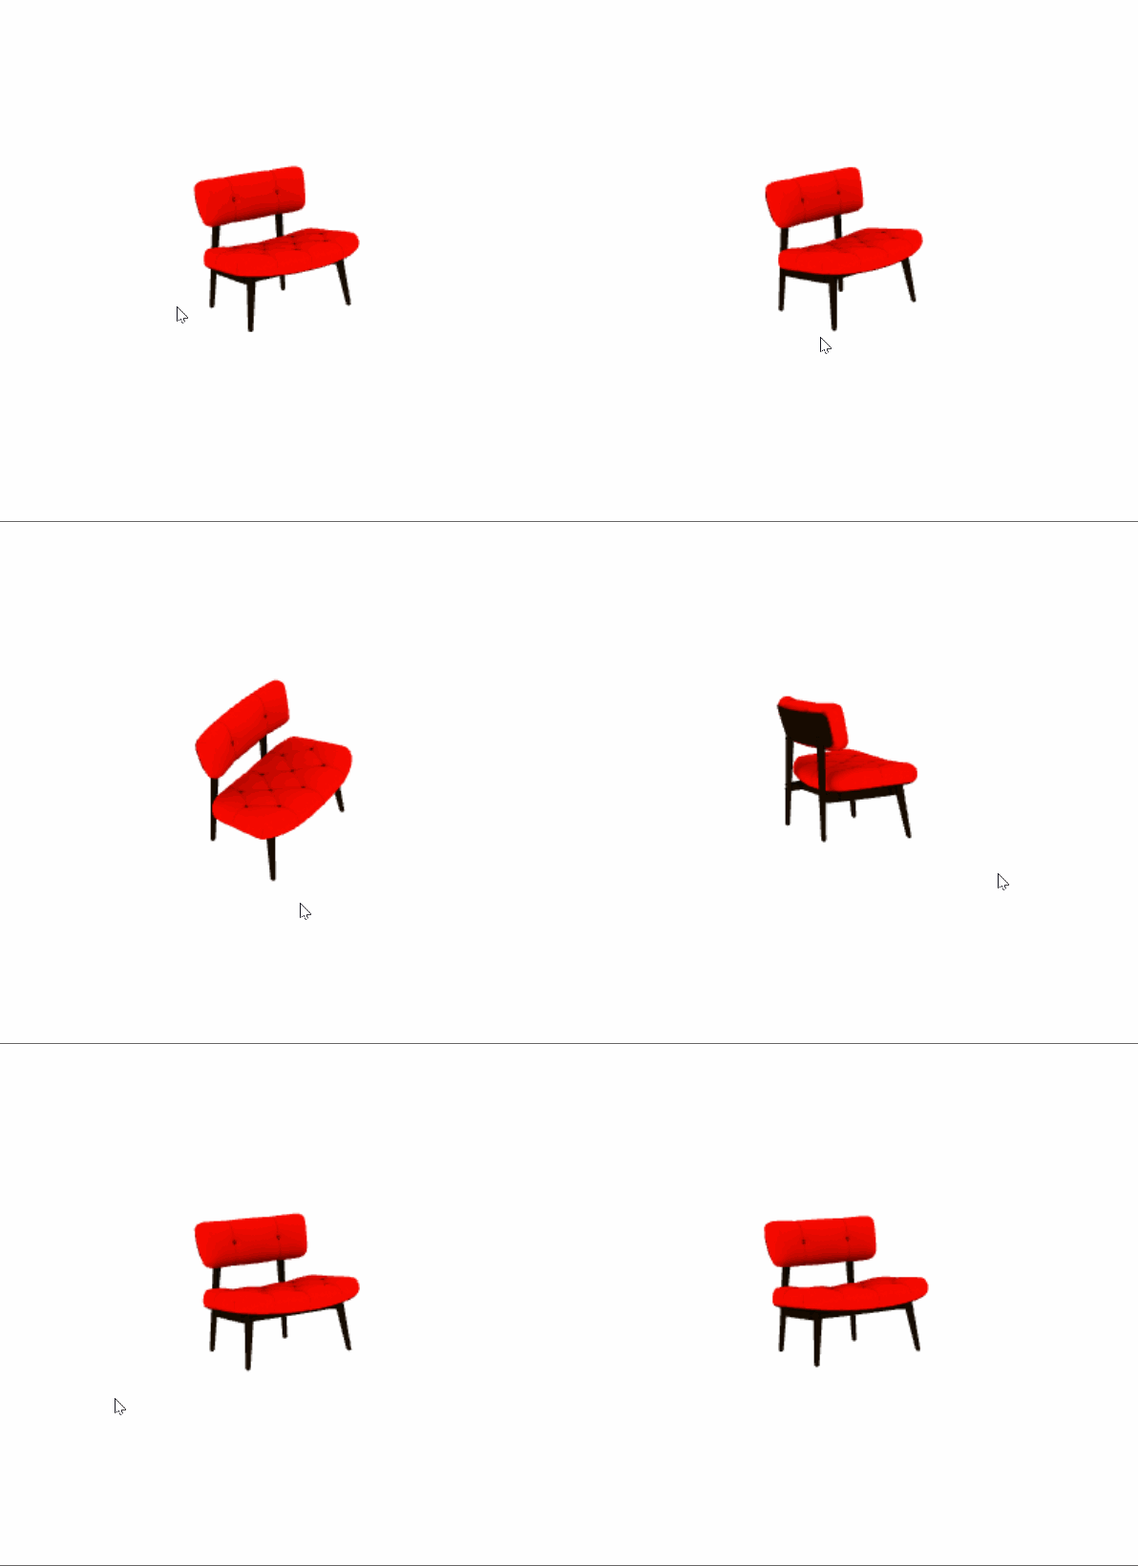
为了查看预览模型,可以加入轨道控制器(OrbitControls):
import * as THREE from 'three'
import { GLTFLoader } from 'three/examples/jsm/loaders/GLTFLoader'
import { OrbitControls } from 'three/examples/jsm/controls/OrbitControls'

const scene = new THREE.Scene()
scene.background = new THREE.Color('white')
const camera = new THREE.PerspectiveCamera(
    55,
    window.innerWidth / window.innerHeight,
    0.1,
    1000
)
camera.position.set(0, 3, 5)
camera.lookAt(new THREE.Vector3(0, 0, 0))
// 环境光
const light = new THREE.AmbientLight('white', 1.5)
scene.add(light)
const renderer = new THREE.WebGLRenderer({ antialias: true })
renderer.setSize(window.innerWidth, window.innerHeight)
document.body.appendChild(renderer.domElement)

const controls = new OrbitControls(camera, renderer.domElement)
controls.update()

// 自动旋转
controls.autoRotate = true
// 阻尼衰减
controls.enableDamping = true

const loader = new GLTFLoader()
loader.load('gltf/SheenChair.glb', (gltf) => {
    console.log(gltf)
    scene.add(gltf.scene)
})

const animate = () => {
    requestAnimationFrame(animate)
    // 如果不开启自动旋转/阻尼衰减,可以不每帧调用
    controls.update()
    renderer.render(scene, camera)
}
animate()

window.addEventListener('resize', () => {
    camera.aspect = window.innerWidth / window.innerHeight
    camera.updateProjectionMatrix()
    renderer.setSize(window.innerWidth, window.innerHeight)
})
更多文章与分享
Three 学习项目链接:https://github.com/KuoKuo666/threejs-study
个人网站:www.kuokuo666.com
2023!Day Day Up!
