Sentry安装使用(最全最细,包括解决邮箱发送问题,https上传问题,https访问问题,安装此教程配置即可)
##服务器操作系统为2核8G,CentOS7.9
##安装Docker-ce
yum install -y yum-utils \
  device-mapper-persistent-data \
  lvm2

yum-config-manager \
    --add-repo \
    https://download.docker.com/linux/centos/docker-ce.rep

yum install docker-ce


#配置/etc/docker/daemon.json

{
    "registry-mirrors": ["https://xxxxxx.mirror.aliyuncs.com"],
    "log-driver":"json-file",
    "log-opts": {"max-size":"10m", "max-file":"2"}
}
1.下载sentry源码包
git clone https://github.com/getsentry/self-hosted.git sentry1.1 如果服务器无法github,可以通过电脑访问,将源码以zip形式下载下来
1.2 选择Tags,下载所需版本
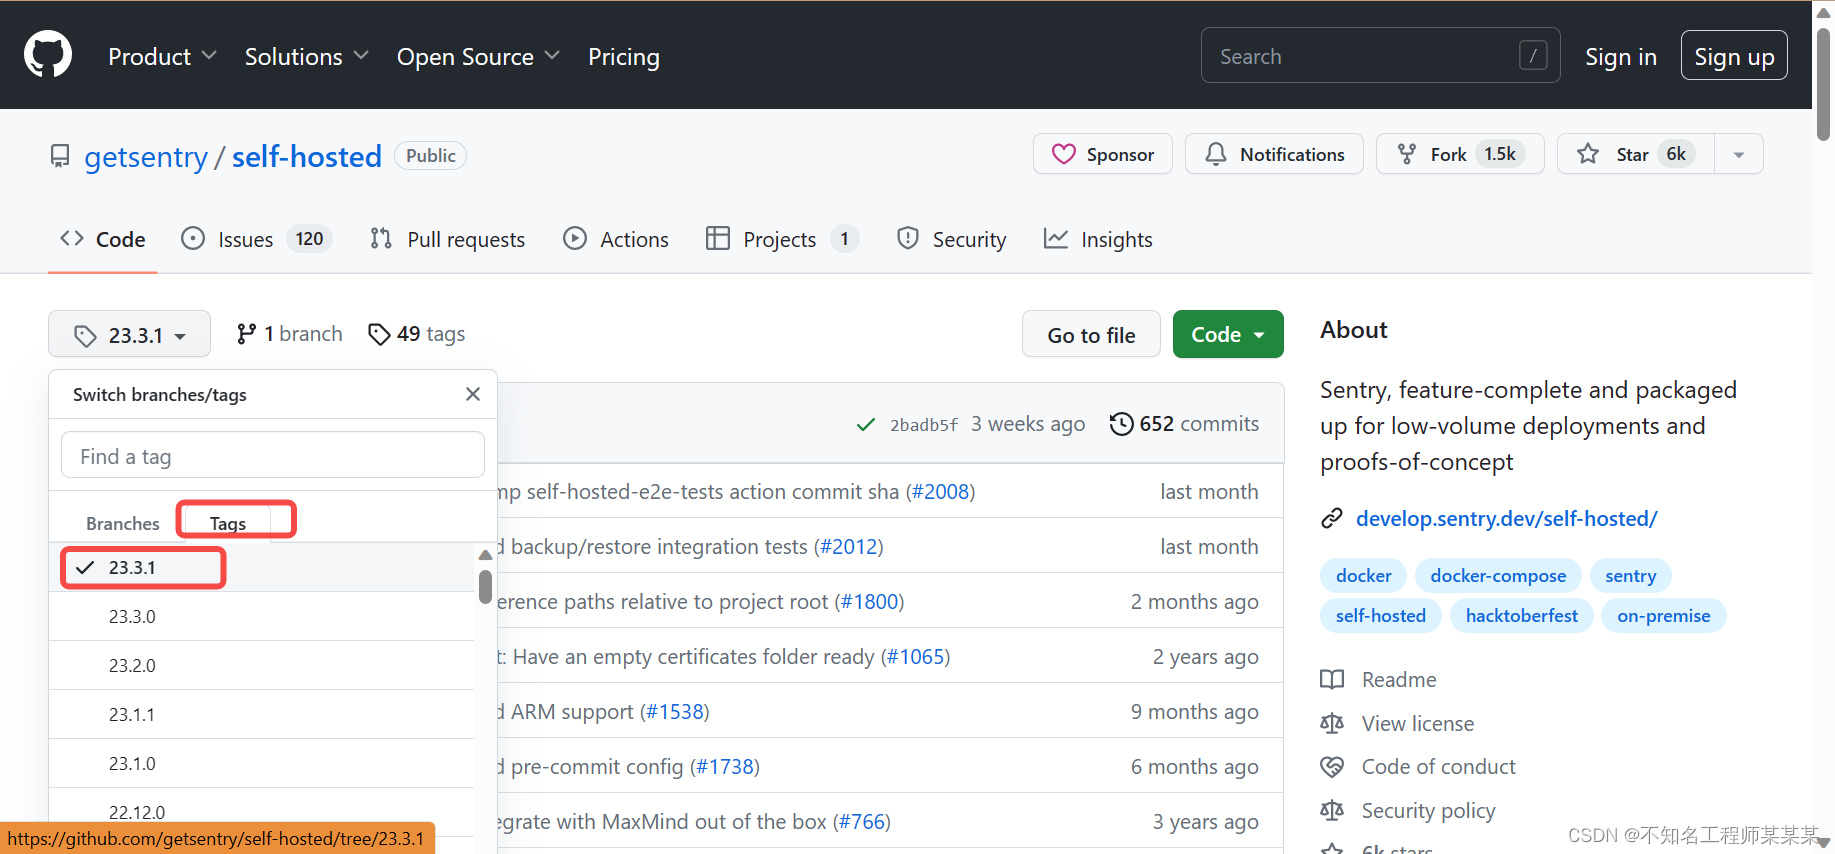
1.3 下载为Zip文件
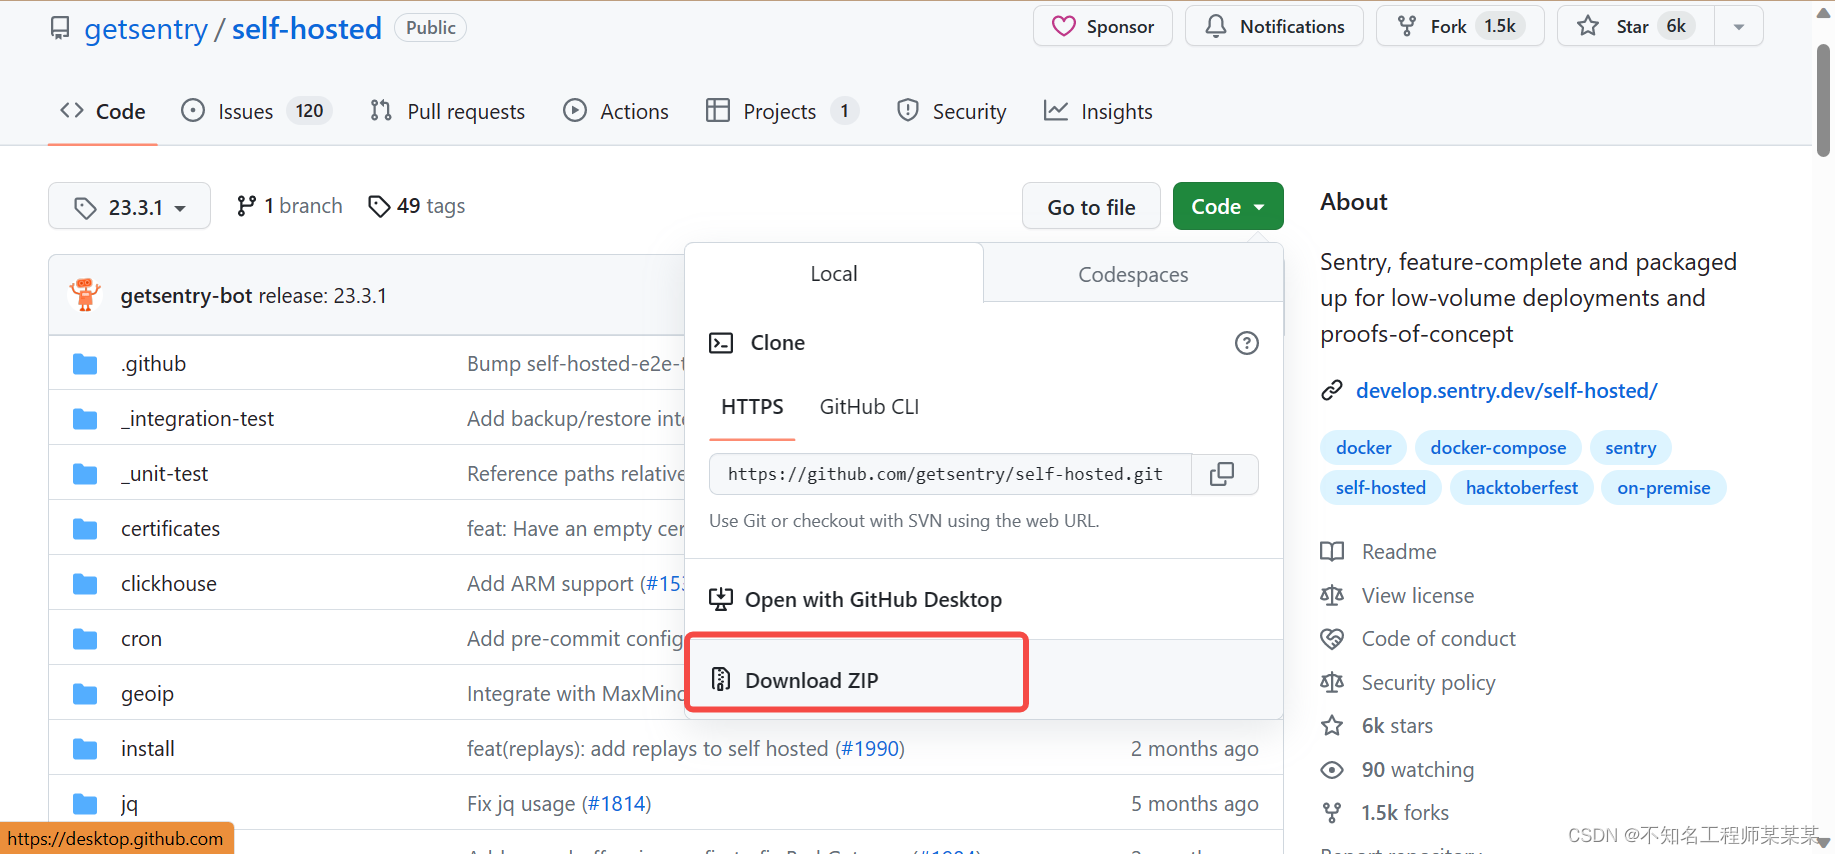
2.上传至服务器上/home目录下,并使用unzip进行解压
unzip self-hosted-23.3.1.zip3.编辑.env文件
SENTRY_EVENT_RETENTION_DAYS=7

SENTRY_BIND=9000
4.编辑sentry/config.example.yml,并添加邮箱相关配置
vi sentry/config.example.yml

#邮箱配置
mail.host: 'smtp.qq.com'
mail.port: 587
mail.username: 'xxxxxx@qq.com'
mail.password: 'xxxxxxxxxxx'
mail.use-tls: true
mail.use-ssl: false
mail.from: 'xxxxxx@qq.com'
注意:163邮箱不支持STARTTLS协议,所以不要使用163的邮箱,用qq邮箱进行邮件发送
5.编辑sentry/config.example.yml,并添加全局域名地址配置
system.url-prefix: 'https://sentry.xxx.com'
system.internal-url-prefix: 'https://sentry.xxx.com'
6.编辑sentry/requirements.example.txt,并添加内容
vi sentry/requirements.example.txt


django-smtp-ssl==1.0
7. 编辑sentry/sentry.conf.py,添加时区信息
vi sentry/sentry.conf.py


# 时区设置
SENTRY_DEFAULT_TIME_ZONE = 'Asia/Shanghai'
8. 编辑sentry/sentry.conf.py,添加对https支持信息,否则可能无法上报
#https配置,找到以下信息,取消注释

SECURE_PROXY_SSL_HEADER = ('HTTP_X_FORWARDED_PROTO', 'https')
SESSION_COOKIE_SECURE = True
CSRF_COOKIE_SECURE = True
SOCIAL_AUTH_REDIRECT_IS_HTTPS = True
9. 执行安装命令 ,过程会提示你是否要上传到他们官方服务器,选n,然后按提示创建一个管理员账号,最后耐心等待安装完成
./install.sh --skip-commit-check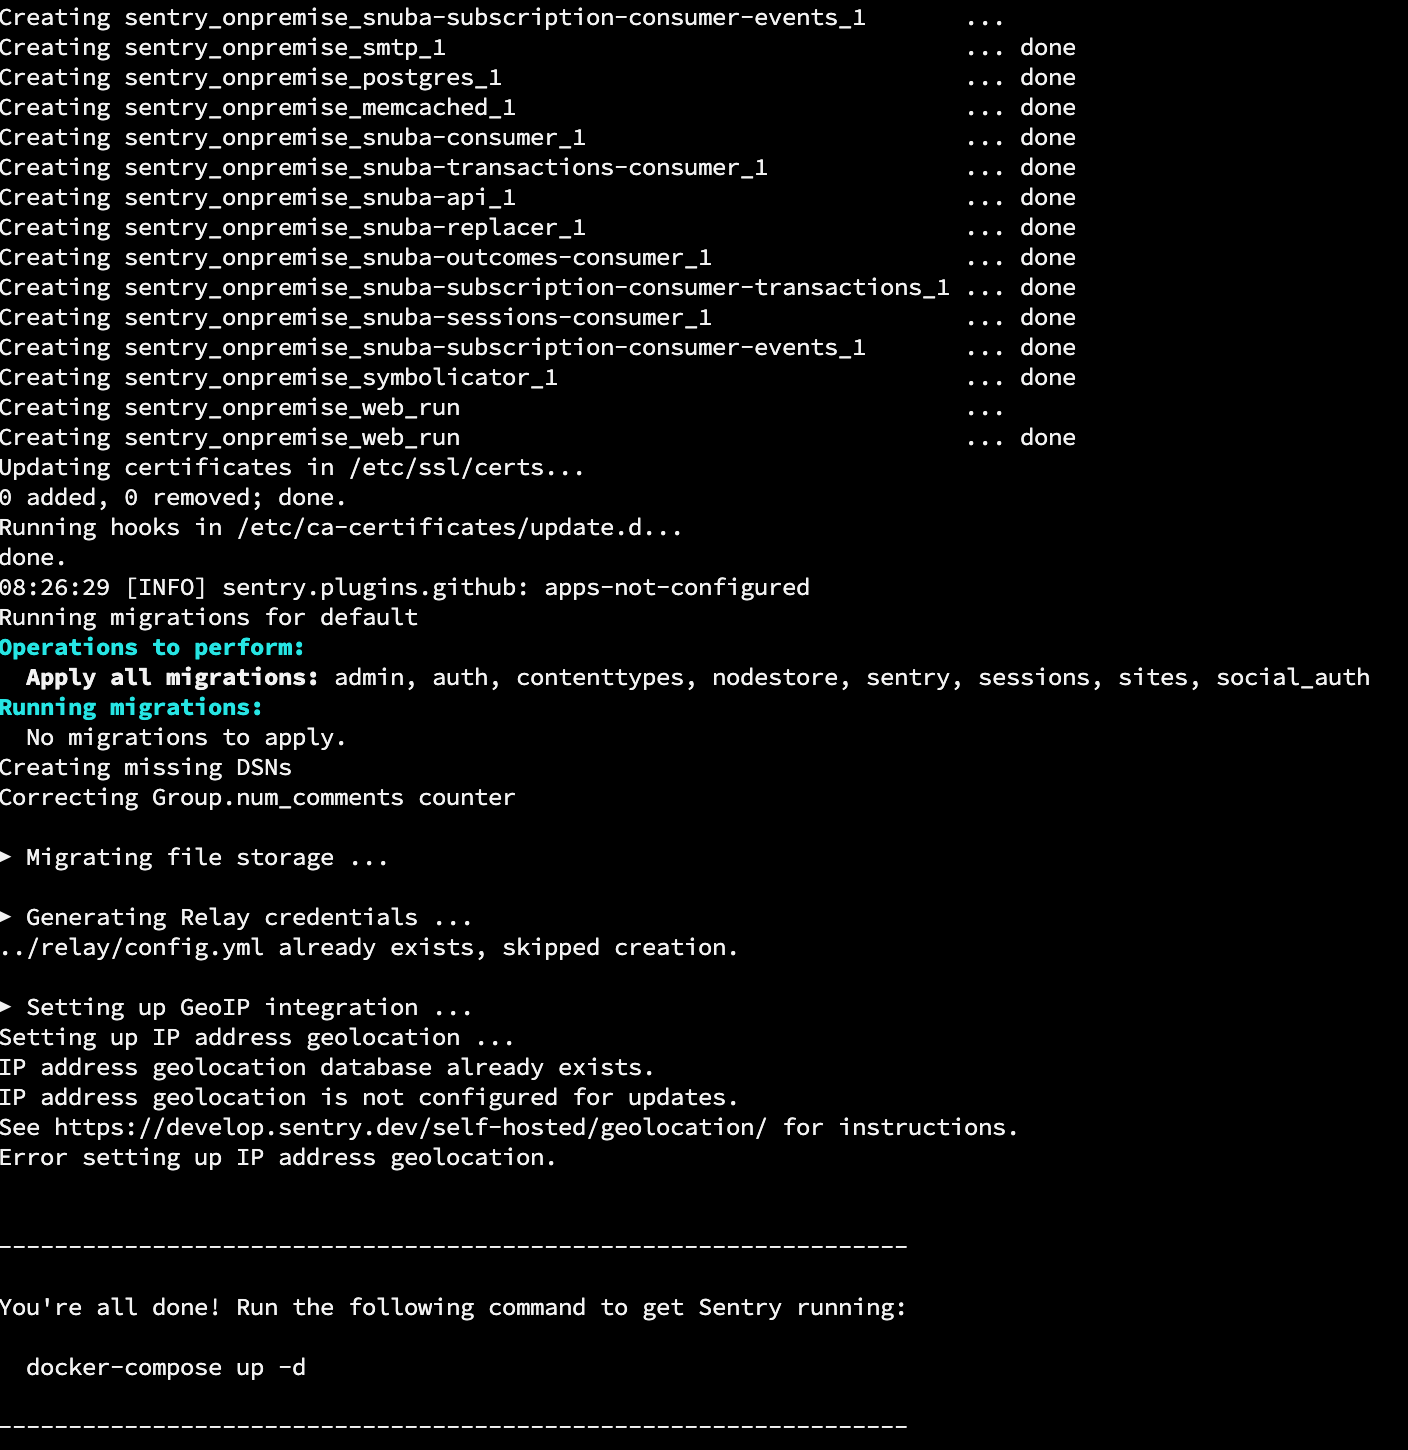
10. 按提示执行启动命令
docker compose up -d11.如果需要更新配置(会删除容器重新创建)
docker compose down

docker compose up -d
12. 准备一个nginx,并配置https,将其转发到sentry主机的9000端口即可
