成功效果:
搭建步骤:
安装centos7 64 2009版本操作系统
下载并解压mongodb,redis,nodejs
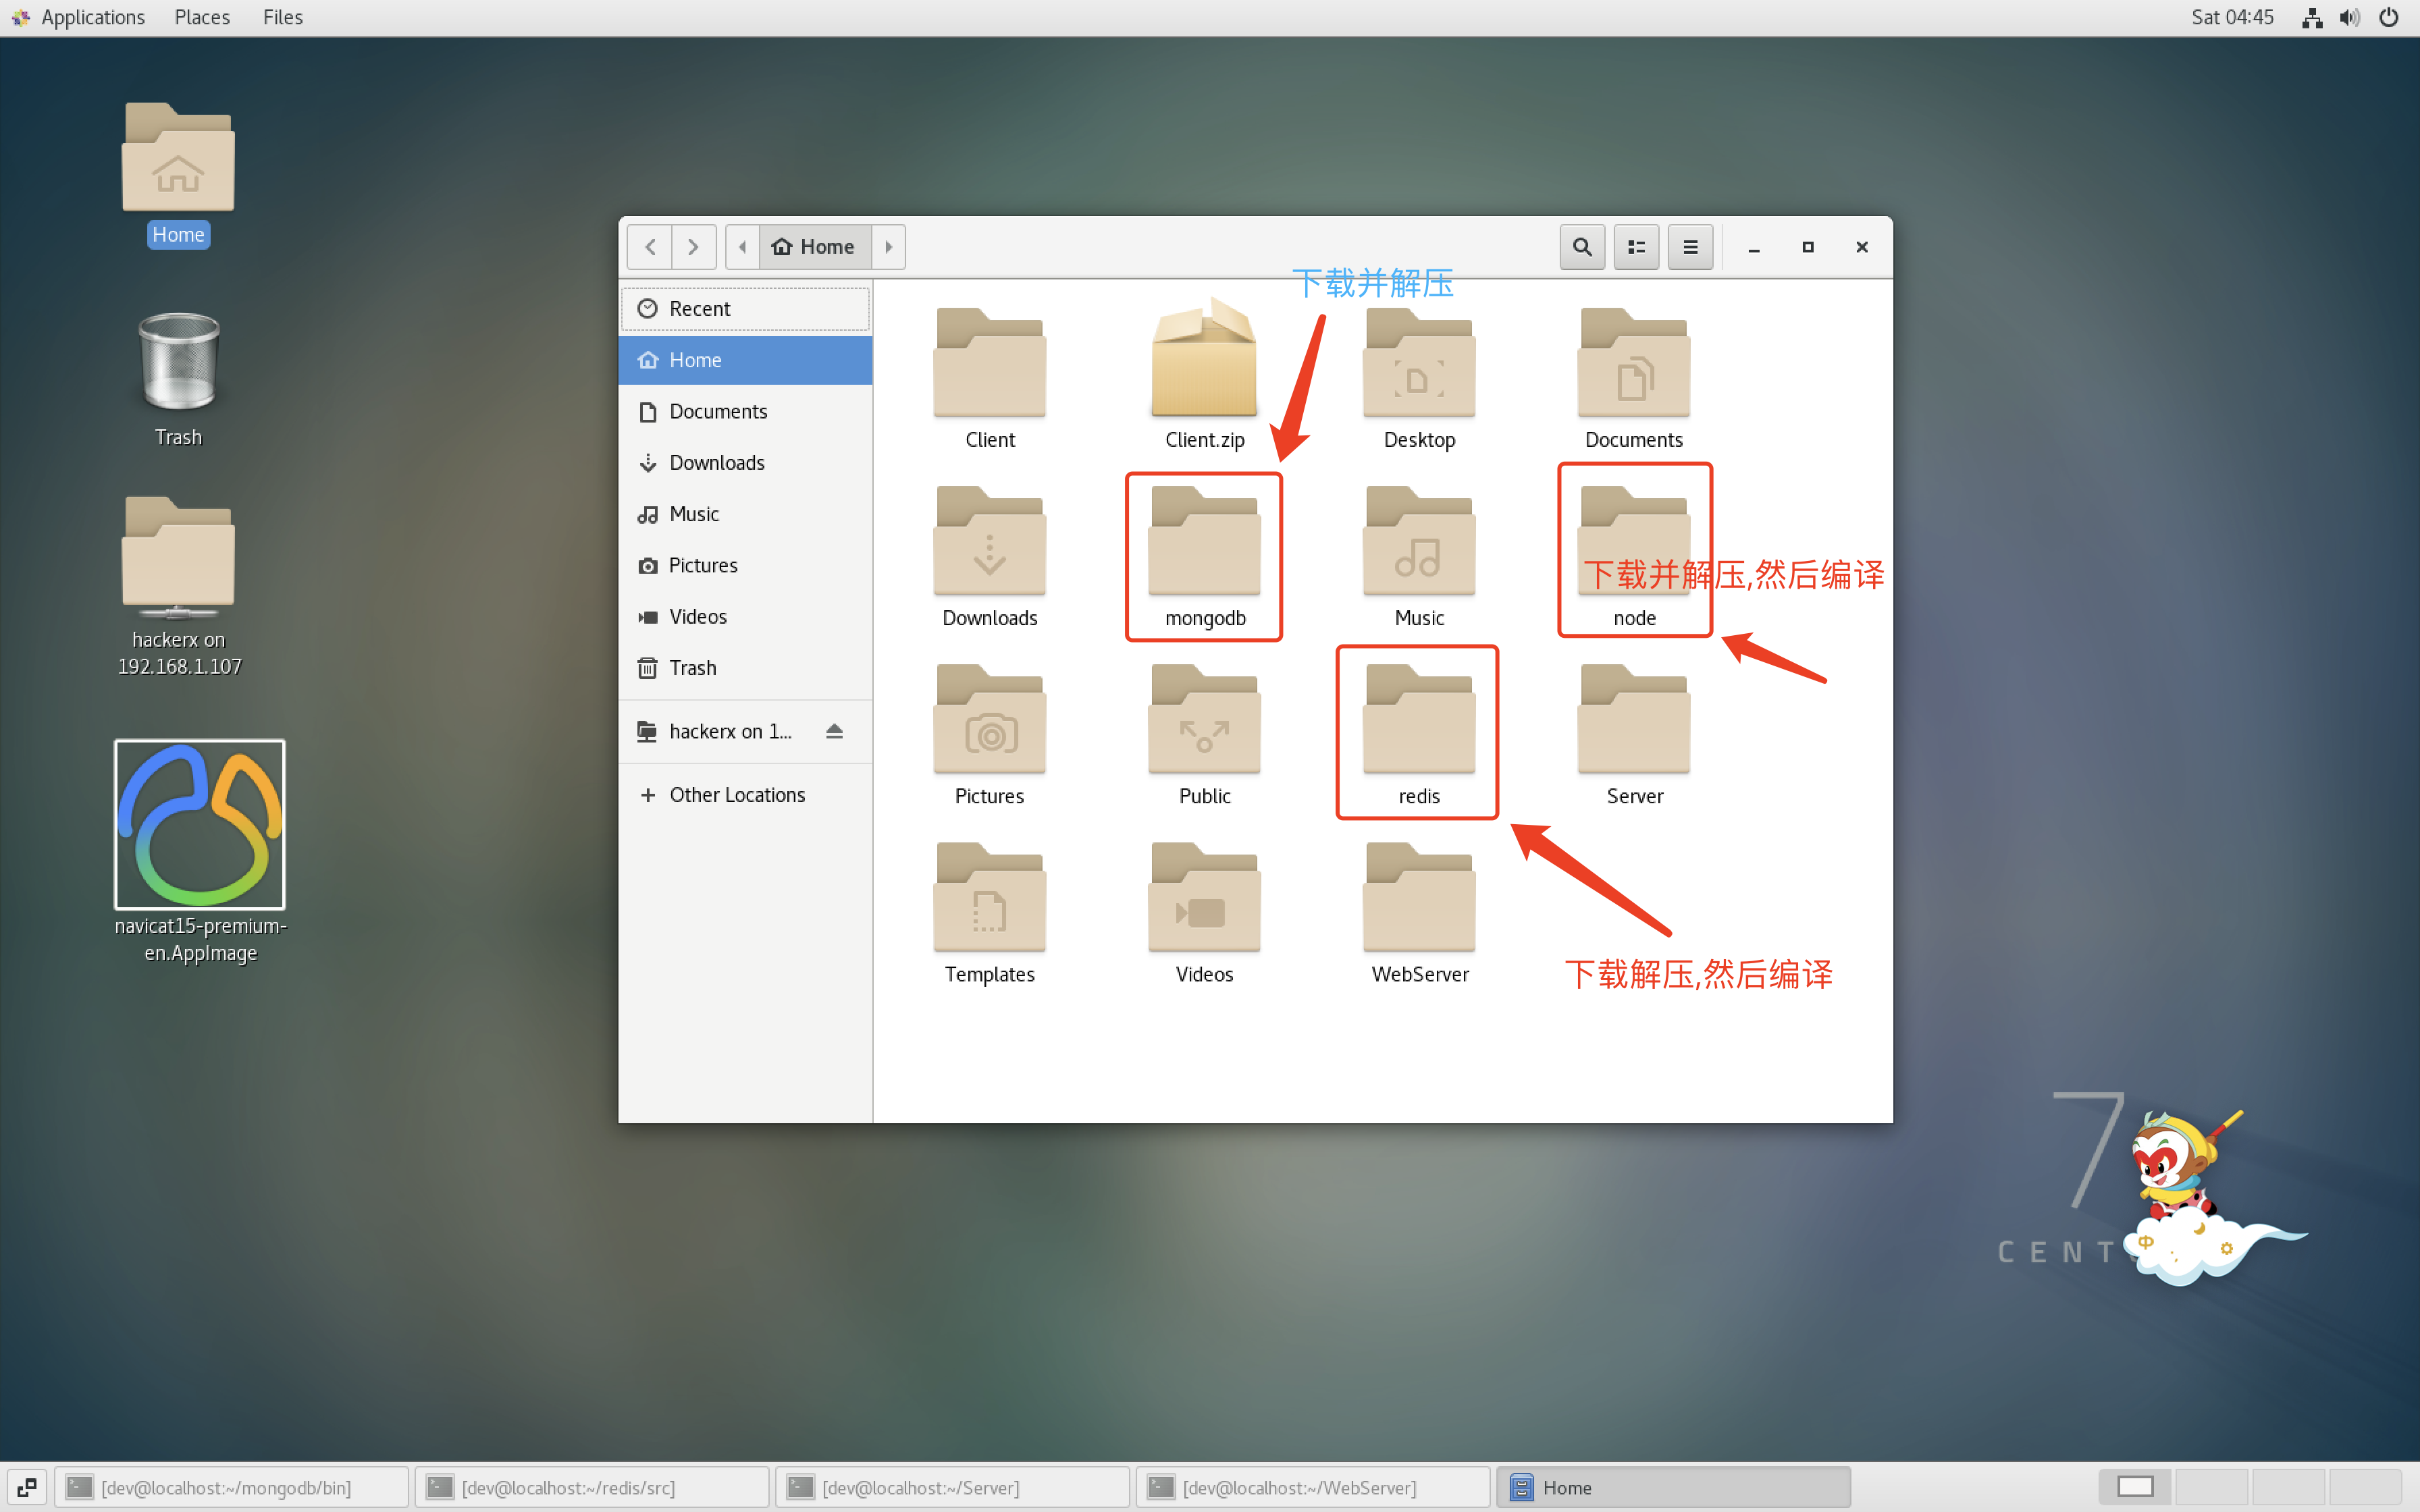
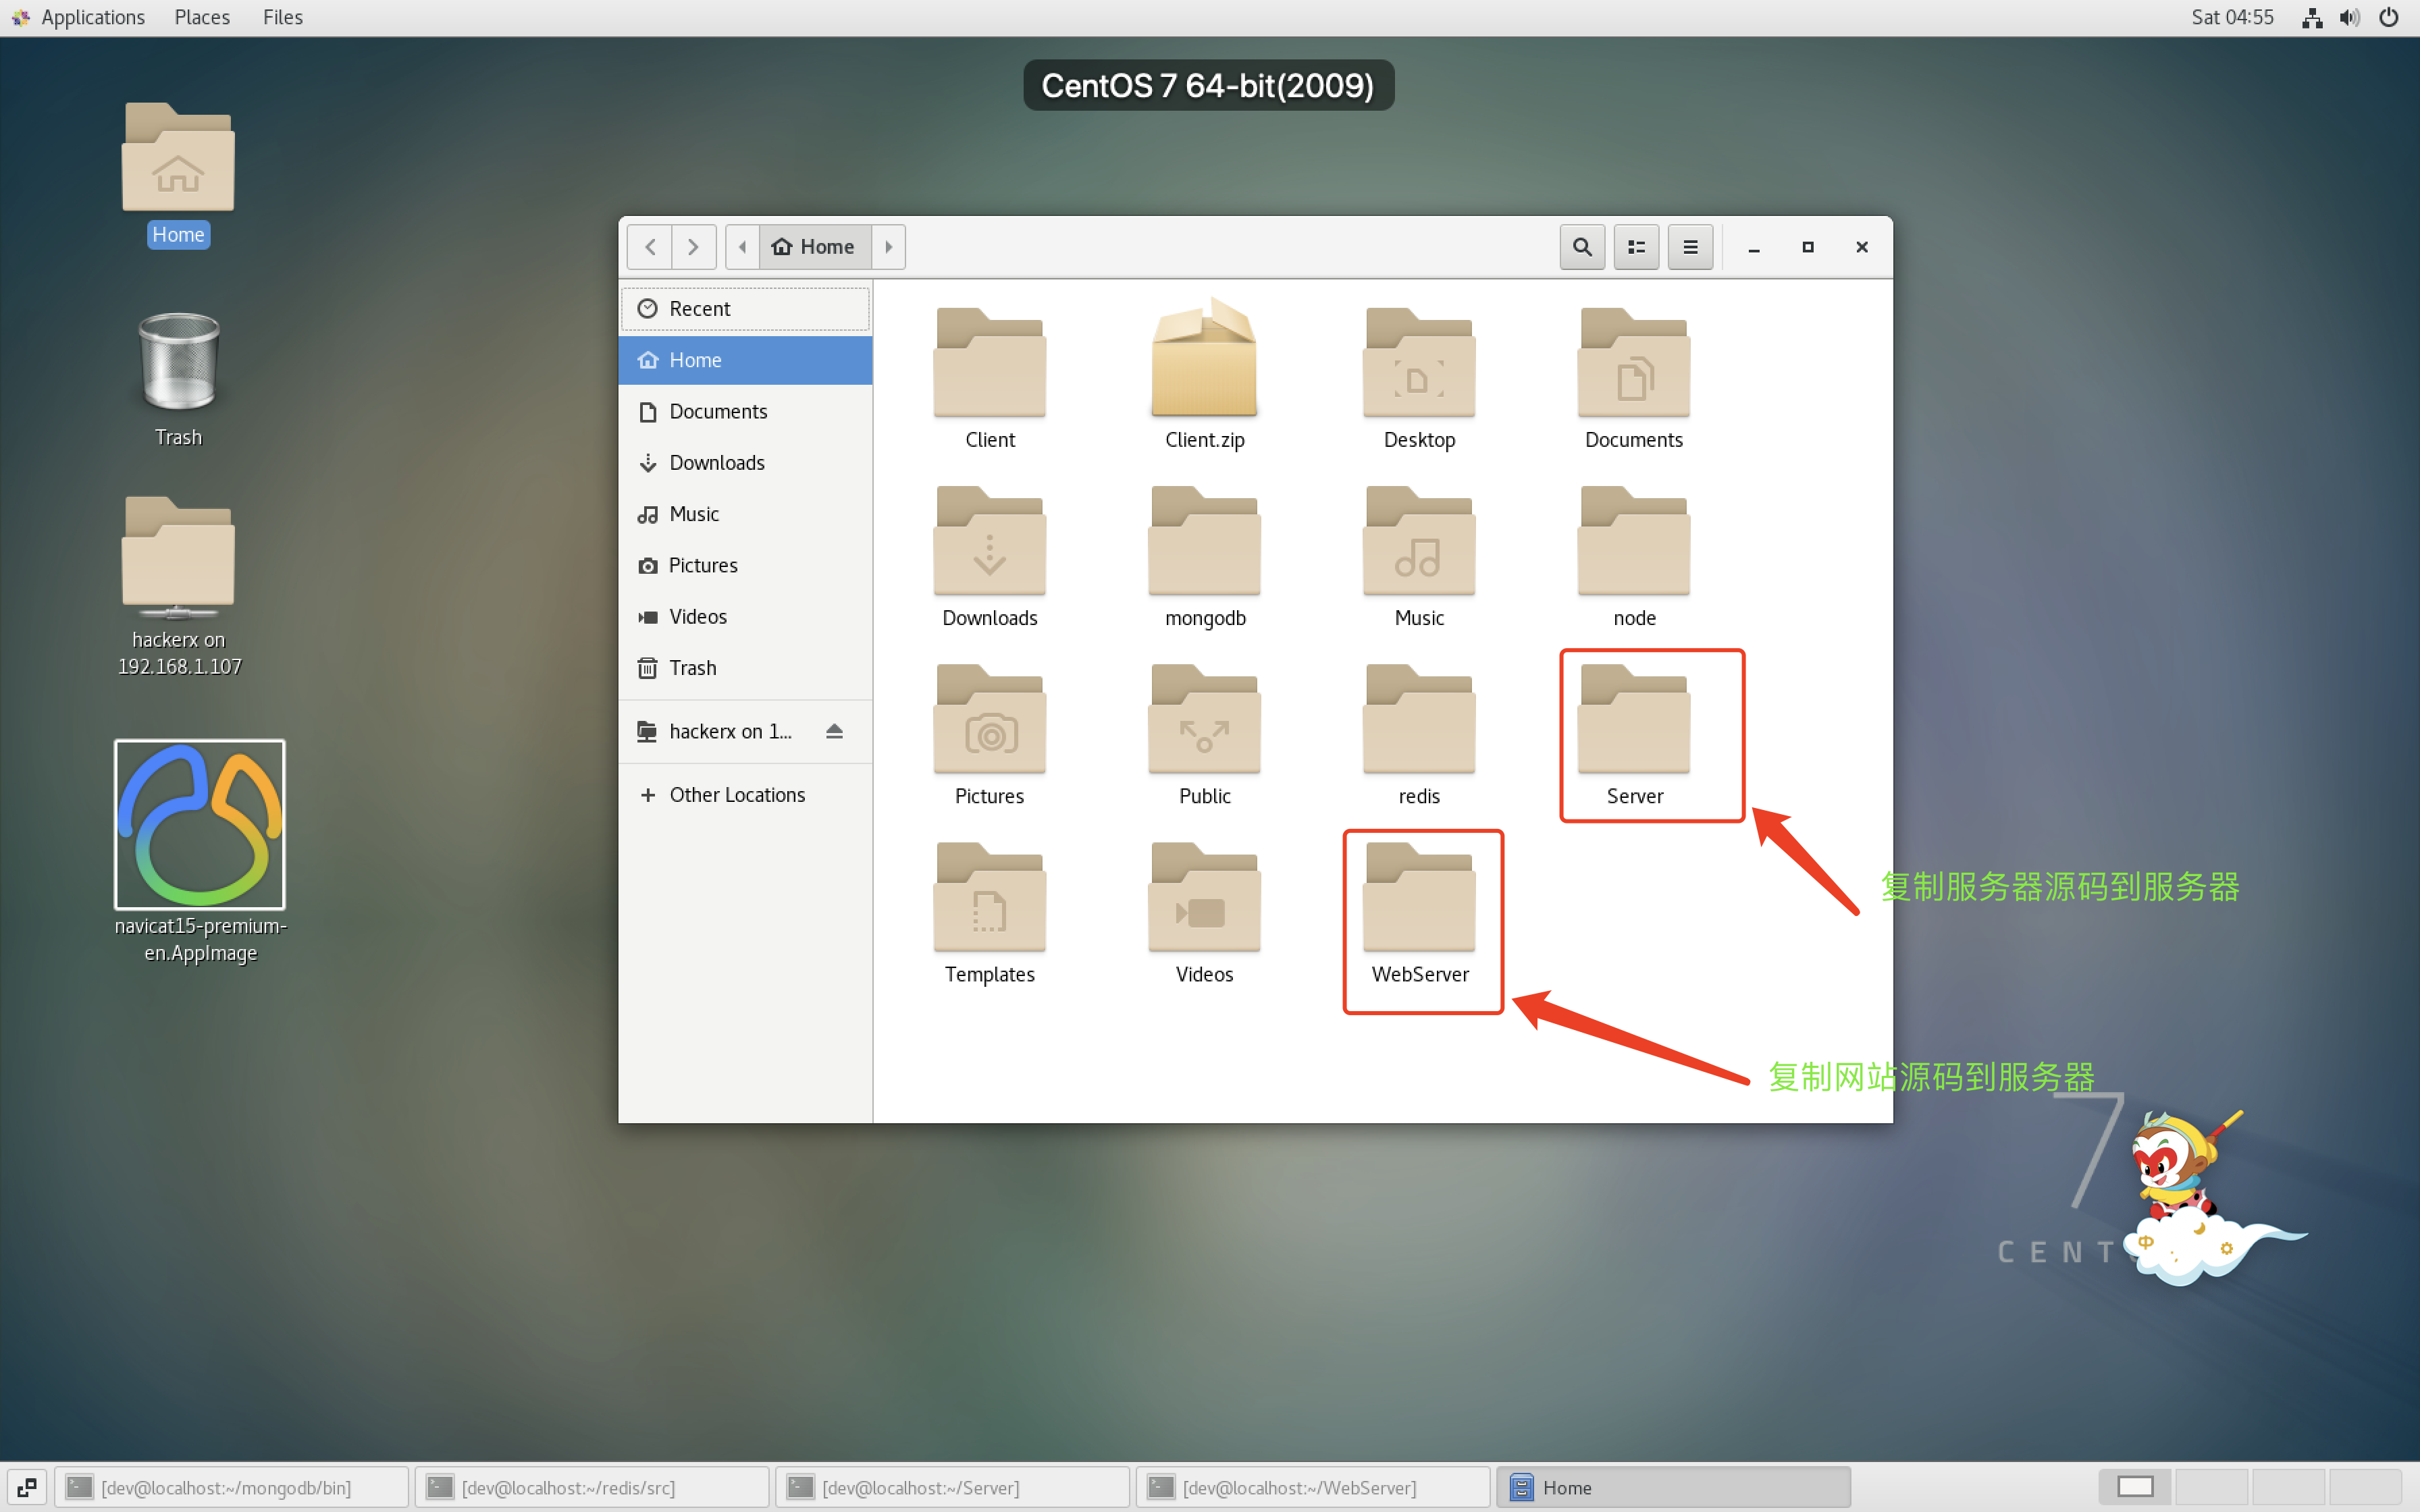
3.复制游戏服务与网站服务程序到服务器
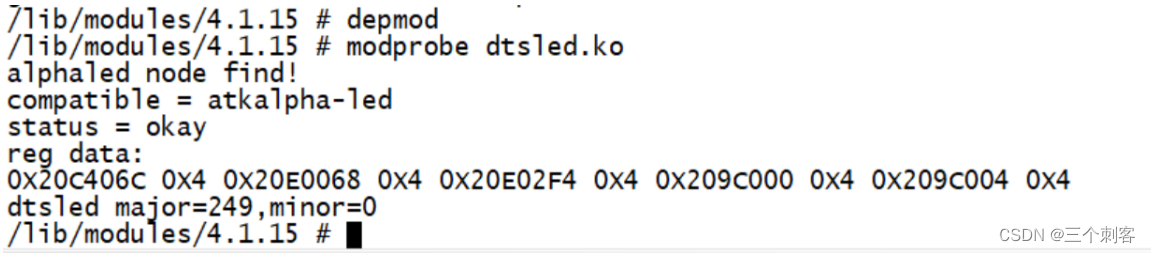
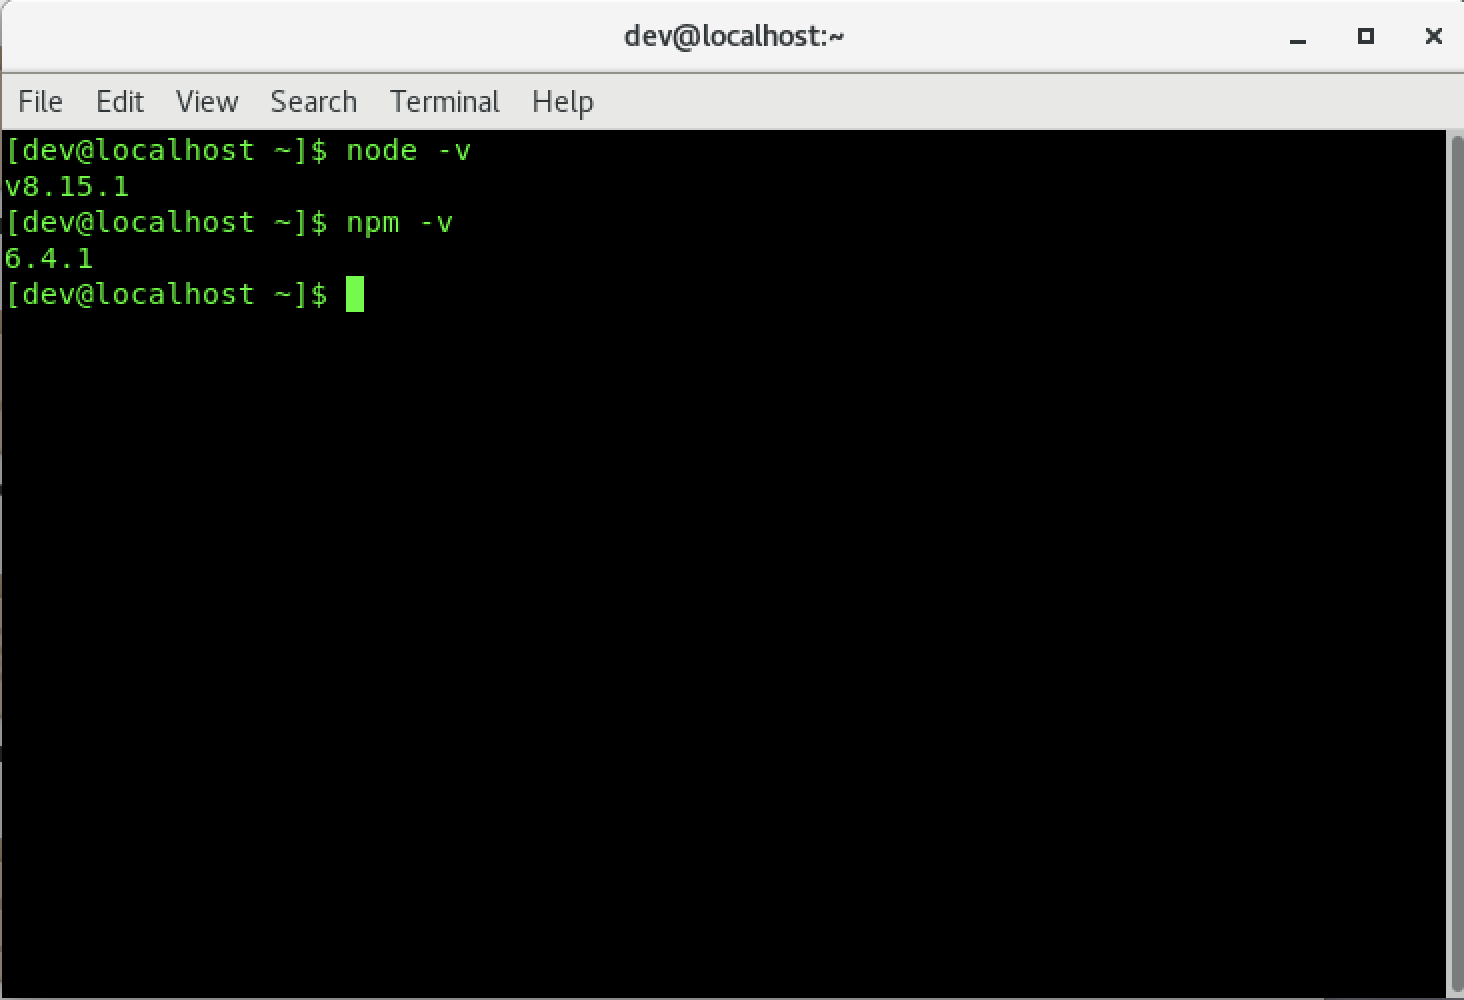
4.编译nodejs
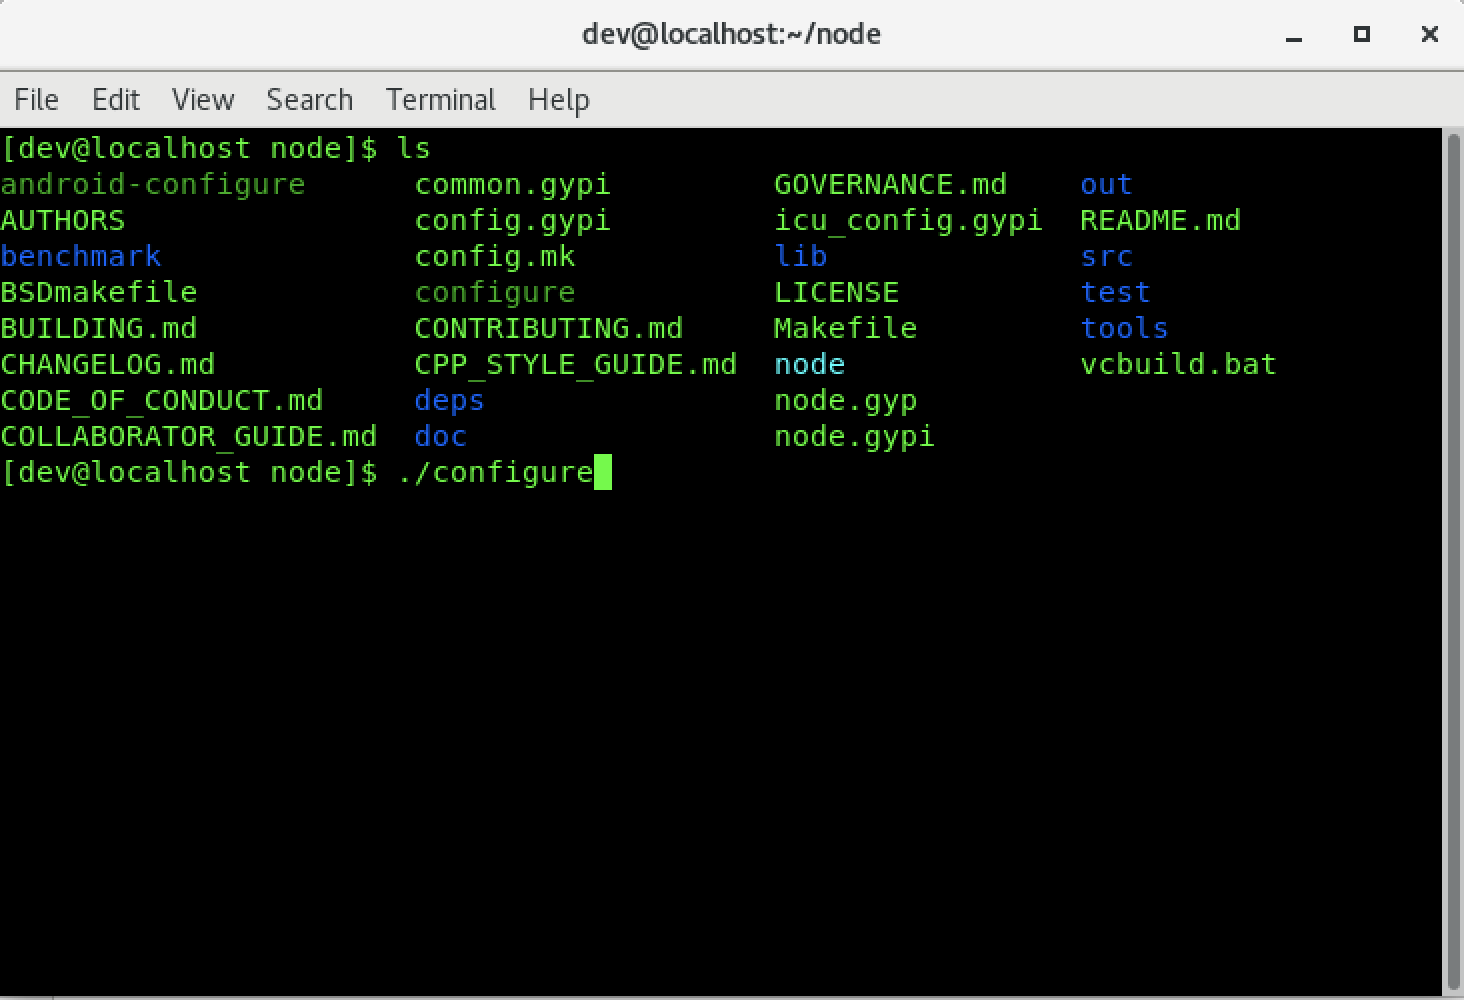
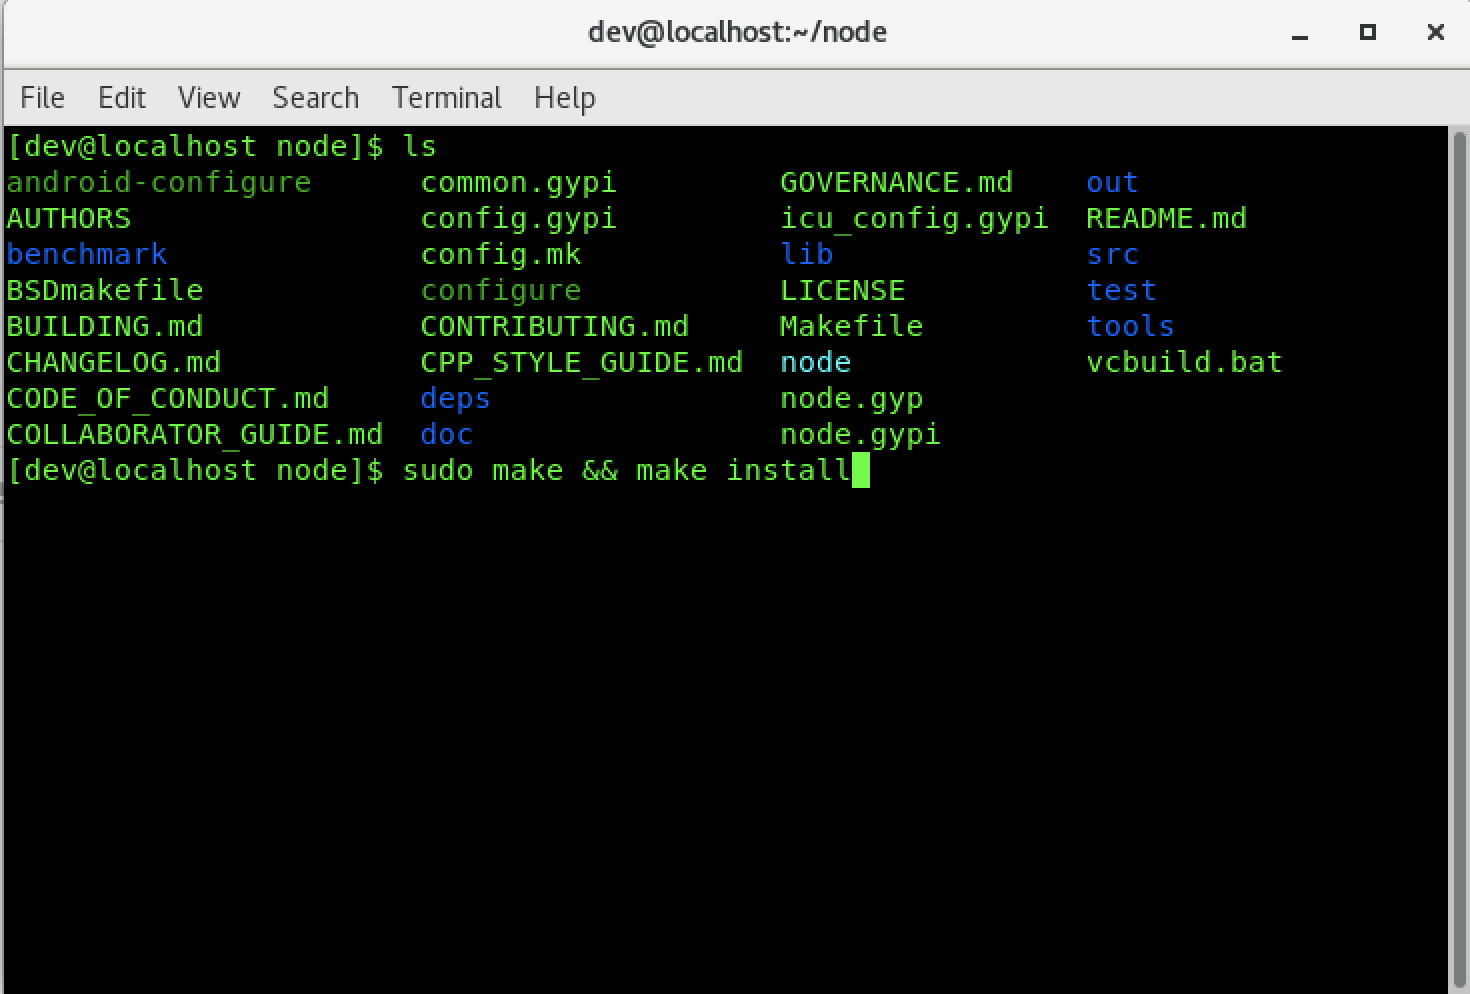
nodejs编译并安装成功后验证
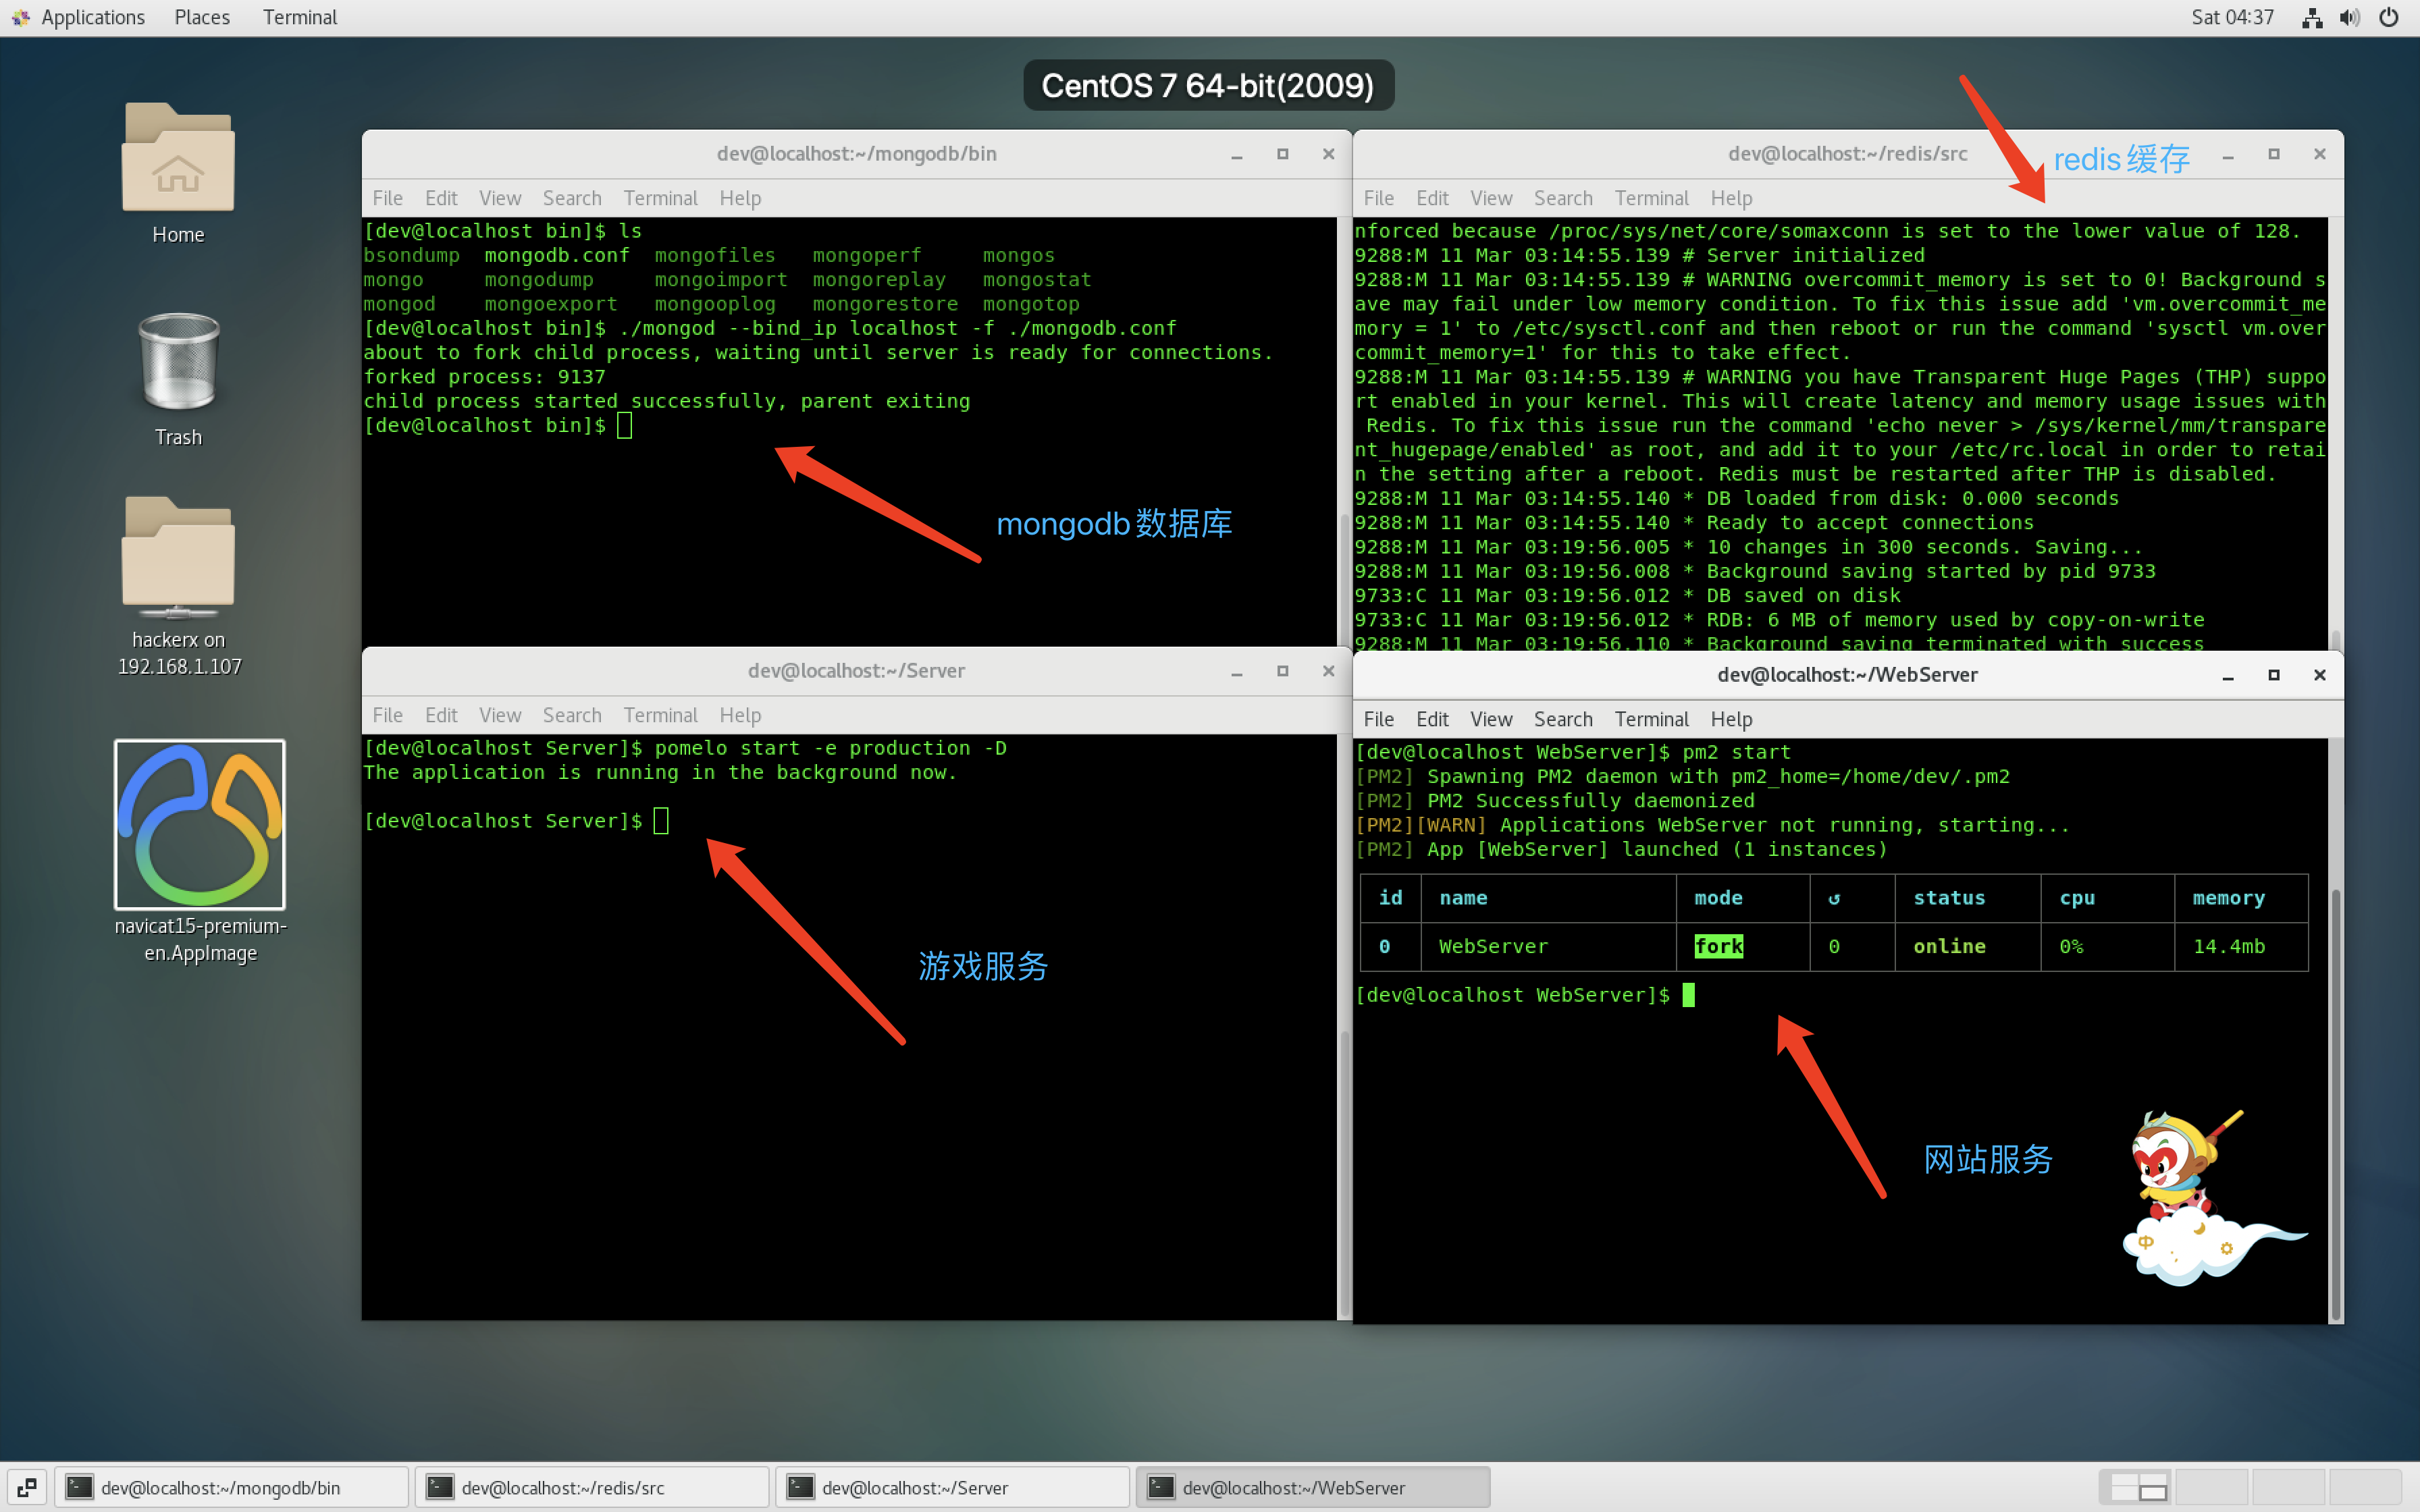
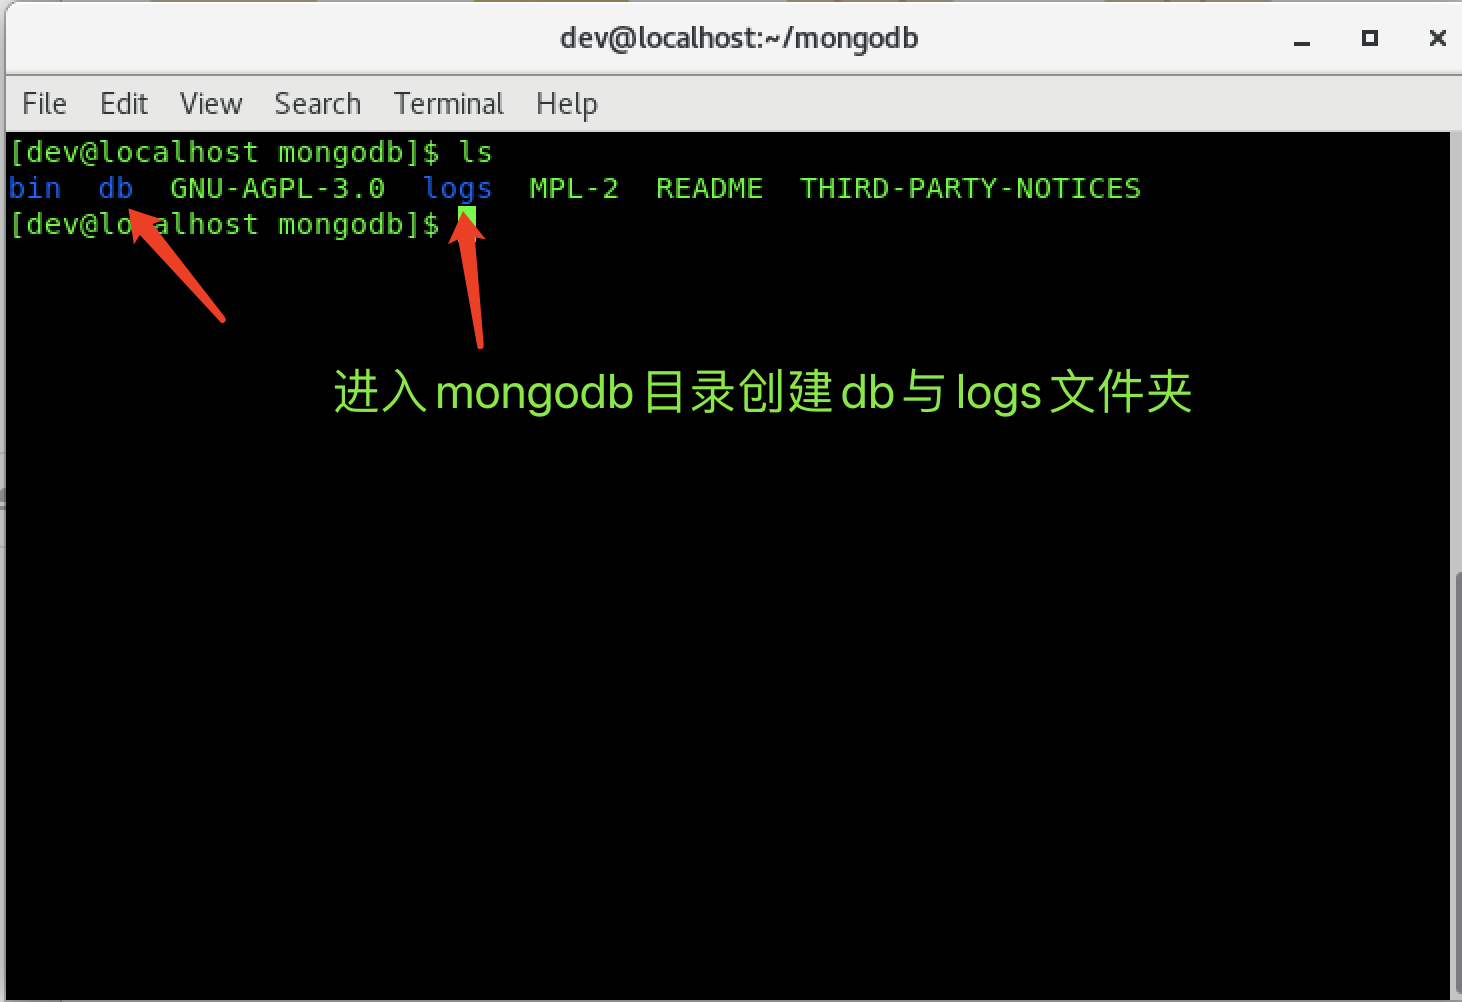
5.配置并启动mongodb数据库
mongodb.conf配置文件内容:
dbpath=/home/dev/mongodb/db
logpath=/home/dev/mongodb/logs/mongodb.log
port=27017
fork=true
nohttpinterface=true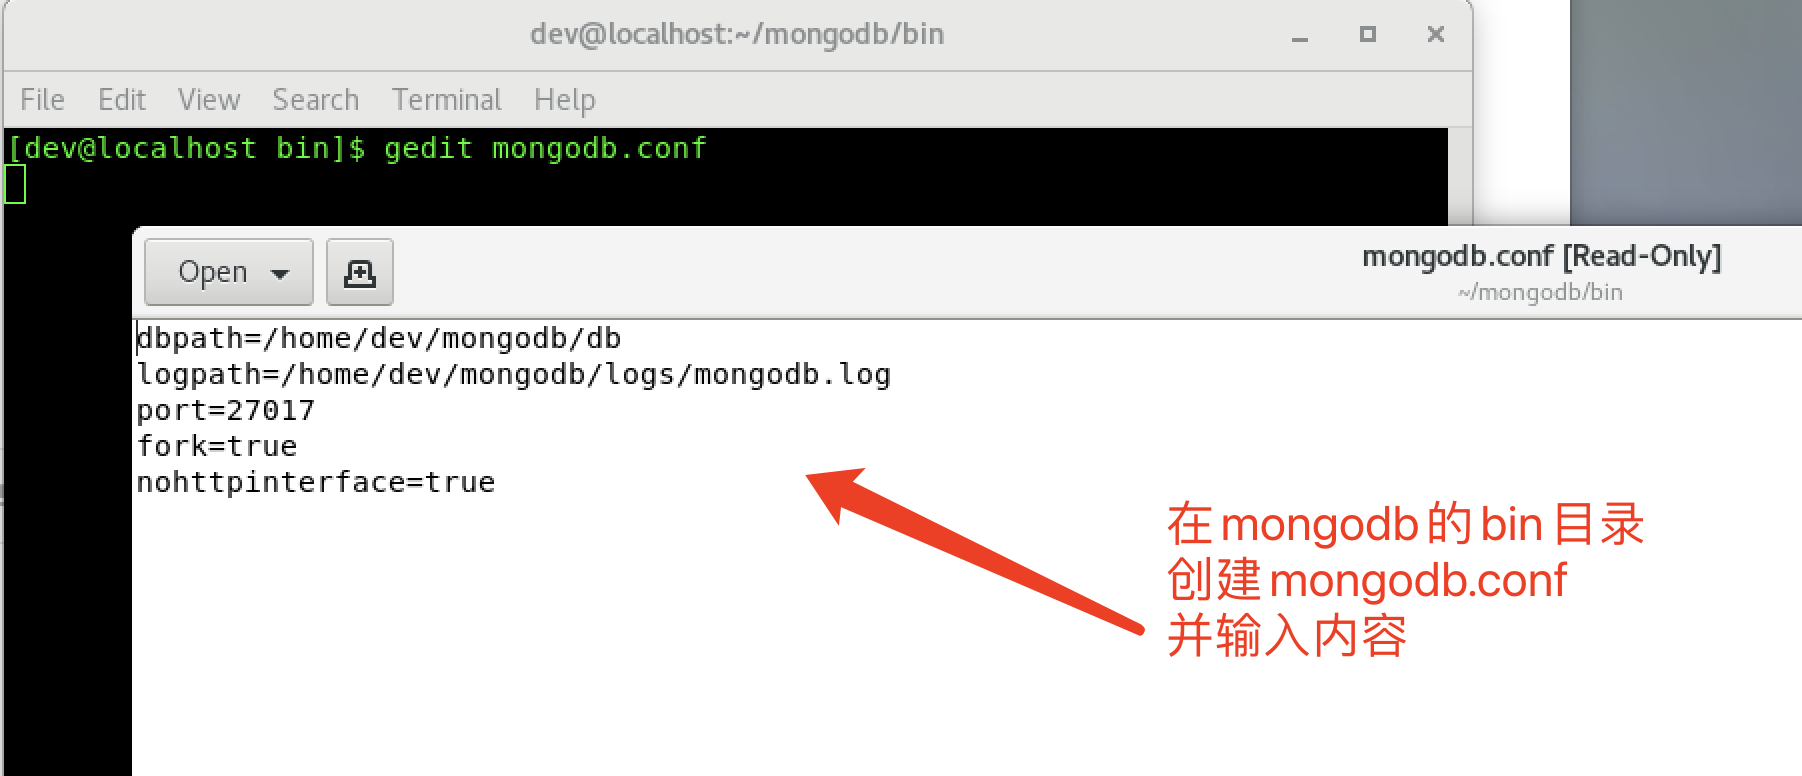
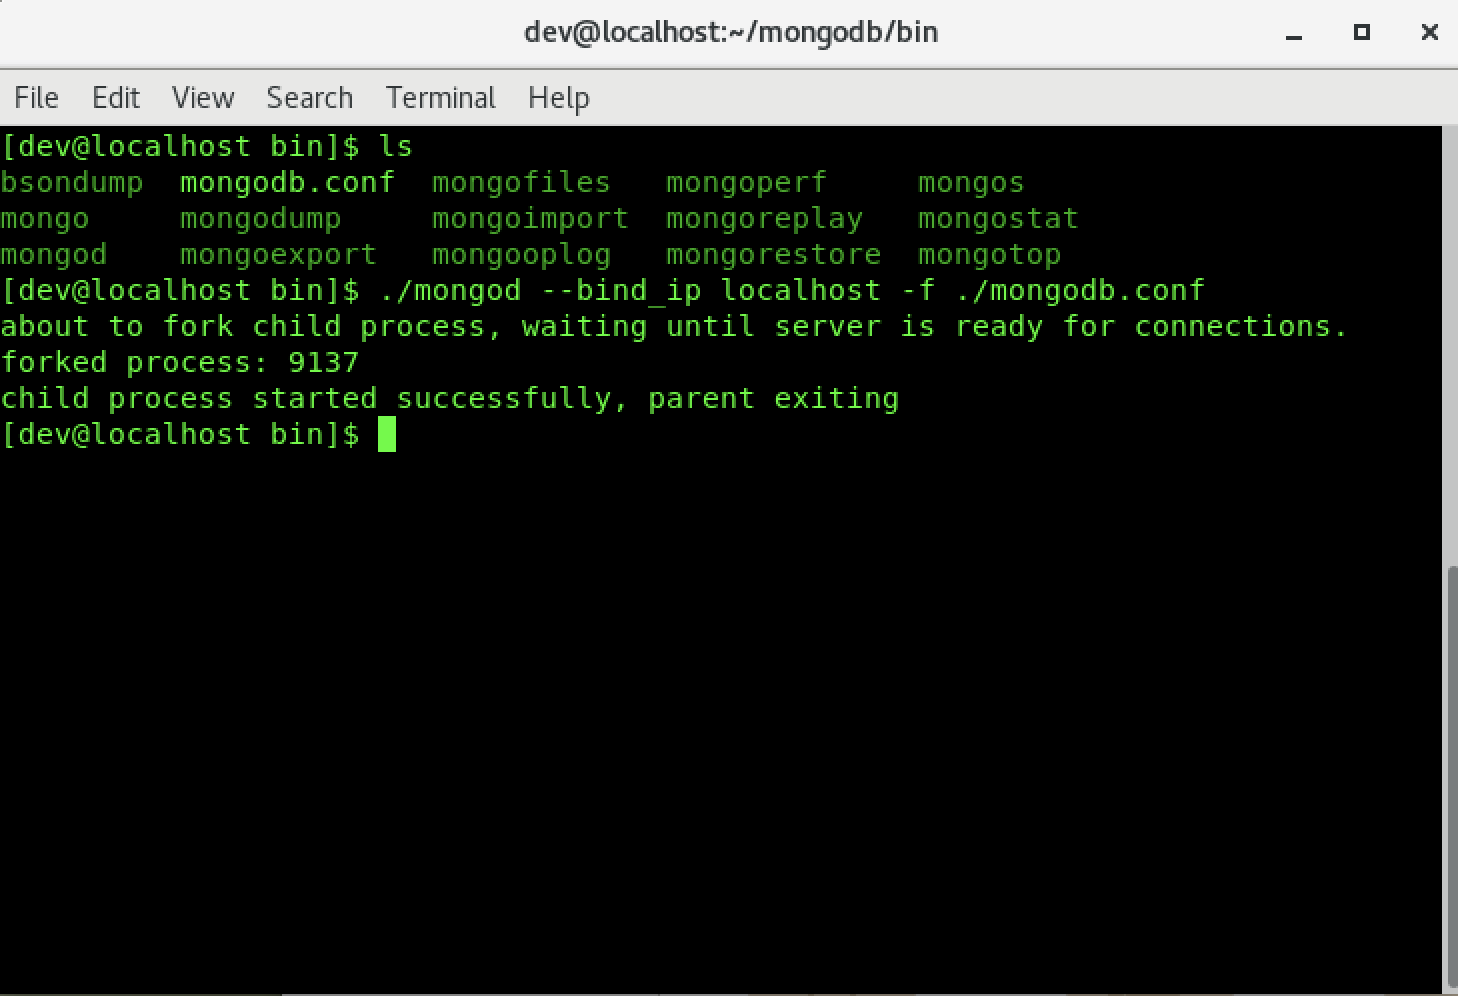
启动mongodb数据库服务:
./mongod --bind_ip localhost -f ./mongodb.confmongodb启动成功:
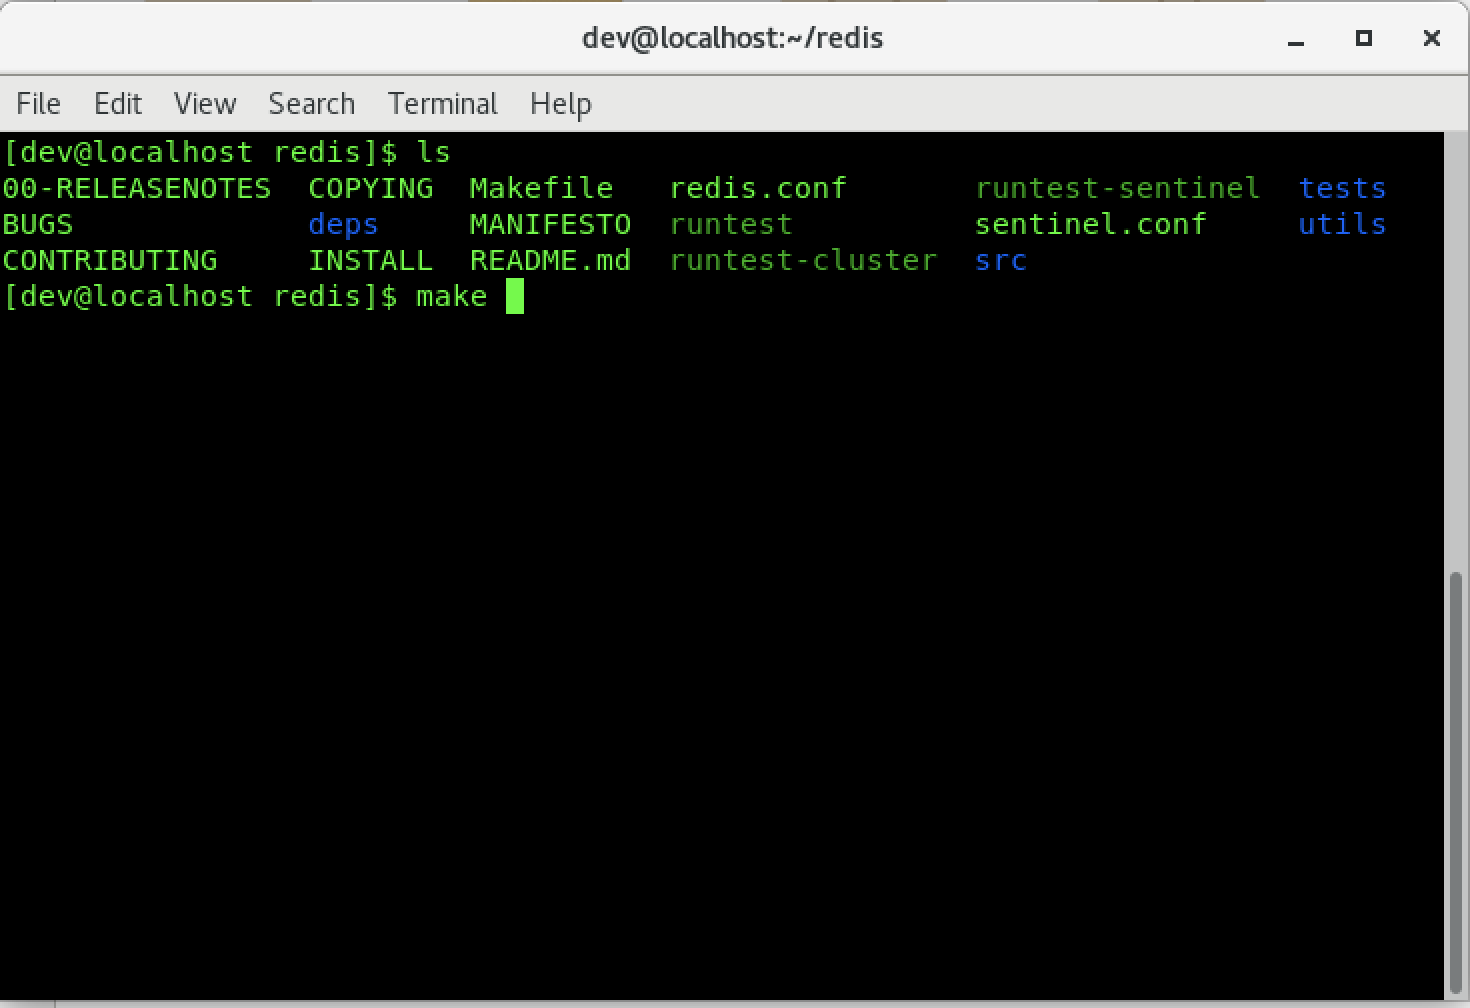
6.编译并启动redis服务:
编译:
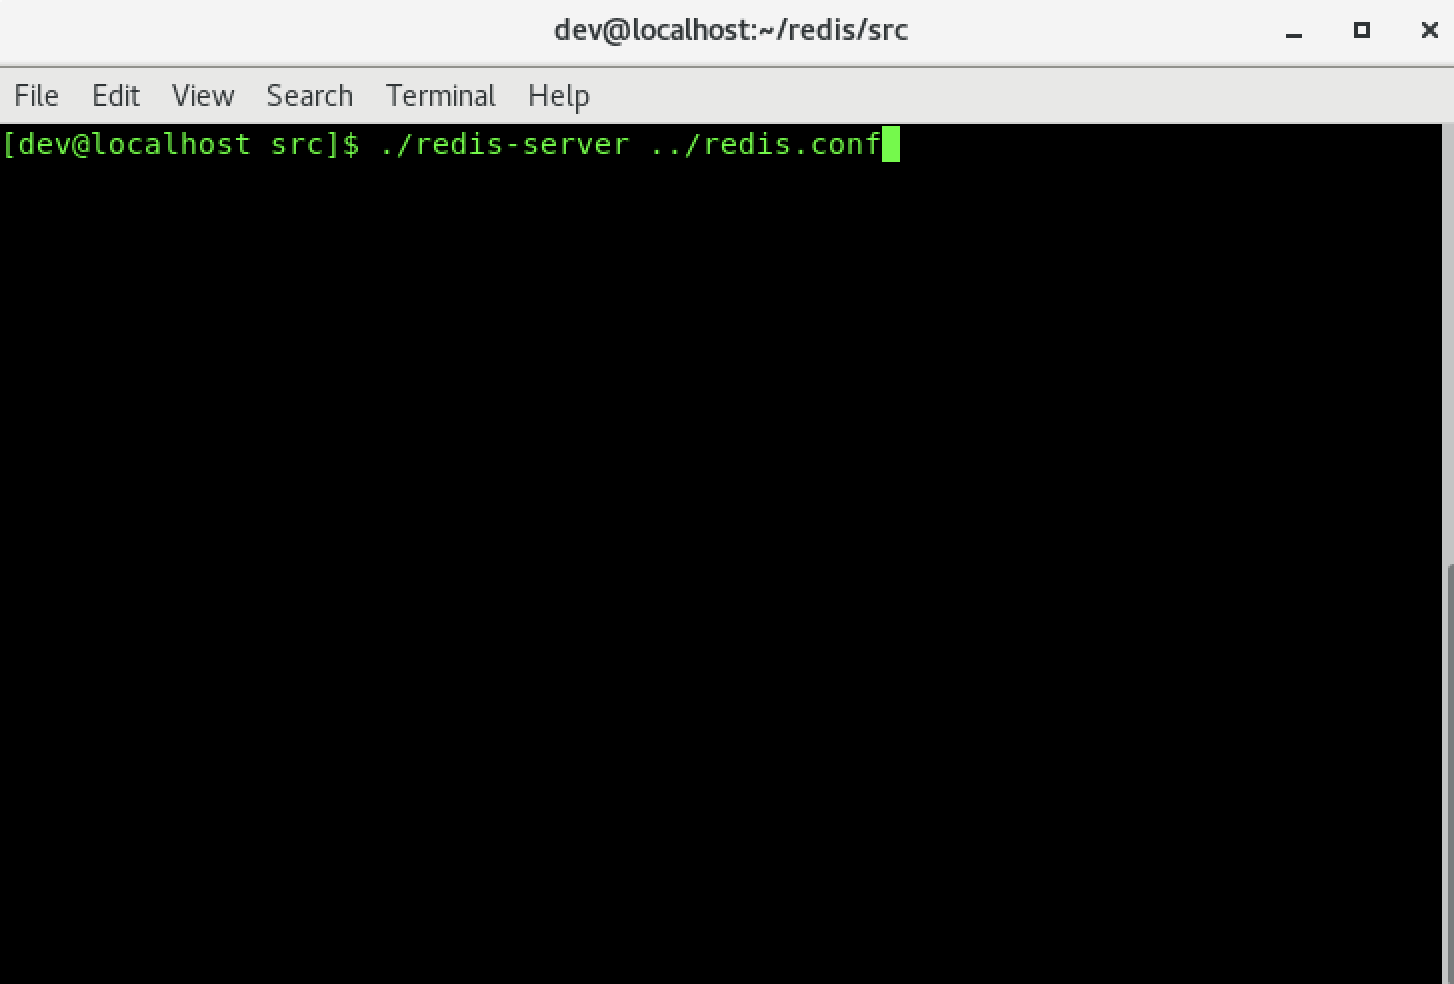
启动: ./redis-server ../redis.conf
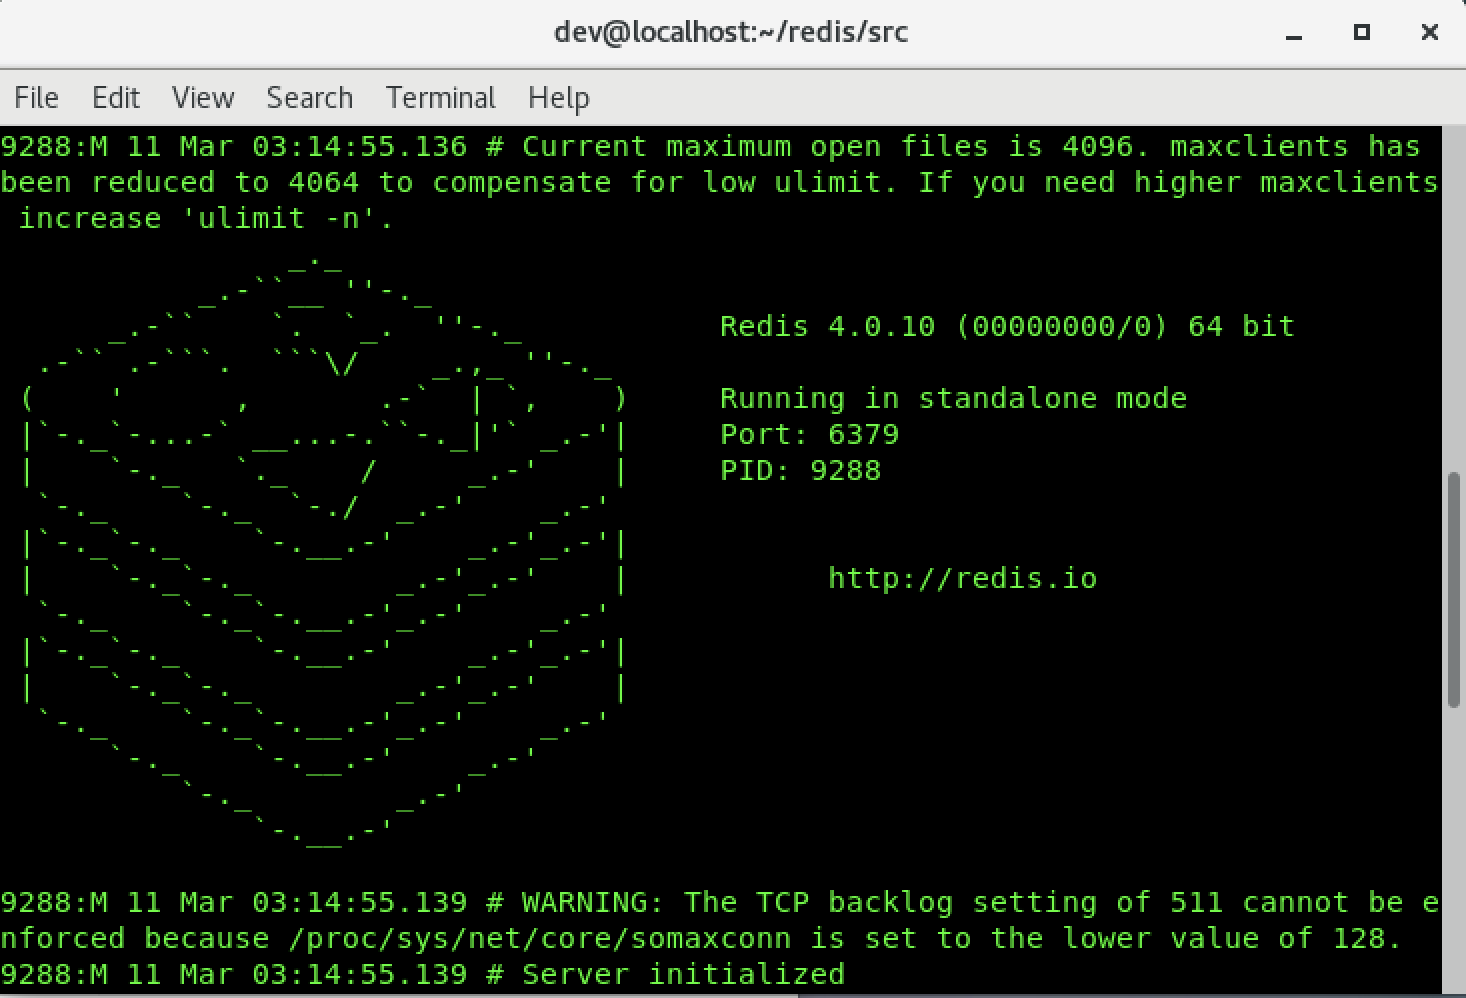
redis启动成功:
7.修改服务器配置文件并启动服务器

安装服务器框架pomelo :
npm install -g cnpm --registry=https://registry.npm.taobao.org
npm install pomelo -g
启动服务:
加载依赖库:npm install -d
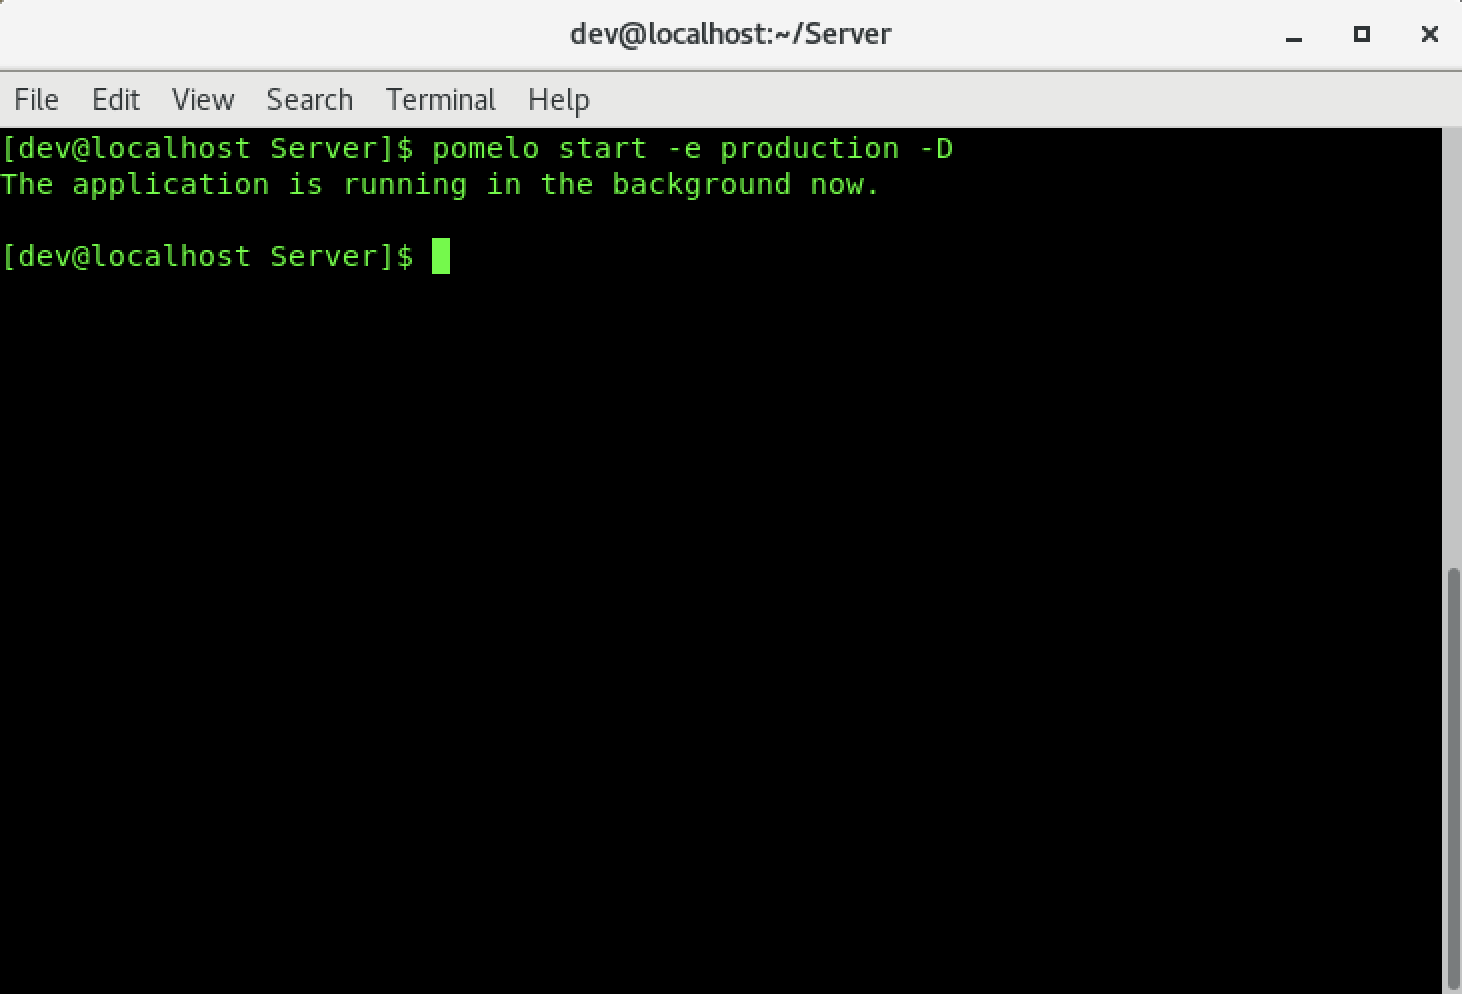
启动服务器:pomelo start -e production -D(测试环境启动:pomelo start)
停止服务器:pomelo stop
查看服务器:pomelo list服务启动成功:
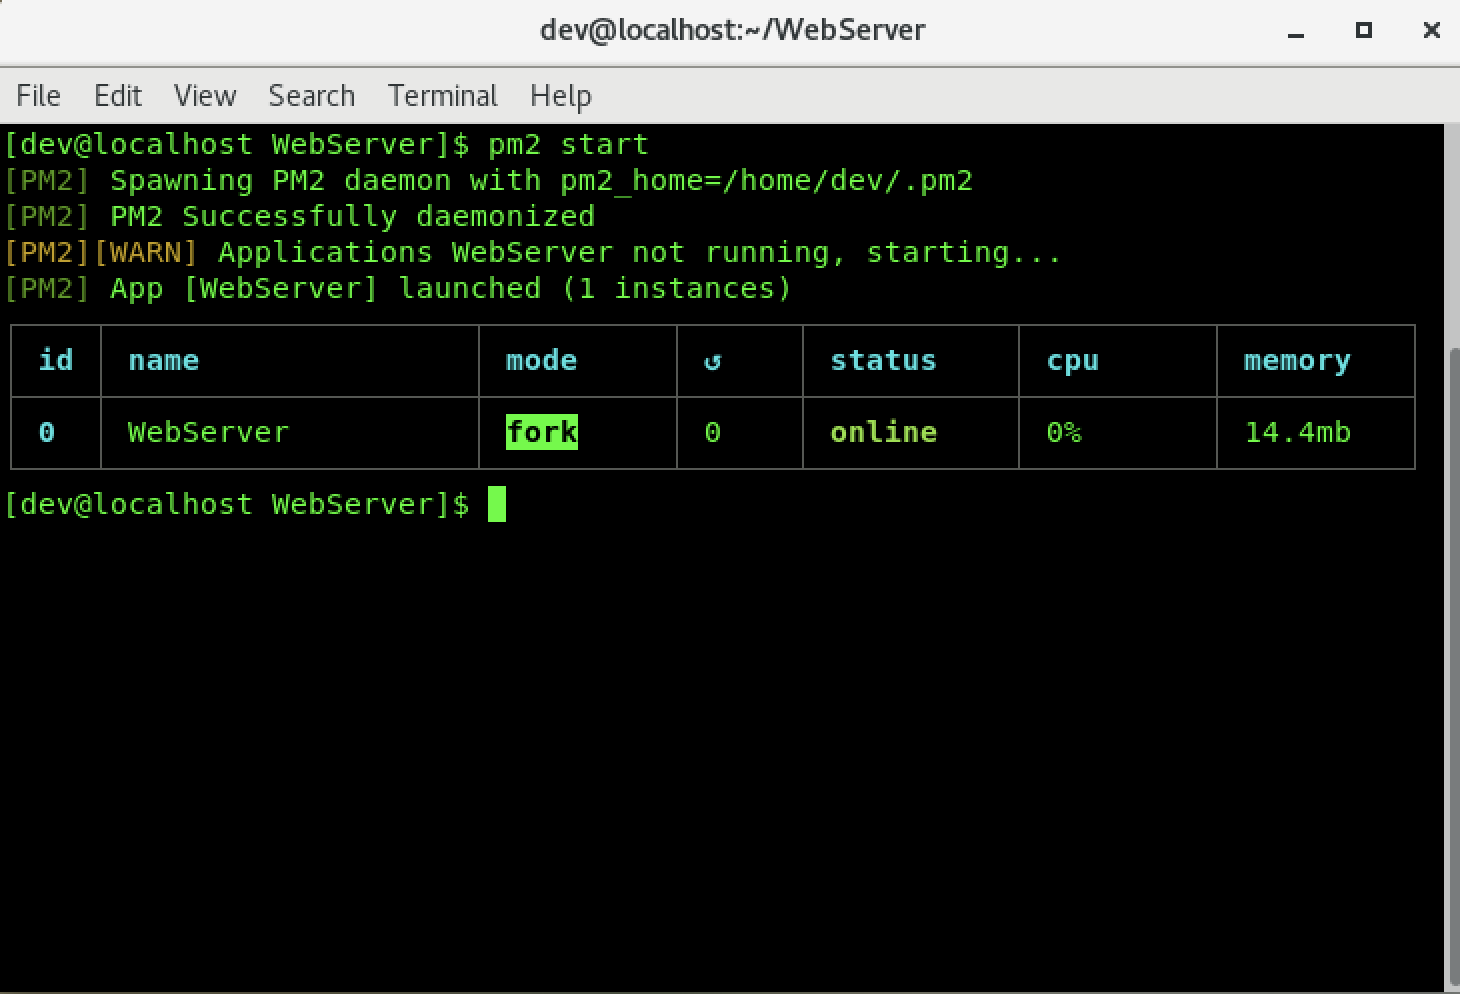
8.下载依赖并启动网站 :
加载依赖库:npm install -d
安装pm2:npm install pm2 -g
启动网页服务器:在WebServer目录下执行 pm2 start
网站启动成功:
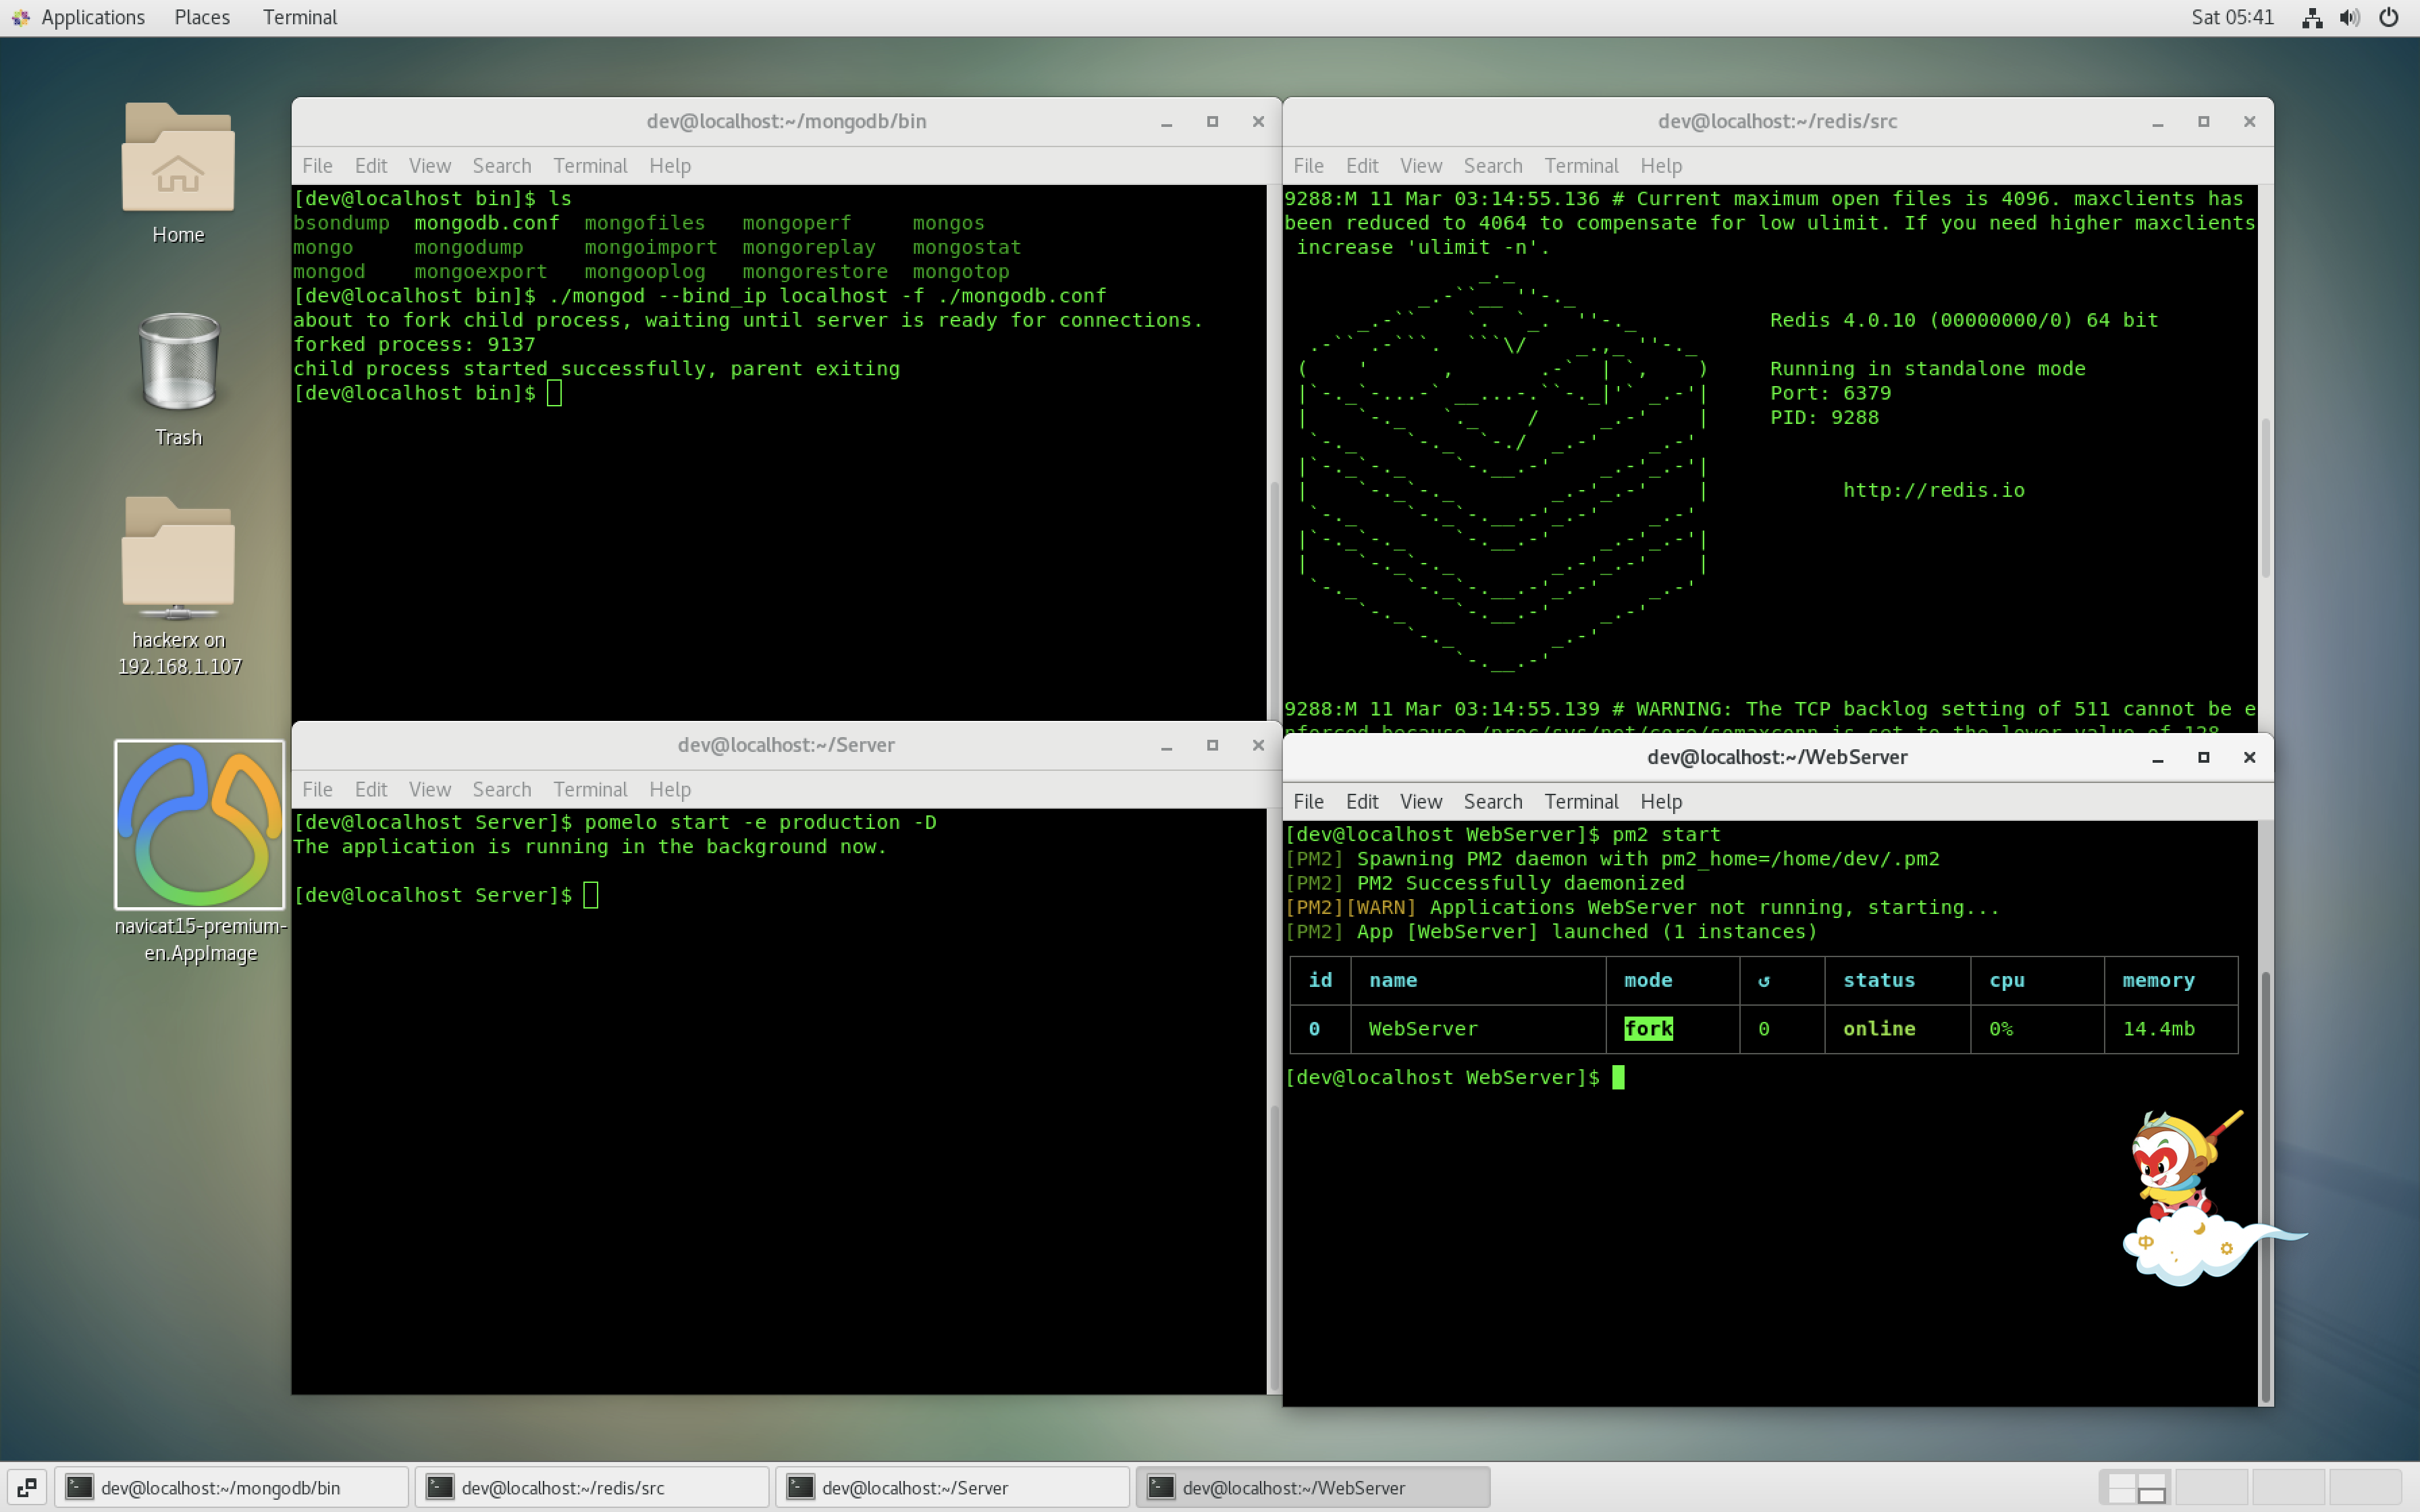
所有服务成功启动效果:
客户端配置与启动:
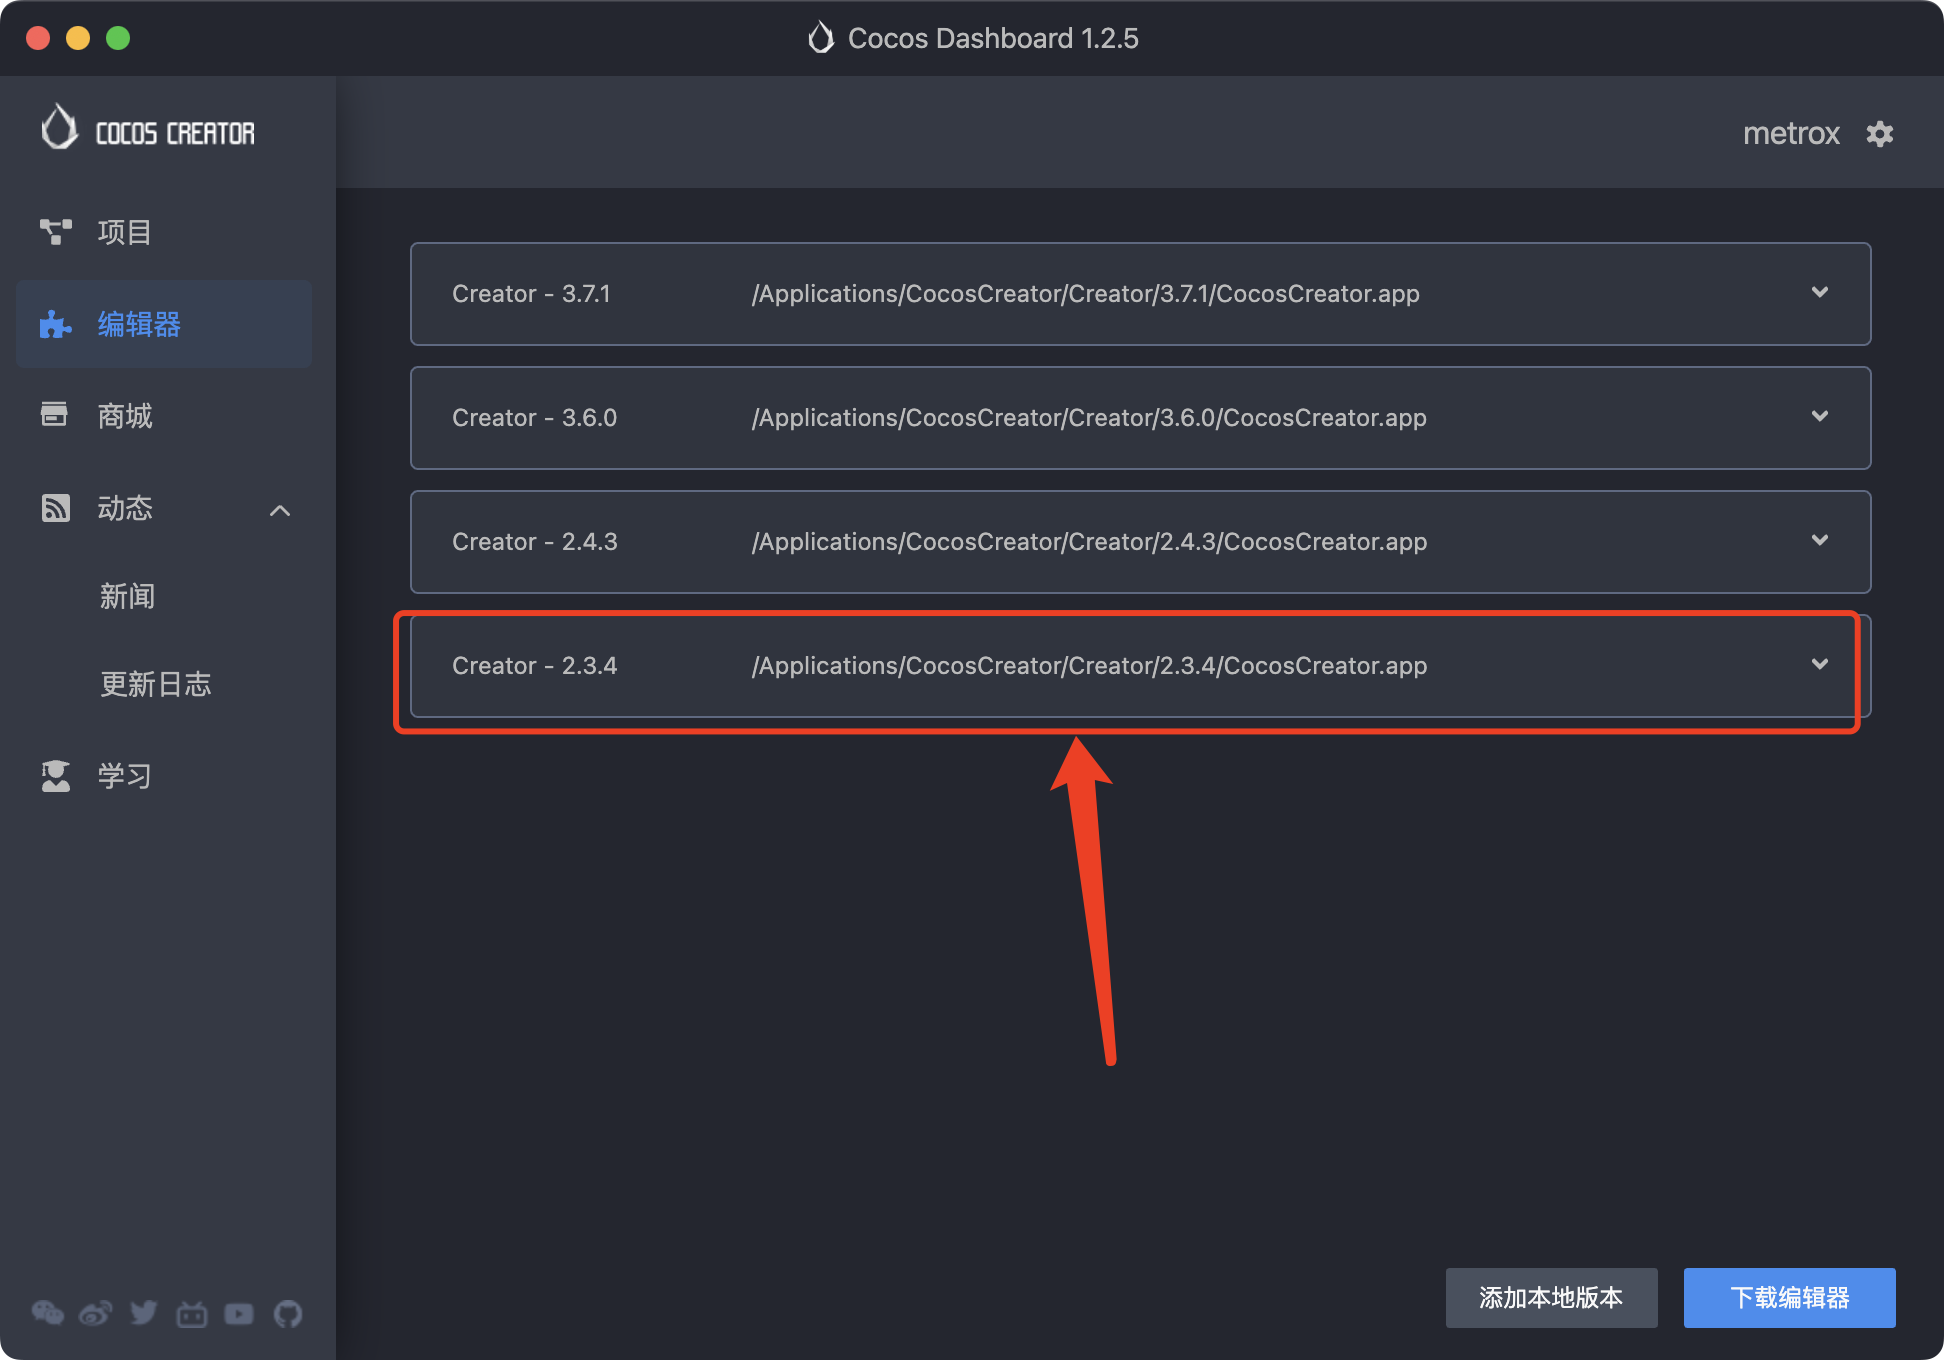
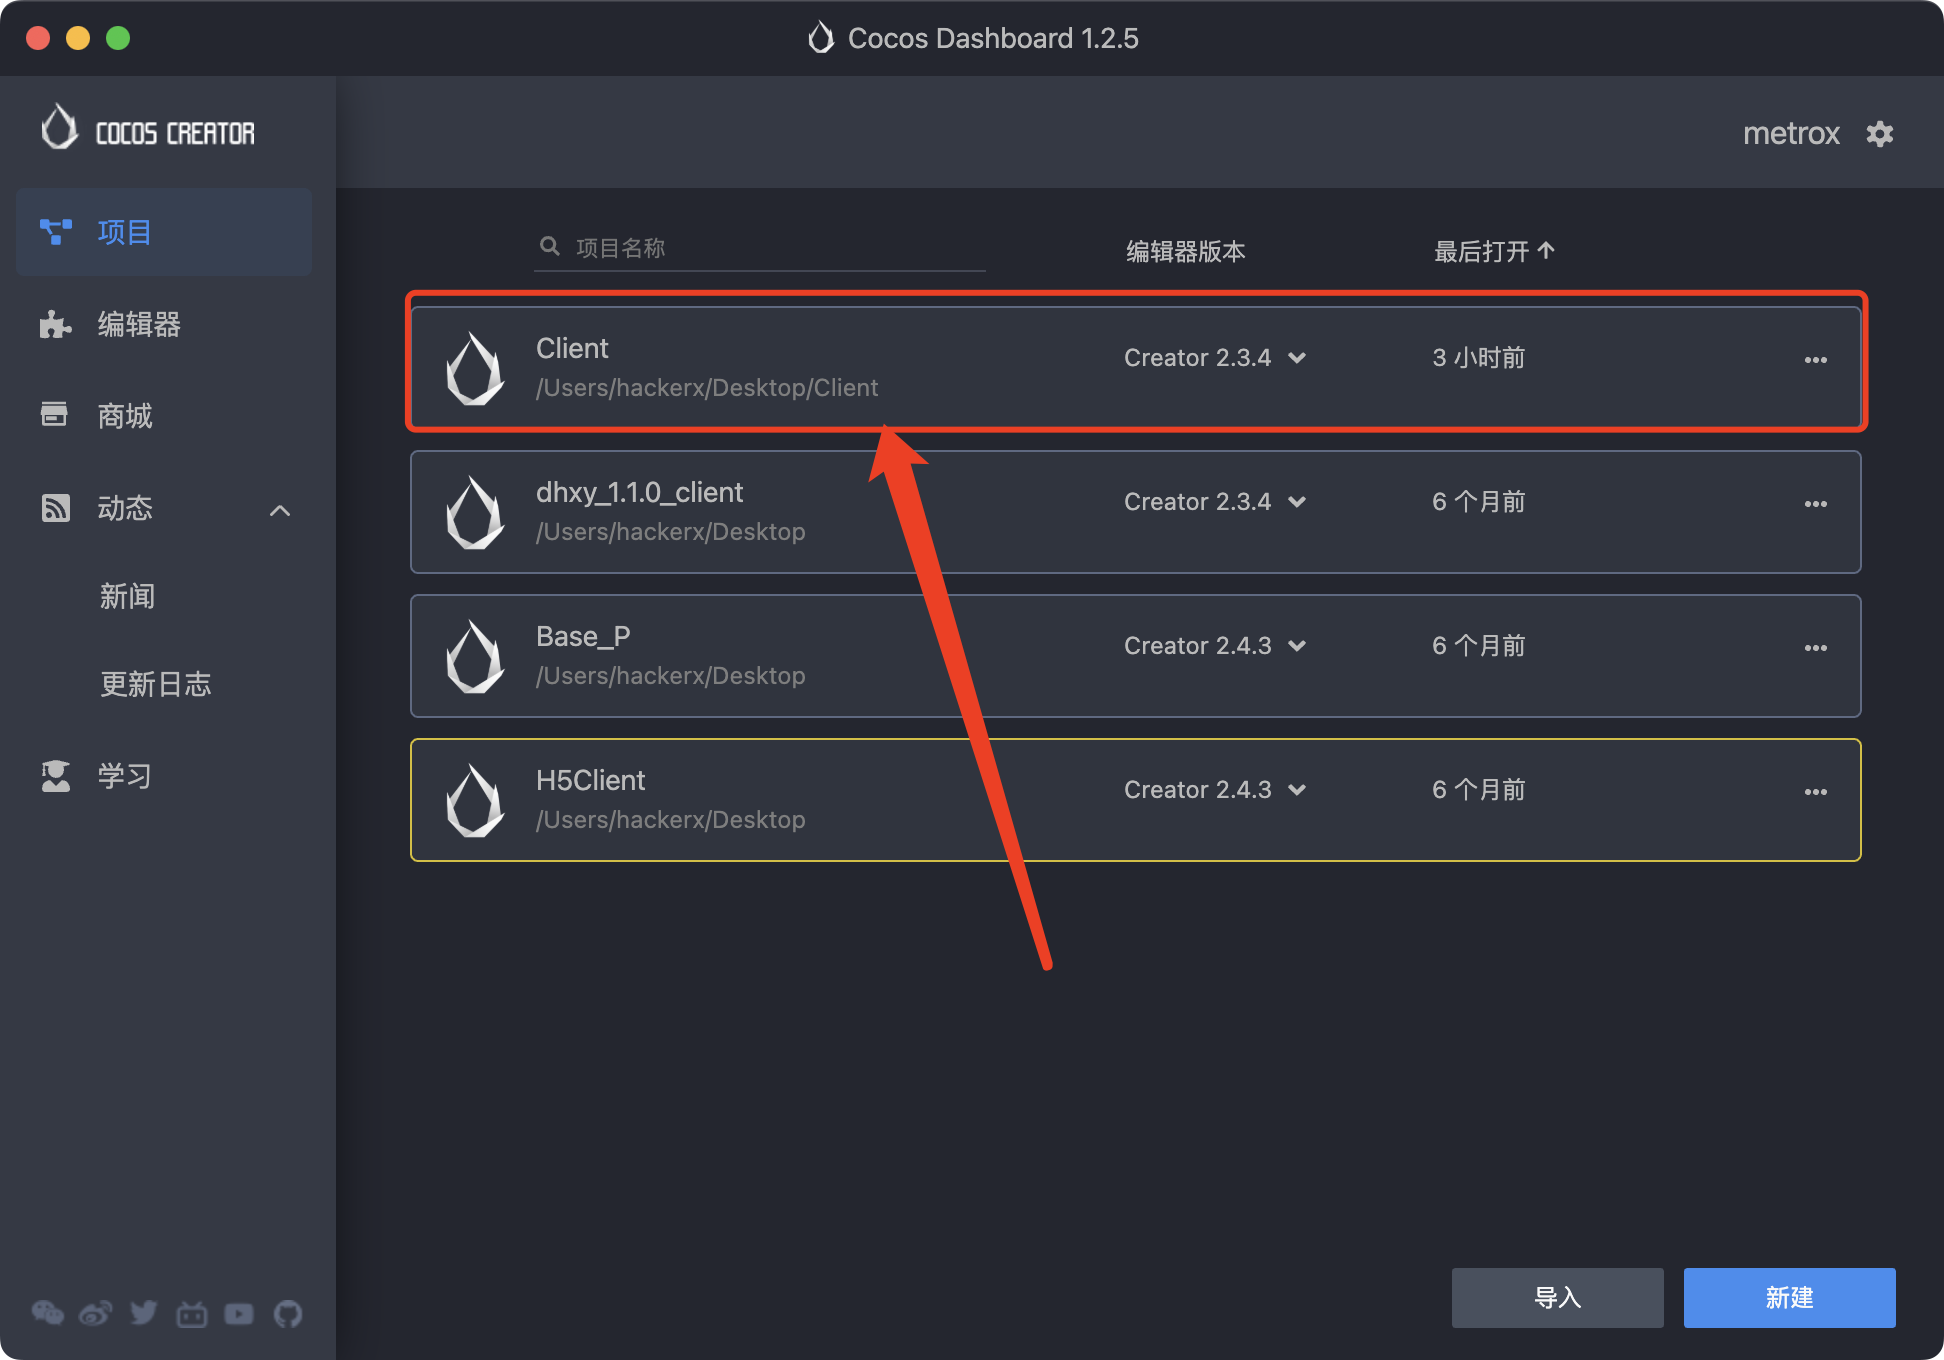
安装2.3.4版本的cocoscreator编辑器,然后打开client工程:
启动客户端前修改服务器配置:
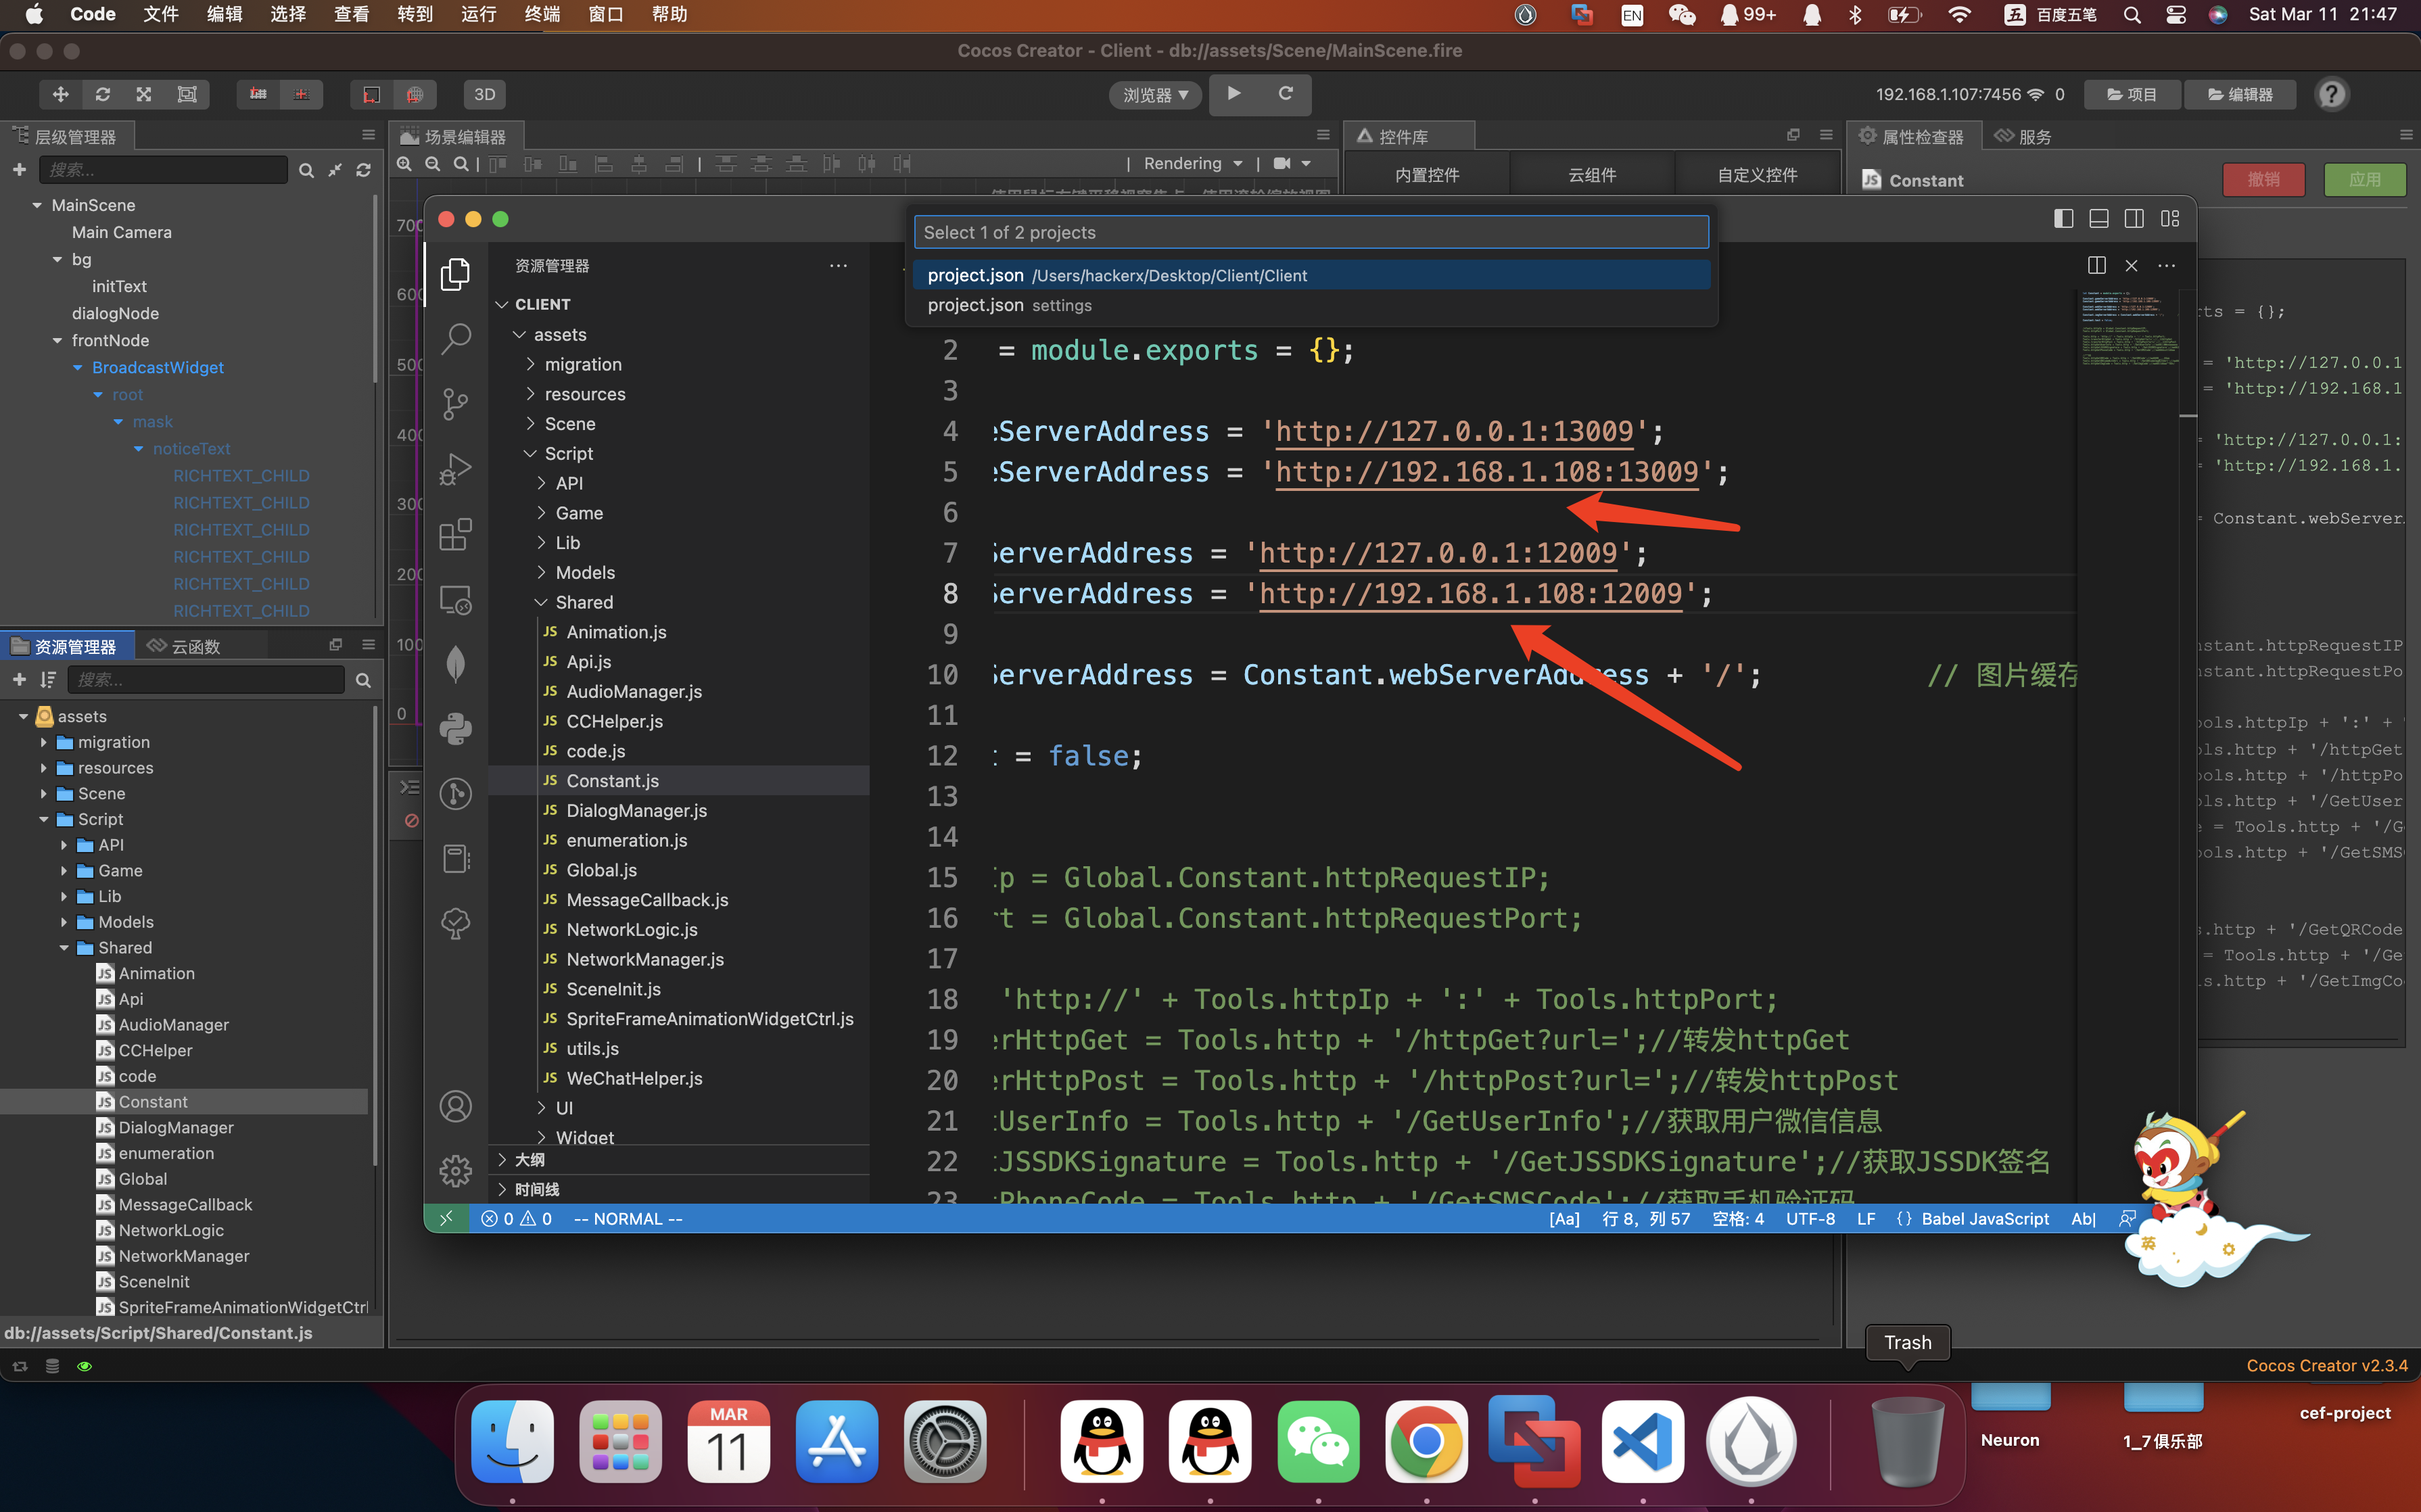
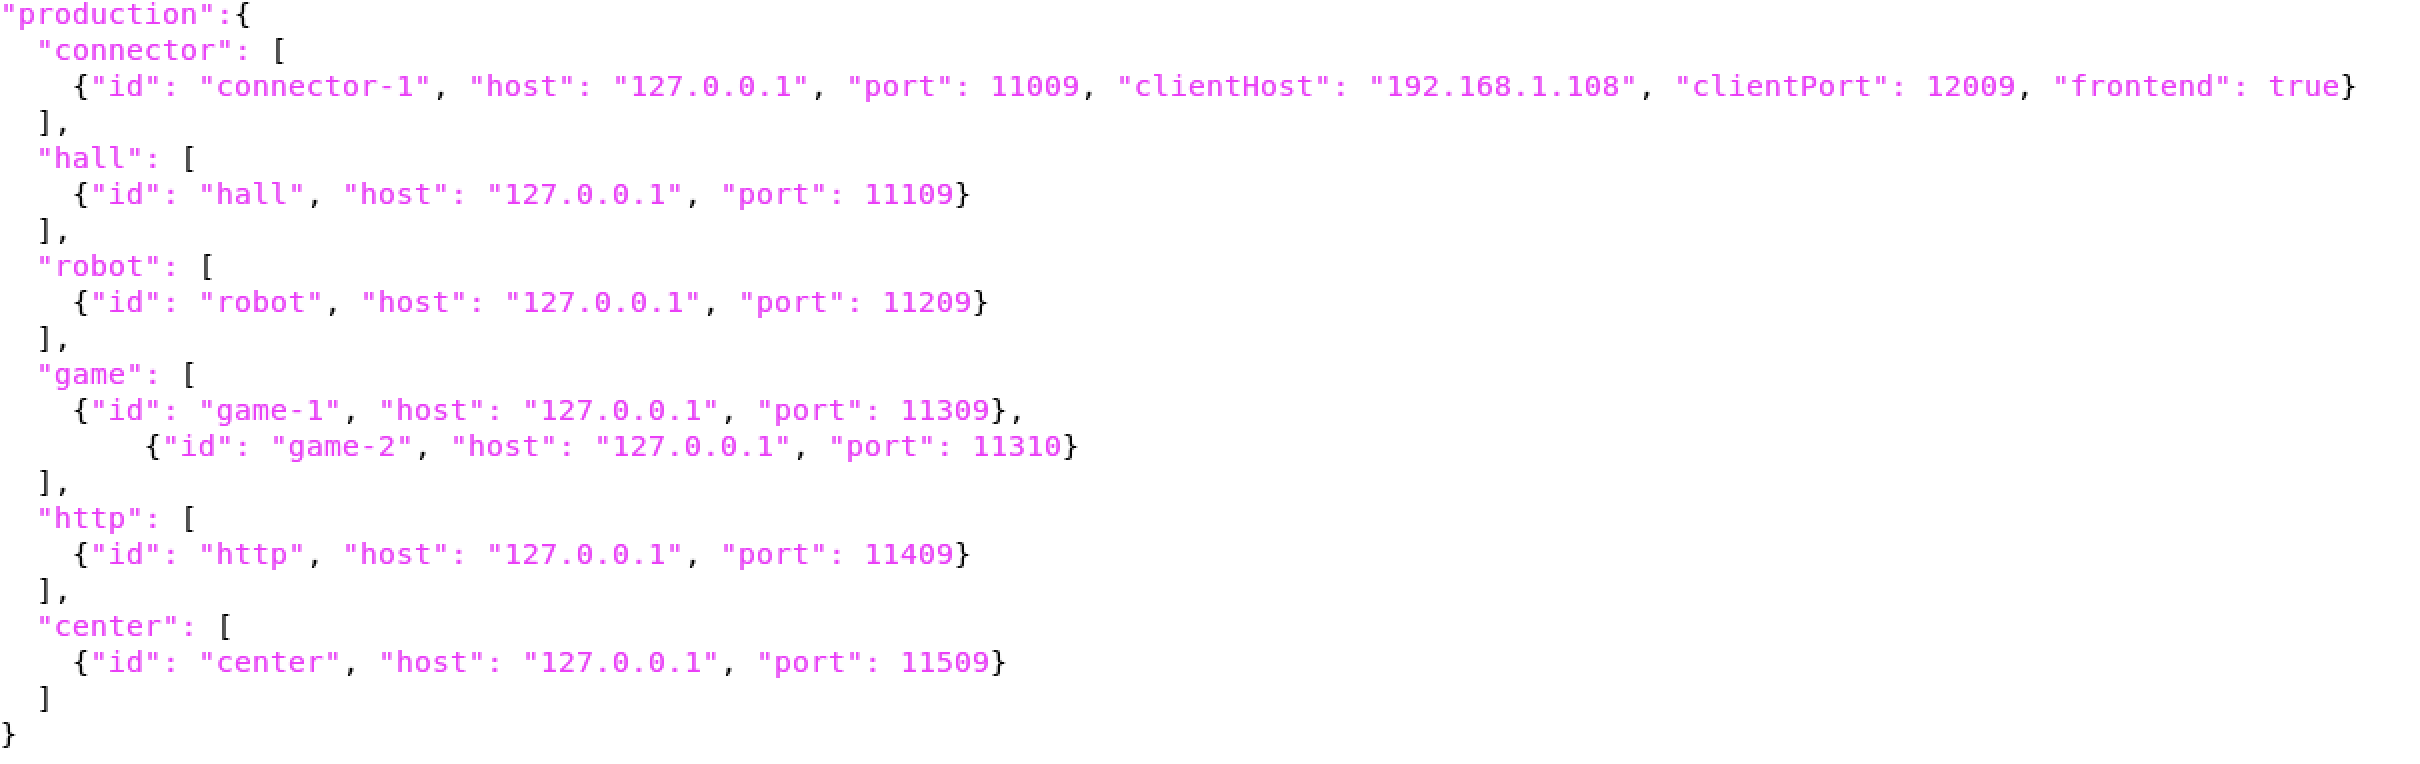
保存后,记得打开服务器相关端口: 13009 ,12009,11109,11209,11309,11409,11509
开启服务器防火墙:
启用防火墙 systemctl start firewalld
查看防火墙状态 systemctl status firewalld
停止防火墙 systemctl stop firewalld
禁用防火墙 systemctl disable firewalld
启用防火墙 systemctl enable firewalld
启动端口:
firewall-cmd --zone=public --add-port=11109/tcp --permanent
firewall-cmd --zone=public --add-port=11209/tcp --permanent
firewall-cmd --zone=public --add-port=11309/tcp --permanent
firewall-cmd --zone=public --add-port=11409/tcp --permanent
firewall-cmd --zone=public --add-port=11509/tcp --permanent
firewall-cmd --zone=public --add-port=12009/tcp --permanent
firewall-cmd --zone=public --add-port=13009/tcp --permanent
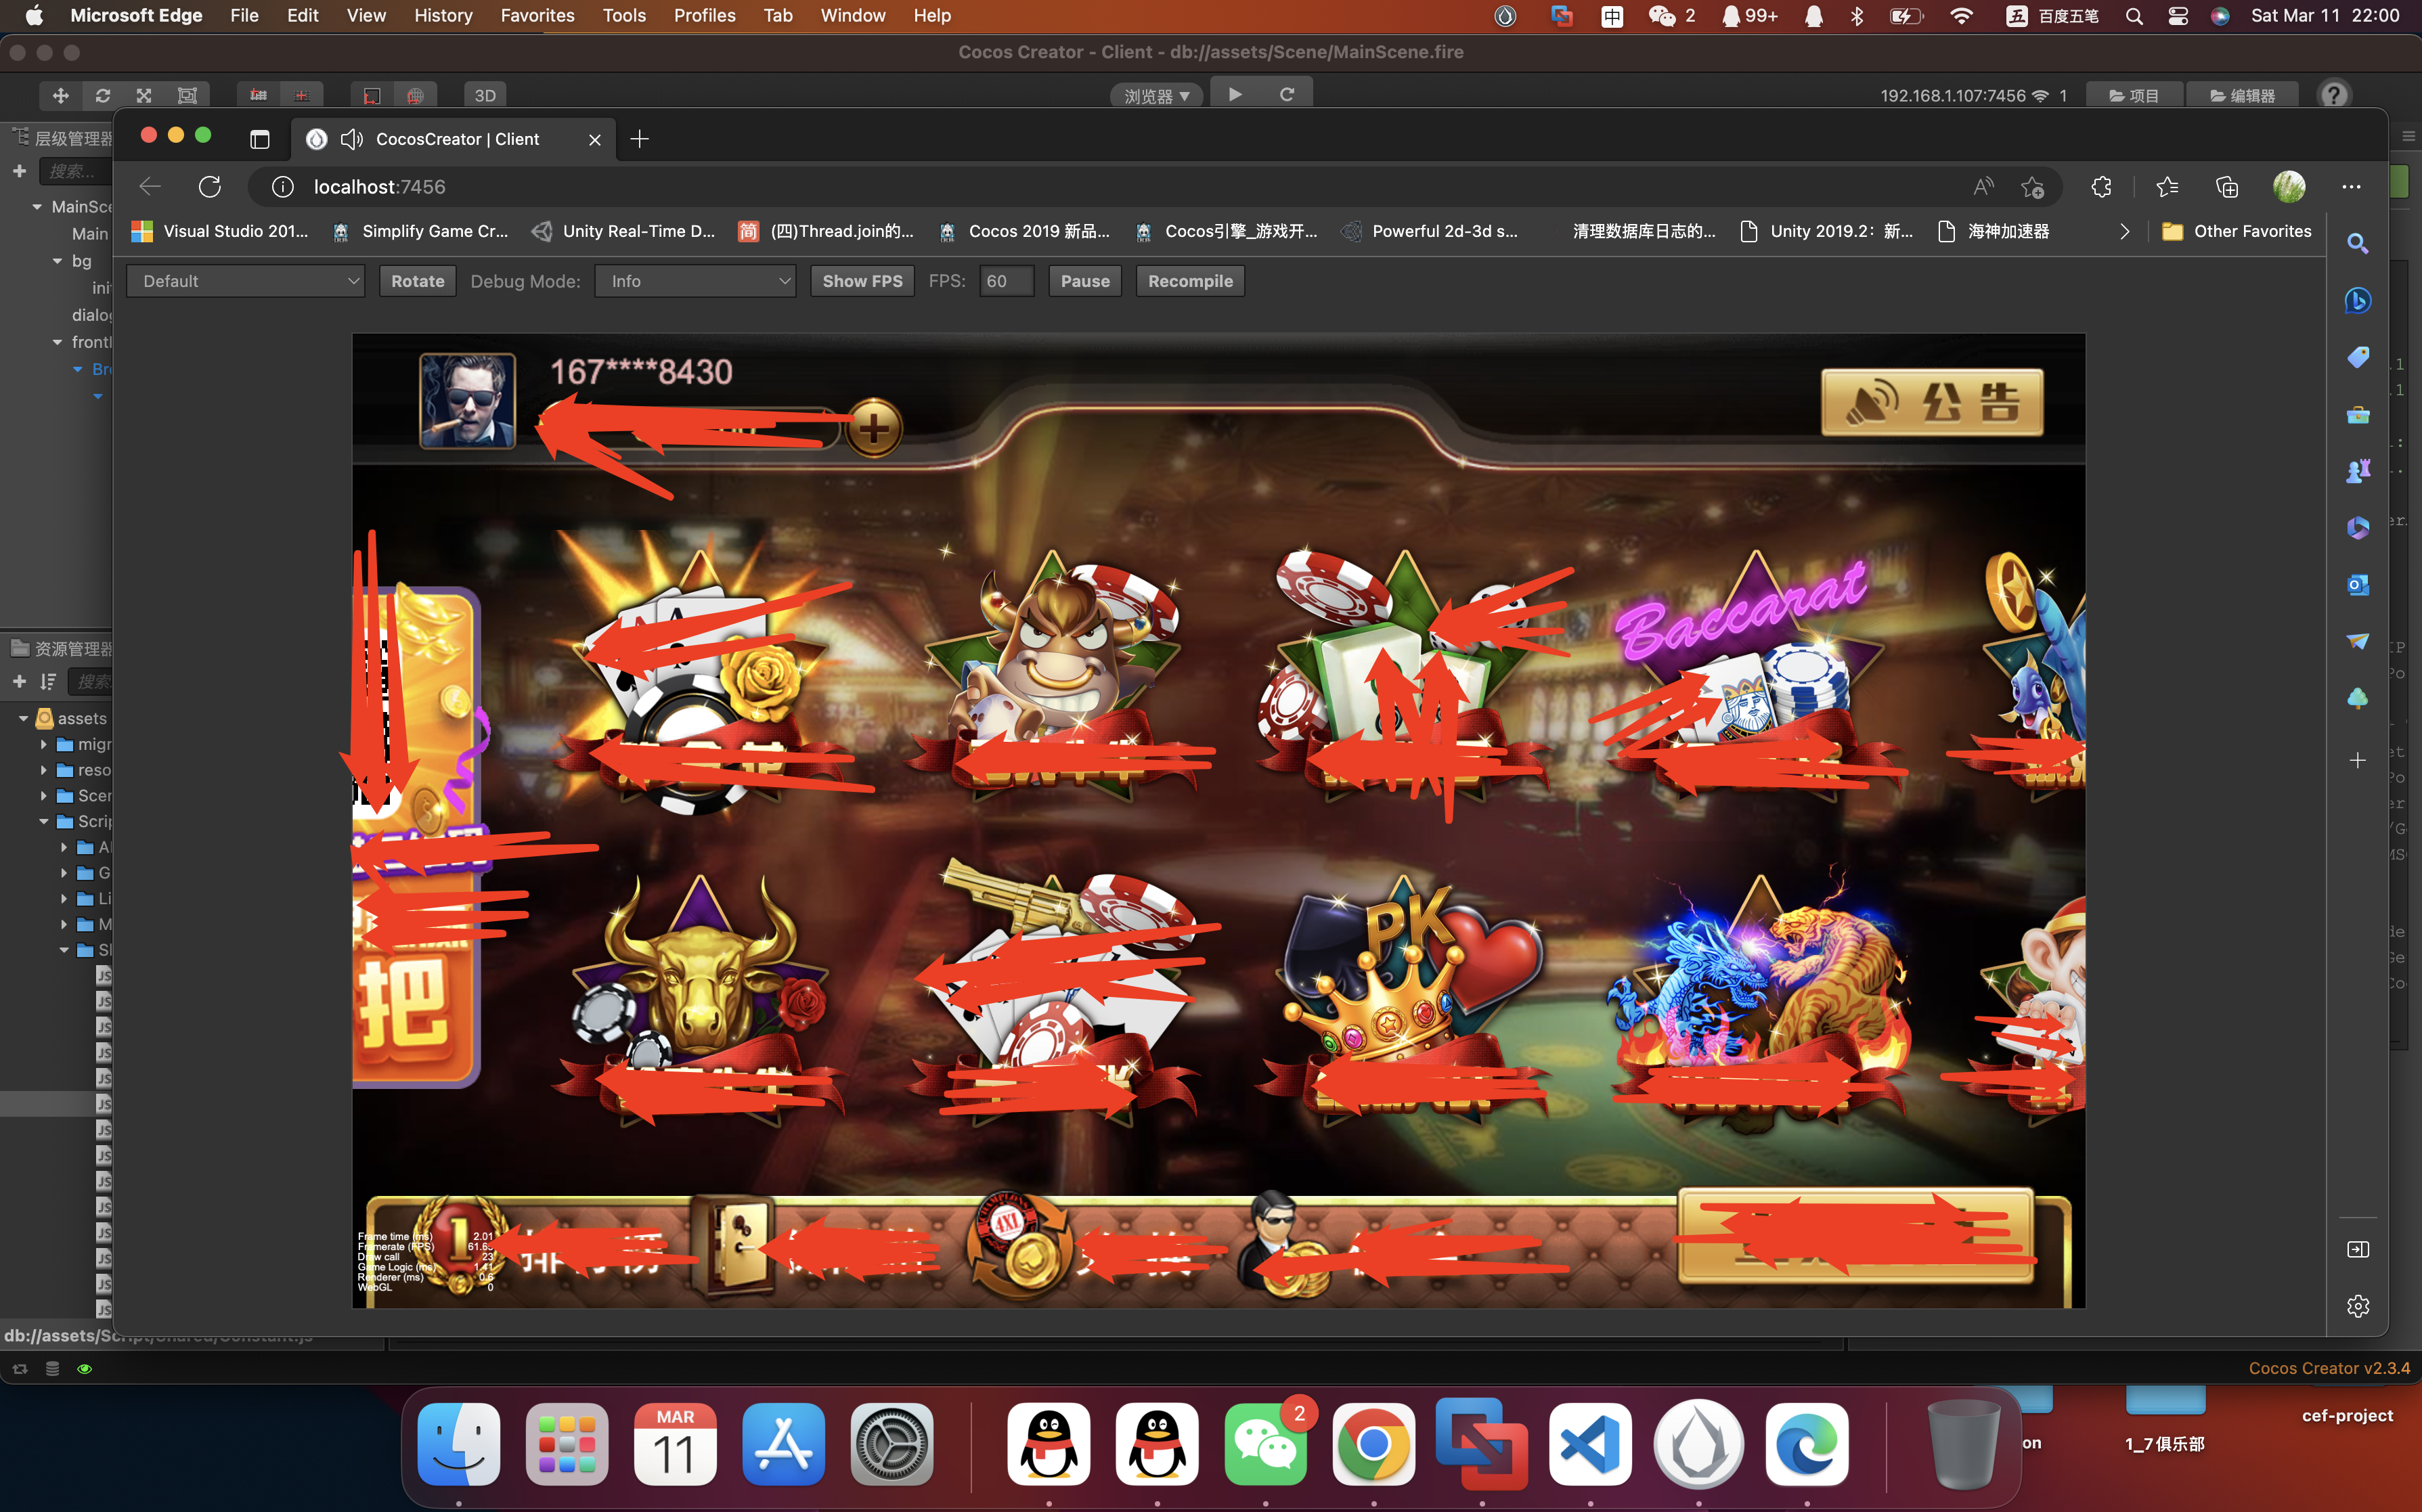
firewall-cmd --zone=public --add-port=11009/tcp --permanent现在可启动客户端了:

![[N1CTF 2018]eating_cms1](https://img-blog.csdnimg.cn/img_convert/7d5d393fe35944bb90ad81358d8ae76f.png)